Today, we’re going to dive into ten creative photo manipulation tips and tricks for Photoshop. We’ll cover everything from extracting hair to painting blood, and we’ll explore a wide range of captivating photo effects, valuable tips, and versatile techniques. Whether you’re a digital artist, photo editor, or creative compositor, these are tools you’ll definitely want in your arsenal.
If you love video content, don’t forget to watch this new video from the Envato Tuts+ YouTube channel, where we’ll cover some amazing creative photo manipulation ideas and tips:
What You’ll Need for Photo Manipulation in Photoshop
Find more resources on Envato Elements!
1. How to Use Generative Fill in Photoshop
Step 1
Generative Fill serves multiple purposes, such as expanding images, brainstorming photo manipulation ideas, and generating entirely new elements. It excels in creating photorealistic details, making it an ideal tool for photo manipulation.
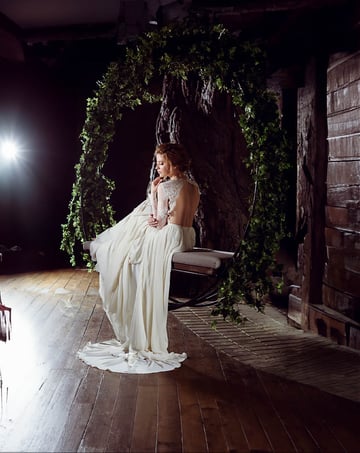
First, let’s use Generative Fill to expand our image. Start by selecting the Crop tool. Then, in the upper Options bar, set Fill to Generative Expand.


Step 2
Next, use the Crop tool to extend the canvas to your preferred dimensions. Photoshop will automatically generate and fill any blank space, expanding the image outward.

Step 3
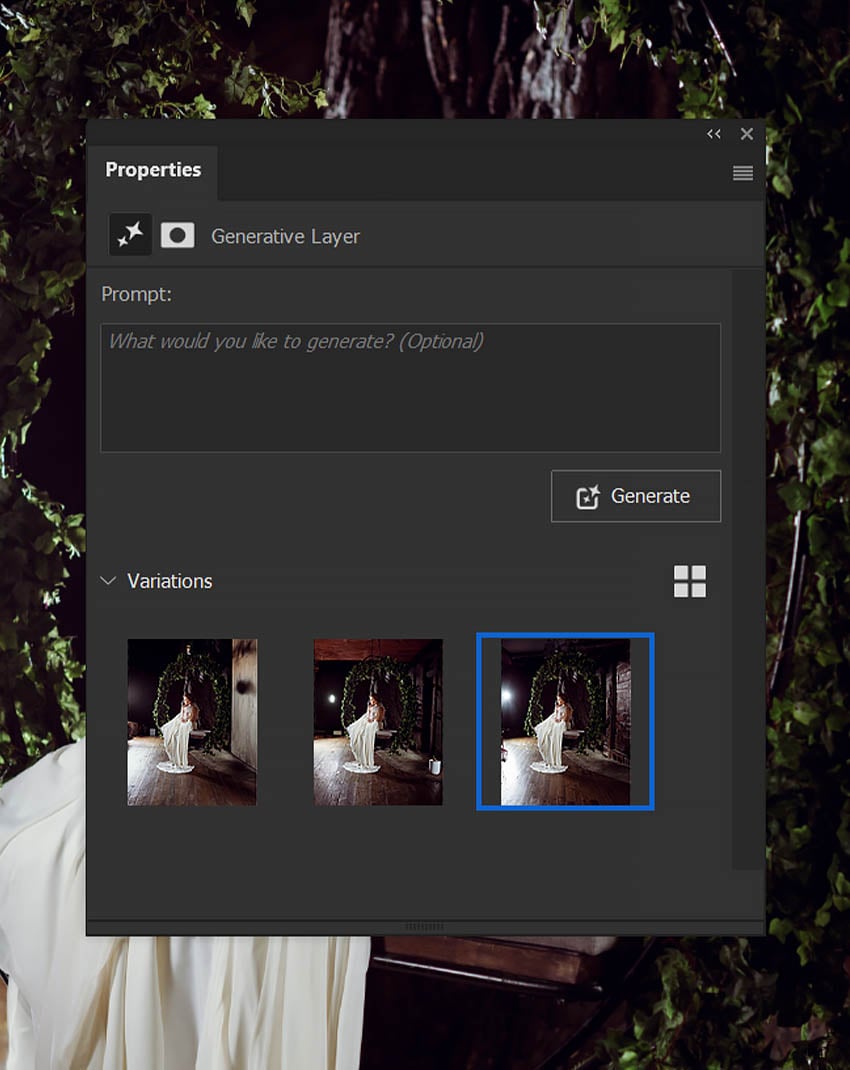
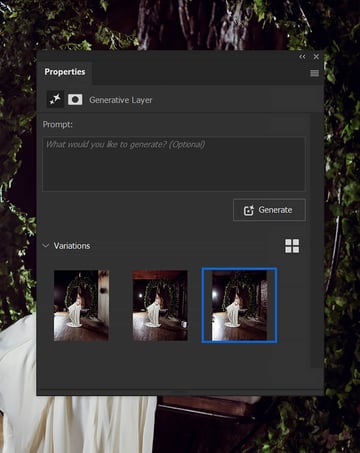
In the Properties panel, you will find three Variations of the generated fill effect. You can click and view each one to select the one you prefer. Alternatively, you can hit Generate to get three new variations.
The generated detail will appear on its own layer, with a layer mask that you can further refine and mask.

Step 4
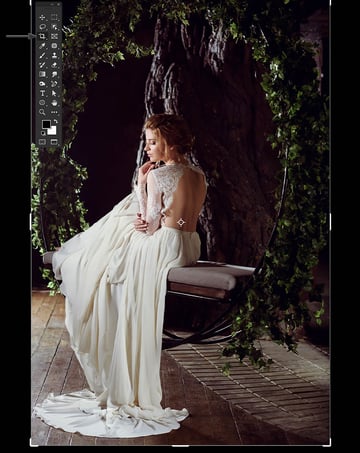
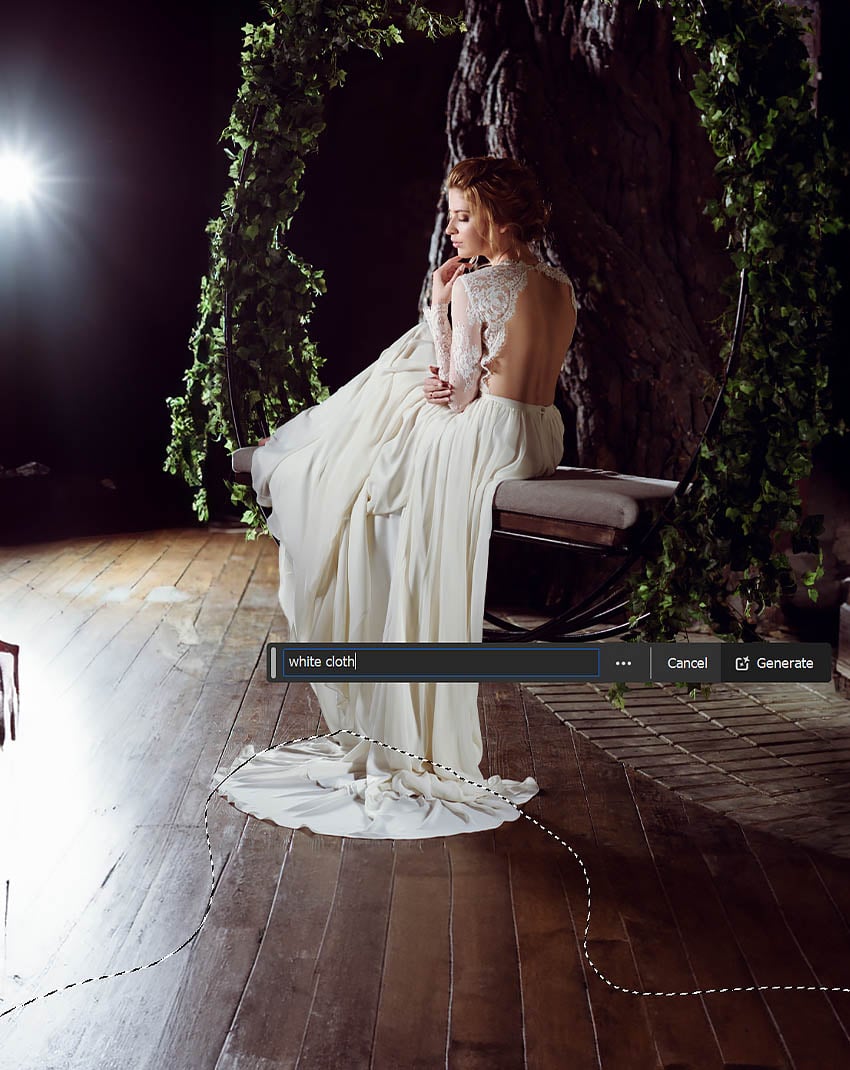
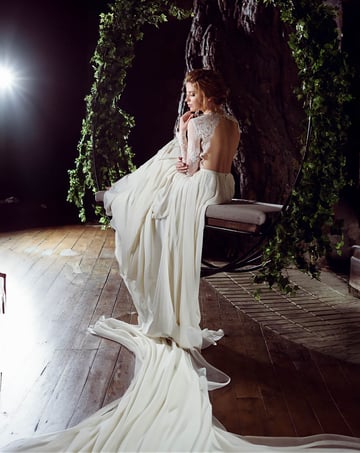
Now, let’s look at how to add details to an image using Generative Fill. In our wedding photo, I want to extend the train of the dress towards the front of the canvas.
First, use the Lasso Tool to select the area where you want the detail to be added.
Click on Generate Fill in the floating context bar. Enter the description of the detail you want to add, like “white cloth,” and click Generate.

Step 5
In the Properties panel, you’ll find three variations to choose from. If you are not satisfied with the results, simply select Generate again to generate more variations.

Step 6
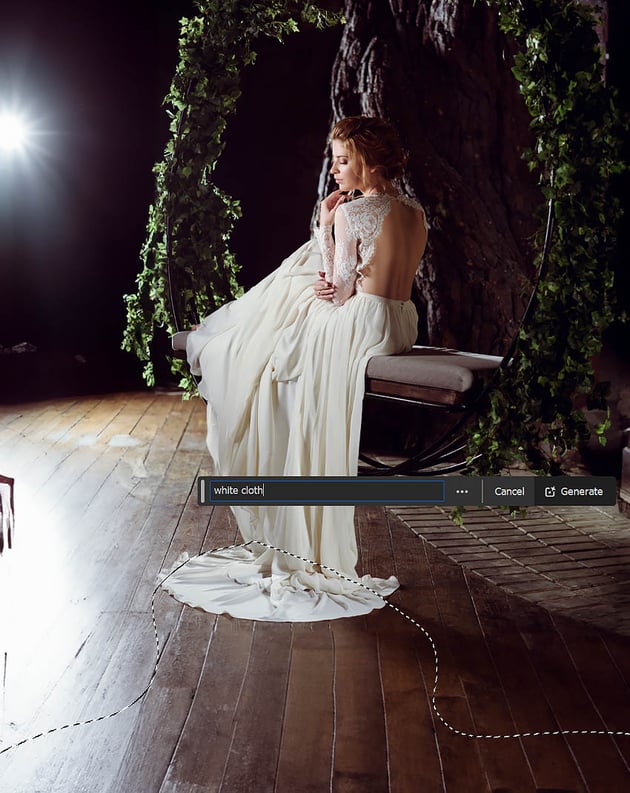
Repeat the above steps until you’ve added all the desired details. Select the area using the Lasso Tool, choose Generative Fill in the context bar, type a prompt, and hit Generate.
Generative Fill layers can increase the size of a Photoshop file immensely. Once you’re happy with the results, it’s best practice to right-click > Rasterize any Generative Fill layers.
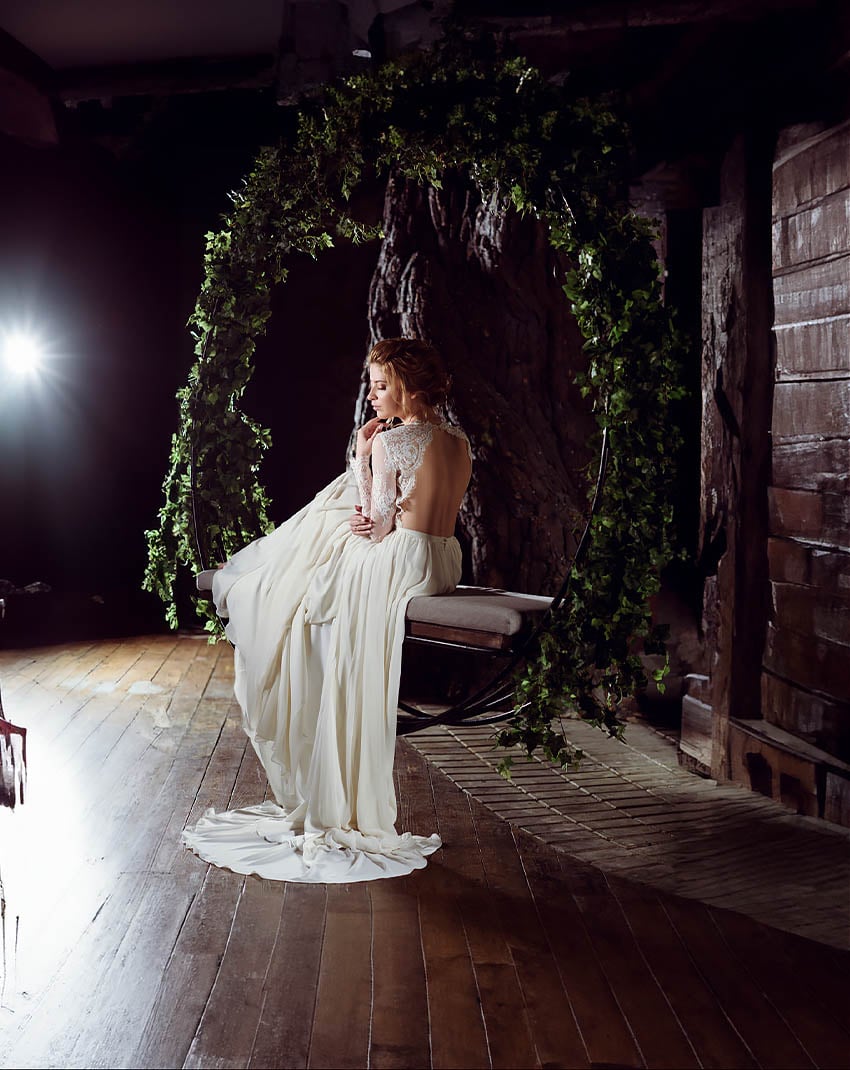
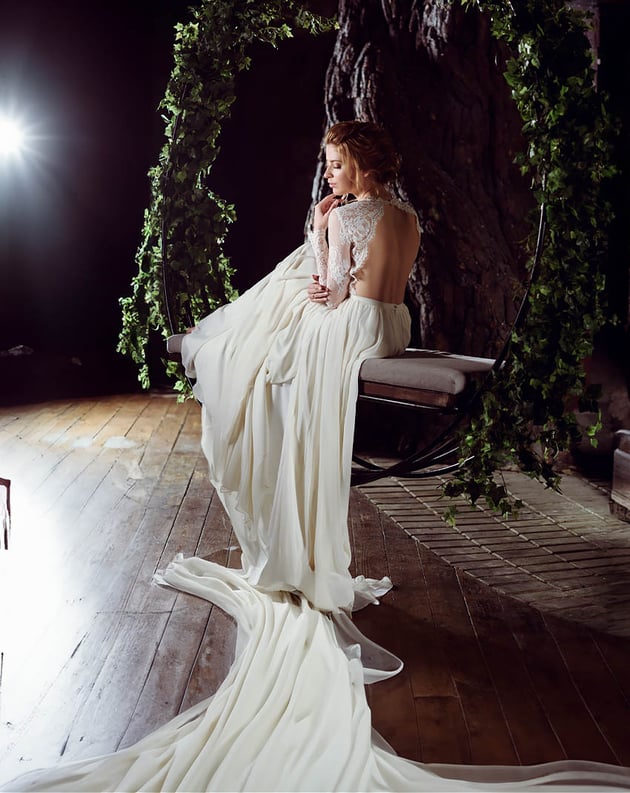
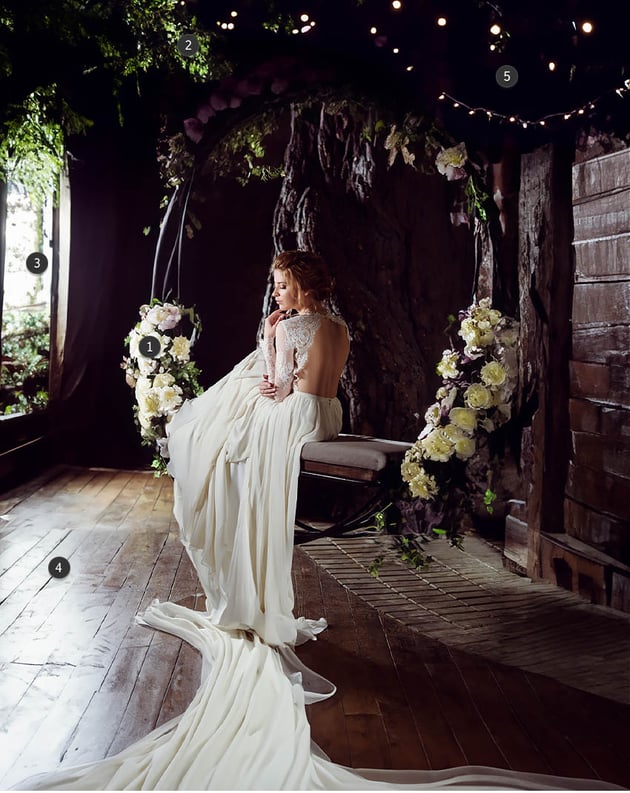
The prompts used in the below photo manipulation example are:
- Add Flowers
- Tree
- Forest Background
- Remove Floor Glare
- Fairy Lights


Do More With Generative Fill
2. Blend Images Instantly Using Blend If in Photoshop
Step 1
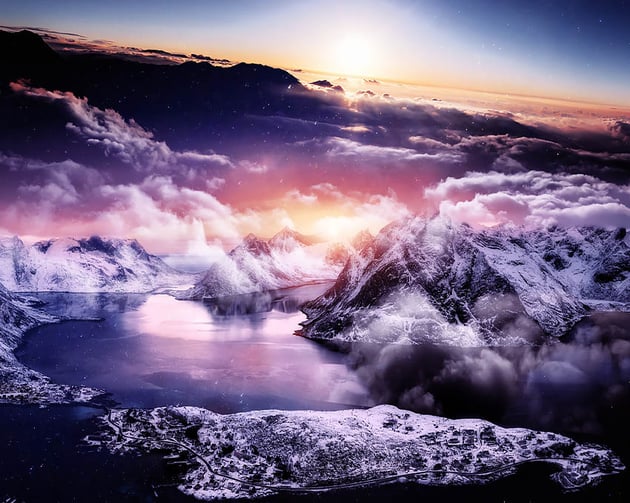
Blend If is a setting in the Layer Style panel that’s great for blending landscapes and skies. This powerful tool enables you to merge layers seamlessly based on their luminosity values. Consider it an advanced control for layer transparency.
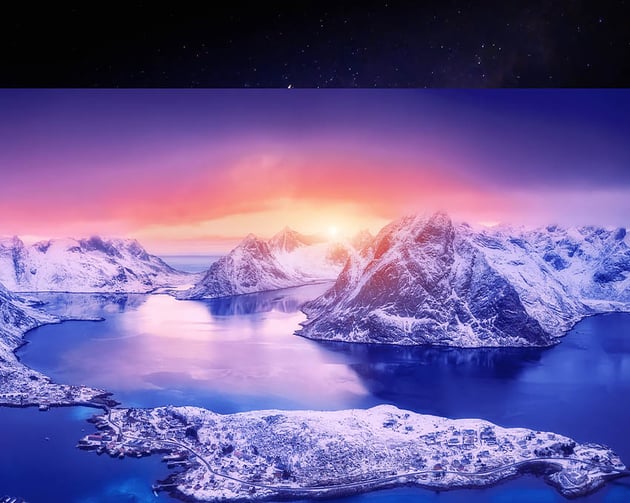
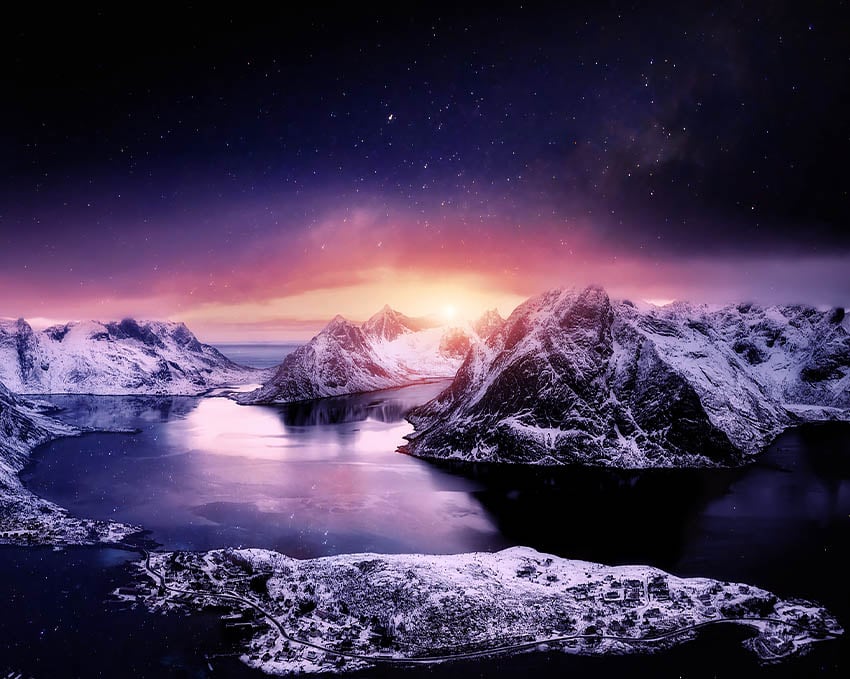
First, we want to lay down our base sky.

Step 2
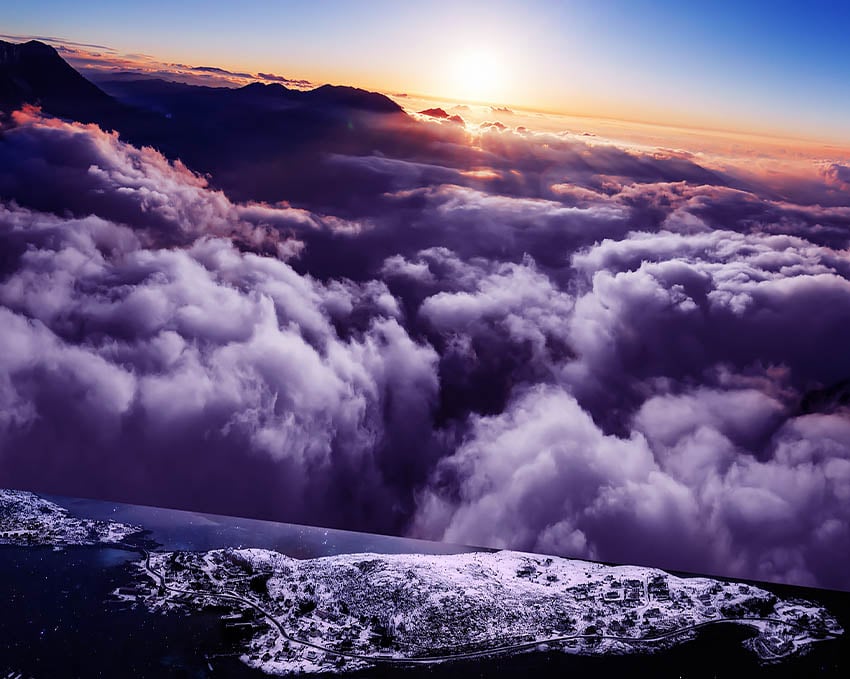
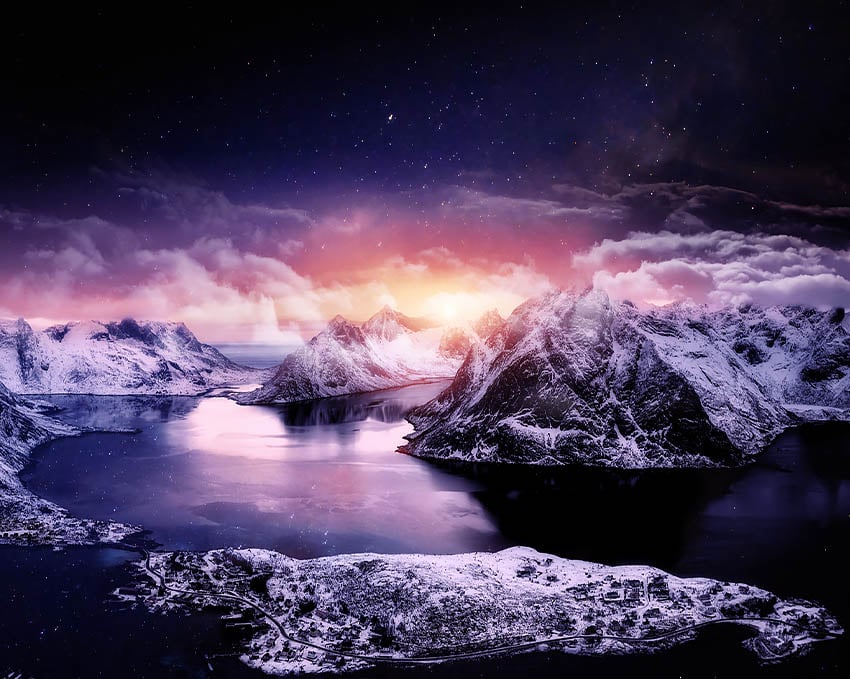
Next, paste the landscape you’d like to merge with the sky over the base image.


Step 3
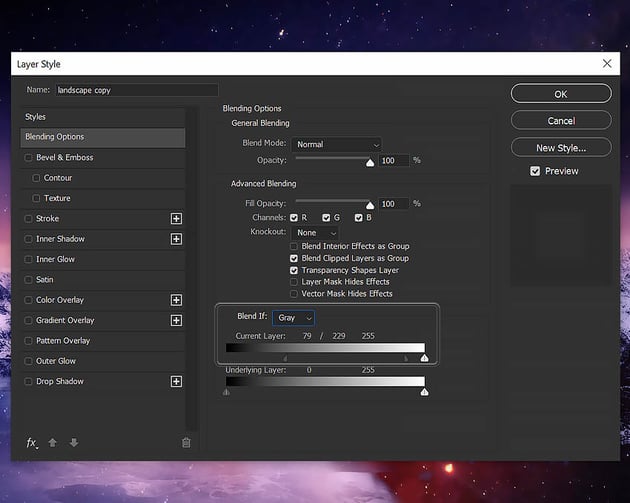
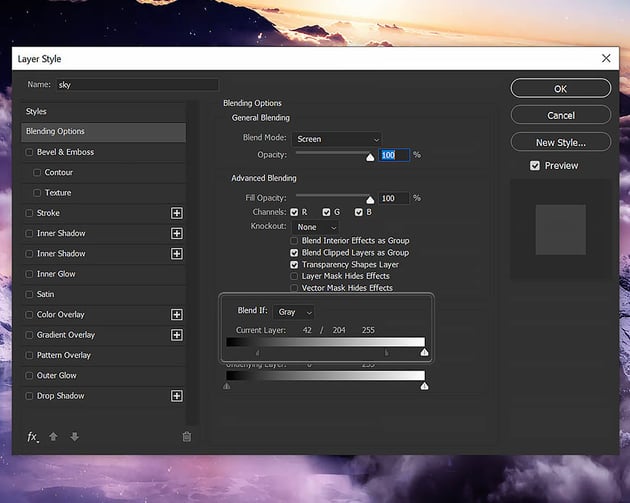
Now, double-click the landscape image to open the Layer Style panel. Towards the bottom of the panel, we’ll see the Blend If settings. We will be working with the Current Layer settings.
First, we want to split the toggles into two halves by clicking a toggle half, holding Alt/Control, and then pulling the toggles apart.
Blend if works by blending away an image based on luminosity settings. So these toggles are saying, “For this layer, only show the parts where the brightness falls within this specific range.”
We want to place the toggles so that the landscape blends seamlessly with the base image but still retains most of its details and structure.
Don’t focus on exact settings. Slide the toggles and watch the image until you like the results. Every image will require its own settings.


Step 4
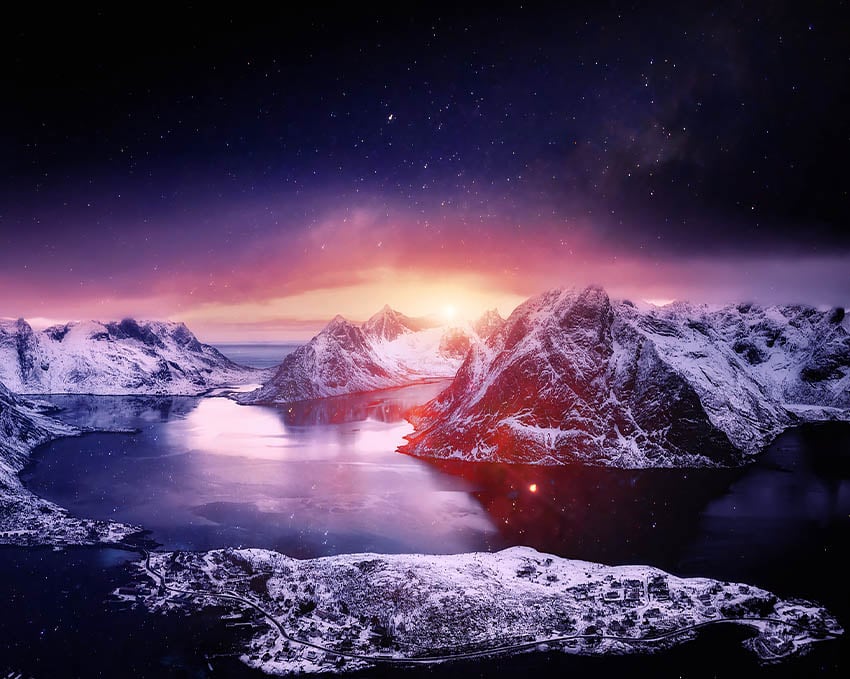
In our photo manipulation example, the sky is blended away seamlessly, and we are also left with what appear to be stars reflected on the water. However, some of the image was blended too much and now looks too transparent, let’s fix it.
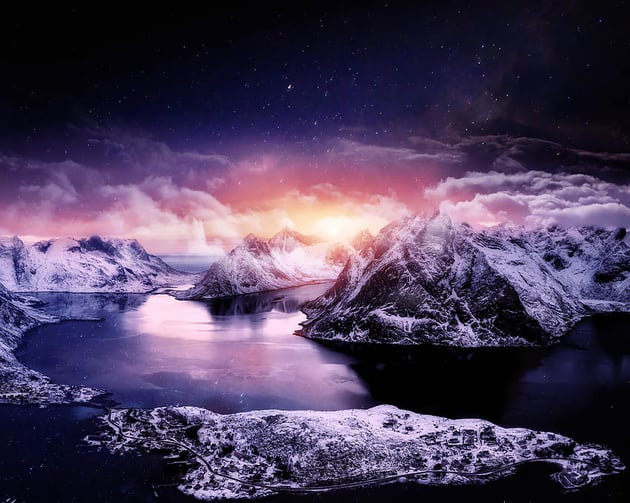
Create a New Layer below the landscape layer, and name it “Solid.”
Now, using a semi-hard dark-colored Brush, paint solid color behind any areas you want to appeal more solid. In this example, I painted black behind the larger mountain.


Step 5
We can do the same thing to blend other details into our landscape as well. Let’s place and angle a panoramic of clouds over our landscape.


Step 6
Next, set the Layer Mode to Screen. Now, we can use Blend If to blend away the darker parts of the sky, leaving only clouds.


Step 7
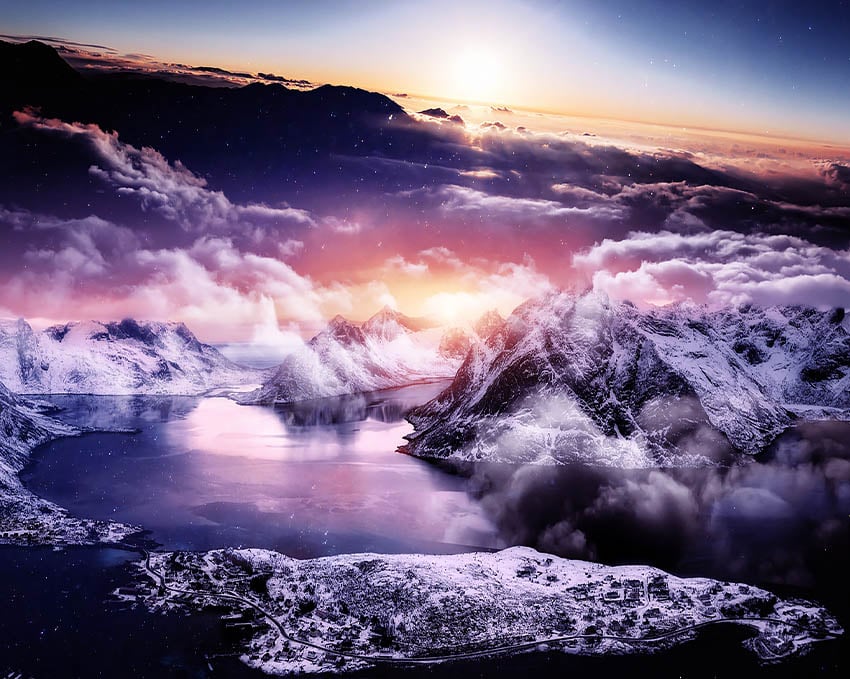
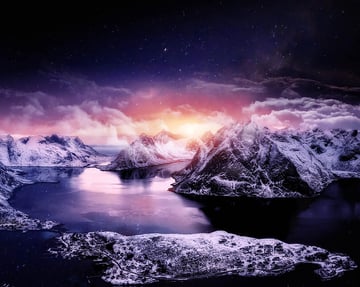
Add a Layer Mask to mask away any unwanted areas, and you’re done!
Use Blend If in This Tutorial
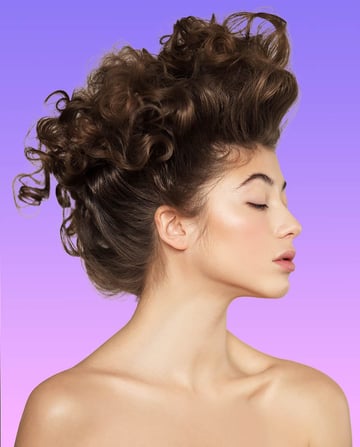
3. How to Extract Hair Fast in Photoshop
Step 1
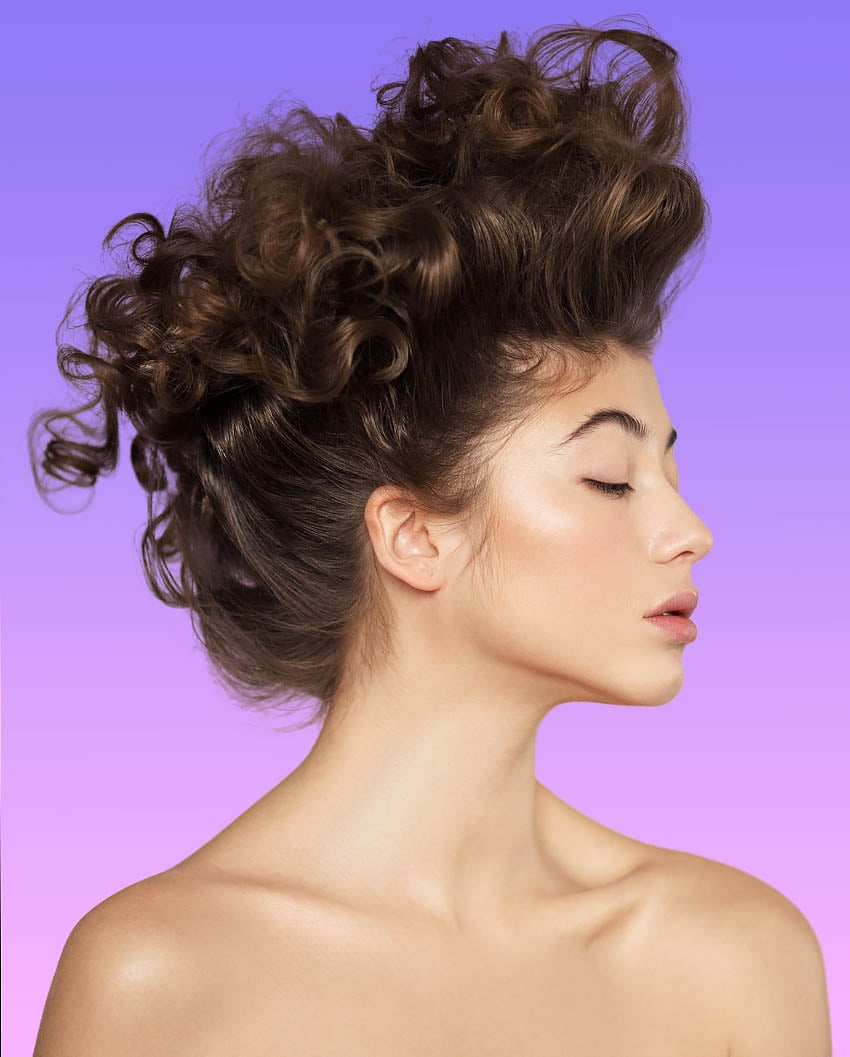
Regardless of texture or color, all hair types undergo similar initial steps. We want to begin by creating a rough selection of the hair. There are a few different options to choose from:
- Select Subject
- Magnetic Lasso Tool
- Quick Selection Brush
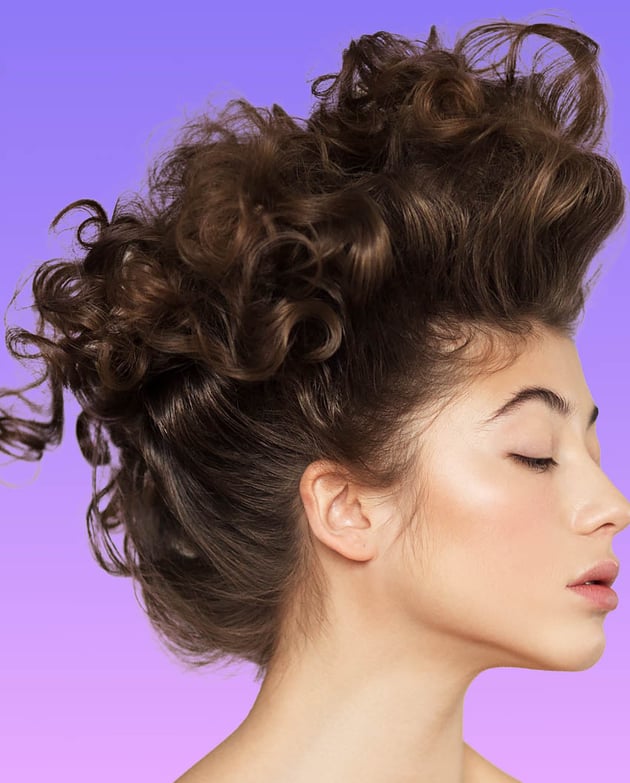
The quickest method is to select the subject’s layer and choose Select Subject in the context bar.


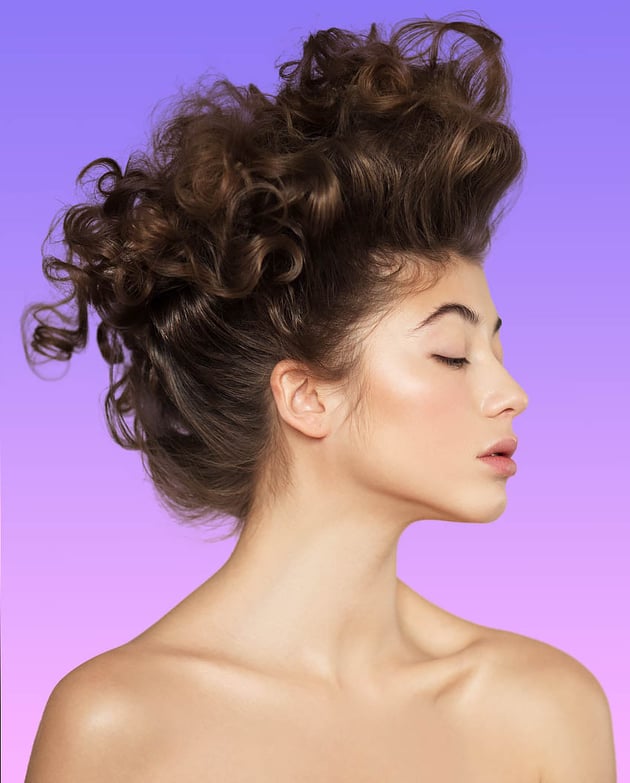
Step 2
Add a Layer Mask to get your rough mask.


Step 3
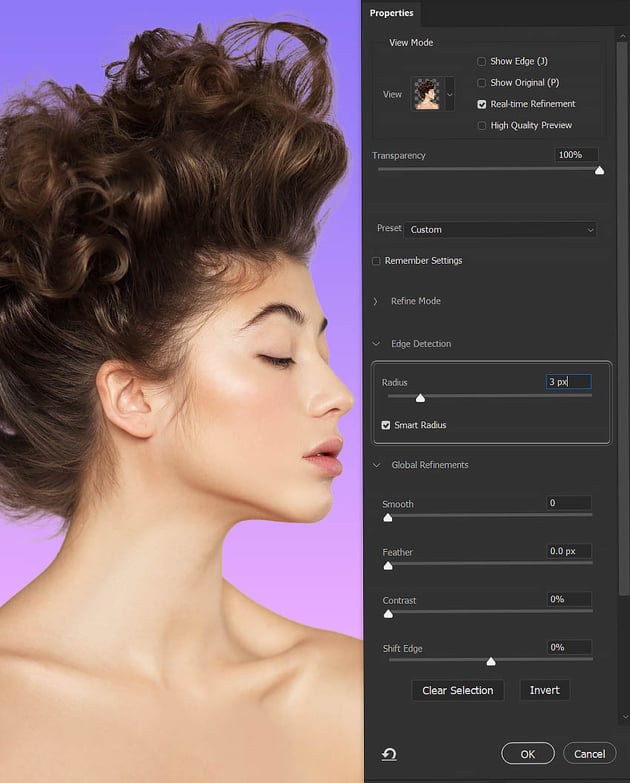
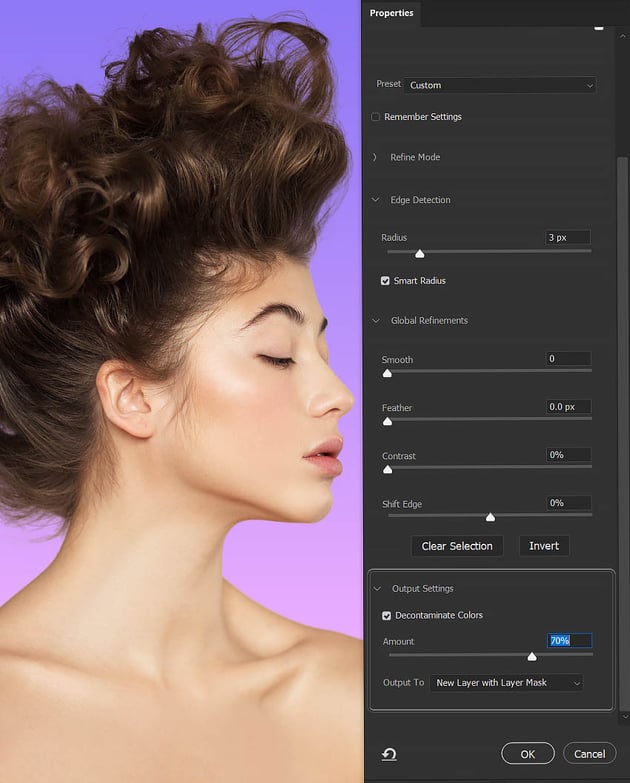
After completing your rough mask, ensure that the layer mask is clicked and active. Then, navigate to Select and Mask in the Windows > Properties panel.
Click on the Refine Hair button in the upper toolbar of Select and Mask.


Step 4
Choose the Refine Edge brush located in the toolbar on the left side. Ensure that the Smart Radius option under Edge Detection is checked, and adjust the Radius to 3 px.
Gently slide the Refine Edge brush along the edge of the hair. If it removes too much of the hair or background, hold down Alt/Option to remove the mask and bring it back.


Step 5
Finish by choosing Decontaminate Colors, setting it to 70%.
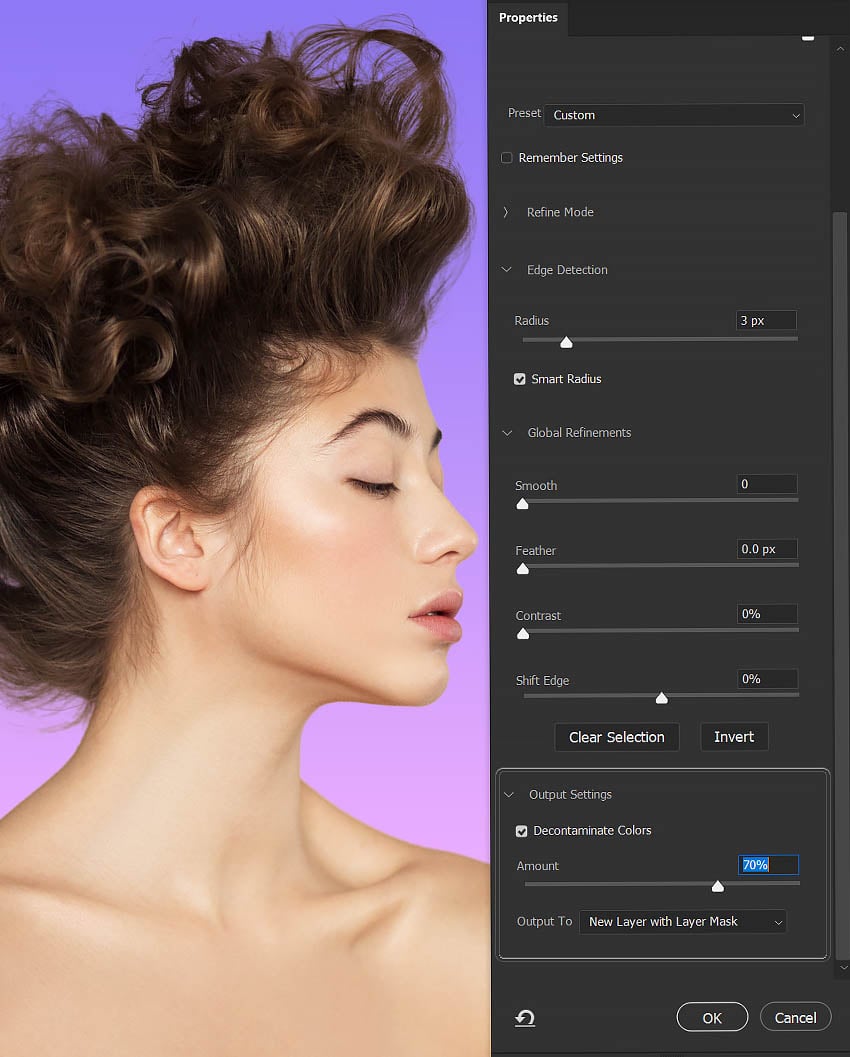

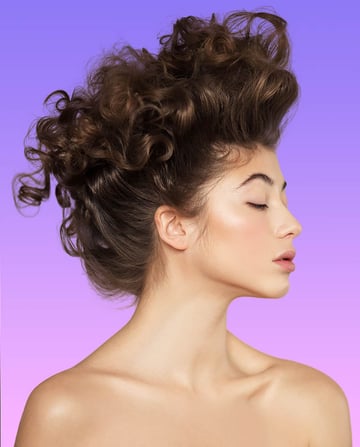
Learn More About Extracting Hair
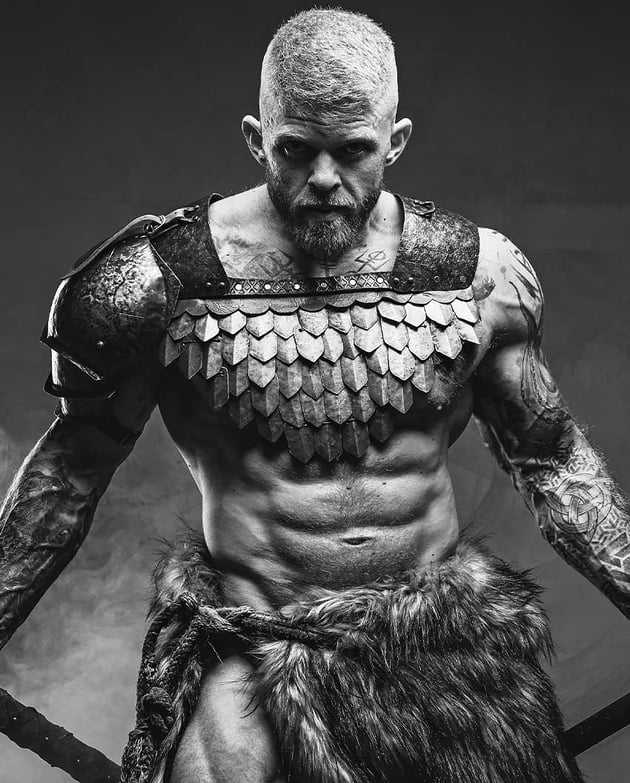
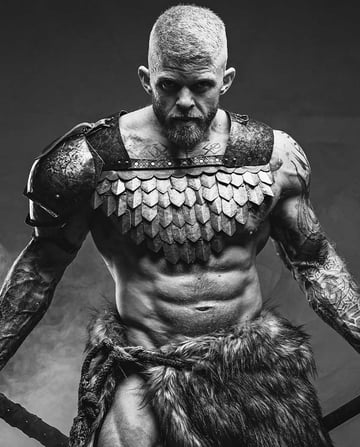
4. How to Create a Face & Body Paint Effect
Step 1
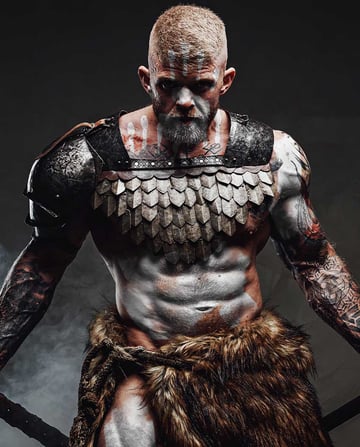
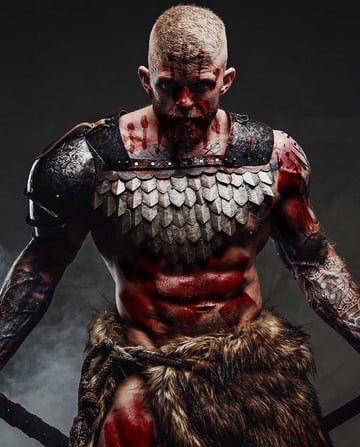
This technique is incredibly versatile, allowing for a wide range of captivating face and body paint effects. Whether it’s a haunting Halloween look or channeling the fierce spirit of a warrior, the possibilities are endless. Let’s enhance a Viking character by adding some bold war paint.
First, create a Black & White adjustment layer. Above that, create a Brightness/Contrast adjustment layer set to Brightness 57 and Contrast -37.
The Brightness/Contrast settings will change from subject to subject. None of these settings have to be exact, and they’ll change depending on what kind of paint and which color you want.

Step 2
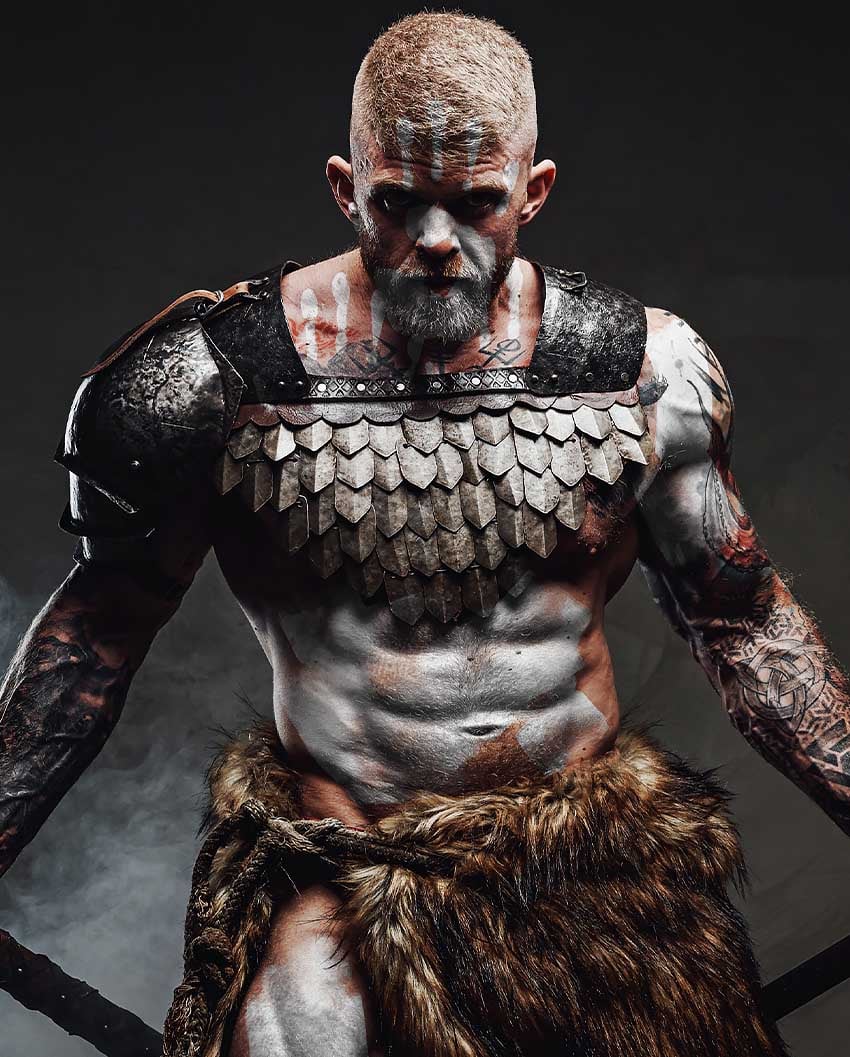
Group the two adjustment layers, and name that group “Paint.” Add a Layer Mask to the group, and Invert the layer mask using Control/Command-I. This will turn the layer mask from white to black.
Now, we want to use paint textured brushes like this, this, or this set to black to mask in where we want our warrior’s body paint.
If the paint seems too dark or transparent, you can duplicate the paint group for a stronger effect.
Step 3
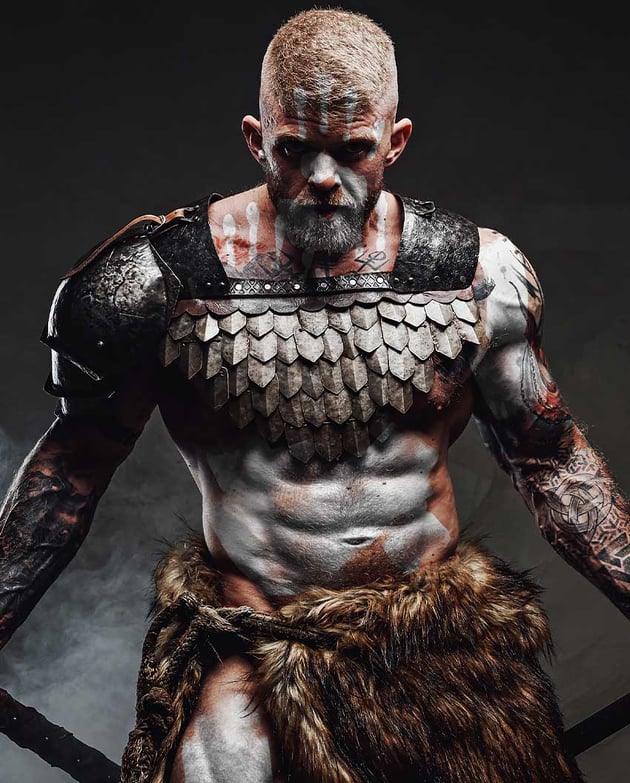
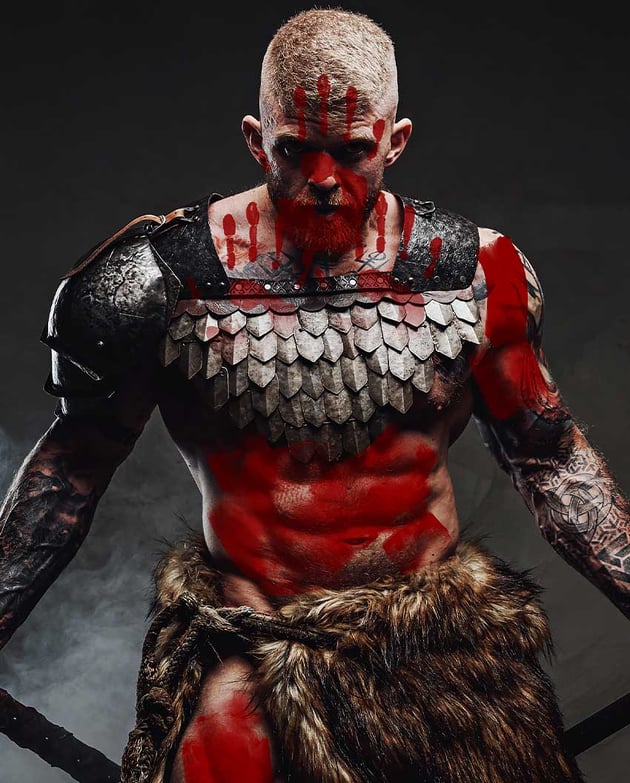
Want to make the paint a different color? You can add any type of color-adjusting layer adjustment to the “Paint” group to change the color of the paint.
Let’s try it out using a Gradient Map adjustment layer with a gradient going from dark red #390000 to red #8d0000.
Sometimes, Gradient Fill layers work better than Gradient Maps. Try out both and see what works best.


Step 4
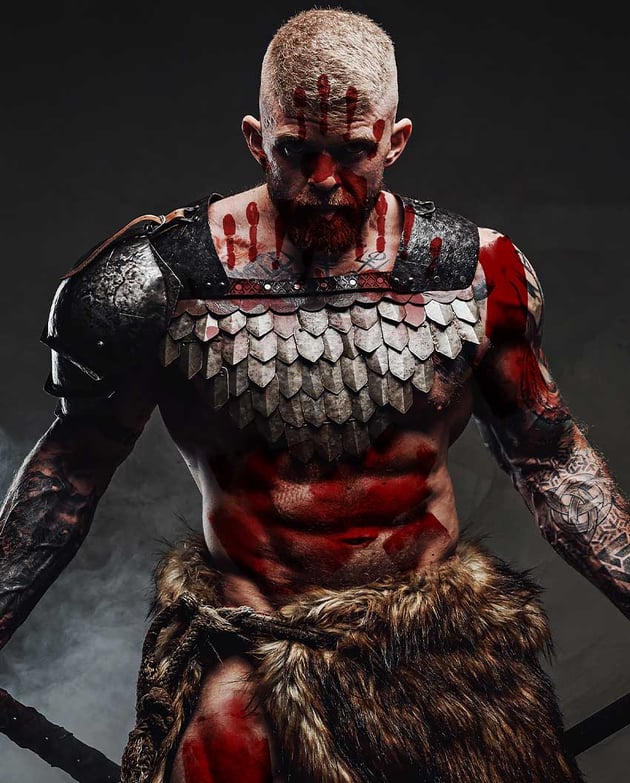
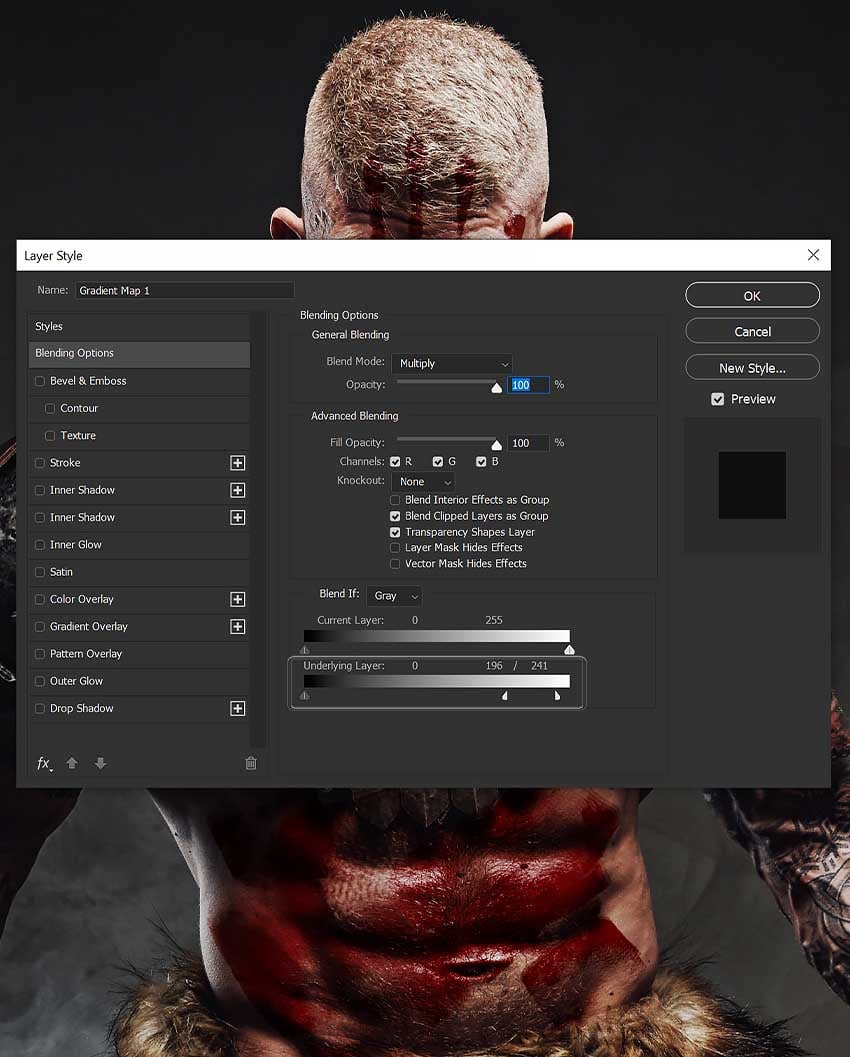
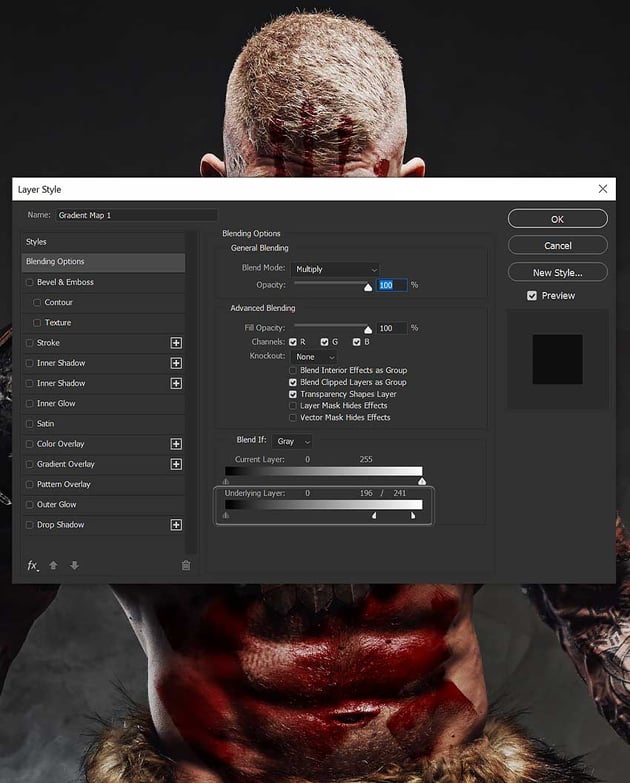
Set the Gradient Map layer to Multiply.
Different layer modes will work better with different adjustment layers and images. Feel free to experiment.

Step 5
Double-click the Gradient Map, adjust the Blend If Underlying Layer settings, and pull the right-hand toggles to the left to bring back some of the highlights.
Hold Alt/Option to split the toggles and create a smoother transition and blend.


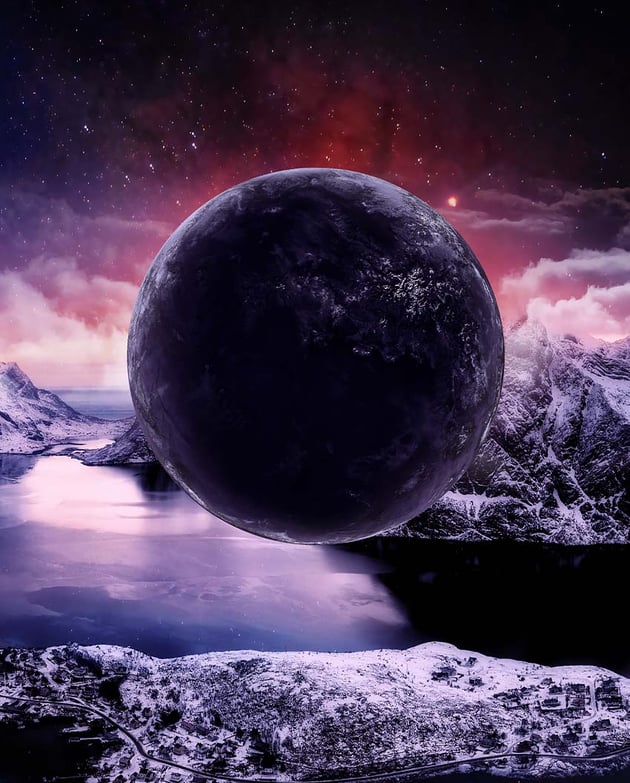
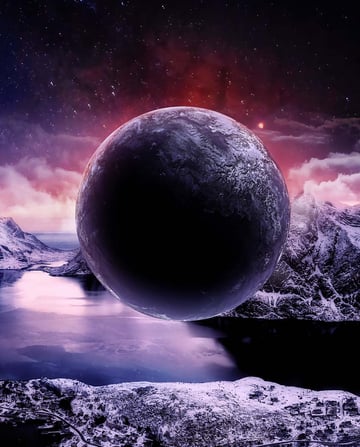
5. How to Create a Planet in Photoshop
Step 1
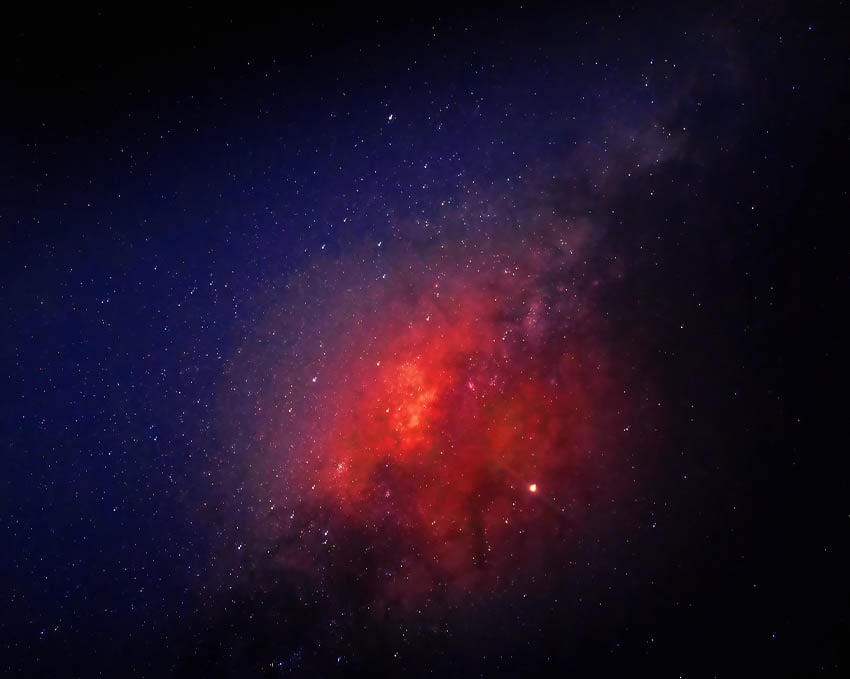
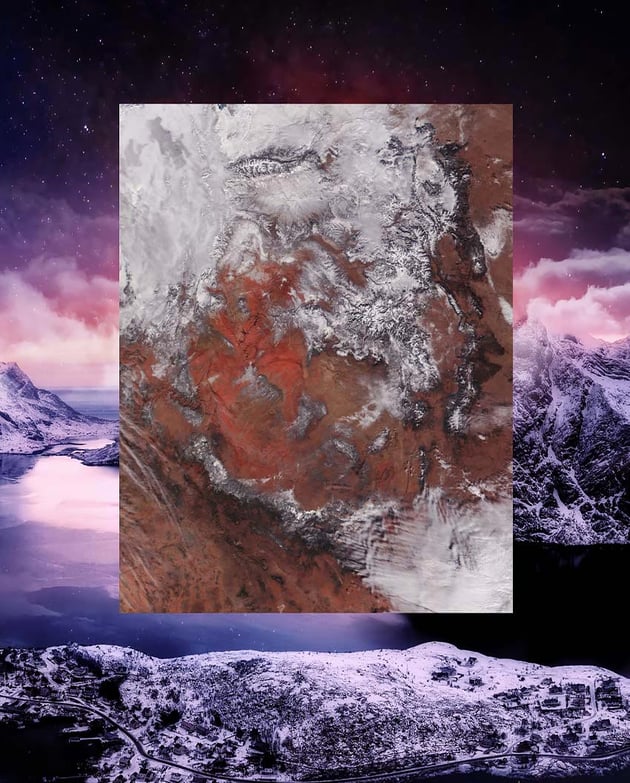
Here’s a fast and easy way to create a quick planet in Photoshop using only one texture. It’s a great base for bigger photo manipulation ideas that need a moon or planet. First, download this free texture supplied by NASA or use something similar. Place it on your canvas and size it to fit.
I’ll be using the landscape scene we created earlier for our background to create a surreal effect that’s perfect for a CD cover or poster.


Step 2
Use the Elliptical Marquee Tool to create a circular selection inside the texture.

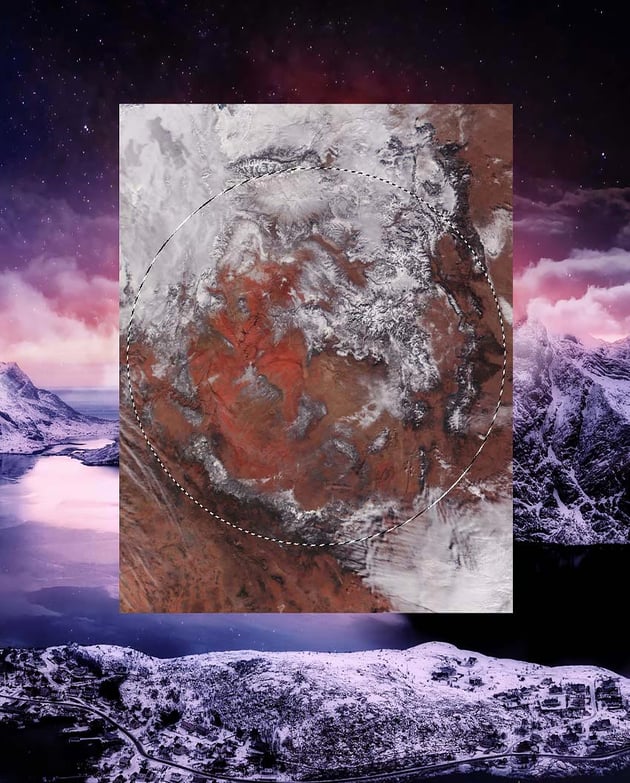

Step 3
Go to Filter > Distort > Spherize and set the Amount to 100%.
You can repeat this step multiple times if your planet does not look round enough.


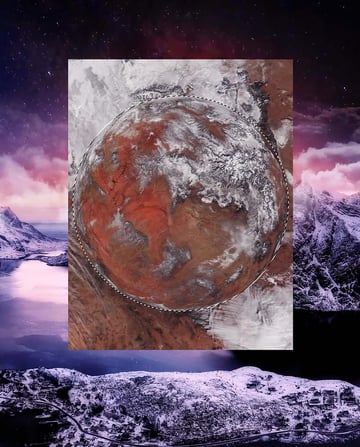
Step 4
Add a Layer Mask to mask the sphere. This is the base of our planet.


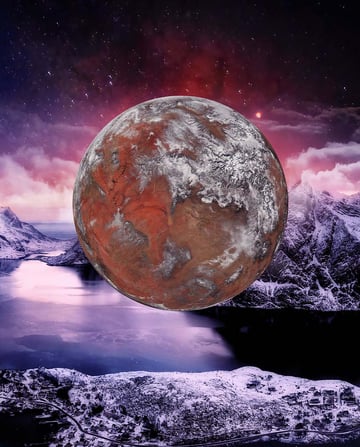
Step 5
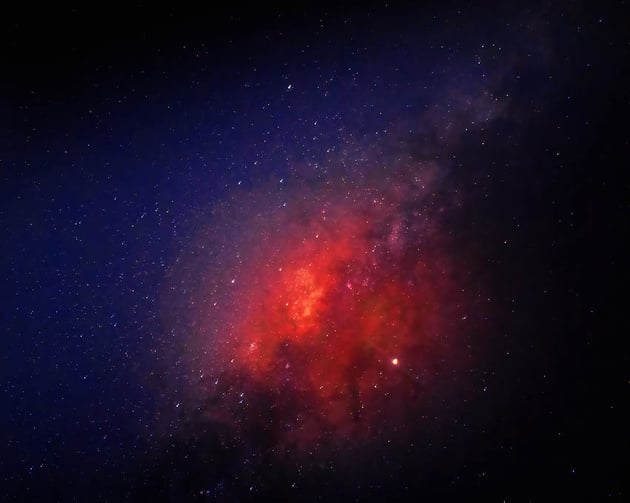
What you do next is up to you and how you want your planet or moon to look. I used a combination of Hue/Saturation and Color Balance to add a pink hue to my planet so that it matches its surroundings.
I also used a clipped Curves adjustment layer to darken the middle of the planet, masking the edges to create a ring light.

Step 6
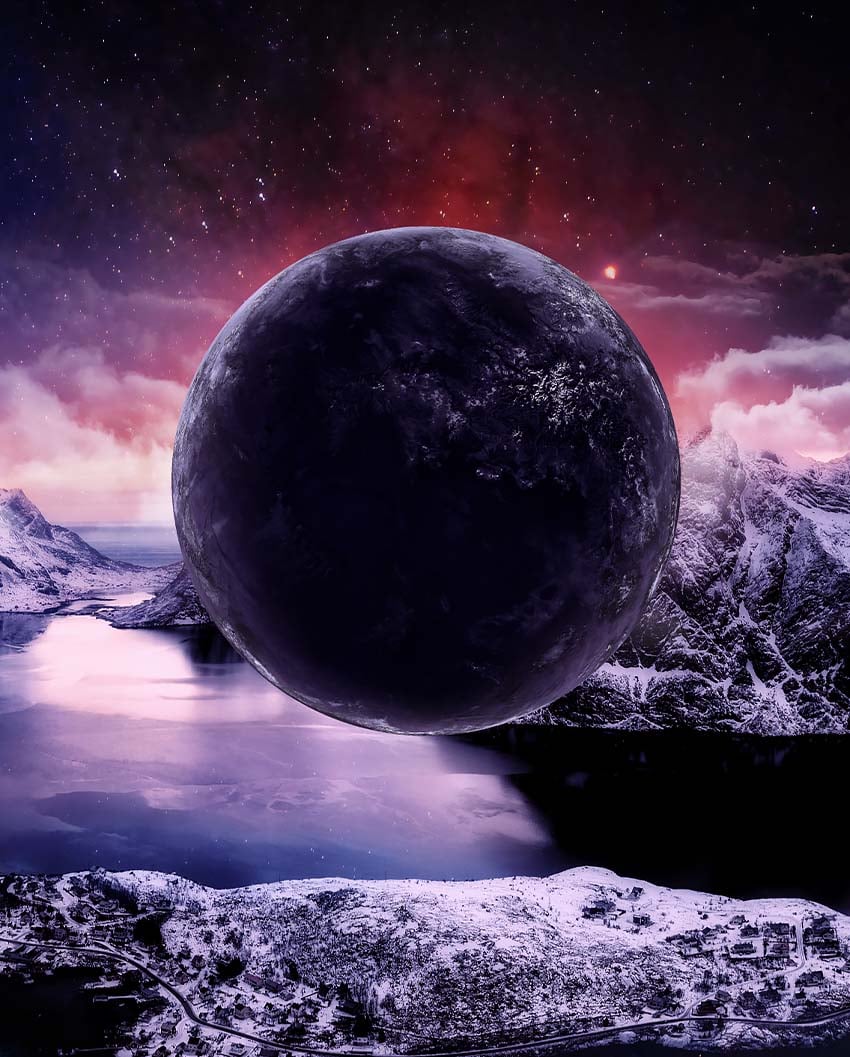
Finally, I added some more rim and bounce light using a clipped layer set to Screen. I used a soft round Brush to lightly paint some of the environment’s colors onto the planet.


Create More Photo Manipulation Space Effects
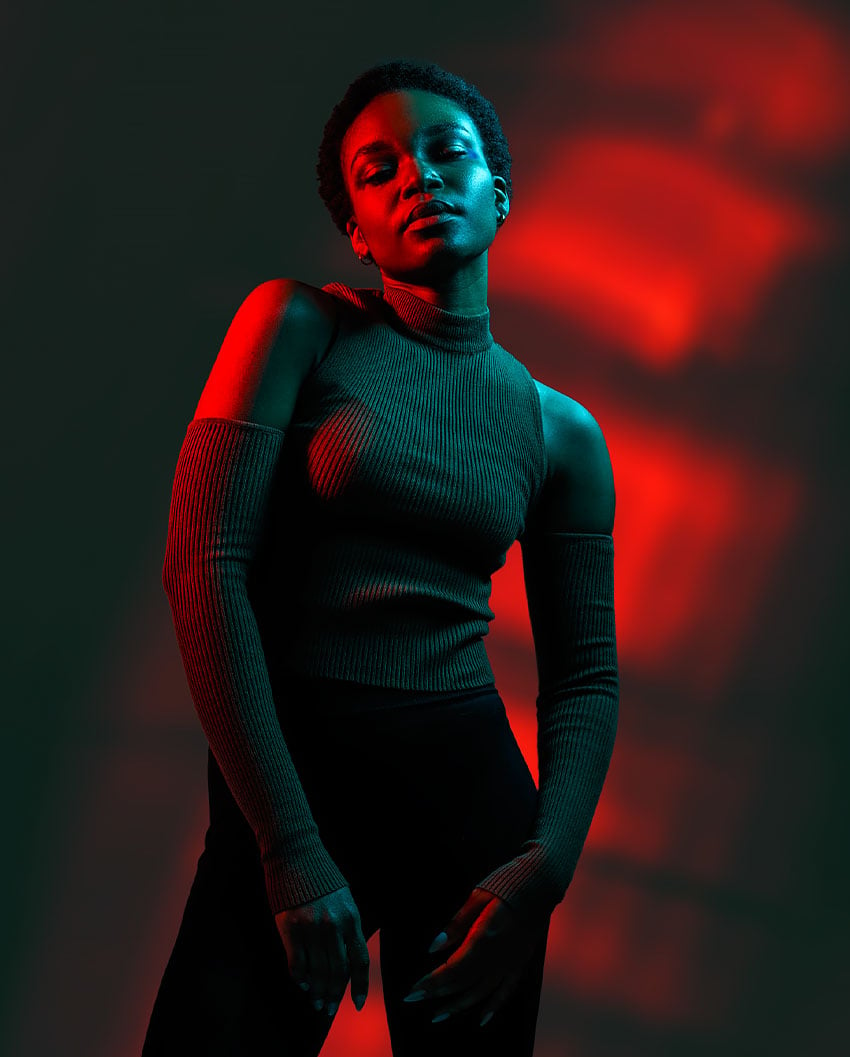
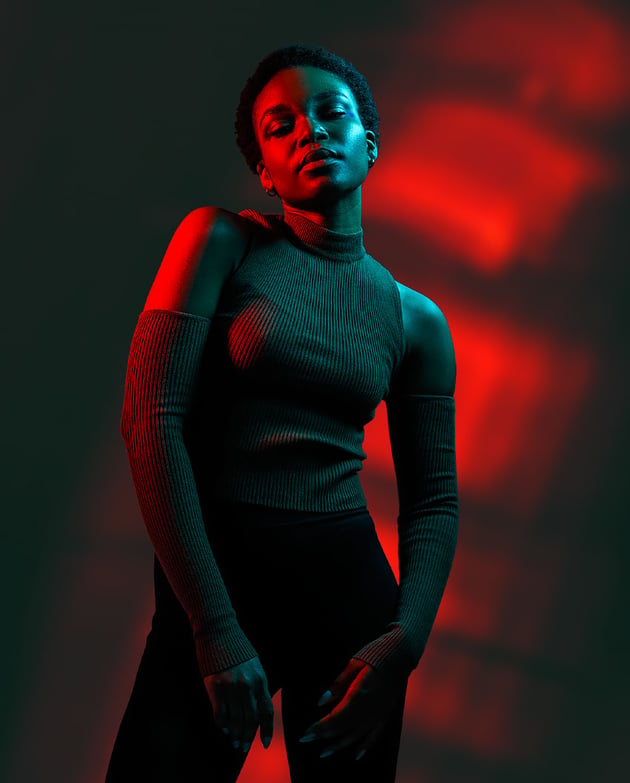
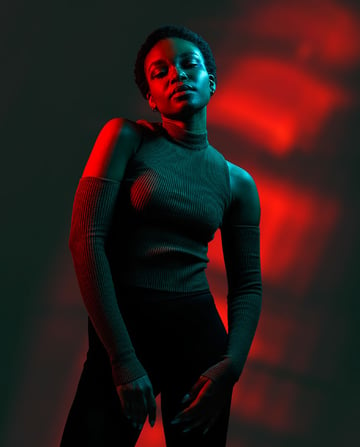
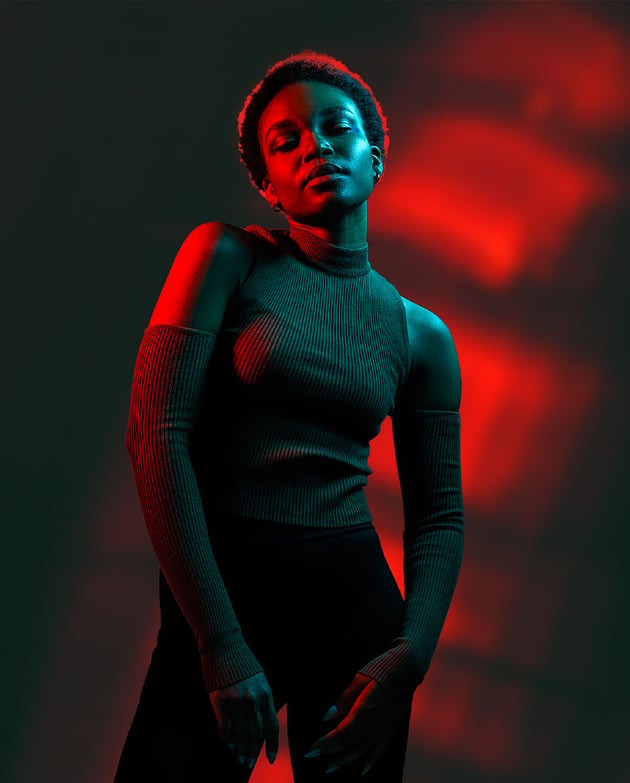
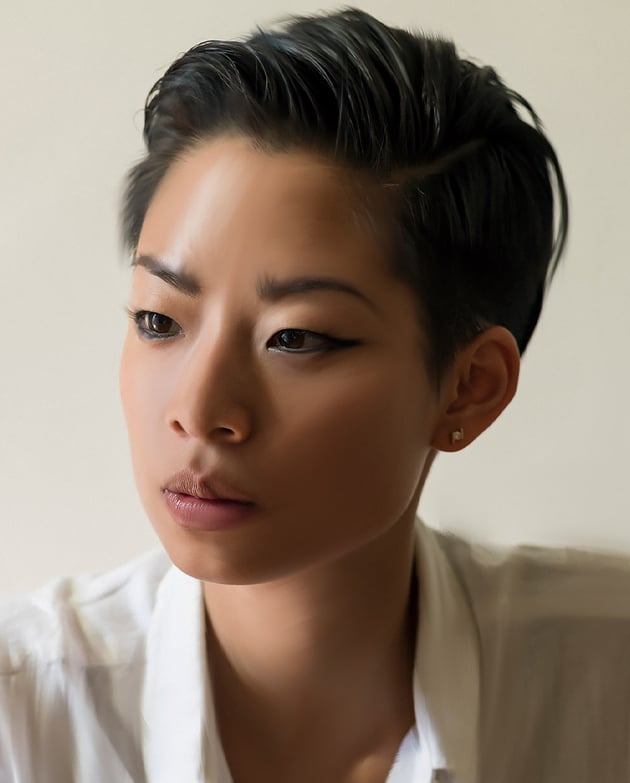
6. How to Create Instant Backlit Hair
Step 1
This is an easy technique to use anytime you want a stylish backlit hair effect. It’s great for portraits and character designs.
First, we want to extract our subject. I used the same technique we covered in the “How to Extract Hair” section earlier. I’ve also placed my subject on a light leak background that matches her current red lighting. However, we need to add some red rim light to her hair.
Step 2
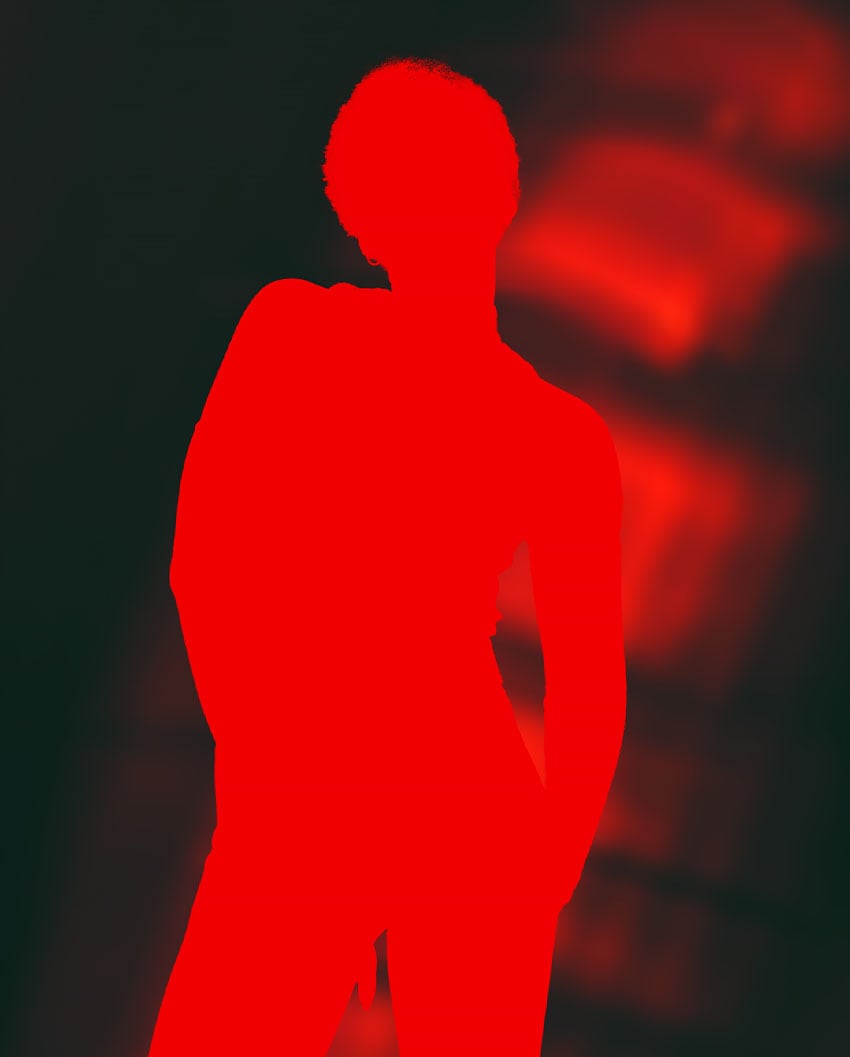
Duplicate the extracted subject, bringing it below the original, and apply its layer mask if there is one. Name this layer “Fill.”
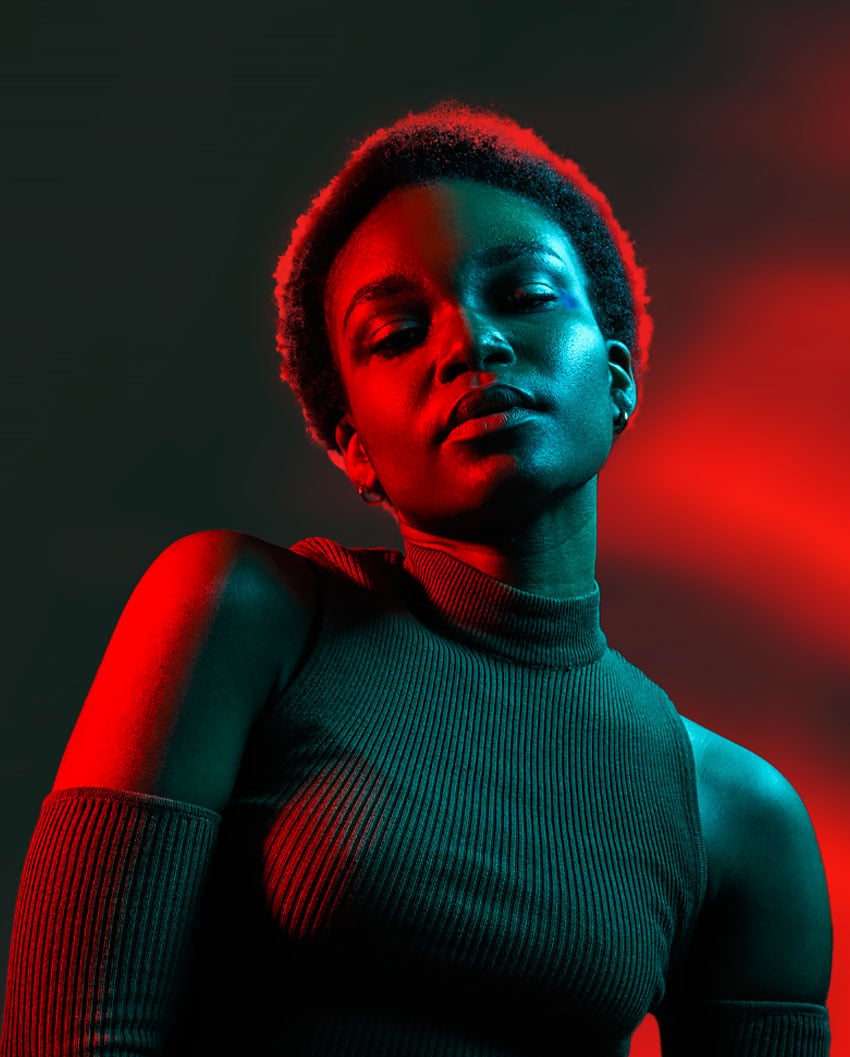
Step 3
Next, we want to fill the “Fill” layer with whatever color we want our backlit hair to be. In this case, I’ll be using a vibrant red #f10002.
I’ve temporarily hidden the original subject layer below so that you can see the “Fill” layer more clearly.


Step 4
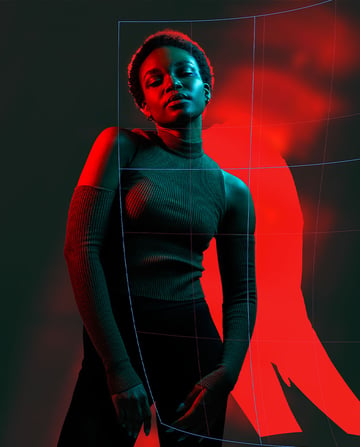
Select the Move tool, click on one of the anchors to enter Free Transform, and then enter Warp Transform mode using the upper options bar.
Warp the fill layer so that the “Fill” layer’s hair is peeking from behind the subject’s hair. Only focus on the hair.
You can also use this technique to create a fast rim light around a subject’s body. However, it can often be easier to do the hair and body separately, using two dedicated “Fill” layers.


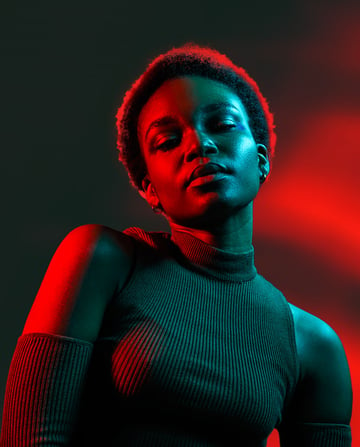
Step 5
Add a Layer Mask to the “Fill” layer and mask away any excess color.
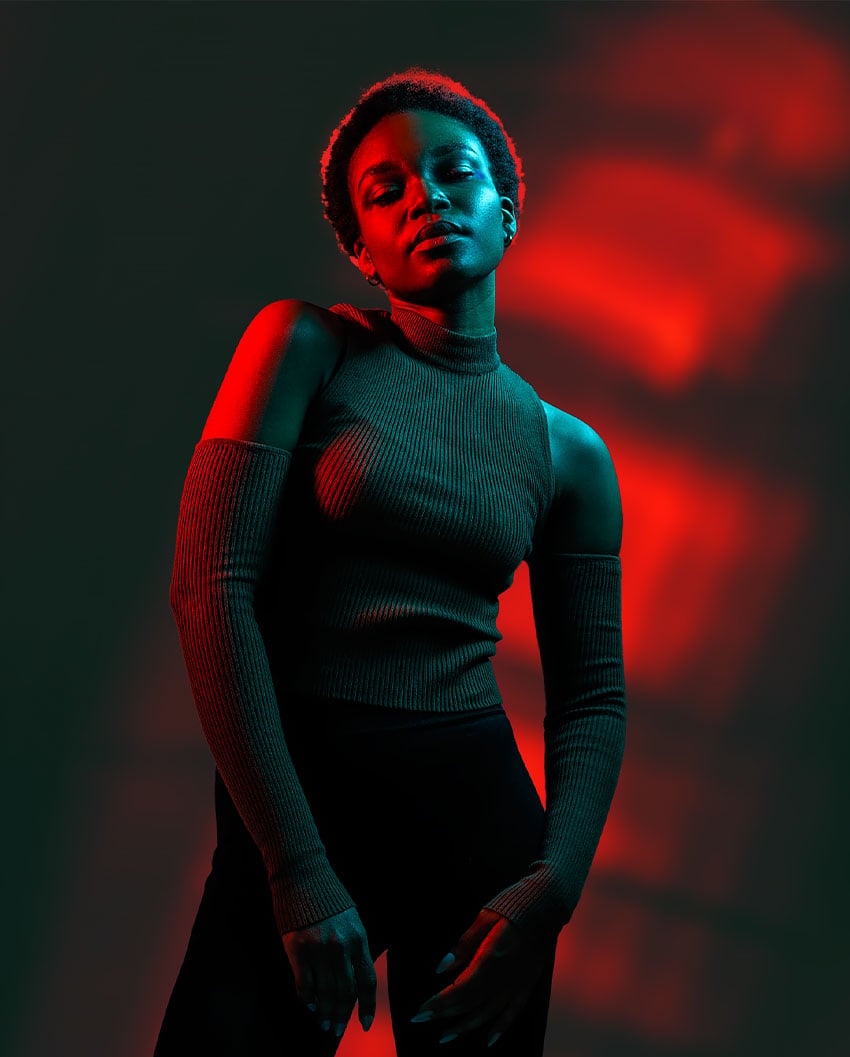

Step 6
If the edges around the hair and the “Fill” layer look too harsh, you can create a transitional layer to blend the two together.
Clip a New Layer into the subject layer. Paint loose flyaway hair strands and soft colored light onto the subject’s hair.

More Tutorials With a Backlit Hair Effect
7. How to Create Rain in Photoshop
Step 1
This rain technique is quick, simple, and most importantly, incredibly versatile. It can create any kind of rain effect, from a drizzle to a downpour.
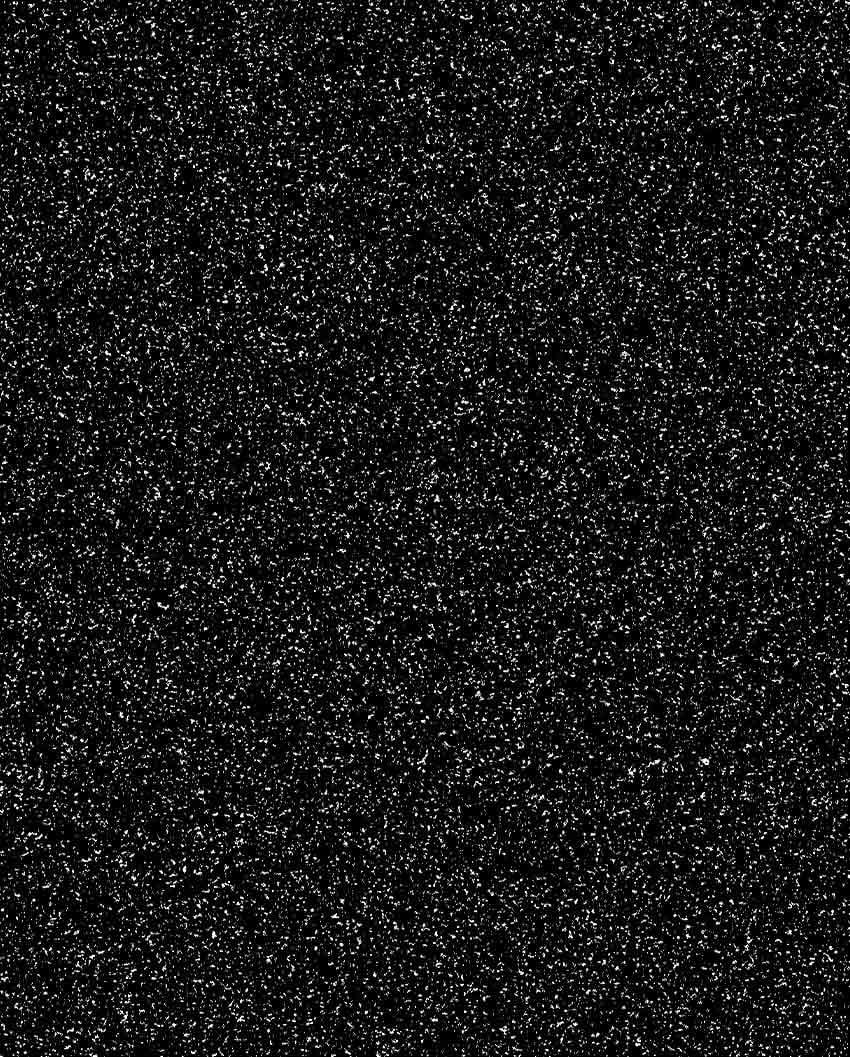
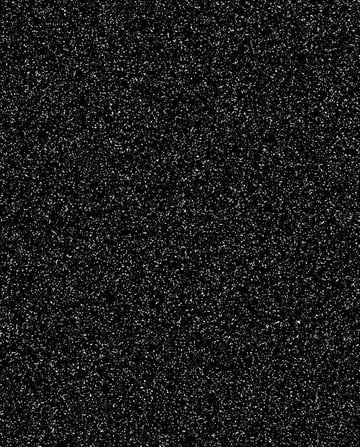
First, create a New Layer, and fill it with black using the Paint Bucket tool. Go to Filter > Pixelate > Mezzotint, setting the Type to Coarse Dots. Name this layer “Dots.”

Step 2
Zoom in close to the white dots, and go to Select > Color Range. Click on a dot and adjust the Fuzziness to 200. Press OK. This will select all of the white dots.
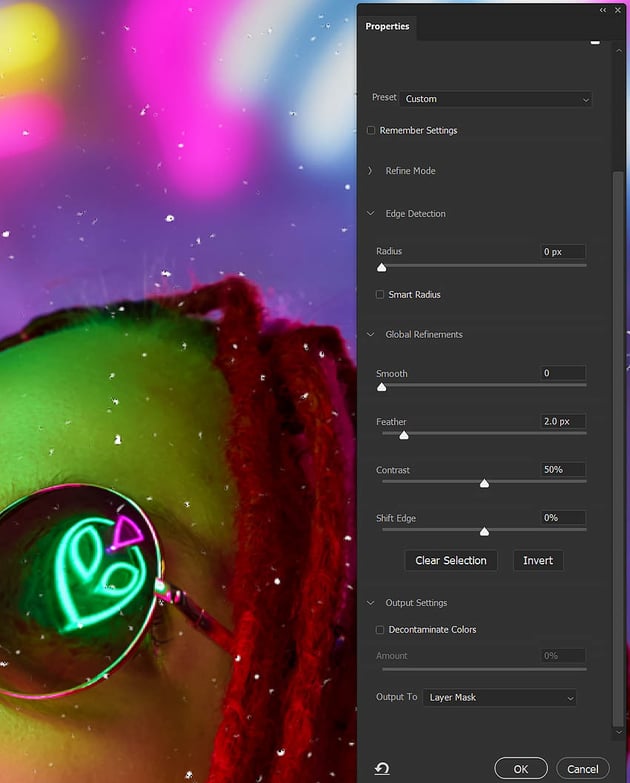
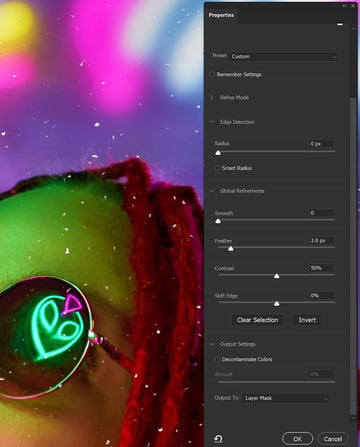
Add a Layer Mask to the “Dots” layer, and enter Select and Mask found in the Properties panel when a layer mask is active.
In Global Refinements, set the Feather to 2 px and Contrast to 50%. This will thin out the dots. Press OK once you’re happy with the dots.
The more dots, the heavier the rain will appear, so feel free to play with these settings.

Step 3
Now, we’re going to Duplicate the “Dots” layer twice using Control/Command-J, for a total of three dot layers.
Select all of these dot layers and Right-click > Merge Layers. This will make the dots appear brighter and stronger. Rename this merged layer “Rain.”
We’re going to Duplicate the new “Rain” layer twice, leaving us with three layers in total. Hide two of these layers as we’ll be editing each layer separately.
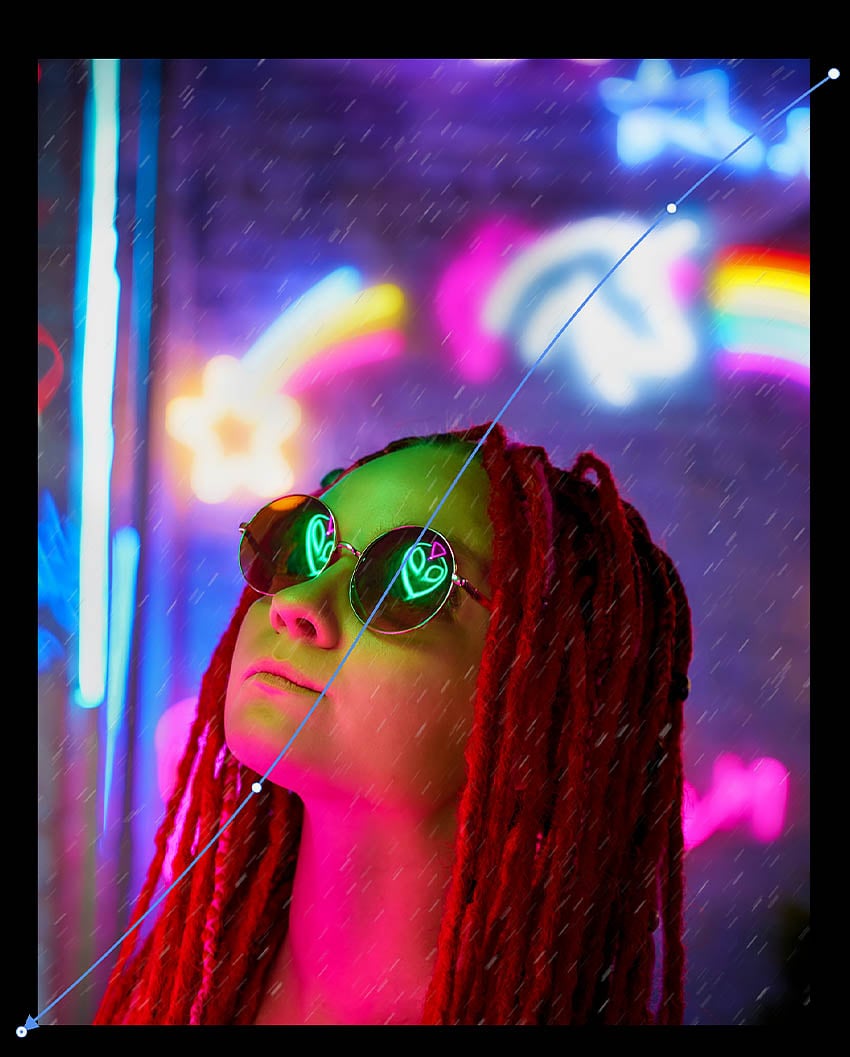
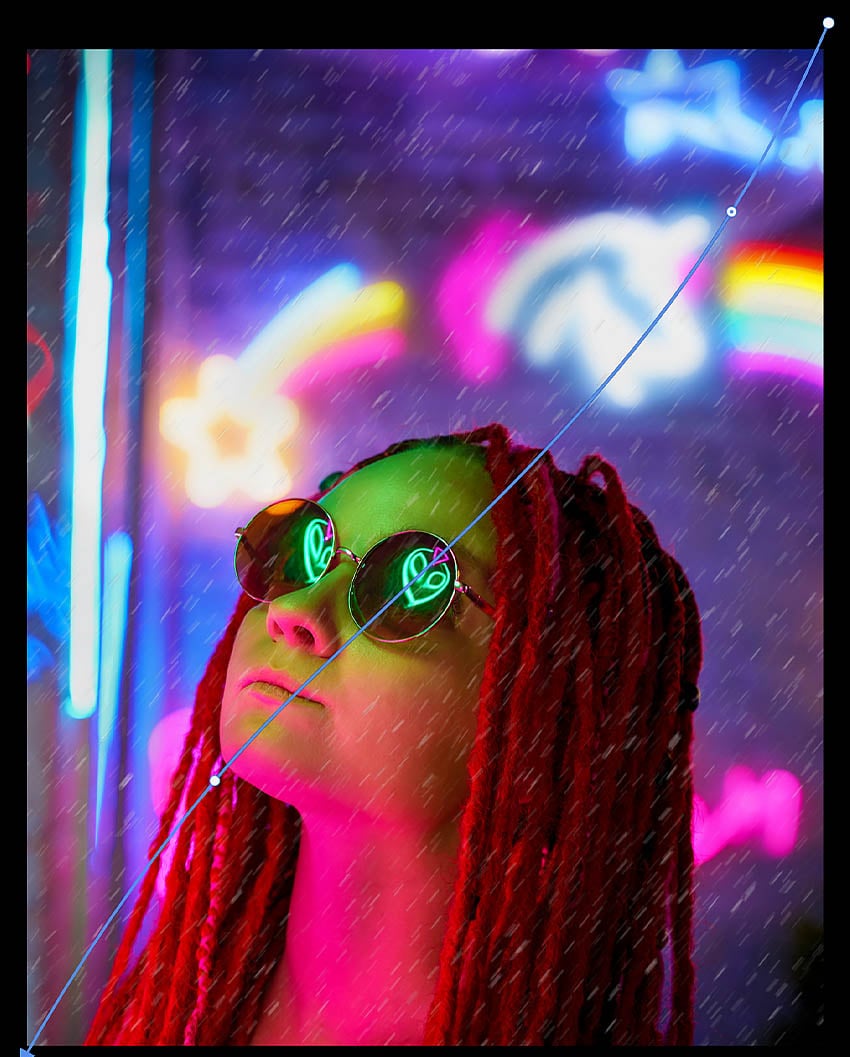
Select the first “Rain” layer, go to Filter > Blur Gallery > Path Blur, and stretch the rain using the blue path, replicating something like what you see below. This will create the initial motion blur effect.


Step 4
Now, Unhide the second “Rain” layer, select the Move tool, and Right-click > Flip Horizontally.
Use Free Transform to make this rain layer around 30% larger. You can adjust an image’s size in percentages by using the Free Transform tool in the upper Options bar.


Step 5
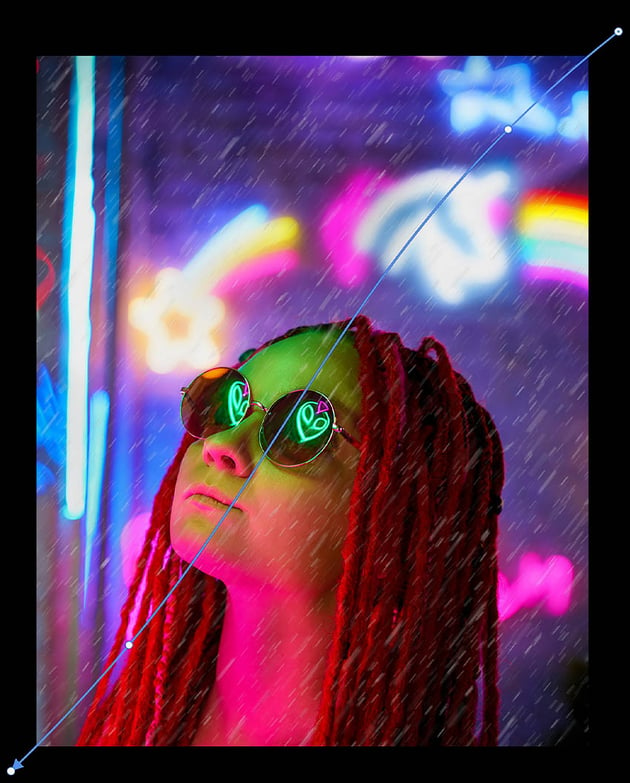
Again, we want to repeat the Filter > Blur Gallery > Path Blur effect.
I recommend making the path curve in the opposite direction from the first “Rain” layer to add some slight variation in the movement.


Step 6
For our last “Rain” layer, we want to increase the layer’s Size by 300% using the Free Transform Tool in the upper Options bar.
The size of the rain will depend on how close the subject is to the camera. For landscapes, you might want the rain to appear smaller, while for portraits the rain will appear larger.
Do one more round of Filter > Blur Gallery > Path Blur. Create a similar curve in the path and increase the Movement Speed to 125.


Step 7
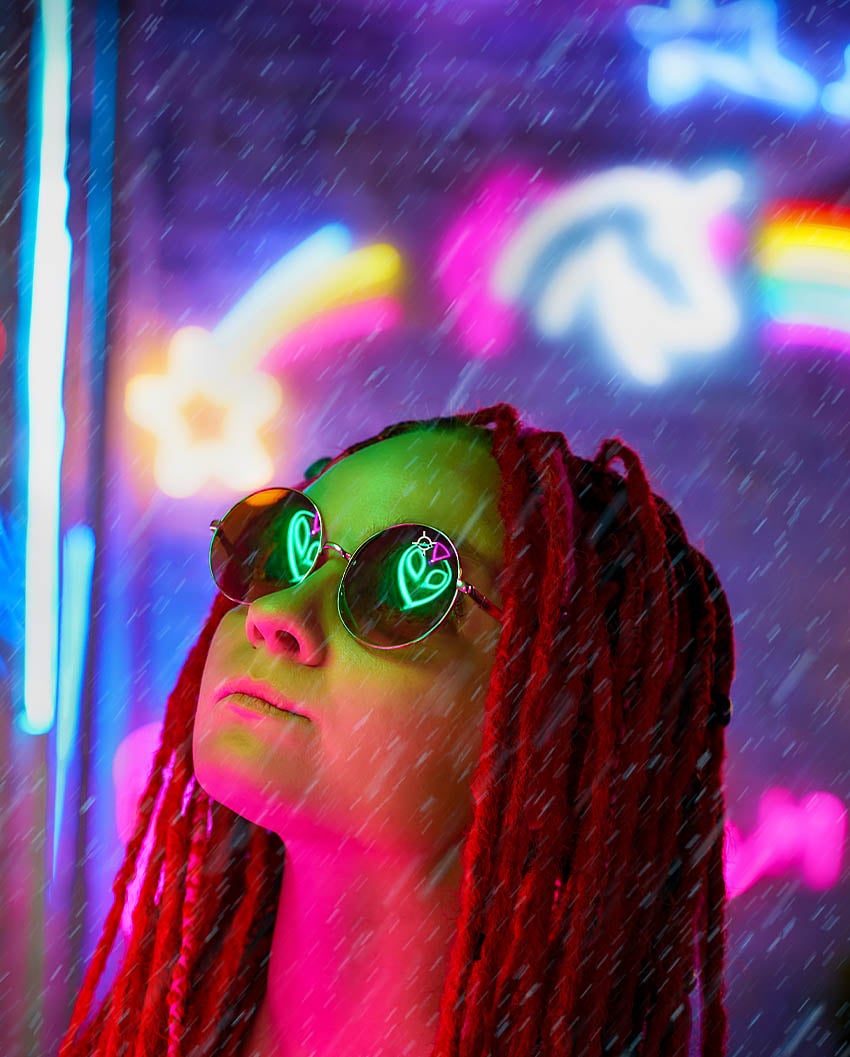
Finally, select all of the rain layers and Right-click > Merge Layers.
Go to Image > Adjustments> Hue/Saturation. Check Colorize and add a tint of color to the rain. Rain is clear and will reflect the light in its environment—in this case, a vivid blue.
You can add multiple different colors to the rain, bringing in different colors from the environment for an even more dynamic rain effect.


Step 8
Layer, mask, and resize multiple rain layers until you have the desired effect. There are multiple ways you can adjust and customize your rain effect.
- You can Duplicate the rain layer to make it appear stronger.
- You can add a Layer Mask and mask out areas where you want less rain, like the face of a subject.
- You can also play with layer modes like Screen or Lighten.


Learn More Quick Photo Effects
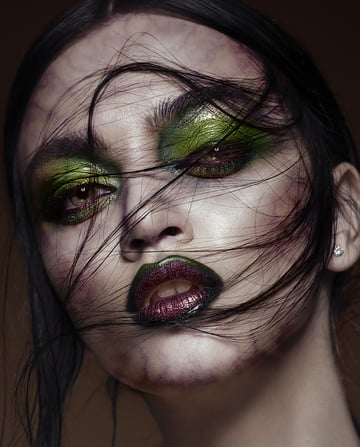
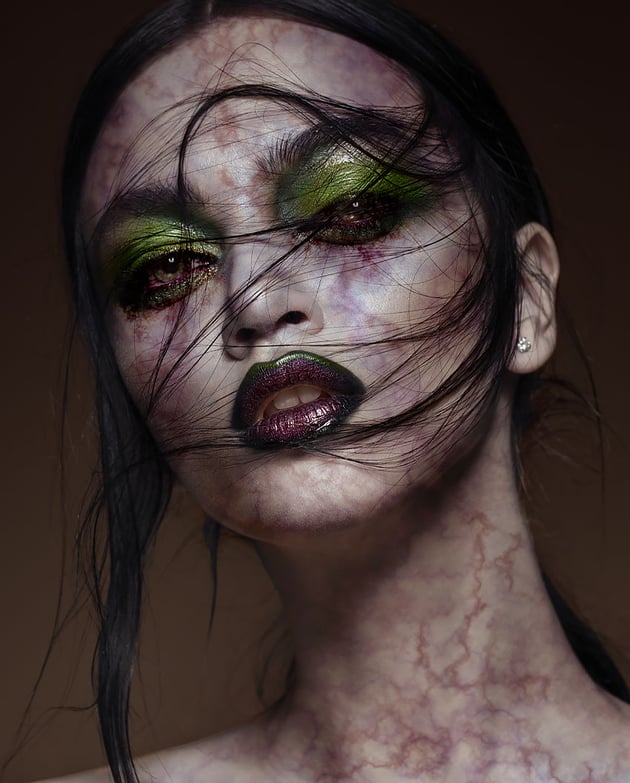
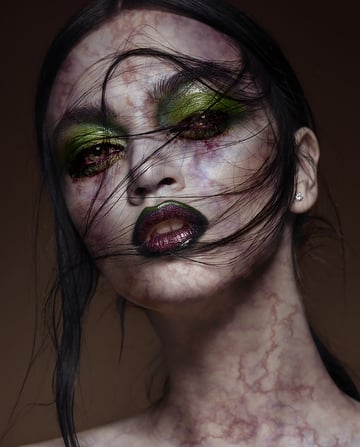
8. How to Create Veins in Photoshop
Step 1
Create your very own custom vein textures in just a couple of minutes using my go-to technique that’s the perfect Halloween photo manipulation effect. Let’s start by creating our vein texture. Create a new canvas that is 3000 x 3000 px in Size.
Go to Filter > Render > Clouds, and then Filter > Render > Difference Clouds.
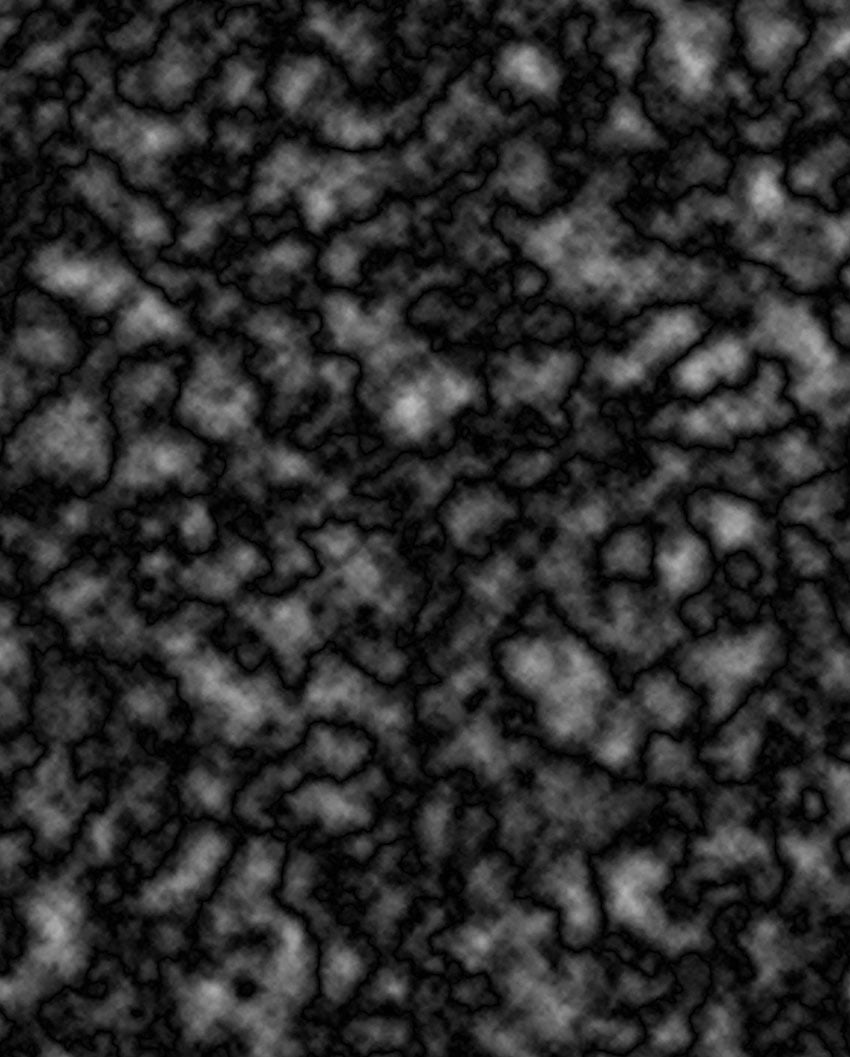


Step 2
Next, create a New Layer filled with solid white below the clouds. Bring the clouds layer down to 50% Opacity.
Merge the two layers together. Name this new merged layer “Veins.”
Go to Image > Adjustments > Brightness/Contrast. Bring the Brightness to 50 and Contrast to 100.
Go to Image > Adjustments > Hue/Saturation, and check Colorize. This will change the veins to red, finishing our vein texture.
You can also make versions of this vein texture in different colors, such as blue or purple.

Step 3
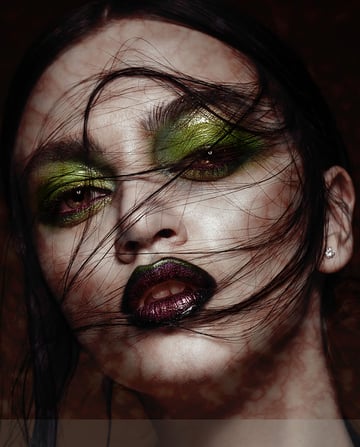
With the vein texture created, we can Copy and Paste it onto our subject. Set the layer mode to Color Burn, with an Opacity of 60%. Place and resize the texture so it’s on the subject’s face.
The layer settings used to blend this texture will vary not only from subject to subject, but also from one body part to another. However, the Color Burn layer mode is a good starting point.


Step 4
Now, add a Layer Mask to the texture, Invert the mask using Control-I, and then mask in your veins with a soft round Brush.
Once you have some of your veins masked in, you can then use Image > Adjustment > Hue/Saturation to adjust the veins’ colors. I made the examples more blue.
You can also add a very small amount of Blur > Gaussian Blur or adjust the texture’s Opacity if you find your veins are too sharp or harsh.

Step 5
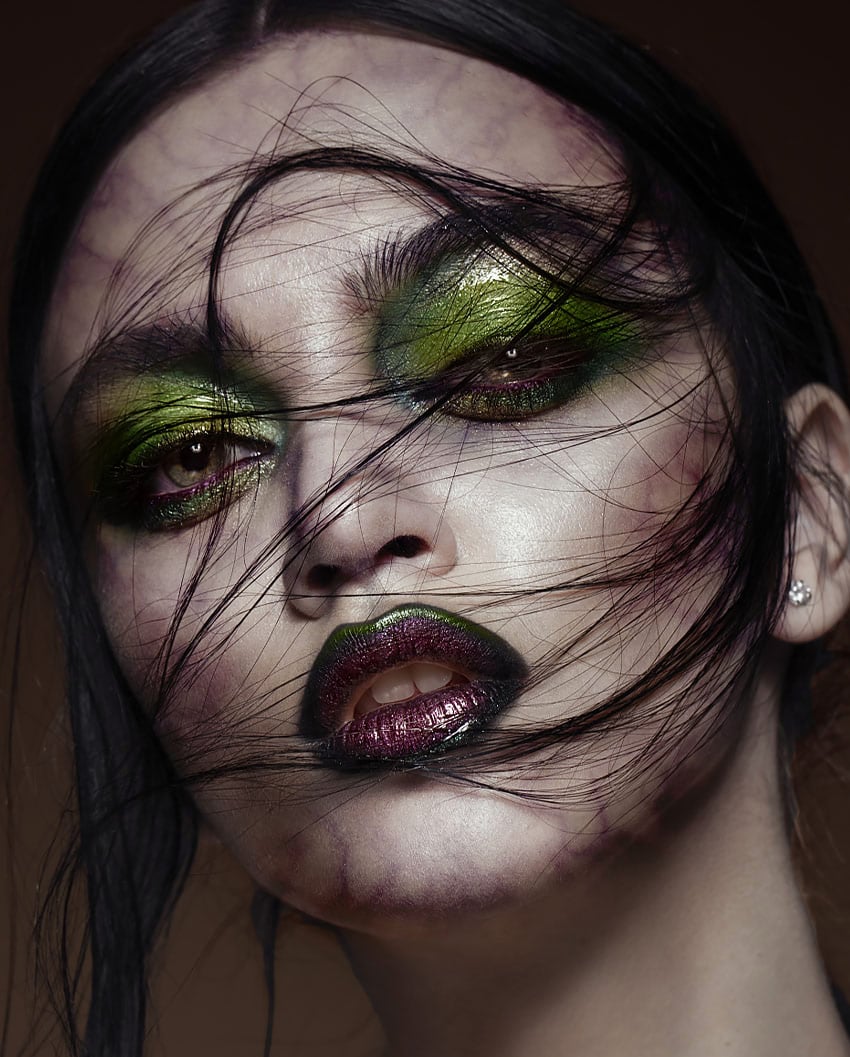
Similar to the above rain effect, the crucial aspect of this technique lies in overlapping veins of different sizes and colors. If you want a specific area of veins to appear more prominent, you can Duplicate the vein texture.
You can also shrink the veins to place them in smaller areas like the whites of eyes, fingernails, or lips.
Below is a list of settings that you can adjust and experiment with to achieve different types of veins:
- Layer Mode: Multiply, Overlay, and Color Burn work best
- Opacity
- Hue/Saturation
- Size

9. How to Create an Oil Paint Effect in Photoshop
Step 1
There are a bunch of techniques you can use to create an oil paint effect in Photoshop. But this method gives you the most control, so you can achieve all sorts of subtle or dramatic effects.
First, select the Mixer brush tool found bundled with the Brush tool.
Next, we want to adjust the settings in the upper Options bar. The settings should be as follows:
- Load Brush: Not Active
- Clean Brush: Active
- Wet: 100%
- Load: 15%
- Mix: 15%
- Flow: 50-100%
You’ll adjust the Flow setting as you paint.


Step 2
Next, download an artistic paint brush pack and install the brushes. You want a stroke brush, not a stamp brush.
Step 3
Now, all we have to do is use a paint textured brush on the subject. Brush anywhere you want to apply an oil or digital paint effect. The brush will drag the colors and smooth out texture, leaving behind the texture of the brush.
If you want the oil effect to appear heavy, increase the Flow setting. If the effect is too strong or the colors are mixing and looking too muddy, then decrease the Flow setting.
This effect works with both a mouse and a pen tablet, but a tablet will help create a more natural-looking stroke.
In the below photo manipulation example, I created a subtle effect, focusing on smoothing the skin and adding a subtle amount of texture.
You want to try to paint in one consistent direction, not back and forth. Also, try to follow the natural shapes, shading, and lighting of the image, or else the image might begin to appear muddy and blurry.


Step 4
Below, I used the Mixer Brush and an acrylic textured brush to paint a more stylistic oil effect, clicking and dragging the color of the background onto the subject.


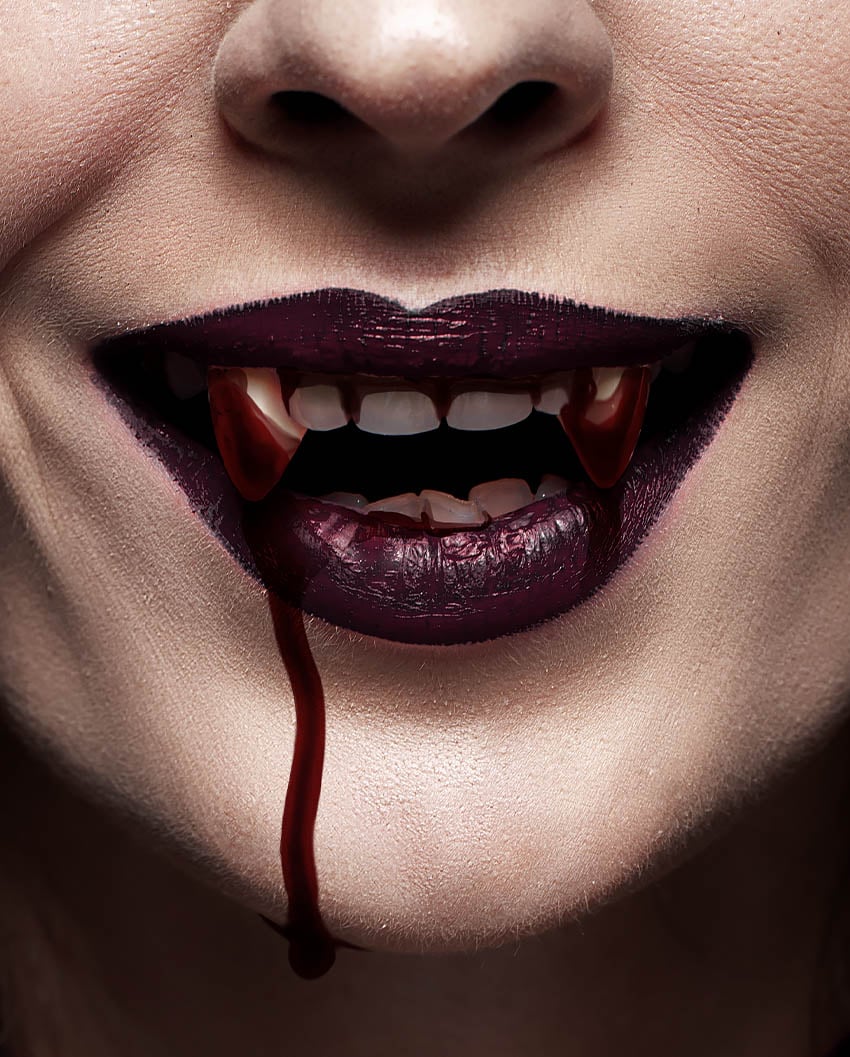
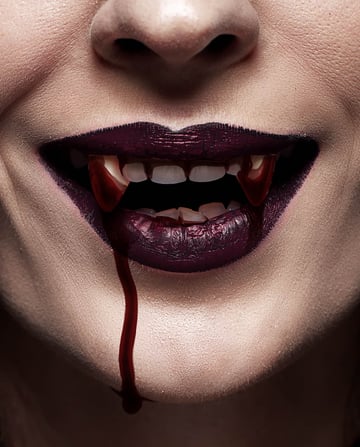
10. How to Create Blood in Photoshop
Step 1
Let’s finish up with my go-to technique for painting easy blood, another perfect Halloween photo manipulation effect. First, let’s create a New Layer and set it to Multiply.
With a dark red #22050a and medium red #5d0d0e, paint the base or shape of your blood. This will be the general shape you want your blood to be.
Use a semi-hard round Brush to paint your blood base. Don’t be afraid of simple shapes. Looking at references is also a great idea.
I like to adjust the Opacity and Flow settings as I paint so that the blood varies in transparency, especially on areas like the teeth. You can also paint a solid color if you want the blood to appear thicker.
The darker the blood, the thicker it will appear. I like to paint the innermost areas of blood dark, while using a lighter shade for outer areas. I use a pen tablet, although a mouse can work fine for this part.
You might need lighter or darker shades of red, depending on the lighting in the image to which you’re applying the effect.

Step 2
Create a New Layer below the blood base, and set it to Overlay.
Select a default hard round Brush, and open the Window > Brush Settings panel. Locate and check Wet Edges.
On this layer, with our wet Brush, we’re going to paint thinner or more transparent areas of blood. I like to paint pools of blood with a thicker, darker color around the edges, and thinner areas of color in the middle.
You can build up the blood using multiple layers set to Overlay and Multiply, making it appear darker and thicker.


Step 3
Create a New Layer below the previous layer, and set it to Multiply.
Paint with a medium red #5d0d0e under the existing blood to bring in more shadows and create dimension.


Step 4
Create a New Layer above all current layers.
Use a very light pale red #ffedec to paint small highlights on the blood.
Using the Brush from earlier set to Wet, paint your highlights. I like to set the brush Size to between 3 and 6 px, but this depends on the size of highlight you’re painting. Make some highlights bigger and others smaller, some long and some short.
You can also use a soft Eraser brush to taper highlights or fade them so they aren’t as strong. We don’t want them to appear too solid.

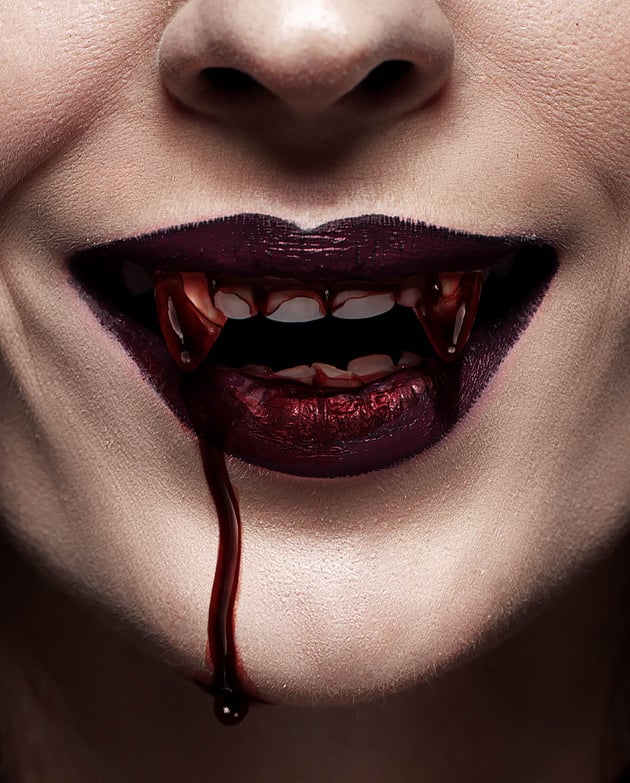

Step 5
Finally, create one more New Layer on top of all the current layers, and set it to Screen.
Use a bright red #a6180c color to lightly paint some shine onto any parts of the blood that appear too dark. Use a soft round Brush, and lower the Opacity of the layer if necessary.
This is optional, and only necessary if the blood appears too dark.


Learn More About Painting Blood in Photoshop
We’re Done!
Those were my ten creative photo manipulation tips and tricks for Photoshop! I hope you had as much fun exploring these as I did sharing them. Remember, it’s all about creativity and experimentation—there’s no limit to what you can create. So go ahead, get those creative juices flowing, and create some magic. Until next time, keep creating, keep exploring, and most importantly, keep having fun!
Looking to learn even more? Check out these photo manipulation tutorials: