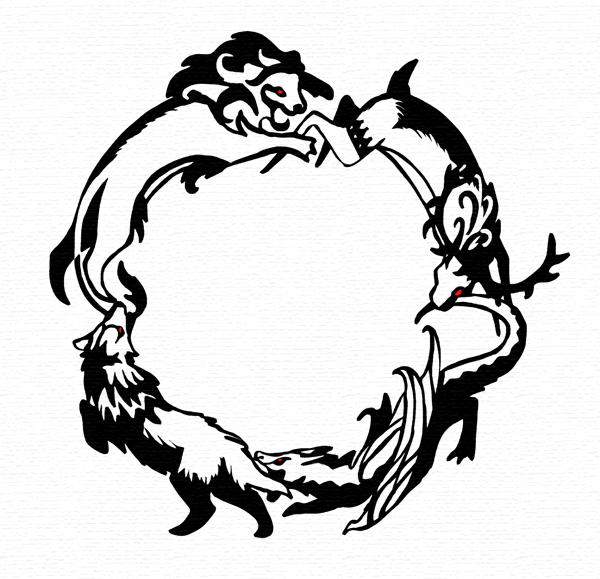
Game of Thrones season 6 is just around the corner! If you want to pass the time and learn something along the way, with this tutorial you’ll be able to create your own GoT tattoo design. I will show you how to plan the composition and how to paint it using black and white with an optional color accent. I will be working in Adobe Photoshop, but you can use any other software for it.
If you’d like to use my method to create a tattoo in some other style, you can find inspiration by checking the tattoo category on Envato Market. For example, you may like the design of this beautiful lion tattoo, or the colors of Heart Shaped Dream Catcher With Feathers.
1. Plan the Composition of the Tattoo
Step 1
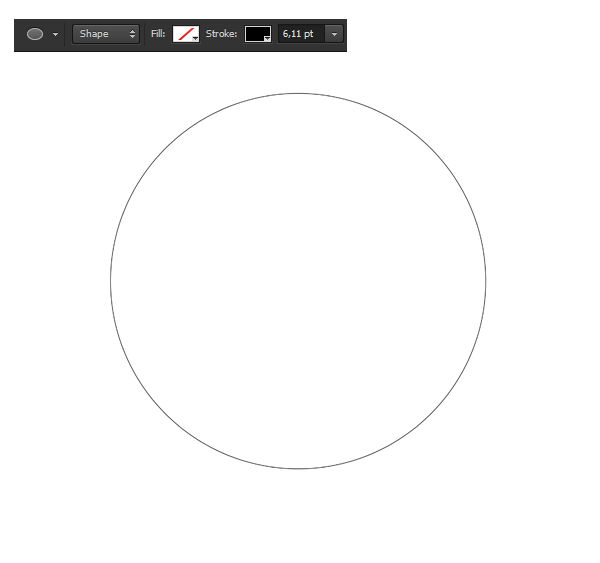
Create a New File with square dimensions. Use the Ellipse Tool (U) in Shape mode to draw an outline of a circle in the center of the canvas.
Step 2
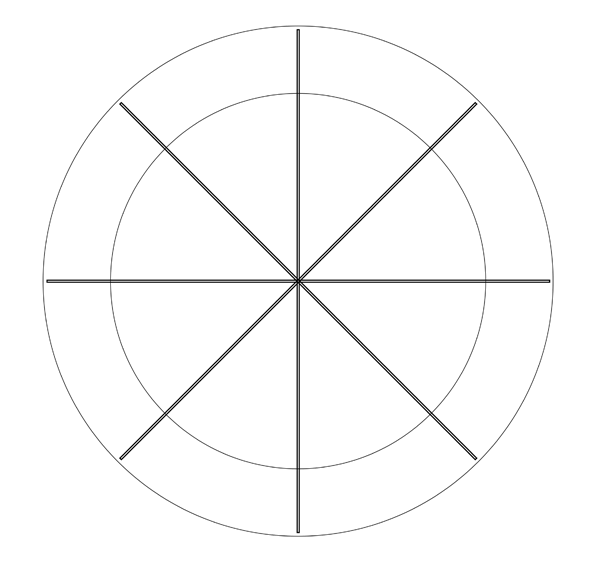
Duplicate (Control-J) the circle and use the Free Transform Tool (Control-T) to create a bigger circle. Hold Shift and Alt to keep the proportions.

Step 3
Use the Rectangle Tool or the Line Tool to draw a line crossing both circles. Duplicate it (Control-J) and use the Free Transform Tool (Control-T) while holding Shift to rotate it. Repeat as many times as necessary.
Step 4
Hold Shift and click the layers to select them. Group them (Control-G) and lower the Opacity of the group to make the guidelines almost invisible.

2. Plan the Position of the Elements
Step 1
Create a New Layer (Control-Alt-Shift-N) outside the group. Do this for every step, so that you can fix them later separately.
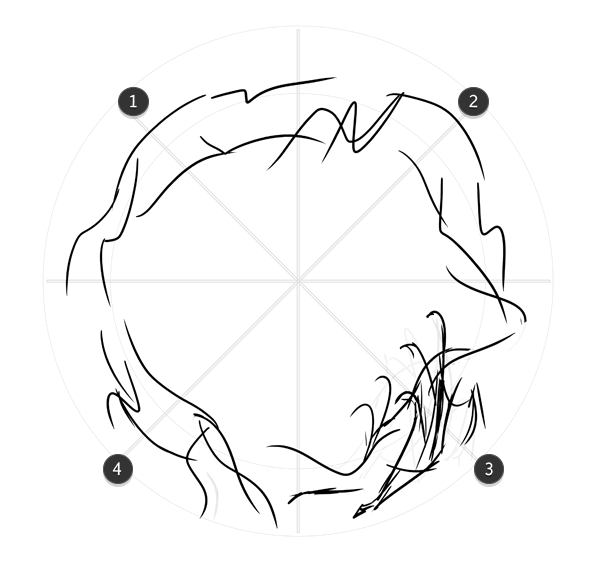
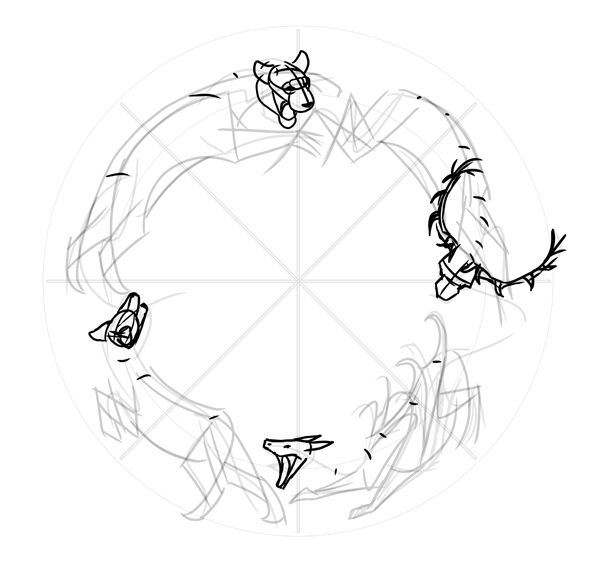
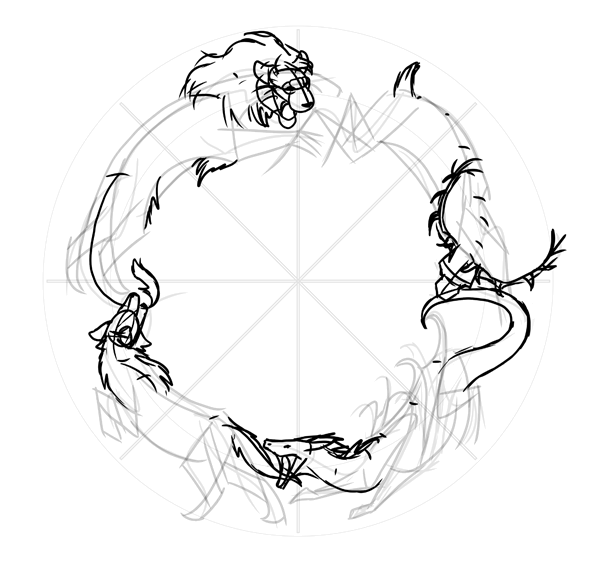
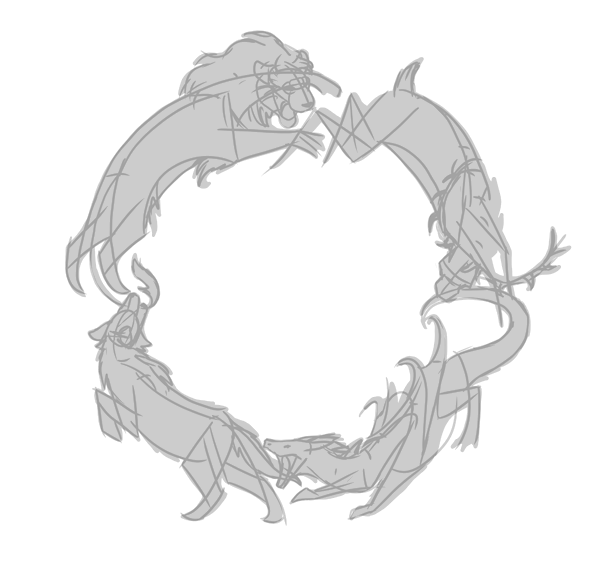
Use a sketching brush to sketch your idea loosely. My plan is to portray the sigil animals of the four houses chasing each other around the wheel: the Lannisters’ lion (1) chasing the Baratheons’ deer (2) chasing the Targaryens’ dragon (3) chasing the Starks’ direwolf (4). If you’re a fan of the series, you probably know why they’re placed like this!
Step 2
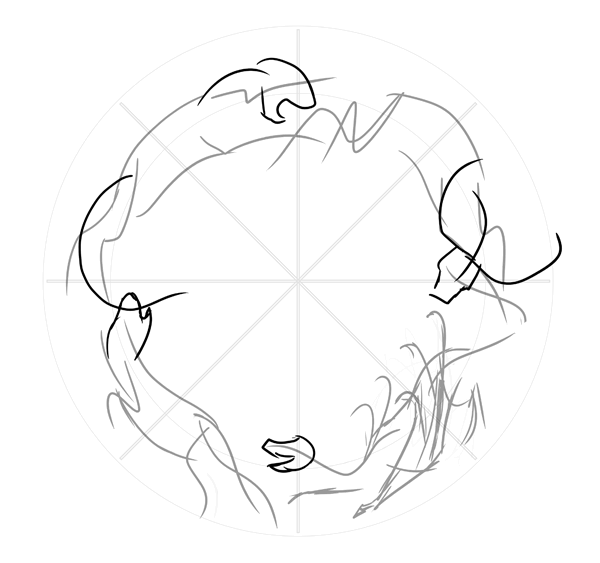
Adjust the shape of the bodies to the composition circle. The lion and wolf can be easily adjusted, but we need to put more effort into the bodies of the deer and dragon.
Step 3
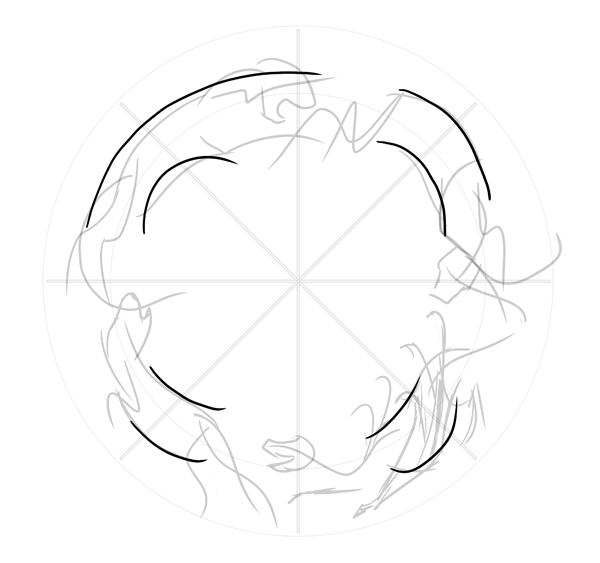
Draw the spine of every animal to establish perspective.
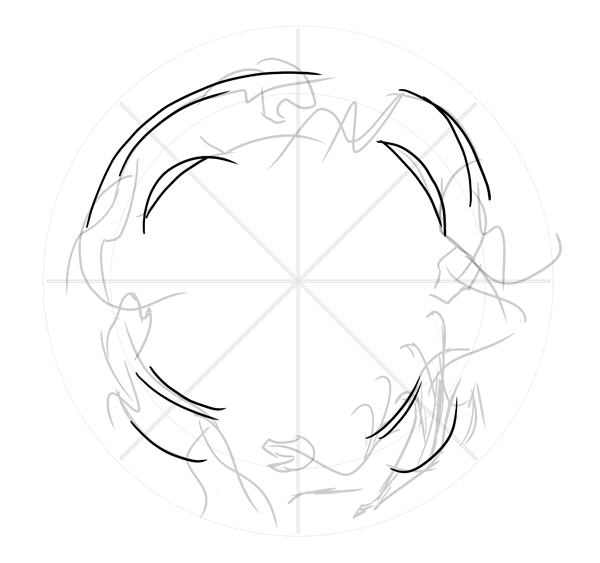
Step 4
Time to draw the limbs. They should be very simplified and clear. You can draw them all with one method:
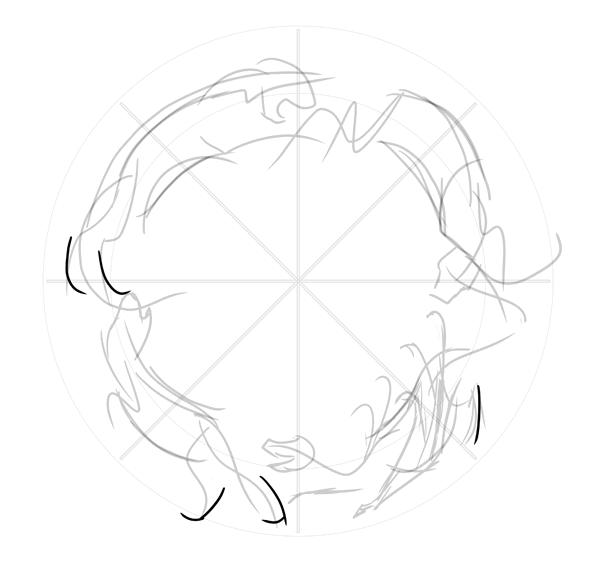
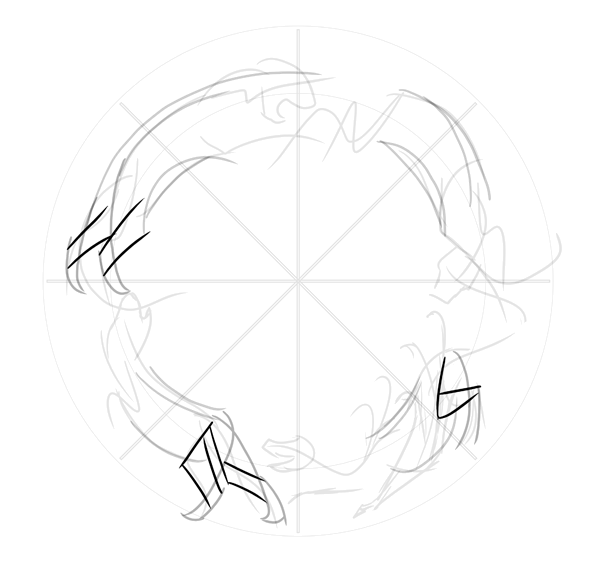
Step 5
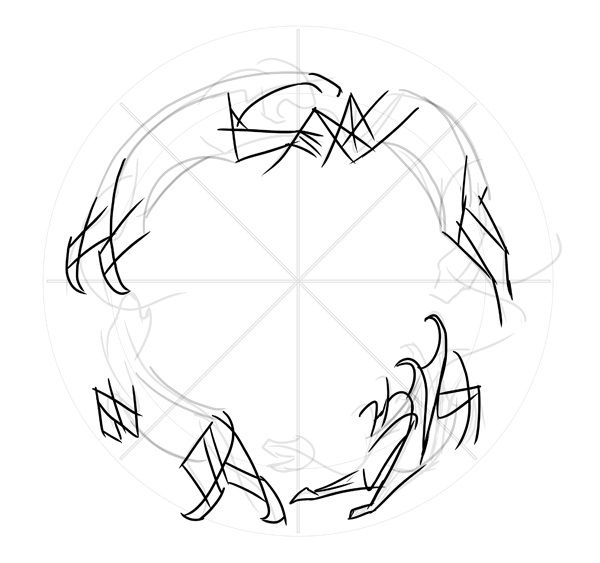
Before we start working on the heads, mark the perspective once again to decide what every animal is looking at.
Step 6
Draw the heads following the perspective.
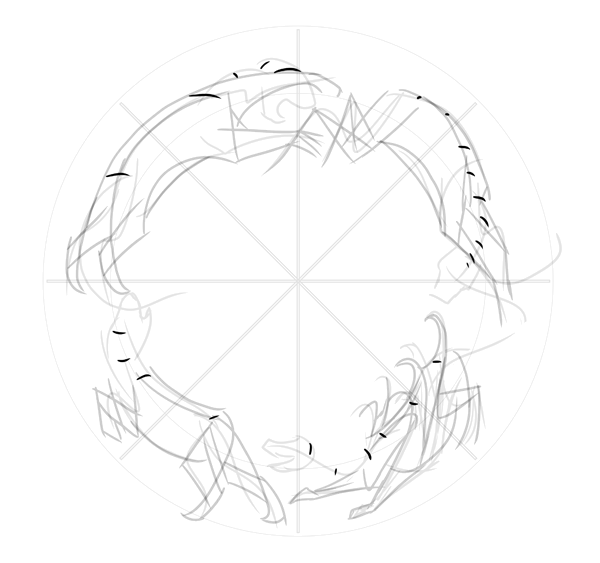
Step 7
Sketch the other elements, like tails and necks.
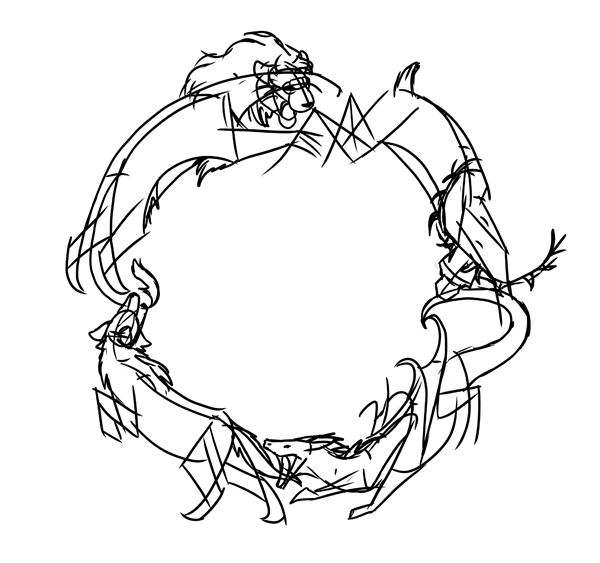
This is the sketch of the tattoo. If you don’t like something about it, now is the time to fix it.
3. Color the Tattoo in Black and White
Step 1
Group all the sketch layers and lower their Opacity.

Step 2
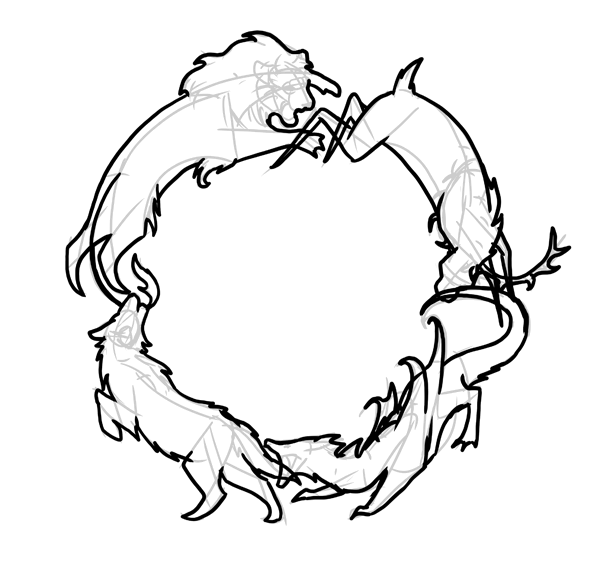
Create a New Layer outside the group. Use a hard brush to paint the outlines of every body. Make it as sketchy as possible, without redundant details.
Step 3
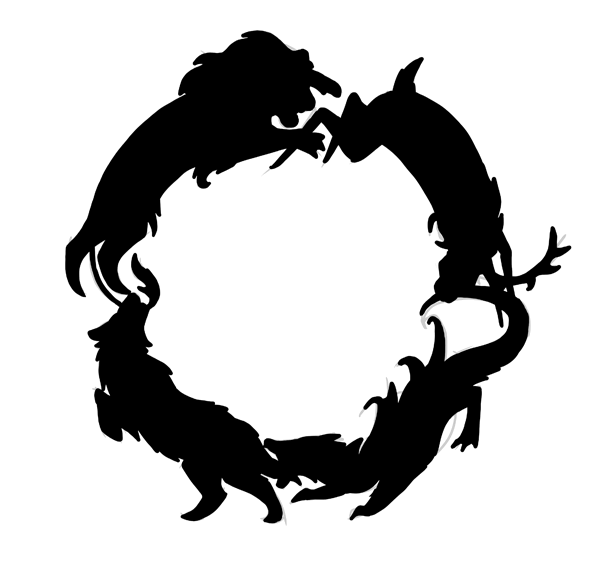
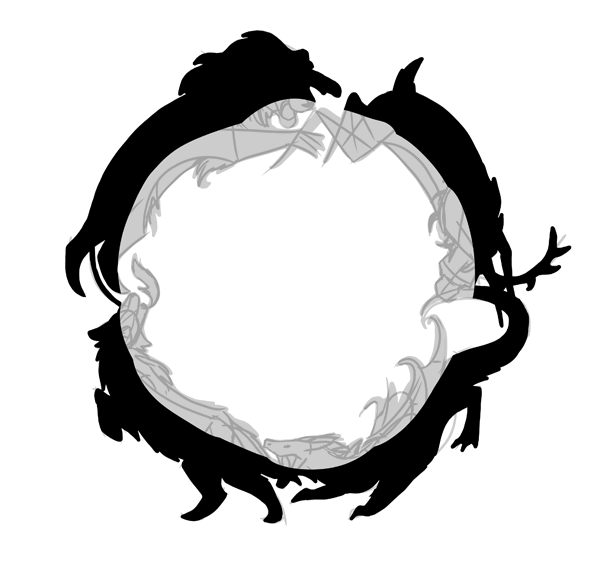
Use the Magic Wand Tool (W) to select the area outside the outlines. Invert the selection (Control-Shift-I), create a New Layer, and fill it with black using the Paint Bucket Tool (G).
Step 4
Create a New Layer. Right click it and select Create Clipping Mask. Fill this layer with white and lower the Opacity a little bit to make it stand out from the background.
Step 5
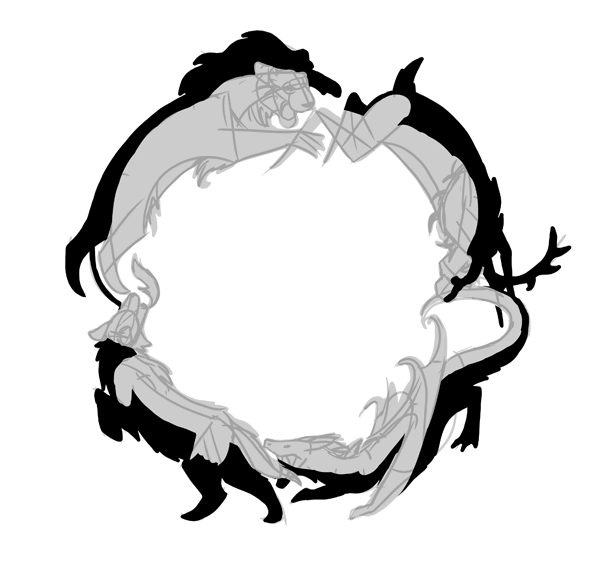
Add a Layer Mask to the layer (you can learn about it in Quick Tip: Layer Mask vs. the Eraser Tool in Adobe Photoshop) and fill it with black to make the layer content disappear. Now use a white brush to reveal some parts, as if there were a light source in the center of the circle.
Step 6
Use this “light” to reveal the basic form of every body.
Step 7
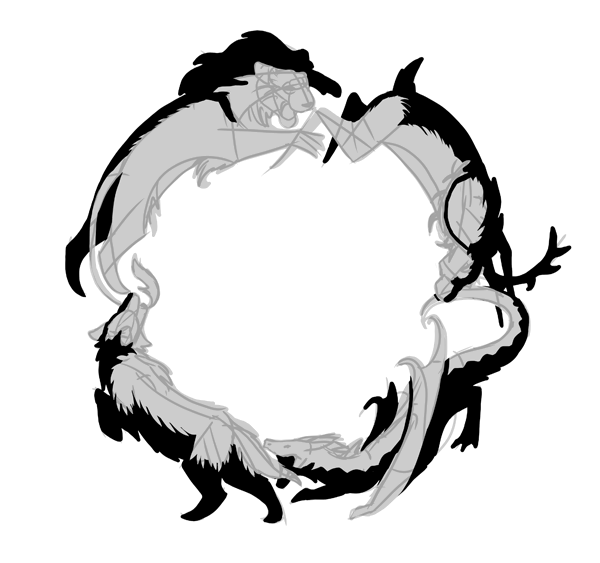
Add details to the shadow by switching between white (painting light/erasing shadow) and black (erasing light/painting shadow) in the Layer Mask.
Step 8
Set the Opacity back to 100%. Can you see how the white parts blend into the background? Let’s fix it.

Paint more details, still working in the Layer Mask.
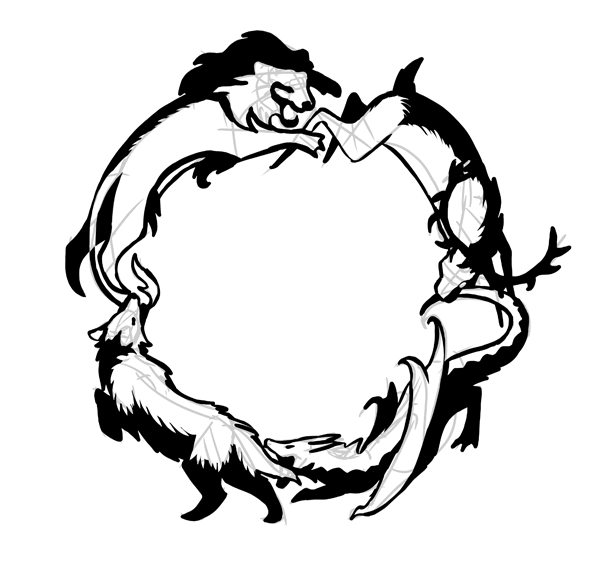
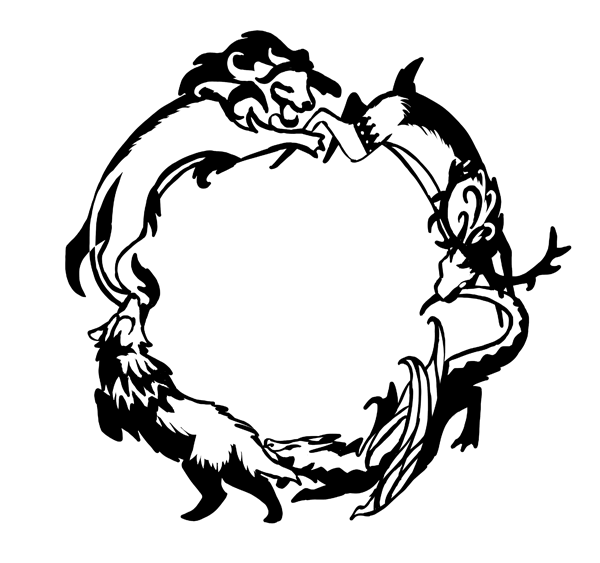
4. Finish the Details of the Design
Step 1
Hide the lines completely to see how it looks. For me, there’s too much white space in the bodies, so I’ve added a few details to make the animals more recognizable.
Step 2
If you want to add a color accent, create a New Layer and draw red eyes for every animal.
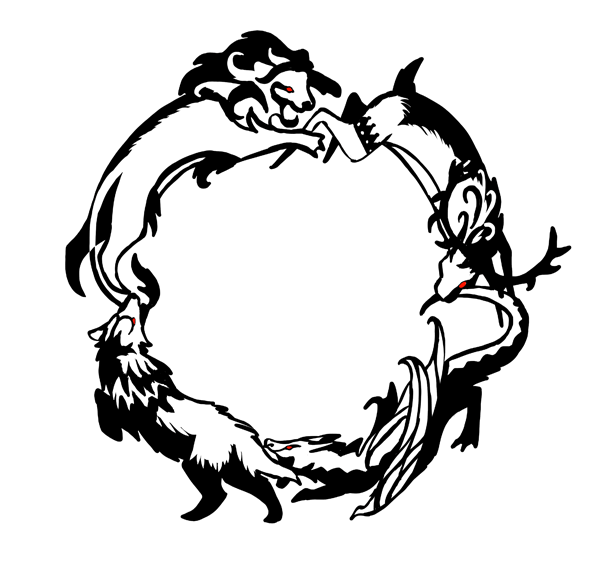
Step 3
To make the eyes stand out more, create a New Layer below the previous one and draw dark patches around them.
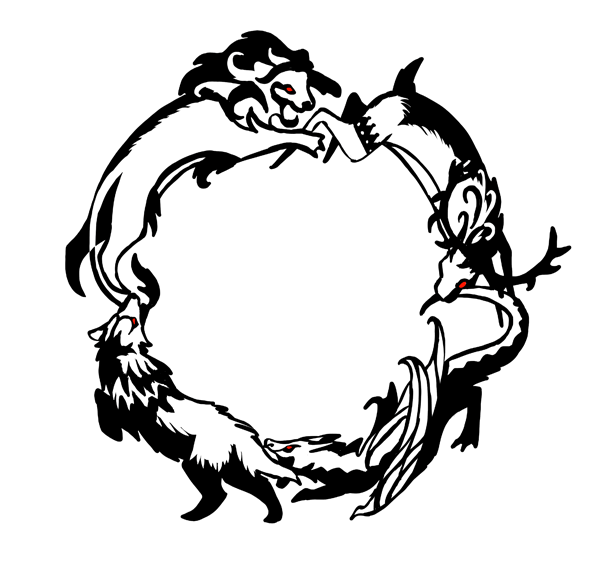
Step 4
If you feel the lines are not clean enough, you can use Filter > Filter Gallery > Artistic > Cutout to smooth them. Also, for presentation purposes, I have added the Filter > Filter Gallery > Texture > Texturizer filter. Both filters can only be used if the picture has been flattened.

Winter Is Coming!
Our tattoo design is done! I hope you enjoyed following this tutorial. If you want to share your end result, please use the comments section—I’d love to see your interpretation!