Today, you’ll learn how to create the basics of the vaporwave aesthetic in Photoshop, without having to use AI! The key to vaporwave is being able to combine deep blues, neon pinks, and bursts of color to create a dark but vivid nostalgic scene.
Let’s get started!
What you’ll learn in this vaporwave tutorial
- What is the vaporwave aesthetic?
- How to create stars in Photoshop
- How to create a vaporwave sun in Photoshop
- How to use the Gradient Tool in Photoshop
- How to get a 3D aesthetic in Photoshop
What you’ll need
What is the vaporwave aesthetic?
80s vaporwave is a retro-futuristic aesthetic that blends 1980s and 1990s nostalgia. It features neon colors, glitch art effects, tropical imagery inspired by cities like Miami, and motifs like light bursts, 3D aesthetics, and chrome effects. These details give vaporwave a surreal and dreamlike vibe. 80s vaporwave art relies heavily on shades of neon purple, blue, and pink, with contrasting warmer colors like orange.
The vaporwave aesthetic also heavily involves music. The music slows down and distorts pop, smooth jazz, and lo-fi beats, creating a hypnotic, melancholic atmosphere. Together, its visuals and sounds reflect themes of nostalgia, consumerism, and the fleeting nature of digital media.
1. How to create stars in Photoshop
Step 1
First, create a new layer and fill it with black using the Paint Bucket Tool.
Go to Filter > Noise > Add Noise, setting the Amount to 30% and selecting Gaussian and Monochromatic.


Step 2
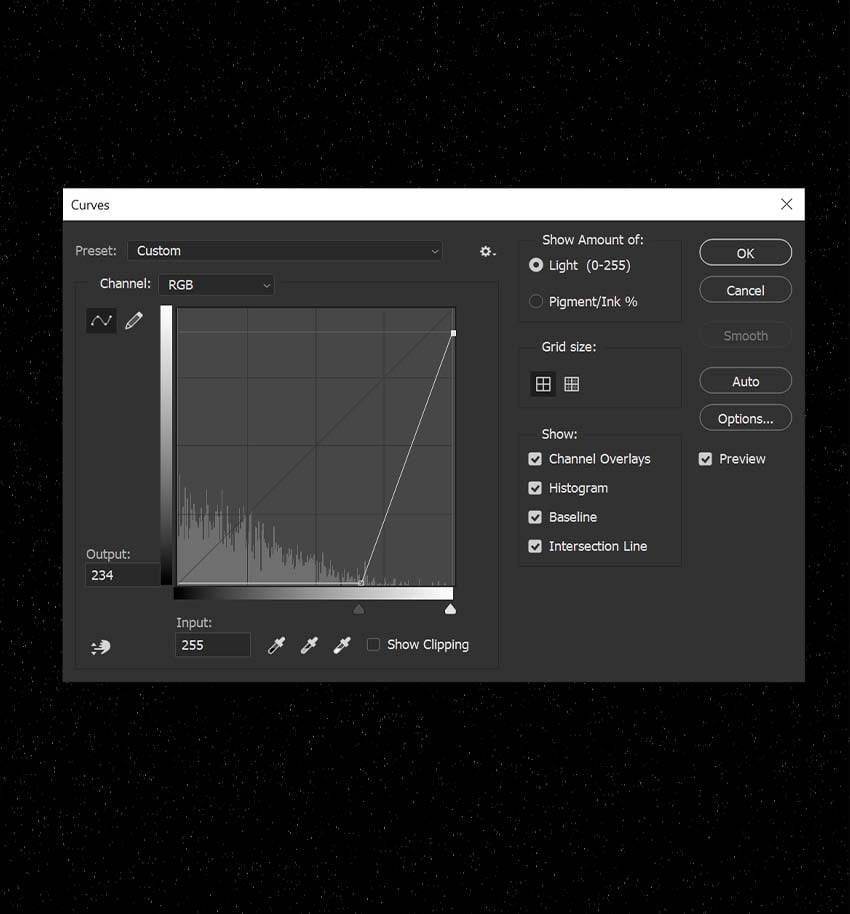
Next, go to Image > Adjustments > Curves and bring in the bottom-left anchor. You can also soften the stars by bringing down the top anchor.


Step 3
Now, use Control/Command-T to open the Transform settings. Enlarge the stars until you’re happy with the effect. Set the stars layer to Screen.
Create a New Layer below the star layer and fill it with a deep blue #000530 color.


2. How to create a vaporwave sun in Photoshop
Step 1
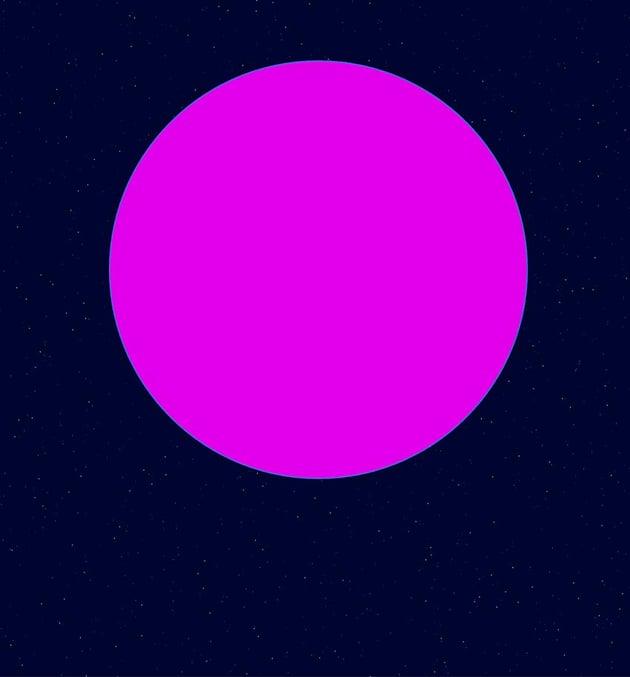
Use the shape Ellipse Tool to create a hot pink #e100e9 circle in the middle of your canvas. Name this layer “Sun.”


Step 2
We’re going to manually mask away the lines in our sun to get the 80s vaporwave aesthetic. First, add a Layer Mask to the Sun layer.
Select the Brush Tool and change the tip to a default hard round brush set to black. Set the brush to the largest size you want the breaks in the sun to be.
Drag the brush horizontally across the bottom of your circle. Hold Shift to get a perfectly straight horizontal line while painting. Below, you can see my first line and the start of our glitch effect art.
My brush Size was 40 px as my canvas was small. Choose whatever size suits your canvas.


Step 3
Next, we want to repeat that step, but with a slightly smaller brush. Use the [ key to shrink the brush in smaller increments each time.


Step 4
You can stop whenever you’d like—I went all the way up to the top of my sun.


Step 5
Duplicate the Sun layer and Clip it into the original layer using Clipping Masks.
Change the duplicate Sun layer to a paler pink #f83eff shade. Use the Move Tool to offset the inner Sun layer, moving it a few pixels up and to the right. This will create a subtle glitch effect on the edges of the sun.
Group the two layers into a group named “Sun Shape.”


Step 6
Clip a New Layer into the Sun Shape group, setting it to Darken. Grab a default soft round Brush set to a vibrant orange-red #ff2d2f color.
Paint the bottom half of the Sun Shape red. Duplicate the red paint layer, Clipping it above the original. Set the duplicate to Screen.


Step 7
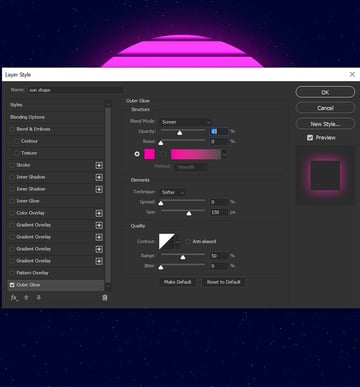
Add an Outer Glow layer style to the Sun Shape group.




Step 1
Below the Sun Shape group, use the Gradient Tool to create a Radial gradient.
I’ve hidden the Sun Shape group so we can see things better.


Step 2
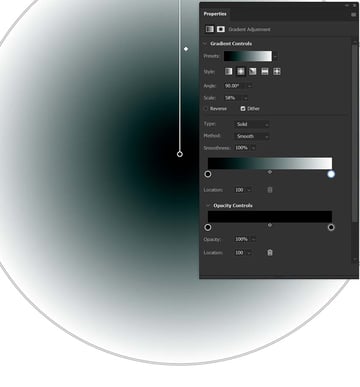
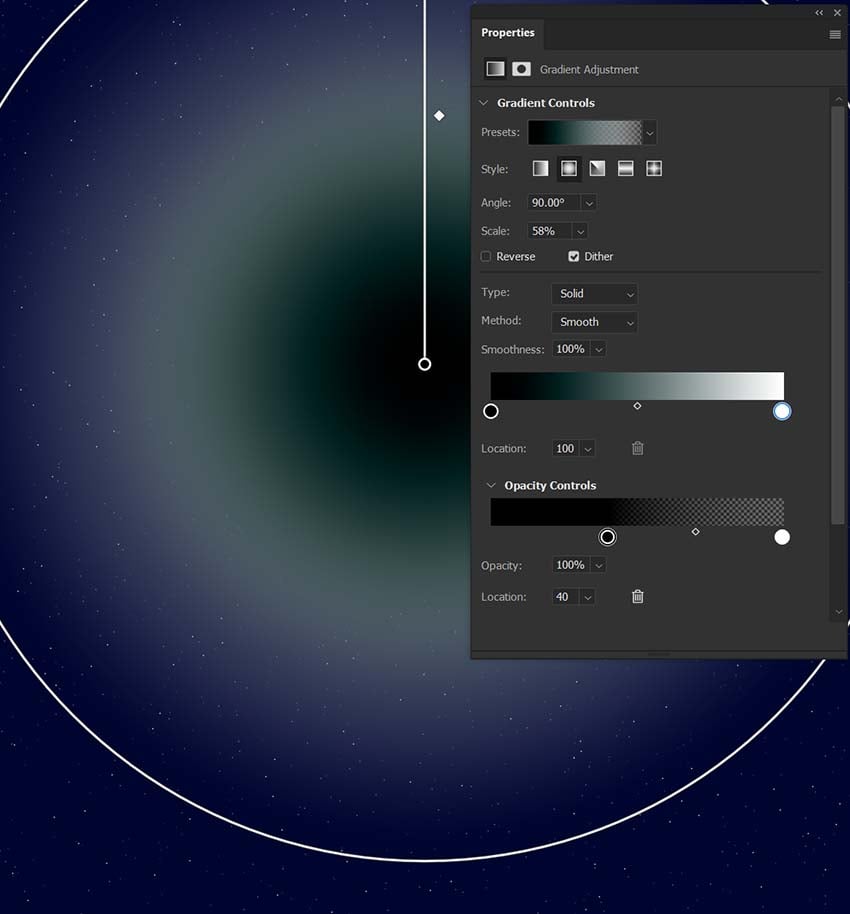
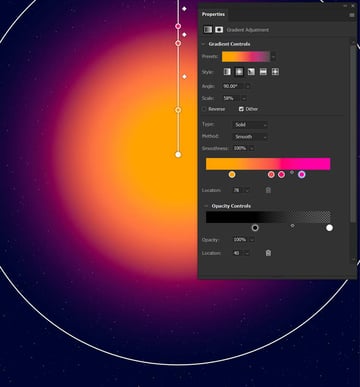
First, adjust the Opacity Controls using the Window > Properties panel by clicking the right anchor point and setting it to Opacity 0%.
In the Opacity Controls, bring in the right anchor point to the Location 40 mark.
Step 3
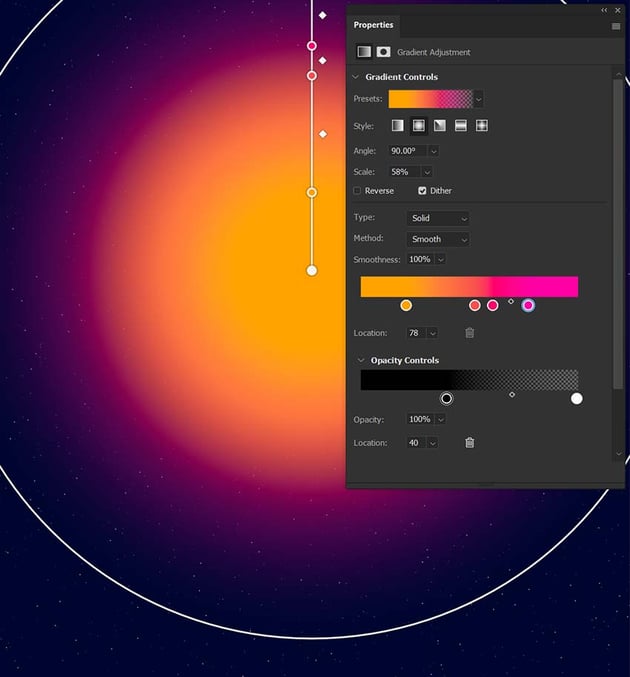
Edit the gradient using the Properties panel with similar colors to what you see below. Place the colors in a similar location.
- Hot pink
#ff00a2 - Red pink
#ff006c - Neon orange
#f94e4e - Orange
#ffa200
You can adjust the placement of the colors by dragging the anchor points on the live gradient or by using the Properties panel.

Step 4
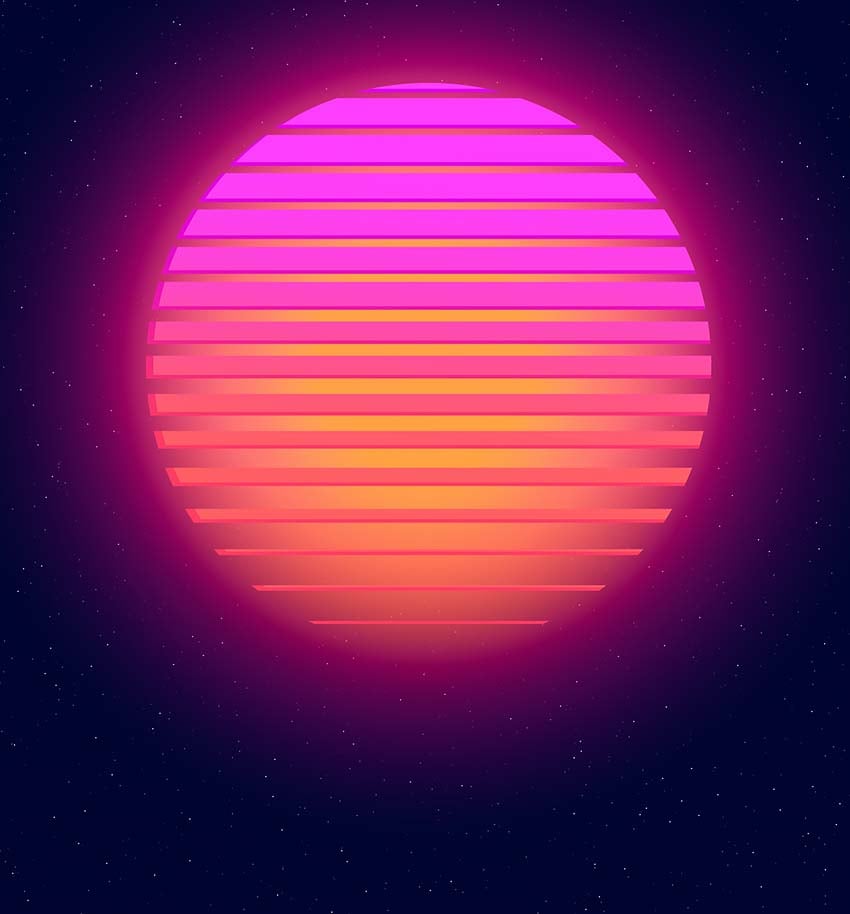
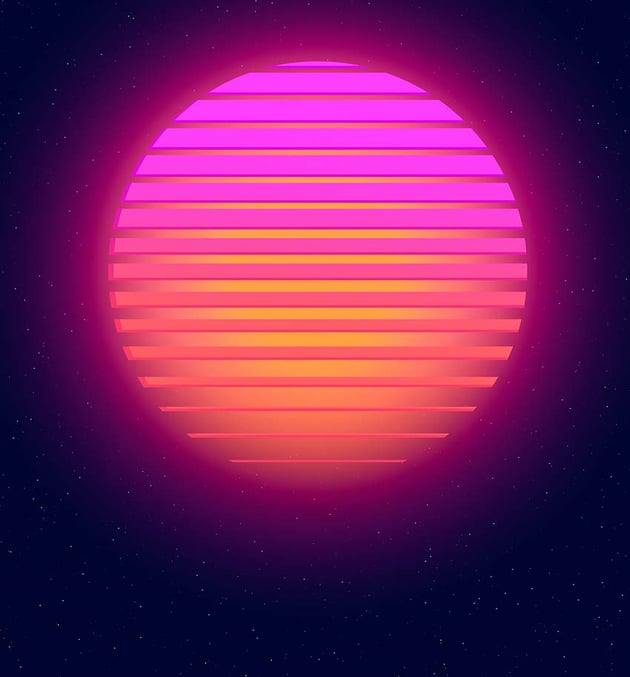
Turn your Sun Shape group back on. Make any adjustments to the gradient’s size and shape.
4. How to get a 3D aesthetic in Photoshop
Step 1
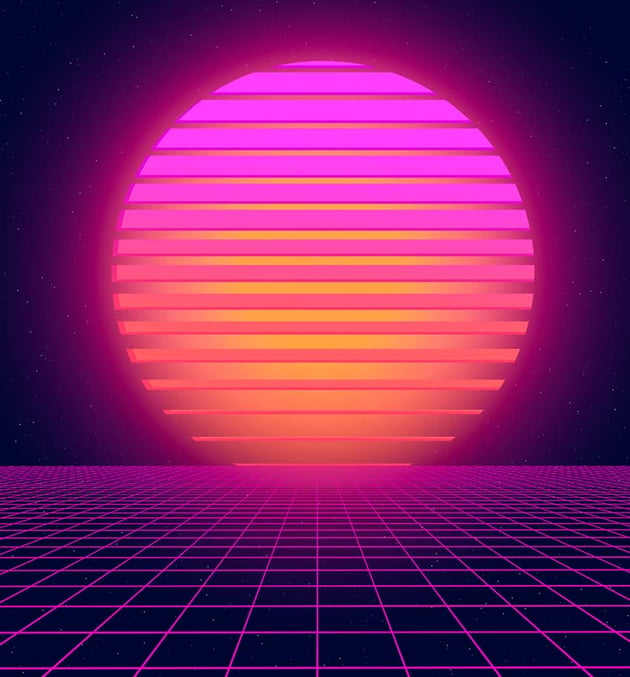
First, let’s lay down a grid from this graphics pack. Clip a Solid Color fill layer set to a hot pink #ff00c0 color into the grid.
You can create grid planes in Photoshop, but I prefer premade grids because a plane similar to what we’re using here can be tricky to recreate. If you need a grid with a less extreme vanishing point, rendering grids in Photoshop is very easy and recommended.
You can make your own grid in Photoshop using Filter > Vanishing Point, creating the grid and checking Render Grids to Photoshop in the upper left hamburger menu.

Step 2
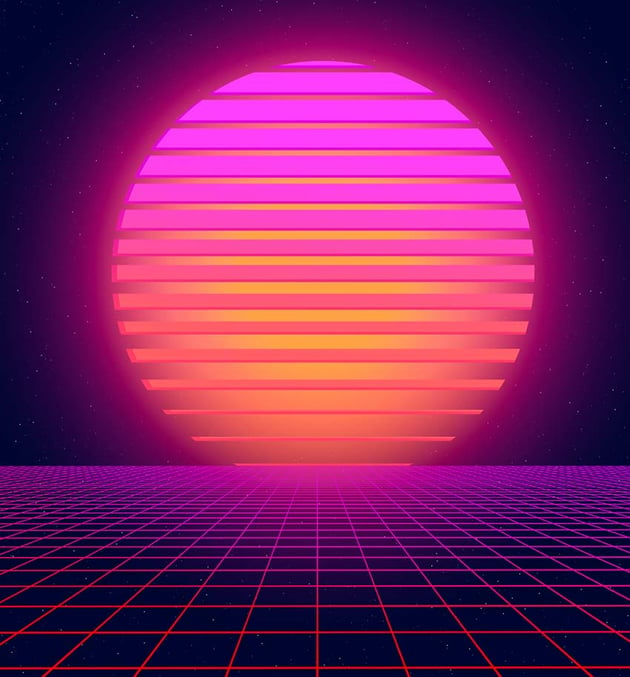
Clip a New Layer set to Overlay into the pink grid.
Use a default soft round brush to paint black towards the front of the grid and white towards the back.
Duplicate the Overlay layer if you want the effect to be more intense.

Step 3
Next, create a New Layer above the Grid layer.
Use the Polygonal Lasso Tool to create and Right-click > Fill a solid dark blue #0f0636 color on two of the grid rows. This will be our road.


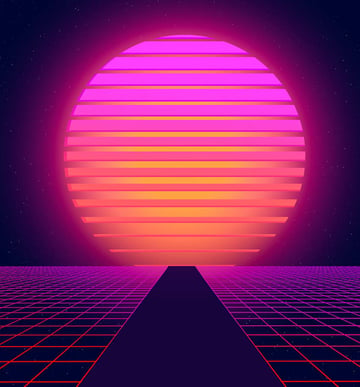
Step 4
Download and place a 3D asset of a palm tree onto your canvas. Right now, the tree is too realistic, so we want to give it a more simplified 80s or Y2K 3D effect.


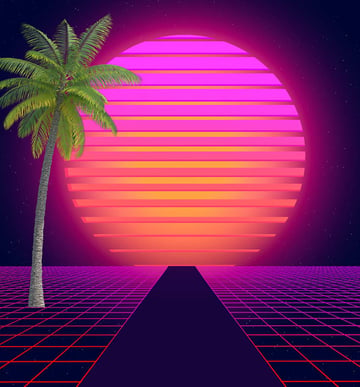
Step 5
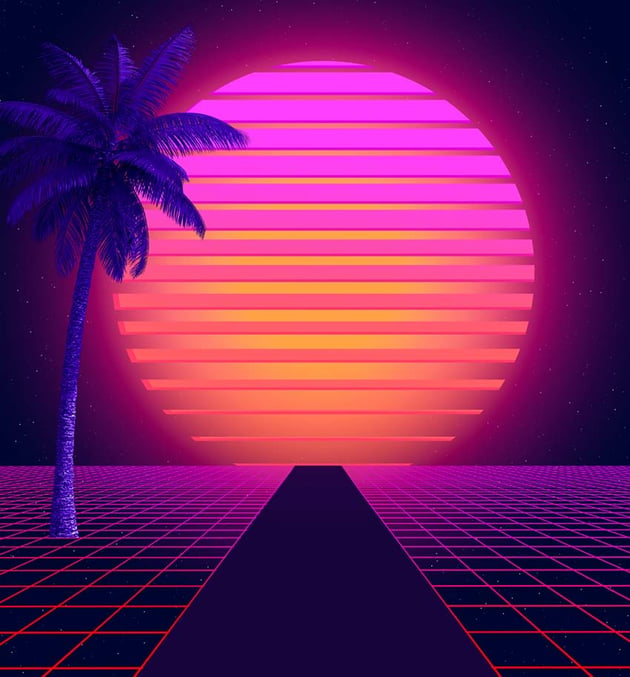
First, go to Image > Adjustments > Hue/Saturation, setting it to Colorize, Hue 263, and Saturation 62. This will turn the tree violet.
Darken the tree using Image > Adjustments > Curves, dragging the bottom anchor inwards.

Step 6
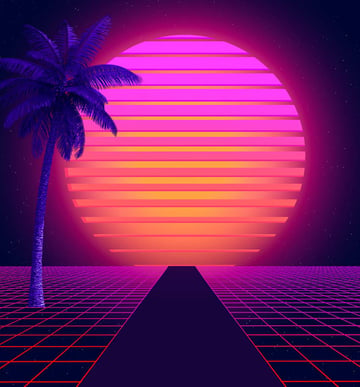
Duplicate the tree, using the Transform settings to make the copies smaller the further back they go.
Group all of the trees, naming the group “Trees”.


Step 7
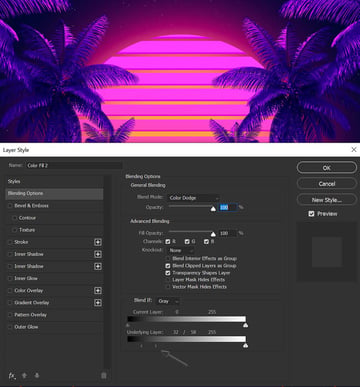
Create and Clip a Solid Color fill layer into the Tree group, filling it with a hot pink #d60cff color. Set the layer mode to Color Dodge.
Double-click on the color fill later to open its Layer Style settings. At the bottom of the panel, you’ll see Blend If. Use the Underlying Layer toggles to blend the solid layer away from the shadows of the image, recreating what you see below. This will make it so the pink is only showing in the highlights of the image.
Hold Shift to split the Blend If toggles, so you can move them independently.


Step 8
Create and Clip a New Layer into the Tree group. Use a default soft round Brush to paint dark blue #0f0636 towards the bottom of the trees.


Step 9
Place a 3D car asset on the road. Use Image > Adjustments > Curves to darken the car and bring up the Blue Channel in the shadows.


Step 10
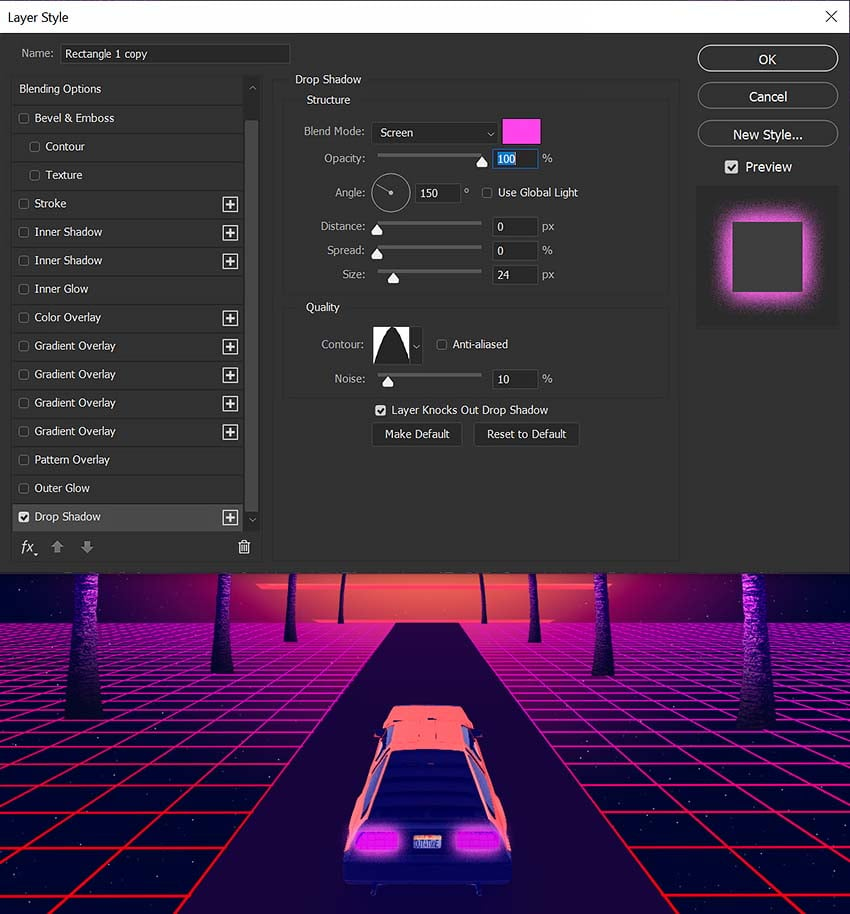
Next, create a hot pink #ef00ff rectangle using the Shape Tool, placing it on the car’s brake lights. Set the shape to Color Dodge. Add an Outer Glow layer style with the settings below.
Duplicate the shape and place it on the second brake light.

Step 11
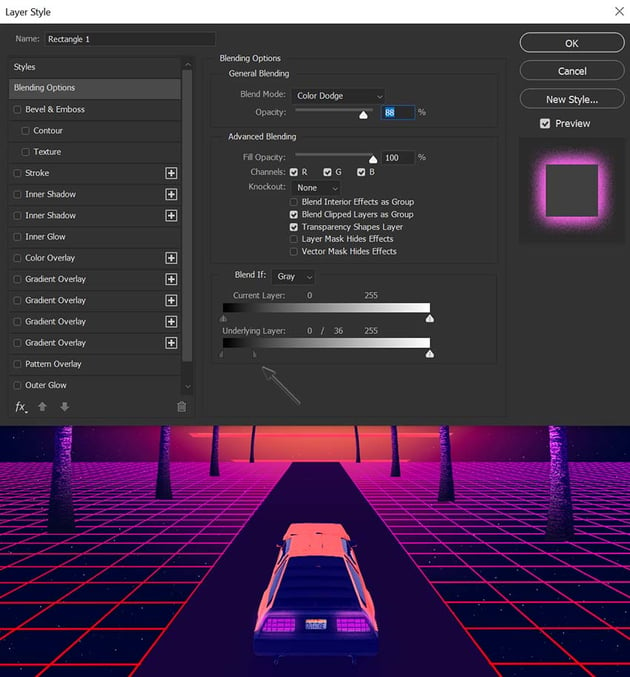
Use Blend If in the Layer Style panel to remove the lights from the darkest underlying values.


Step 12
Finish the car by creating a New Layer set to Color Dodge and 30% Opacity. Using a default soft round brush, paint a subtle bloom of orange light over the car.


5. How to create a vaporwave aesthetic in Photoshop
Step 1
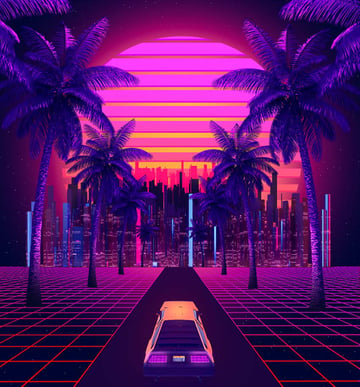
Let’s finish up by adding a city graphic from this graphics pack below our Trees group, on the skyline of the image.
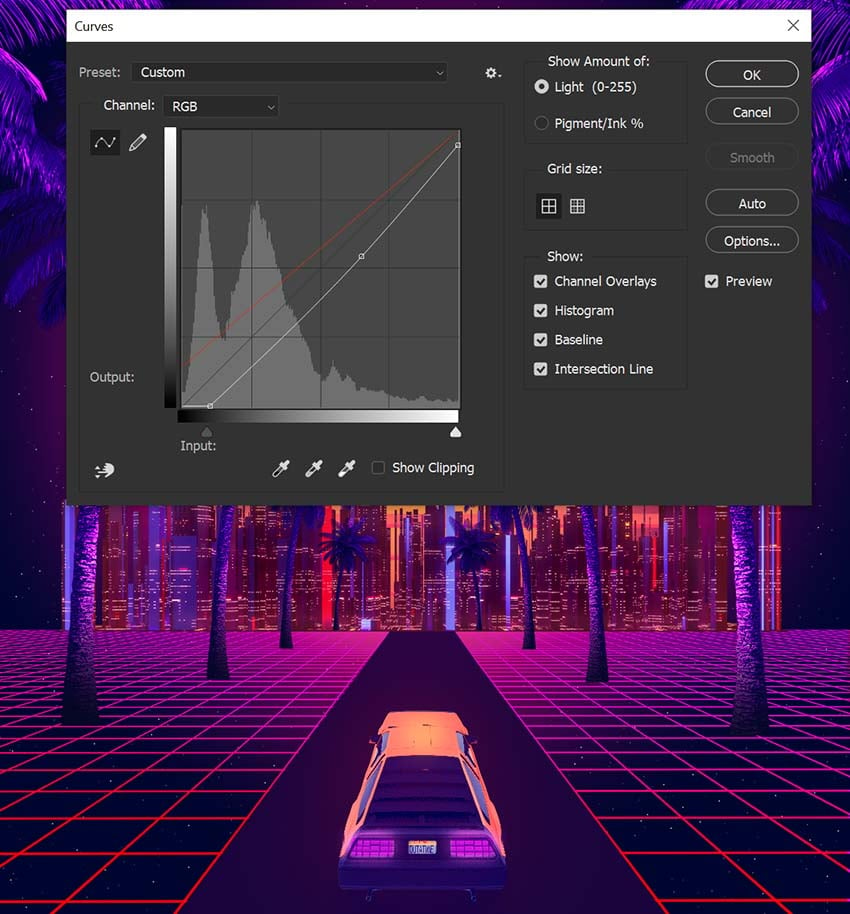
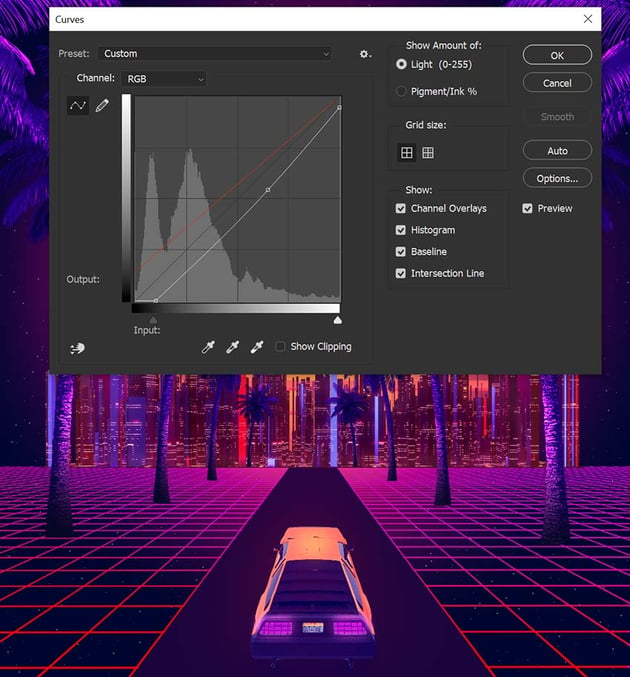
Darken the graphic, and bring up the reds in the shadows using Image > Adjustments > Curves.
Adjust the colors of the graphics using Image > Adjustments > Hue/Saturation, shifting the Hue to -27.
Step 2
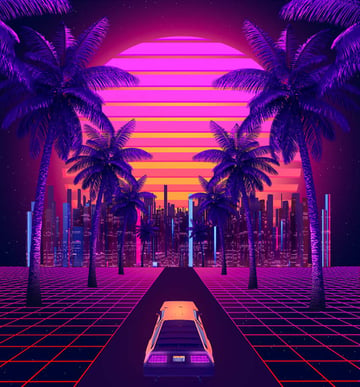
Duplicate the city graphic, bringing it below the original. Enlarge it and apply a Color Overlay layer style, filling the graphic with a dark violet #26065a color.


Step 3
Repeat the above steps as many times as you want, choosing different colors for the buildings. This will make the city appear larger.


Step 4
Create a black and white Gradient fill layer above all the existing layers. Set it to Style Reflected. Set the layer mode to Overlay and the Opacity to 25%.
Finally, add a scanline or Moiré texture over all current layers, setting the layer mode to Color Dodge and bringing the Opacity to 75%.

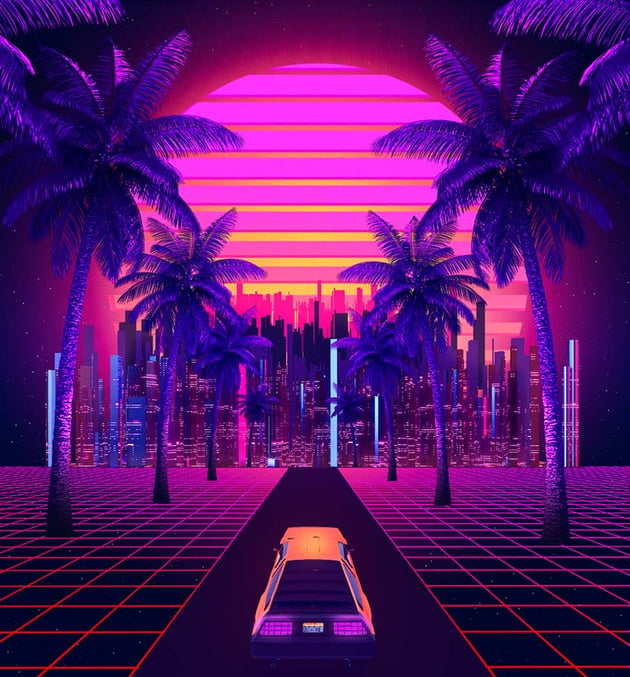
That’s how to create a vaporwave cityscape in Photoshop!
Vaporwave is all about nailing the neon effect, so don’t shy away from vibrant violets and hot pinks. This look always pairs well with glitch art effects and chrome effects, along with other retro-futuristic aesthetics. This is just the starting point!


Want to learn more? Try one of these other Photoshop tutorials:
