
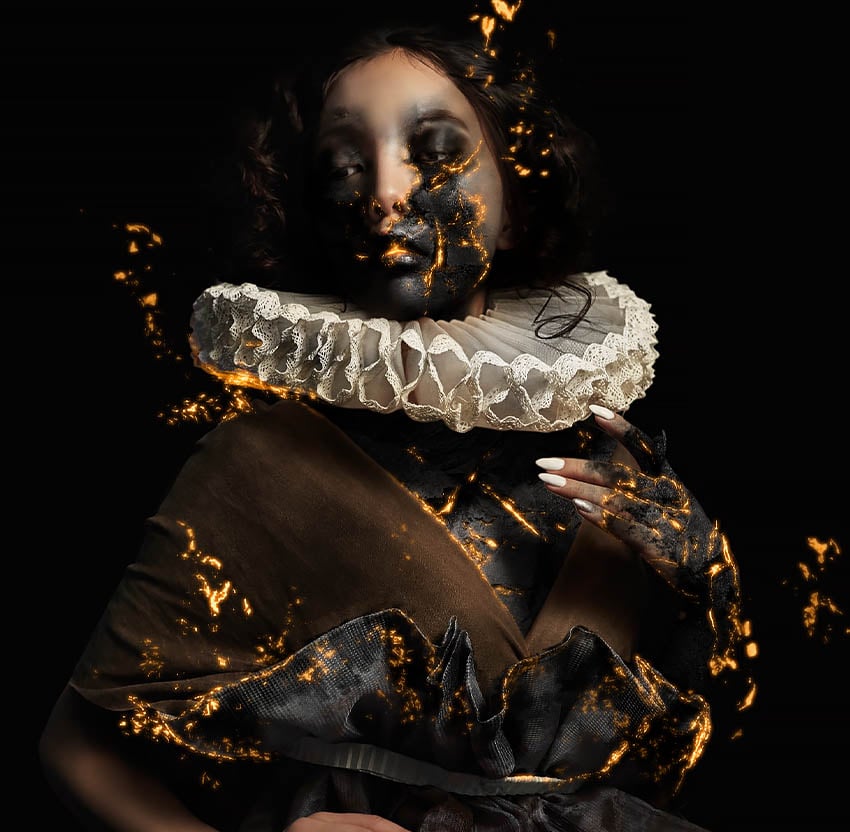
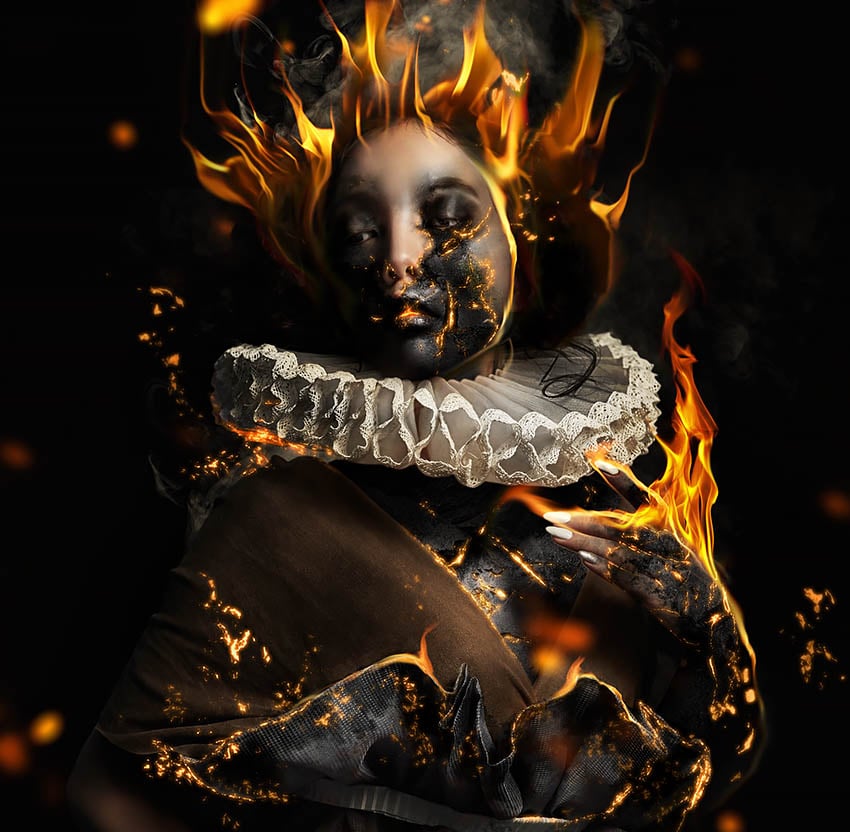
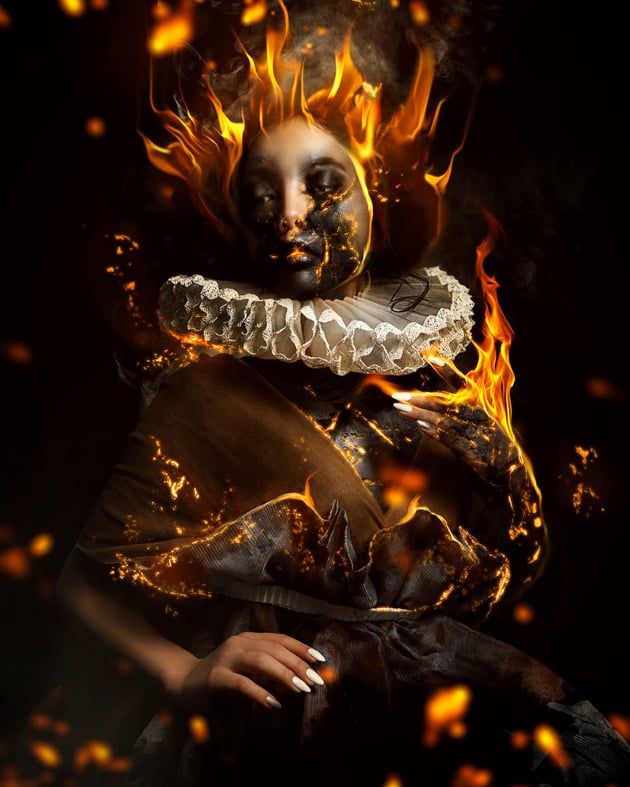
In today’s tutorial, we will be covering five different fire effects in Photoshop. From how to add a smoke effect in Photoshop to how to make a flame in Photoshop, we’ll be covering it all. I’ll also show you my absolute favorite effect to pair with fire: how to make a charred or burnt surface. Let’s get started!
Looking to create a blazing fire effect in no time? Look no further! Explore the vast collection of fire add-ons, brushes, assets, and actions available on Envato Elements! Bring your designs to life with the flicker of flames.
What You’ll Learn in This Fire Effect Photoshop Tutorial
- How to make things look burnt in Photoshop
- How to create fire in Photoshop
- How to add smoke in Photoshop
- How to make a glow effect in Photoshop
- How to make embers in Photoshop
What You’ll Need to Complete This Tutorial
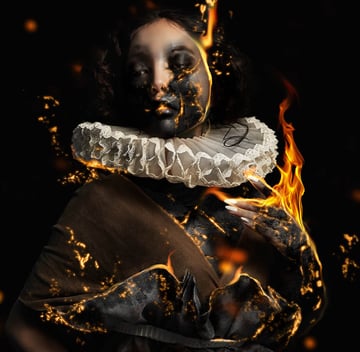
1. How to Make Things Look Burnt in Photoshop
Step 1
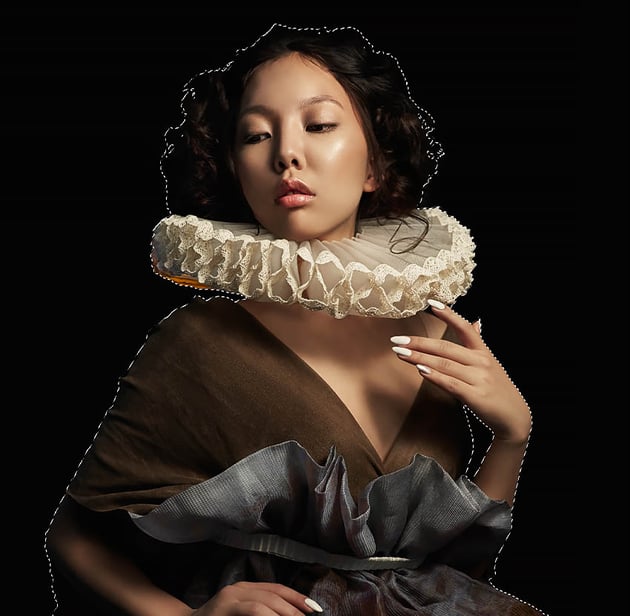
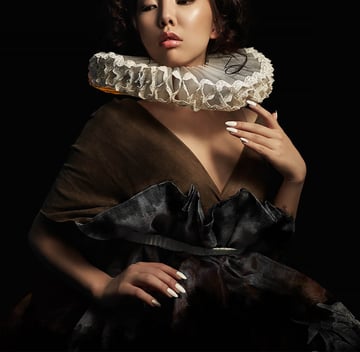
Before we learn how to make a flame in Photoshop, we need to give ourselves a good base by creating a burnt surface for the fire to sit on.
We need to set up a Group that is masked to the shape of your extracted subject. Hold Control/Command and click on the extracted subject to get a Selection of the subject.
Next, create a new Group and add a Layer Mask to the Group. The Layer Mask will take the shape of the selection.


Step 2
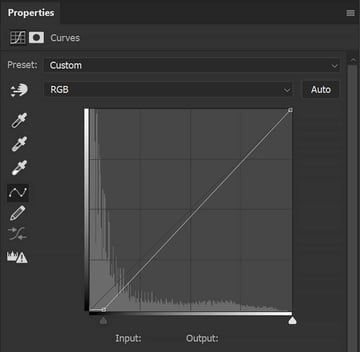
We’re going to create four adjustment layers inside our new group. These adjustment layers will significantly darken the subject.
These settings will change from subject to subject. We just want to make sure the subject is dark, with some highlights still remaining.
- Add a Black & White Gradient Map set to 90% Opacity.
- Add a Brightness/Contrast layer set to Brightness -50 and Contrast 50.
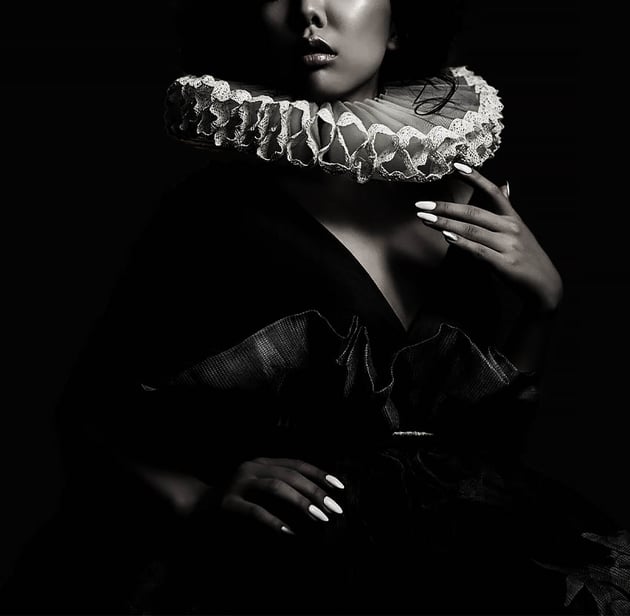
- Add a Curves layer, pictured below.
- Add another Brightness/Contrast layer set to Brightness -40 and Contrast 100.


Step 3
Next. create a new Group, name it “Soot”, and drop the first group inside it. Add a Layer Mask to the “Soot” group and fill it with black using Control/Command-I.
Control/Command-I is used to Invert colors. When you invert the white mask to black, it becomes hidden.
Select any kind of grungy Brush and set it to white. Use this brush to mask in any area you want to look burnt, charred, or covered in soot.

Step 4
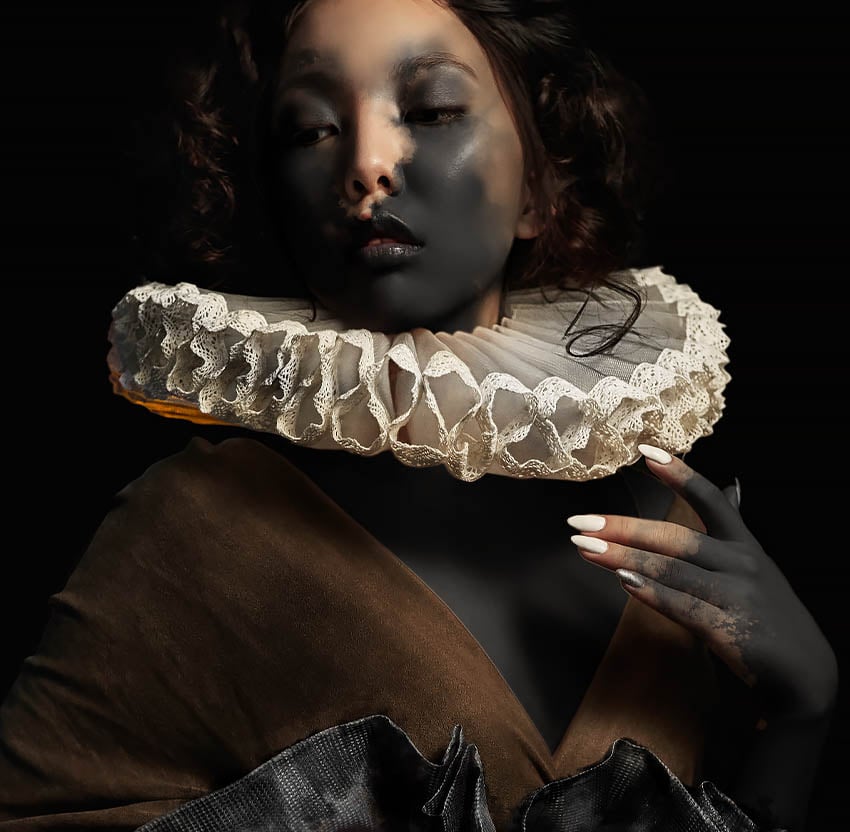
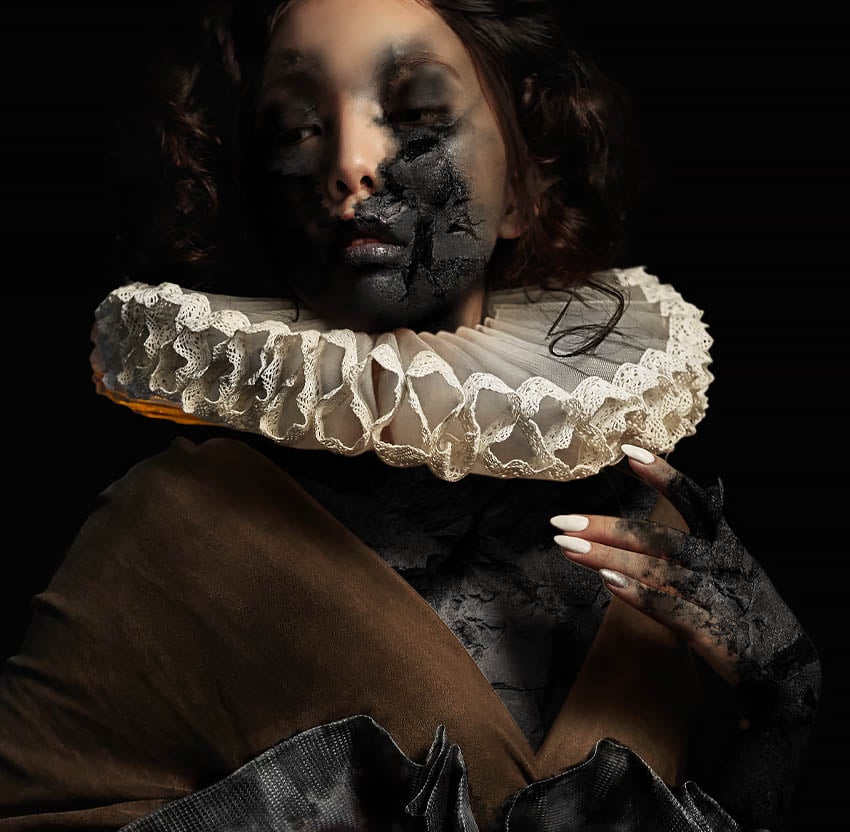
Repeat the above steps to add dark areas to the skin as well.
Separate body parts into different groups. Below the hand is its own group, and then I have a second group with layers that darken the chest and face.
Use the Object Select tool to quickly select areas of skin like the hand and chest. Manually brush in areas like the face.
The settings will change depending on the surface you’re applying the effect to. Any adjustments that desaturate and darken will work.

Step 5
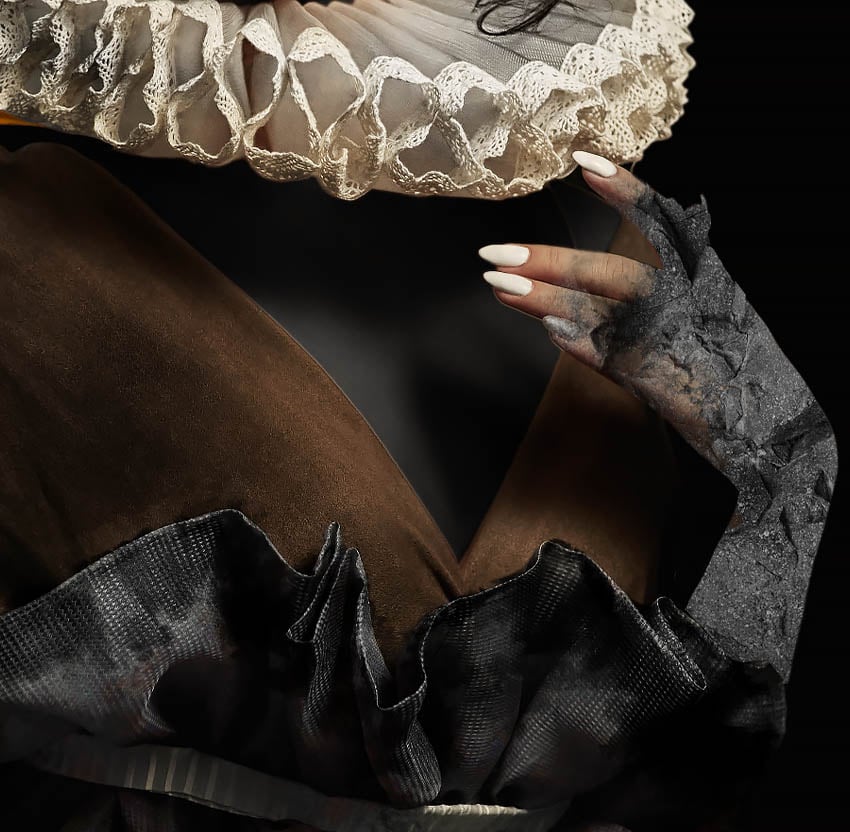
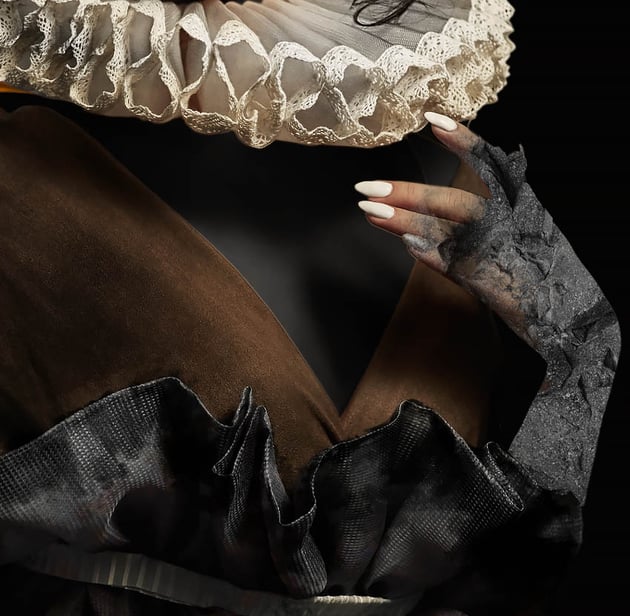
For skin and other smooth surfaces, I suggest adding a texture. Textures of rocks, tree bark, and concrete all work well here. I will be using this texture of stone. Place and size the texture into one of your “Soot” groups. I will start with the hand.
Next, we want to go to Image > Adjudgments > Black & white.
Now, we want to adjust the brightness and contrast of the texture. Again, this will depend on the surface you’re applying the texture to, but for this image, we’ll set it to Brightness -93 and Contrast 100.
Turn your texture into a Smart Object (Right-click > Smart Object) so you can come back later and adjust both the size and brightness of the adjustment. Alternatively, you can use clipping masks and adjustment layers.

Step 6
Set the stone texture to Overlay.
Duplicate the stone texture and increase the brightness, either by adjusting the Brightness/Contrast adjustment on the Smart Object or by going to Image > Adjustment > Brightness/Contrast.
This second texture is meant to add more contrast to the texture as well as bringing in more highlights. This will make the texture appear deeper and rougher.


Step 7
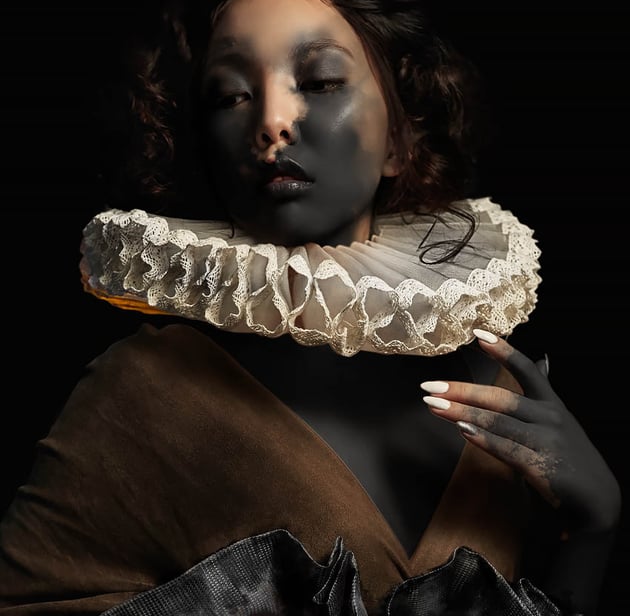
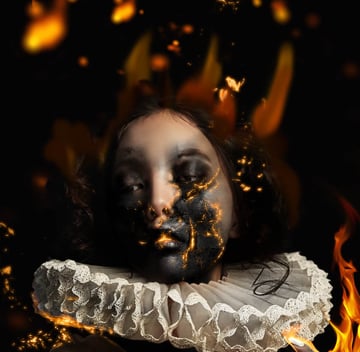
Repeat the above steps on the face using the same texture.
Move around and align the crack texture with the natural shapes of the subject. For example, notice how the crack follows the shape of the subject’s cheek.


Step 8
Finish off the charred areas by creating a New Layer set to Soft Light and using a default round Brush to dodge and burn the subject.
This will help bring out the shapes of the subject’s face, darken areas that you want to appear more burnt, and add highlights.
Dodge and burn is a technique to enhance an image by darkening shadows (burning) and brightening highlights (dodging). While Photoshop provides dedicated brushes, you can achieve the same effect with a regular brush set to black and white and using layer modes.
2. How to Make an Ember Effect in Photoshop
Step 1
To make our ember effect in Photoshop, we have to start by setting up some layer styles on a blank New Layer.
Below are the three layer styles you’ll want to apply, along with their settings. You’ll also see a test of what the effects should look like when using a grungy Brush set to a pale yellow #f8ec92 color.
Step 2
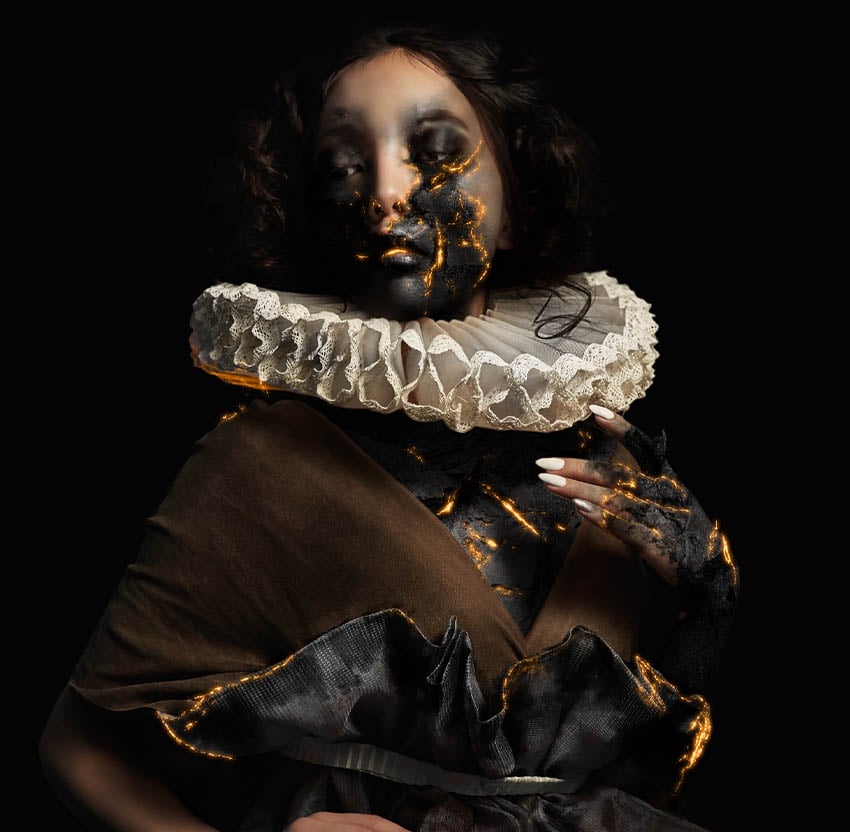
With the Layer Styles set up, we want to use a number of different grunge brushes (like this, this, or some of the default artist Photoshop brushes) to paint embers into the cracks of the textured skin. We also want to add embers to the edges of some of the cloth.
I used the same pale yellow #f8ec92 color to paint all the embers. However, you can experiment with different hues.

Step 3
For a floating ember effect in Photoshop, increase the brush and paint smaller jagged flake-like shapes. You don’t need an ember brush in Photoshop. Grunge, debris, and other flaky brushes work just as well.

Step 4
To finish off the ember effect, let’s add some real embers using a texture. I prefer to use burning ashes like this texture, but it’s all personal preference.
First, place the texture and set it to Screen. Next, go to Image > Brightness/Contrast and set it to Brightness -29 and Contrast 100.
Next, add a Filter > Blur Gallery > Field Blur set to 15 px.


Step 5
Enlarge the embers and place them around the canvas. Be sure to place them both above and below the subject.
Use a Layer Mask and a black Brush to mask away any unwanted details or harsh edges.

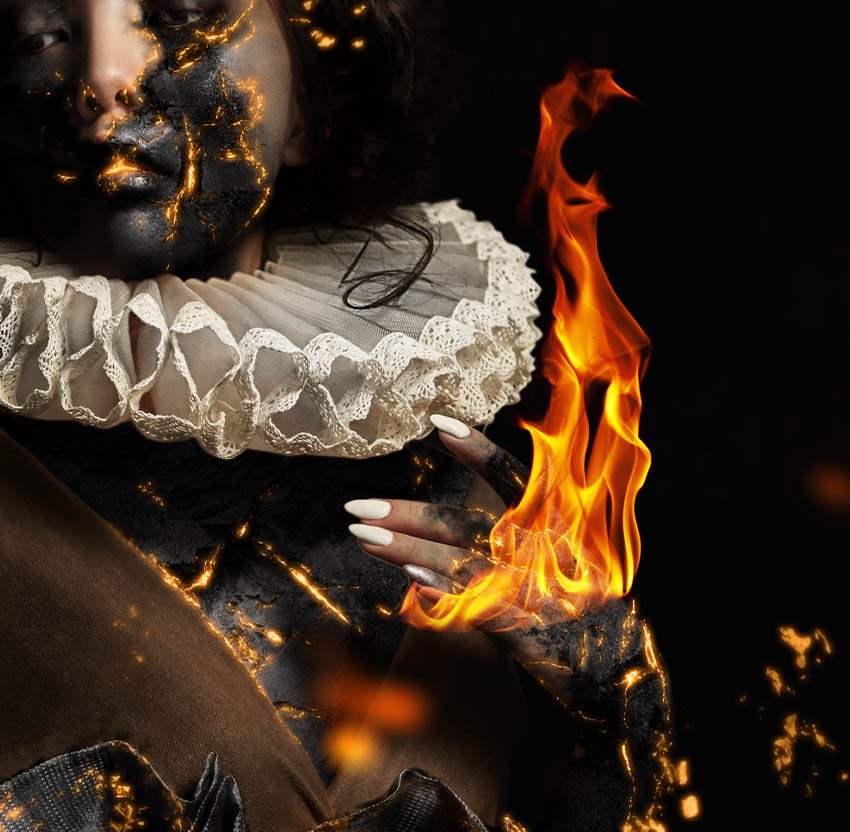
3. How to Make Fire in Photoshop
Step 1
Let’s start with the basic way to make fire in Photoshop. Get a fire texture with a black background and place it on the canvas. Set the Layer Mode to Screen.
Go to Image > Adjustments > Curves and bring the Bottom Anchor inwards. This will darken the blacks further, removing any leftover background from the fire. This is the most basic way to add fire in Photoshop.


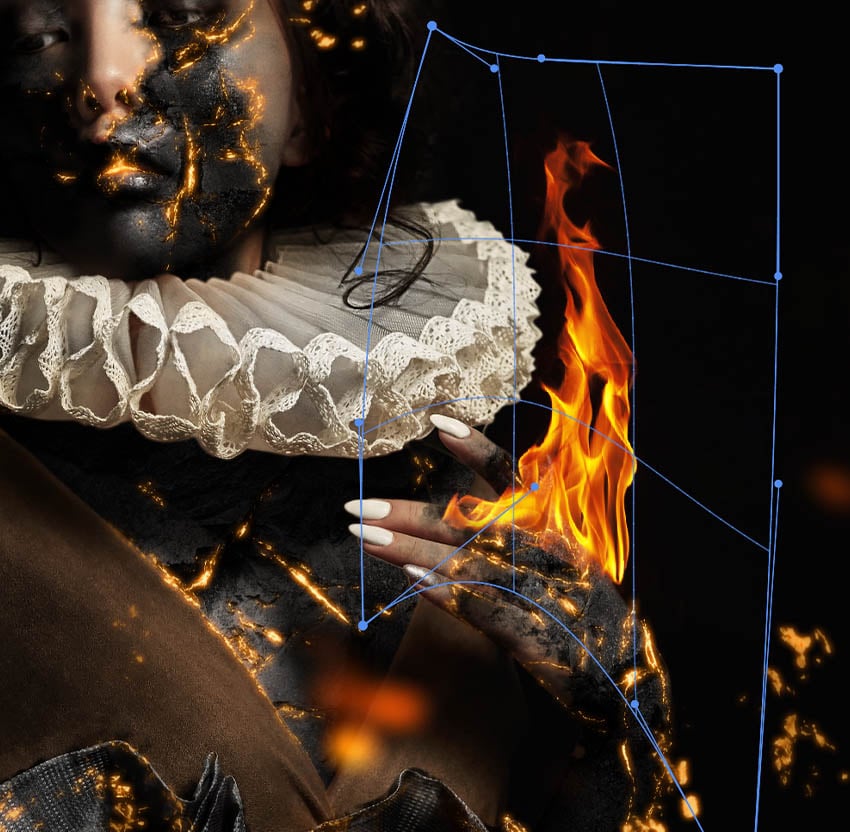
Step 2
There are several ways we can continue to edit this fire to better fit the subject. We ideally want the fire to look as if it’s wrapping around the edge of the subject.
First, we can use the Warp Transform tool to warp and shape the fire to better fit the person or object we’re adding it to.
Be careful not to warp the image too much, or else it’ll look stretched and awkward. Adding a small amount of Motion Blur can help to hide stretched pixels.


Step 3
Second, we can use the Smudge tool set to 75% Strength to drag the edges of the flame, once again wrapping it around the form of the subject.


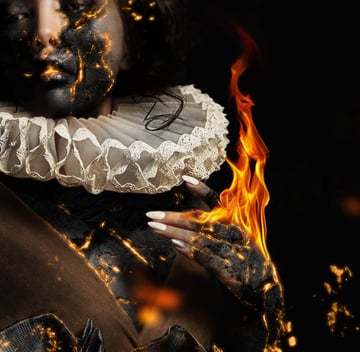
Step 4
Repeat the above steps on multiple different smaller fire textures to get the best effect.

Step 5
We can use both of those techniques to elongate and add movement to flame textures, as well as shaping them. I duplicated this single flame to create a fire crown effect.
Use a soft Eraser to remove any odd-looking trails or shapes.


Step 6
My final tip is to create a New Layer below your flames and paint semi-soft but solid color behind them. Use burnt oranges, reds, and browns. This will make the flames appear more solid and not too transparent.
Below are the painted solid colors with the flames turned off so you can see them better. Notice how it can be simple, quick, and sloppy.


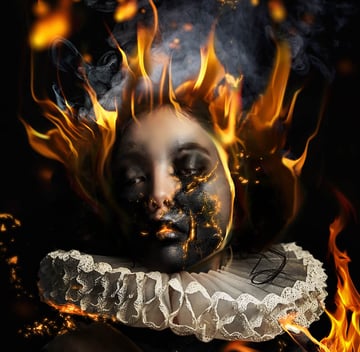
4. How to Add Smoke in Photoshop
Step 1
Next, let’s look at how to add a smoke effect in Photoshop. Grab a smoke texture on a black background. Place it behind your fire, setting the Layer Mode to Screen.
Just like with the fire, go to Image > Adjustments > Curves and bring the Bottom Anchor inwards to darken the blacks further.


Step 2
You always want to color correct your smoke to fit your image better. For this smoke, I used Image > Adjustments > Brightness/Contrast set to Brightness -85 and Contrast 100. Making the smoke darker will allow me to build up and layer the smoke.
But first, let’s add an undertone to the smoke using Images > Adjustments > Hue/Saturation. In the settings, make sure Colorize is Checked, and set it to Saturation 19 and Hue 40. This will give the smoke a warm orange tone.
Avoid using grey-toned smoke as it will make your image appear muddy and washed out.


Step 3
From here, you can Duplicate the smoke texture and place it around your canvas. If you want the smoke to be brighter and thicker, you can Duplicate the smoke directly on top of another smoke texture.


Step 4
I prefer to use textures, but a good smoke brush for Photoshop is also great for adding smoke to the foreground of images. Again, we just want to make sure not to use white or pure gray; instead, I used this dark, warm-toned grey (#484638).


5. How to Make a Glow Effect in Photoshop
Step 1
Finally, we can finish things off by making our fire glow. The best quick glow effect in Photoshop is done by creating a New Layer set to Screen. Set the layer’s Opacity to 50%.
Take a very large soft round Brush and paint a vibrant orange #f4830a color where your fire is strongest.


Step 2
You’ll likely need to color correct your final flames to lean more red, orange, or yellow. I prefer using a Selective Color adjustment layer at the top of the layer stack. In Colors, focus on adjusting the Reds and Yellows.
Pairing Select Color with a layer mask is another great tool for making a glow effect in Photoshop.
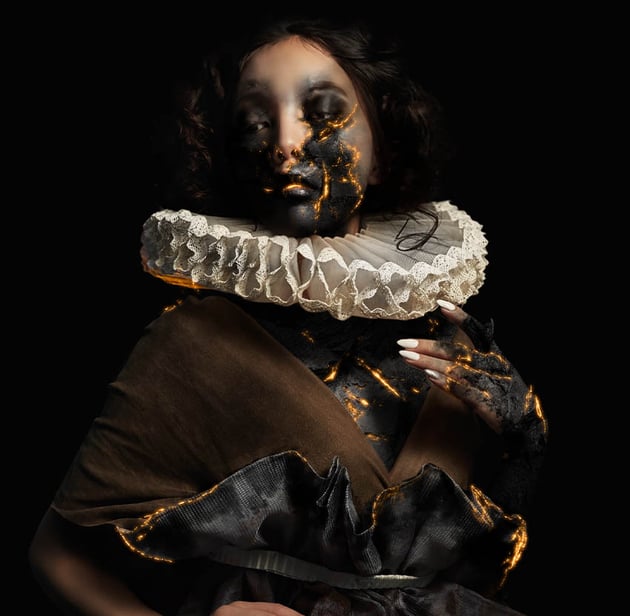
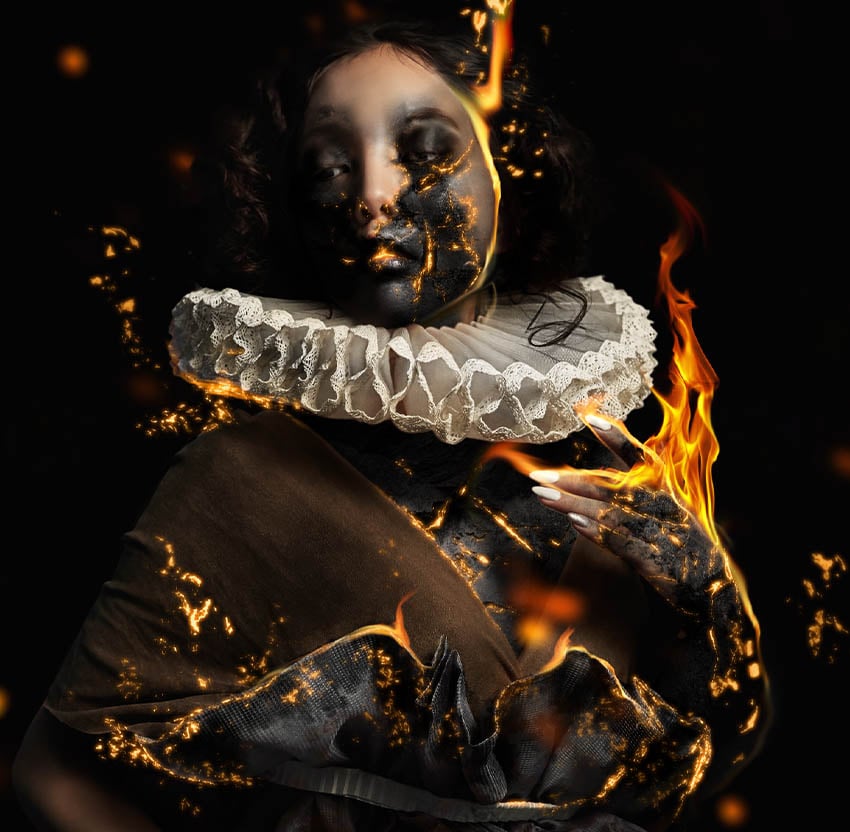
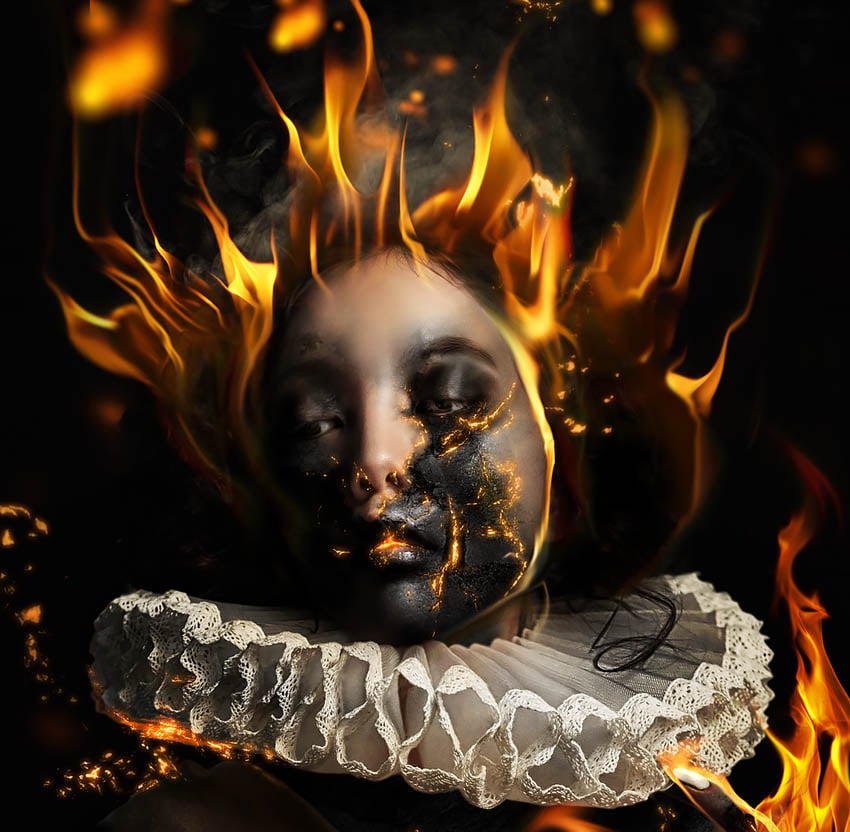
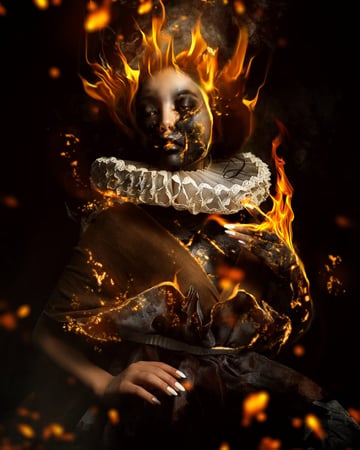
That’s How to Create Fire in Photoshop!
Flame Photoshop effects are some of the most common effects an artist will use. Pair them with a killer smoke effect in Photoshop, and you have all the tools you need to create dynamic images in a matter of minutes.
You can also turn your flames into fire brushes for Photoshop after you’ve added some movement and shape using the techniques discussed above. While real images of fire are always best, flame brush Photoshop effects can be great at adding small fire details quickly.
No matter the techniques you use, these flame Photoshop effects are a must for any artist’s toolbox.
Need More Fire Effects?
Look no further! Check out these amazing add-ons and actions from Envato Elements to instantly transform your images with sizzling fire, smoky ambiance, and glowing embers. Get ready to ignite your creativity.
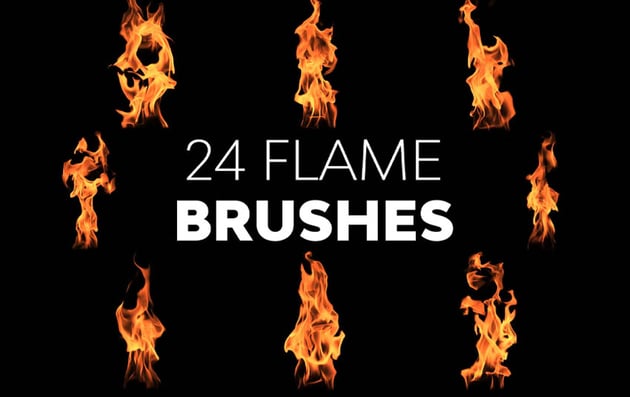
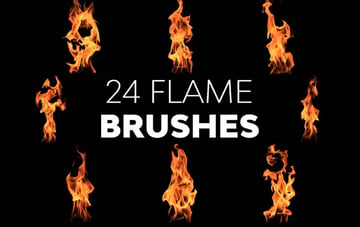
Flame Brushes
Turn on your creativity with this amazing collection of 24 fire brushes for Photoshop. Experience mesmerizing fire, burning, and flame effects that will add a touch of magic to your designs. These high-quality brushes are guaranteed to bring your artwork to life with the power of fire.

Fire Photoshop Action
This next action effortlessly transforms an ordinary object in your photo into an awe-inspiring volcano effect. Get ready for a highly detailed outcome, complete with intense fire, mesmerizing lighting elements, sizzling hot ashes, and intricate details. The possibilities for customizing and enhancing are endless. Just one click unleashes the magic!


Fire Distortion Text Effect
Get ready to love this incredible fire text effect. With a wide range of fire options, color variations, and font choices, it’s the perfect tool for bringing instant drama to any poster or image. It’s super easy to use and edit—simply tweak the text and watch the magic happen! Don’t miss out on this blazing opportunity to make your designs stand out.

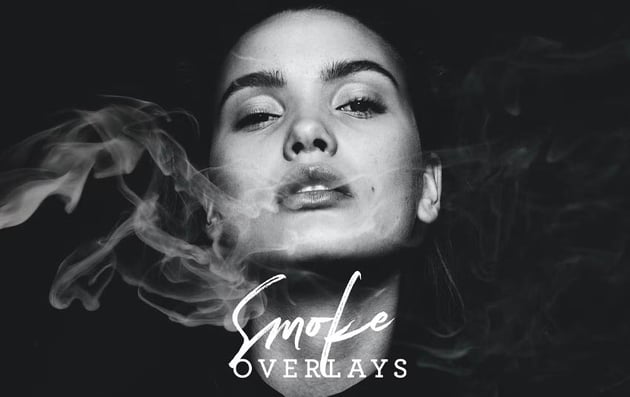
Realistic Smoke Overlays
Discover a stunning assortment of ten realistic smoke overlays to help you create a mesmerizing smoke effect in Photoshop. Let the emotions come alive, and watch as your creations achieve nothing short of picture-perfect brilliance.

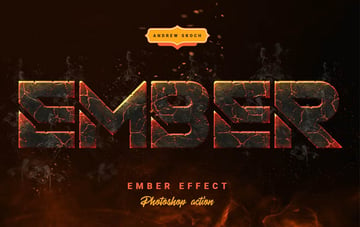
Ember Effect Photoshop Action
Ignite your designs with the incredible power of the Ember Effect Photoshop Action. Experience scorching ember effects, fiery lava effects, mesmerizing magma effects, and blazing fire effects that will captivate and mesmerize your audience. Unleash your creativity and bring your designs to life with this amazing tool.


Finally, why not take your Photoshop skills even further by tackling one of these tutorials next?