In today’s tutorial, we’ll learn how to create five different spaced-themed Photoshop effects. We’ll cover how to create a galaxy in Photoshop, as well as several different Photoshop sci-fi brushes, an alien spaceship, and an entire planet. Let’s get started!
What You’ll Learn in This Photoshop Tutorial
- How to create a planet in Photoshop
- How to make a star in Photoshop
- How to create a galaxy in Photoshop
- How to create a spaceship in Photoshop
- How to create Photoshop sci-fi brushes
What You’ll Need
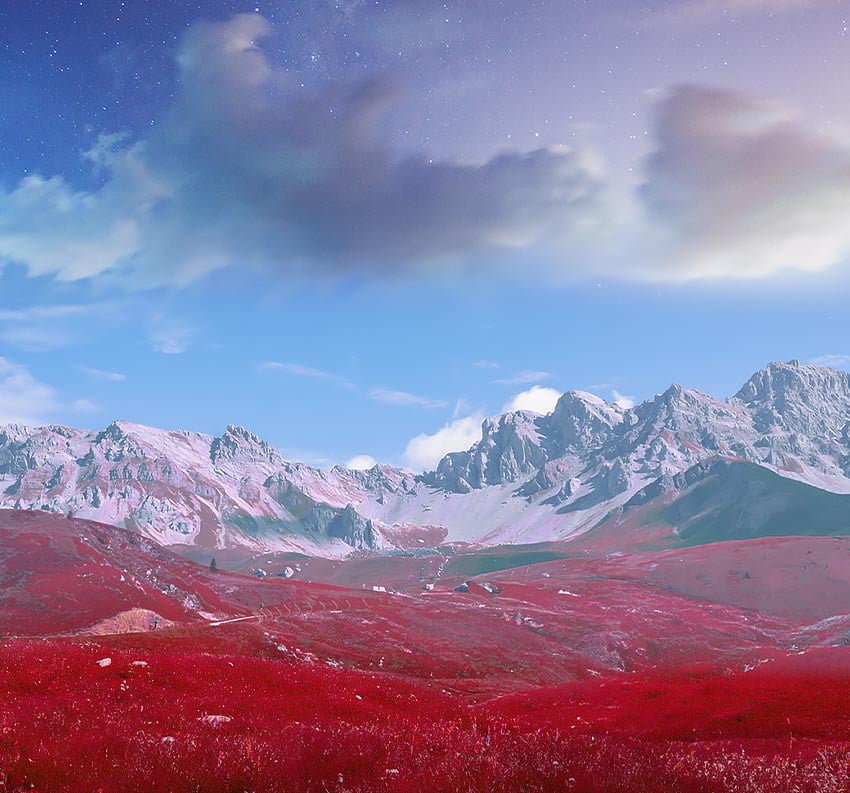
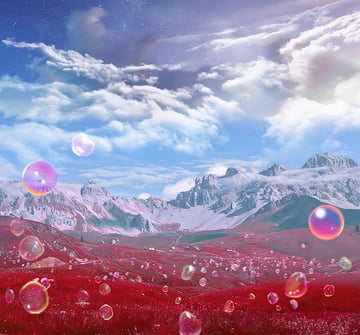
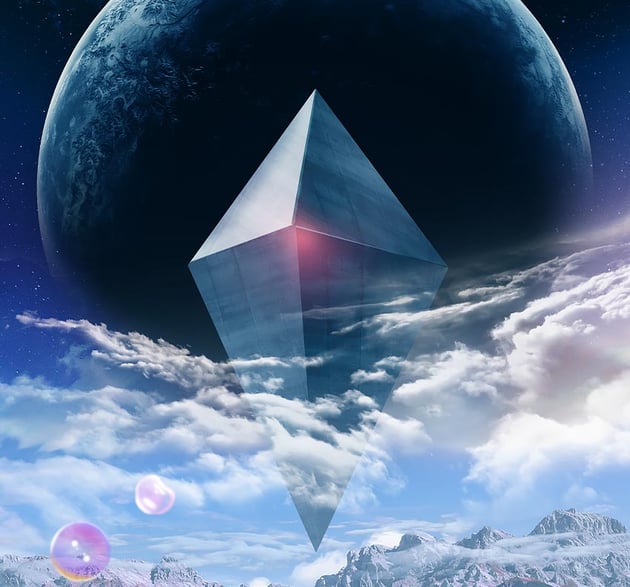
1. How to Create an Alien Landscape
Step 1
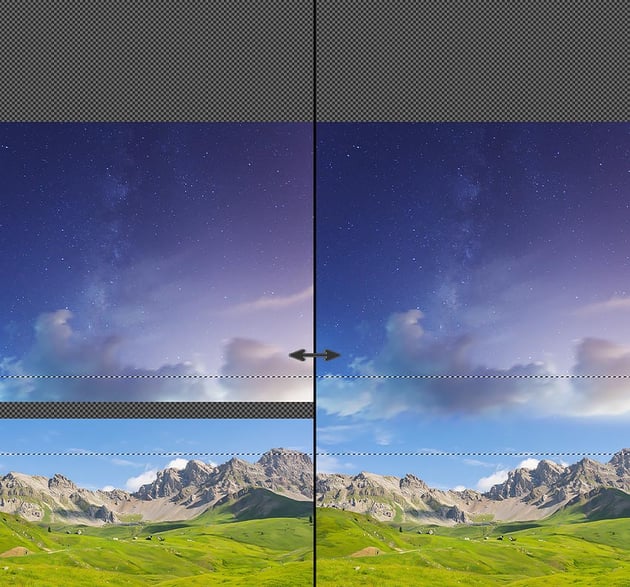
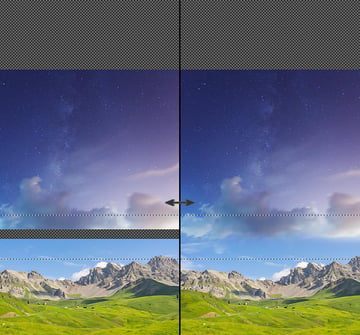
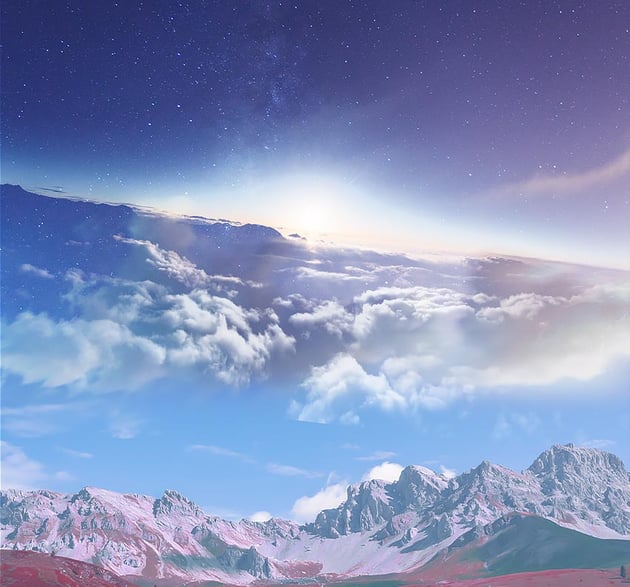
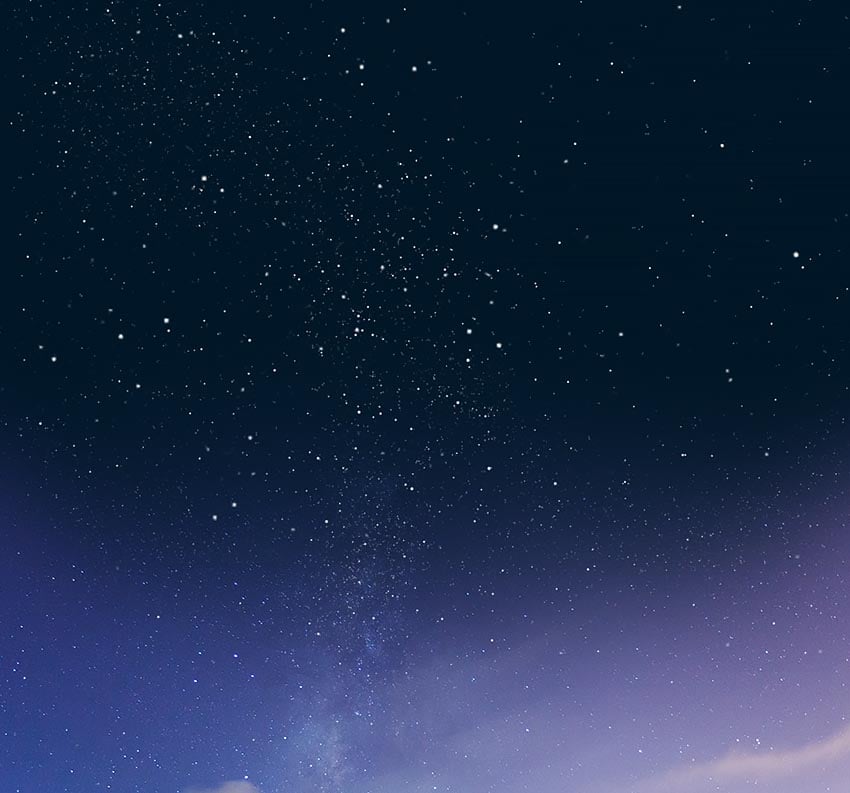
We need to expand our sky to make room for our planet and stars. For this tutorial, we’ll be using a sky that already contains stars, but we’ll also learn how to make a star brush later on, so you can choose to use any sky image you prefer.
Position the sky layer above the landscape image, leaving space between the two and also some space above.
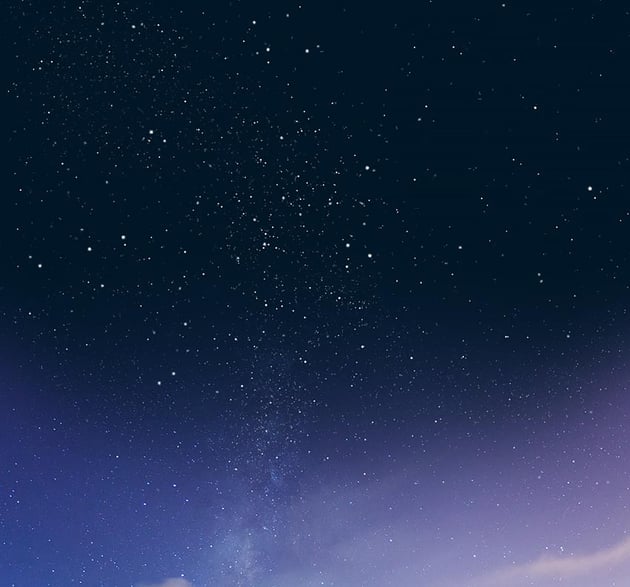
Use the Rectangular Marquee Tool to select the gap between the sky and landscape, and hit Generative Fill in the floating context bar to fill in the gap.
The upper empty canvas will be filed with a galaxy effect later, so leave as much space as you need.

Step 2
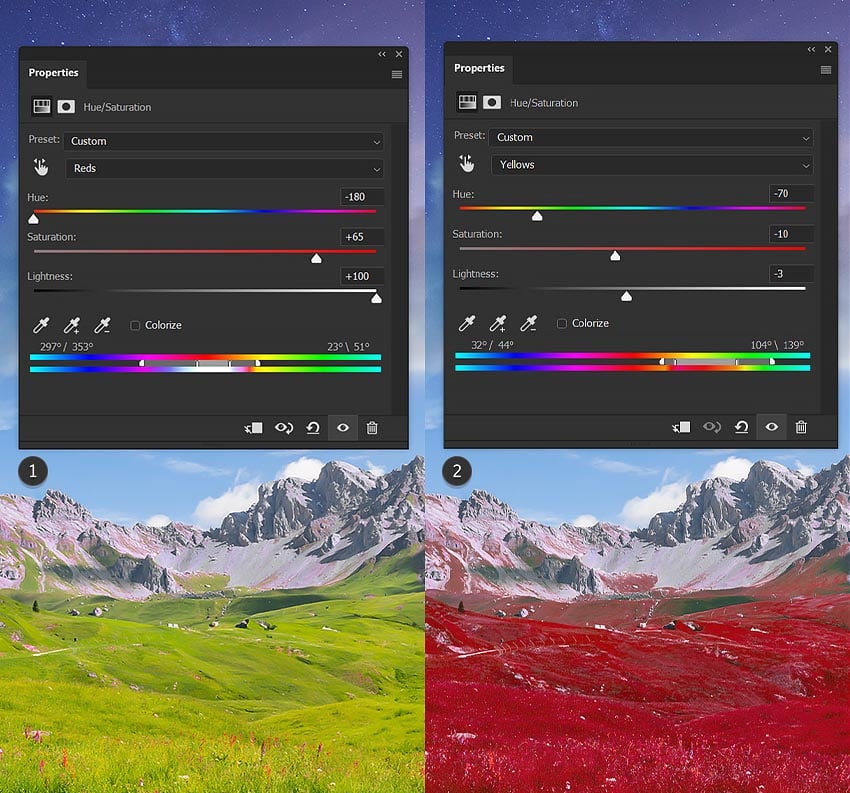
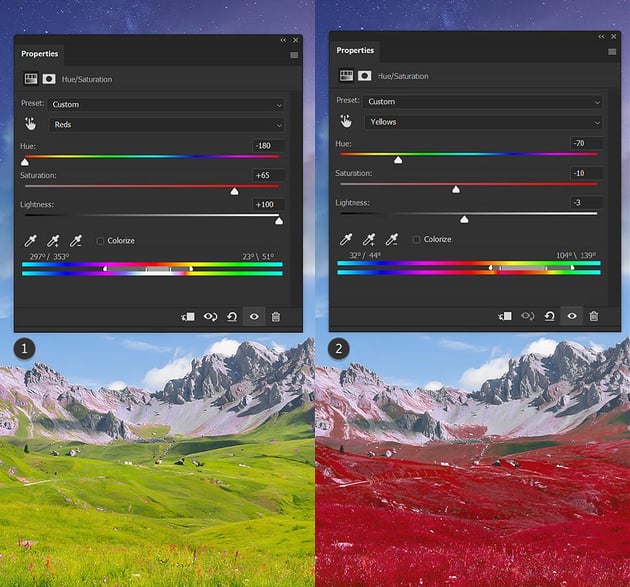
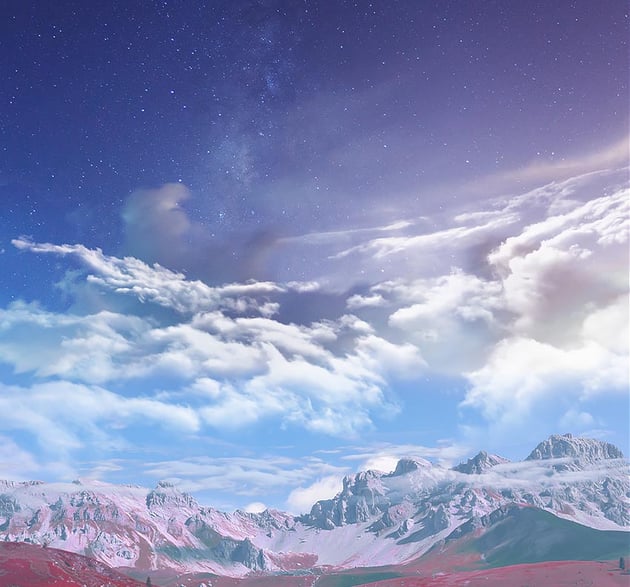
Next, we are going to change the color of our alien landscape’s grass using two Hue/Saturation adjustment layers.
- The first adjustment layer will turn the mountains a blue-pink hue.
- The second adjustment, placed over the first, will turn the grass a magenta hue.
The order of these layers is important if you are using these same stock images.

Step 3
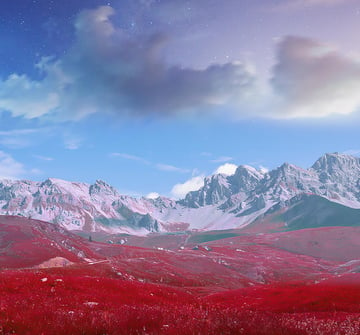
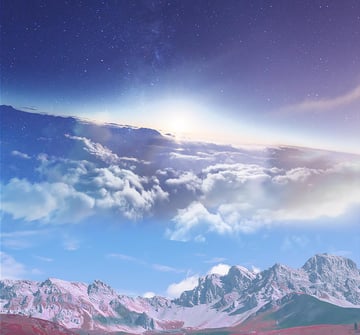
To create some depth in your landscape image, we can darken the foreground and brighten the back mountains.
First, create a New Layer and set its blending mode to Multiply, with an Opacity of 50%. Now, grab a large soft round Brush, set its color to a dark magenta #190d13 color, and paint on the bottom of the canvas to darken the foreground of the landscape.
Second, create another New Layer and set it to Lighten with a 35% Opacity. Using a soft round Brush, paint a band of soft blue #7fbfff across the middle of the sky, over the mountains. This will create an atmospheric haze effect.

Step 4
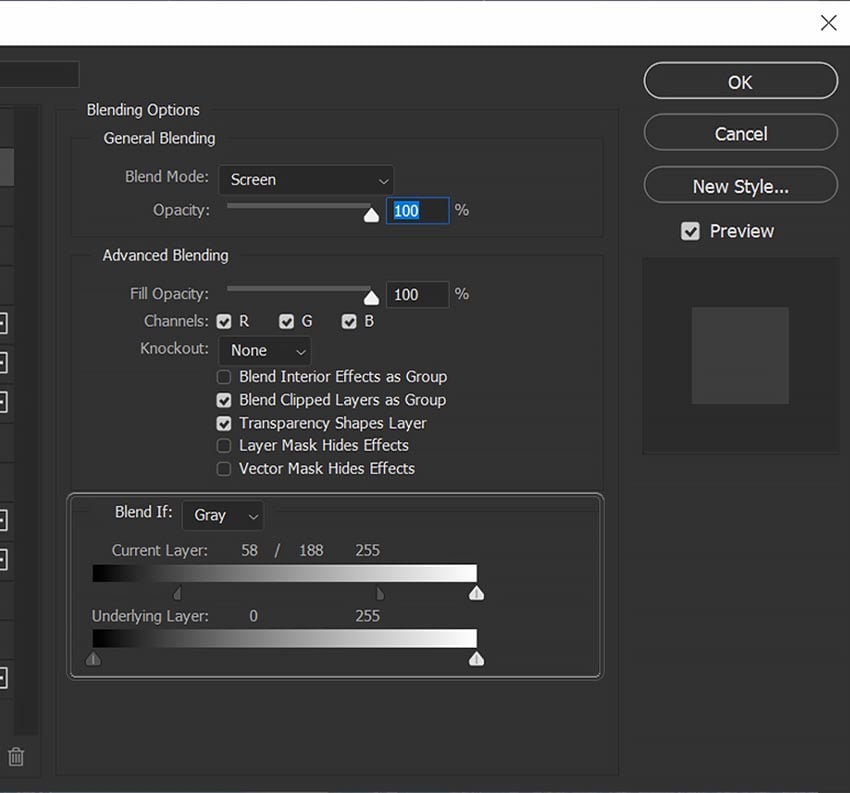
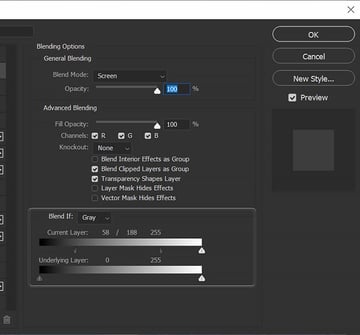
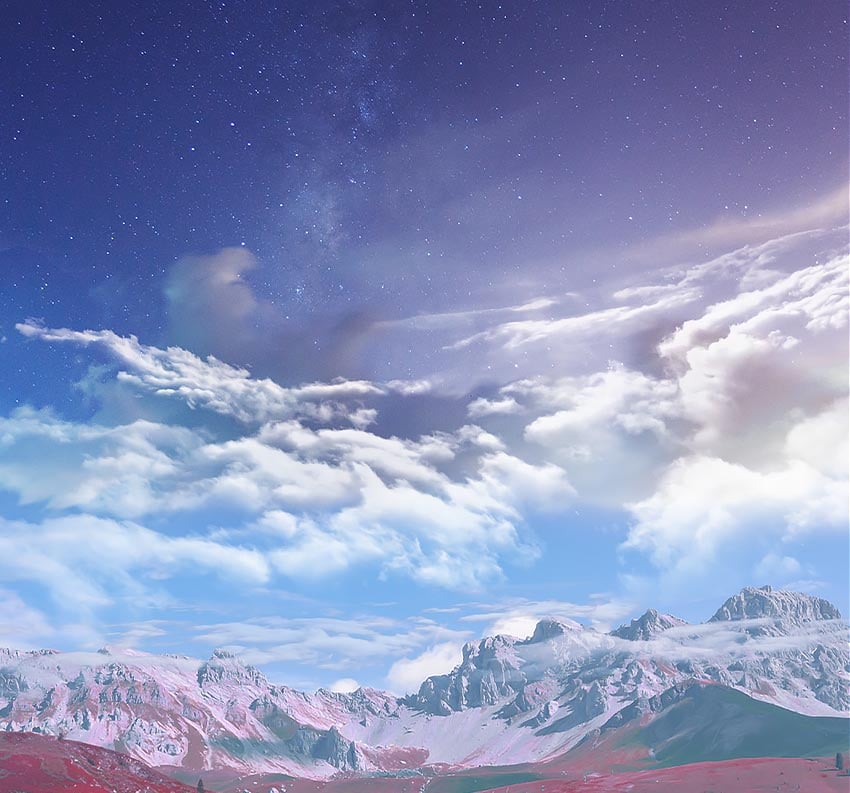
Next. we want to add a band of clouds right above the mountains. Let’s place and angle a panoramic of clouds over our landscape, setting the layer mode to Screen.
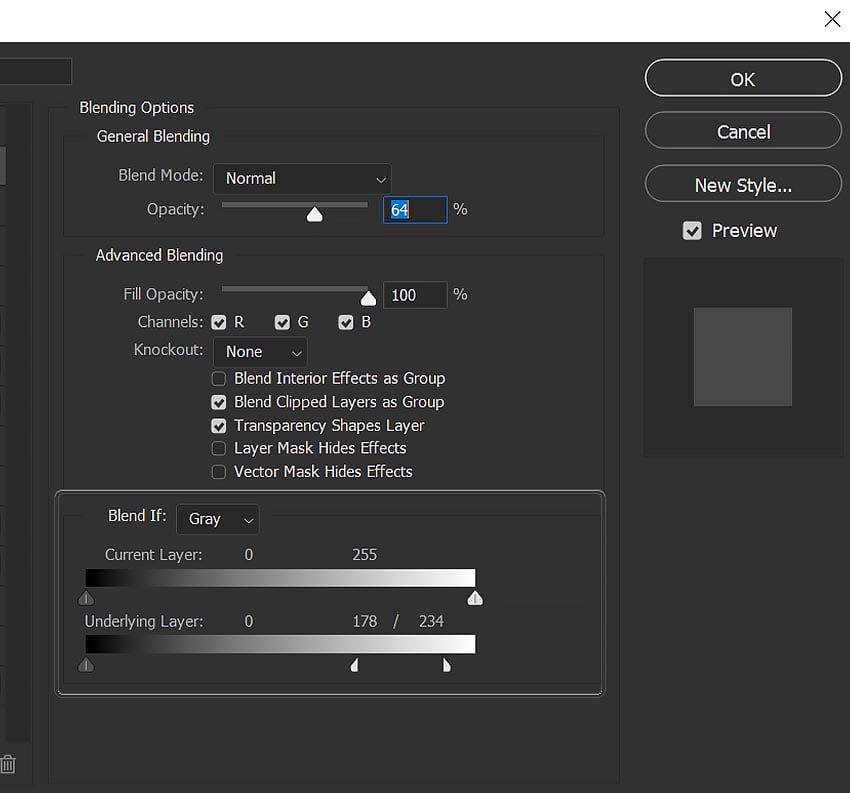
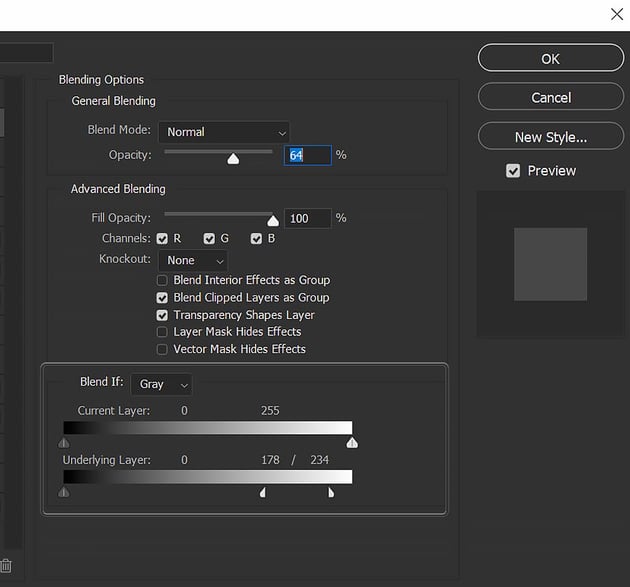
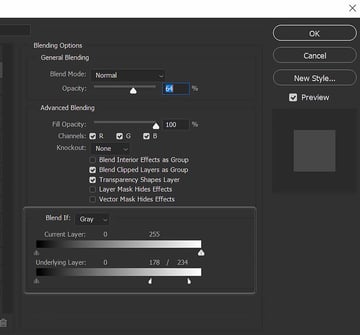
We can double-click on the cloud layer to open the Layer Style panel, and use Blend If to blend away the darker parts of the sky, leaving only brighter clouds.
Press and hold Alt/Option to split and drag the toggles. Blend If works by blending away an image based on luminosity settings. So these toggles are saying “For this layer, only show the parts where the brightness falls within this specific range.”


Step 5
Enlarge, stretch, and shape the clouds using Warp Transform. Then add a Layer Mask, and use a soft black Brush to remove any leftover sky or harsh edges.
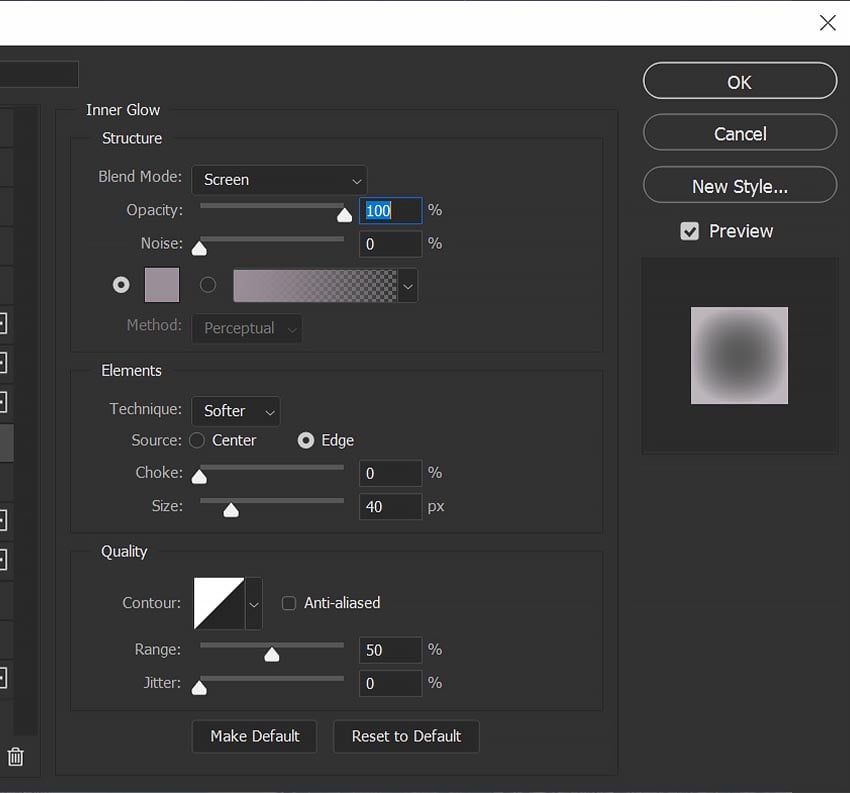
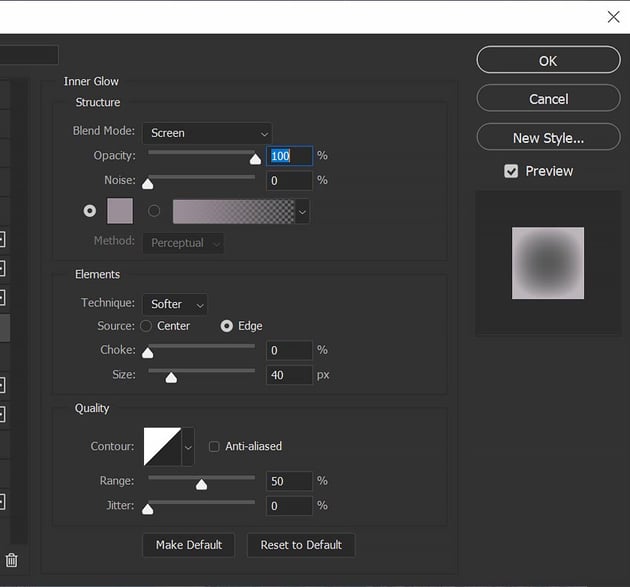
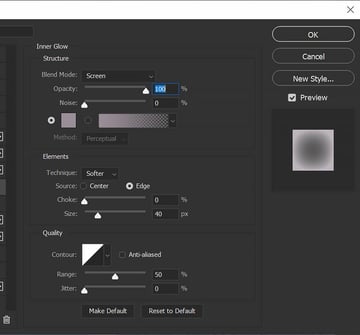
Select the cloud layer and Right-click > Convert to Smart Object. Add an Inner Glow Layer Effect to remove any dark edges from the clouds, and make them appear more solid.
You can Duplicate the cloud layer to add more streaks of clouds over the mountains and other areas of the image.

Step 6
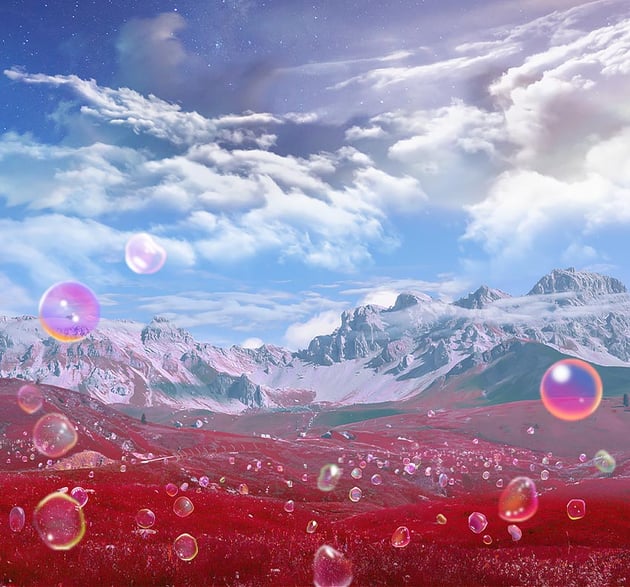
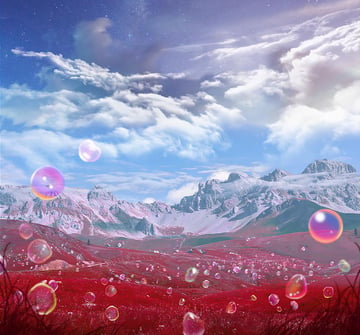
Add some fun alien details by scattering these bubble PNGs across the landscape.
Don’t place each bubble one by one. Instead, create a pile of bubbles, convert the layers to one Smart Object, and copy and paste the smart object over the landscape at different sizes. Use Layer Masks to remove bubbles you don’t like.

Step 7
Finish off the landscape by placing some tufts of grass in the foreground. Change their color to a dark magenta using Image > Hue/Saturation.
Next, add some Blur > Blur Gallery > Field Blur to the grass to give a depth of field effect.


2. How to Create a Star Brush in Photoshop
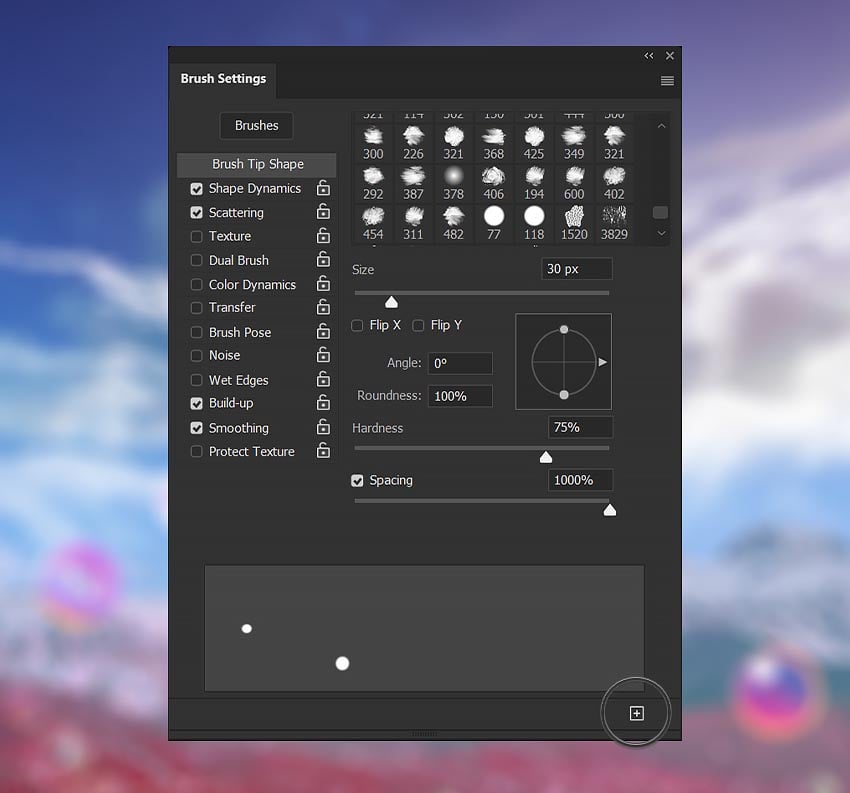
Step 1
We’ll need to create some space brushes in Photoshop before we add our galaxy. First, we want to create a “Single Star” brush using the following Brush Settings applied to a default round brush:
Brush Tip Shape
- Hardness: 75%
- Spacing: 1000%
Shape Dynamics
- Size Jitter: 60%
- Angle Jitter: 100%
- Roundness Jitter: 20%
Scattering
- Scatter: 1000%
- Count Jitter: 100%
Transfer: Unchecked
Save the brush using the [+] icon in the bottom-right-hand corner of the Brush Settings panel.
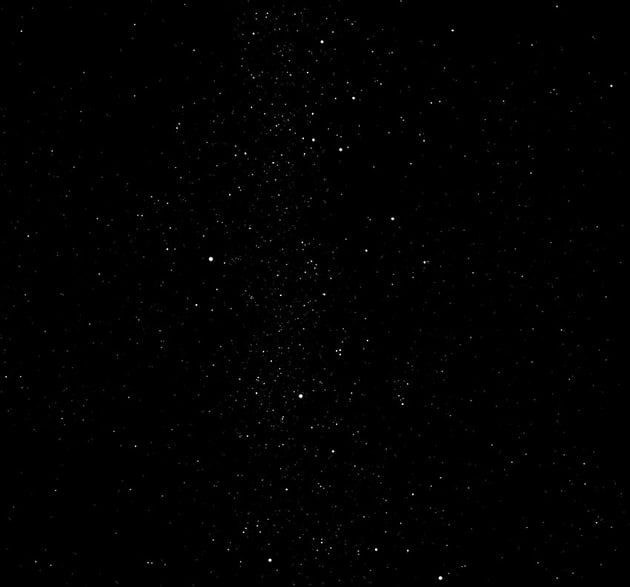
This brush is ideal when you want to make a star in Photoshop, or when placing more precise stars for things like constellations.


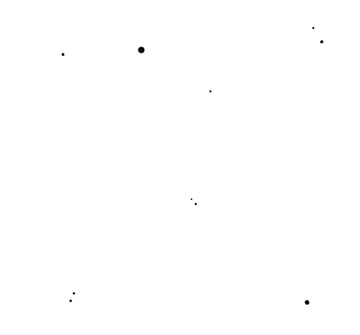
Step 2
Next, we’ll need to create a “Multi Star” brush. Create a New Canvas that is at least 3000 x 3000 pixels in size.
Use the Single Star brush to paint different-sized black dots on a white canvas.
Go to Edit > Define Brush Preset to turn the dots into a brush.


Step 3
Select the new brush and change its Brush Settings to:
Brush Tip Shape
Shape Dynamics
- Size Jitter: 40%
- Angle Jitter: 100%
- Roundness Jitter: 0%
Scattering
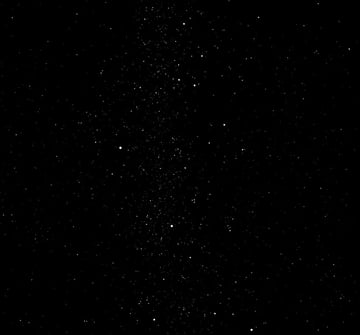
Transfer: Unchecked
Save the brush using the [+] icon in the bottom-right-hand corner of the Brush Settings panel. That’s how to create a star brush in Photoshop.
Step 4
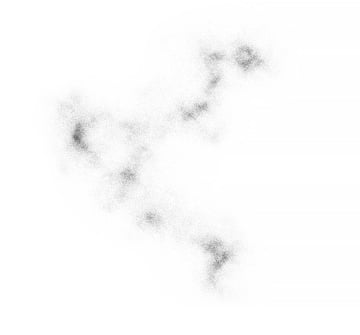
Finally, let’s create a fast galaxy brush in Photoshop. Create another New Canvas that is at least 3000 x 3000 pixels in size.
First, go to Edit > Render Clouds. Enlarge the rendered clouds layer by at least 150%.
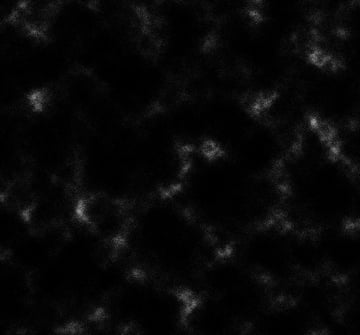
Second, go to Image > Adjustment > Brightness/Contrast and set it to Brightness -100 and Contrast 100.
Third, go to Edit > Noise > Add Noise and set the Amount to 20%. You should be left with something like what you see below.
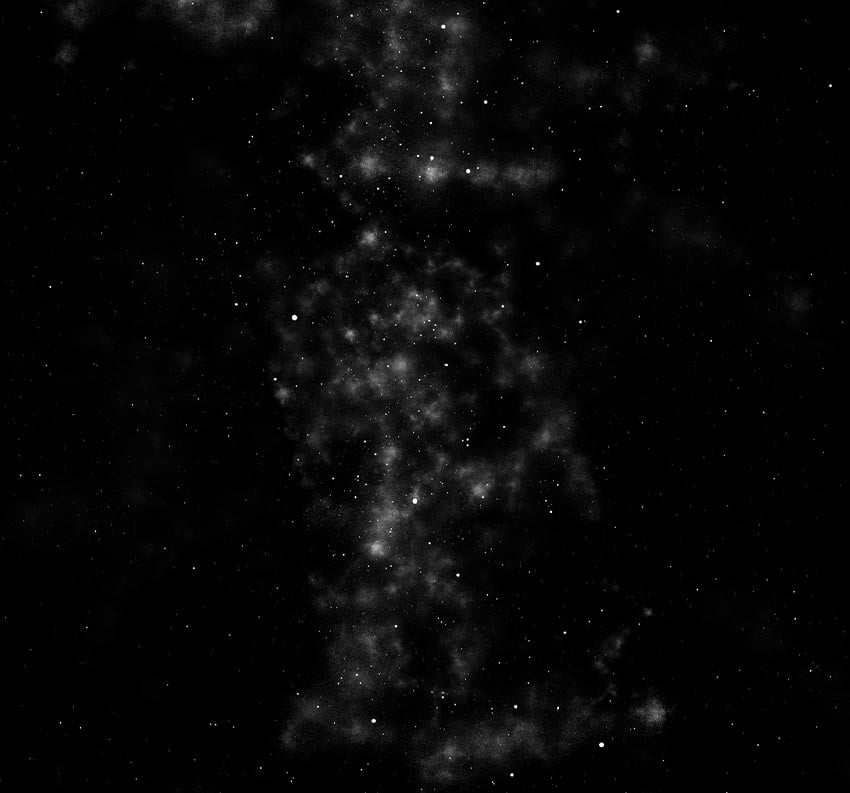
Fourth, use Image > Adjustments > Levels to darken and define the white patterns in the clouds.


Step 5
Using the Lasso tool with a Feather of 30 px, select one of the shapes in the clouds. You can also use the Transform tool to flip or rotate the clouds.
Add a Layer Mask to the clouds. Use Control/Command-I to invert the clouds so you now have a white background and a black pattern.
Go to Edit > Define Brush Preset to turn the dots into a brush.
You can make multiple versions of this brush, with different levels of contrast and brightness, so you have a variety of patterns to choose from.


Step 6
Select the new galaxy brush and change its Brush Settings to:
Brush Tip Shape
Shape Dynamics
- Size Jitter: 75%
- Angle Jitter: 100%
- Roundness Jitter: 0%
Scattering
Dual Brush
- Dual Tip: a Default Soft Round
- Spacing: 55%
Save the brush using the [+] icon in the bottom-right-hand corner of the Brush Settings panel. Below is an example of our galaxy effect in Photoshop using our new brush.


3. How to Create a Galaxy Effect in Photoshop
Step 1
With our brushes done, all we have to do is paint. I’ll be hiding our clouds layer so we can see what we’re doing more clearly. The planet and upcoming spaceship will be under the cloud layer. The cloud layer will end up at the top of your layer stack.
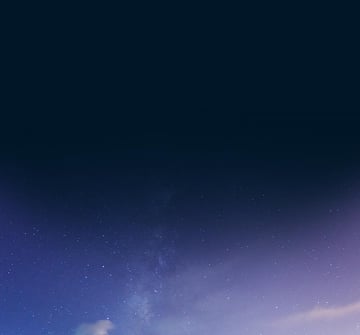
Fill the top of the canvas with either a solid color, or use Generative Fill to create a base for our sky. I used a masked Solid Color fill layer set to a medium blue #011727 color.
We want there to be a very smooth transition between the existing sky and our new galaxy sky.

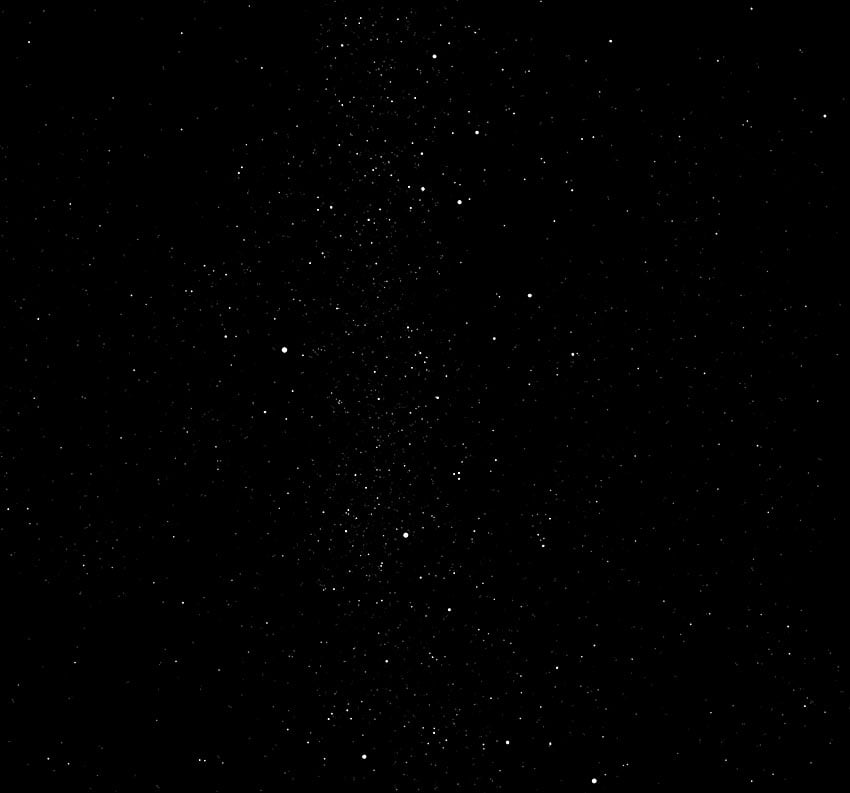
Step 2
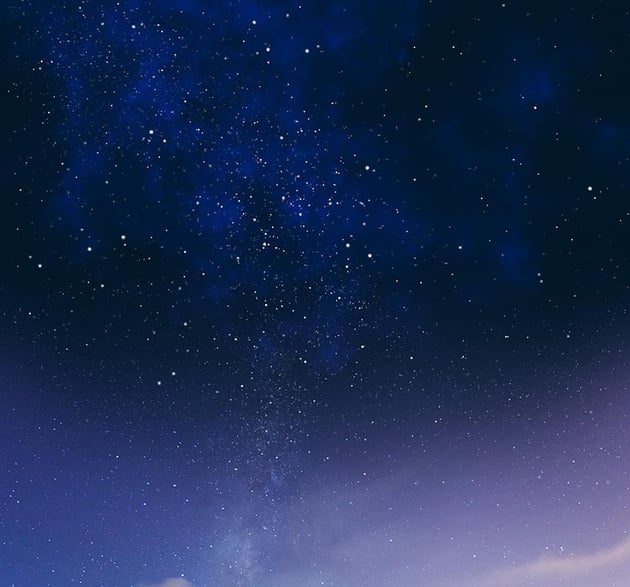
Create a New Layer set to Normal.
Use the single star brush and a multi-star brush we made to paint the starfield. Use different sizes and opacities. Try to concentrate the stars into one single area.
You can Duplicate a star layer to brighten the stars.

Step 3
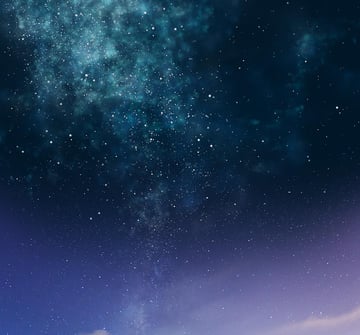
Create a New Layer set to Color Dodge.
Paint using the galaxy brush we made. You can try using different colors, but I’ll be turning everything into one blue hue at the end, so I just used white.


Step 4
You want to layer multiple New Layers set to Color Dodge over one another, slowly building up the nebula effect. Also, experiment with different layer modes like Soft Light, Overlay, and Linear Dodge.
The longer you take to build up the nebula, the better the result. However, this is a great quick effect to add texture to space backgrounds that are otherwise going to be covered.


Step 5
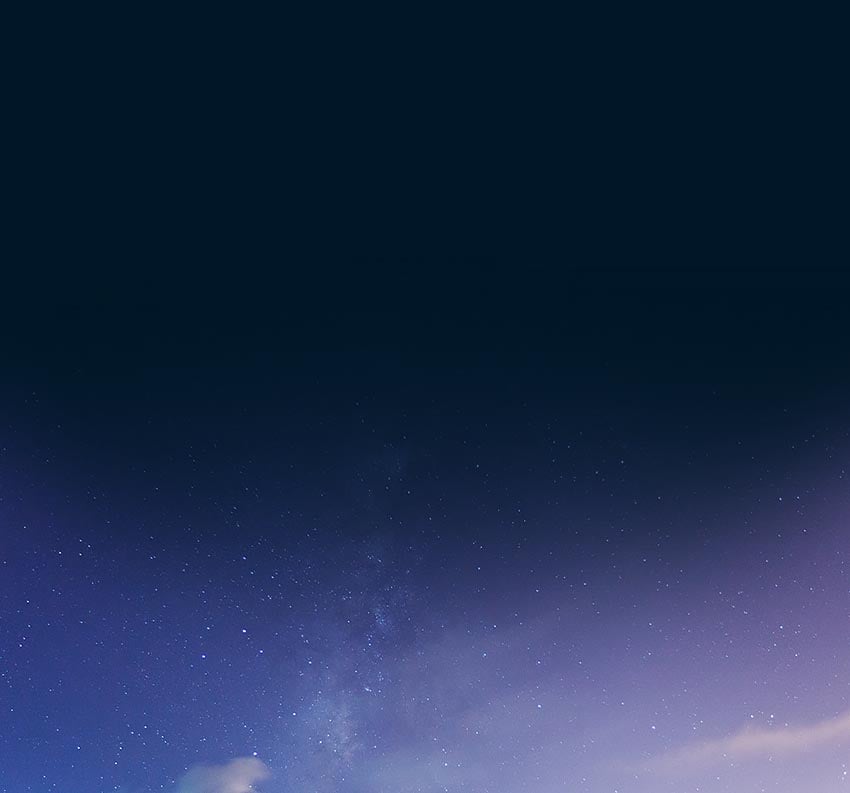
To finish off this sky, create a New Layer set to Color, and paint a light blue #589dce color over the galaxy portion.
I also created a second New Layer above the previous, set to Soft Light. I used this layer and a block soft Brush to darken the sky directly below the galaxy portion, so the two skies blend more seamlessly.


4. How to Create a Planet in Photoshop
Step 1
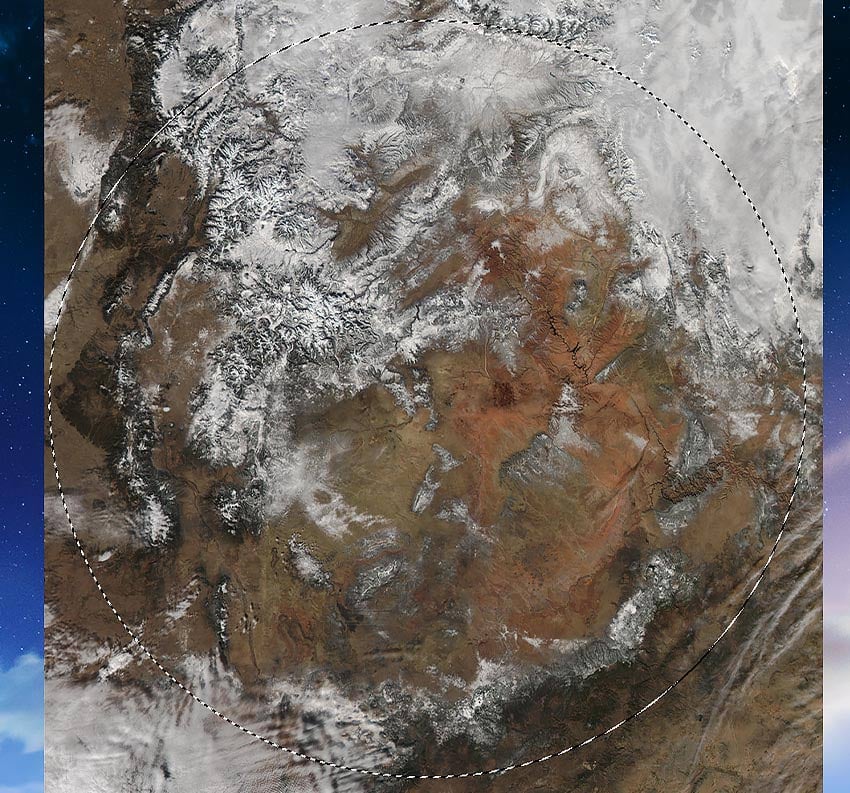
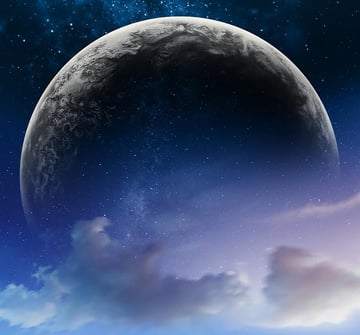
First, download this free terrain texture by NASA, or a similar one. Place it and size it on your canvas.
Use the Elliptical Marquee Tool to create a circular selection inside the texture.


Step 2
Go to Filter > Distort > Spherize, setting the Amount to 100%.
Add a Layer Mask to mask the sphere. This will be the base of our planet.
You can repeat this step multiple times to make the planet appear even rounder.


Step 3
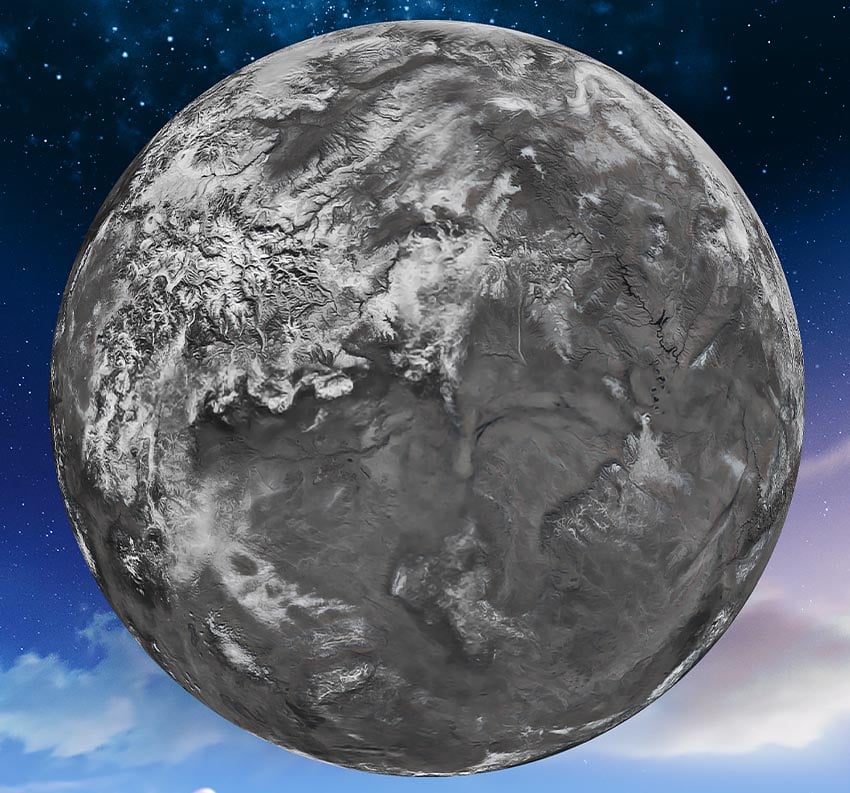
Now, let’s do some quick color correction. First, I’m going to turn the planet into grayscale using Image > Adjustments > Hue/Saturation, setting the Saturation to -100.
Second, to smooth the planet, add a Filter > Noise > Reduce Noise set to Strength 10, and everything else 0%.
Then, bring back some of the detail by Duplicating and Clipping a copy of the planet layer into itself. Set the Duplicate to Overlay.
Finally, go to Filter > Other > High Pass and set the Radius to 10 px. This will keep the planet smooth, while bringing back some of the planet texture’s depth.
These settings will depend on how you want your planet to look, and you can change them to accommodate your specific planet.


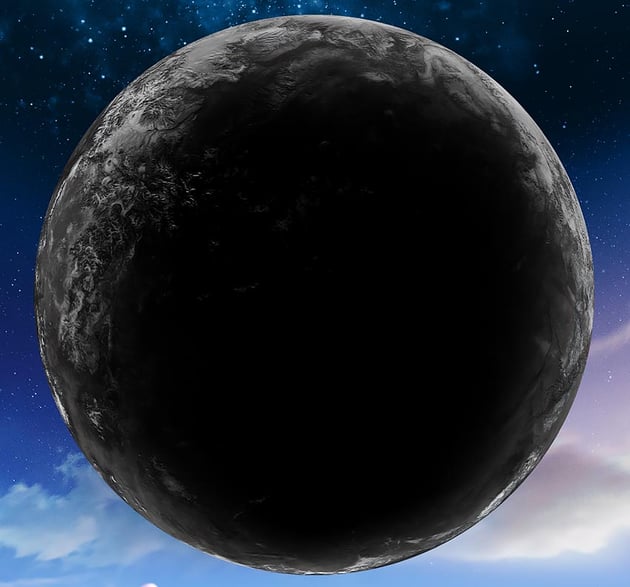
Step 4
Add a shadow to the front of the planet using a clipped Curves adjustment layer. Mask the layer so it only appears in the middle of the planet, leaving you with a slight rim-light effect.
Use Blend If to pull the Curves layer away from the highlights of the planet, giving the planet more depth and detail.


Step 5
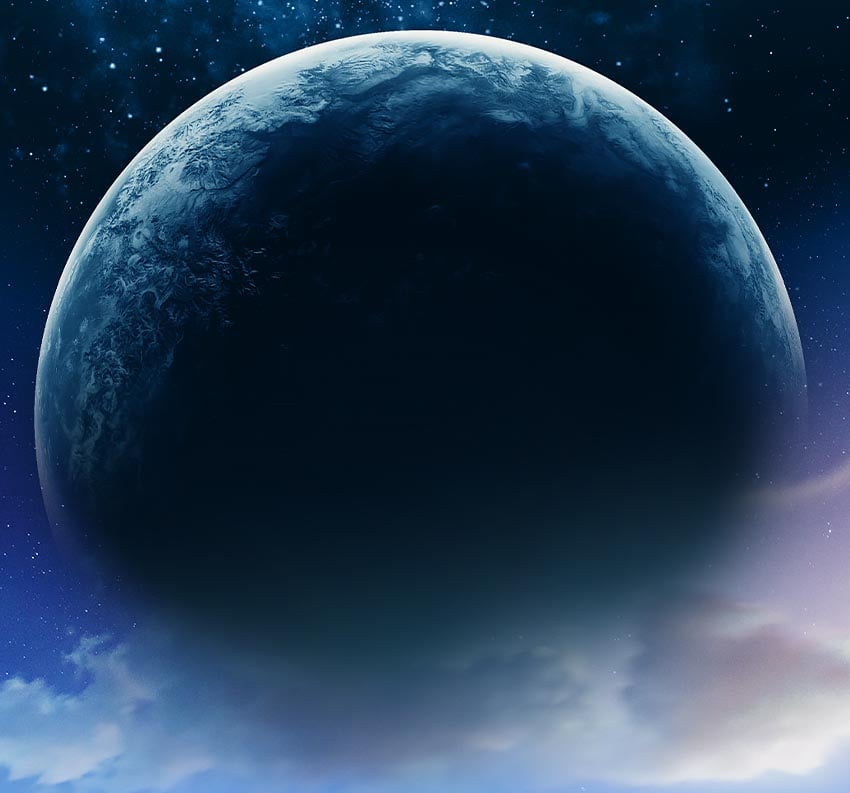
Group the planet layers together, and add a Layer Mask. Mask out the center of the planet so that it appears to be behind the clouds and coming from the horizon.
Open the Group, and clip a New Layer into the planet, setting it to Overlay. Use a soft Brush to paint a rim light around the planet.
I used white for the rim light as I’ll be turning the whole planet blue. However, it’s best to use a bright, pale color that exists in the environment for rim lighting.


Step 6
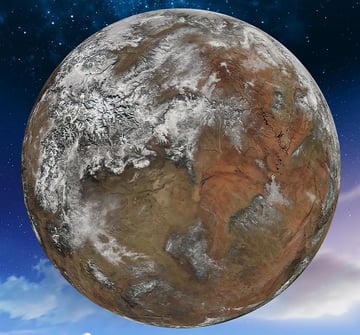
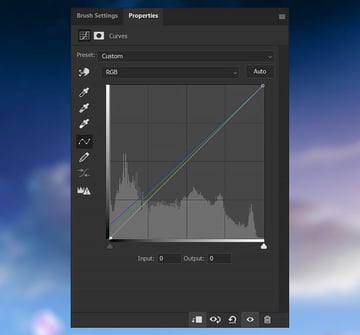
Now, I’m going to color my planet using two adjustment layers clipped into the planet group.
First, add a Color Balance layer set to -82 Red, +3 Green, and +57 Blue.
Second, add a Curves layer, bringing up the shadows in the Blue and Red channels.
Access the different Curves channels by clicking the RGB dropdown menu.


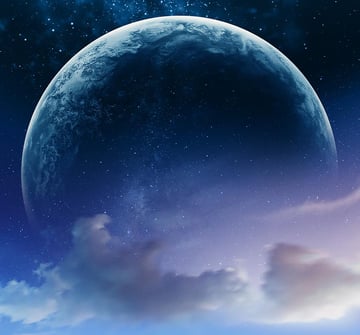
Step 7
Hiding the stars behind the planet is optional but recommended.
Create a new layer below and outside the planet group. Paint using solid, dark colors to hide the stars behind the planet.
You can Duplicate the planet group to make smaller planets and moons in the background.


5. How to Create an Alien Ship
Step 1
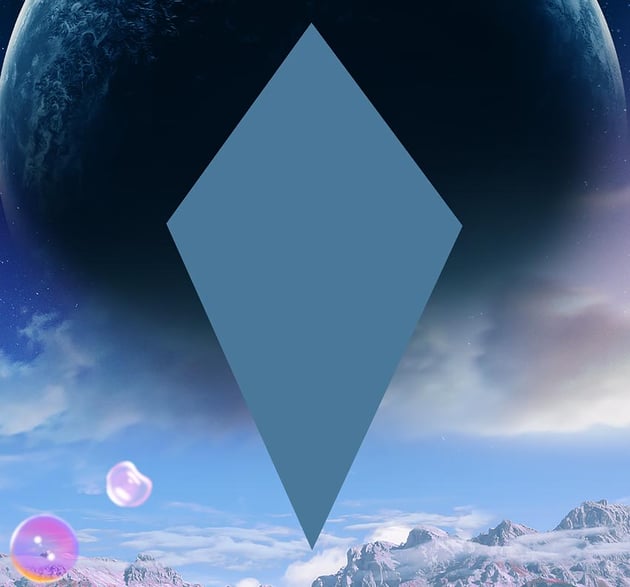
Create the shape of your alien ship using the Pen Tool set to Shape. It can be any medium #4a799a color.


Step 2
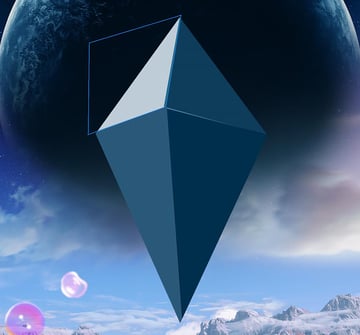
Next, we want to create panels of light on our shape. In this case, there are three shadow panels #006480 and one white highlight panel shape.
Again use the Pen Tool to create these shapes, clipping them into the main shape. Use Opacity to create different shades of shadow, creating a simple three-dimensional shape.
The panel shapes don’t have to be perfect. Only the part of the shape that can be seen matters. Below, you can see the blue path of the highlight shape is partially hidden from being clipped into the main shape.


Step 3
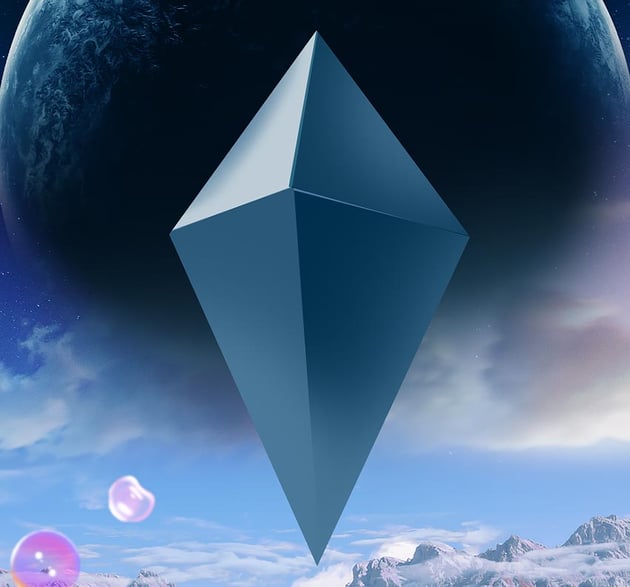
Add a Layer Mask to each shape, and use a soft round Brush to gently mask away small amounts of the highlights and shadow. This will give the main shape more dimension in its lighting.


Step 4
Create a new Group and place the ship and its clipped layers inside. Hold Control/Command and click the main ship layer to create a Selection of the shape. Add a Layer Mask to the group, and the mask will take the shape of the selection.
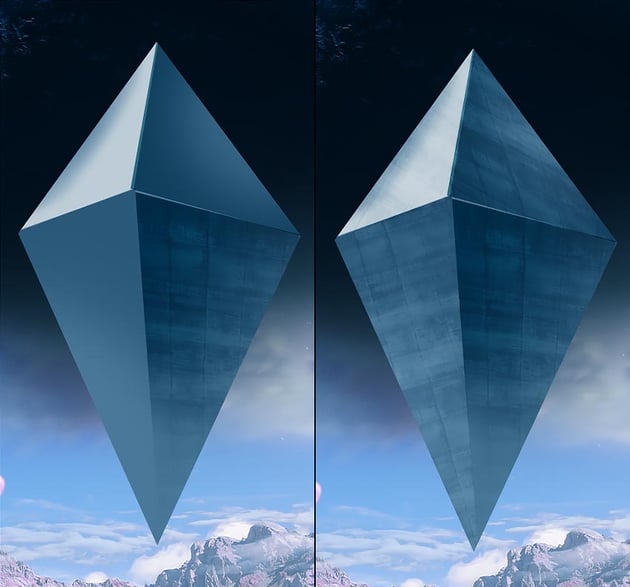
Grab a metal texture, bring it into the ship group, set it to Soft Light, and Skew Transform the texture onto each individual panel shape. You should use four copies of the same texture, fitting each texture to each panel.
Use layer masks to clean up any texture that’s bleeding onto other panels. Lower the Opacity of the texture if needed.


Step 5
Add some final touches using Screen and Lighten layers.
First, create a glowing light effect using a hot pink #f12a54 color and a New Layer set to Screen.
Second, create a haze effect covering the bottom of the ship using a dusty blue #6da1ce color on a New Layer clipped into the ship group and set to Lighten.
We can also turn our clouds back on.


Step 6
Finish up with a last light effect coming from the top of the ship. Paint a soft, straight line using white on a New Layer set to Normal.
Duplicate that layer, and change the layer mode to Overlay. Add a small amount of Blur > Gaussian Blur.
Repeat that step twice more, setting the layer mode to Color Dodge.


Step 7
This is optional, but I like to Duplicate all current layers, Merge them, and then Right-click > Convert to Smart Object.
Then use Filter > Camera RAW Filter on the duplicate to do some final color adjusting, like adding more contrast, adjusting colors, and adding a small amount of grain.
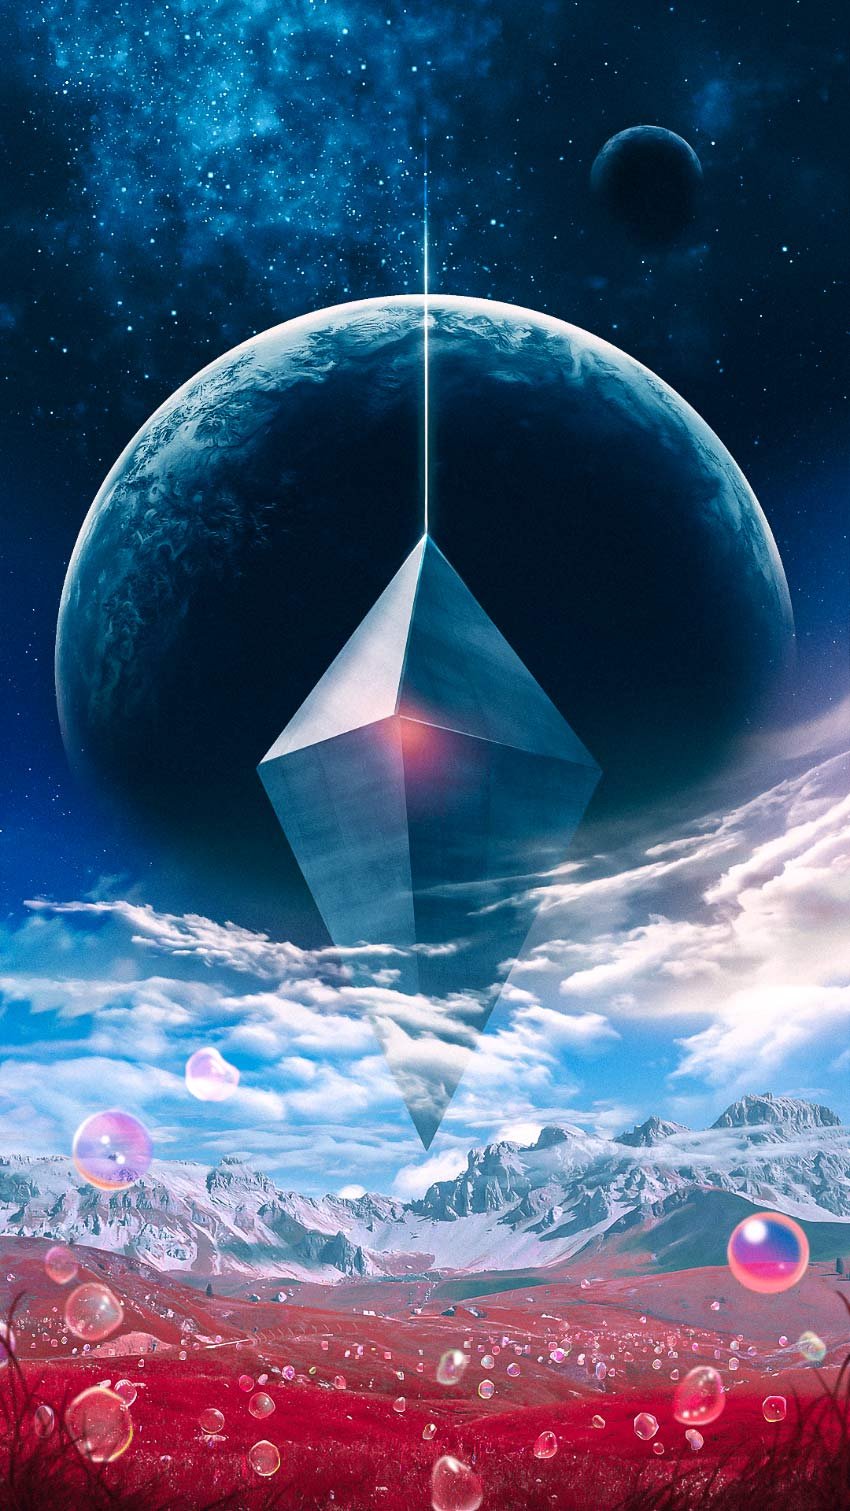


That’s It!
That’s five sci-fi-inspired effects rolled into one image—from Photoshop sci-fi brushes to learning to make a star in Photoshop, and of course spaceships and planets as well. We covered all the basics you need to bring your sci-fi images to life, and we even made a great starter set of space brushes for Photoshop. Don’t forget, these are all foundational techniques, so take them even further, have fun, and experiment.
Looking to learn more? Why not check out the following tutorials: