
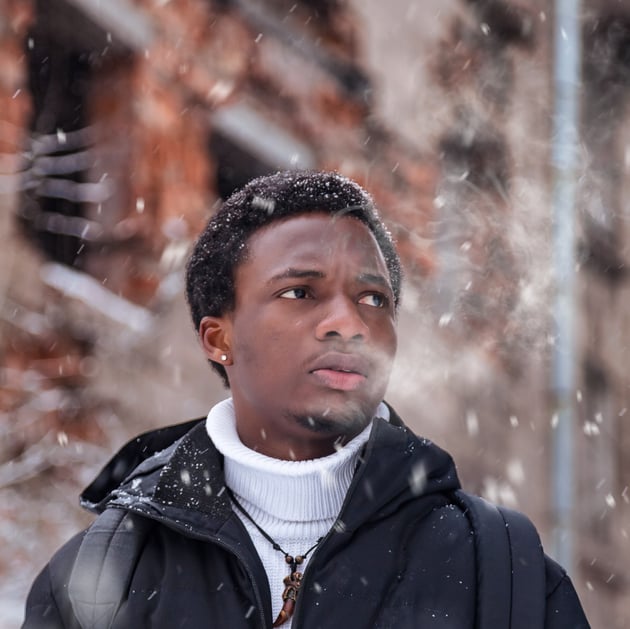
Today, we will be looking at how to create cold breath in Photoshop. In just a few simple steps, we’ll create the perfect cold effect to add to winter portraits. Let’s get started!
Don’t miss the new video from the Envato Tuts+ YouTube channel to follow along:
How to Create Cold Breath in Photoshop
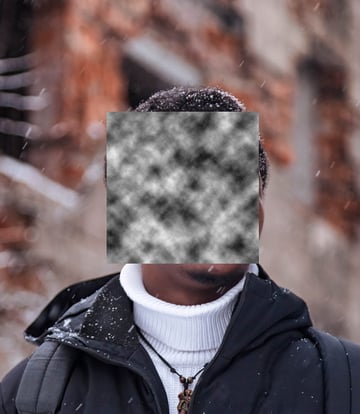
Step 1
First, set your Foreground and Background color to black and white. Create a New Layer. Go to Filter > Render > Clouds.
Use the Rectangular Marquee Tool to cut and paste a square of the clouds on a New Layer. You can Delete the original cloud layer.
This is optional, but I suggest selecting your cloud square and going to Right-click > Convert to Smart Object so you can edit it non-destructively.


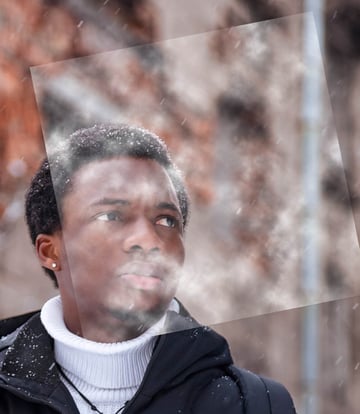
Step 2
Set the cloud’s Layer Mode to Screen. Go to Image > Adjustments > Brightness/Contrast, setting it to Brightness -60 and Contrast 100.
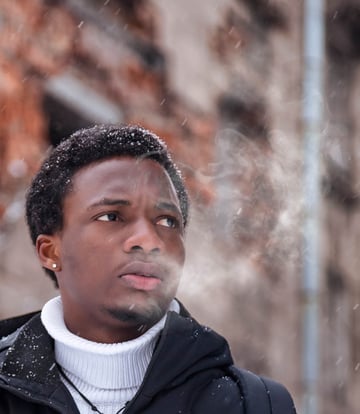
Use the Transform tool to enlarge and place the clouds over the subject’s mouth and the area where you want the cold breath to be.
Look for interesting shapes in the clouds to line up with the mouth or nose of the subject.


Step 3
Add a Layer Mask to the clouds layer. Use a soft round Brush set to black to mask away the edges of the clouds, as well as shaping the clouds to form the initial cold breath shape.


Step 4
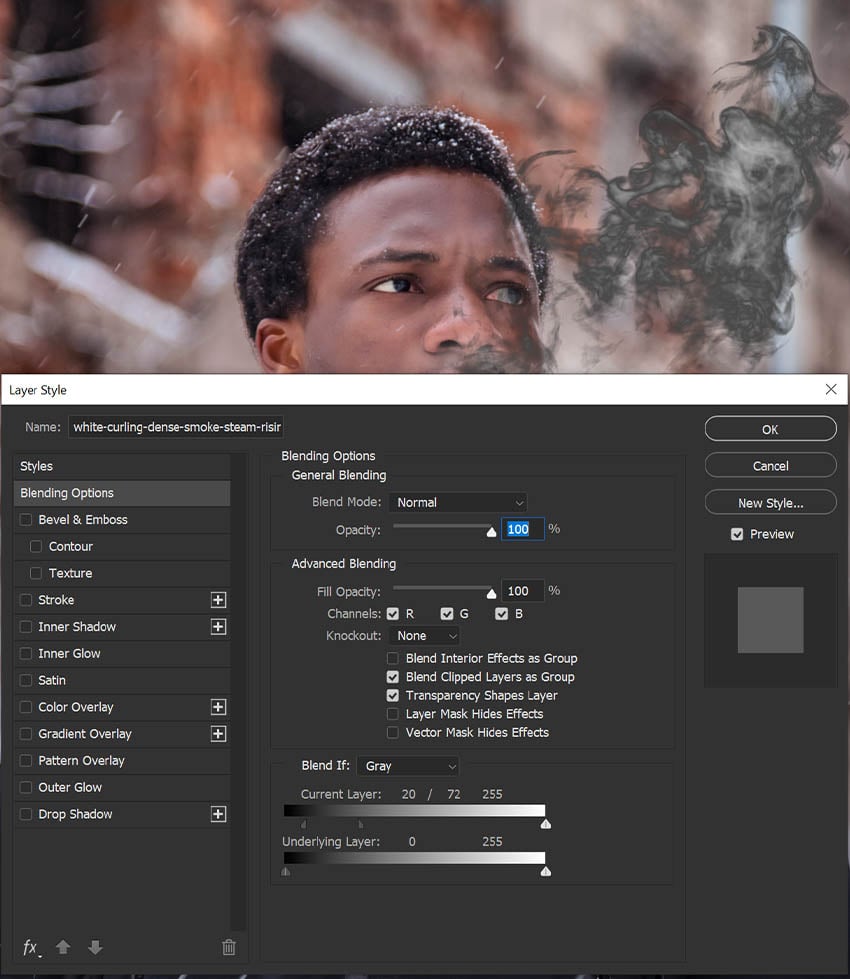
Place an image of wispy smoke with a black background on your canvas.
Double-click the image to open the Layer Style panel. Go down to Blend If and adjust the Current Layer toggles to look like what you see below. This will remove the black background from the smoke.
Hold Alt/Option to split the toggles.


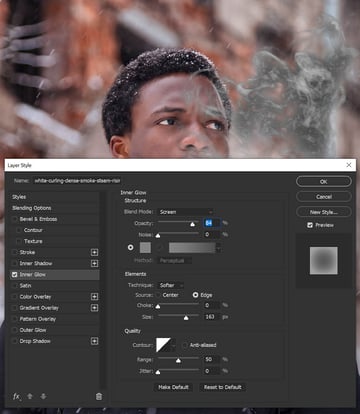
Step 5
Add an Inner Glow layer effect using the settings you see below. This will hide some of the leftover black background.


Step 6
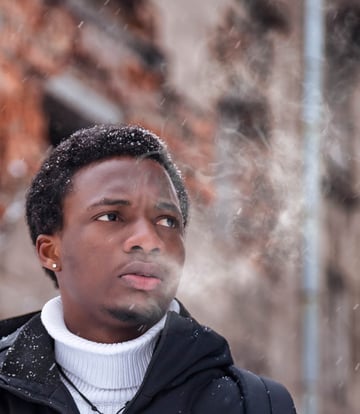
Set the smoke layer to Overlay and add a Layer Mask. Use a soft round Brush set to black to remove and blend the smoke into the existing breath.
If Overlay is too subtle, you can also try setting the layer to Screen.


Step 7
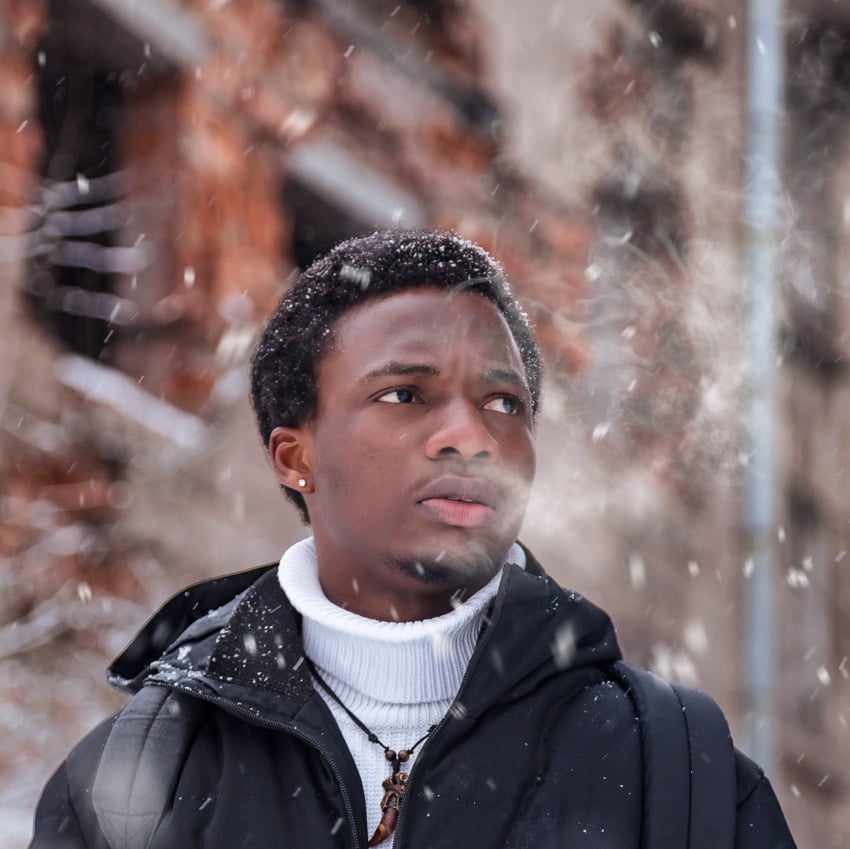
Duplicate and Transform the smoke layer to add more of the wispy breath effect. Try moving the layer around to different areas, and enlarging or shrinking it.
Lower the Opacity to make the effect more subtle.


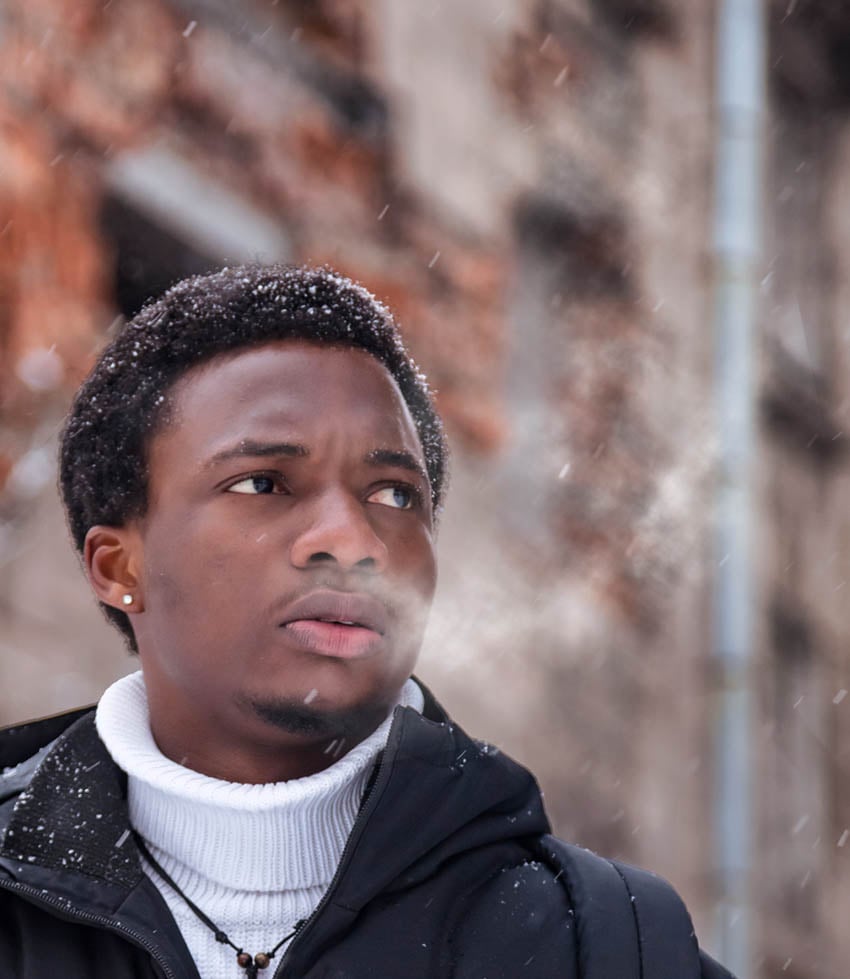
That’s How to Create Cold Breath in Photoshop!
That’s the perfect cold effect in Photoshop. You can build this effect up to be as dramatic or as subtle as you need it to be. With a few tweaks, you can also use this to create smoke and other foggy vapor effects that are great for close-up portraits.

Wondering How to Change the Weather in Photoshop?
Wondering how to change the weather in Photoshop quickly? Envato Elements has hundreds of Photoshop add-ons and assets that will change your photos from warm and sunny to freezing in an instant.
Snow Animation Photoshop Action (ABR, ATN)


Create a realistic snow effect with this Snow Photoshop Action. Whether you want to add a winter touch to your photos or create a festive design, this action makes it easy and fast.
Cold Winter Photoshop Action (ATN)
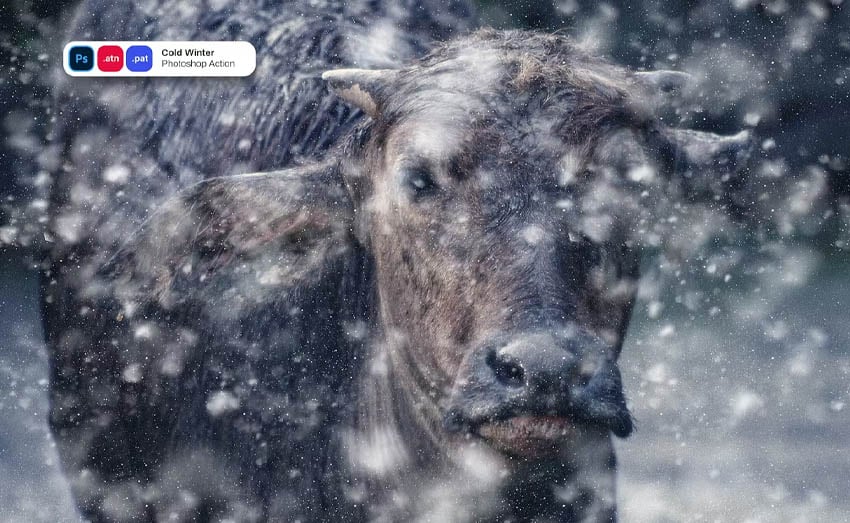
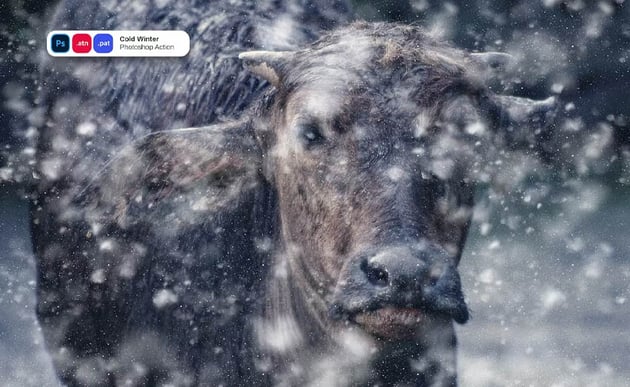
Looking to up the drama with a snowstorm? Then this cold winter action may be more your speed. It adds a heavy snow effect as well as a cinematic blue tone color grade to turn any image into a blizzard.
8 Snow Photoshop Brushes (ABR)

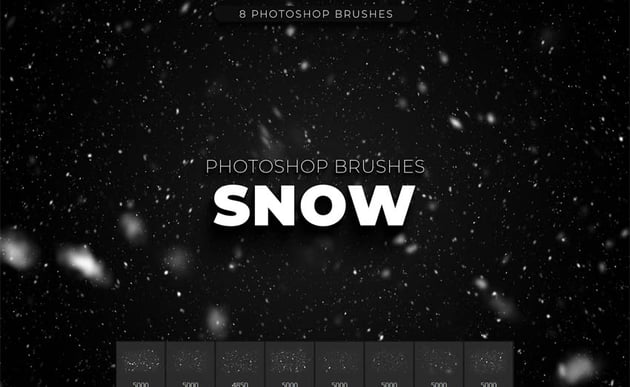

These eight snow brushes are a must for any cold Photoshop weather effect. They give you complete control over your snow, letting you add as much or as little as you’d like, making them perfect for both matte painting and portrait photography.
Frozen Photoshop Action (ABR, ATN, PAT)


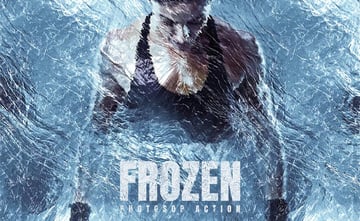
The Frozen action takes Photoshop weather effects to a whole new level. Don’t just change the weather, but engulf your whole subject in a highly detailed block of ice. This one is great for posters and graphic design projects.
Freezing Photoshop Action (ABR, ATN, PAT)

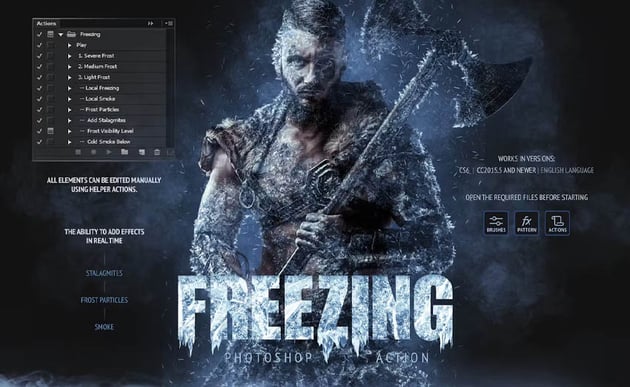

This freezing action has it all! Brilliant ice crystals, snow, and cold foggy breath—this is one of the most detailed and complex actions out there.