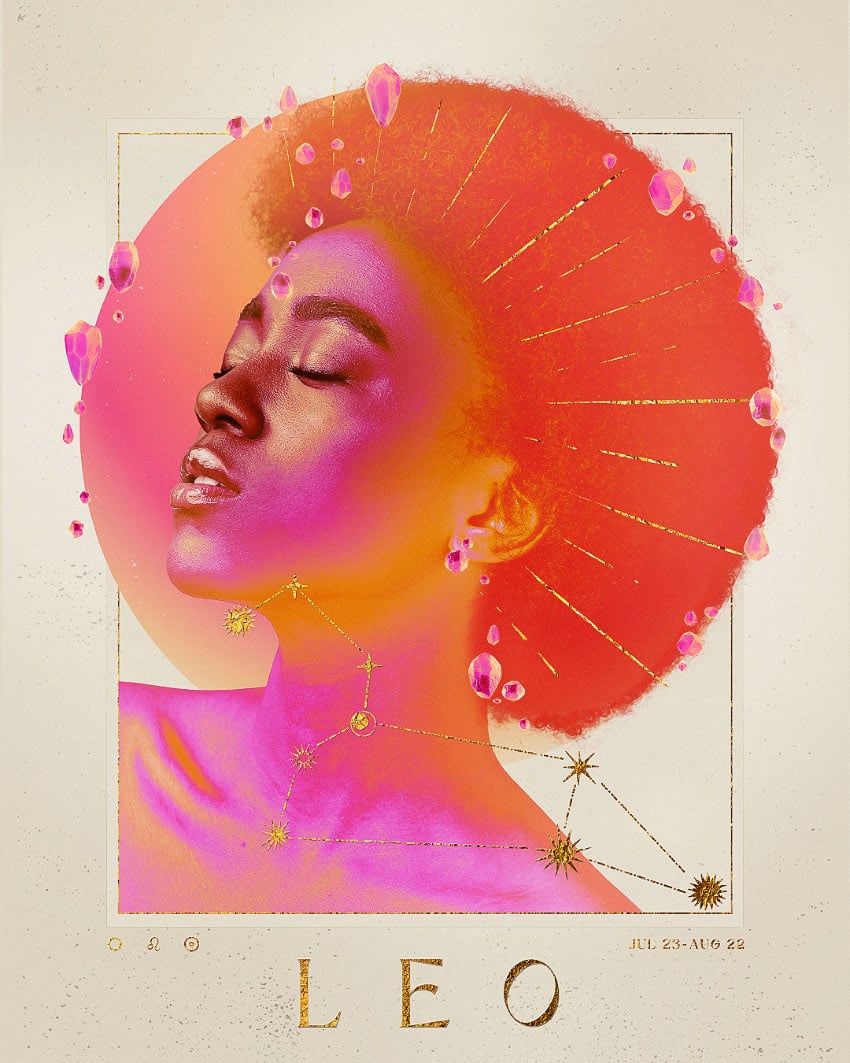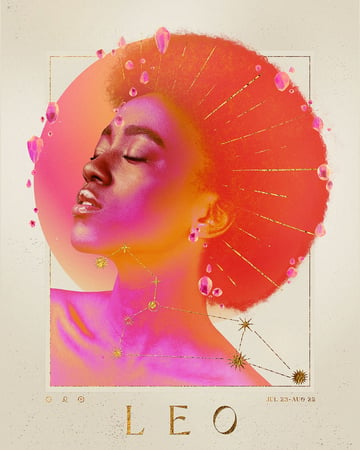
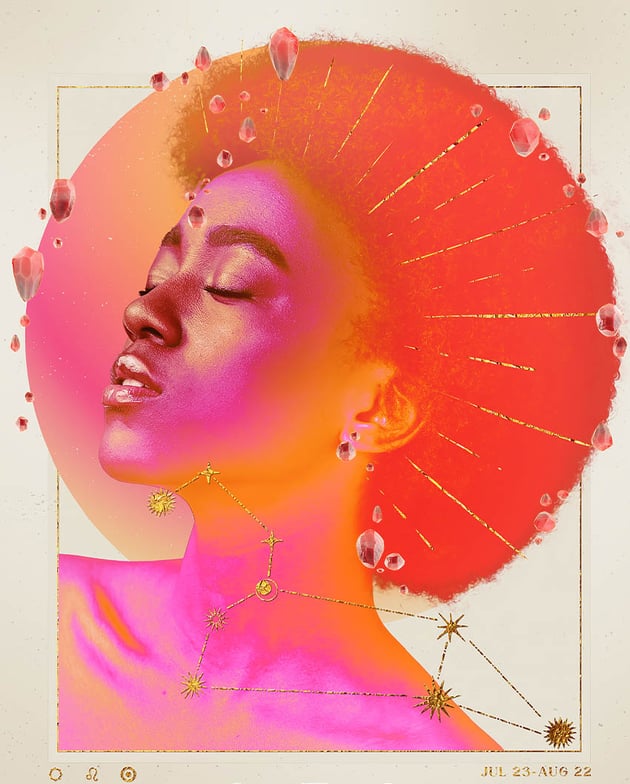
Today, we will learn how to create a modern Leo the Lion constellation poster design in Photoshop! We will create a more contemporary Leo the Lion artwork by adding trendy neon colors and gold leaf textures. Let’s get started!
What You’ll Learn in This Photoshop Tutorial
- How to create a Leo the Lion constellation poster design
- How to add gold leaf in Adobe Photoshop
- How to create a gradient circle in Photoshop
- how to create a neon effect in Photoshop
What You’ll Need
1. How to Make a Gradient Sphere in Photoshop
Step 1
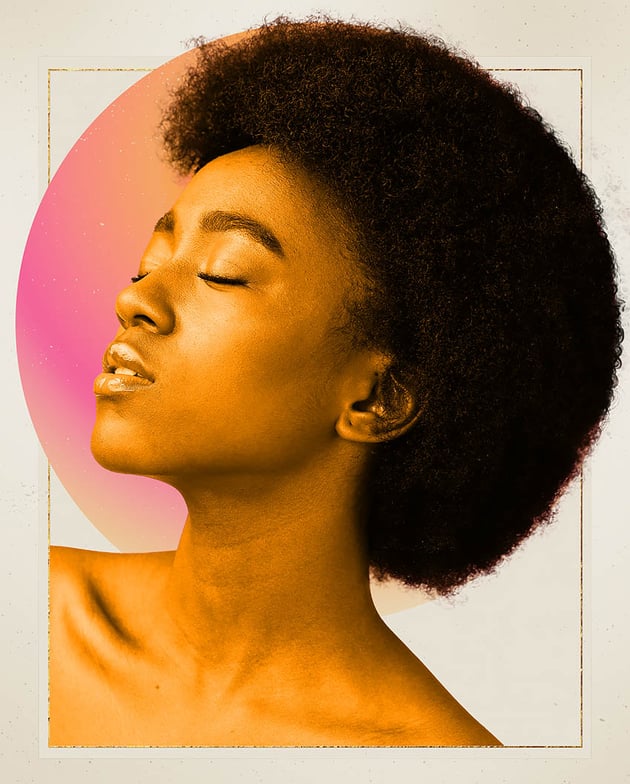
First, create a quick background using a solid color fill layer set to a warm tan #e7e1d3 color. We will be making a collage inspired poster design today.
Next, drag and drop a Subtle Distress Texture onto the canvas, filling the canvas. Set the layer Opacity to 15%.
Create a New Layer and set it to Overlay. Create a vignette effect by painting white in the middle of the canvas and black on the edges using a soft round Brush. Set the layer Opacity to 30% or lower.
My canvas is 3166 x 3958 pixels.


Step 2
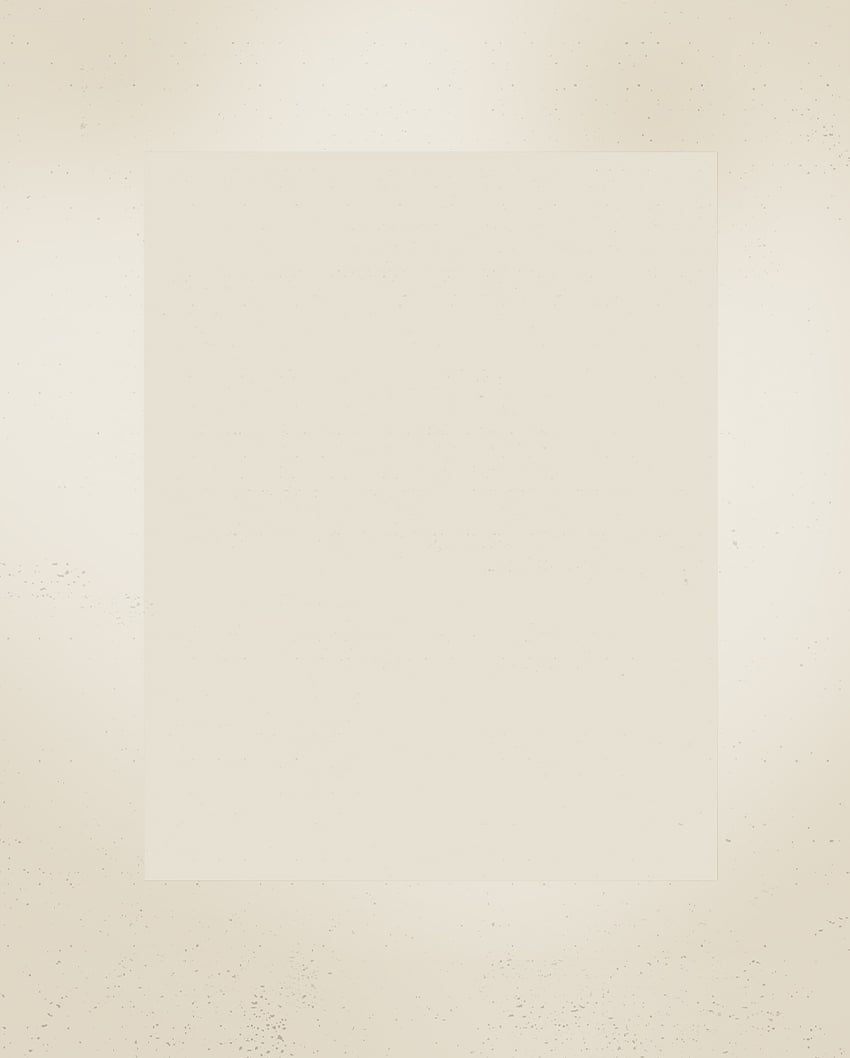
Use the Rectangle Tool to create a tan #e7e1d3 rectangle in the middle of the canvas. Use the Layer Style panel to add a 1px Black Stroke set to Overlay.
Add more of the Subtle Distress Texture to the canvas, placing it on top of the rectangle. Bring the Opacity to 9%.
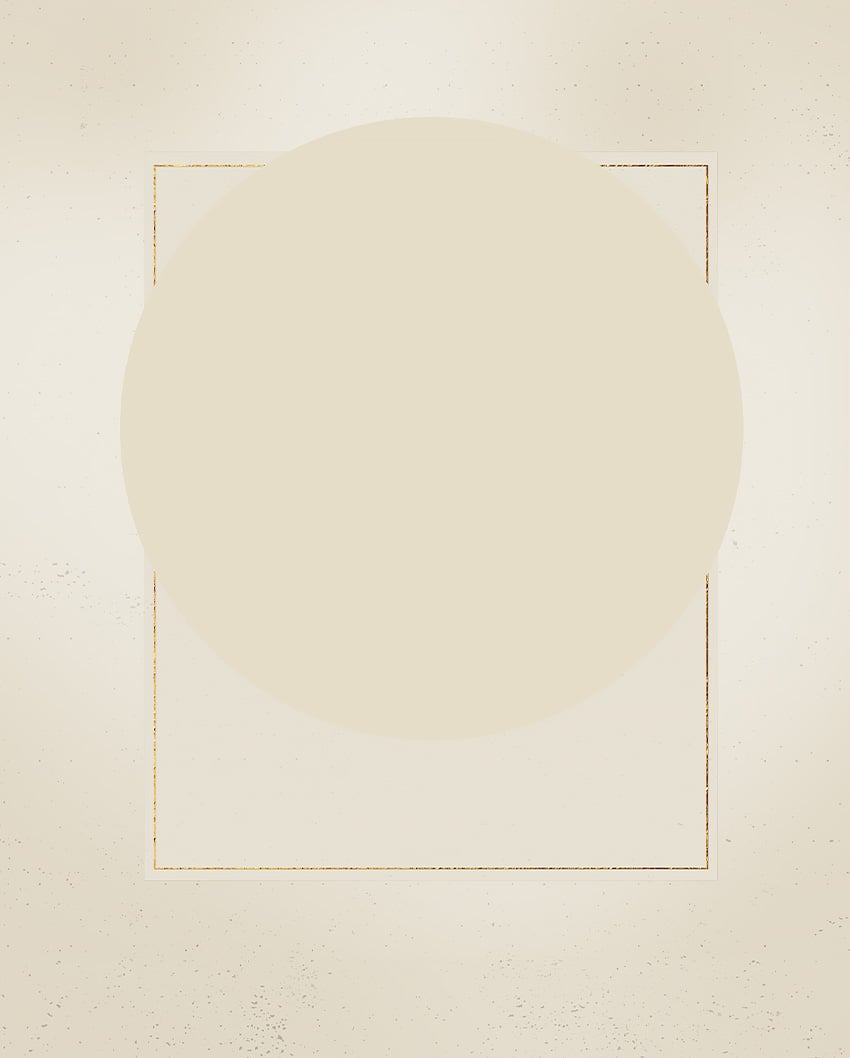
Step 3
Create a smaller rectangle inside the first rectangle using the Rectangle Tool.
In the Shape Properties panel or the upper Options Bar, set the Fill to None and the Stroke to 5 px and black.
Clip a Gold Foil Texture into the smaller rectangle, creating a gold foil border effect.

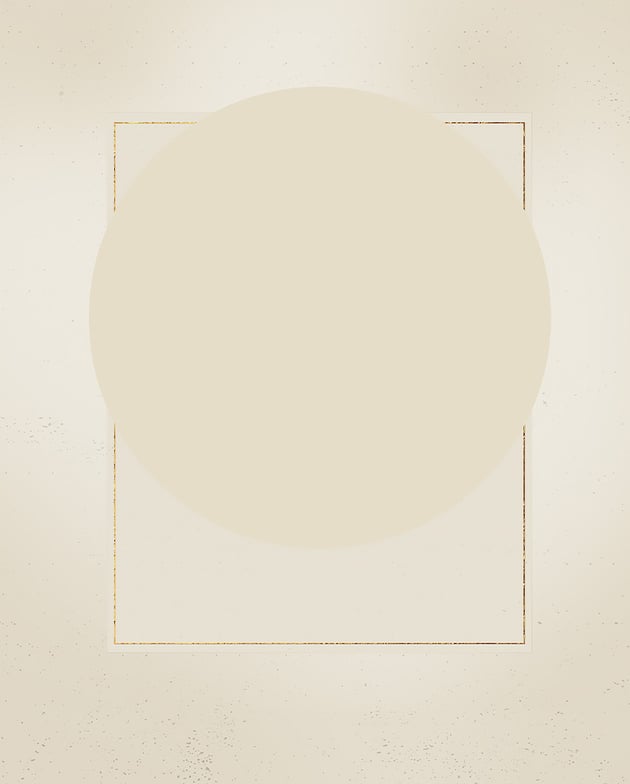
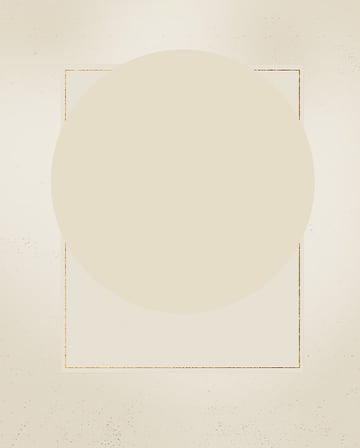
Step 4
Create a circle in the middle of the canvas using the Ellipse Tool in a warm tan #e6ddc8 color.
Step 5
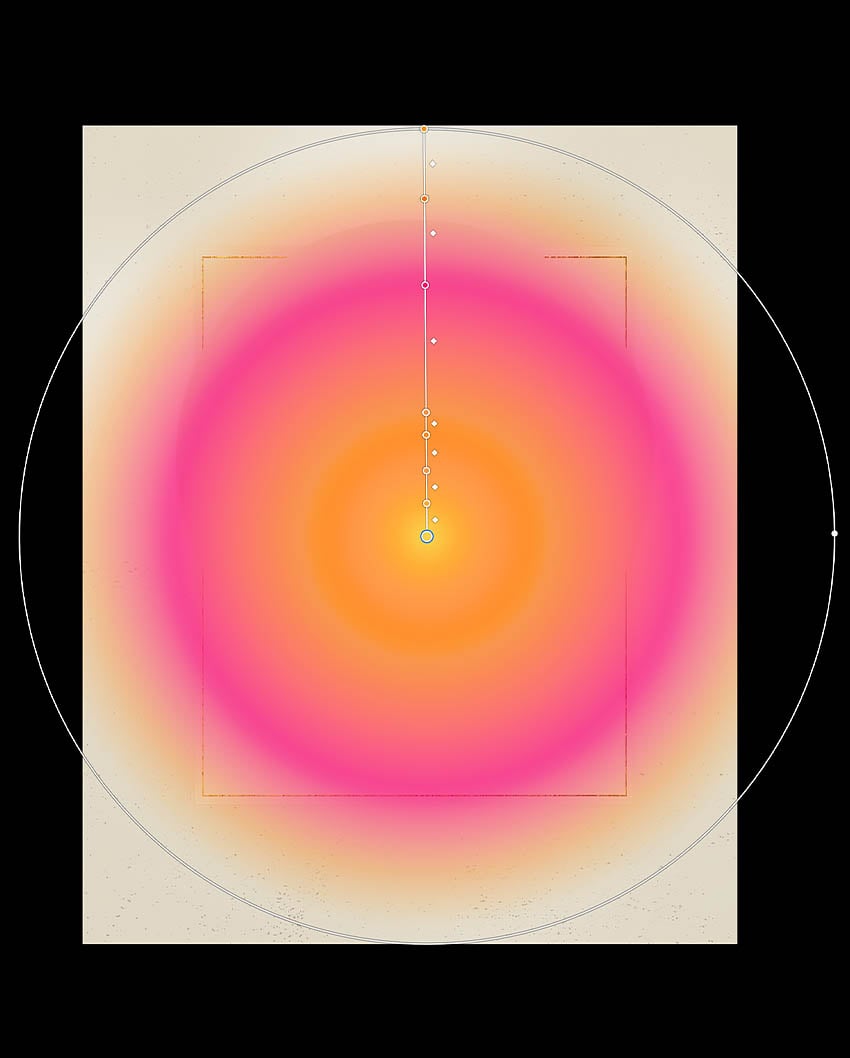
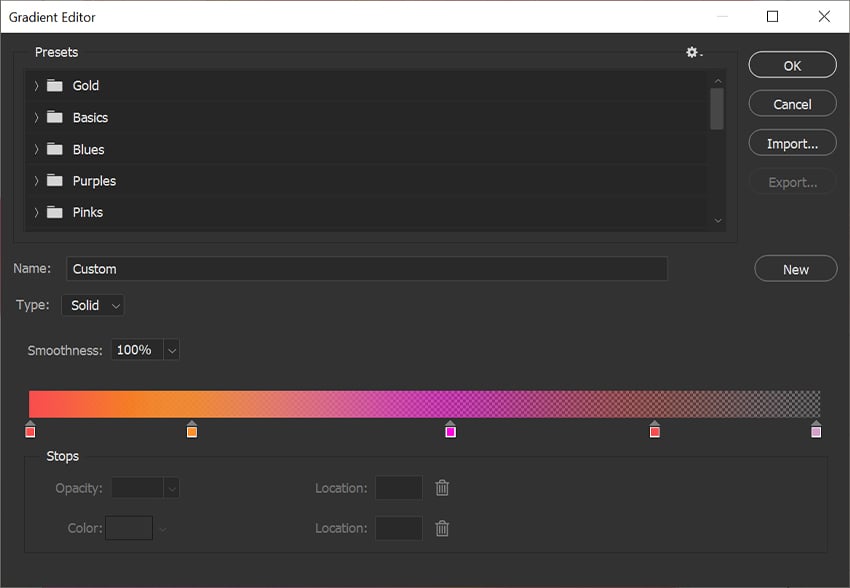
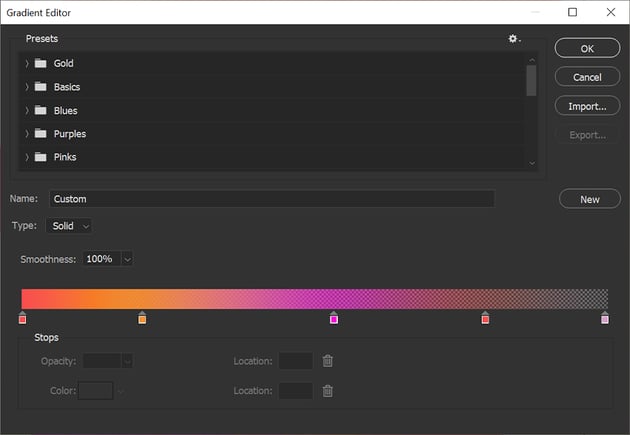
Use the Gradient tool to create a Radial pink and orange neon Gradient Fill layer. The settings are seen below.
Gradient Colors
#f9d34d#ffad38#ff9a49#ff902e#f9964d#ff0072#ff7200#ff9600
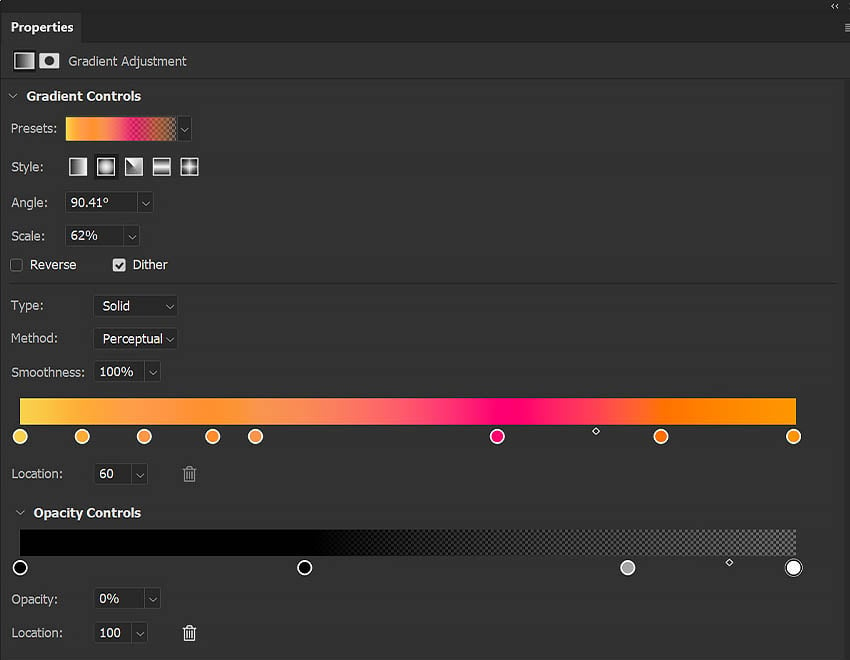


Step 6
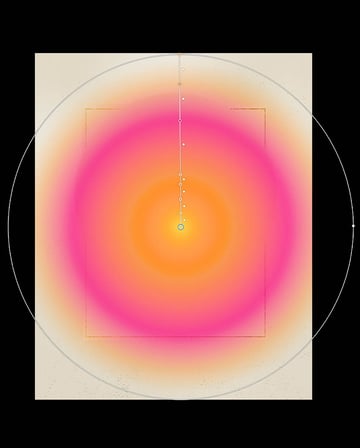
Clip the Gradient Fill into the circle shape. Move the gradient so that the radial effect is at the top of the circle shape. Lower its Opacity to 90%.
Add more of the Subtle Distress Texture to the canvas, placing it on top of the gradient circle.


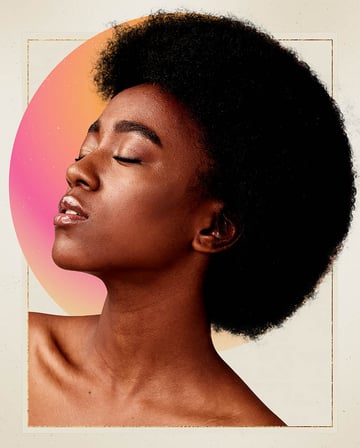
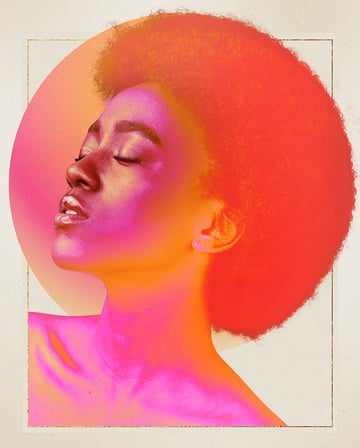
2. How to Create a Neon Skin Effect
Step 1
Place and extract your subject using your preferred method. I like using Select Subject and a Layer Mask.
Use the Rectangular Marquee Tool and a Layer Mask to mask the subject within the gold foil border.


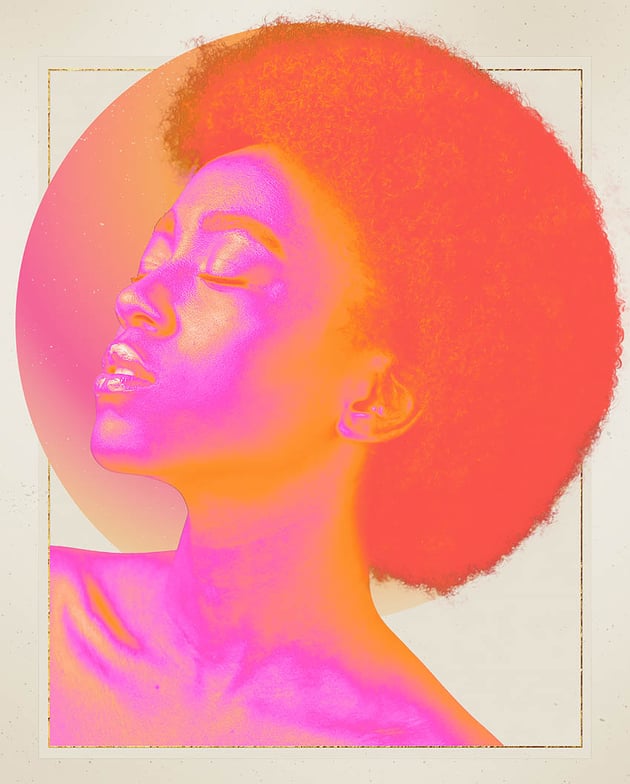
Step 2
Duplicate the subject, bringing it on top of the original. Name this layer “Neon” and set it to Lighten.
Create and Clip a Gradient Map adjustment layer into the “Neon” layer. Learn more about the Gradient Tool.
Gradient Colors
#f94e4d#ff902e#ff00de#f94e4df94e4d


Step 3
Duplicate the original subject layer again, and bring it on top of the “Neon” layer. Name the new layer “face.”
Either Right Click > Apply Layer Mask or Right-click > Convert to Smart Object and add a new Layer Mask. Fill the Layer Mask with Black using Control/Command-I.
Use a soft white Brush to mask back in the face.

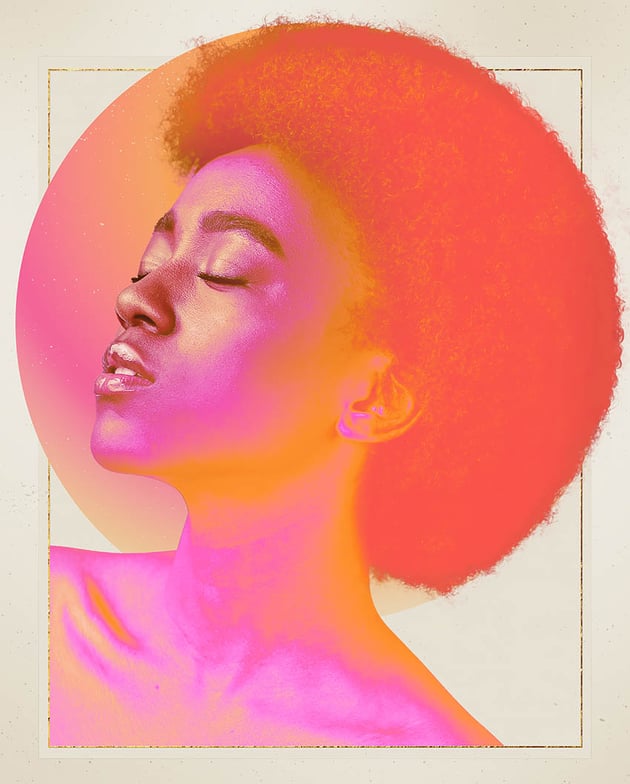
Step 4
Duplicate the original subject layer again, and bring it on top of the “Face” layer. Go to Image > Adjustments > Hue/Saturation and check Colorize. Set it to Hue 35 and Saturation 100. This will turn the model orange.


Step 5
Set the layer mode to Screen.
Just like before, either Right Click > Apply Layer Mask or Right-click > Convert to Smart Object and add a new Layer Mask. Fill the Layer Mask with black using Control/Command-I.
Use a soft round Brush set to white to mask in any areas that need to be brighter or where the gradient looks bad. Here, it is mainly the ear and chin.


Step 6
Group all of the subject layers together, naming the group “Subject.”
Create and Clip a Brightness/Contrast adjustment layer into the “Subject” group, setting it to Brightness -15 and Contrast 35.
If the image is still too bright or needs more contrast, you can create a New Layer set to Soft Light. Use a soft round Brush and paint dark brown #2c160c on areas to darken them and light tan #f7ded3 on areas you want to brighten.


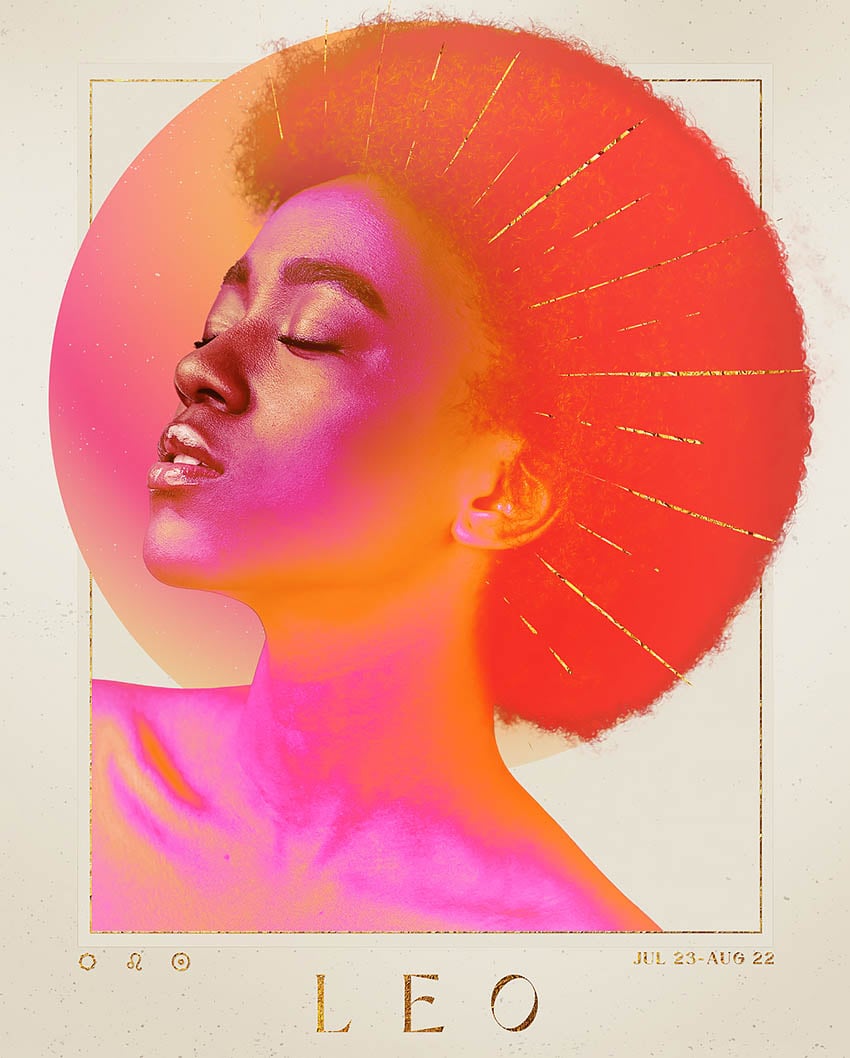
3. How to Make a Gold Foil Effect in Photoshop
Step 1
Next, let’s add some extra designs and icons and make them look like gold foil. First, paint or place sunburst line graphics around the face.


Step 2
Now, using the Maglony Typeface, add the text “Leo” and “Jul 23-Aug 22” to the bottom of the design.
Add the Sun and Summer icons from this pack along with the Leo symbol from this pack to the bottom of the design on the left-hand side, making them the same size and aligned with the dates.
Group the date text and symbols together. Name the group “Symbols.” Leave the “Leo” text out of the group.


Step 3
Clip the gold leaf texture from the border into the “Symbols” group. Shrink the gold leaf so that it only covers the symbols on the left side.
Next, Duplicate the gold leaf texture and move it over the dates. Duplicate the gold leaf texture again, and clip it into the “Leo” text. Finally, Duplicate the gold leaf texture and clip it into the sunburst lines.
Use Image > Adjustments > Brightness/Contrast to adjust the contrast and brightness of the gold leaf textures. This will help give them more shine. Adjust the size of each gold leaf texture accordingly.


Step 4
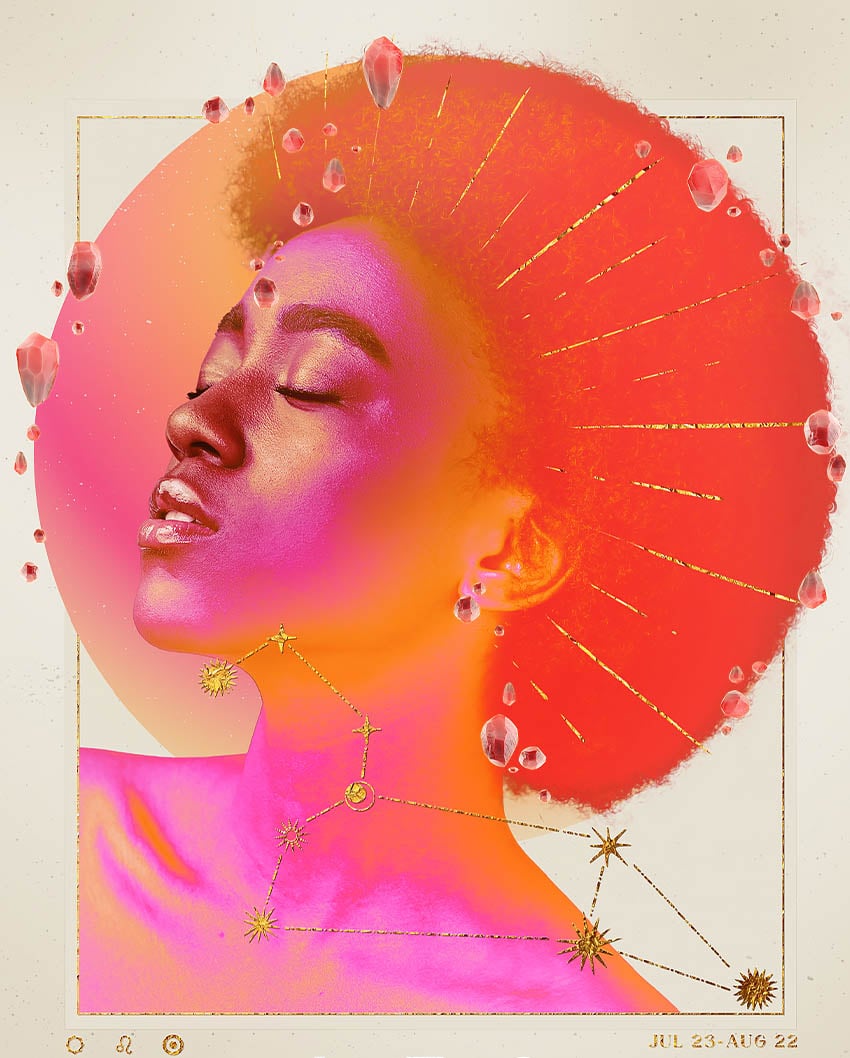
Place the Leo constellation from this pack over the subject’s neck area. Cover the original gold texture with the same gold leaf texture we’ve been using so far, by clipping it into the star layer.


Step 5
Finally, we just need to give the gold leaf more dimension by adding very subtle drop shadows and borders. This will make it look slightly embossed.
Let’s start with the “Leo” text. First, add a Stroke layer style, set to Size 2, Overlay, and Black. Next, add a Drop Shadow layer style, set to White, Overlay, Angle -67, Distance 4, and Size 0.
Add a second Drop Shadow layer style, set to Brown #543309, Multiply, Angle 122, Distance 4, and Size 0. This will make it look slightly embossed.
Copy those layer styles onto the Leo constellation and any other larger gold foil design.


4. How to Make a Gemstone Effect in Photoshop
Step 1
We’re going to finish things up with a very easy floating crystal effect. Start by downloading a few different angles of this crystal asset or gather a few different crystal or rock assets.
Place them around the canvas using the Transform tool to resize, squash, and flip the crystals so they look varied in shape.
Group all of the crystals together. Name the group “Stones.”


Step 2
Next, add an Inner Glow layer effect set to Overlay, Opacity 50%, orange #ffaf67, and Size 17px.
Add an Outer Glow layer effect set to Soft Light, Opacity 50%, a pale orange #ffeecc, and Size 8px.
Clip a Brightness/Contrast adjustment layer into the “Stones” group, setting it to Brightness 41 and Contrast 38.

Step 3
Clip a Gradient Map adjustment layer into the “Stones” group. Set it to the same gradient as the “Neon” subject layer. Set the Layer Mode to Color and the Opacity to 70%.


Step 4
Clip a New Layer set to Screen into the Stones group. Set the Opacity to 50%.
Paint a lime green #63eb20 color around the outer edges of some of the stones, using a soft round Brush.
If you find your image needs more contrast, you can use a Curves, Brightness/Contrast, or Levels adjustment layer at the top of your layer stack to darken the shadows of the image.
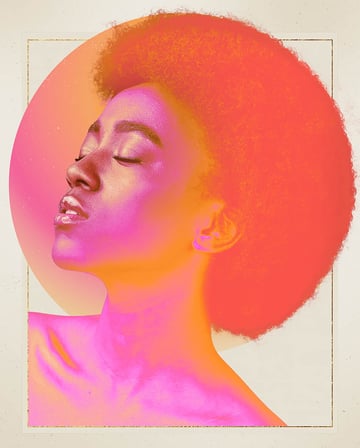
That’s How to Create “Leo the Lion” Artwork in Photoshop
That’s how to create a quick but modern Leo Photoshop effect! Like all zodiac signs, Leo the Lion images can take on a new contemporary feel with just a few twists. By bringing in the warm neons to represent a vibrant Leo’s aura, we can create a Leo the Lion Photoshop image without a single lion. Try it out with different colors and different zodiac signs!