Today you’ll be learning how to edit text in Photoshop so that it appears to match the perspective of the surface it’s on. This is an incredibly useful but easy trick, and it will help you create more dynamic and interesting design.
Let’s get started!
What is perspective in art?
Perspective is a technique for creating the illusion of depth on a flat surface using vanishing points. It mimics how we perceive distance, which can then lead to adding realism and dimension to an image.
Artists and designers often apply perspective to text and graphics, making them appear more dynamic and three-dimensional. This can then give higher visual impact for things like titles, logos, and other text.
1. How to add perspective to text in Photoshop
Step 1
Let’s learn how to perspective warp text in Photoshop. First, use the Text Tool in the left toolbar to type your text.



Step 2
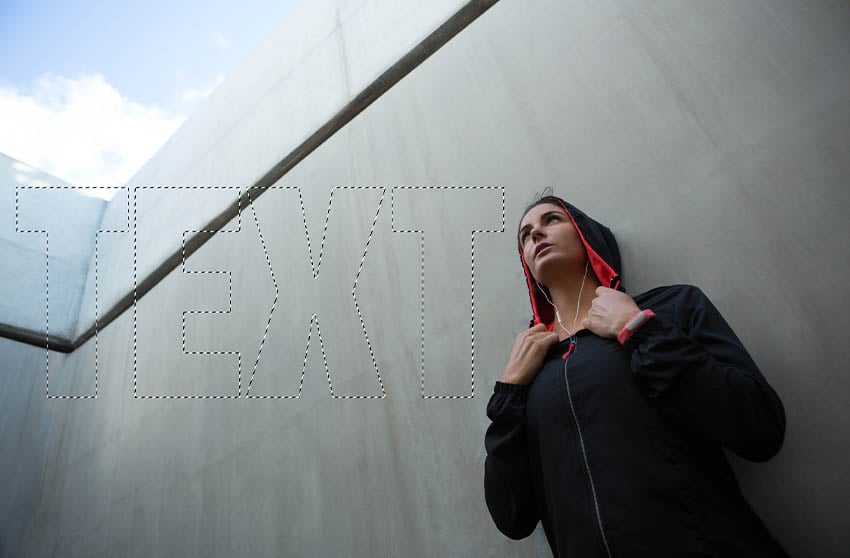
Now, hold Control/Command and click the layer’s thumbnail to create a selection in the shape of the text. Hit Control/Command-C to Copy the text. Hit Control/Command-D to Deselect, getting rid of the selection.
Hide the layer and create a New Layer. Your canvas should look empty.

Step 3
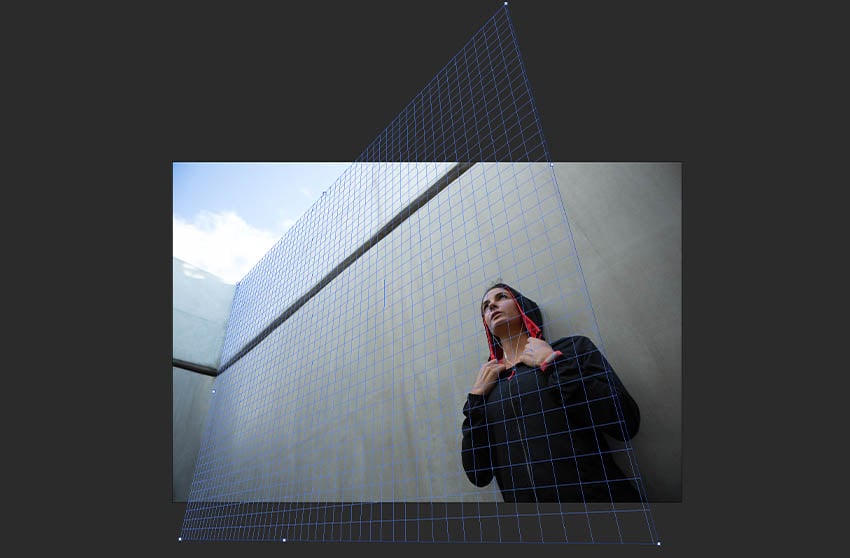
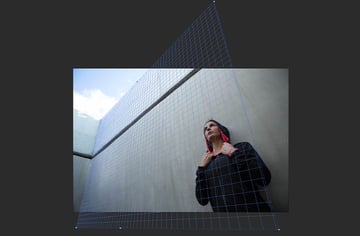
Next, go to Filter > Vanishing Point. Use the anchors to create a box in the shape of where you want to place your text.
The Vanishing Point filter settings are saved in individual PSD files. So if you want to adjust the settings later, you can re-enter the filter even after closing the file.
Step 4
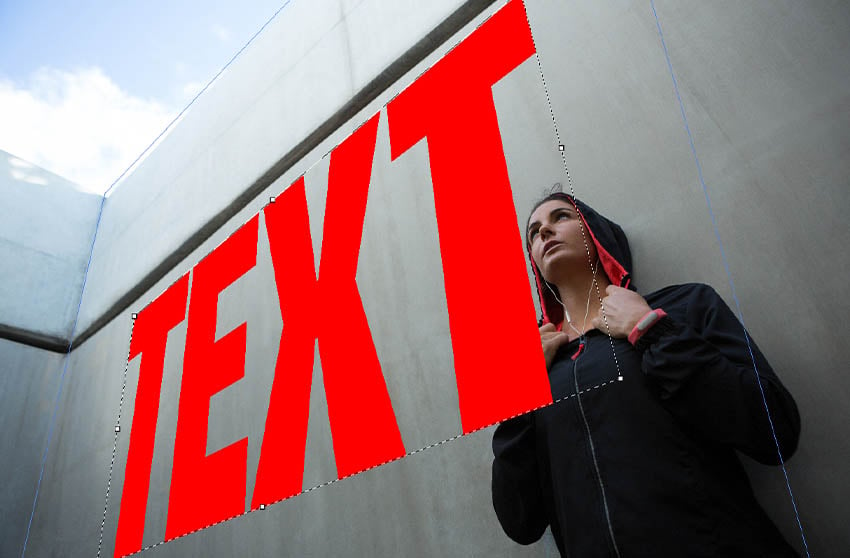
Once you have your plane adjusted, use Control/Command-V to paste your text. Drag the text onto the grid, and it will snap to the perspective of the plane.
Use Control/Command-T to transform the text, further adjusting the size and angle. You can continue to transform the text after you leave the filter as well.
Once you’re happy with your text, press OK. That’s how to perspective warp text in Photoshop, but there are a few extra effects you can add to help blend your text into more complex surfaces and scenes.


2. How to edit text in Photoshop (Optional)
Step 1
These steps are optional, but if you’d like to blend the text into the image as shown in our example, there are a few easy ways to do so.
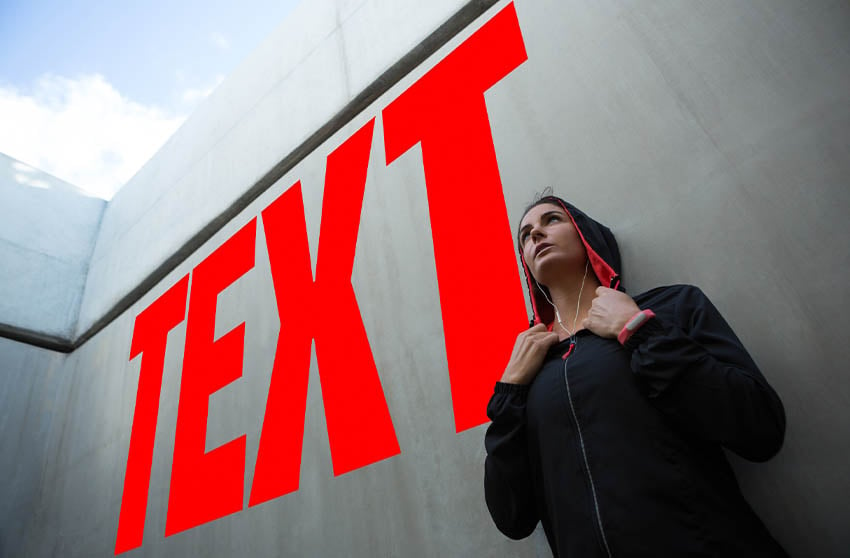
First, click your subject layer and then choose the Object Selection Tool. In the upper options bar, choose Select Subject. Go to Select > Inverse to invert the selection.
Add a Layer Mask to the subject. The text will now appear behind the subject.


Step 2
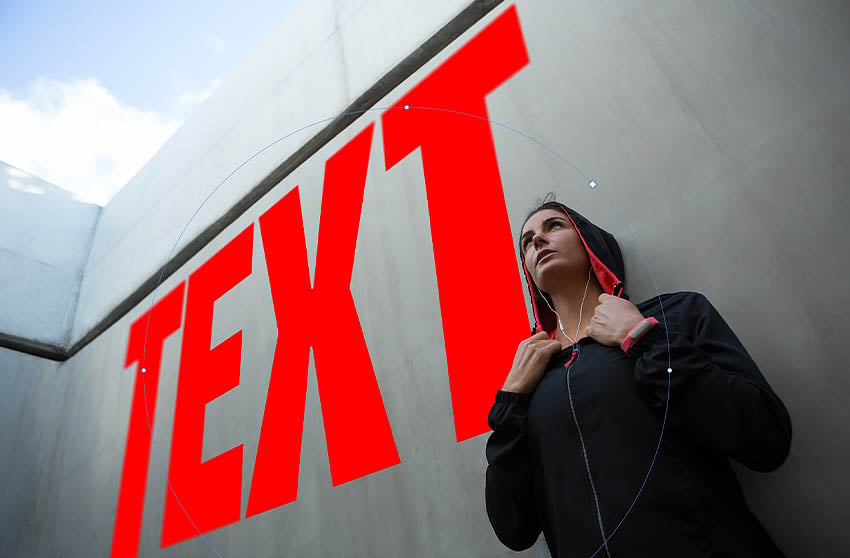
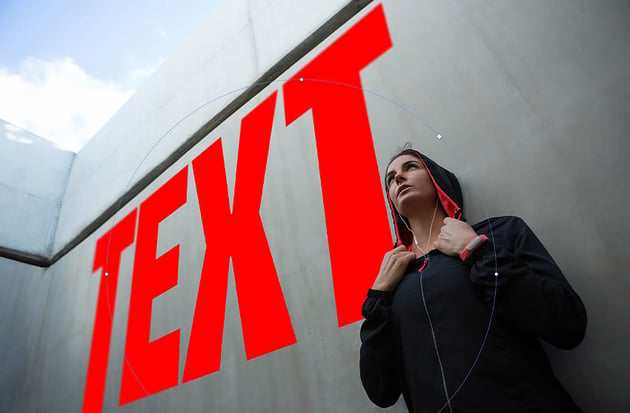
Second, match the depth of the text to the depth of your image with Filter > Blur Gallery > Radial Blur. Adjust the Amount until the edges of the text match the depth of the surrounding environment.

Step 3
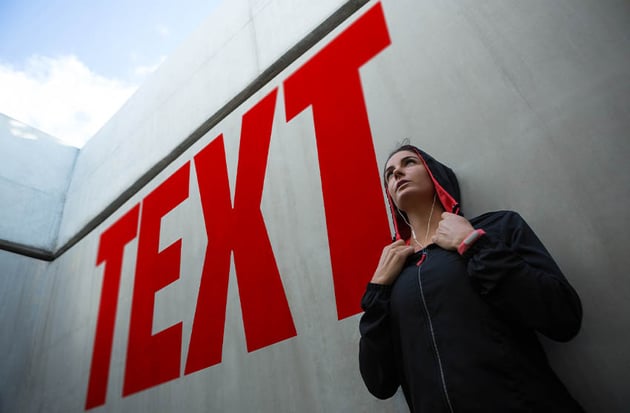
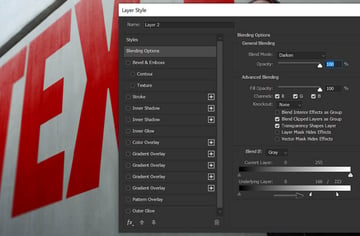
Third, you can adjust the layer mode of the text. In this example, I changed the text’s layer mode to Darken.


Step 4
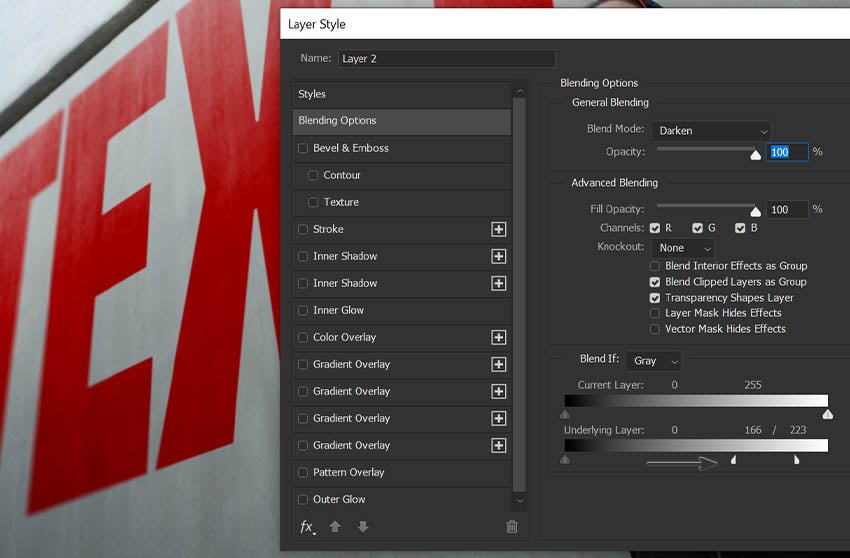
Finally, if you’re placing your text on a textured surface, you can try using Blend If.
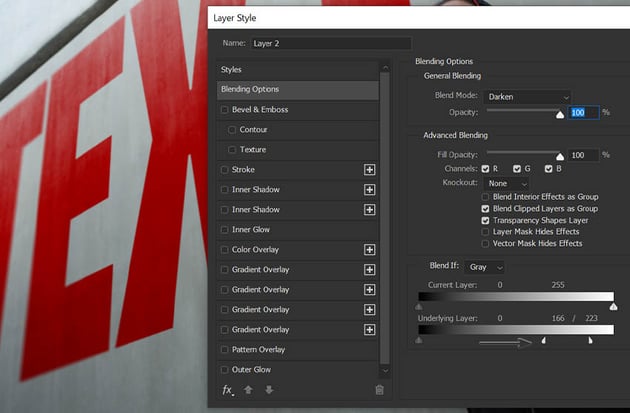
Double-click your text layer to open the Layer Style panel. At the bottom of the panel, you’ll see Blend If. Use the Underlying Layer toggles to blend the solid layer away from the highlights of the image. This will make the text blend away from the lighter parts of the layers below it.
Hold Shift to split the Blend If toggles so that you can move them independently.
That’s how to add perspective to text in Photoshop
That’s how to add perspective to text in Photoshop using the Vanishing Point tool!
Adding perspective to text is a fast and easy way to create more interesting and dynamic designs. However, this effect doesn’t just work on text—it also works on logos, graphics, and any other pixel-based layer. Try it out!


Want to learn more? Try one of these other Photoshop tutorials:
