
To celebrate Finding Dory, the upcoming sequel to the classic Finding Nemo, I’ll show you how to create realistic fan art easily in Adobe Photoshop. Inspired by the movie, learn how to use photo manipulation and digital painting techniques to make any character come alive. Let’s get started!
Tutorial Assets
The following assets were used for the production of this tutorial.
1. Do Your Research: Dory Fan Art
The Original
Who is Dory?
Where does she live?
What is she like?
If you have kids, or just love animation movies, you probably already know the answers to these questions. Either way, it’s always a good idea to do thorough research before attempting your fan art.
Get to know the character you’d like to recreate by either looking up inspiration online or diving right into some movie time! For my own take on Dory, there are a couple of characteristics I need to know about the original before heading into the design.
Here are some key details to keep in mind:
- Dory is based on the real-life Blue Tang Fish.
- She has big, glittery magenta eyes.
- Her expressions make her a little goofy.
- She doesn’t have regular fish scales.
My Version
It’s important to note that to avoid any complications from copyrights, I’ve specifically created my own interpretation of Dory. Here are the different areas I plan to change:
- her body shape
- her facial structure
- her expression
It might seem as if I’m changing everything, but I’ll try to keep all the other details as true to the character as possible. Now that I have a plan in mind for Dory, it’s time to start sketching her.
2. How to Draw Dory
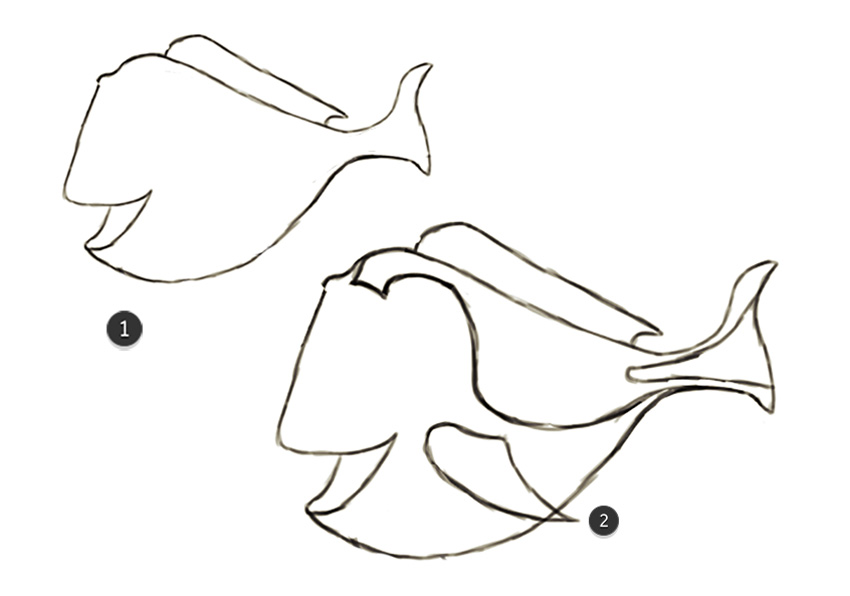
Create a New Document at 1250 x 1040 pixels with 150 dpi. Start drawing the outline of Dory with a Hard Round Brush. Use simple shapes to create her body as you gradually add more details.
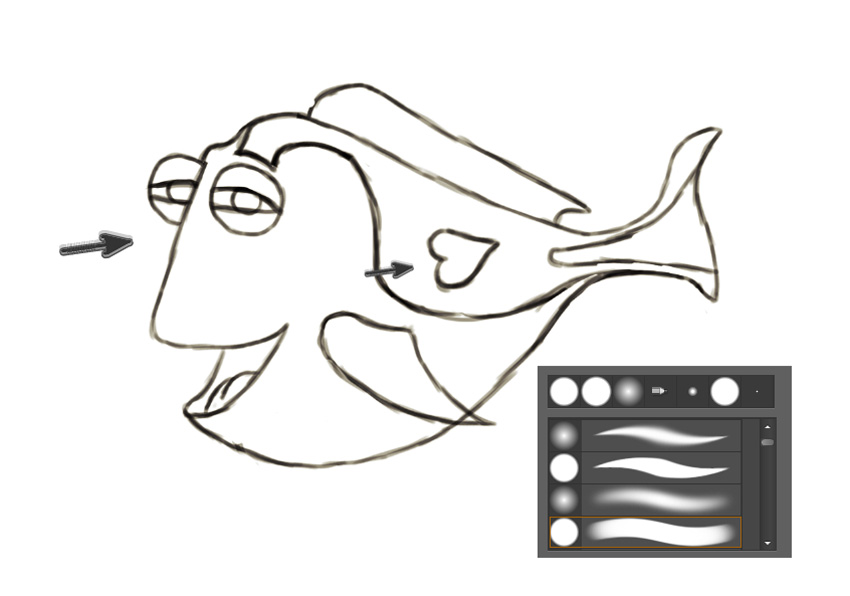
Now add a couple more features to make her stand out. Here I add a cute little heart, and make her eyes appear half open to separate my Dory from the original.
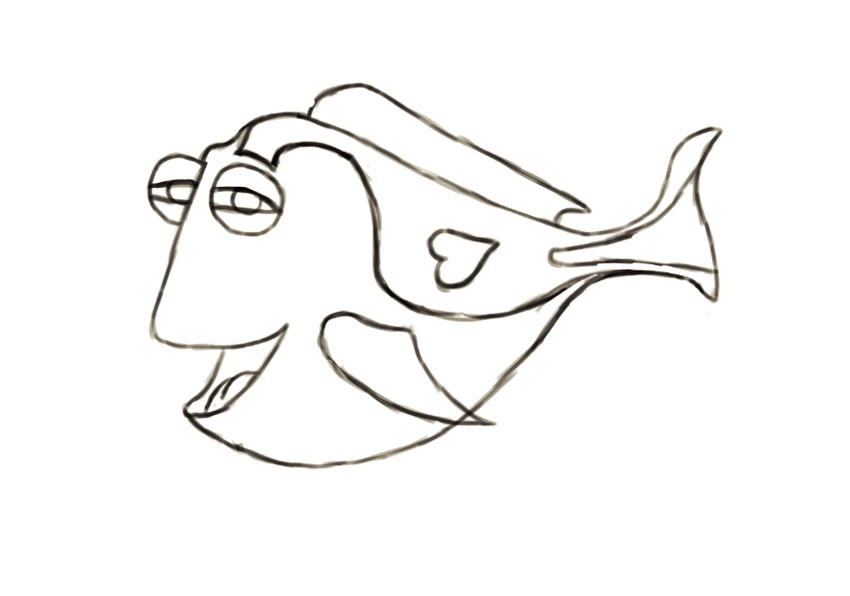
Continue drawing with the same hard brush and clean up the lines if you need to until you have the final sketch. Feel free to download this sketch to use it for the next steps, or create your own.
3. Incorporating Photo Textures
Step 1
This part of the tutorial helps to add the colors and realism to Dory faster than you would ever believe. We’ll do this by “stitching” sections of photos together to create her body and face.
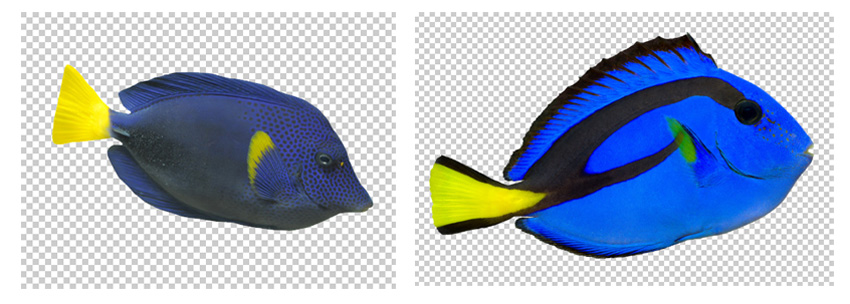
Here are the two Blue Tang references I’ll be using for this tutorial:
It helps if you use stocks with black or white backgrounds so that you can eliminate them immediately. First use the Magic Wand Tool (W) to select and delete both backgrounds.
Step 2
Next, use the Polygonal Lasso Tool (L) to select sections of each fish and Copy and Paste them onto the sketch. Start with the skin to fill up the body with that vibrant blue color. Use the Eraser Tool (E) to erase any parts that go outside the lines.
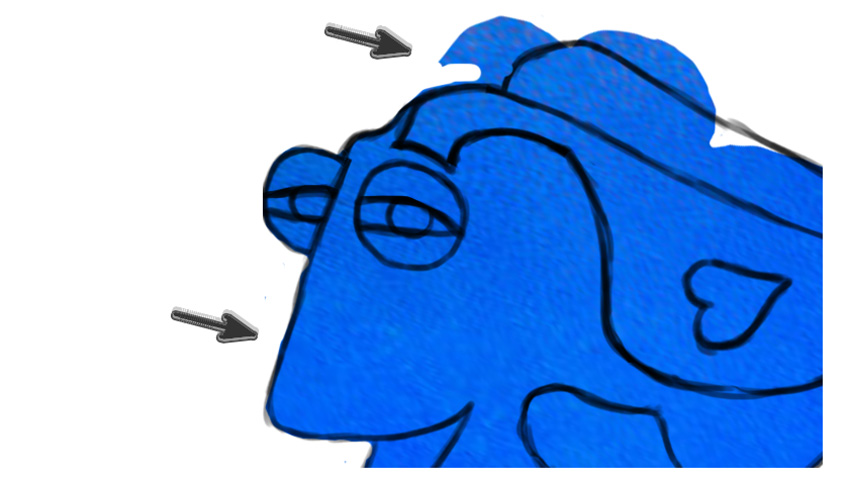
Set the sketch to Soft Light so that it blends into the blue and continue adding more skin.
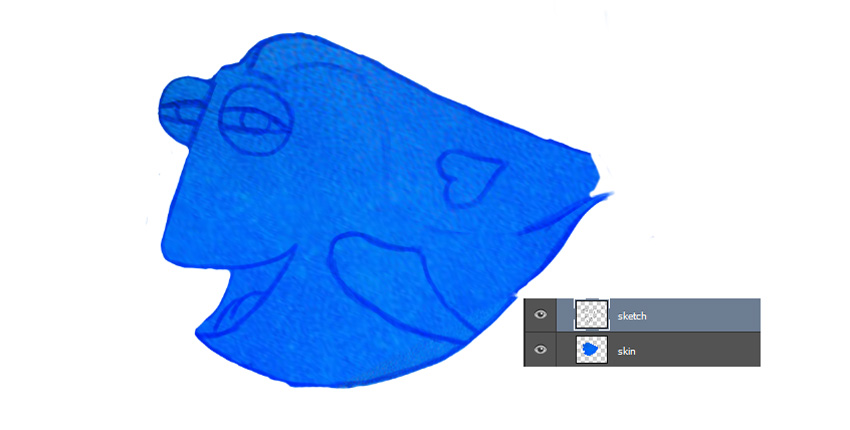
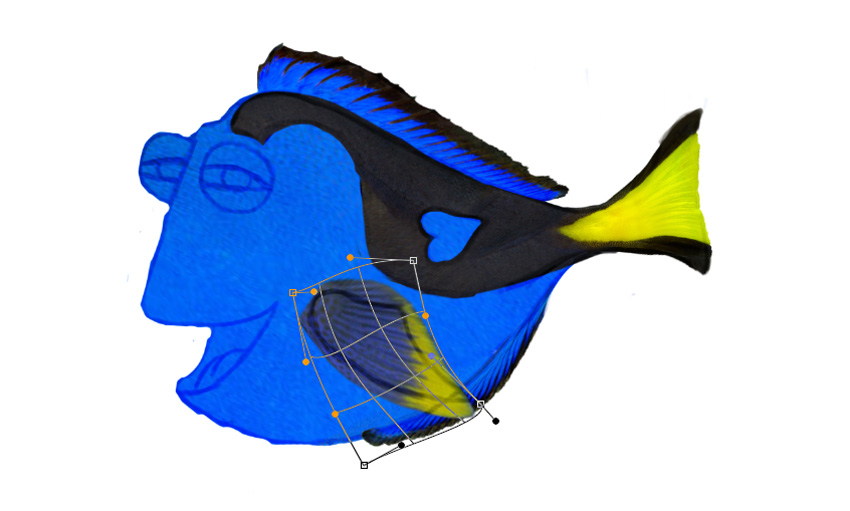
Whenever you need to see the sketch, return the Layer Blend Mode to Normal. Now grab more sections from both fish stocks and position each section into place using the Free Transform Tool (Control-T). Select the Warp option whenever necessary to mold the pieces to the sketch. Let’s start with the top and bottom fins.
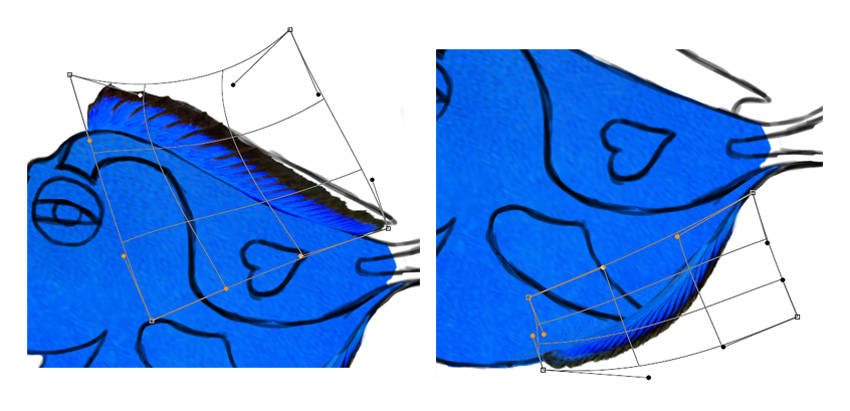
Now move on to the back fin and the black skin that connects to it.
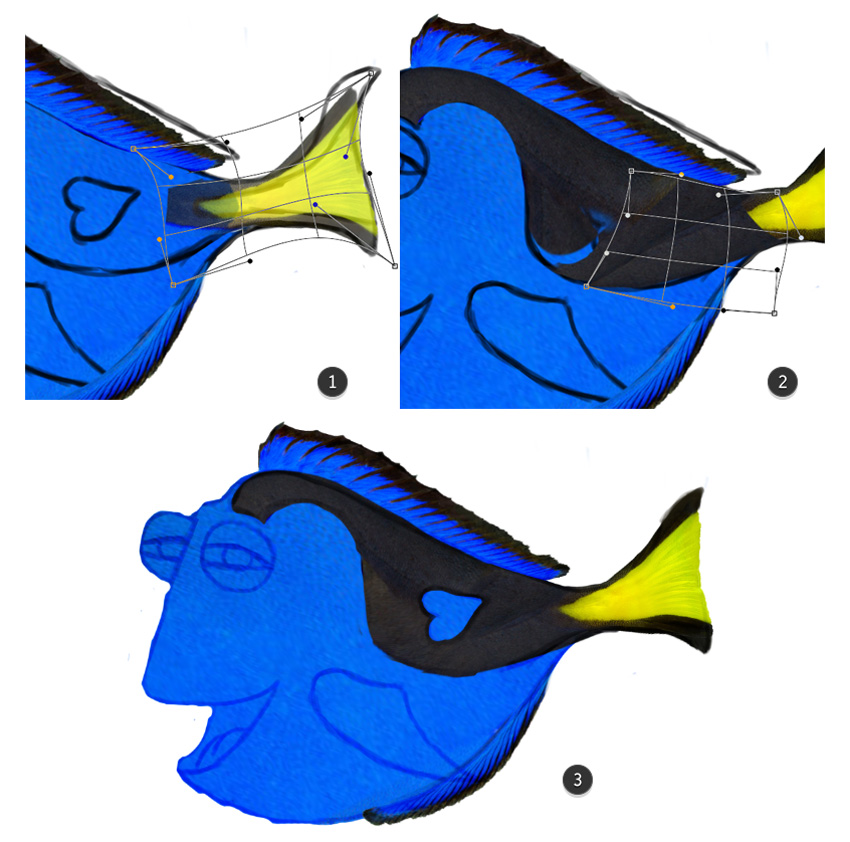
For the last fin, Copy and Paste the fin from the second Blue Tang Stock and position it into place.
Step 3
Now let’s add Dory’s glittery eyes. Colorize your gold glitter stock and make it a pretty pink color. Go to Image > Adjustments > Hue & Saturation and change the Hue to -78.
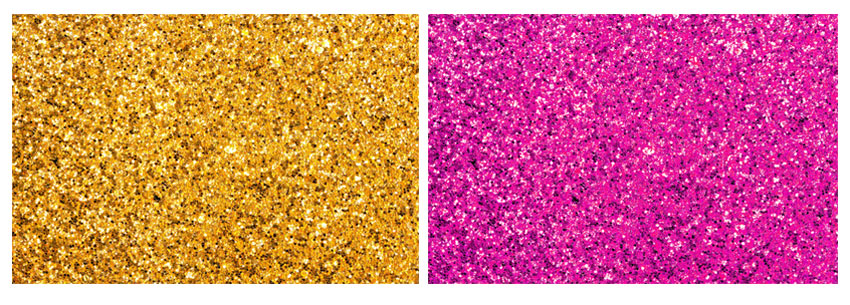
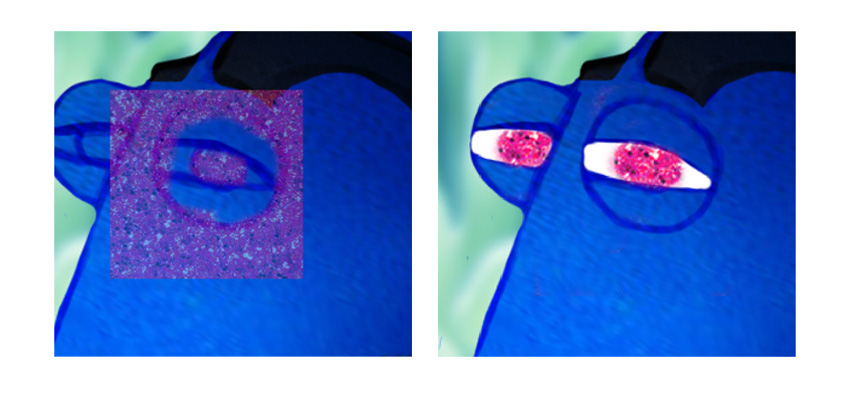
Just like before, Copy and Paste a section of the glitter onto the canvas. Decrease the Opacity to 30% so that you can see the sketch better, and use the Eraser Tool (E) to erase away the excess. Feel free to take this moment to paint the pupils and whites of the eyes with the Brush Tool (B).
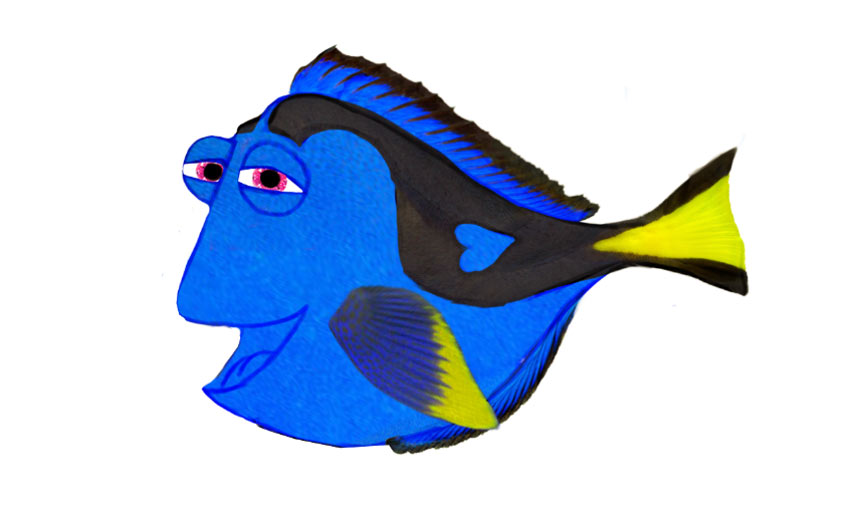
When you’re finished with the photo textures, Dory will have realistic texture but still appear somewhat flat. To change this, we’ll need to move on to the next step of digitally painting this illustration.
4. From Flat to 3D: Painting for Volume
Step 1
To give any character more volume, we’ll need to establish the correct light and shadow with a little digital painting. Merge all the layers of the photo textures together with the sketch. Now set a New Layer as a Clipping Mask to Dory and change the Blend Mode to Multiply.
Begin painting shadow onto Dory using a Soft Round Brush (B).
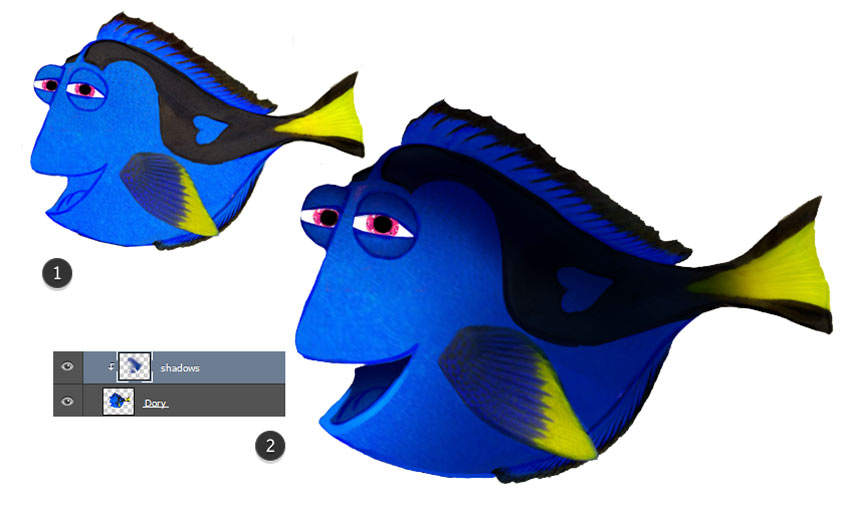
Start with the body, and then move on to small details like the eyes and the stripe on the fin. As long as you keep picking up nearby colors with the Eyedropper Tool (E), your colors will change to the perfect shadow.
Step 2
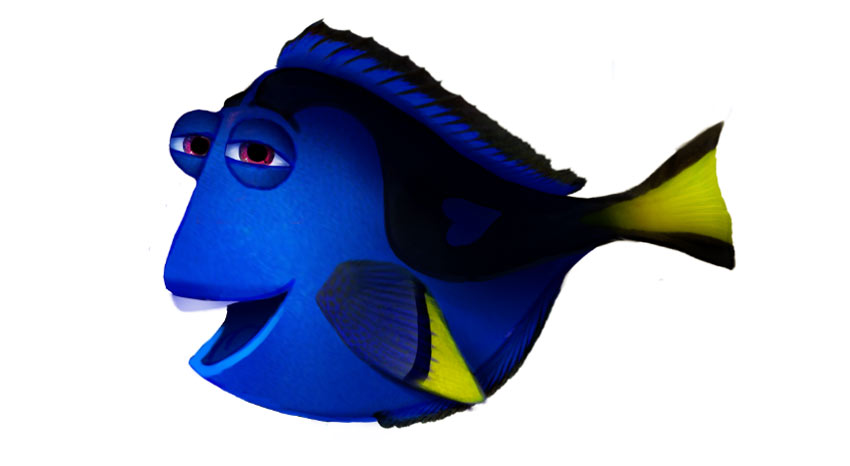
Let’s move on to highlights! Set a New Layer to Overlay and use the color white to paint bright highlights all over Dory. You can continue to add highlights on this layer, but for some details like the shine in her eyes, you’ll need to paint this on a layer set to Normal.
Step 3
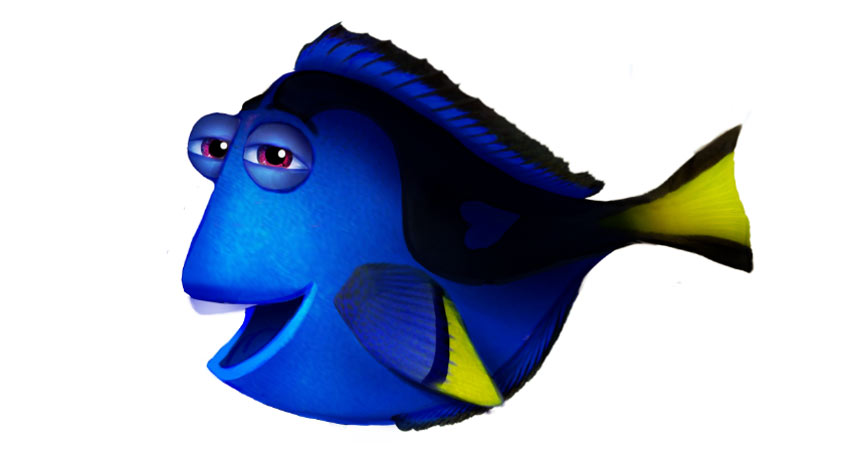
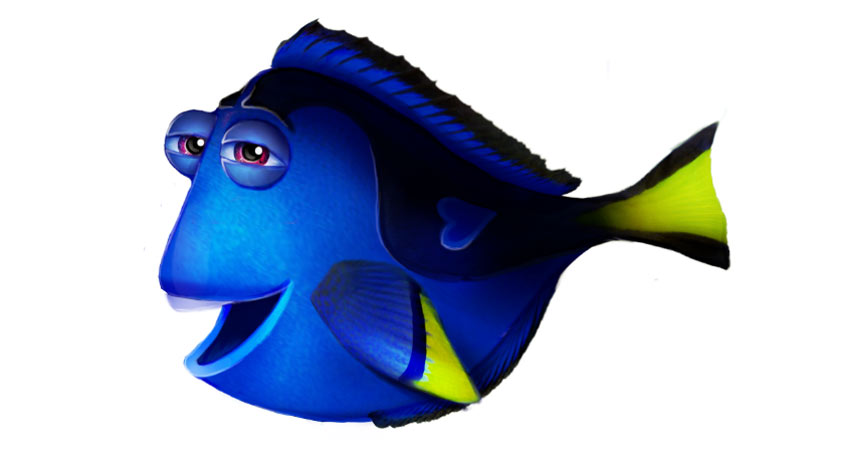
Take this opportunity to clean up any areas that look a little rough. Use a Hard Round Brush (B) set to 100% Hardness to paint crisp highlights and clean up the edges.
5. Creating Her Leathery Texture
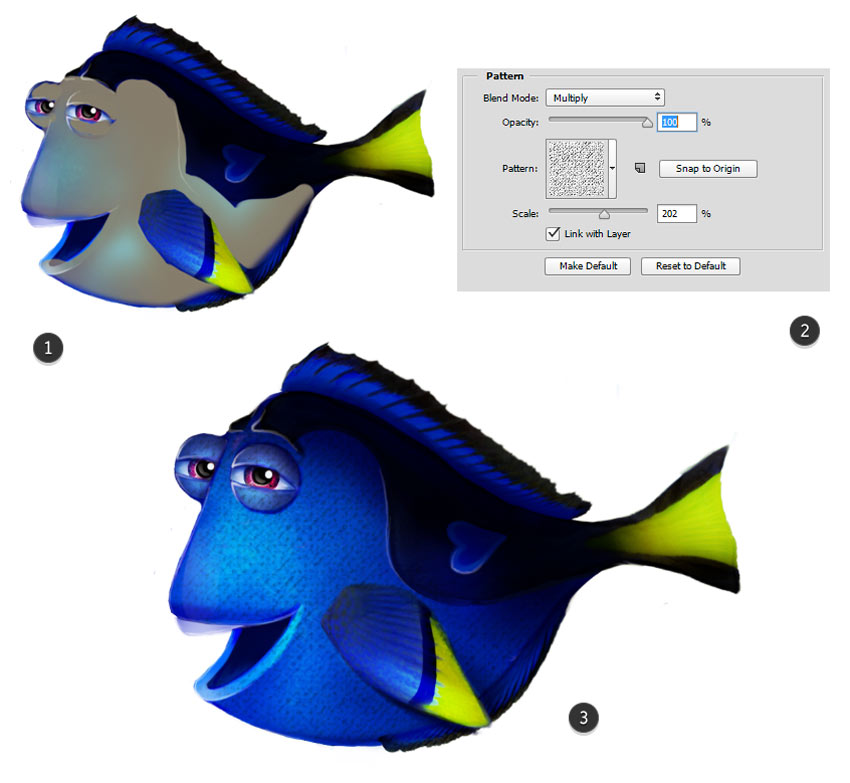
One of the first things I noticed about Dory is the fact that she doesn’t have normal fish scales as I expected. In fact, from what I have studied about the Blue Tang fish, their skin has a fine, leathery texture that is even hard to pick up in the cinematic version.
The key to pulling this texture off will be to blanket the fish with a uniform texture. Add a New Layer and set it to Soft Light. Use a Hard Round Brush (B) to begin painting gray all over Dory’s skin.
Now Right-Click to go to Blending Options and apply the following settings below. Set a Pattern Overlay and use the Heavy Canvas Texture to fill the gray with texture. Adjust the layer’s Opacity to 35% so that the effect isn’t too harsh.
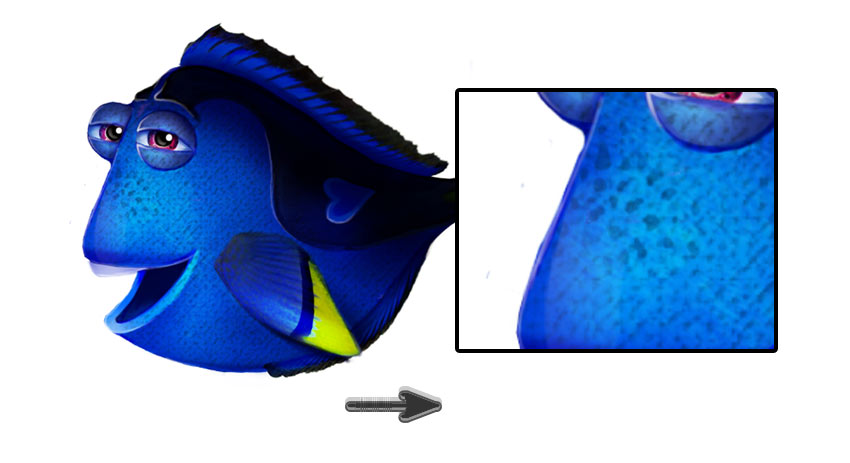
Before we finish things up, we can’t forget Dory’s adorable freckles! Just use a Hard Round Brush (B) to paint dark blue freckles all over Dory’s “nose”. Use an Eraser Tool (E) to help blend the freckles into her skin.
6. Creating the Background
Step 1
One of my favorite parts of this tutorial is the background. It’s a really simple technique that you can use for almost any illustration.
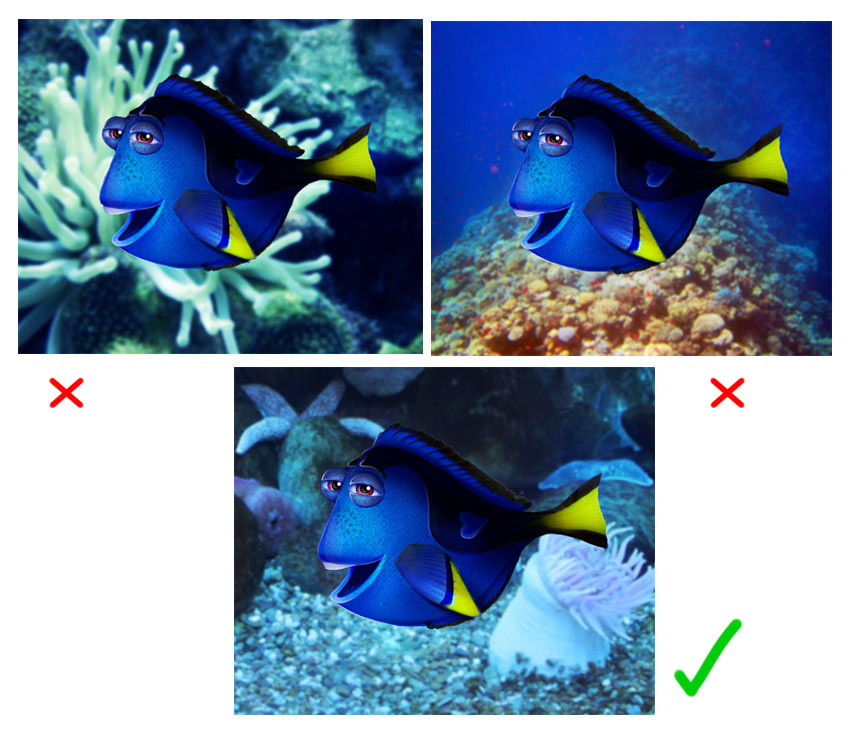
For the last steps to this illustration, begin by searching online for stock imagery of underwater coral reef. Here is a free Sea Floor Stock I’ll be using from Pixabay, but I would also recommend these nice coral scenes from Envato Market.
Here’s a Tip:
Google some scenes from the actual movie and look at them closely. Where do the animators tend to place the characters and what do the overall backgrounds look like? Try out different coral stocks as backgrounds until you stumble across one you love.
Step 2
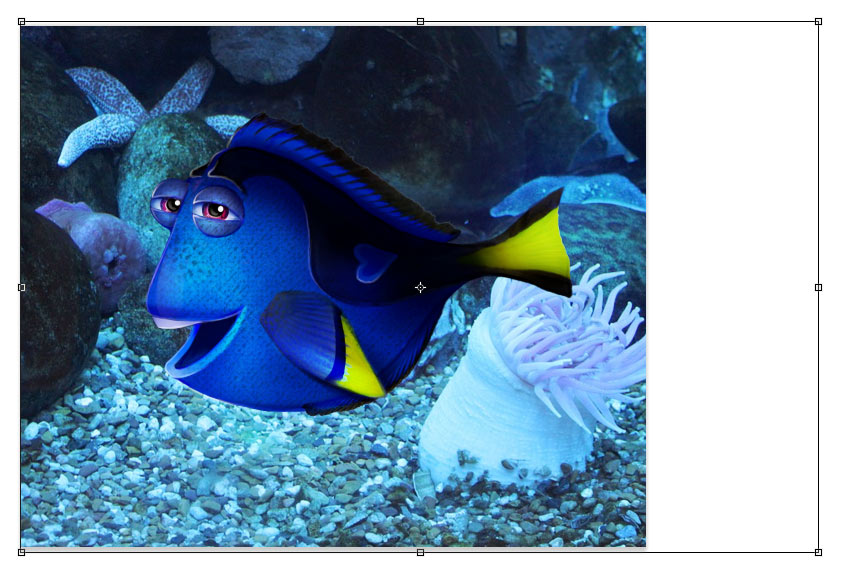
Place the photo of your choice onto the background underneath all your Dory layers. I’ll be using this beautiful underwater background. First flip the image by going to Edit > Transform > Flip Horizontal. If you need to resize the image to fit the canvas, simply Control-T to Free Transform. When you’re finished, make sure Dory is still positioned in the center of the scene.
Step 3
To make the background look like a real still from the movie, I’ll apply a slight Gaussian Blur. Not only will this help to convey the idea that Dory could be moving, but it’ll also show depth of field and make the background appear further away.
Select the photo and go to Filter > Blur > Gaussian Blur. Change the Radius to 4 pixels to apply this effect. Here is the final illustration!
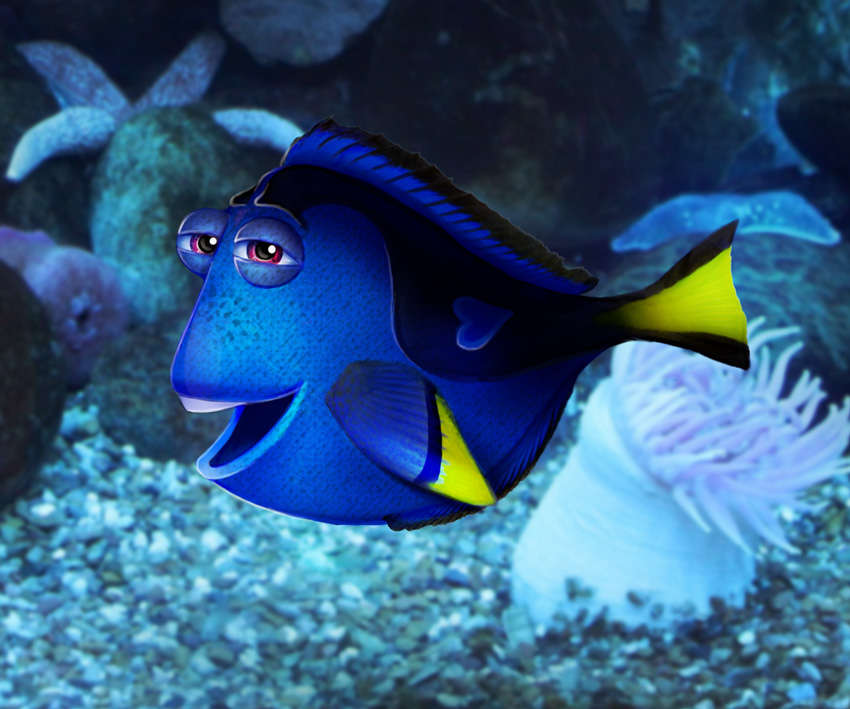
We Found Dory!
Her sweet, yet simple design makes Dory one of the most lovable characters around. And you can make her or any character look real by incorporating photo textures into your work.
I know how intimidating digital painting can be, but if you practice this technique first you can achieve some remarkably realistic effects!
I hope this tutorial has shown you the incredible possibilities with this amazing technique.
For more tutorials like this, check out the ones below: