In this tutorial, we’ll delve into the art of crafting your very own bootleg retro T-shirts using Adobe Photoshop. Embrace the essence of the ’90s as we create an authentic retro shirt that pays homage to the era’s cheesy but iconic style.
What You’ll Need to Complete This Bootleg T-Shirt Tutorial
How to Make Bootleg T-Shirts in Photoshop
Step 1
The first step is to set up your canvas. For T-shirt design, I recommend 10 x 12 inches, with a DPI of 300.
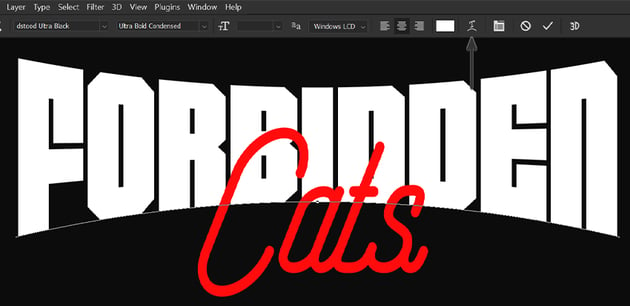
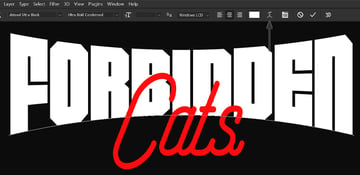
Next, add your text. I’ll be using two fonts: Handstood Ultra Black and Rising Star.
Add a curve to the top font using the Warp Text setting, found in the Text tools in the upper option bar. The below example is set to Style Bulge with a -13% Bend.

Step 2
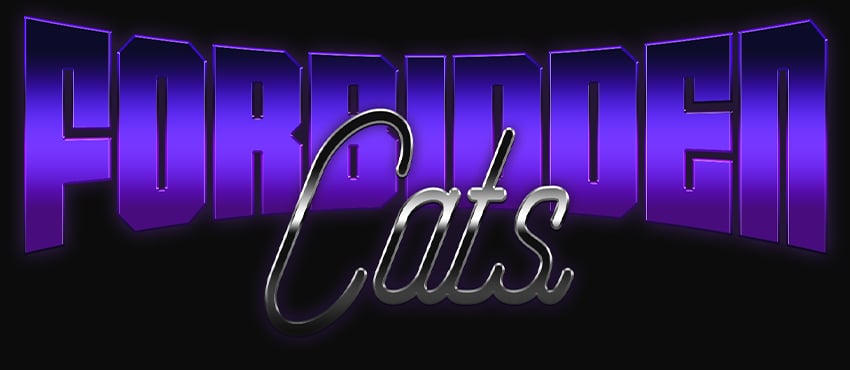
Next, let’s add a gradient effect to both pieces of text. First we’ll add the “Forbidden” settings, which you can see in the gallery below:
Step 3
Now, let’s add a chrome effect to “Cats.” Scroll through the gallery to see the settings:


Step 4
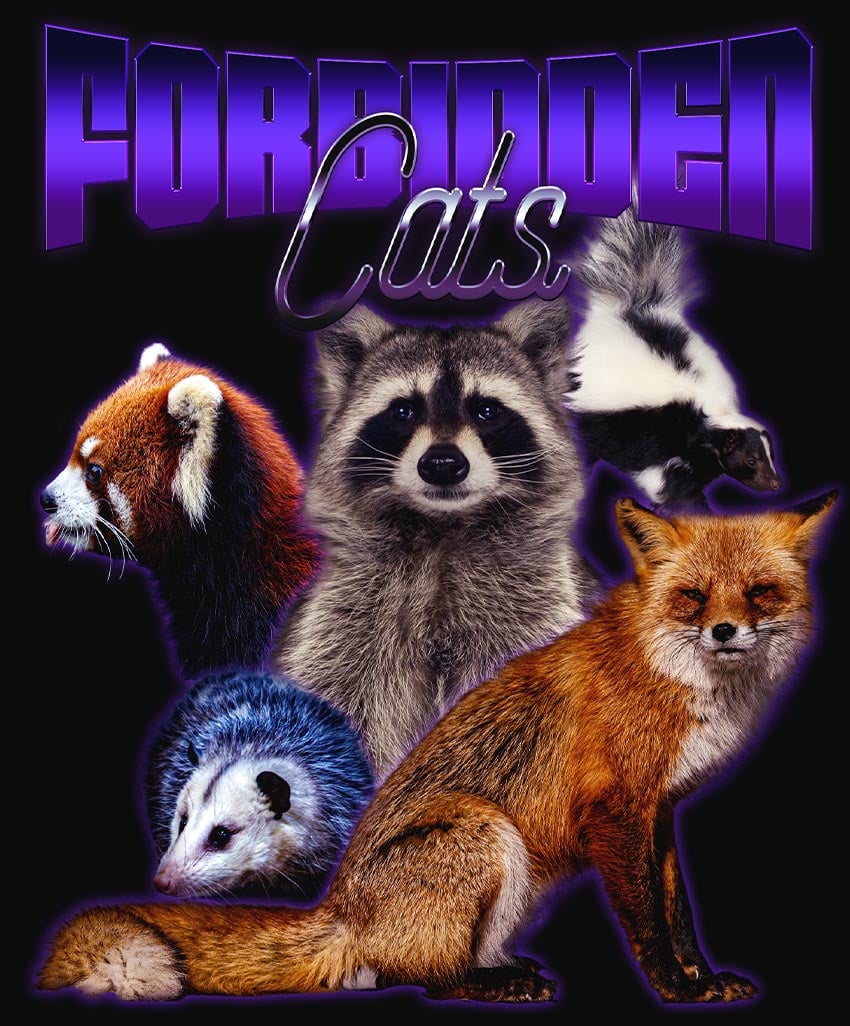
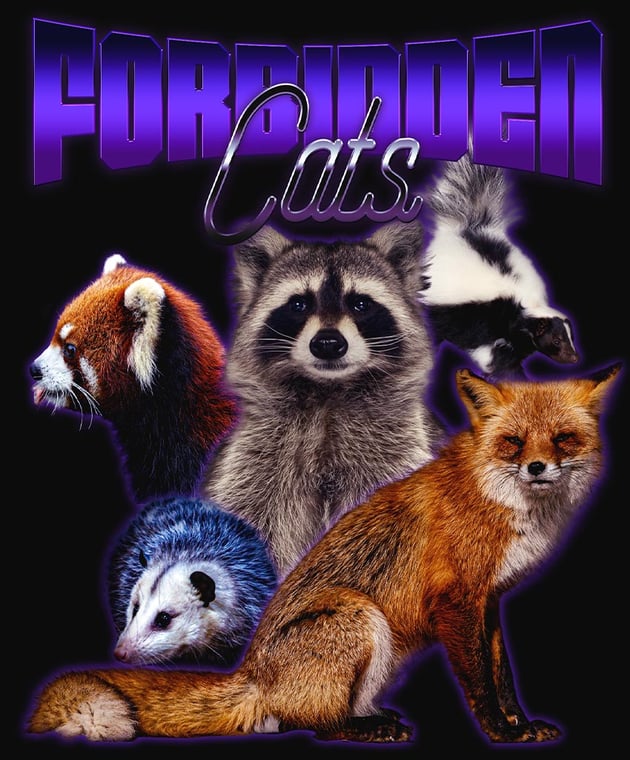
Start extracting and placing your subjects on the shirt using Select Subject and Layer Masks. Start with the largest subject, in this case the raccoon, and then try to place the other subject around it. Hide any cut-off edges that are behind other images.
Add a purple #492276 Outer Glow layer style to all the subjects.
The masks don’t have to be perfect since they are meant to be bootleg T-shirts. You can use Select and Mask to further refine the mask if you need to.
Group all the subjects together, and Clip a Color Balance layer set to Green -100 and Blue +100 into the group. This will give all the images a purple tint.
You can also add this layer to the chrome text to give it a purple tint.

Step 5
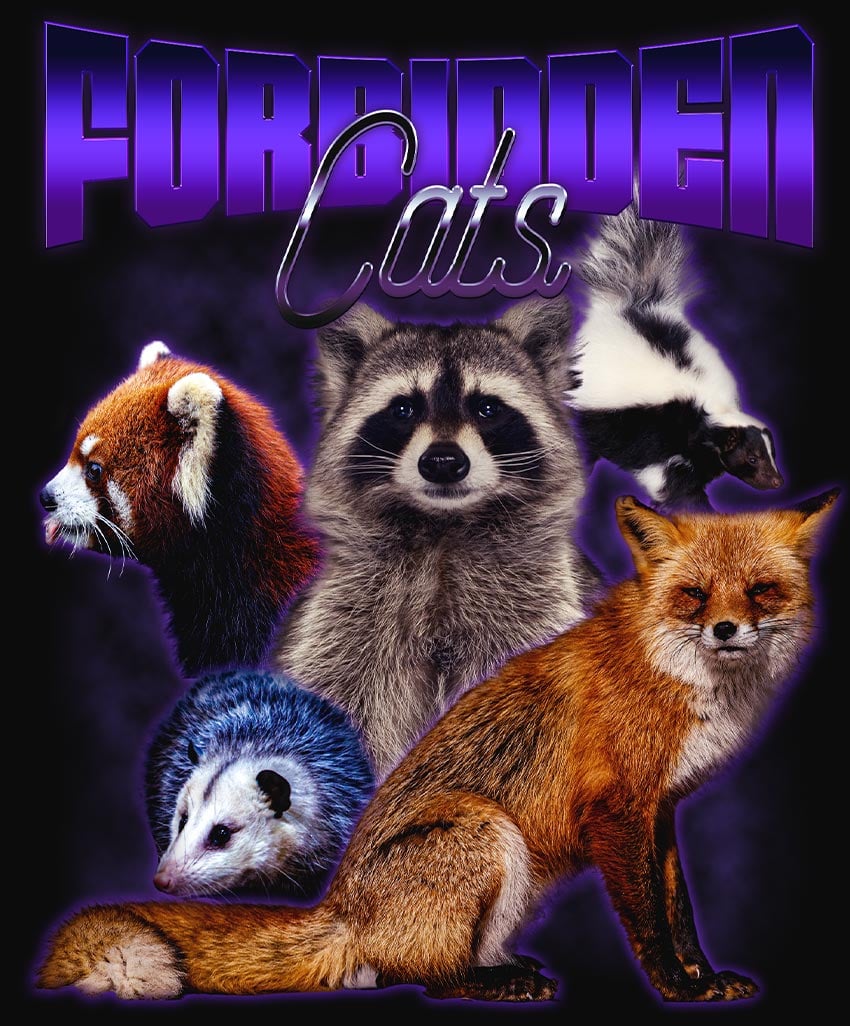
Create a New Layer below all current layers. Set your Foreground Color to purple #382763 and the Background Color to black. Go to Filter > Render > Clouds.
Add a Layer Mask and mask away the clouds from the edges of the canvas, leaving them only behind the subjects.


Step 6
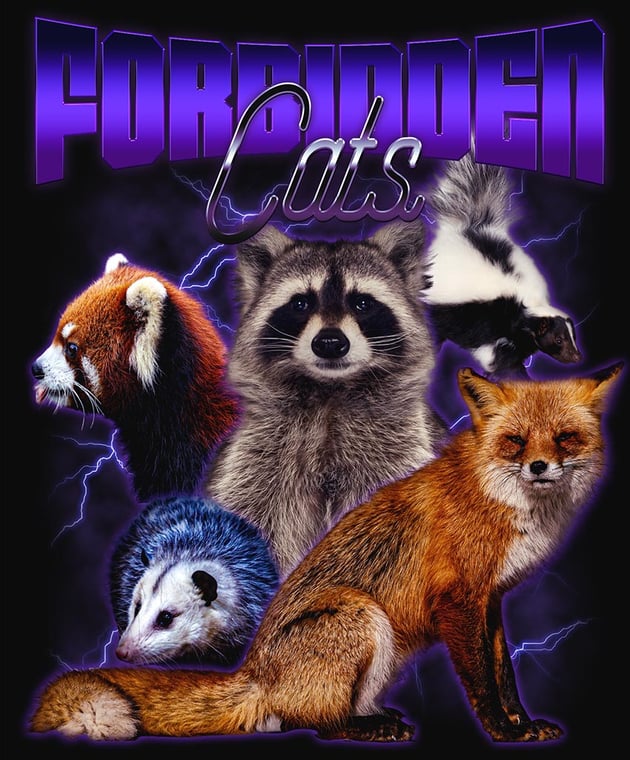
Clip several lightning graphics behind the subjects. These graphics are PNGs, so they just have to be placed and set to Screen. Lightning was a common motif in retro vintage shirts from the 90s.


Step 7 (Optional)
To adjust the colors and contrast, Right-click > Merge Visible. Next, go to Filter > Camera Raw.
You can adjust the overall brightness and contrast in Light, add texture in Effects, and use Calibration to create a two-toned blue and orange effect like our example. This will help simplify the colors and create a 90s bootleg T-shirt vibe.
Below, I set the Blue Primary Hue to -100.
You can use the Camera Raw filter on the individual subjects as well, adjusting the colors to match.