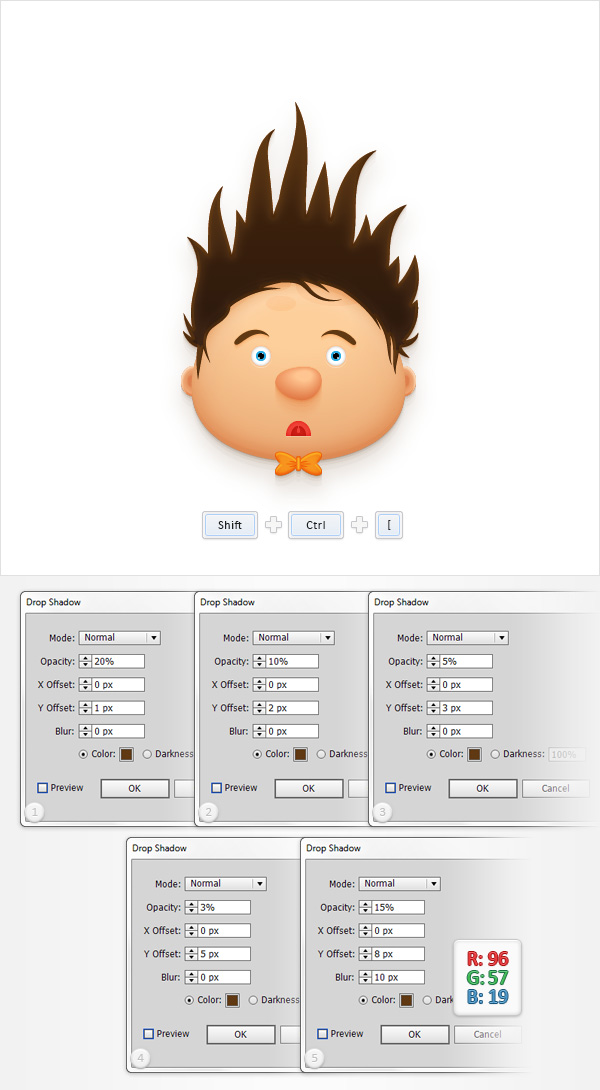
Step 4
Make sure that your “shadow” shape stays selected, send it to back (Shift-Control – [ ) then add the five Drop Shadow effects (Effect > Stylize > Drop Shadow) shown in the following image.
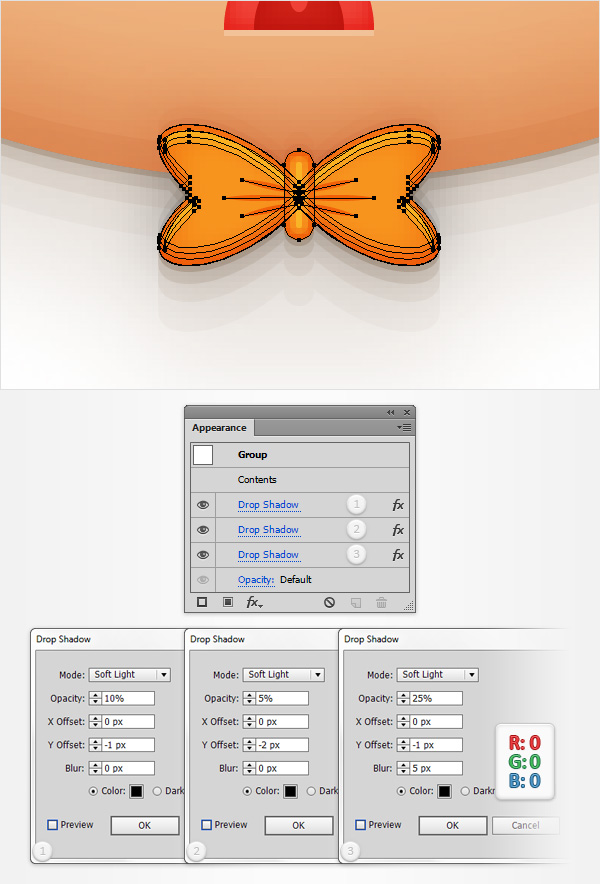
Step 5
Focus on the Layers panel, unlock the remaining “Face” group, open it, select the “bow Tie” group and simply add the three Drop Shadow effects (Effect > Stylize > Drop Shadow) shown in the following image.
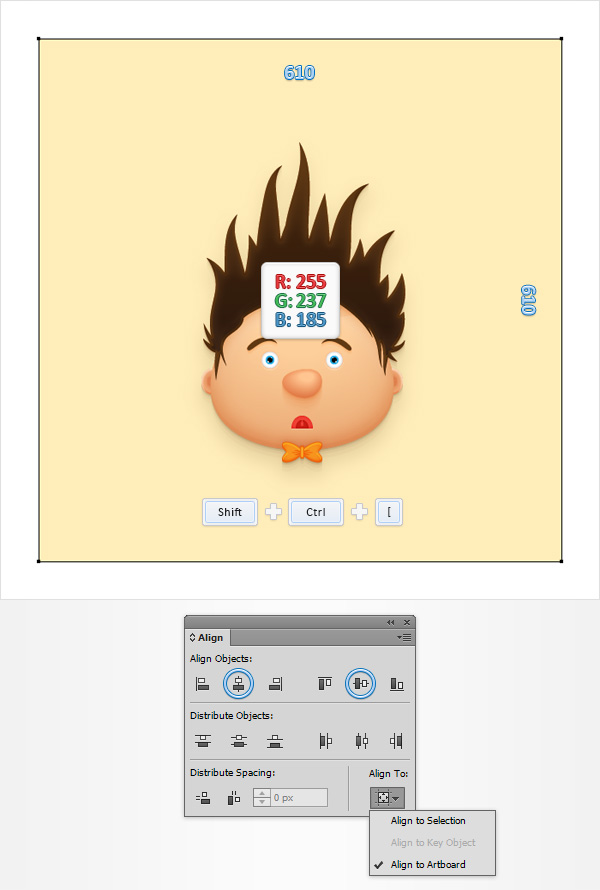
Step 6
Using the Rectangle Tool (M), create a 610 x 610px square, set the fill color at R=255 G=237 B=185 and send it to back (Shift-Control- [ ). Move to the Layers panel and simply rename this new shape “bg“.
Next, you need to center your “bg” shape, so open the Align panel (Window > Align). Set the aligning to Artboard (open the fly out menu and go to Show Options if you can’t see the Align To section as shown in the following image) then simply click the Horizontal Align Center and Vertical Align Center buttons. In the end your square should cover the entire artboard.
Step 7
Make sure that your “bg” shape is selected and add a second fill using that same Add New Fill button. Select the new fill, lower its Opacity to 15% and add the radial gradient shown in the following image. Use the Gradient Tool (G) to stretch your gradient as shown in the following image and remember that the yellow zero from the Gradient image stands for Opacity percentage.

11. Create the Speech Bubble
Step 1
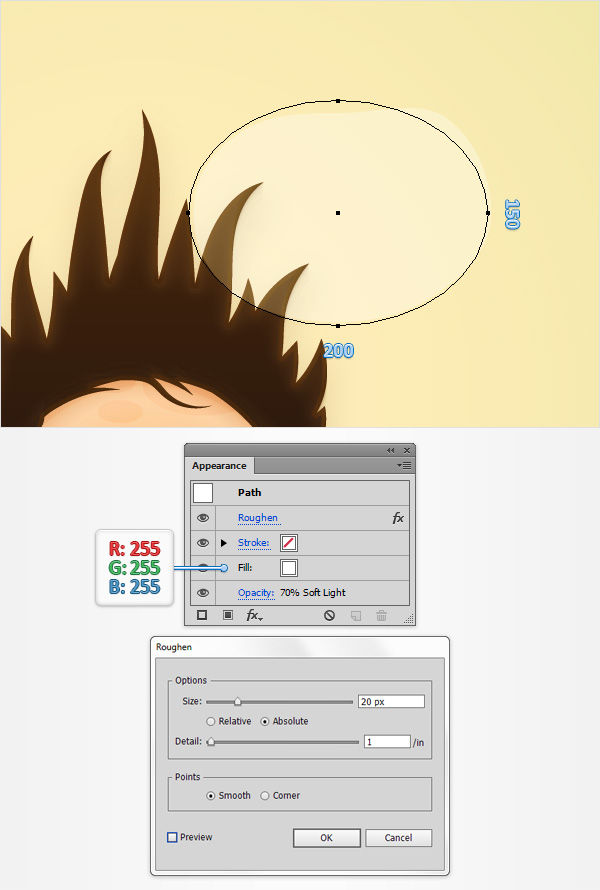
Using the Ellipse Tool (L), create a 200 x 150px shape, set the fill color at white and place it roughly as shown in the following image. Make sure that this new shape stays selected, lower its Opacity to 70%, change the Blending Mode to Soft Light and go to Effect > Distort & Transform > Roughen. Enter the properties shown in the following image and click OK.
Step 2
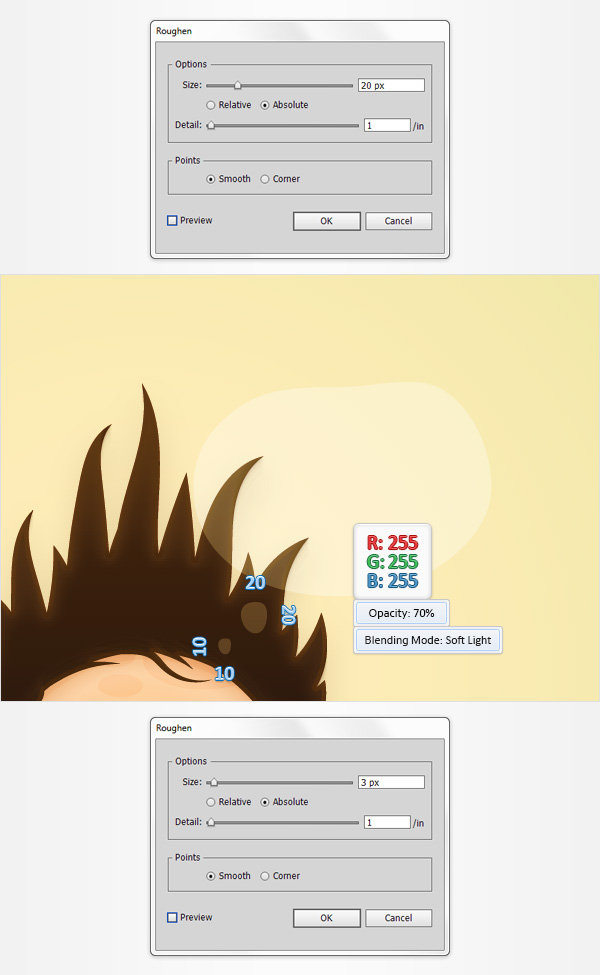
Using the Ellipse Tool (L), create a 20px circle and a 10px circle and place them roughly as shown in the following image. Fill both shapes with white, lower their Opacity to 70% and change the Blending Mode to Soft Light. Select only the 20px circle and go to Effect > Distort & Transform > Roughen. Enter the properties shown in the top window (in the following image) and click OK. Select the 10px circle and go to Effect > Distort & Transform > Roughen. Enter the properties shown in the bottom window (in the following image) and click OK.
Step 3
Finally, pick the Type Tool (T), click on your artboard and simply add the text. You can use the GoodDog font with the size set at 45px and the color at R=96 G=57 B=19.
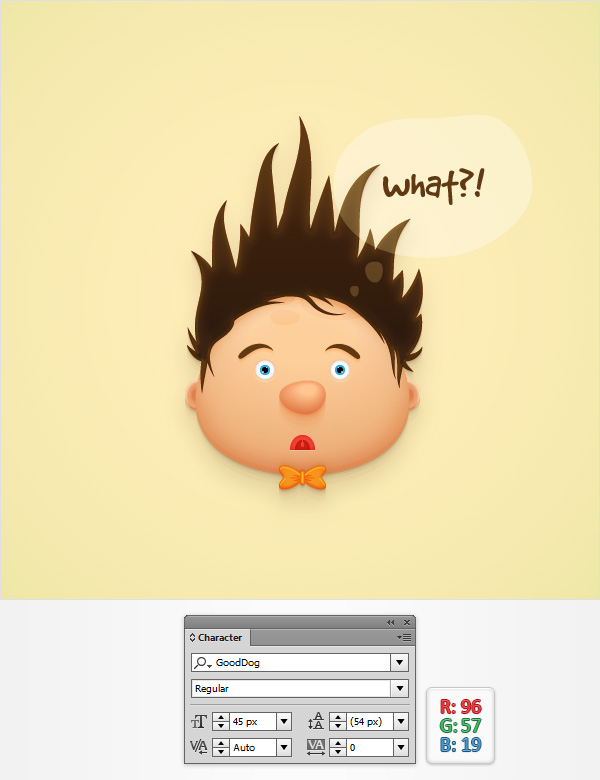
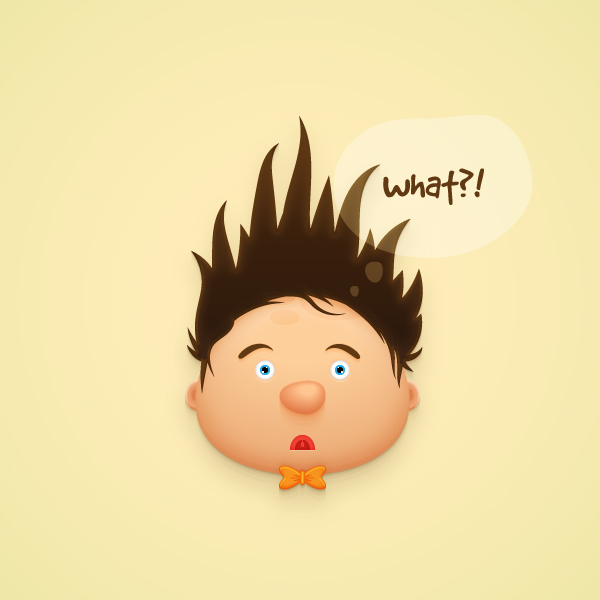
Congratulations! You’re Done!
Here is how it should look. I hope you’ve enjoyed this tutorial and can apply these techniques in your future projects.