In the following tutorial, you will learn how to make several variations of a gingham pattern in Adobe Illustrator from scratch.
What you’ll learn in this tutorial
- How to make a pattern in Illustrator
- What is a gingham pattern?
- How to make a gingham pattern
1. How to create a new document and set up a grid
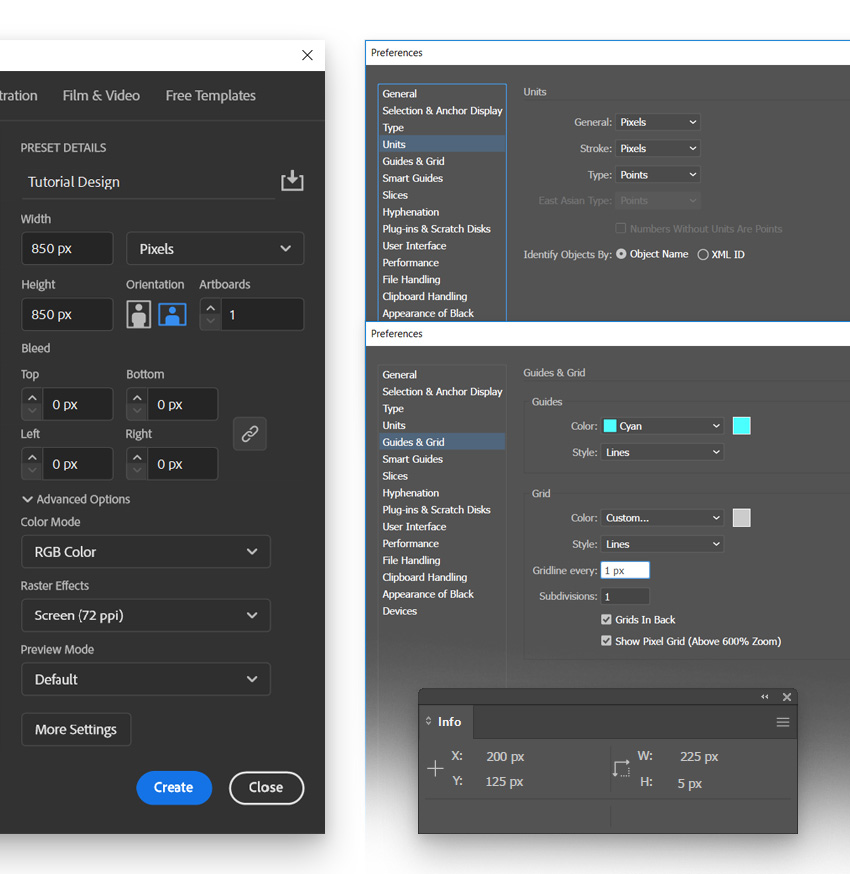
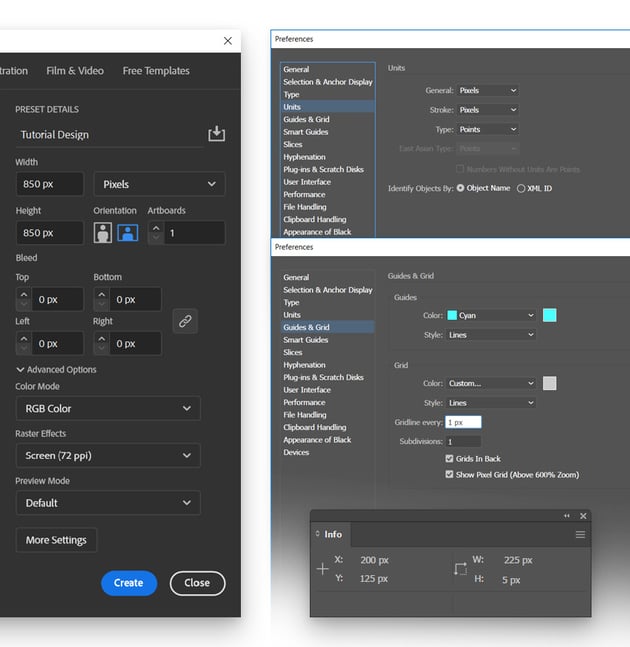
Hit Control-N to create a new document. Select Pixels from the Units drop-down menu, set the Width and the Height to 850 px, and then click that Advanced Options button. Select RGB for the Color Mode, set the Raster Effects to Screen (72 ppi), and then click the Create button.
Enable the Grid (View > Show Grid or Control-“) and Snap to Grid (View > Snap to Grid or Shift-Control-“). You will need a grid every 1 px, so simply go to Edit > Preferences > Guides & Grid, enter 1 in the Gridline every box and 1 in the Subdivisions box. Try not to get discouraged by all that grid—it will make your work easier, and keep in mind that you can easily enable or disable it using the Control-“ keyboard shortcut.
You should also open the Info panel (Window > Info) for a live preview of the size and position of your shapes. Don’t forget to set the unit of measurement to pixels from Edit > Preferences > Units. All these options will significantly increase your work speed. Now that you’re set, let’s learn how to make a pattern in Illustrator.

2. How to create a basic gingham pattern
Step 1
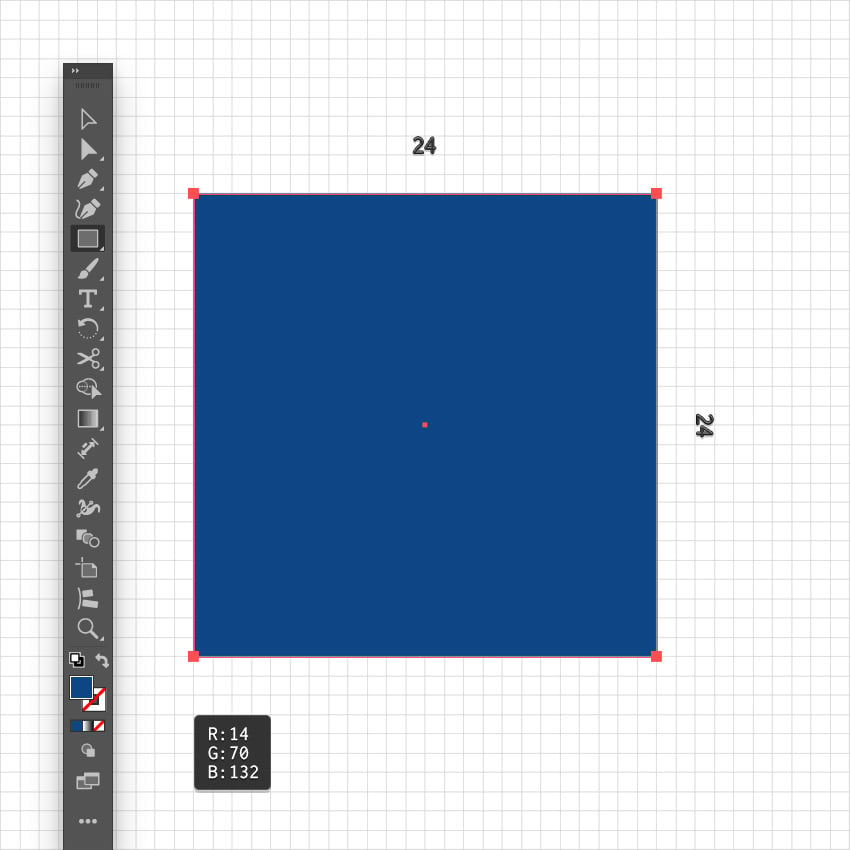
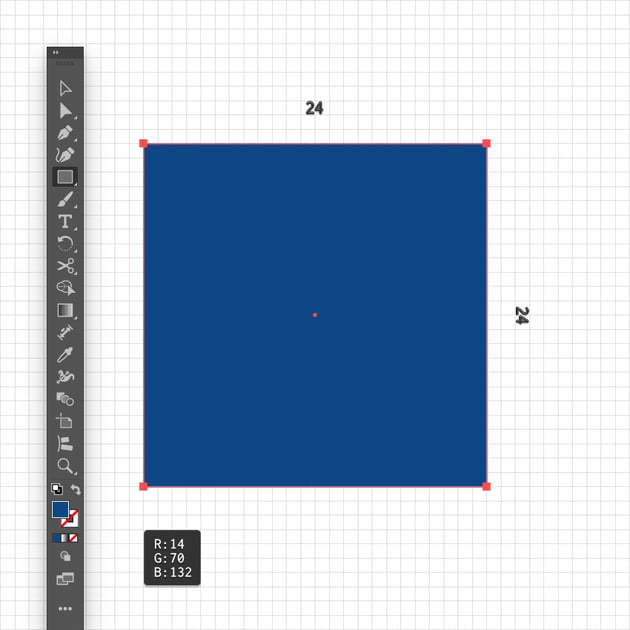
Pick the Rectangle Tool (M) from your toolbar and then focus on the color settings. Select the stroke and remove the color, and then double-click the fill and replace the existing color with R=14 G=70 B=132.
Move to your artboard and simply create a 24 px square—the grid and Snap to Grid should make it easier.
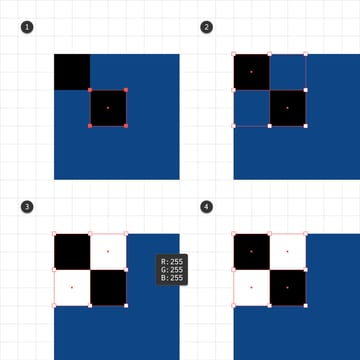
Step 2
Use the Selection Tool (V) to select your square and duplicate it (Control-C > Control-V). Place the copy as shown in the first image and change its fill color to R=104 G=158 B=217.
Create a copy of this second square and place it as shown in the second image.
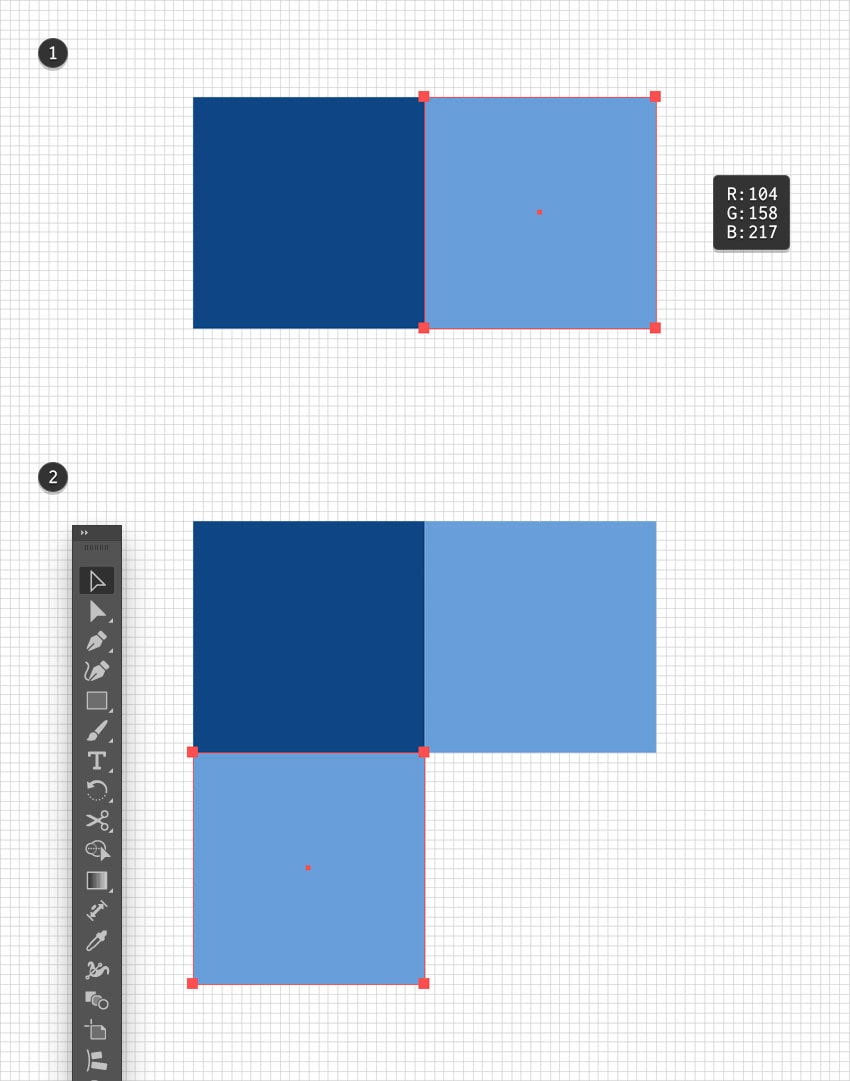


Step 3
Add one more copy of your square (Control-V), place it as shown below, and don’t forget to change its fill color to R=236 G=246 B=255.


Step 4
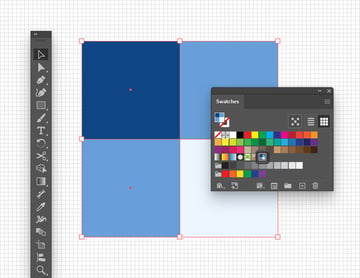
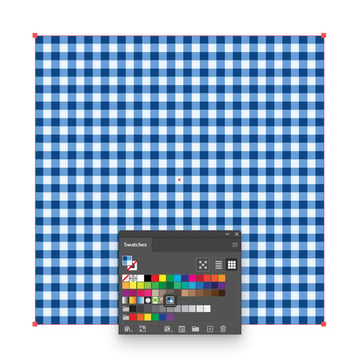
Select all four squares and simply drag them into the Swatches panel (Window > Swatches) to save them as a gingham pattern.


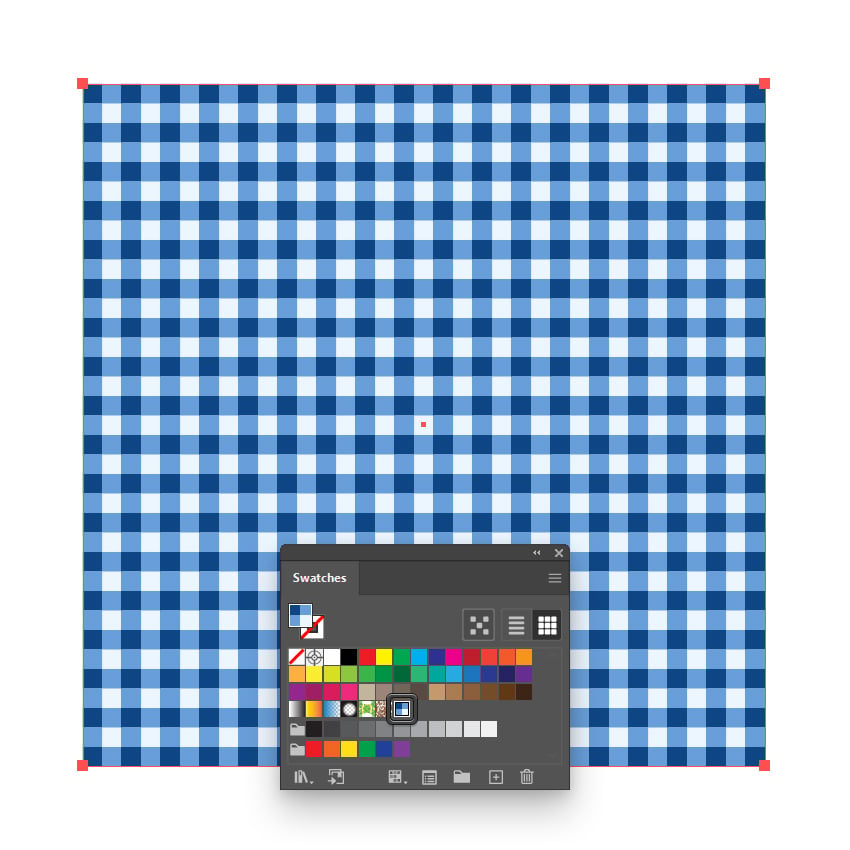
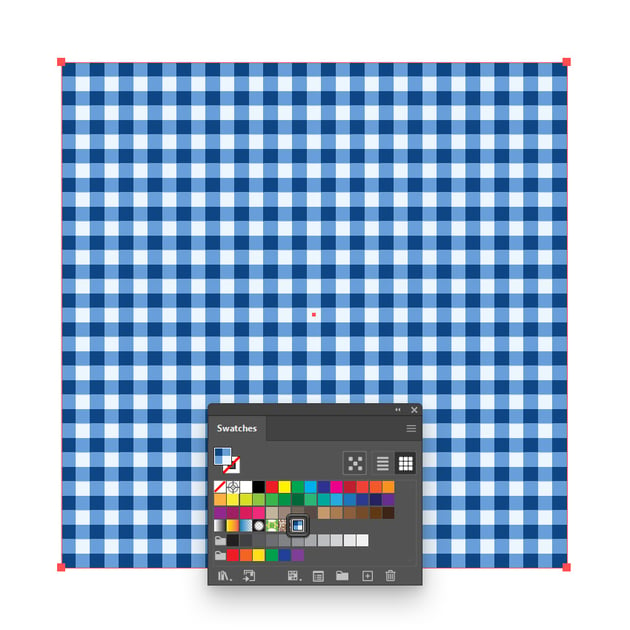
Step 5
Use the Rectangle Tool (M) to create a shape that covers your entire artboard and fill it with your saved gingham pattern from the Swatches panel.
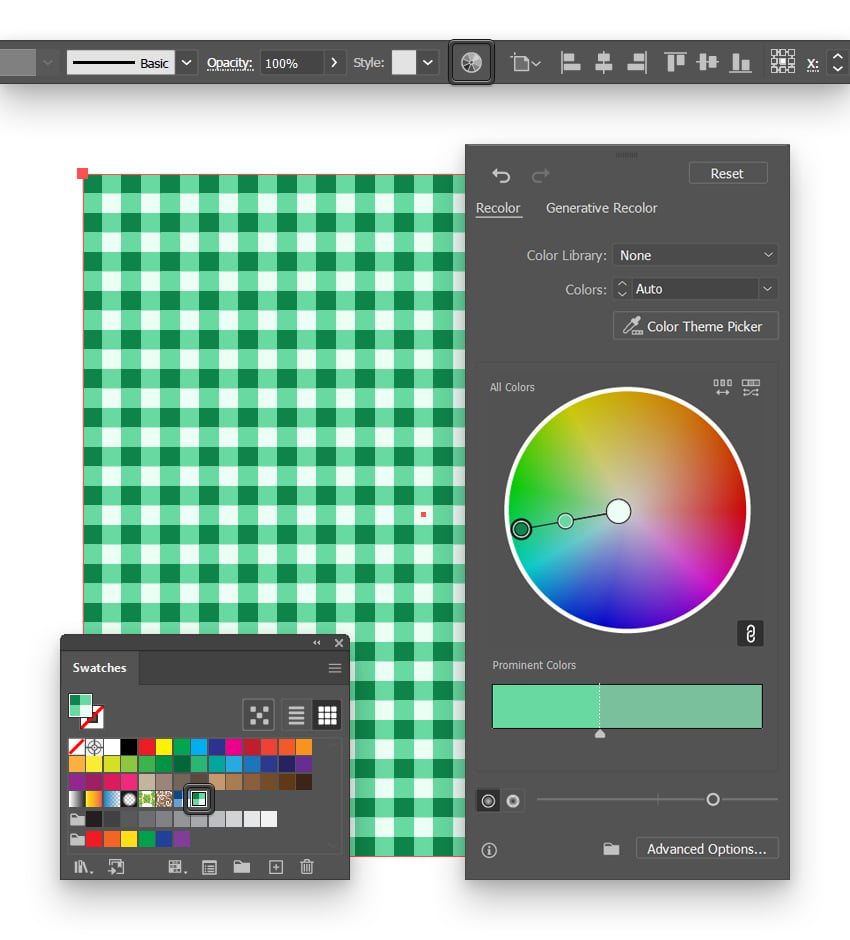
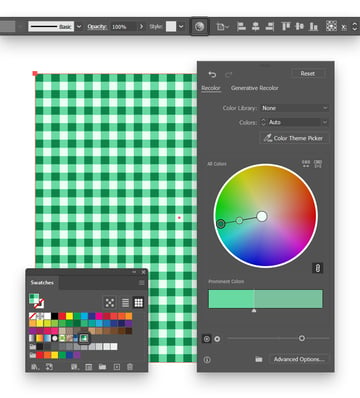
3. How to recolor a gingham pattern
Make sure that your patterned shape is still selected and click the Recolor Artwork button from the Control panel (Window > Control). Alternatively, you can go to Edit > Edit Colors > Recolor Artwork.
Play with those color handles to recolor the pattern, and your new gingham pattern will be automatically saved in the Swatches panel.

4. How to create a complex gingham pattern
Step 1
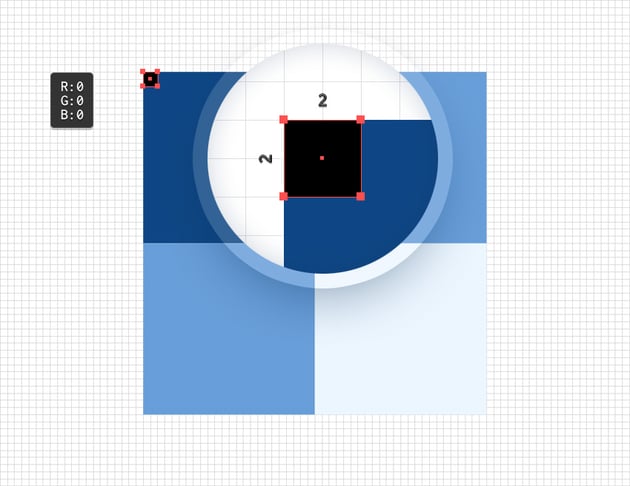
Focus on the four squares that we used to save the first gingham pattern. Pick the Rectangle Tool (M) to create a 2 px square, make it black (R=0 G=0 B=0), and place it as shown below.


Step 2
Duplicate your black square (Control-C > Control-V) and place the copy as shown in the first image.
Select both black squares and add copies in front (Control-C > Control-F). Keep these copies selected, replace the black with white, and then rotate them 90 degrees, as shown in the third image.
Once you’re done, select all four squares and press Control-G to Group them.


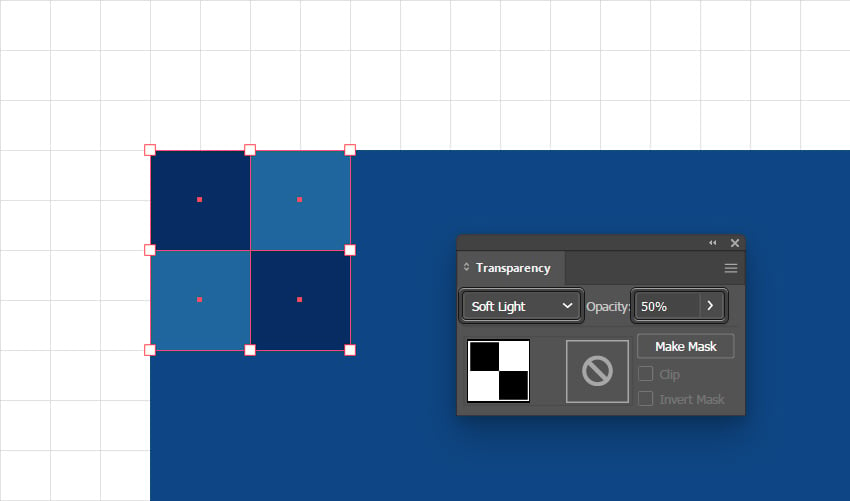
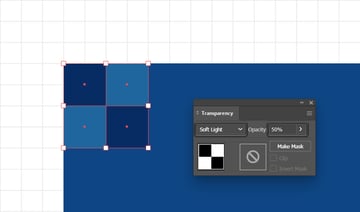
Step 3
Make sure that your group of square is still selected, lower its Opacity to 50%, and also change the Blending Mode to Soft Light.

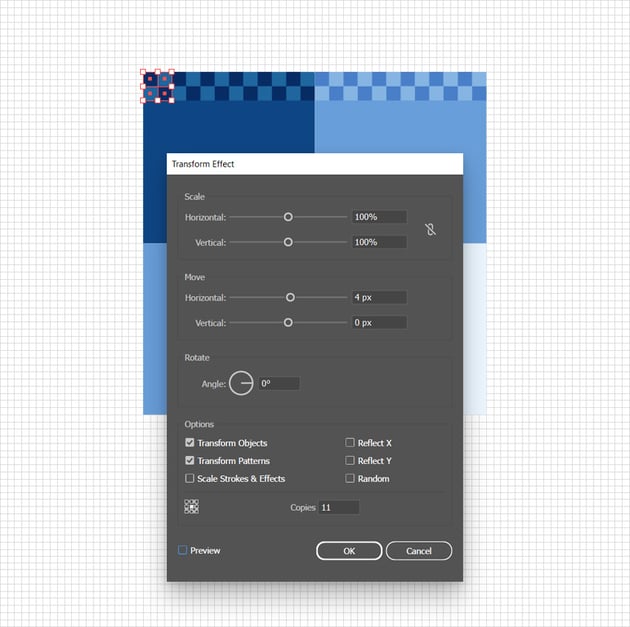
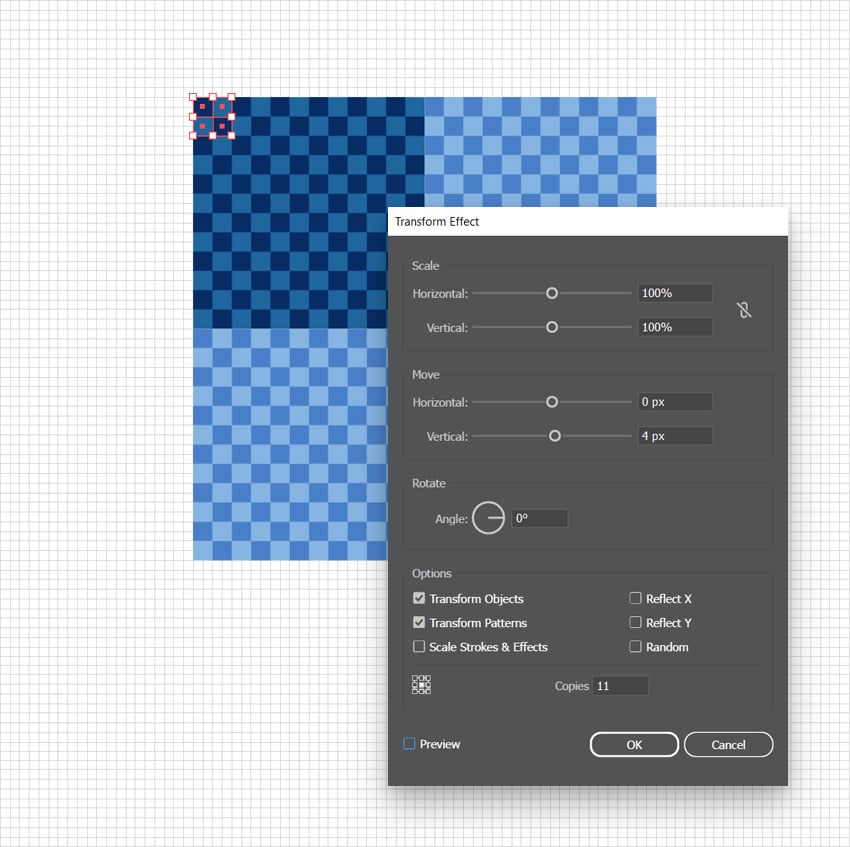
Step 4
Keep your group of squares selected, and let’s multiply it. Go to Effect > Distort & Transform > Transform. Set the number of Copies to 11 and drag the Move-Horizontal slider to 4 px, and then click OK.


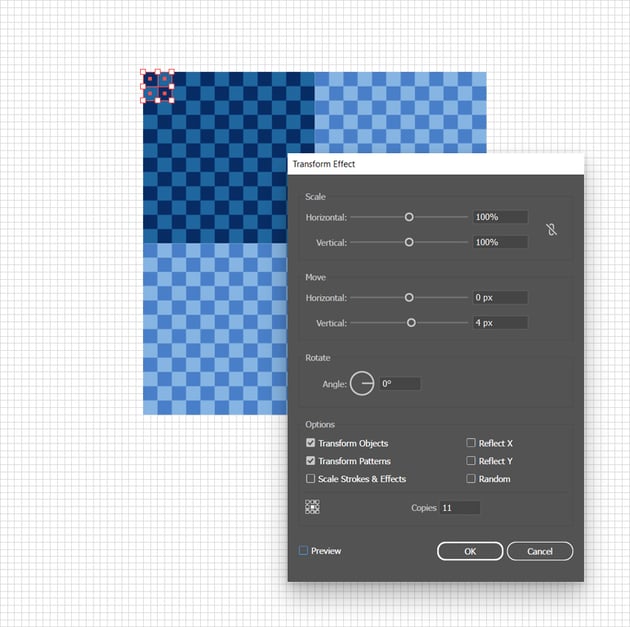
Step 5
Keep your group of squares selected and go again to Effect > Distort & Transform > Transform. Again, set the number of Copies to 11 and this time drag the Move-Vertical slider to 4 px.

Step 6
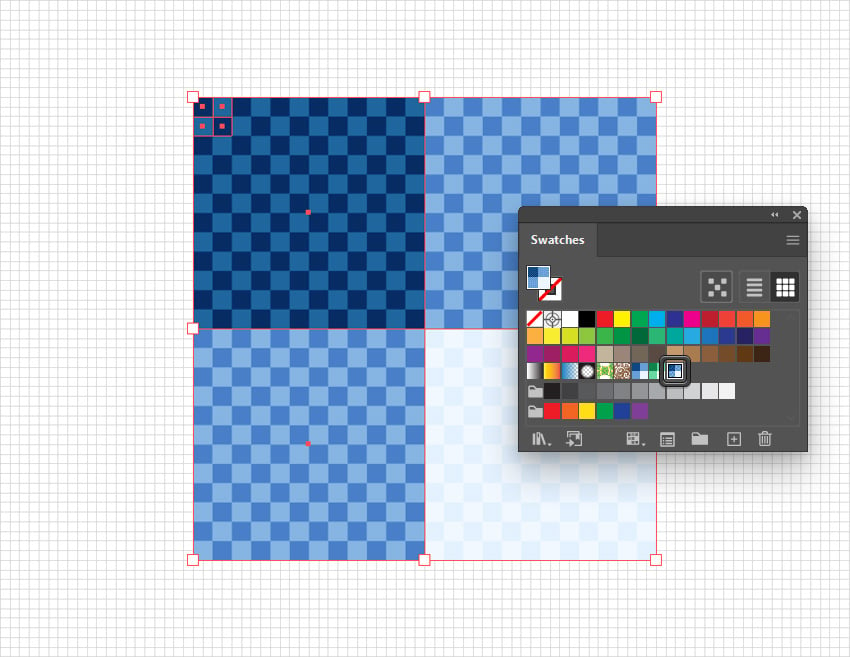
Select your group of squares along with the four larger squares, and drag them into the Swatches panel to save them as a new gingham pattern.


Step 7
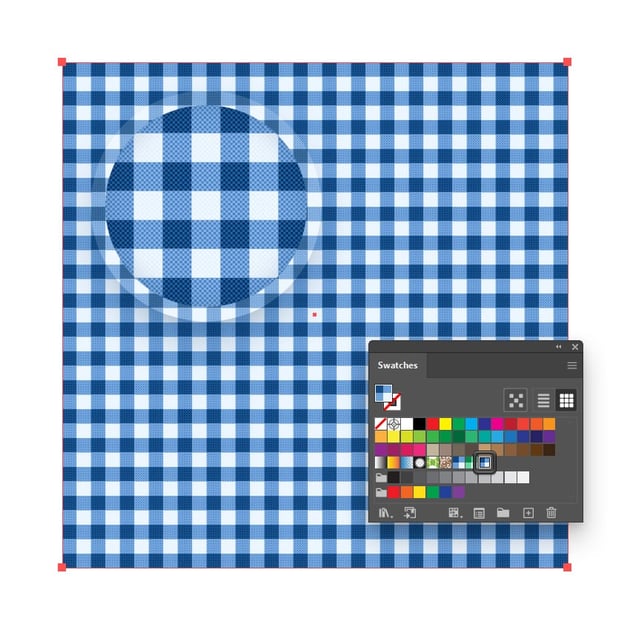
Use the Rectangle Tool (M) to create a new shape that covers your entire artboard and fill it with your latest gingham pattern from the Swatches panel.


5. How to adjust a gingham pattern
Step 1
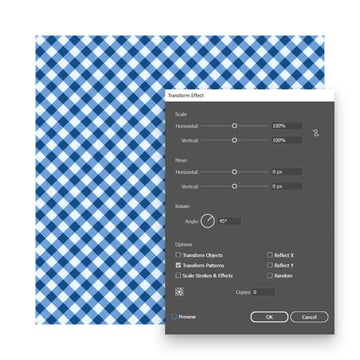
Once applied, here’s how you can adjust your gingham pattern. Make sure that your patterned shape is selected and go to Effect > Distort & Transform > Transform.
First of all, disable the Transform Objects box and keep the Transform Patterns box checked. This guarantees that only the pattern will be modified, leaving the overall shape unchanged. Now, set the Angle to 45 degrees, which will rotate your pattern. Feel free to play with these settings and adjust the gingham print as you wish.

Step 2
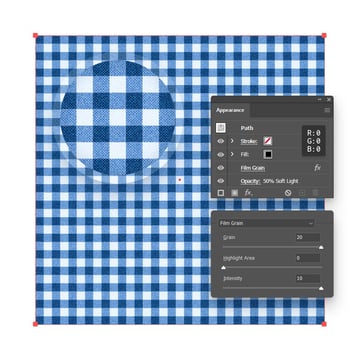
Finally, here’s how you can further stylize this gingham pattern using a subtle texture. Add a new shape on top of your patterned shape and fill it with black. Lower its Opacity to 50% and change the Blending Mode to Soft Light, and then go to Effect > Artistic > Film Grain. Enter the settings shown below and click OK.

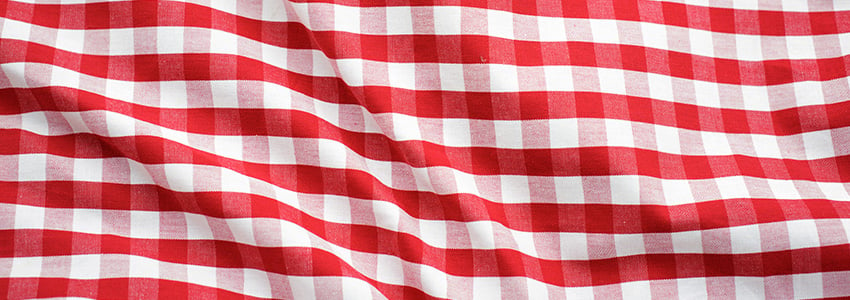
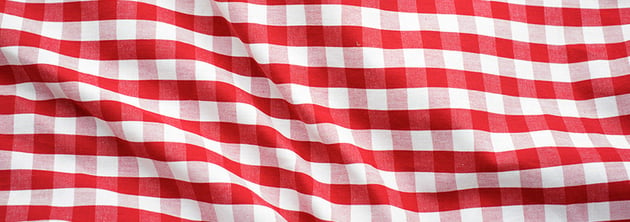
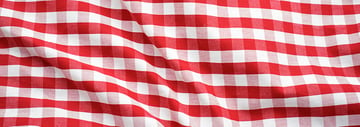
What is a gingham pattern?
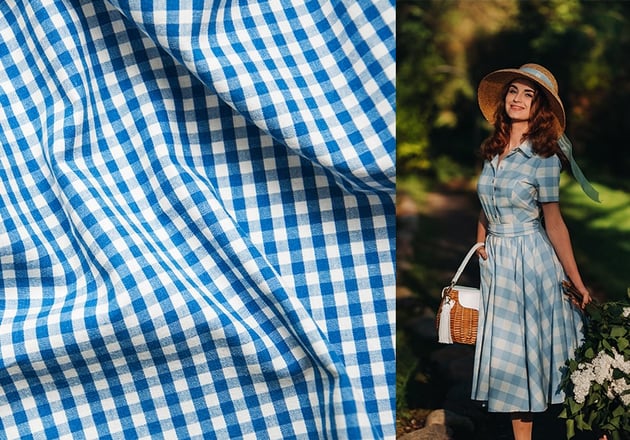
Gingham pattern is typically a checkered design, often made up of alternating squares in two colors, such as red and white or blue and white. Gingham comes from the Malay word “genggang”, meaning “striped” or “the same”. Gingham became more popular in 18th-century England when cotton production became more accessible and affordable.
Over the centuries, gingham print became ingrained in popular culture. Its most iconic cultural association is with the 1950s, especially with “Dorothy” in The Wizard of Oz (1939), where Judy Garland’s character wore a blue gingham dress.


Is gingham a fabric or pattern?
At its core, gingham refers to the distinct pattern rather than the material itself.
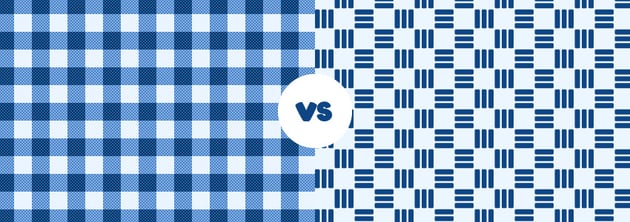
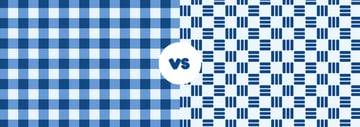
Gingham vs. checkered
Gingham is a type of checkered pattern, but not all checkered patterns are gingham. Gingham is typically more uniform and uses only two colors, while checkered patterns can vary widely in design.

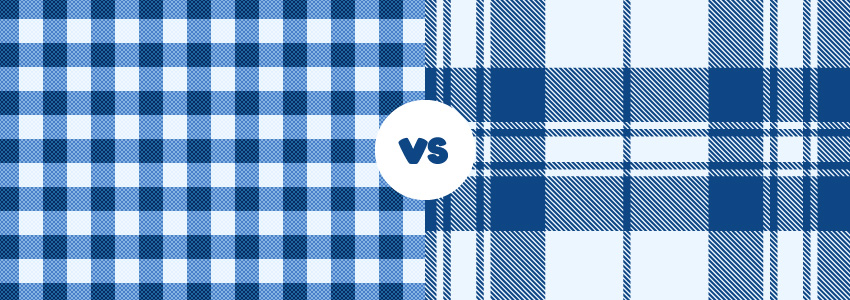
Gingham vs. plaid
Gingham is a simpler, two-tone checkered pattern, while plaid is a more complex pattern with intersecting lines in multiple colors and sizes.


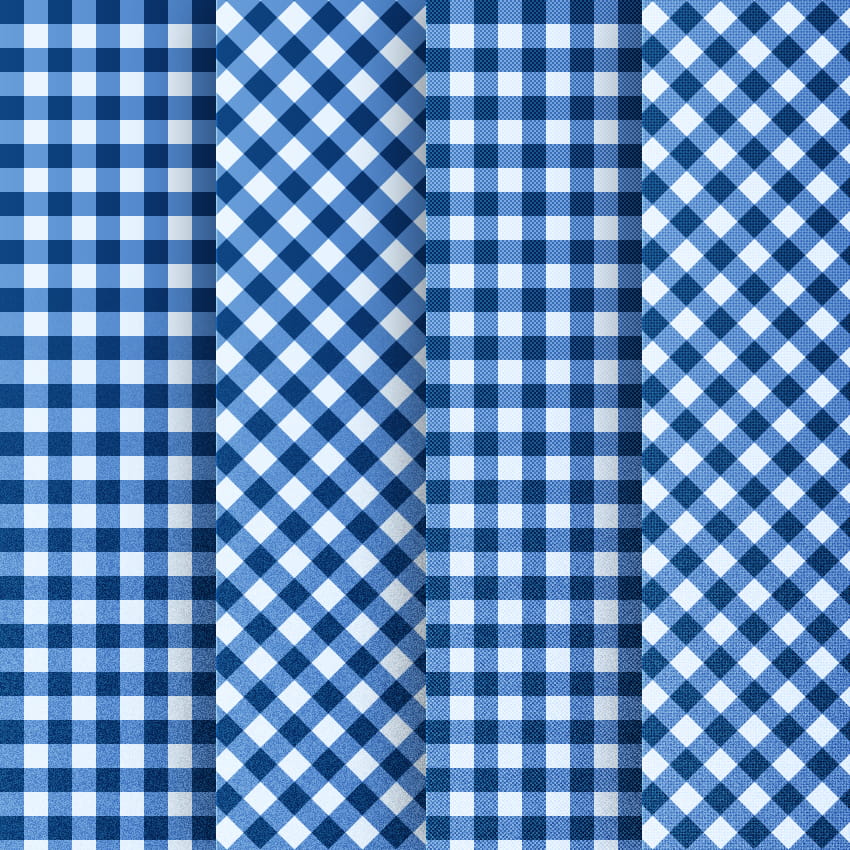
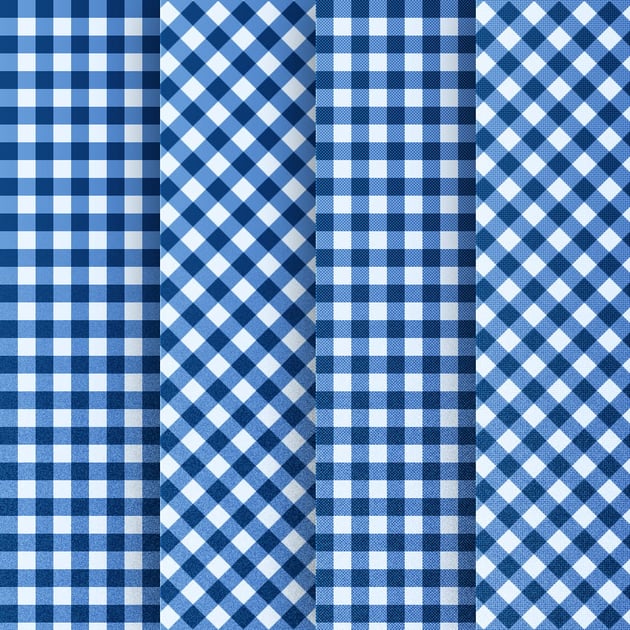
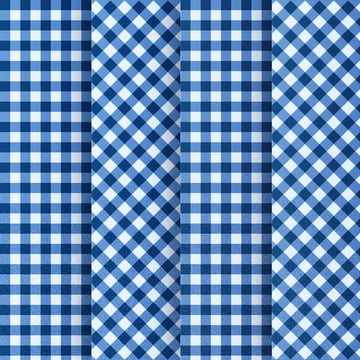
Congratulations! You’re done!
Here is how your gingham print should look. I hope you’ve enjoyed this tutorial and that you can apply these techniques when creating new Illustrator patterns.
Feel free to adjust this gingham pattern and make it your own. You can find some great sources of inspiration at Envato, with interesting solutions to improve your Illustrator patterns.


Popular Illustrator patterns from Envato
Envato is an excellent resource for gingham prints. Here’s a short list of some of the most popular gingham patterns that you can find.
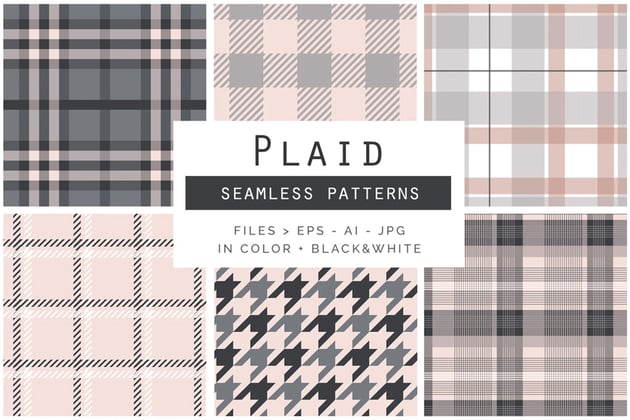
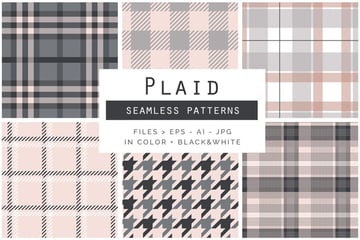
Plaid Seamless Patterns ( AI, EPS, JPG)
This collection explores the contrasting styles of gingham vs. plaid, helping you navigate their distinct visual appeal and practical uses.

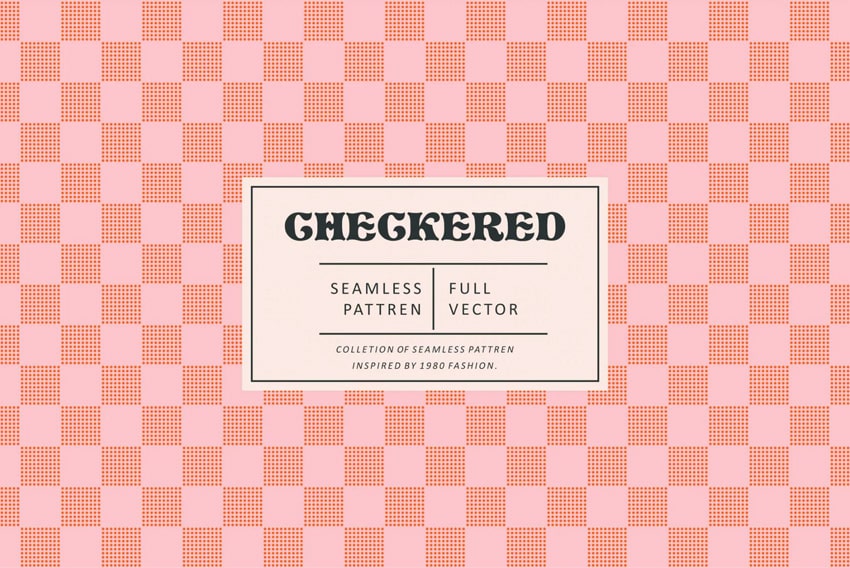
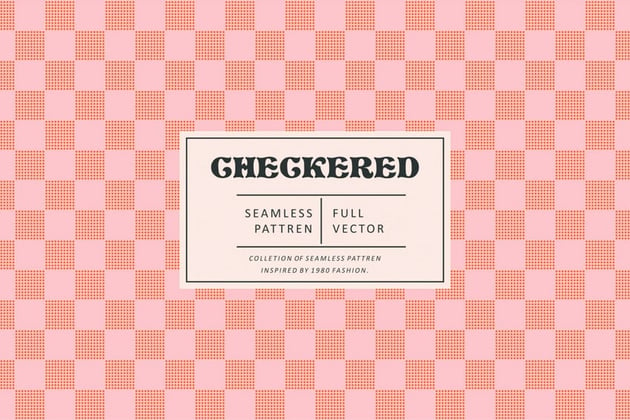
Checkered Seamless Pattern (
AI, EPS, JPG, PNG, PSD, SVG)
Checkered patterns are a timeless and versatile design that never goes out of style. This set offers a bold yet balanced aesthetic that can elevate any project.

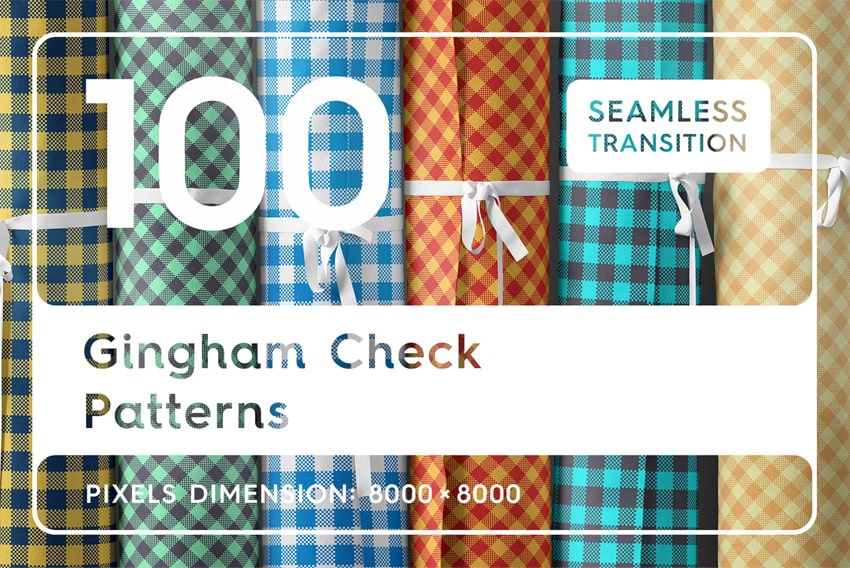
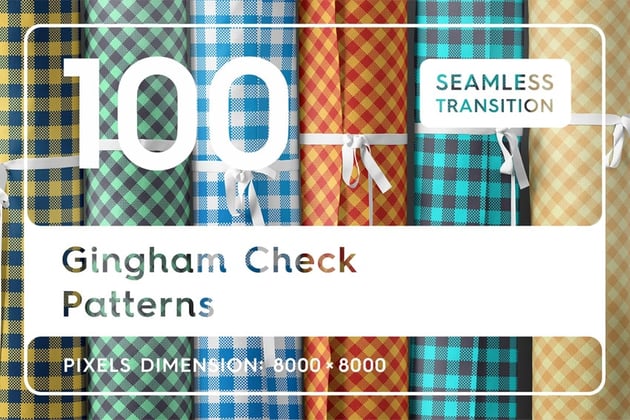
100 Gingham Check Patterns (JPG)
Understanding the distinction between gingham vs. checkered will help you choose the perfect pattern for your creative projects. In this collection, you can explore the versatility of both styles.

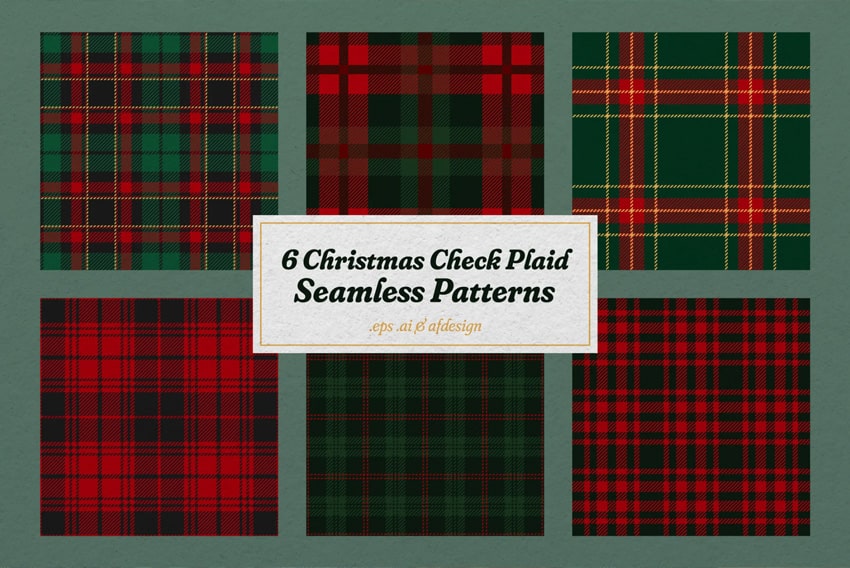
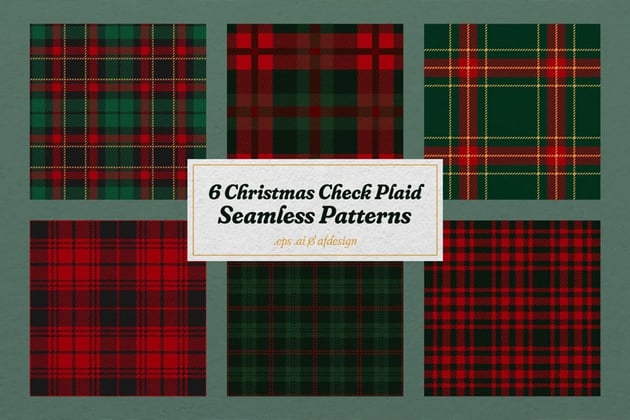
Christmas Check Plaid Seamless Patterns ( AI, EPS, AFDESIGN)
Whether you’re decorating for the holidays, designing seasonal clothing, or creating digital artwork, these seamless plaid patterns add a warm, inviting touch to any project.
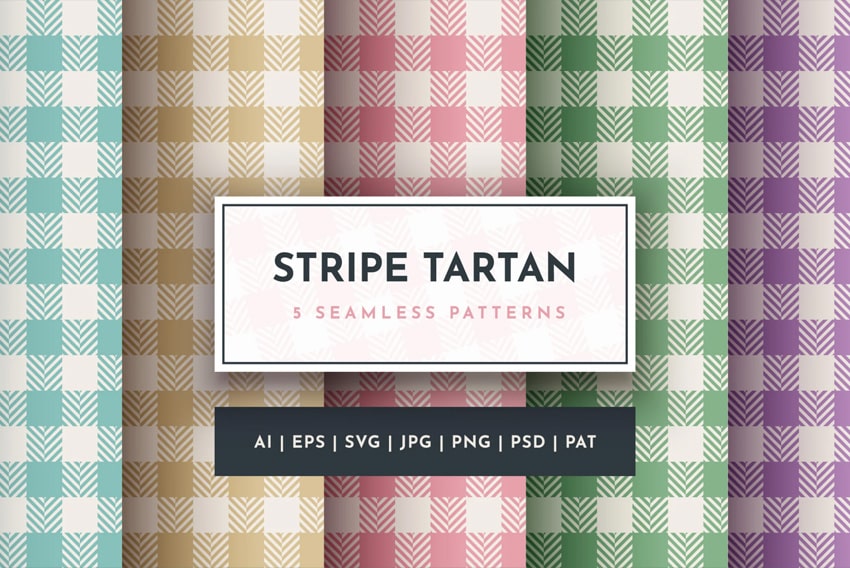
Set 5 Seamless Square Tartan Patterns (
AI, EPS, JPG, PNG, PSD, SVG)
Whether you’re aiming for a traditional or modern twist, the endless color combinations and crisp lines of these tartan patterns provide the perfect foundation for stylish creations.


Want to learn more?
We have loads of tutorials on Envato Tuts+, from beginner to intermediate level. Take a look!