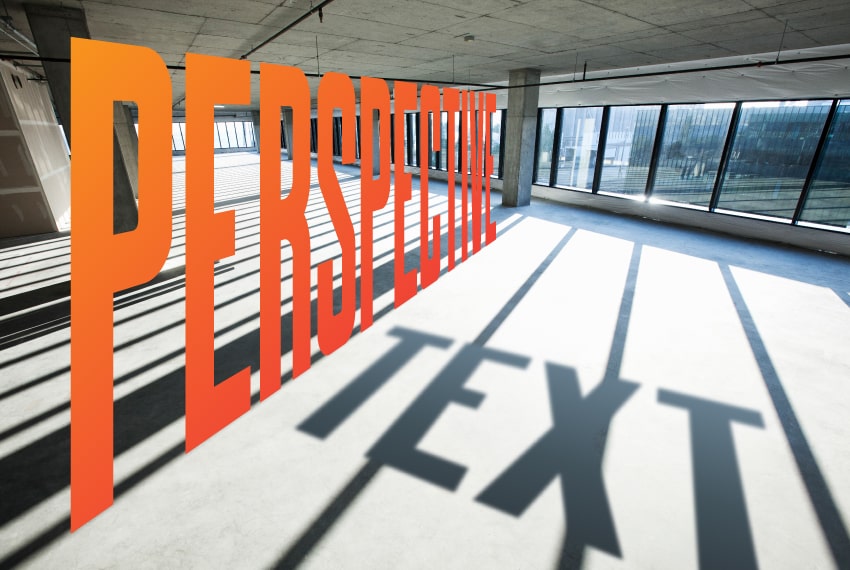
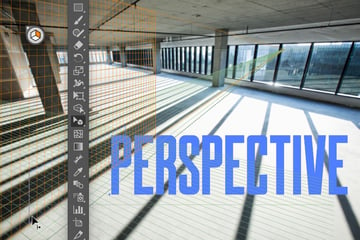
In the following tutorial, you will learn how to use the Perspective Tools and how to do perspective drawings in Adobe Illustrator.
If you don’t have the time to learn what a vanishing point is in perspective drawing and how it can help you to do perspective drawing, then Envato is the solution. This creative platform offers over 2,000 Illustrator add-ons you can download without restrictions!
What you’ll learn in this tutorial
- How to use the Perspective Tool in Illustrator
- How to edit a perspective grid in Illustrator
- How to distort text in Illustrator
- How to do perspective drawing
What you’ll need
You’ll need the following resources as you learn how to add perspective in Illustrator:
1. How to create a new document and set up a grid
Step 1
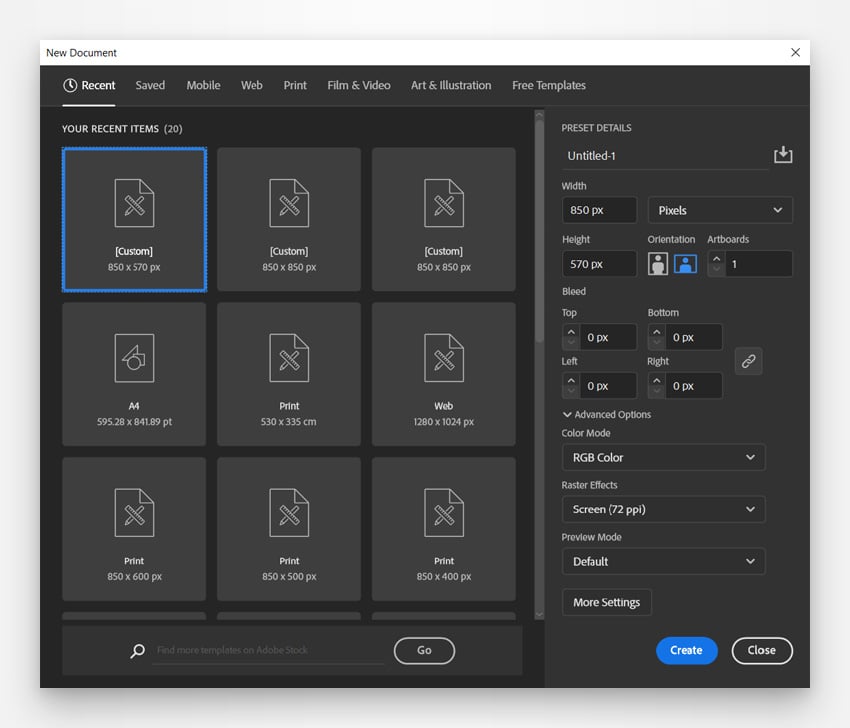
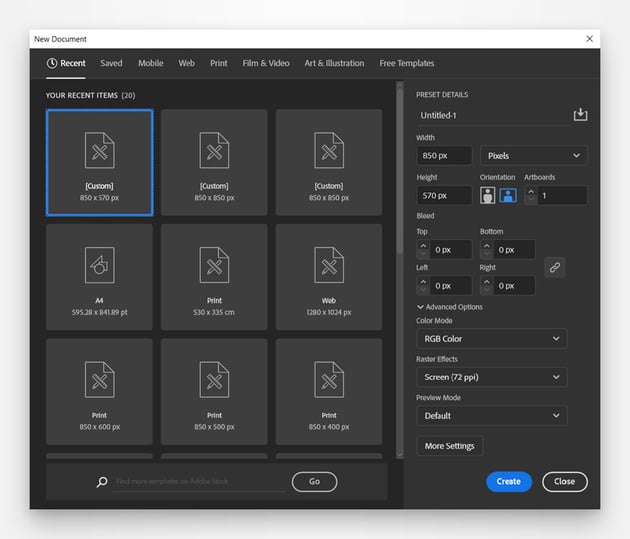
Hit Control-N to create a new document. Select Pixels from the Units drop-down menu, set the Width to 850 px and the Height to 570 px, and then click that Advanced Options button. Select RGB for the Color Mode, set the Raster Effects to Screen (72 ppi), and click Create.
Step 2
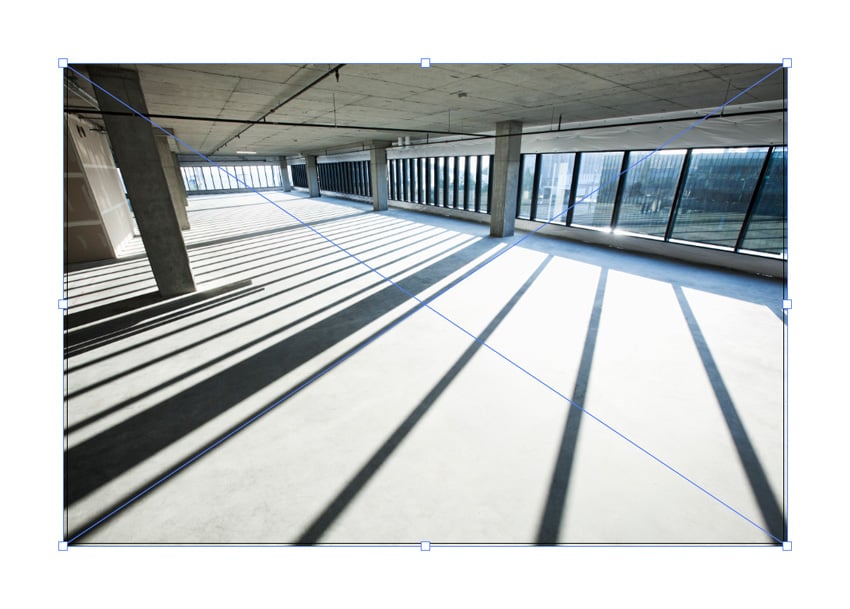
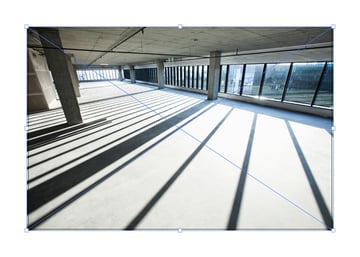
We’ll use this photo from Envato for the background, so download it and drag it inside your document, roughly as shown in the following image.
2. How to set up a perspective grid in Illustrator
Step 1
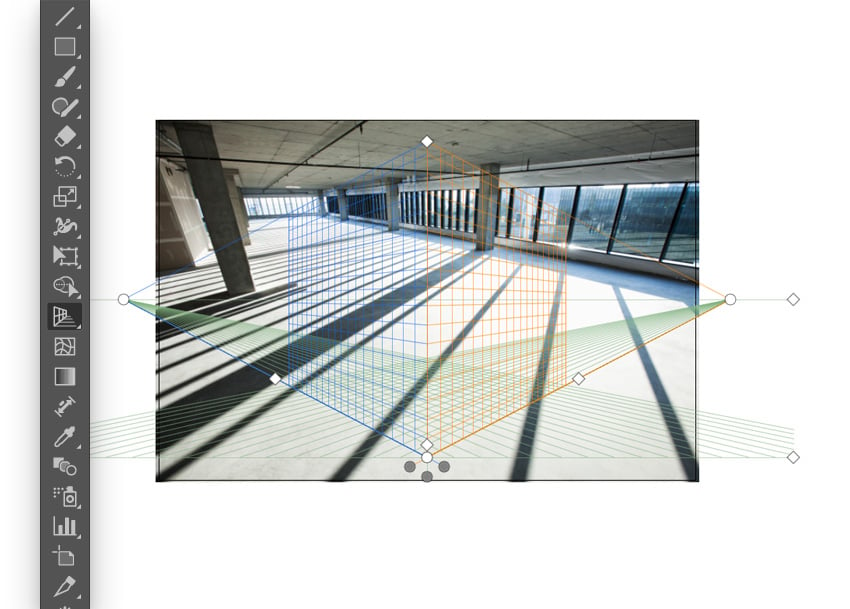
Select the Perspective Grid Tool (Shift-P) to open the default perspective grid in your Illustrator document.
Step 2
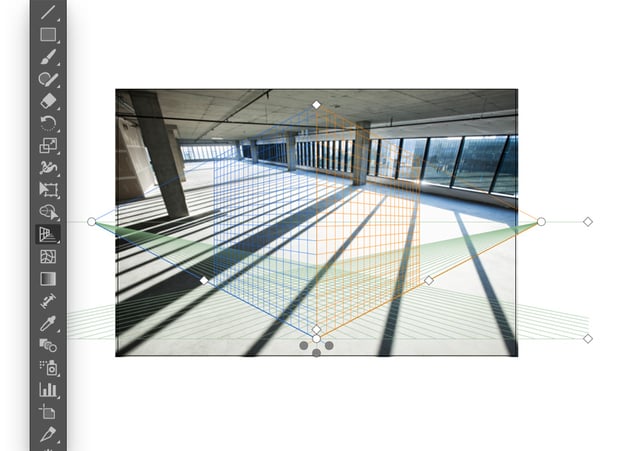
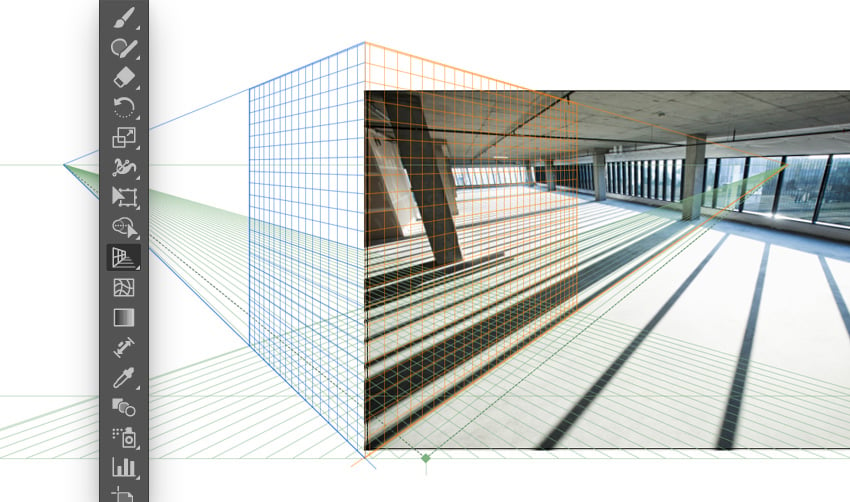
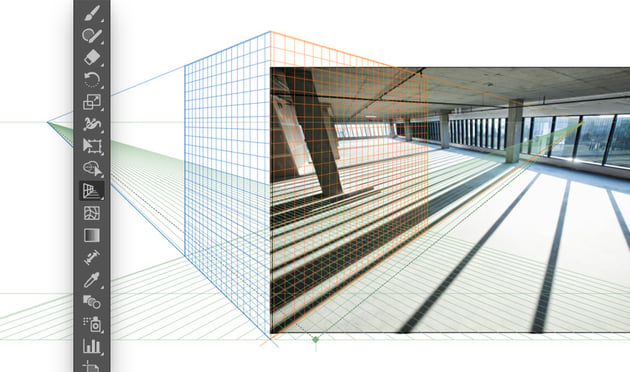
Change the angle and position of your grid, and then adjust the vanishing points roughly as shown in the image below.
So what is a vanishing point in perspective drawing? It represents the point on the horizon line where parallel lines appear to converge, creating the illusion of depth and distance on a flat surface.
Step 1
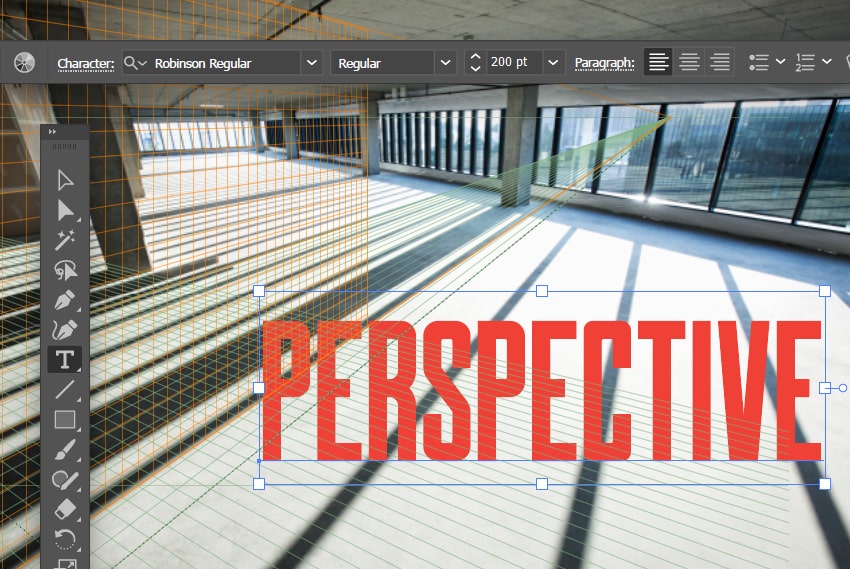
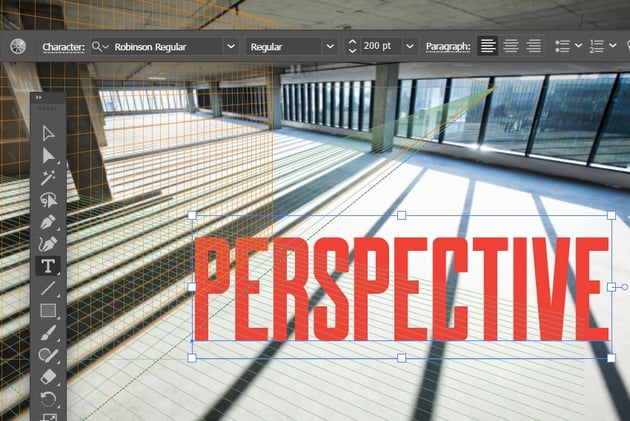
Pick the Type Tool (T) and focus on the Control panel to set the settings for the text that you’re about to add. Select the Robinson Regular font and increase the Size to 200 pt, and then click on your artboard to type in your text.
Step 2
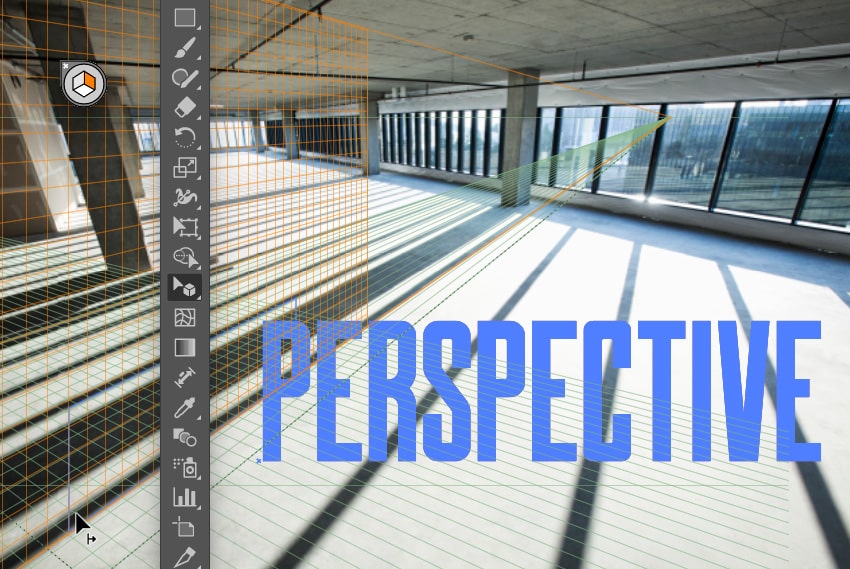
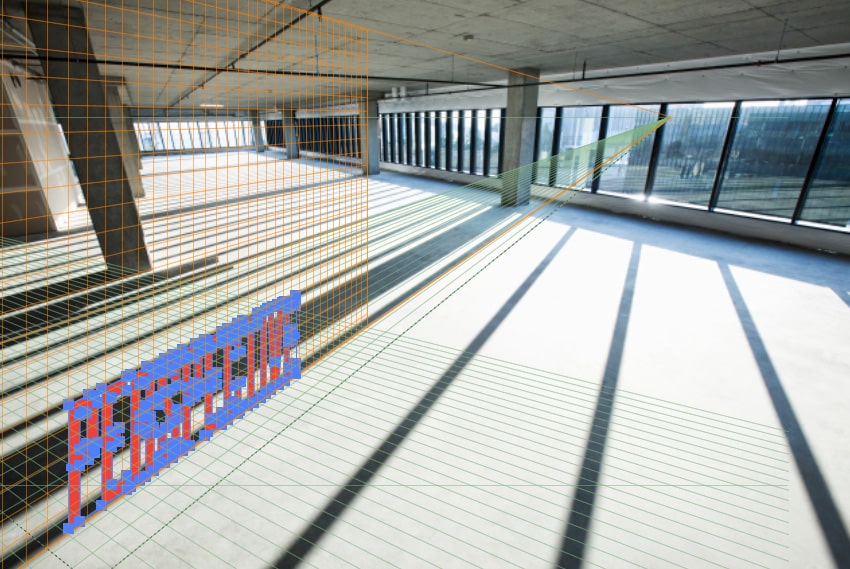
Pick the Perspective Selection Tool (Shift-V) and focus on the Plane Switching widget. Click the right plane (orange) to activate it.
Now, select your text and simply move it along your selected plane.
Step 3
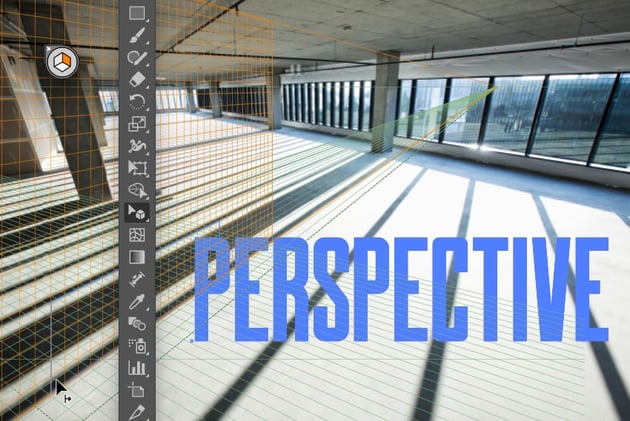
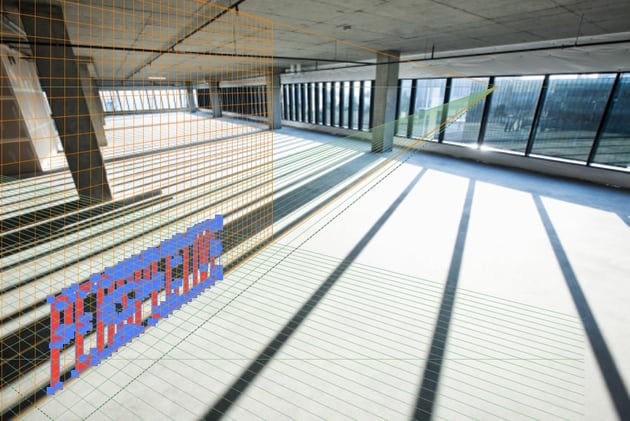
Position it approximately as illustrated in the image below.
Step 4
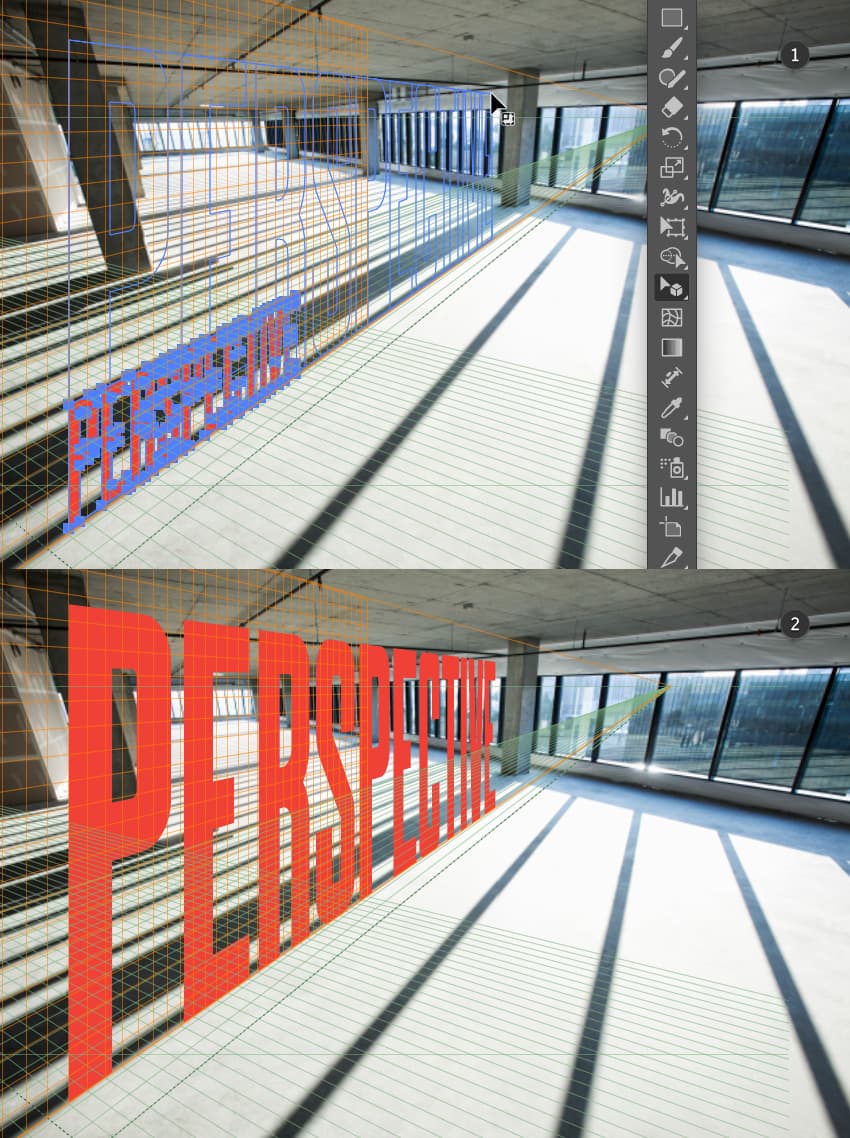
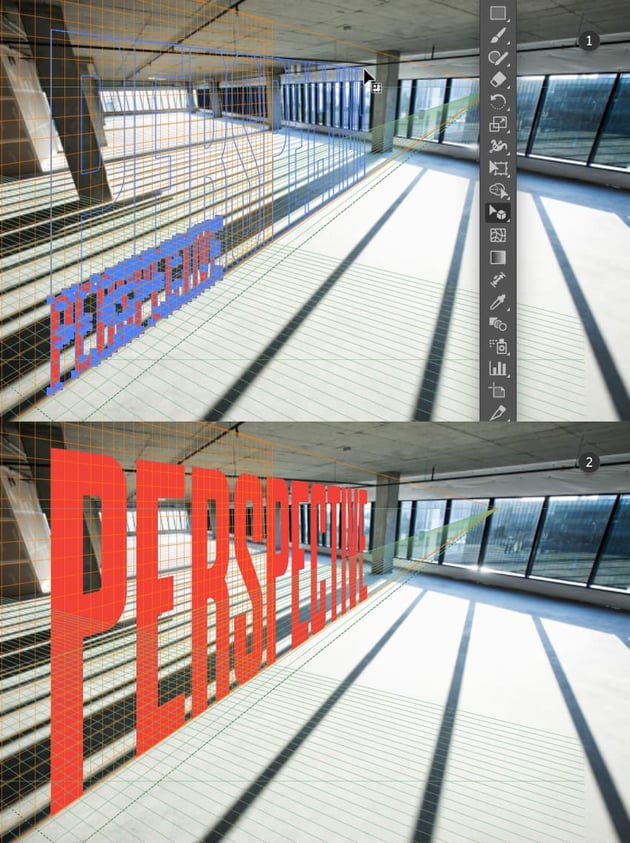
Now that you’ve learned how to distort text in Illustrator, let’s see how you can edit it. Make sure that the Perspective Selection Tool (Shift-V) is still active and that your distorted text is still selected.
Move the cursor towards the corner of your selection and simply click and drag to scale your text. Do it as closely as possible to what’s shown in the image below.
Step 5
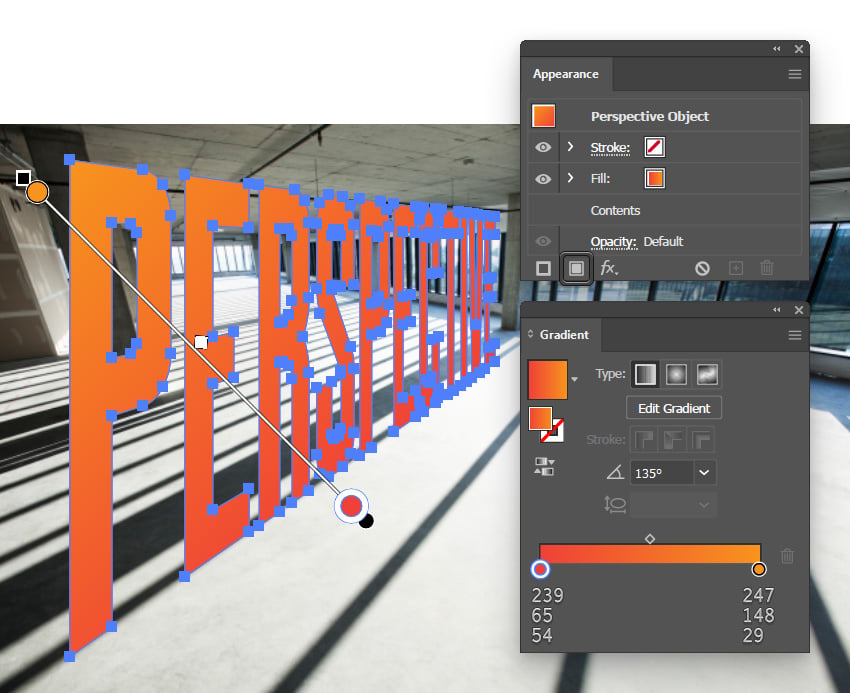
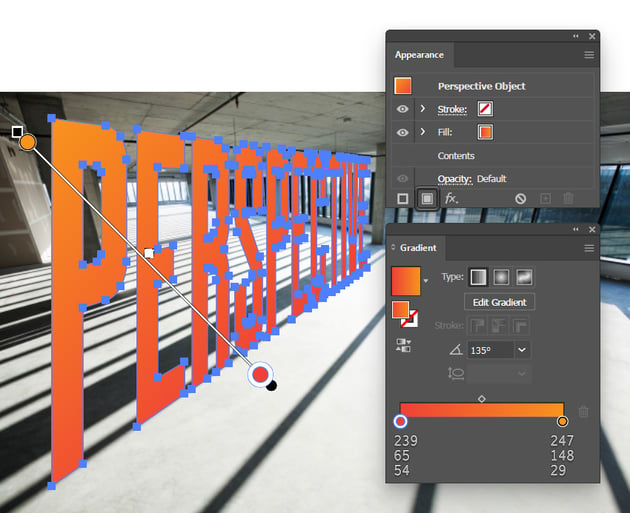
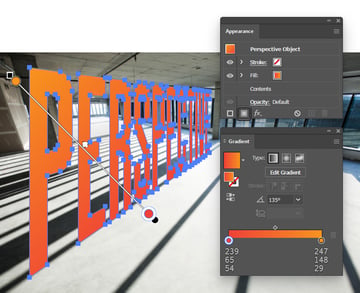
Let’s also stylize this distorted text. Have it selected and go to the Appearance panel (Window > Appearance) to add a fill using the Add New Fill button.
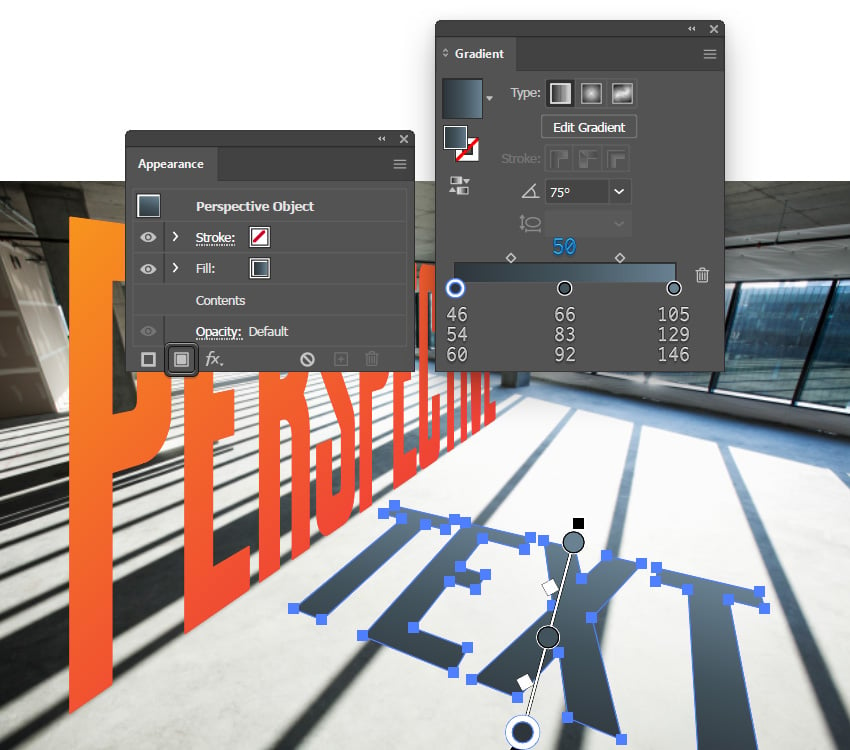
Select this fill and open the Gradient panel (Window > Gradient) to apply the linear gradient shown below.
4. How to add perspective to text in Illustrator
Step 1
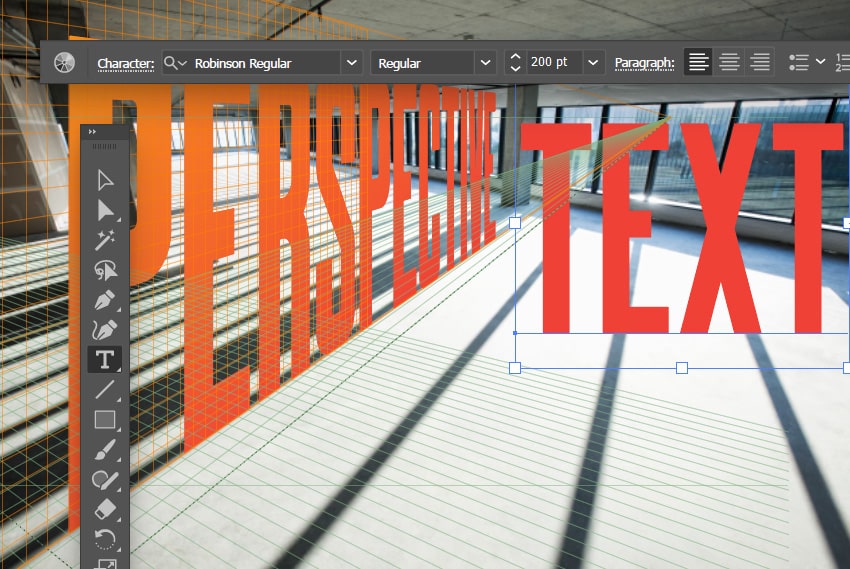
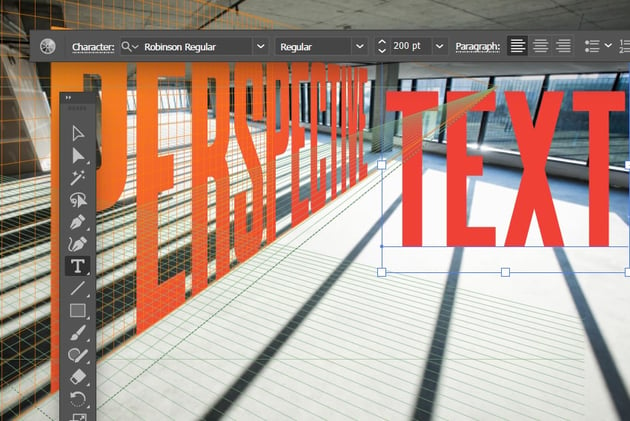
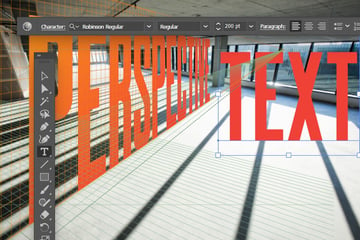
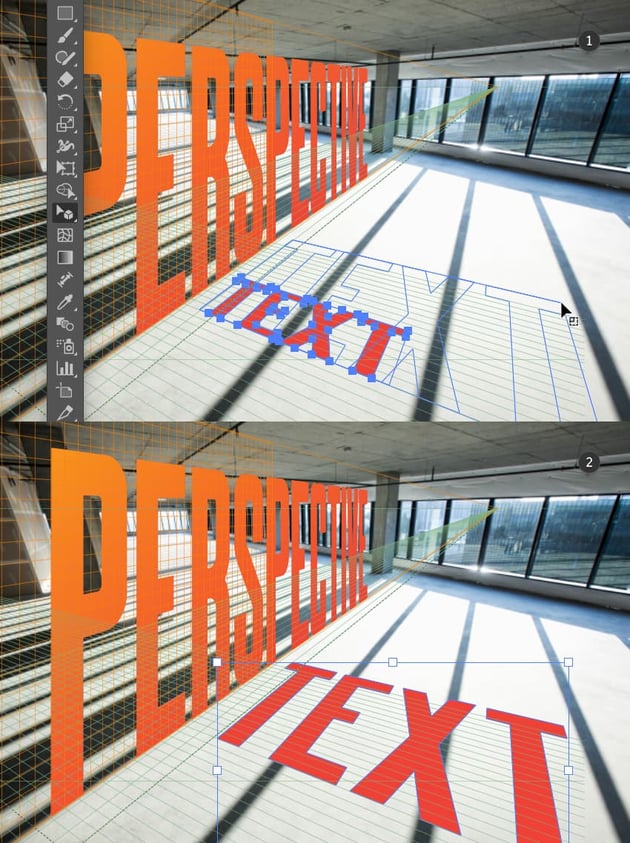
Reselect the Type Tool (T) and add a second piece of text.
Step 2
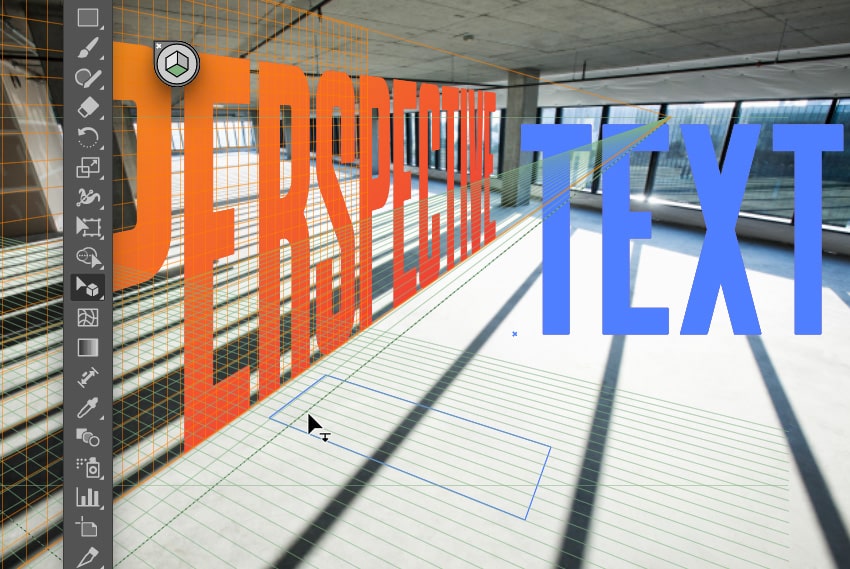
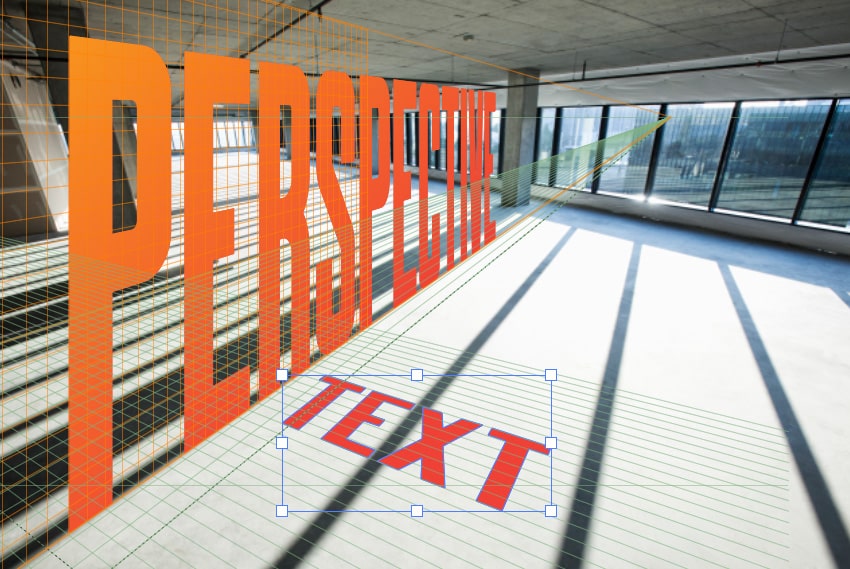
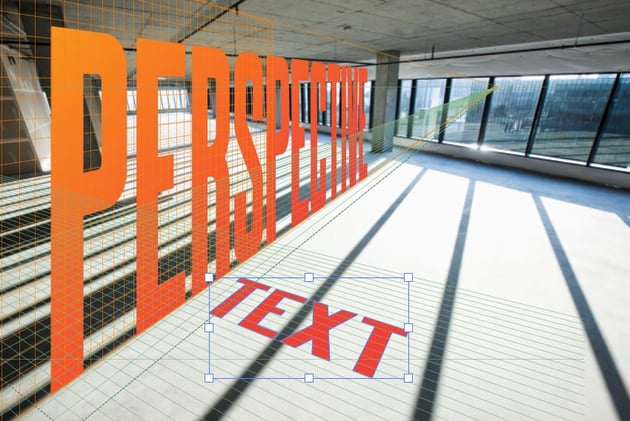
Reselect the Perspective Selection Tool (Shift-V) and select the lower plane from the the Plane Switching widget, and then click and drag your new text to the lower plane.
Step 3
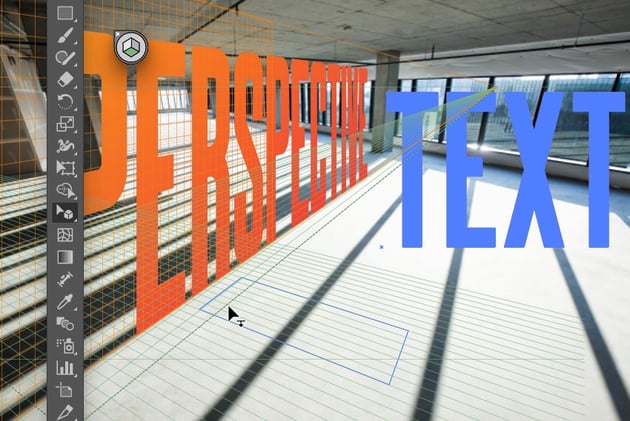
Set it up roughly as displayed in the image below.
Step 4
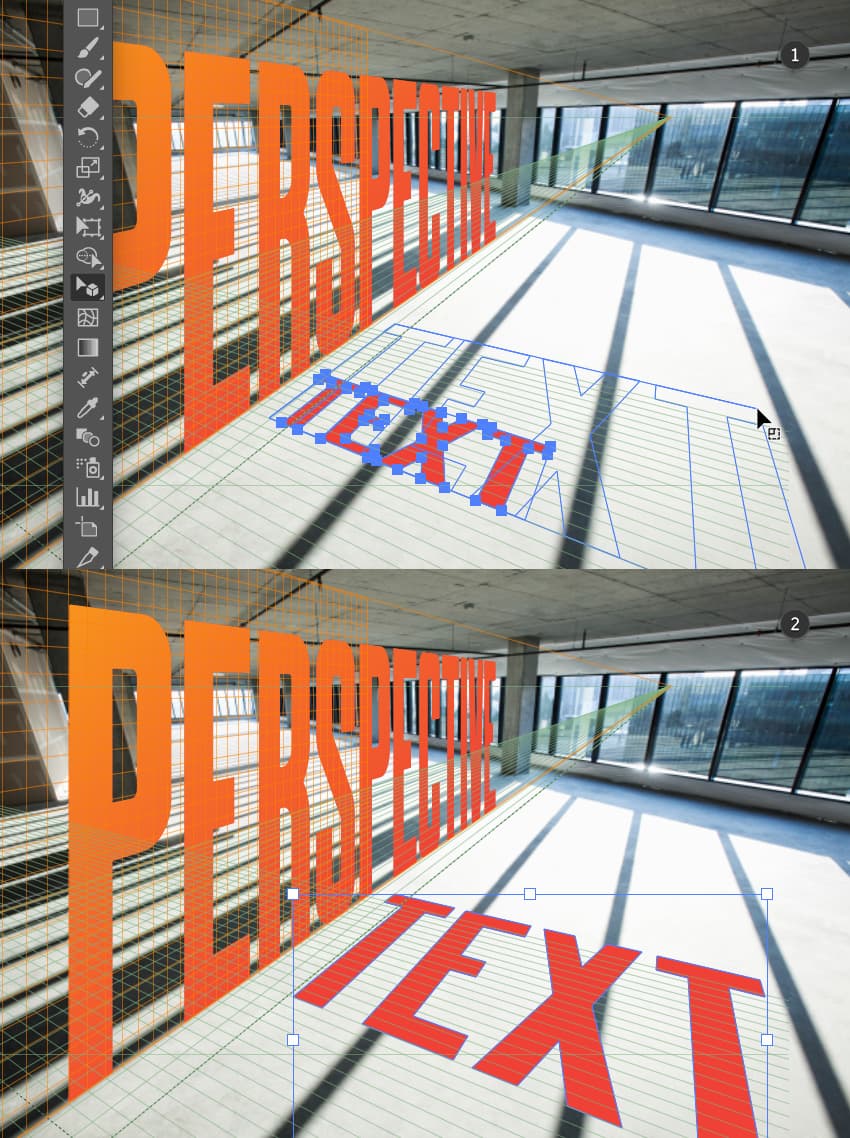
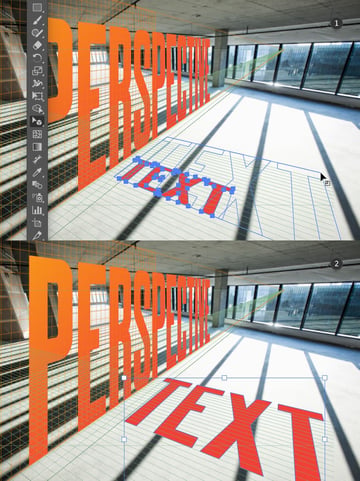
Use the Perspective Selection Tool (Shift-V) to scale this new piece of text, just as we did with the first one.
5. How to stylize distorted text in Illustrator
Step 1
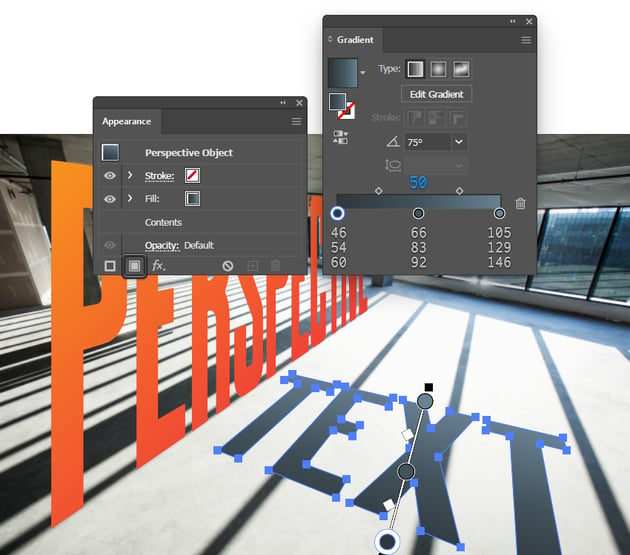
Add a new fill for this second piece of text and fill it with the linear gradient shown below.
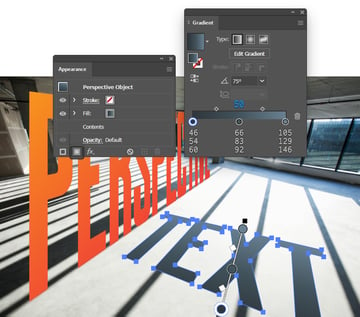
Step 2
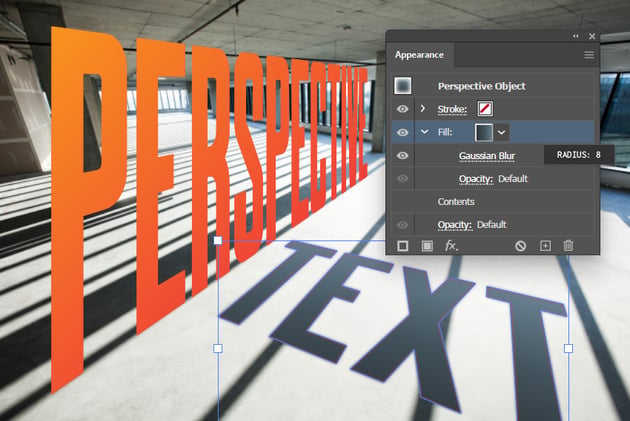
Focus on the Appearance panel to select the fill added in the previous step and go to Effect > Blur > Gaussian Blur. Set the Radius to 8 px and click OK.
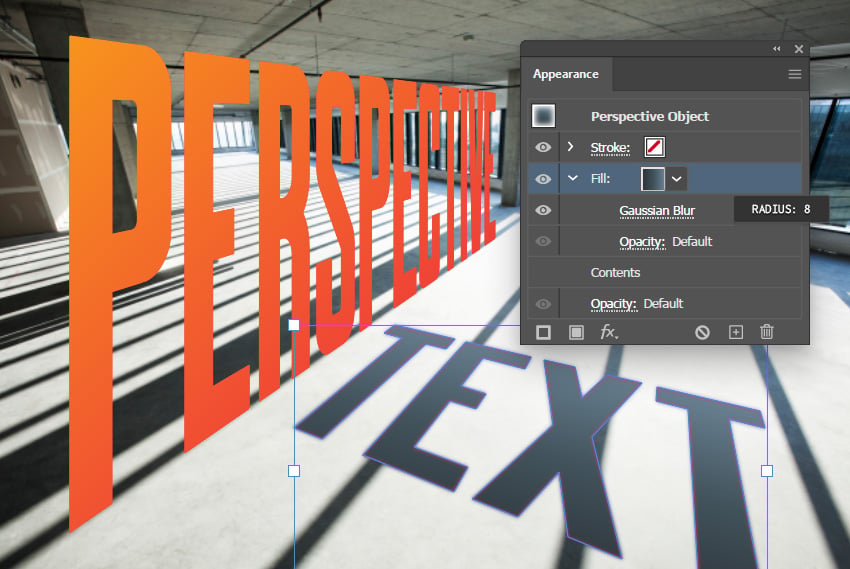
Step 3
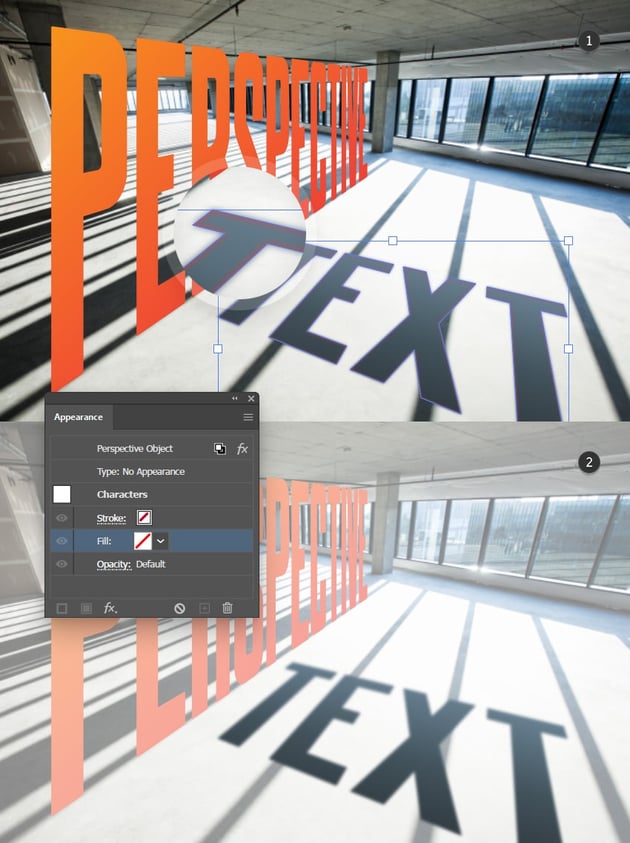
Now, you’ll probably notice that the original text color is still visible behind your blurred linear gradient. To remove it, double-click your text to isolate it.
Here, you can adjust the content of your text or edit the original text color. For this example, we’ll remove it completely.
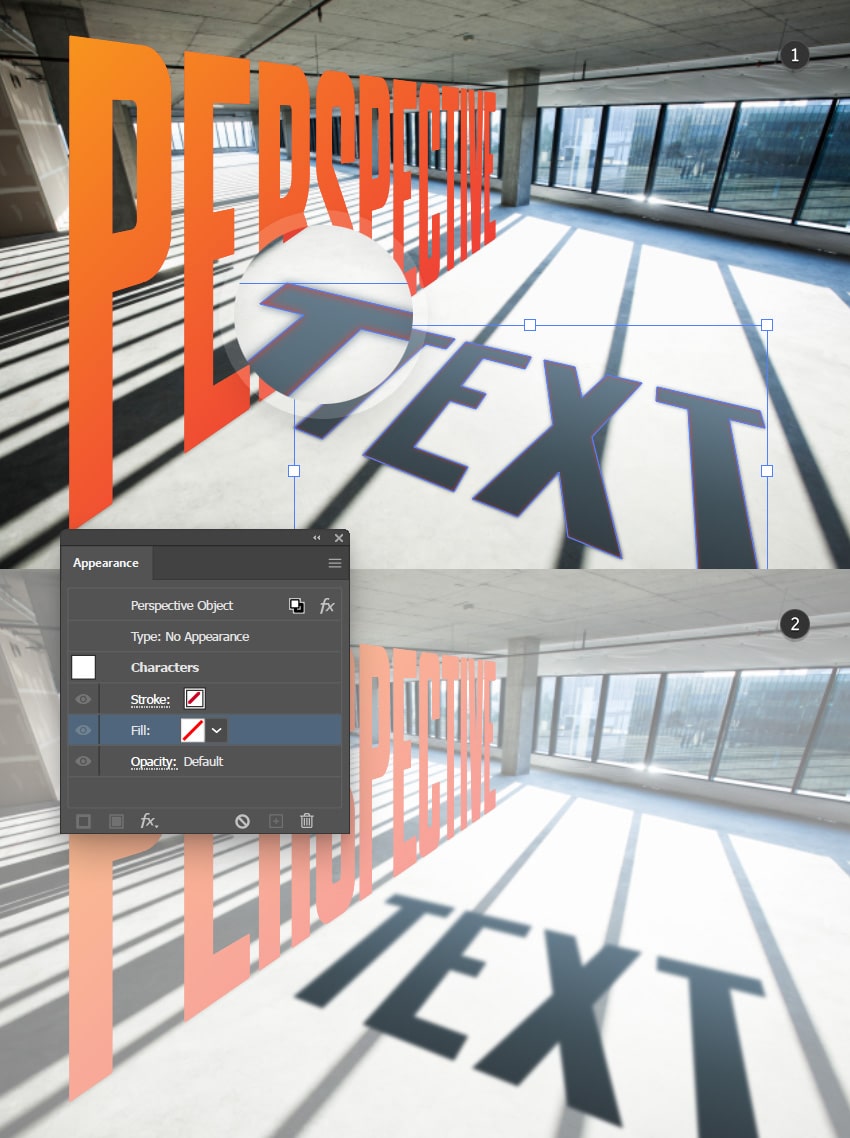
Step 4
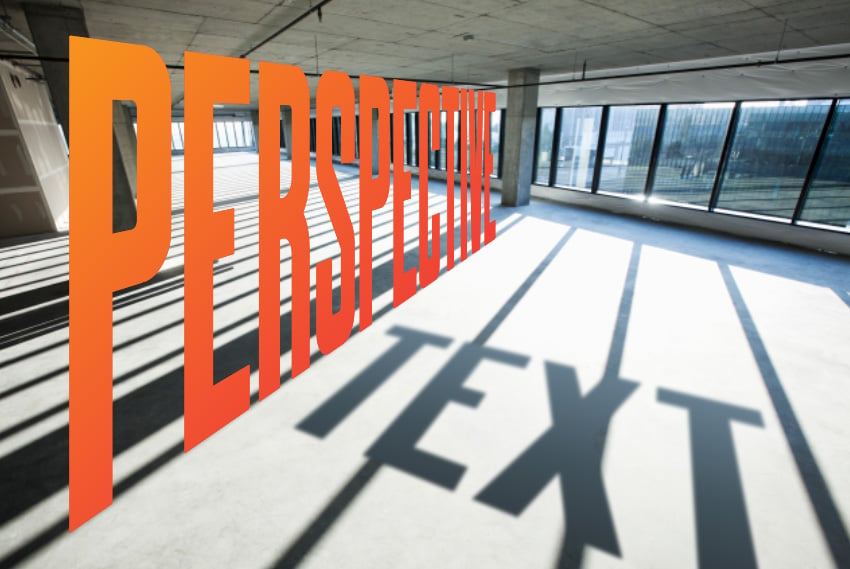
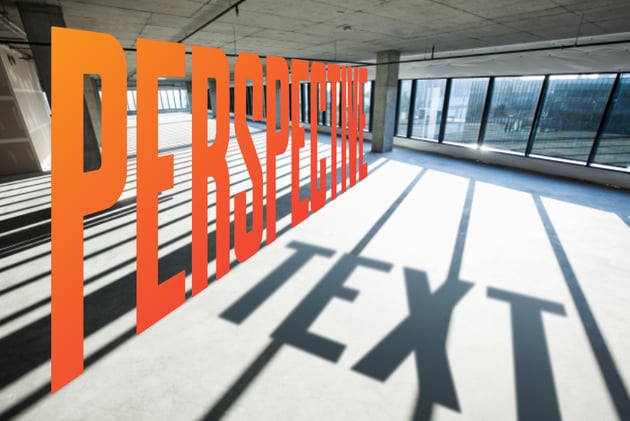
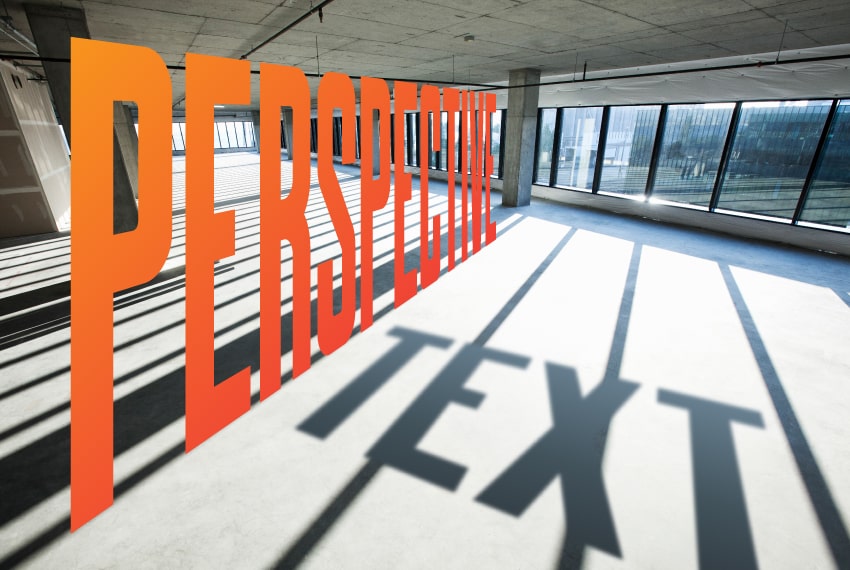
Press the Esc key to exit isolation mode. In the end, things should look as shown below.
6. How to distort text in Illustrator using the Free Transform Tool
Step 1
Let’s add a new piece of text to explore another method we can use to add perspective in Illustrator.
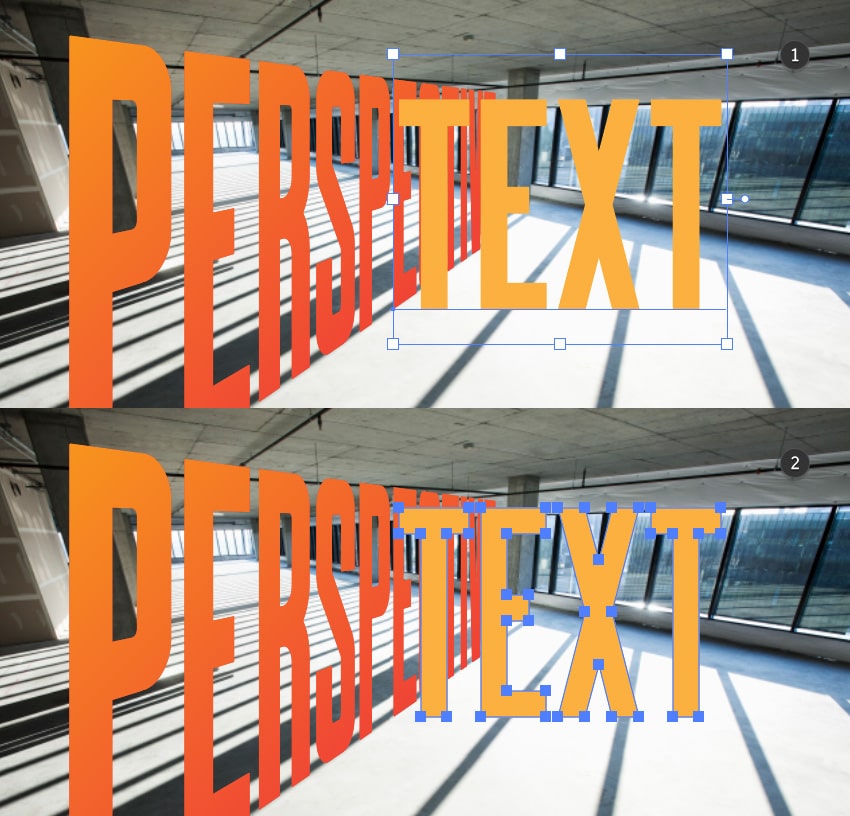
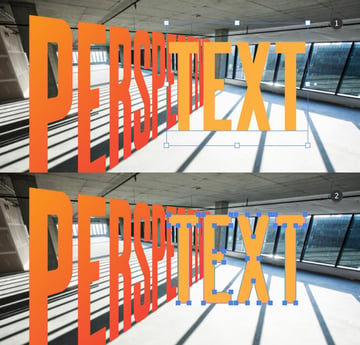
Select it and turn it into vector shapes by going to Type > Create Outlines, and then turn the resulting group of shapes into a single compound path by going to Object > Compound Path > Make (Control-8).
Step 2
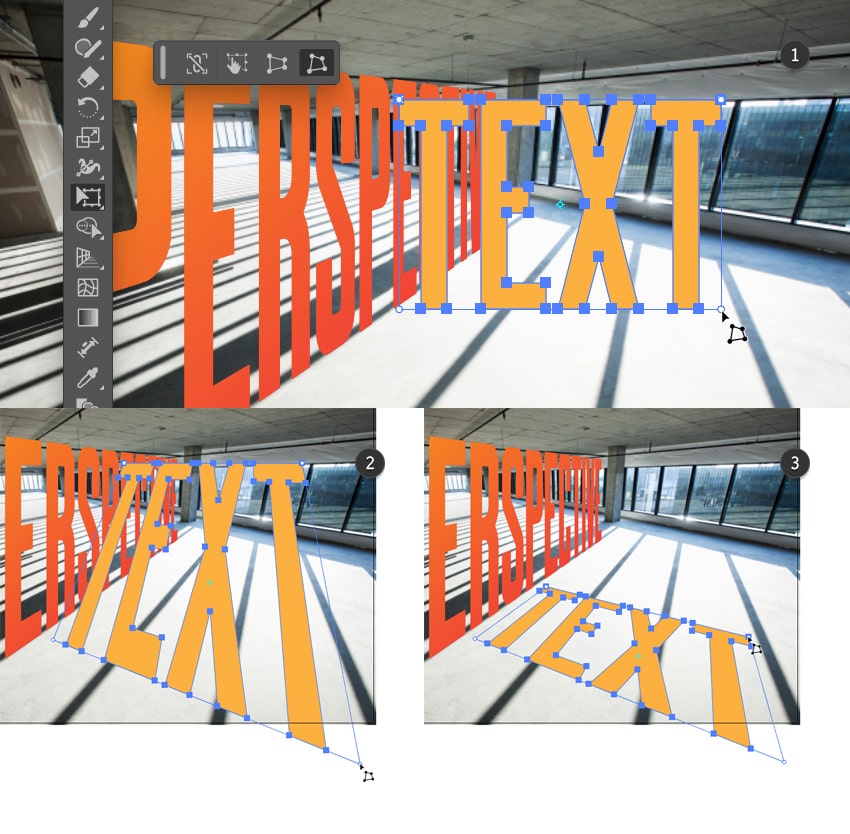
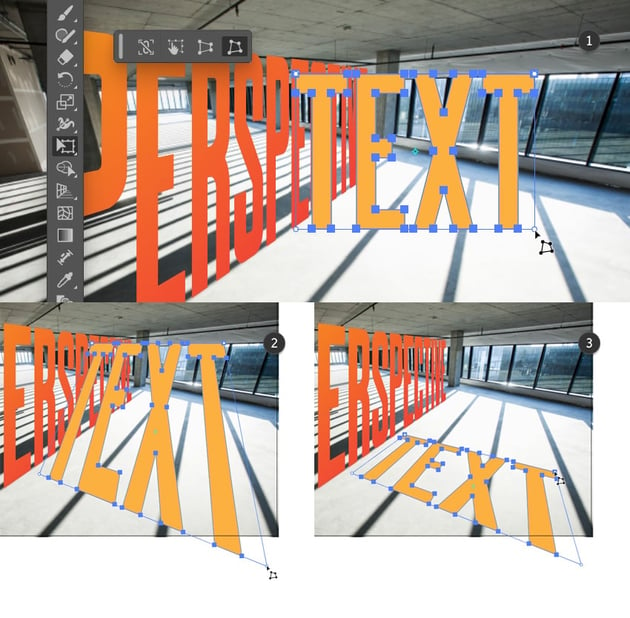
Keep your compound path selected, pick the Free Transform Tool (E), and focus on the newly opened widget. Select Free Distort mode and then move your cursor to the bottom-right corner of your selection. Simply click and drag to distort your compound path. Continue with the other three corners and eyeball it.
Congratulations! You’re done!
I hope you’ve enjoyed this tutorial and can apply these techniques in your future projects.
Feel free to adjust the final design and make it your own. You can find some great sources of inspiration at Envato, with interesting perspective designs.
Popular assets from Envato
Envato is an excellent resource for perspective designs. Here’s a short list of some of the most popular assets that you can find.
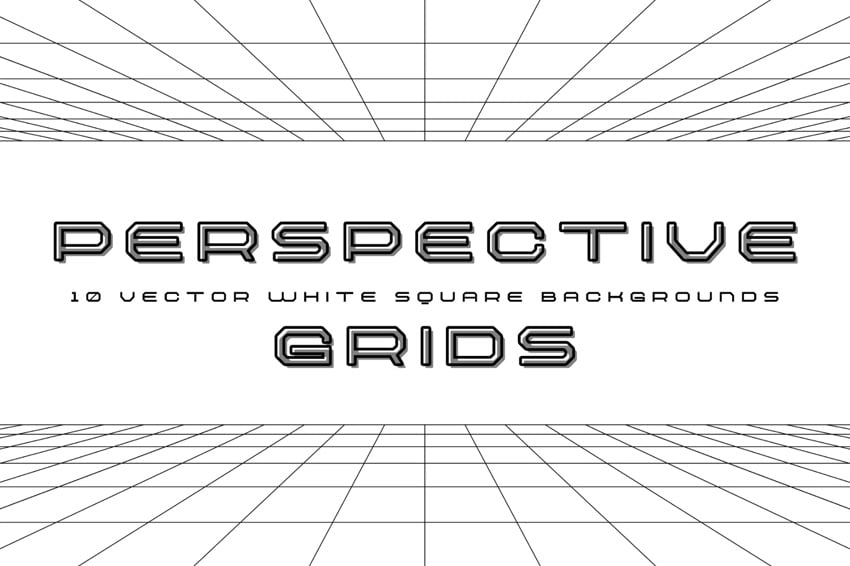
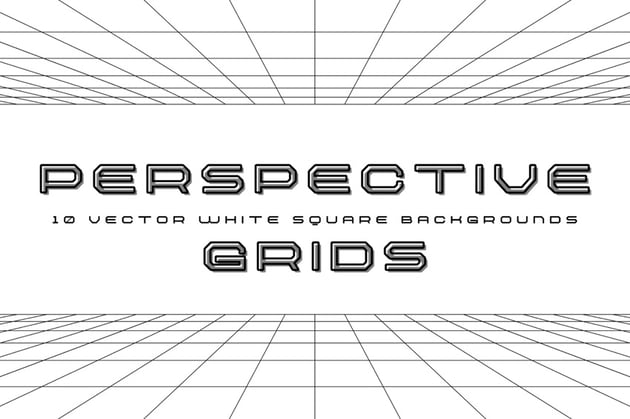
Set of perspective grids in Illustrator (AI, EPS, JPG, PNG, SVG)
Avoid the hassle of creating perspective grids in Illustrator and try this set. Perfect for creating dynamic layouts, architectural visuals, 3D typography, and futuristic scenes, this set offers a range of grid styles to suit any project.
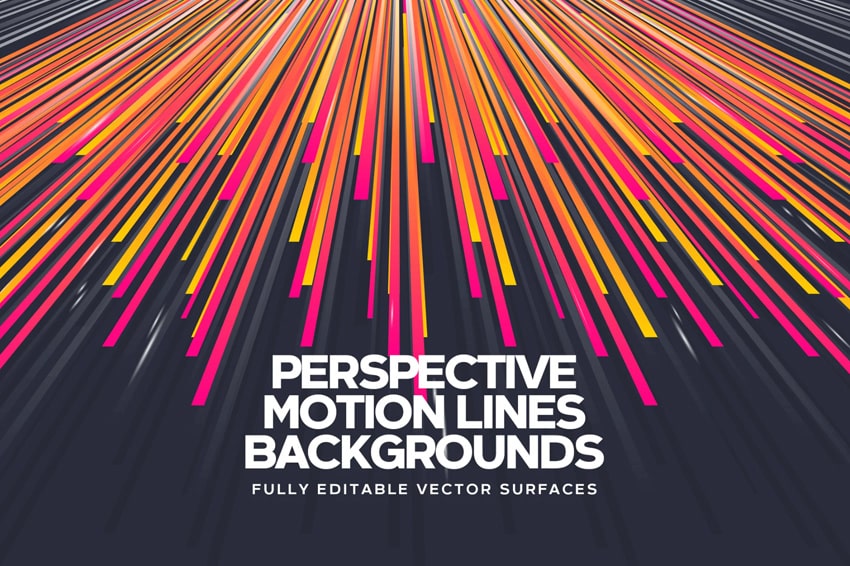
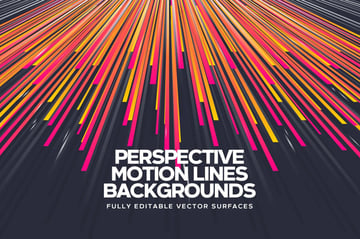
Perspective motion line backgrounds (AI, JPG, EPS, PNG)
Here’s a perfect example of a more complex design that you can create using the Perspective Tool in Illustrator. Feel free to replicate it or download it from Envato.
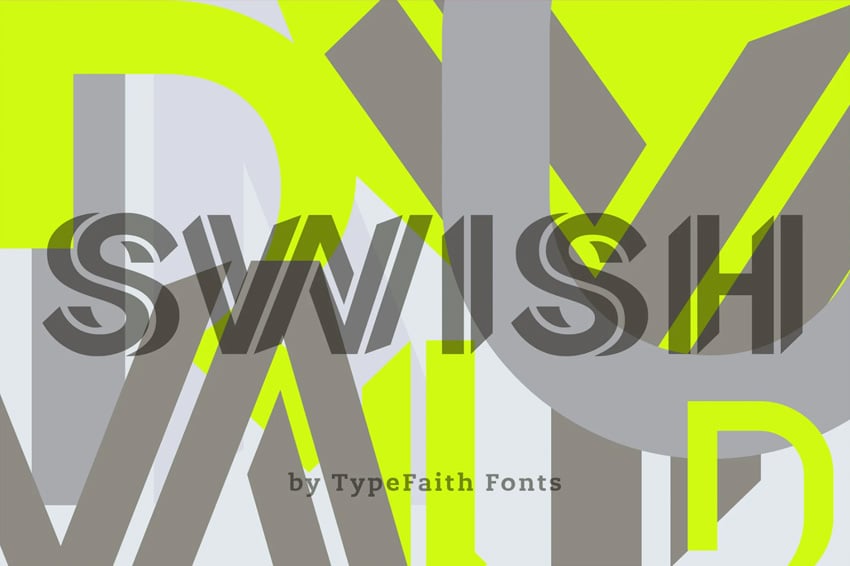
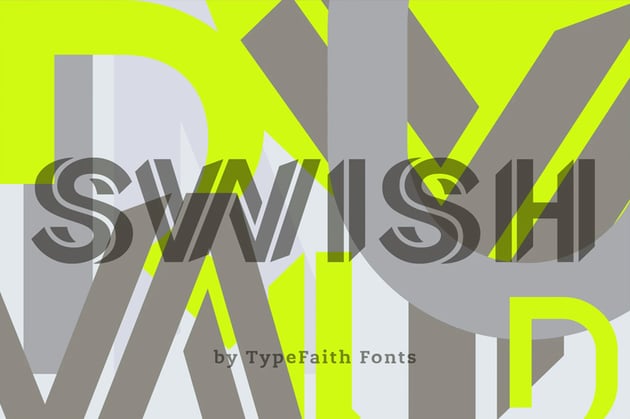
Swish perspective font
Bring your text to life with this unique perspective font. Designed to create the illusion of depth and dimension, Swish is perfect for adding a dynamic, 3D effect to your typography.
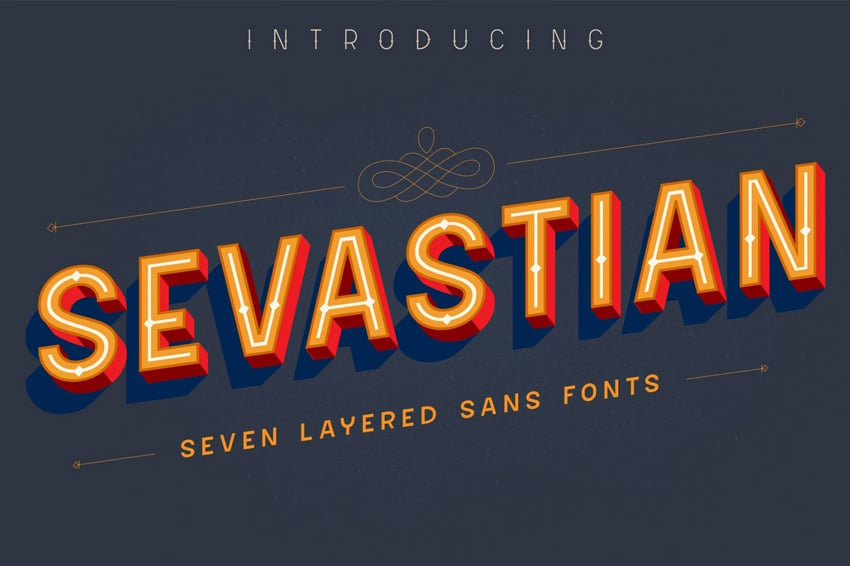
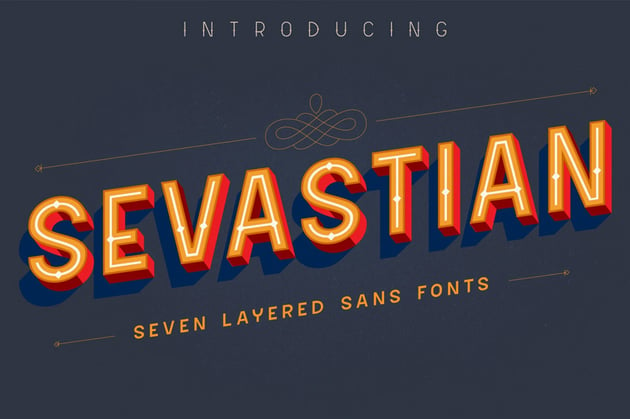
Sevastian perspective font
Whether you’re working on logos, posters, advertisements, or digital artwork, this perspective font can give your designs a modern and immersive edge. Ideal for creating bold headlines or dramatic visual statements.
Blur perspective text effect (PSD)
Here’s an amazing design that exemplifies how perspective in Illustrator can be a great starting point for a dynamic and professional-looking composition.


Want to learn more?
We have loads of tutorials on Envato Tuts+, from beginner to intermediate level. Take a look!