Learn how to create a memorable event program with this Adobe InDesign tutorial. Throughout this tutorial, you’ll learn what to have in an event program template and how to make an awards event program template.
What You Will Learn in This Event Program Template Tutorial
- What to have in an event program template
- How to create a bifold event program template
What You Will Need
1. What to Have in an Event Program Template
When you’re creating an awards event program template, it’s important to make sure that you include all the necessary details that will keep your guests informed and engaged. To do that, here are some of the essential elements that you should consider including:
Event details: Start with the basics such as the event name, date, time, and location. This will help attendees know when and where the event is taking place.
Welcome message: Add a warm and friendly introduction to set the tone for your event. This section is usually reserved for the Founder or President of the event. Let your guests know how excited you are to have them there.
Schedule of events: Outline the different activities or sessions that will take place throughout the event. Include start and end times for each, so attendees can plan their time accordingly.
Speaker or performer names: If you have any special guests or presenters, list their names in the section where they will be presenting or performing.
Sponsor recognition: If you have sponsors or partners involved in your event, give them a shout-out in your program template. It’s a great way to show appreciation and promote their businesses. This is usually reserved for the back cover of an event program.
2. How to Create a Bifold Event Program Template
Step 1
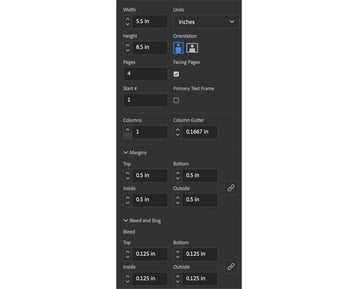
Create a new document in InDesign by going to File > New, and use these settings:
- Width: 5.5 in
- Units: Inches
- Height: 8.5 in
- Pages: 4
- Facing Pages: Checked
- Margins: 0.5 in
- Bleed: 0.125 in


Step 2
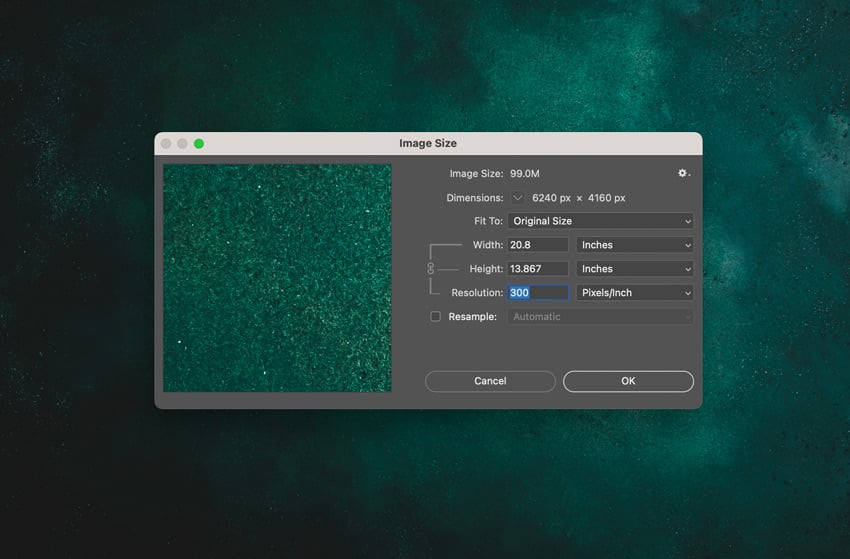
Open the green background texture in Adobe Photoshop and change the color space to CMYK. Go to Image > Mode > CMYK Color. Next, check the resolution by going to Image > Image Size and verifying that the Resolution is set to 300. Save this file as a PSD.

Step 3
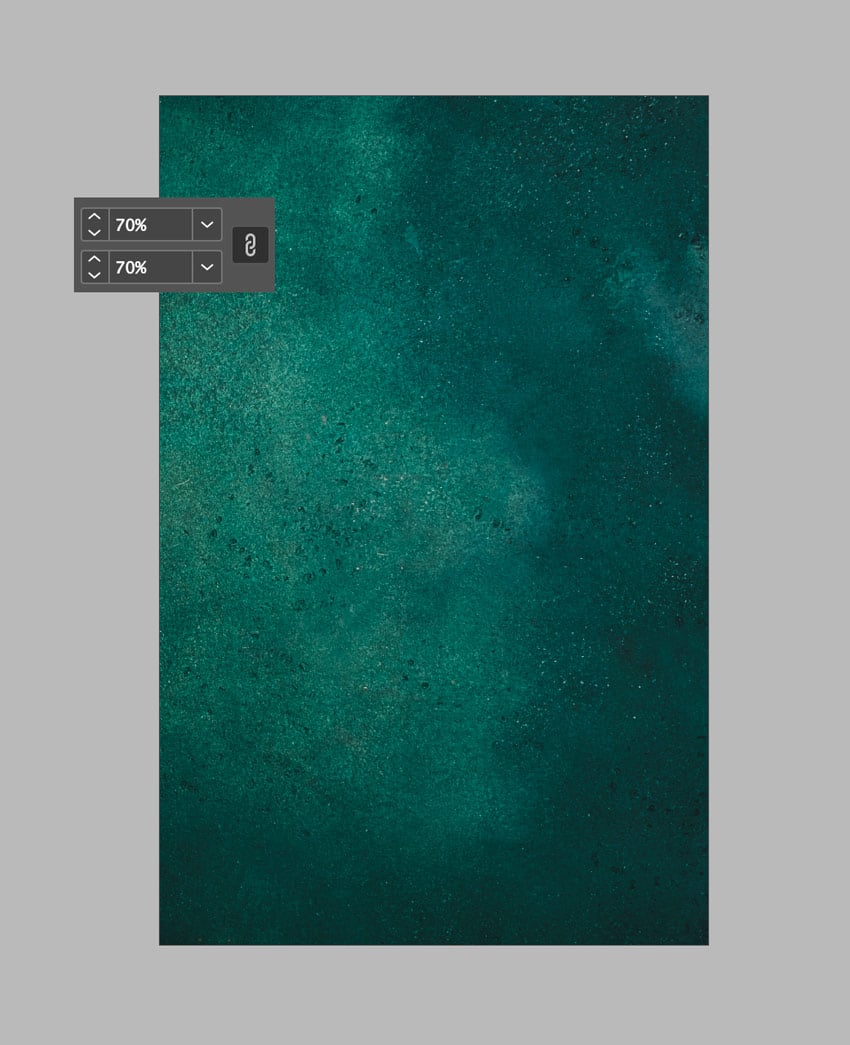
Use the Rectangle Frame Tool (F) and cover the front page. Place your green background on the cover (File > Place). Resize it to 70%.


Step 4
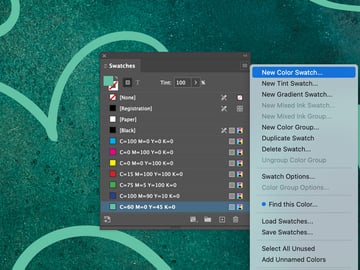
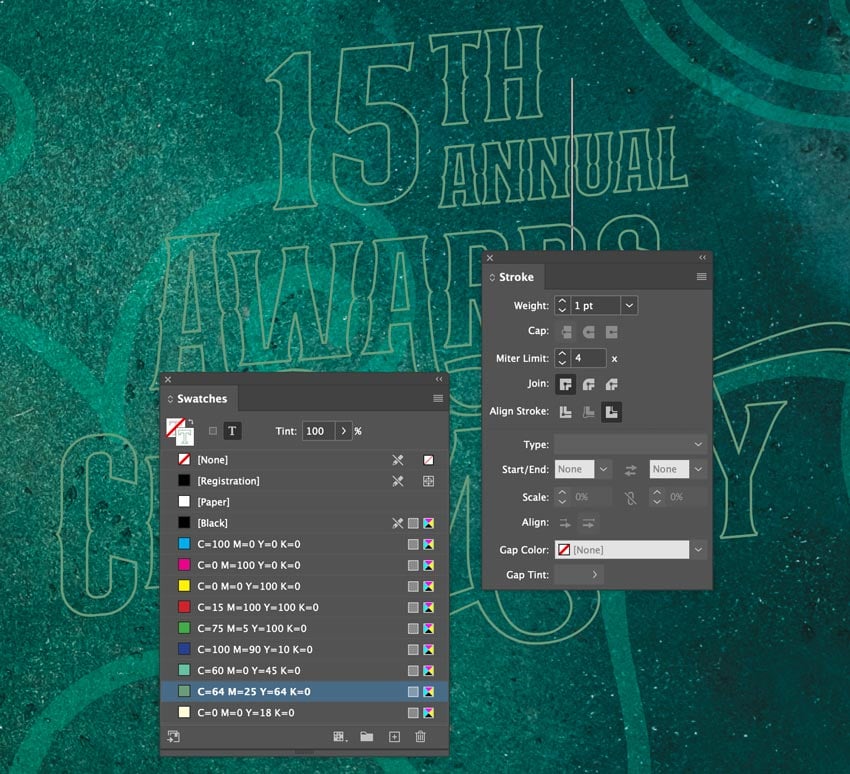
Open the Swirls file in Adobe Illustrator and Copy (Command-C) and Paste (Command-V) swirls onto the cover. Create a New Color Swatch in the Swatches panel, using the values C60 M0 Y45 K0. Change the color of these swirls to this light-green swatch.


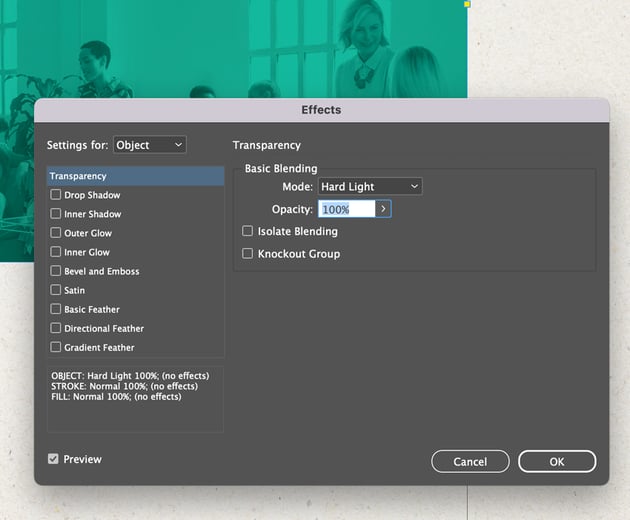
Step 5
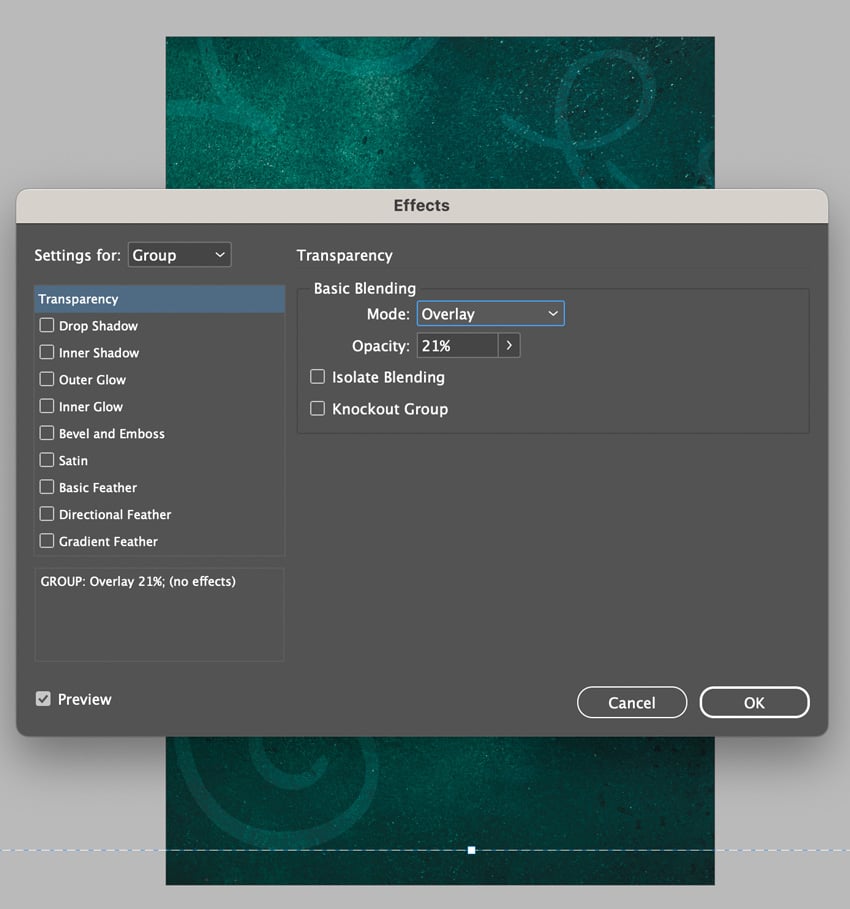
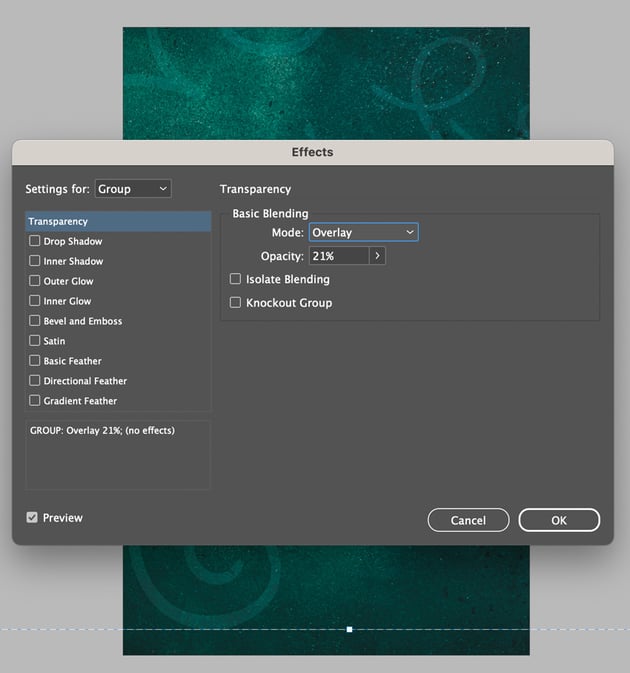
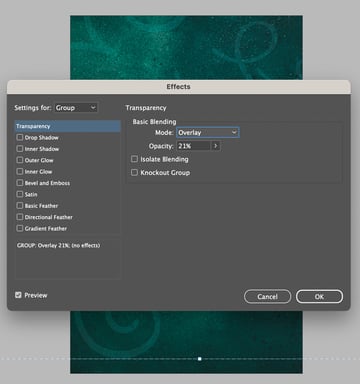
Change the Opacity of the swirls to 21% and the Transparency to Overlay. To locate the Effects panel, go to Object > Effects > Transparency.
Step 6
In the Swatches panel, create two more color swatches using the values C0 M0 Y18 K0 and C64 M25 Y64 K0. Using the Type Tool (T), type out the words for your event program using these settings:
- 15th: Hermona, 130 pt, Light Yellow
- Annual: Hermona, 50 pt, Light Yellow
- Awards: Hermona, 94 pt, Light Yellow
- Ceremony: Hermona, 110 pt, Light Yellow
Change the Rotation Angle and Shear X Angle to 5°.
To view additional character options, make use of the Glyphs panel.


Step 7
Copy (Command-C) and Paste (Command-V) these text layers so that we have three sets of text. After pasting each new set, move it to the left by a couple of spaces. I changed the color of my text just to show you the placement.


Step 8
Let’s start off with the third (bottom) layer of text. Change the Fill to None and the Stroke to C64 M25 Y64 K0. Change Align Stroke to Outside.


Step 9
Create another color swatch using the values C24 M63 Y64 K43, and change the Fill of this text layer to this brown swatch.


Step 10
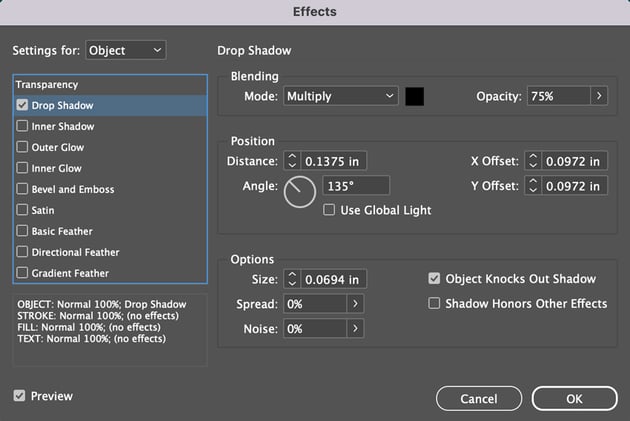
Group the first set of text layers by selecting them with the Selection Tool (V), and go to Object > Group. Apply some effects by going to Object > Effects > Drop Shadow. Use these settings:
- Mode: Multiply, Black Swatch
- Opacity: 75%
- Distance: 0.1375 in
- Size: 0.0694 in


Step 11
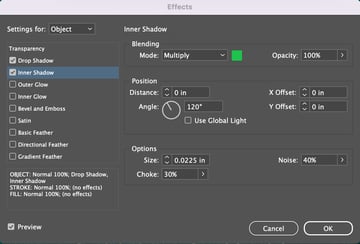
Apply an Inner Shadow using these settings:
- Mode: Multiply, C64 M25 Y64 K0
- Opacity: 100%
- Distance: 0 in
- Angle: 120°
- X and Y Offset: 0 in
- Size: 0.0225 in
- Noise: 40%
- Choke: 30%


Step 12
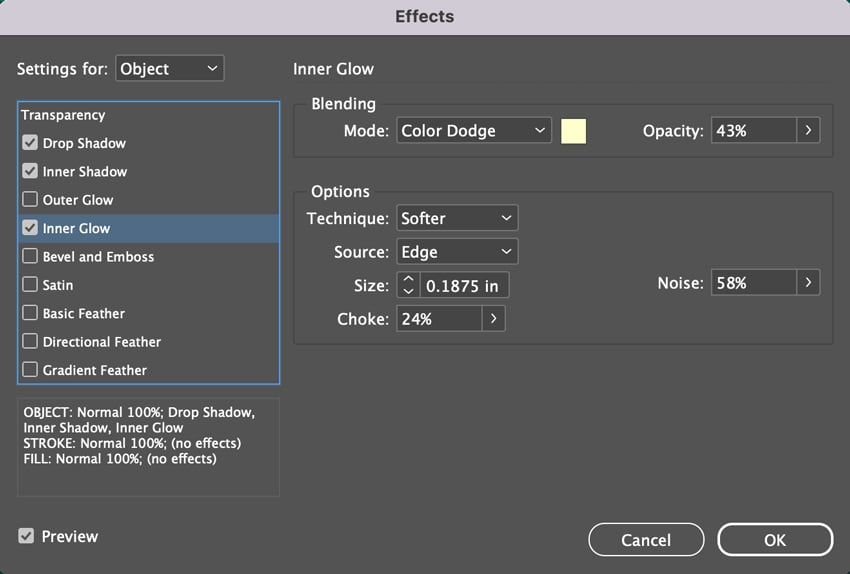
Apply an Inner Glow using these settings:
- Mode: Color Dodge, C0 M0 Y18 K0
- Opacity: 43%
- Technique: Softer
- Source: Edge
- Size: 0.1875 in
- Choke: 24%
- Noise: 58%


Step 13
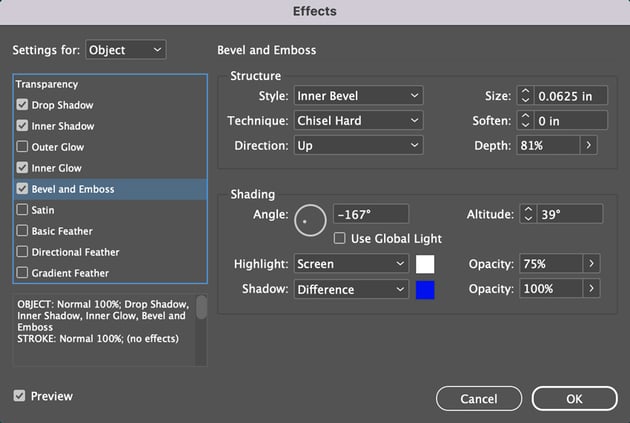
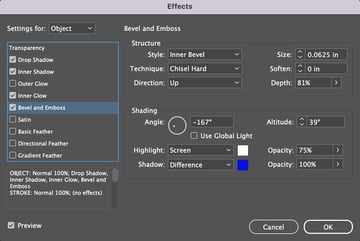
Apply a Bevel and Emboss using these settings:
- Style: Inner Bevel
- Size: 0.0625 in
- Technique: Chisel Hard
- Soften: 0 in
- Direction: Up
- Depth: 81%
- Angle: -167°
- Altitude: 39°
- Highlight: Screen, Paper Swatch
- Highlight Opacity: 75%
- Shadow: Difference, C100 M90 Y10 K0
- Shadow Opacity: 100%

Step 14
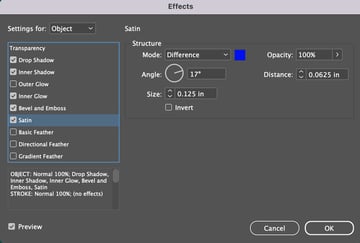
Apply a Satin layer style using these settings:
- Mode: Difference, C100 M90 Y10 K0
- Opacity: 100%
- Angle: 17°
- Distance: 0.0625 in
- Size: 0.125 in


Step 15
Your text should now look like the image below. Copy (Command-C) and Paste (Command-V) some swirls and change the color to the light-green swatch.


Step 16
Use the Ellipse Tool (L) to create a circle at the top of the awards event program template. Grab the Type Tool (T) and type out “WELCOME TO THE” using these settings:
- Font: SentaSans Regular
- Size: 12 pt
- Tracking: 525
- Swatch: C0 M0 Y18 K0


Step 17
Type additional information about your event at the bottom of the cover.


Step 18
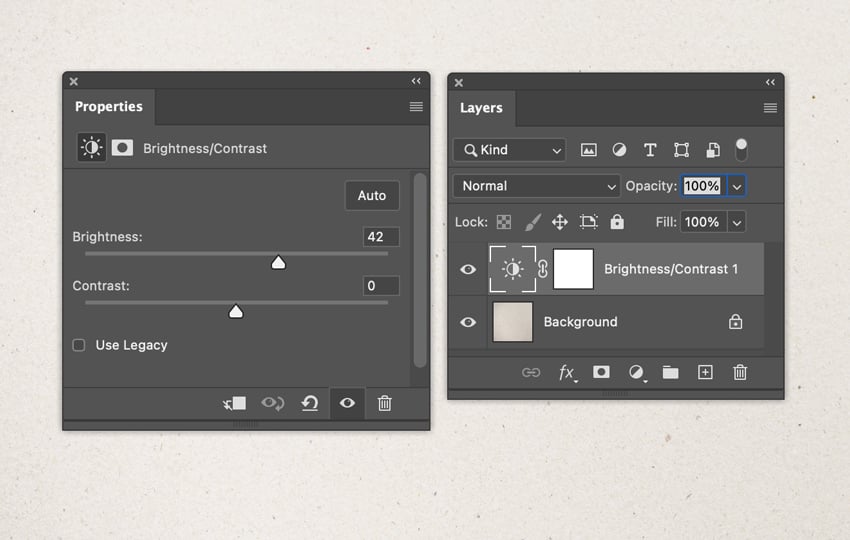
Now that we’re done with the cover of our event program template, we need to start on the inside. Open the paper texture in Photoshop, convert it to CMYK, and make sure the Resolution is set to 300. Add a Brightness/Contrast adjustment layer in Photoshop and increase the Brightness to 42. Save it as a PSD.

Step 19
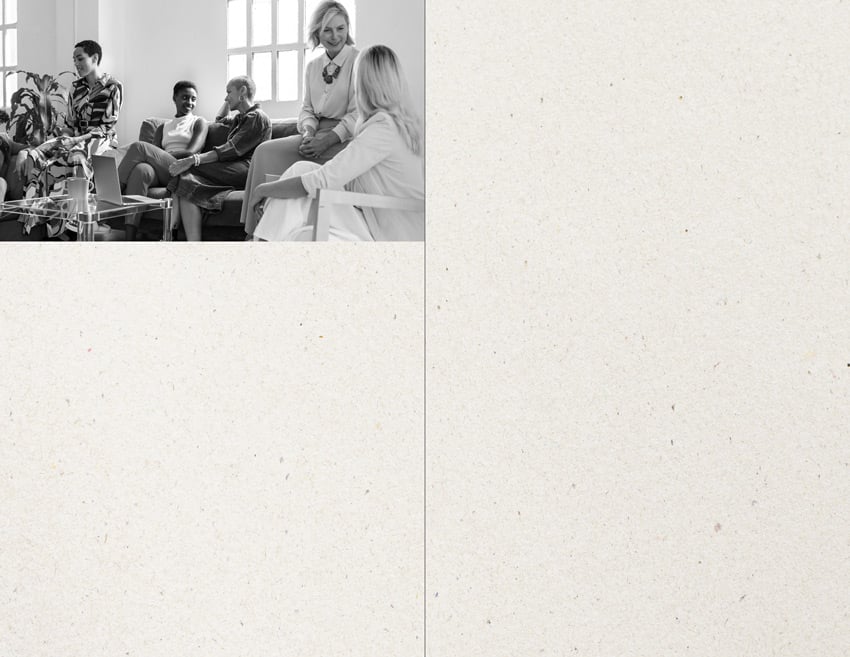
Use the Rectangle Frame Tool (F) and cover the spread on pages 2 and 3 in InDesign. File > Place the paper texture you just saved. Open the businesswomen image in Photoshop and convert it to Grayscale by going to Image > Mode > Grayscale. Save the file as a PSD after checking to make sure the Resolution is at 300. File > Place the businesswomen image in InDesign at the top left on page 2.

Step 20
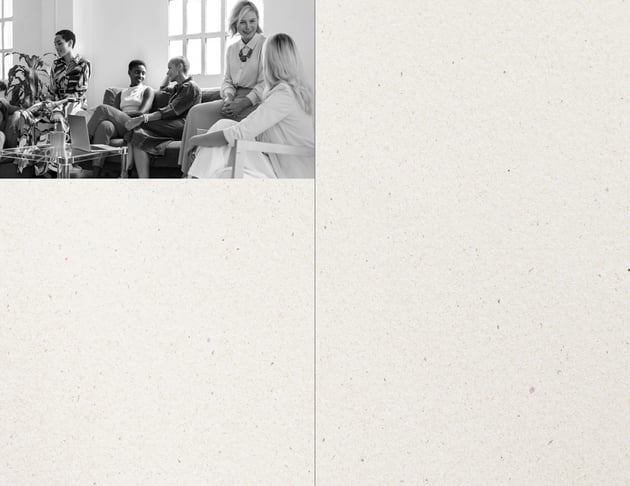
Create a New Color Swatch using these values C87 M33 Y75 K36. Use the Rectangle Tool (M) and cover the businesswomen photo with this swatch. Change the Transparency Mode to Hard Light.


Step 21
Create a New Color Swatch using the values C31 M36 Y100 K0. Add a divider underneath the businesswomen photo using the Pen Tool (P) and change the Stroke Weight to 3 pt.


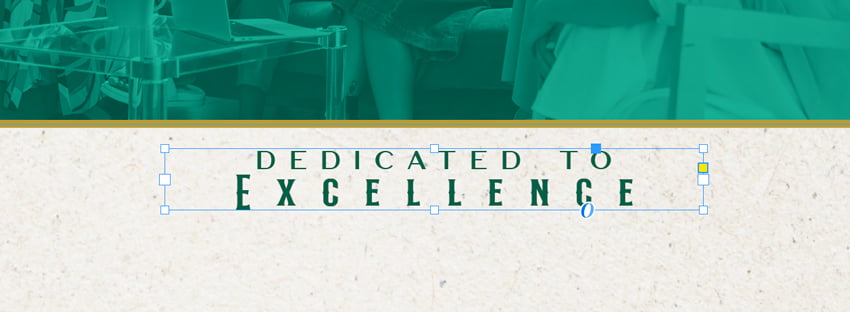
Step 22
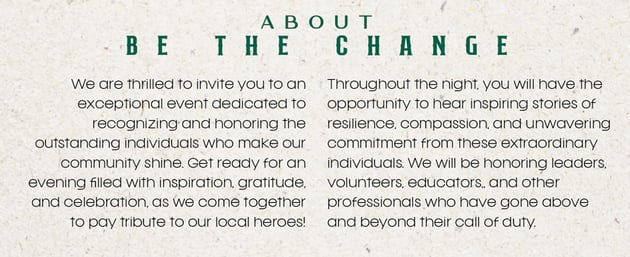
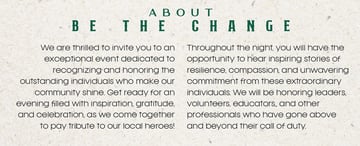
Add a header on page 2 using these settings:
- Dedicated To: SentaSans, 10 pt, 525 Tracking, C87 M33 Y75 K36
- Excellence: Hermona, 19 pt, 525 Tracking, C87 M33 Y75 K36


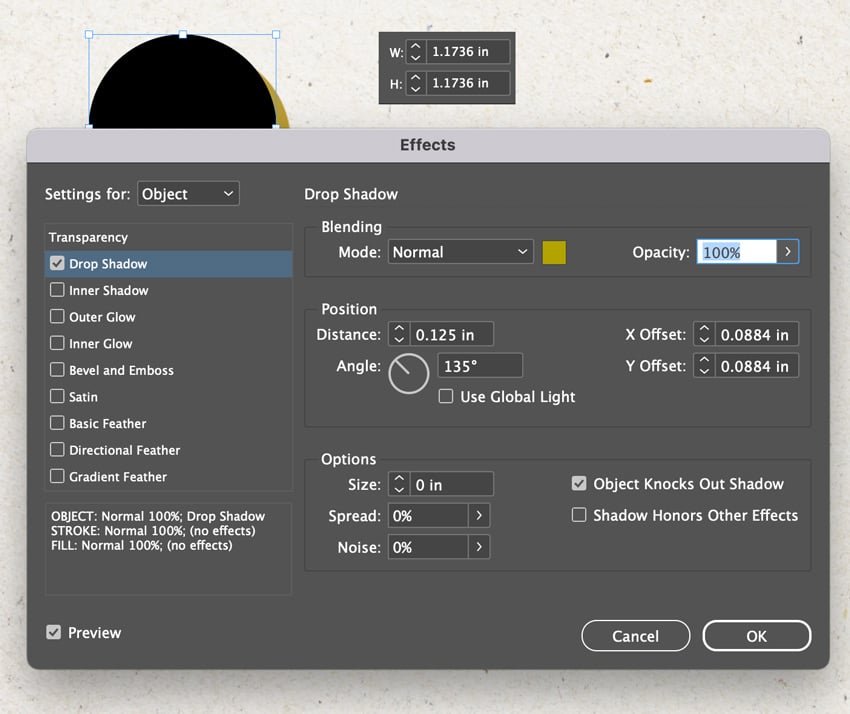
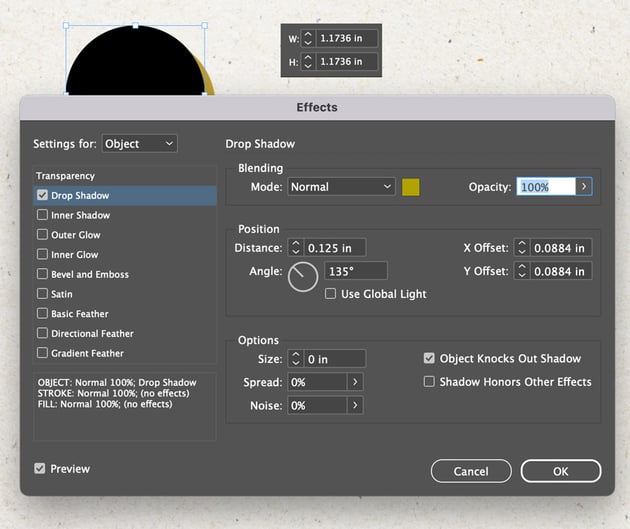
Step 23
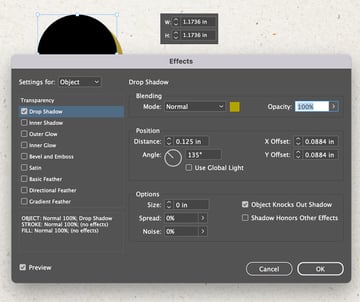
Create a circle using the Ellipse Tool (L) and apply a Drop Shadow to the circle using these settings:
- Mode: Normal, C31 M36 Y100 K0
- Distance: 0.125 in
- Angle: 135°
- X and Y Offset: 0.0884 in
- Size, Spread, and Noise: 0
Step 24
Open the presenter photo in Photoshop, convert it to Grayscale, and make sure the Resolution is set to 300. Resample should not be checked. With the circle selected in InDesign, File > Place the photo, add a green circle on top, and change the Transparency Mode to Hard Light.


Step 25
Use the Type Tool (T) to add a quote to the right of the presenter’s image using the font Franie Light at 7 pt and Hajime at 18 pt.


Step 26
Add a section at the bottom of the quote that explains what the charity is about.

Step 27
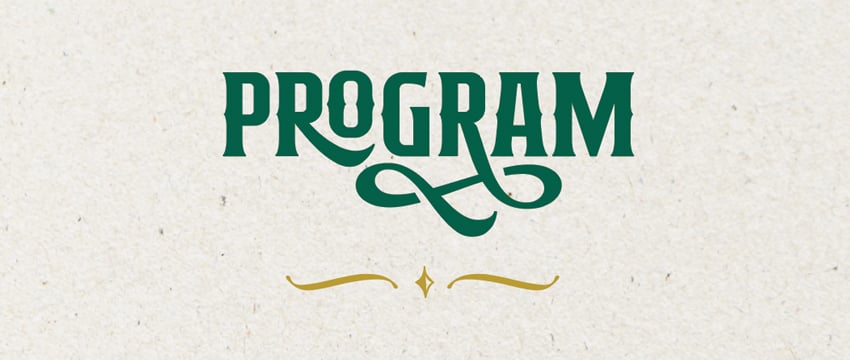
On page 3, add the Program title along with a gold swirl accent. Use the font Hermona, 70 pt, and the dark-green swatch.


Step 28
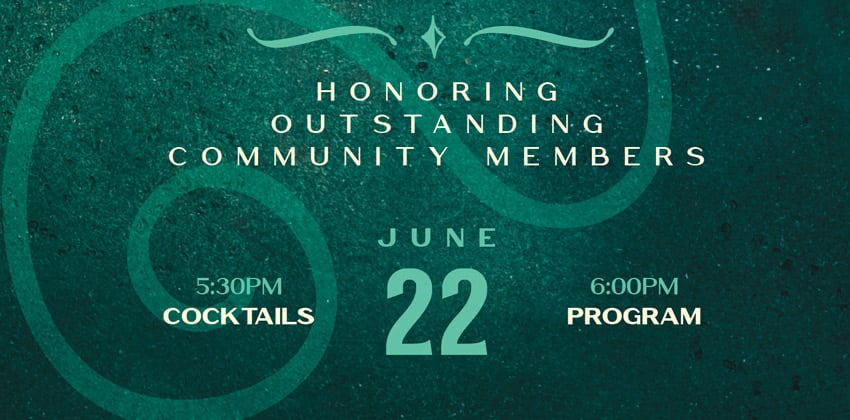
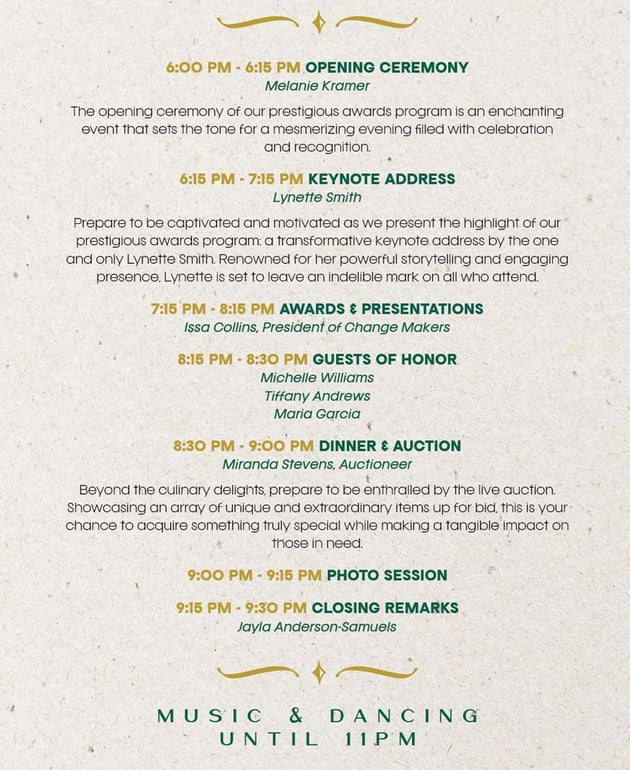
Use the Type Tool (T) to create a schedule for your event, including the time, section title, speaker, and a brief description. Also, add a gold swirl accent at the bottom.


Step 29
Use the back cover to thank your event sponsors. Copy (Command-C) and Paste (Command-V) elements from the front cover to the back.


It’s Time to Show Off Your Awards Event Program Template!
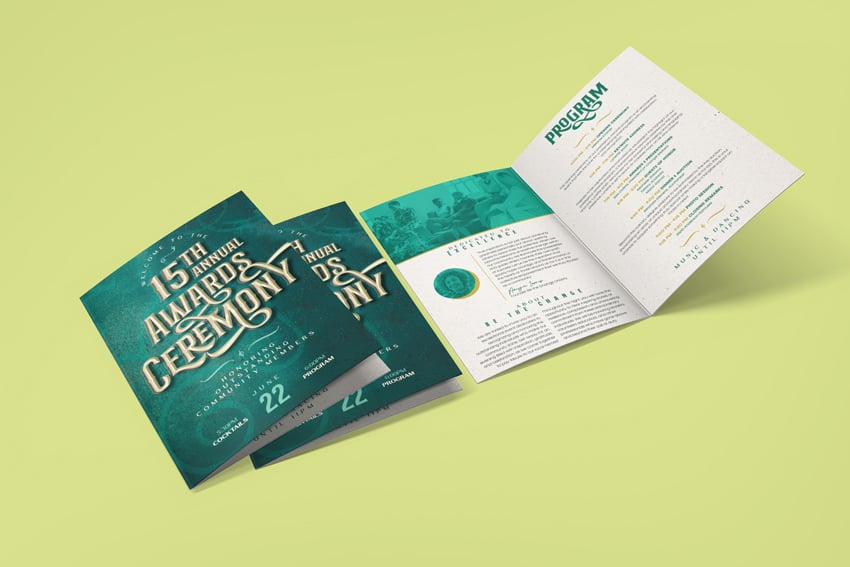
Well done on completing the tutorial for our event program template. Now it’s time to put it to use and see it in action. This tool will help you present your program for an event template in a visually appealing and polished manner. The bifold event program template mockup is simple to customize with your own images and colors.


Customize Event Program Templates With Envato Elements
I’ve shown you how to create your event program, but if you prefer ready-made templates, Envato Elements has a vast collection of print-ready programs that you can customize.
1. Event Program Template (AI, EPS, PSD)


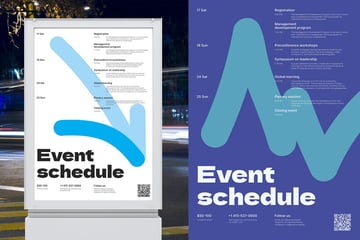
Planning an event can be a headache, but not anymore! Introducing our Event Schedule Program Template, designed to make your life easier. Thanks to its compatibility with Adobe Illustrator and InDesign, you’ll have the power to create beautiful, professional event schedules in no time. Plus, we’ve got you covered with five color versions to choose from.
2. Event Program Template Word (INDD, Word)


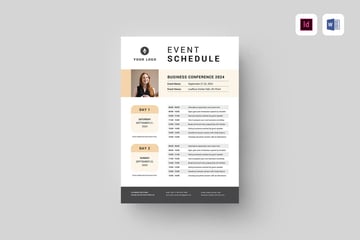
Say goodbye to the stress of designing from scratch and let our professionally formatted template do the work for you. Whether it’s a conference, concert, or wedding, this event program template for Microsoft Word and InDesign will speed up your workflow.
3. Bi Fold Event Program Template (AI, EPS, INDD, PSD)

Tired of spending hours designing event programs from scratch? Introducing the Bi Fold Event Program Template, perfectly formatted for Photoshop, InDesign, and Illustrator. With this handy template, you can effortlessly create stunning event programs in no time.
4. Kids Event Program Template (INDD)
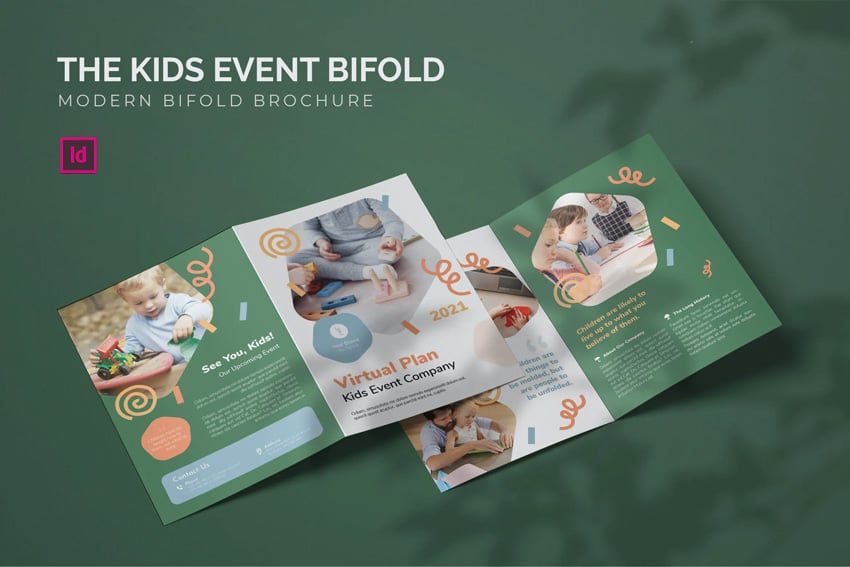

Calling all super moms and dads! Planning a kids’ event has never been easier with our Kids Event Program Template. This bi-fold brochure, specially designed for Adobe InDesign, is your secret weapon for creating a fun and engaging program for your little ones.
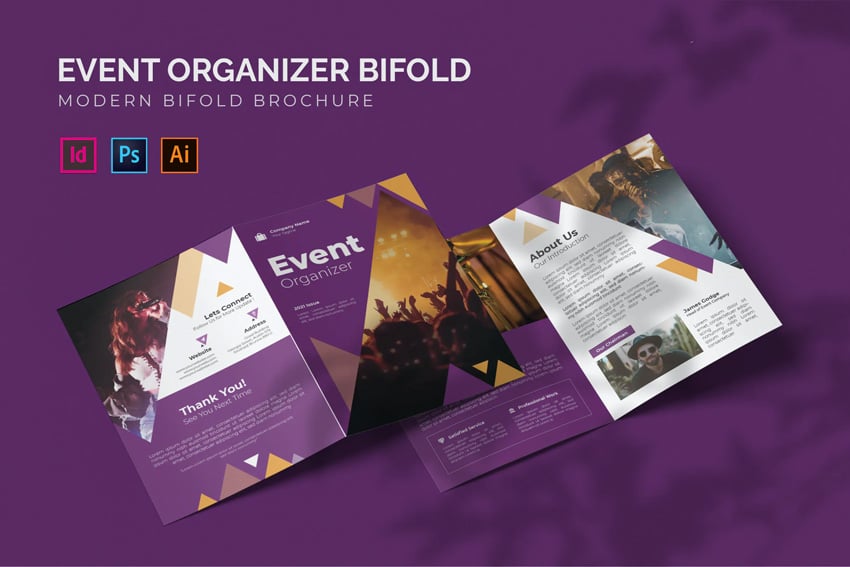
5. Event Organizer Brochure Template (INDD)


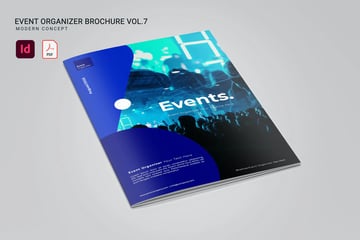
Planning an event but don’t know where to start? Check out our Event Organizer Brochure Template. Designed with convenience in mind, this template is created using the user-friendly InDesign program.
Transform Your Brochure Designs From Good to Great
Sharpen your skills by taking advantage of these brochure tutorials. Learn the ins and outs of crafting the perfect brochure that is sure to impress.