In the following tutorial, you will learn how to create the Cyberpunk 2077 logo using fonts and patterns from Envato Elements.
To start, you will learn how to add and adjust a pointy font. Later, you will learn how to stylize this sharp edge font.
Using an amazing vector pattern from Envato Elements, you will learn how to further stylize your cyberpunk logo design. Finally, you’ll need a photo from Envato Elements to apply a nice background for this cyberpunk logo.
When you need to create a logo design and you don’t have the time or the skills to put it together, you can try Placeit. At Placeit you will find a massive collection of logo templates with sharp edgy fonts, which can be adjusted with just a few clicks. Here’s a perfect example of what you can achieve:



What You’ll Learn in This Cyberpunk Logo Design Tutorial
- How to edit a sharp edgy font
- How to create the Cyberpunk 2077 logo
What You’ll Need
You will need the following resource in order to complete this Cyberpunk 2077 logo:
1. How to Create a New Document and Set Up the Background
Step 1
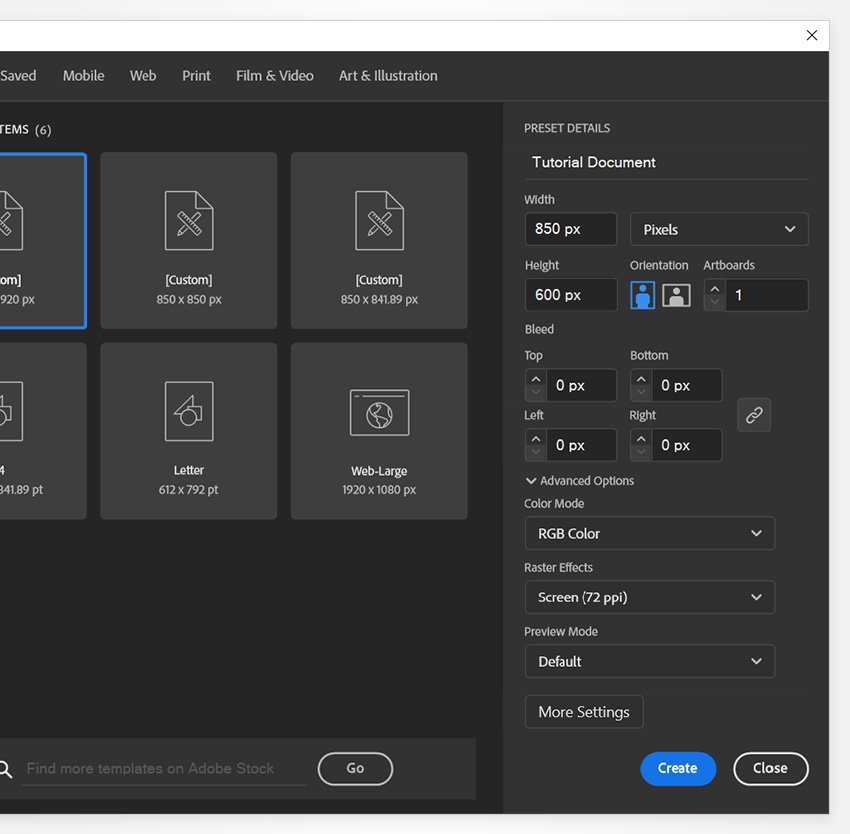
Let’s open Illustrator and press Control-N to create a new document.
Select Pixels from the Units drop-down menu, set the Width to 850 px and the Height to 600 px, and then click that Advanced Options button. Select RGB for the Color Mode and set the Raster Effects to Screen (72 ppi), and then click the Create button.
Step 2
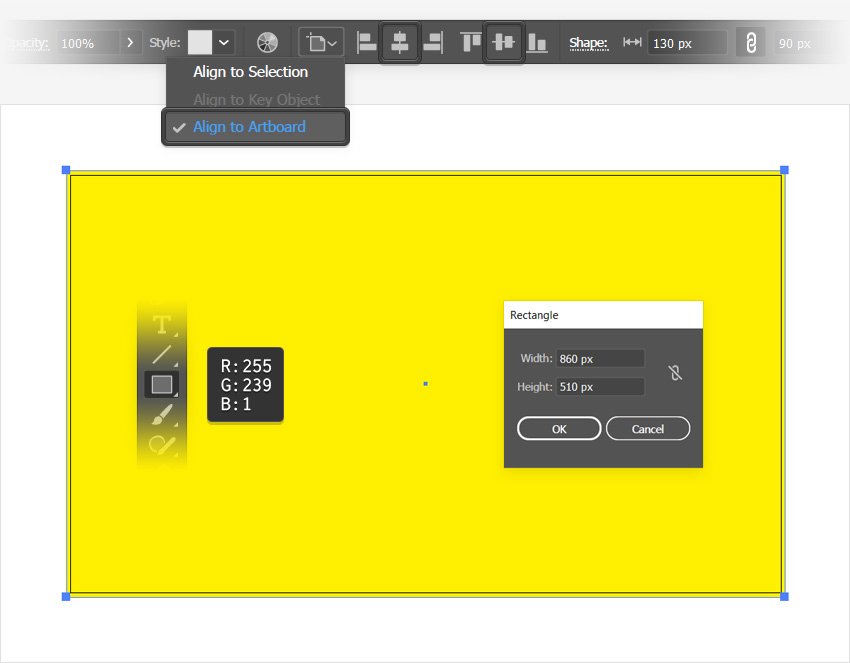
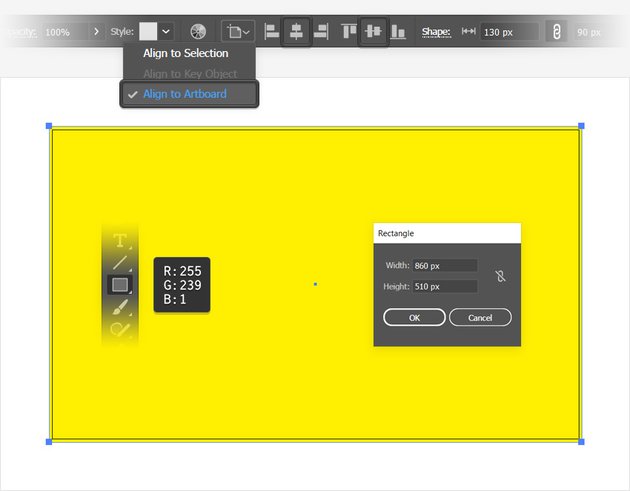
Pick the Rectangle Tool (M) and click on your artboard to open the Rectangle window and easily create an 860 x 510 px shape.
Fill this rectangle with R=255 G=239 B=1 and remove the stroke color. Keep your shape selected and focus on the control panel.
Make sure that the Alignment is set to Artboard, and then click the Horizontal Align Center and Vertical Align Center buttons to easily move your rectangle to the center of the artboard.
2. How to Adjust a Cyberpunk Style Font
Step 1
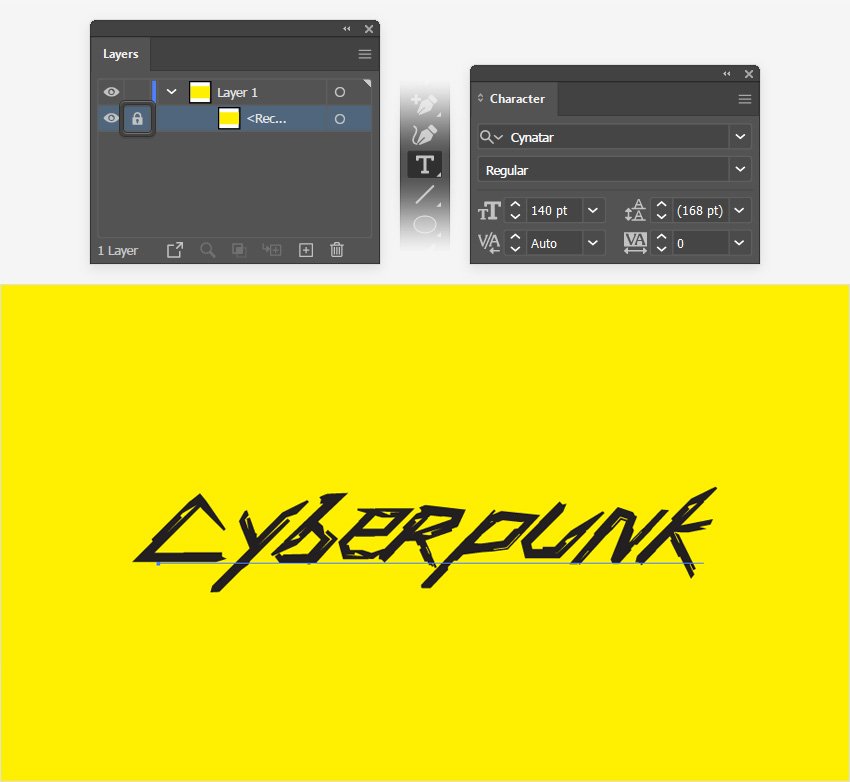
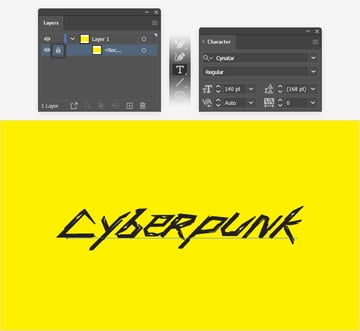
Move to the Layers panel (Window > Layers), open your layer, and lock that yellow rectangle to make sure that you will not select or move it by accident.
Pick the Type Tool (T) and focus on the Character panel (Window > Type > Character) to set the settings for the text that you’re about to add.
Select the Cynatar font and set the size to 140 pt, and then click on your artboard and type in “Cyberpunk”. Keep the text color set to black, for now.
Step 2
Make sure that your text is still selected and go to Type > Create Outlines to turn it into editable vector shapes. Press Shift-Control-G to quickly Ungroup the resulting group of shapes.
Step 3
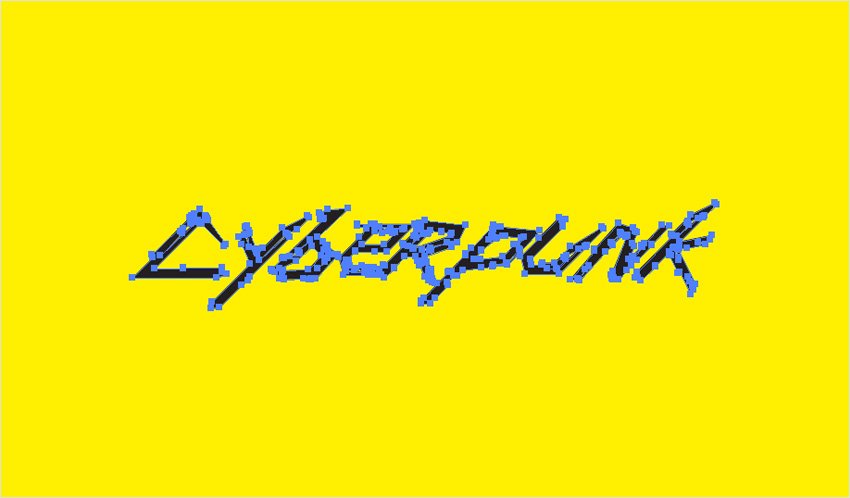
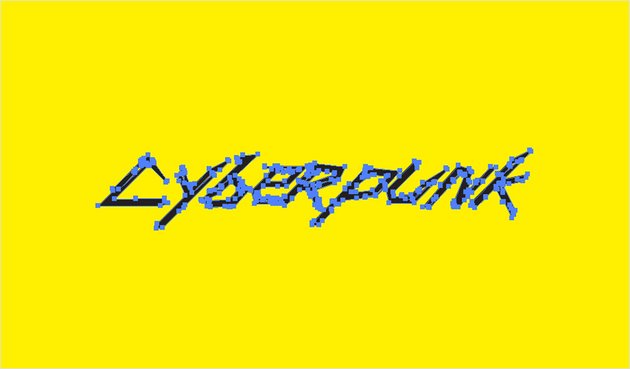
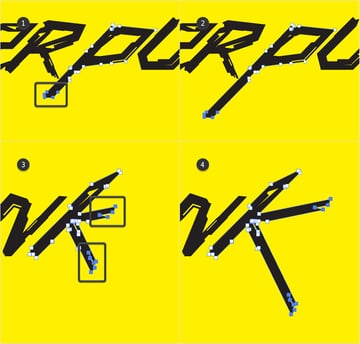
Focus on the first letter from your text and pick the Direct Selection Tool (A). Use it to select the anchor points highlighted in the first image and drag them up and to the right, roughly as shown in the second image.
When you’re done, switch to the Selection Tool (V), use it to select your entire “C” shape and stretch it to the left, as shown in the third image.
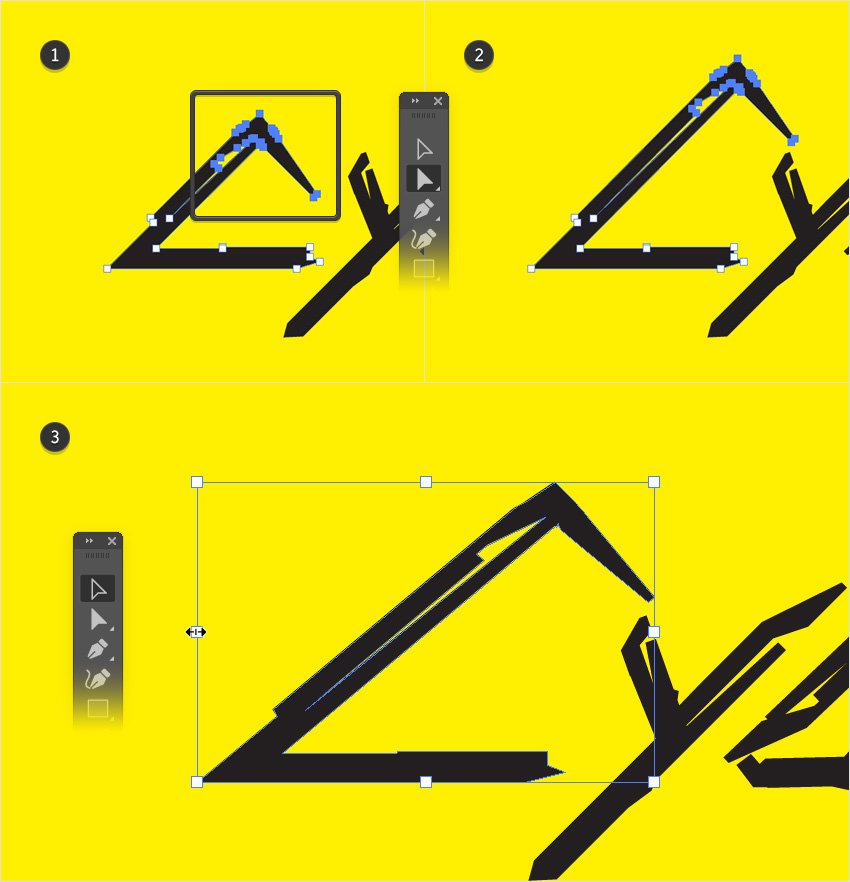
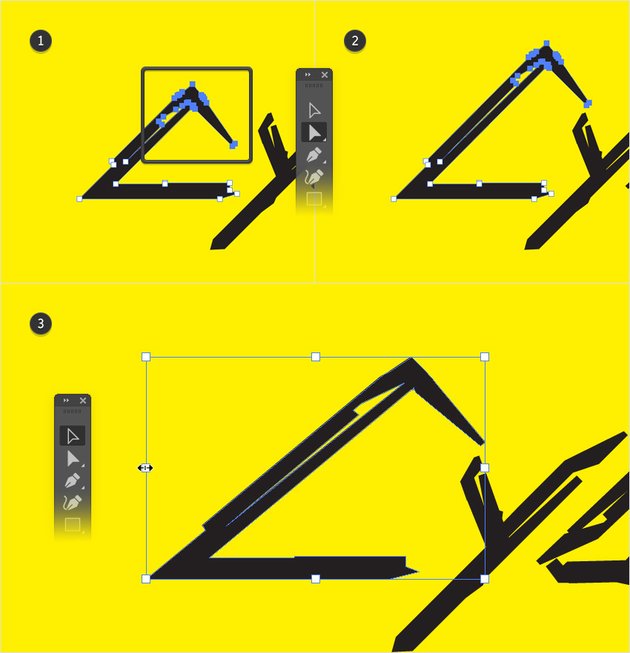
Reselect the Direct Selection Tool (A) and let’s move to the next letter shapes.
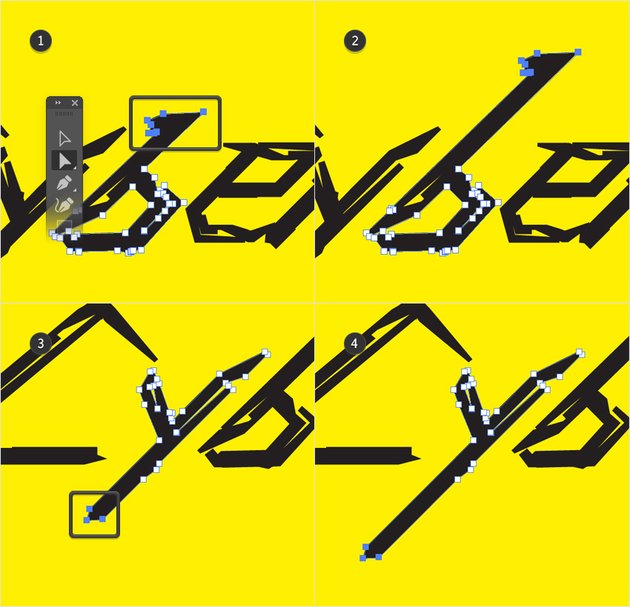
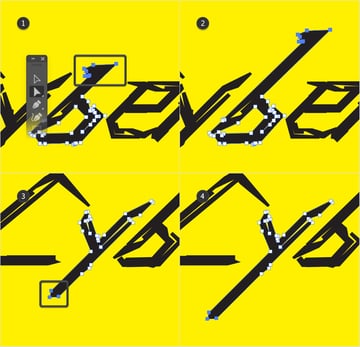
Start with the “b” shape, select the anchor points highlighted in the first image, and move them as shown in the second image.
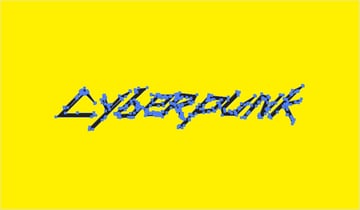
Continue with the “y” shape and adjust the highlighted anchor points as shown in the fourth image.
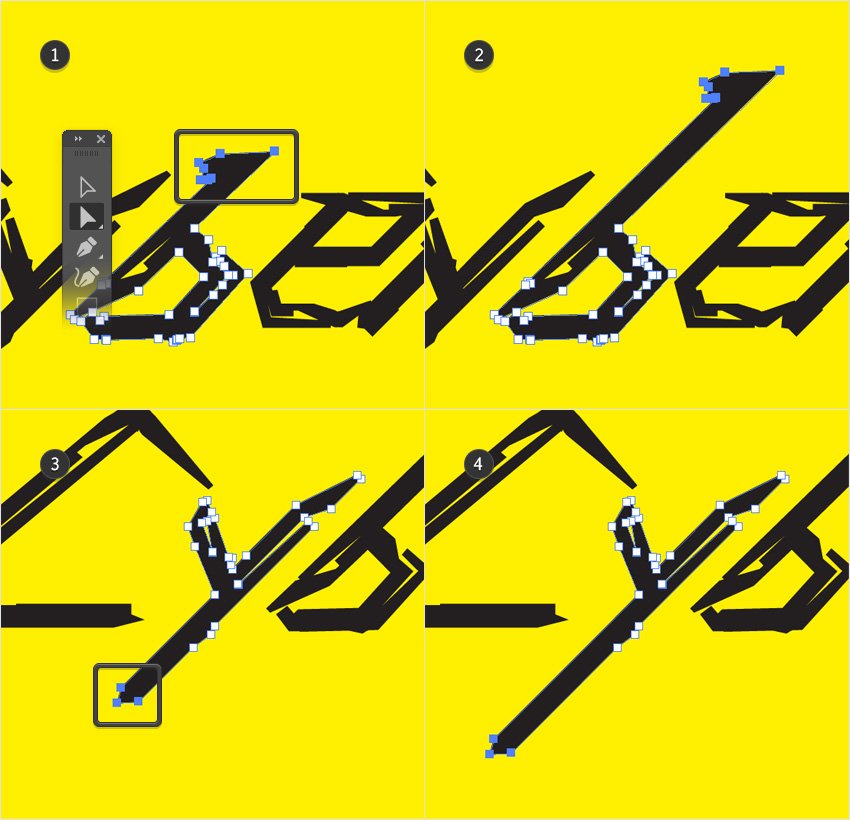
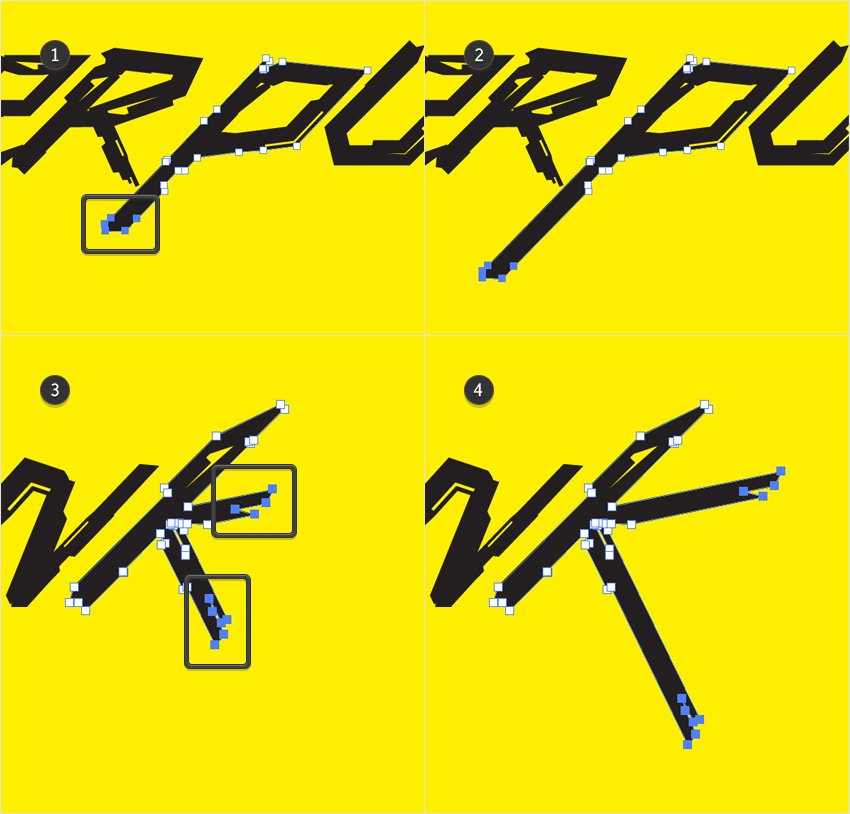
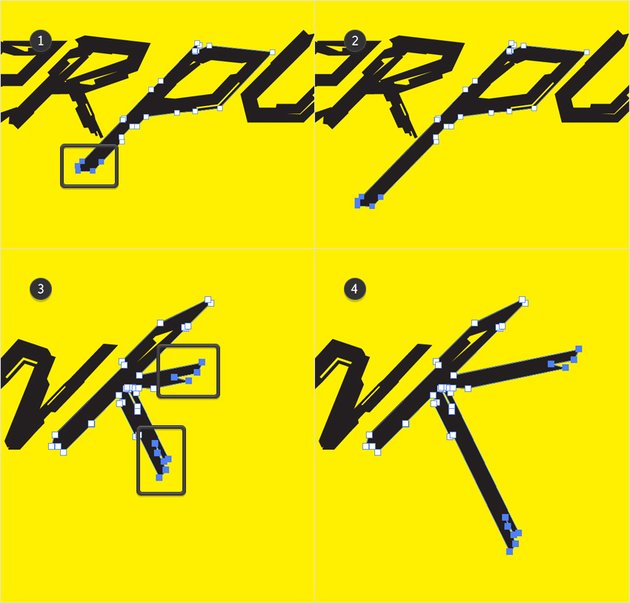
Continue with the Direct Selection Tool (A) and focus on the “p” shape. Select the highlighted anchor points and move them as shown in the second image.
Finally, focus on the “k” shape. Select the two sets of highlighted anchor points separately and move them as shown in the fourth image.
Step 4
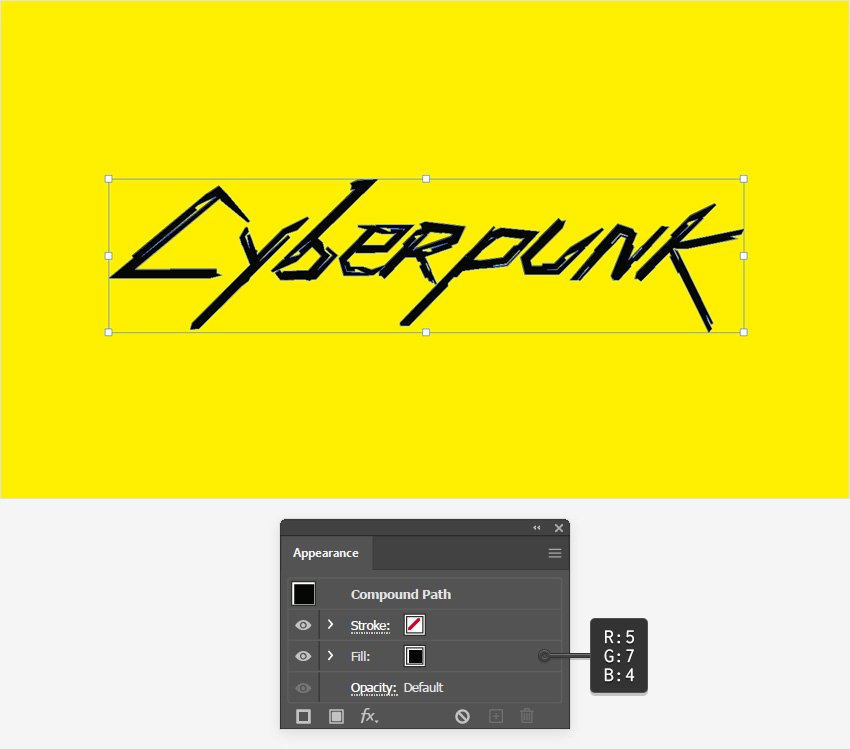
Now that you’re done adjusting this sharp edge font, let’s turn the shapes into a single compound path.
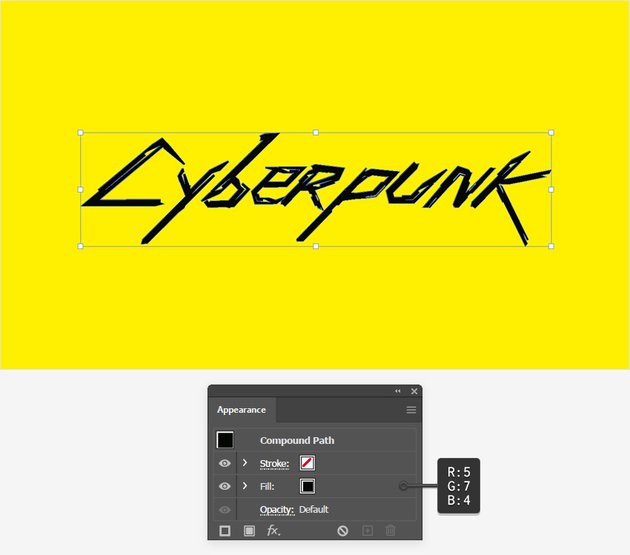
Use the Selection Tool (V) to select all the shapes that make up your text and go to Object > Compound Path > Make (Control-8). Fill this new compound path with R=5 G=7 B=4.
3. How to Create the Main Text From the Cyberpunk Logo
Step 1
Make sure that your compound path is still selected and focus on the Appearance panel (Window > Appearance).
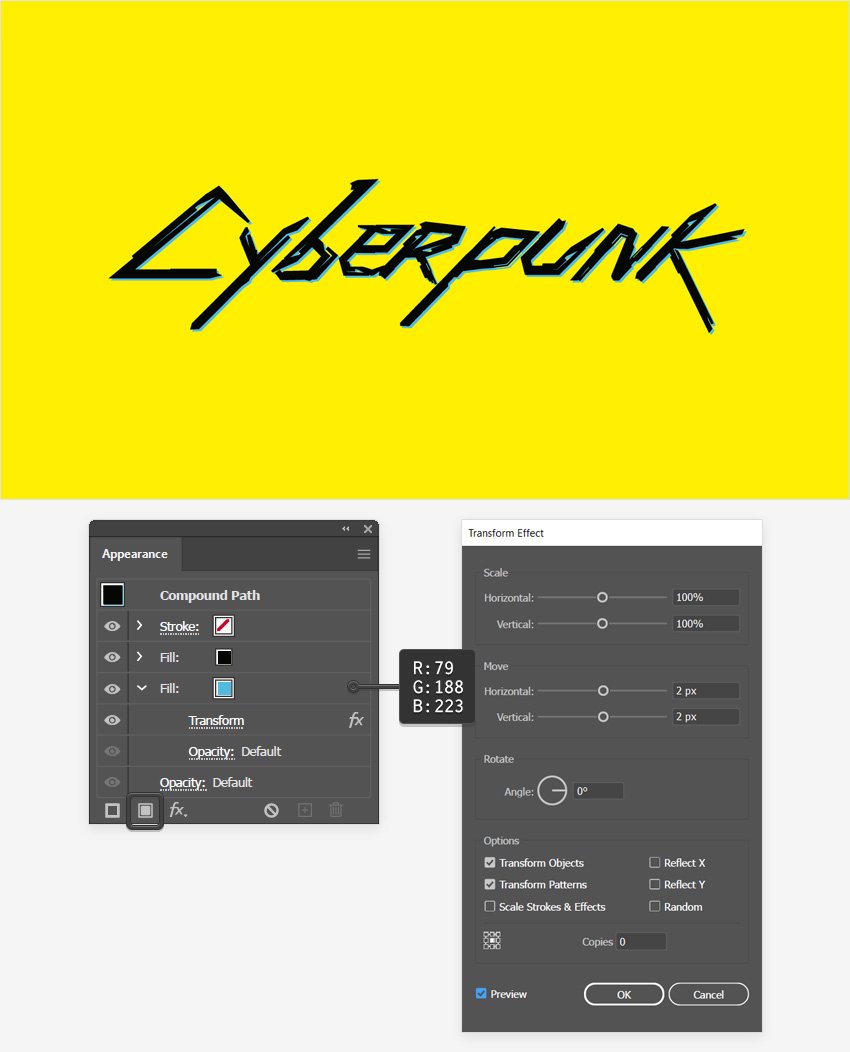
Click that Add New Fill button to add a second fill, drag this new fill below the existing one, and select it.
Replace the color with R=79 G=188 B=223 and then go to Effect > Distort & Transform > Transform. Drag both Move sliders to 2 px, which will move your selected fill 2 px down and 2 px to the right, and then click that OK button to apply the effect.
Step 2
For the next step, you will need this set of noise seamless vector patterns. Download it and return to your Illustrator document.
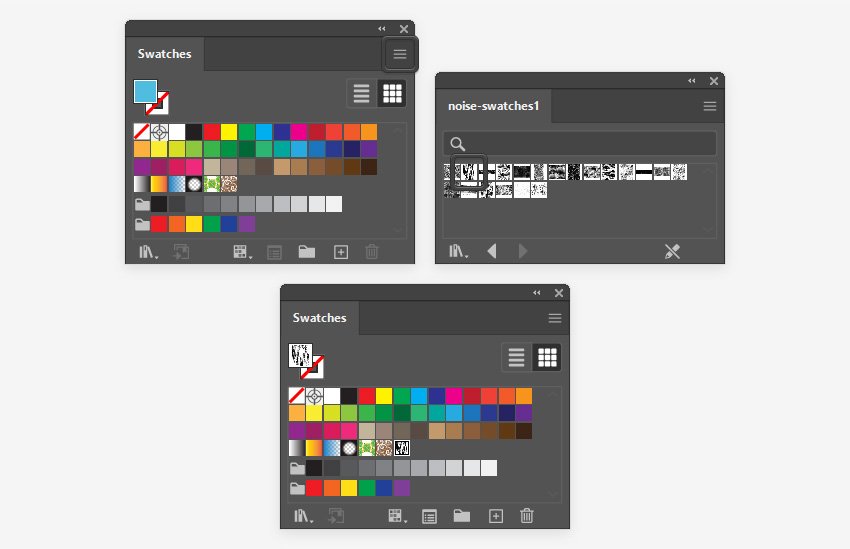
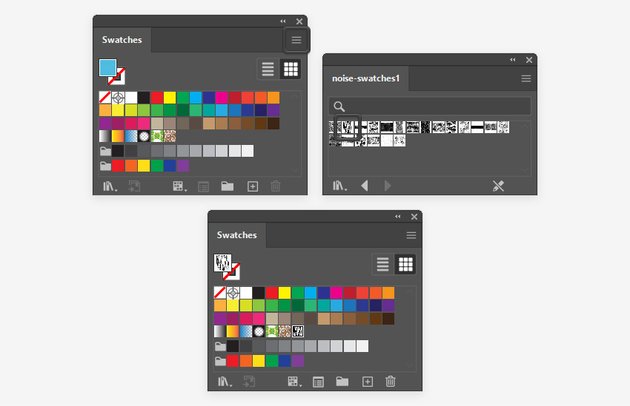
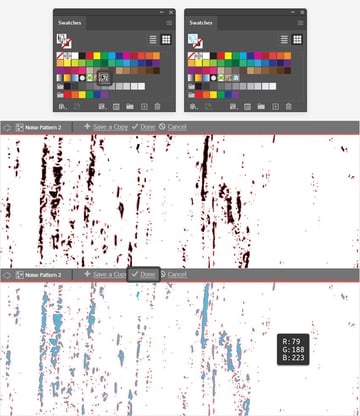
Open the fly-out menu from the Swatches panel and go to Open Swatch Library > Other Library. Go to your downloaded file and double-click on “noise-swatches1.ai”. This will open a new panel with a bunch of vector patterns. Click “Noise Pattern 2” to add it in the Swatches panel, and then you can close the panel with the vector patterns.
Step 3
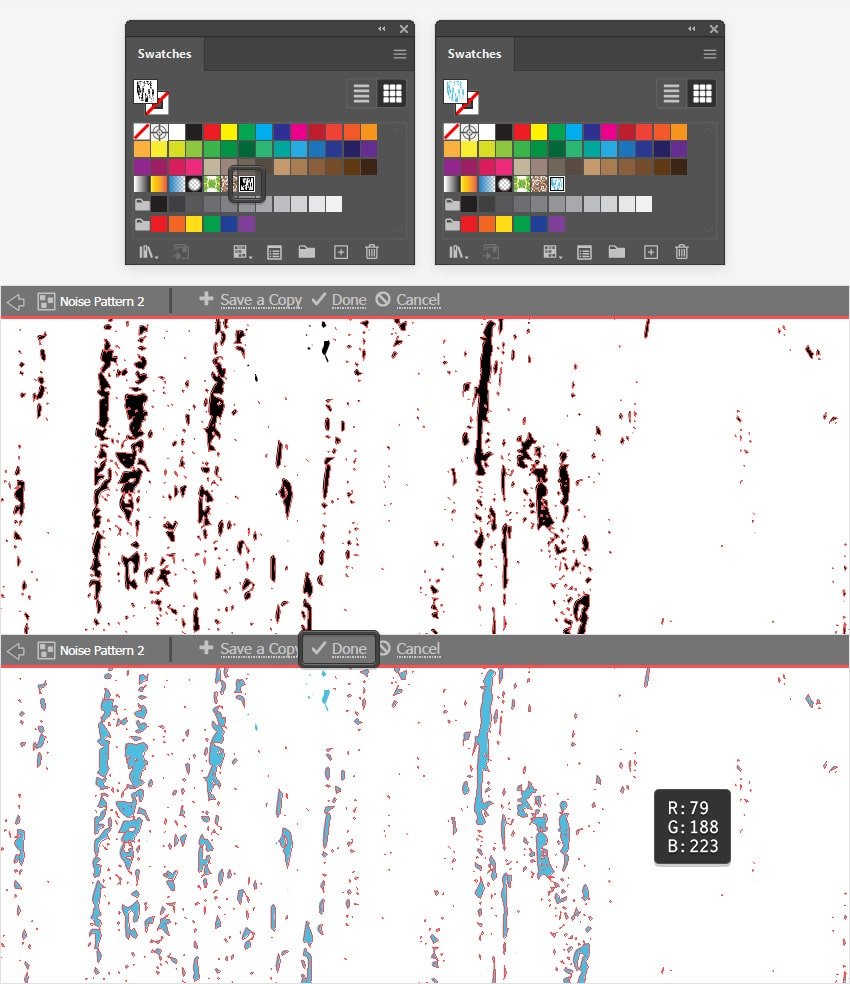
Now you need to edit that vector pattern. Focus on the Swatches panel and double-click it.
Press Control-A to quickly select all the shapes that make up this massive pattern and replace the existing fill color with R=79 G=188 B=223. When you’re done, focus on that bar below the control panel and make sure that you’re pressing the Done button.
Step 4
Return to your compound path, select it and focus on the Appearance panel to add a third fill using that same Add New Fill button.
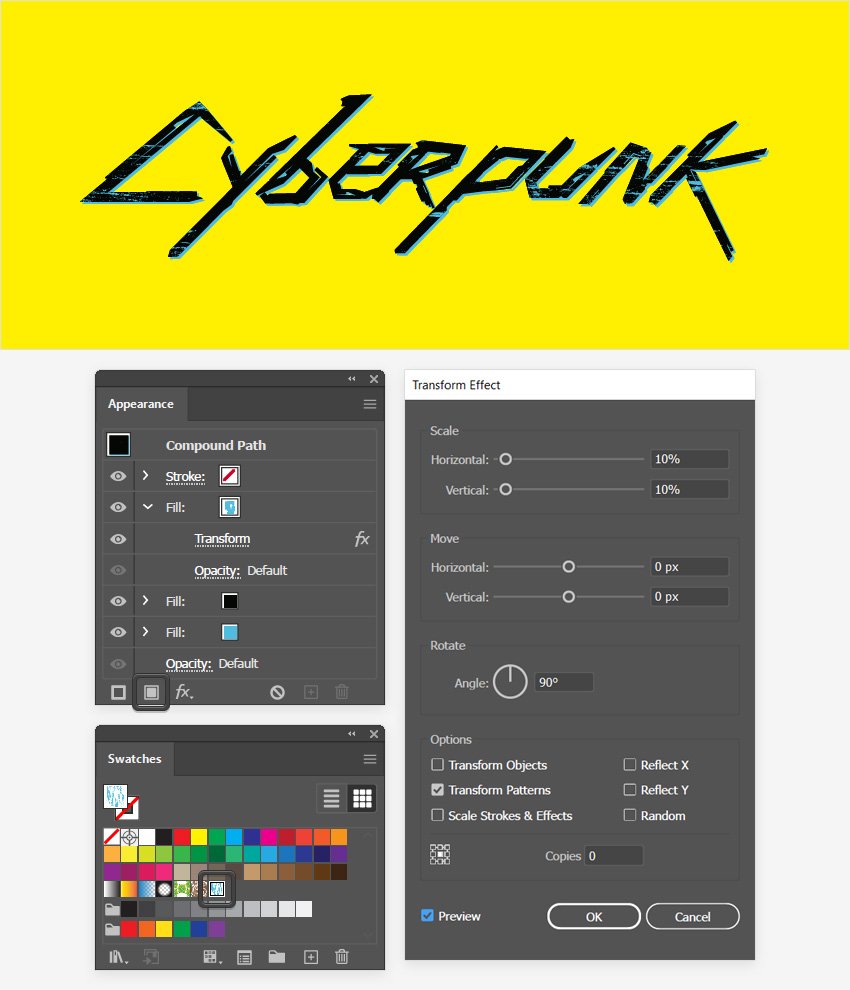
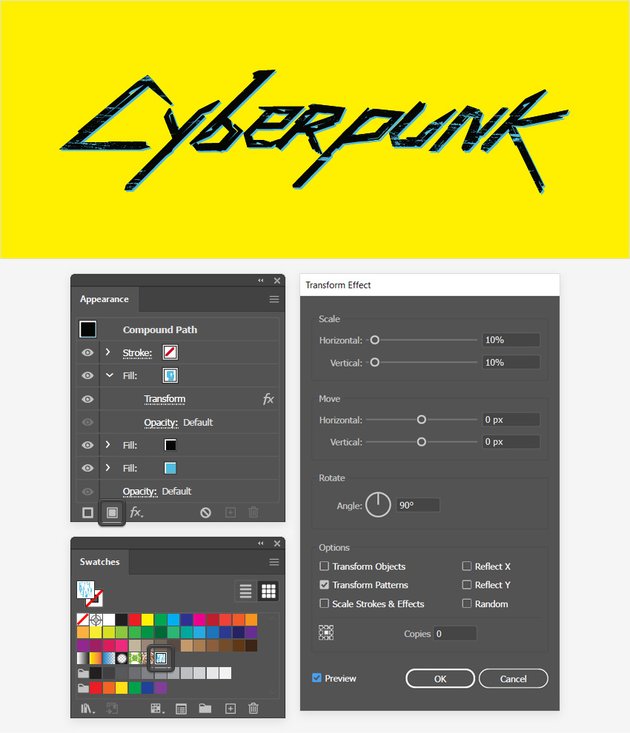
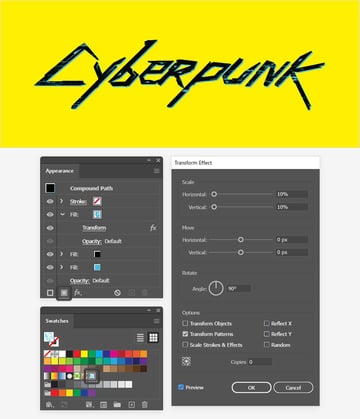
Drag this new fill on top of the existing ones, select it and apply your pattern from the Swatches panel, and then go to Effect > Distort & Transform > Transform. We’ll use this effect to adjust the applied pattern.
First of all, remember to uncheck the Transform Objects box and keep the Transform Patterns box checked to make sure that the effect will affect just the applied pattern, not the fill. Now, drag both Scale sliders to 10% to shrink your pattern, and then click OK to apply the effect.
4. How to Create Small Text From the Cyberpunk Logo
Step 1
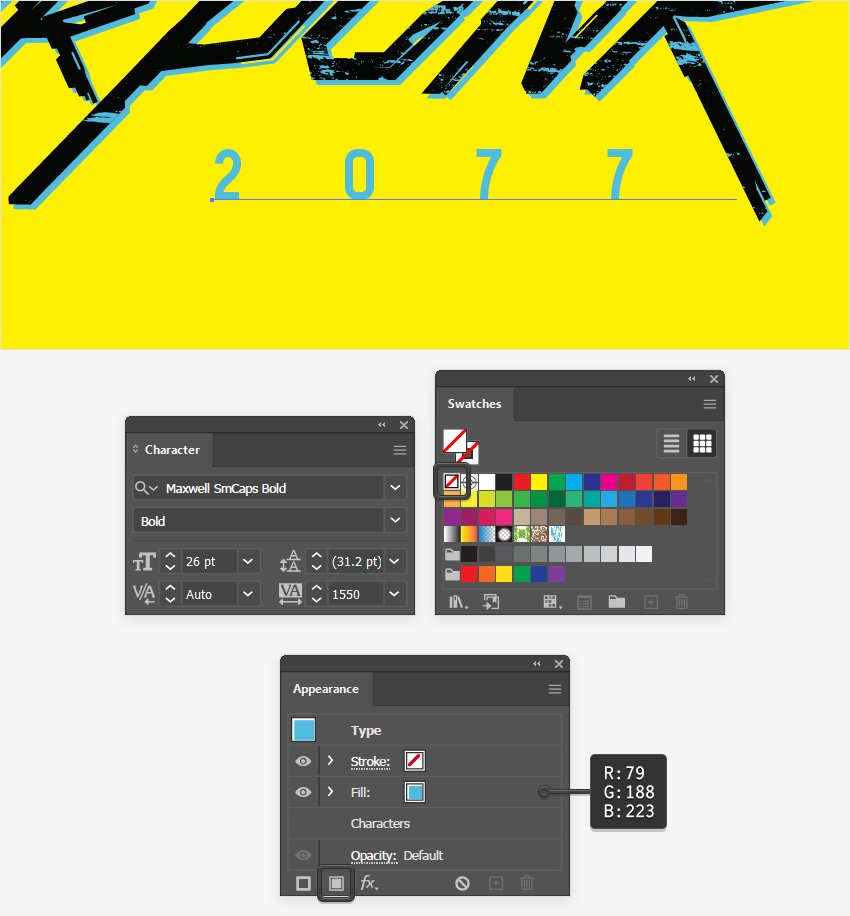
Reselect the Type Tool (T) and return to the Character panel to set the settings for the new text which you’re about to add.
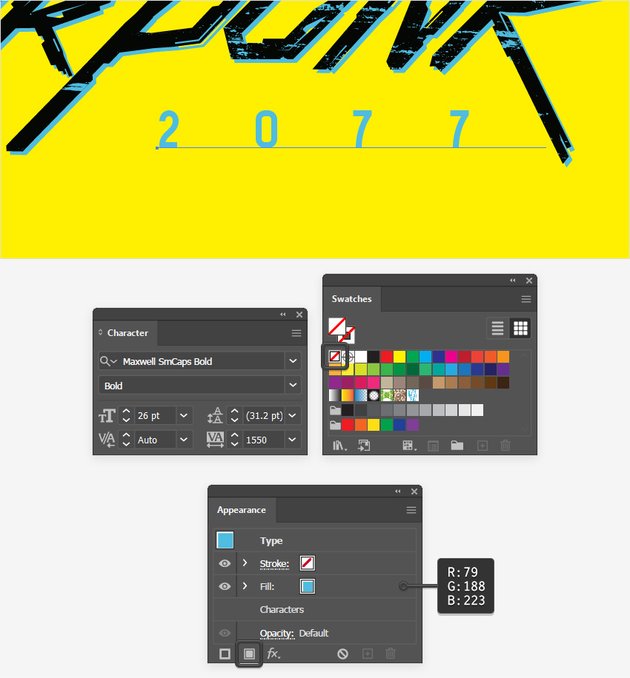
Select the Maxwell font, set the size to 26 pt and the tracking to 1550, and then click on your artboard to type in “2077”.
Keep this text selected and click that [None] swatch from the Swatches panel to remove the current text color. Move to the Appearance panel and click the Add New Fill button to add a fill for your text. Select it and set the color to R=79 G=188 B=223.
Step 2
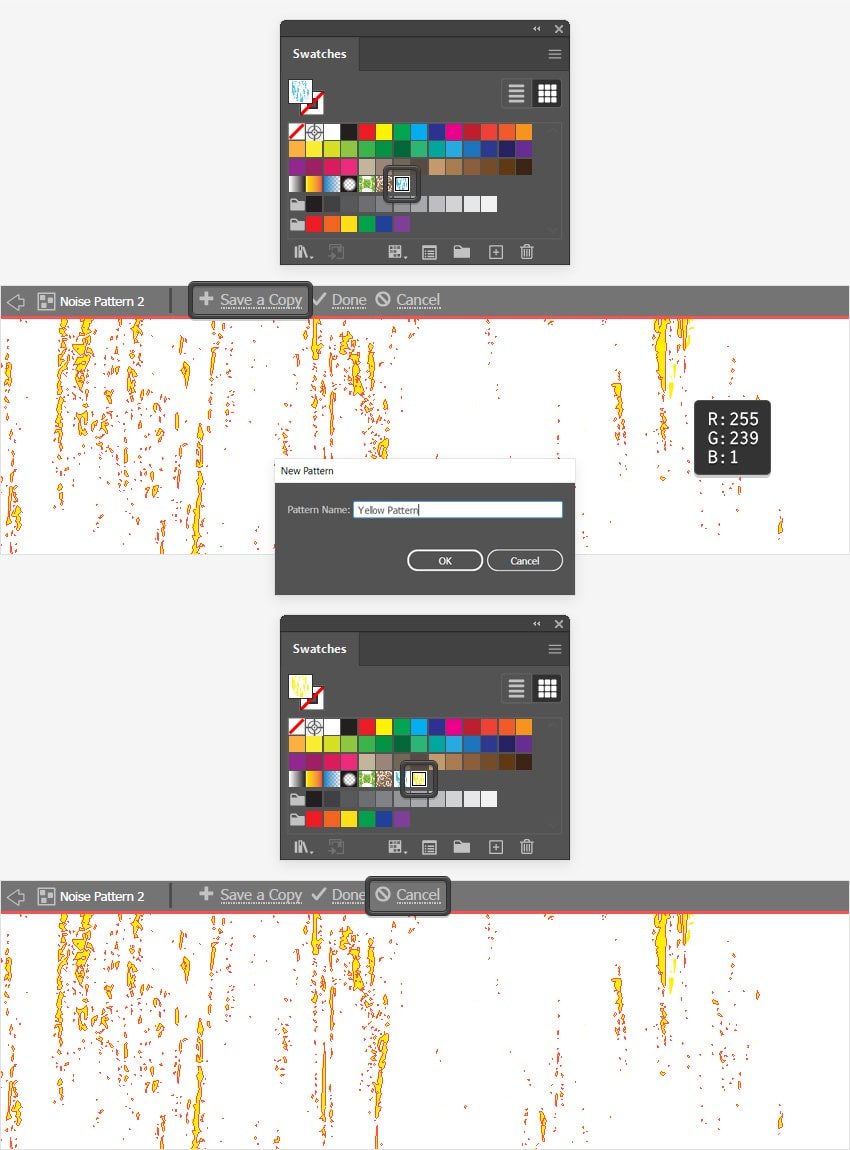
Remember to deselect your text and double-click that vector pattern from the Swatches panel.
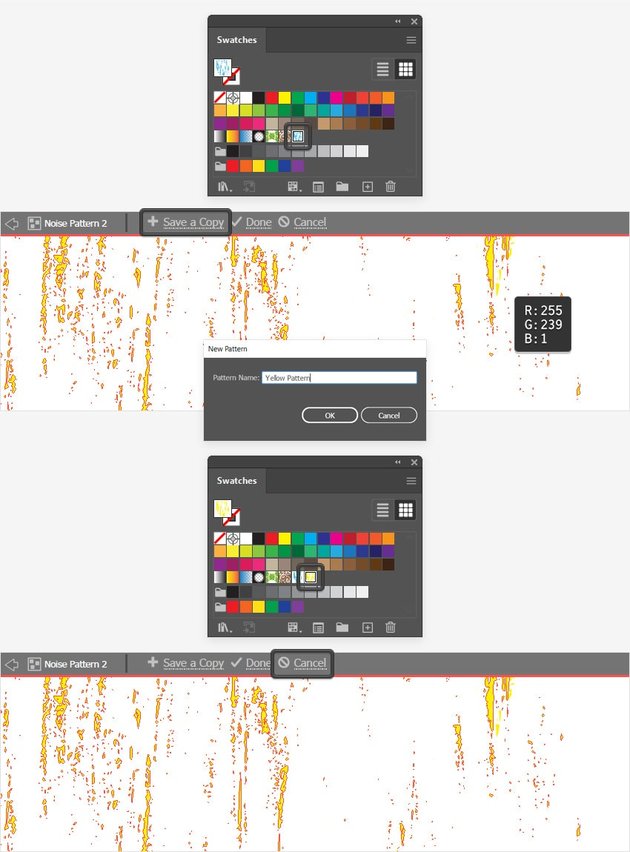
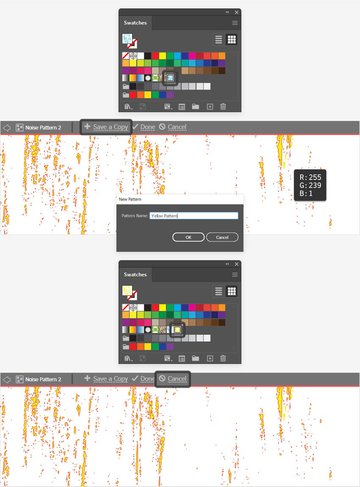
Again, press Control-A to select all the shapes that make up your pattern and replace the fill color with R=255 G=239 B=1. Focus on that grey bar and press the Save a Copy button, type in a name for your new pattern, and then click OK to add it in the Swatches panel. When you’re done, return to that grey bar and make sure that you’re pressing the Cancel button to keep the original pattern unedited.
Step 3
Reselect your “2077” text, focus on the Appearance panel, and add a second fill using that same Add New Fill button.
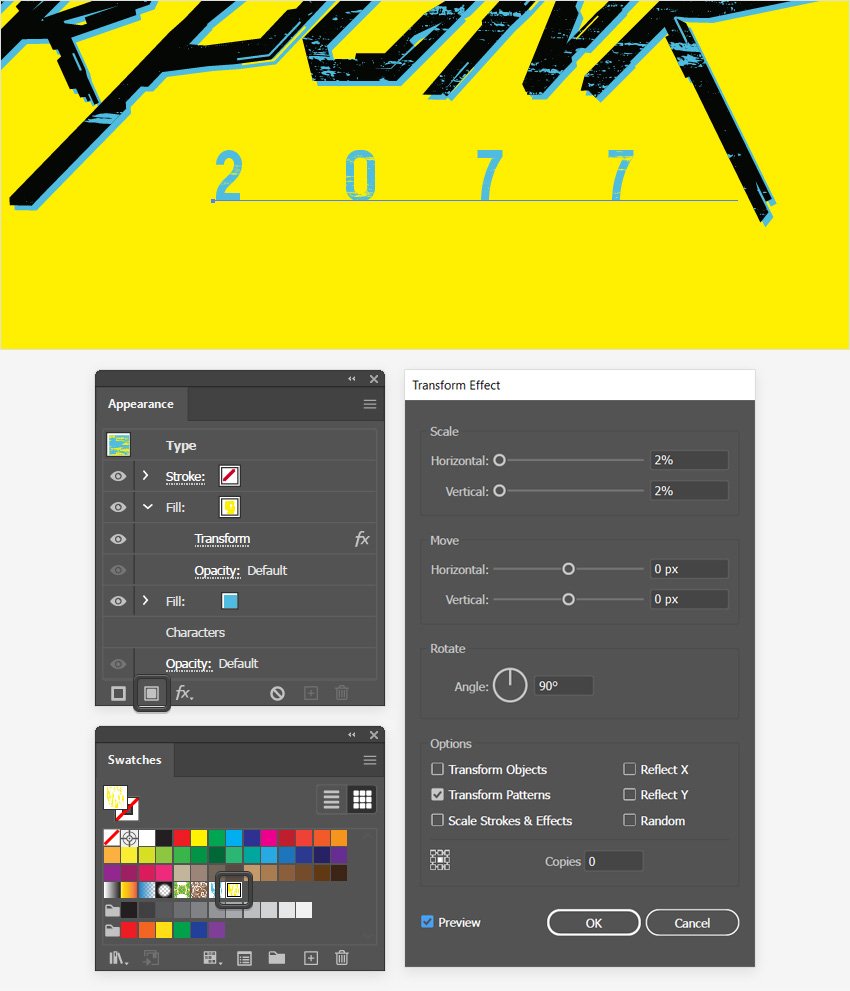
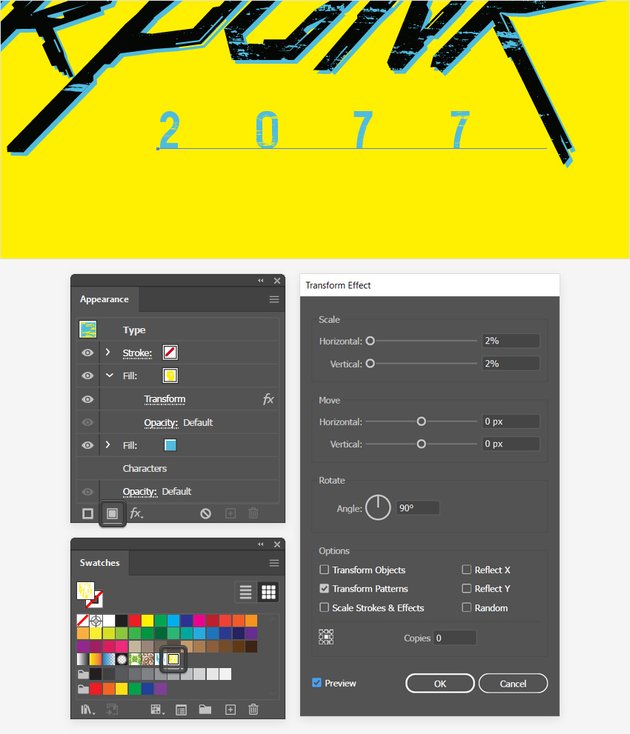
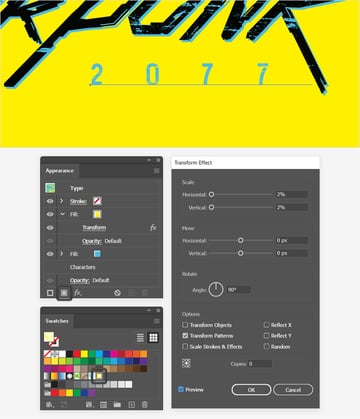
Select this new fill and apply your yellow pattern from the Swatches panel, and then go to Effect > Distort & Transform > Transform. Enter the settings shown in the following image to shrink your yellow pattern, and then click OK to apply the effect.
Step 4
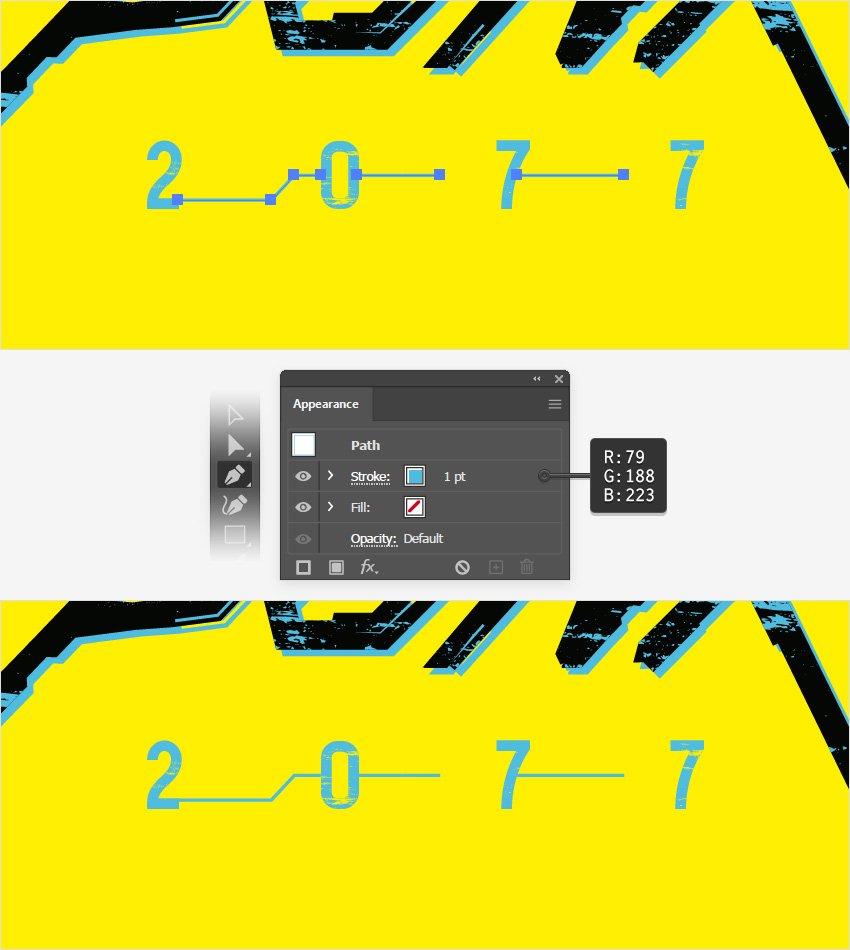
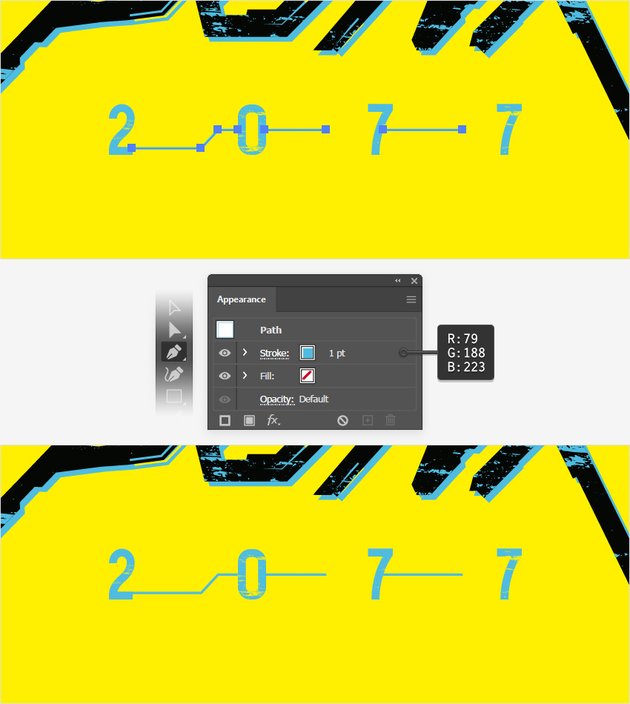
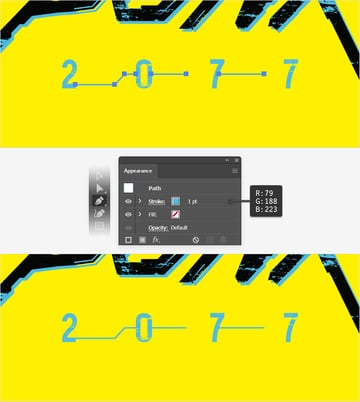
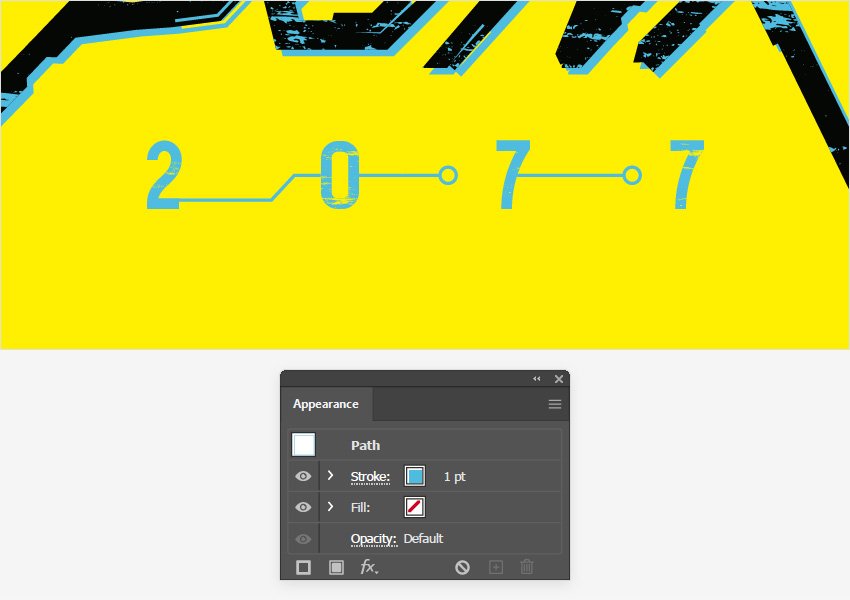
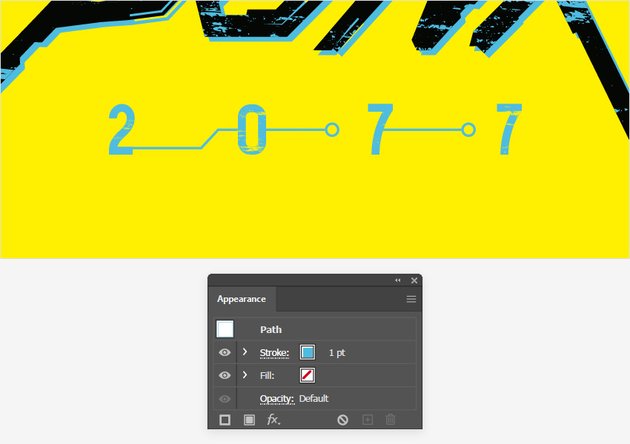
Pick the Pen Tool (P) and use it to draw some simple paths as shown in the following image. Apply a 1 pt stroke (R=79 G=188 B=223) for these paths and make sure that the fill color is set to none.
Step 5
Switch to the Ellipse Tool (L) and use it to add two tiny circles, as shown in the following image. Apply that same 1 pt stroke (R=79 G=188 B=223) for these two shapes.
Step 6
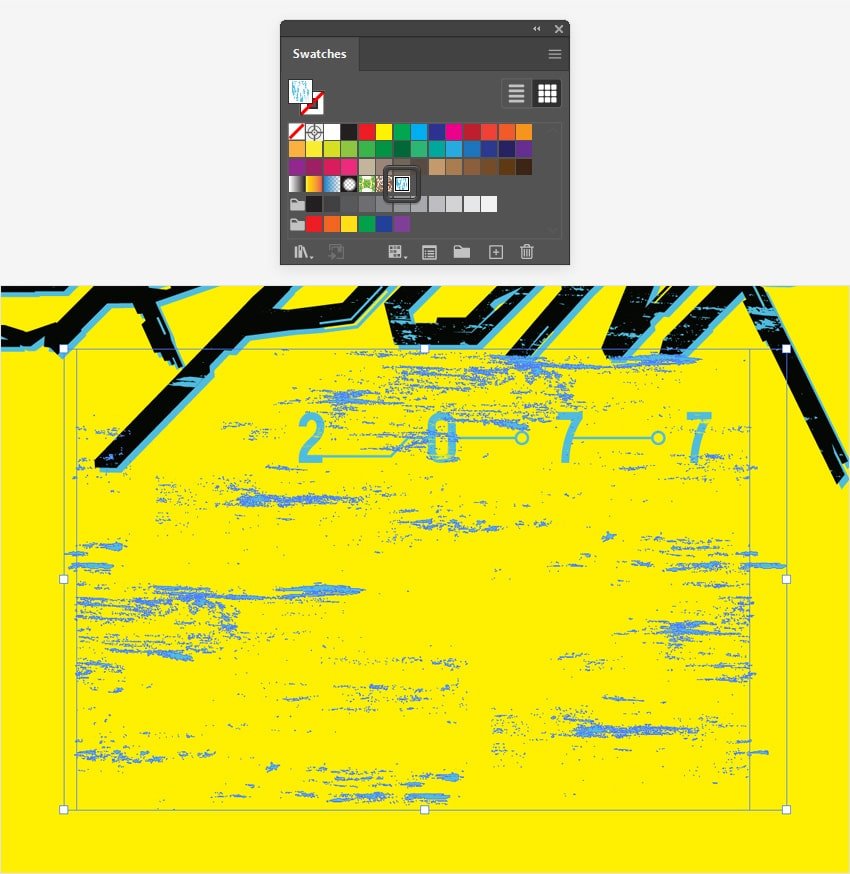
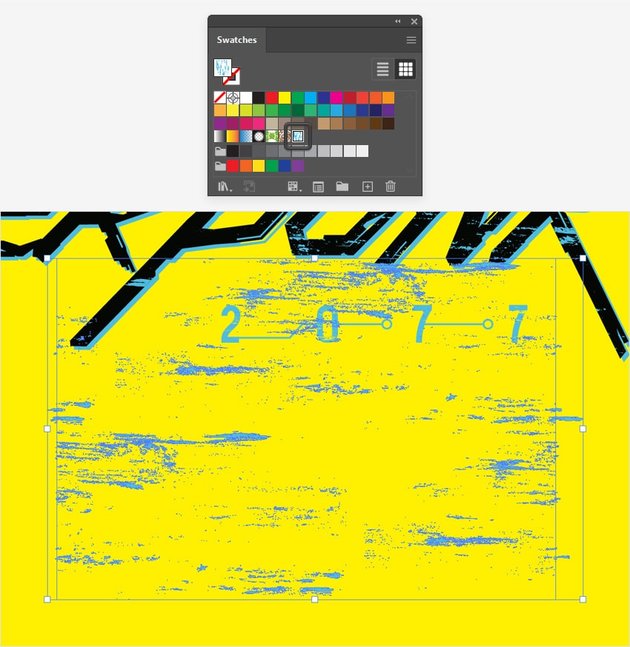
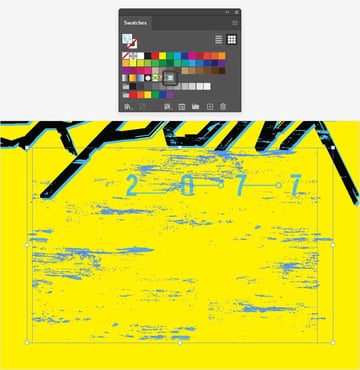
Focus on the Swatches panel and simply click and drag your blue vector pattern on top of your artboard. This will add a new group containing all the shapes that make up the entire pattern design. Use the Selection Tool (V) to place it roughly as shown in the following image.
Move to the Layers panel and lock all the shapes except this group.
Step 7
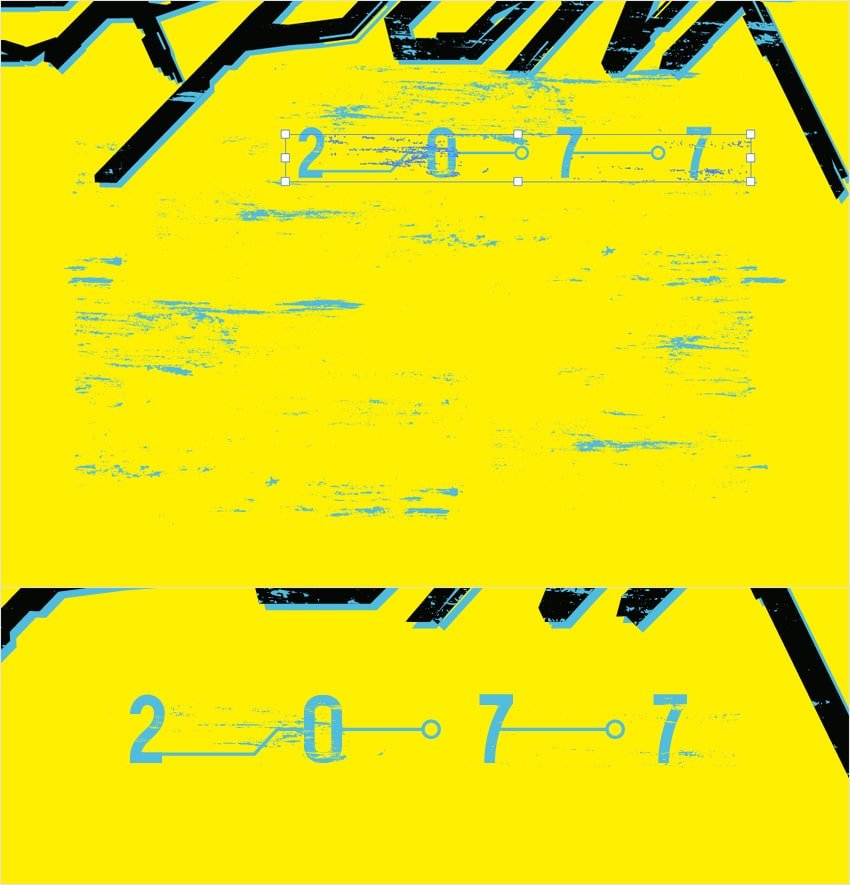
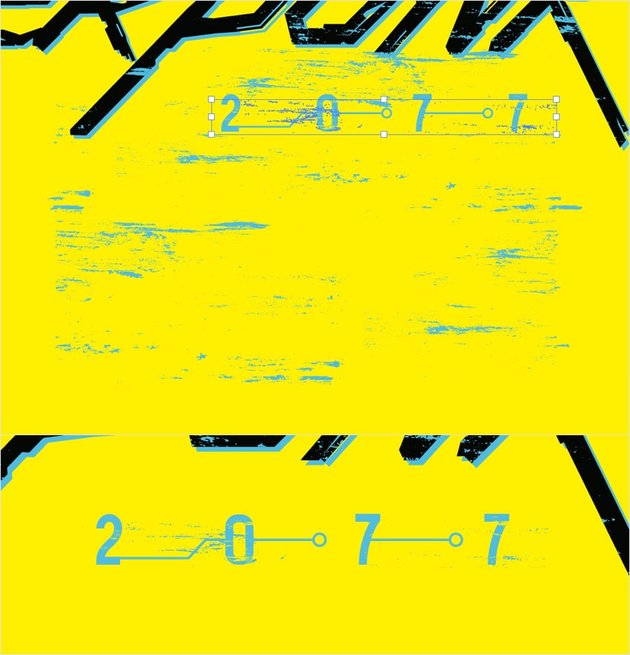
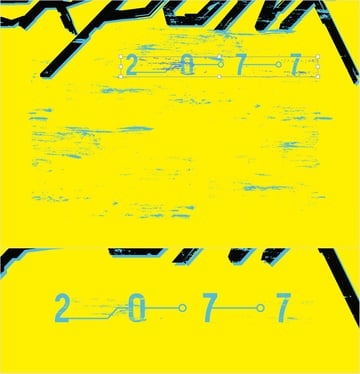
Press Shift-Control-G to Ungroup the shapes that make up this blue pattern. Use the Selection Tool (V) to select some of the shapes that lie on top of that “2077” text and press Control-G to Group them. Lock this group and then select the rest of the shapes that make up the pattern and delete them.
Step 8
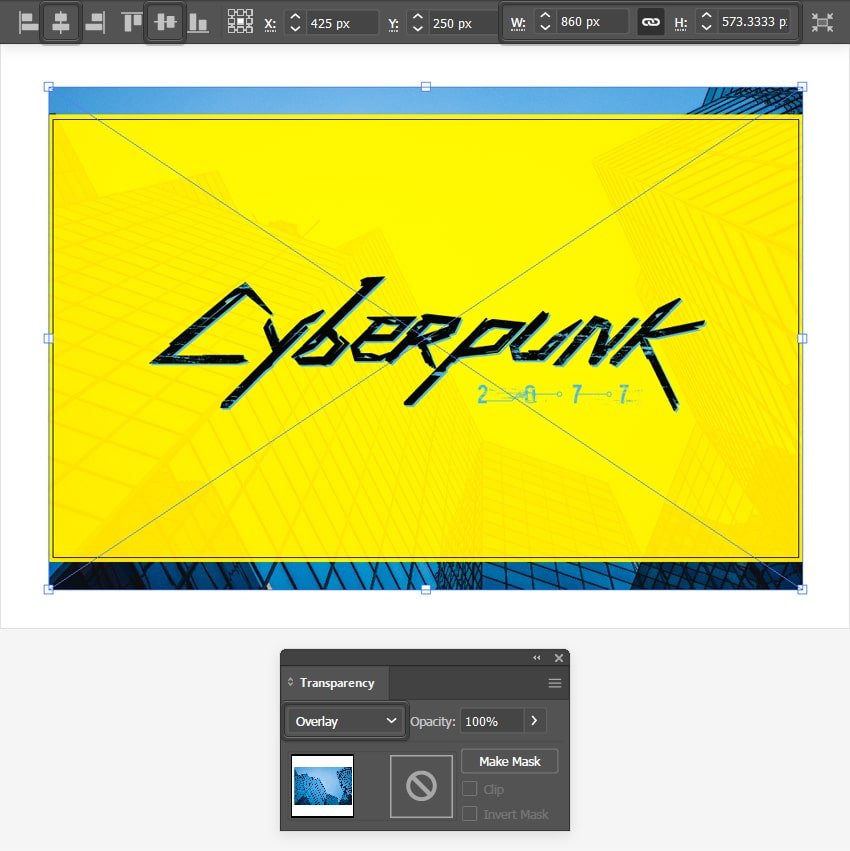
Finally, add this photo to your design and drag it right on top of that yellow rectangle.
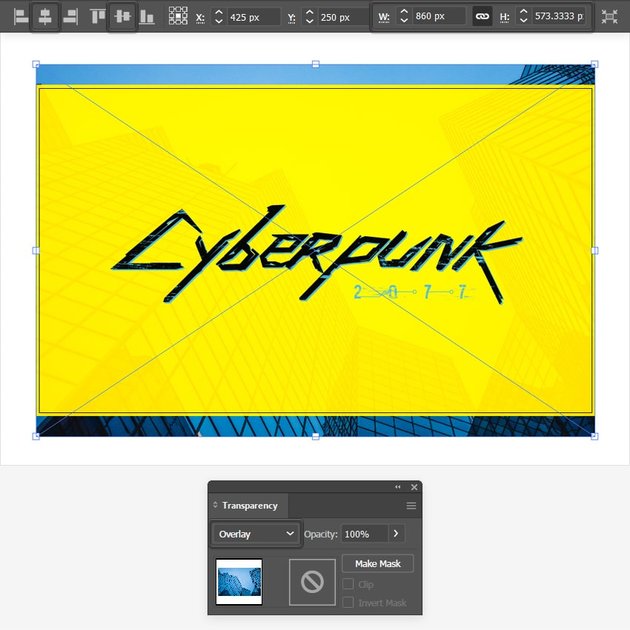
Keep it selected and lower the Width to 860 px, center it, and don’t forget to change the Blending Mode to Overlay. With this final touch, your cyberpunk logo design is complete.
Congratulations! You’re Done!
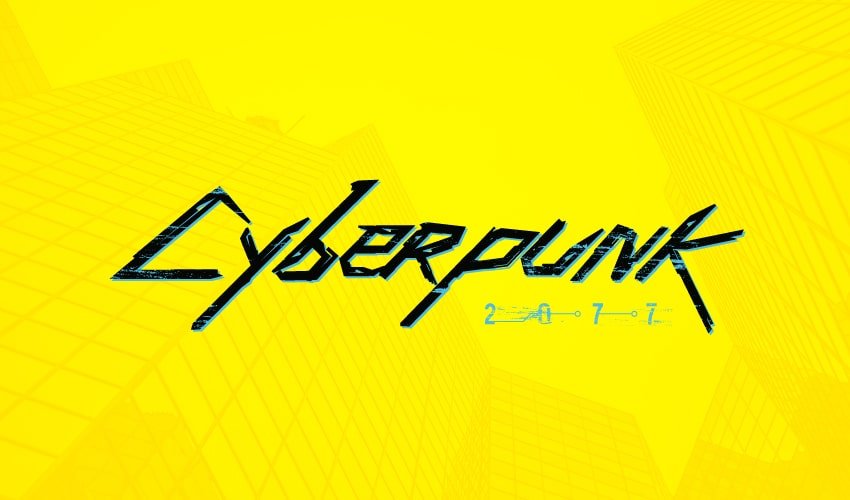
Here is how your Cyberpunk 2077 logo should look. I hope you’ve enjoyed this tutorial and can apply these techniques in your future projects.
Feel free to adjust this final cyberpunk logo design and make it your own. You can find some great sources of inspiration at Envato Elements, with interesting solutions to improve your cyberpunk logo.

Popular Logo Templates From Placeit
Placeit is an excellent resource for logo templates. Here’s a short list of some of the most popular cyberpunk logos that you can find.
Futuristic Logo Maker With Neon Colored Cyberpunk Style
Go bold and vibrant with this amazing logo maker. Adjust the text, the colors, and the background design with just a few clicks and make it your own.
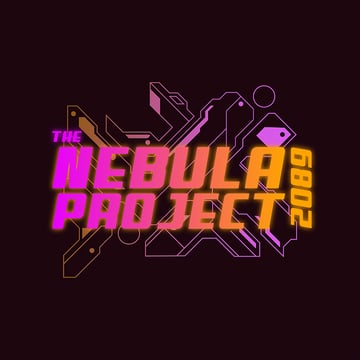
Gaming Logo Creator
Looking for a more complex logo design? This bold and colorful design with a pointy font might be the perfect solution.
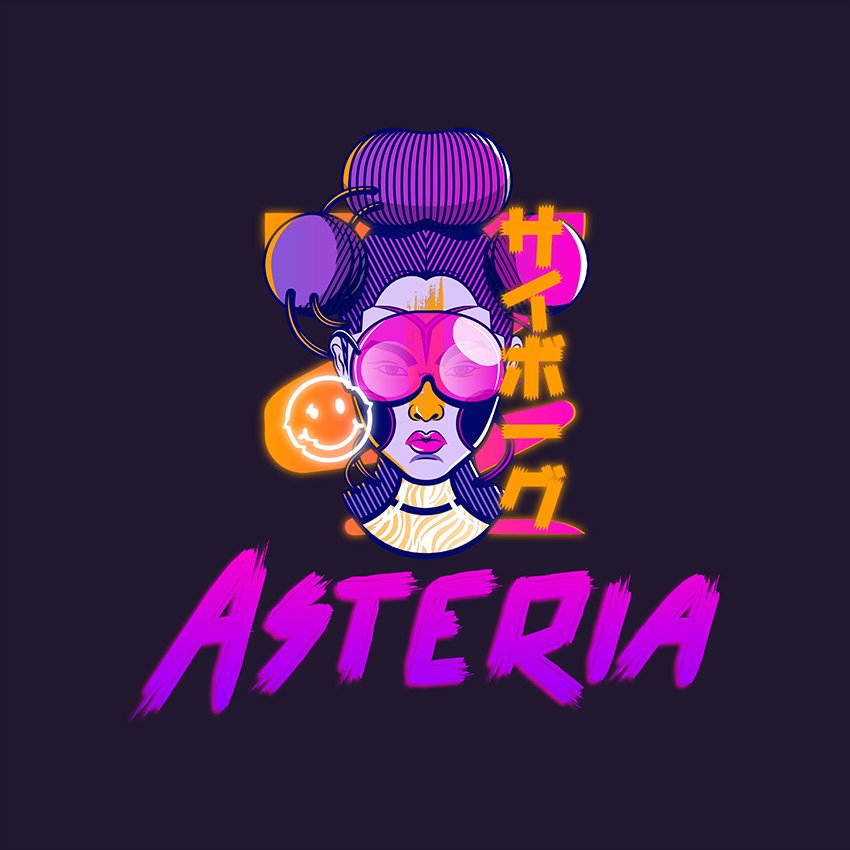


Futuristic Logo Generator
Check out this futuristic logo generator and create your own cyberpunk logo with a few clicks.



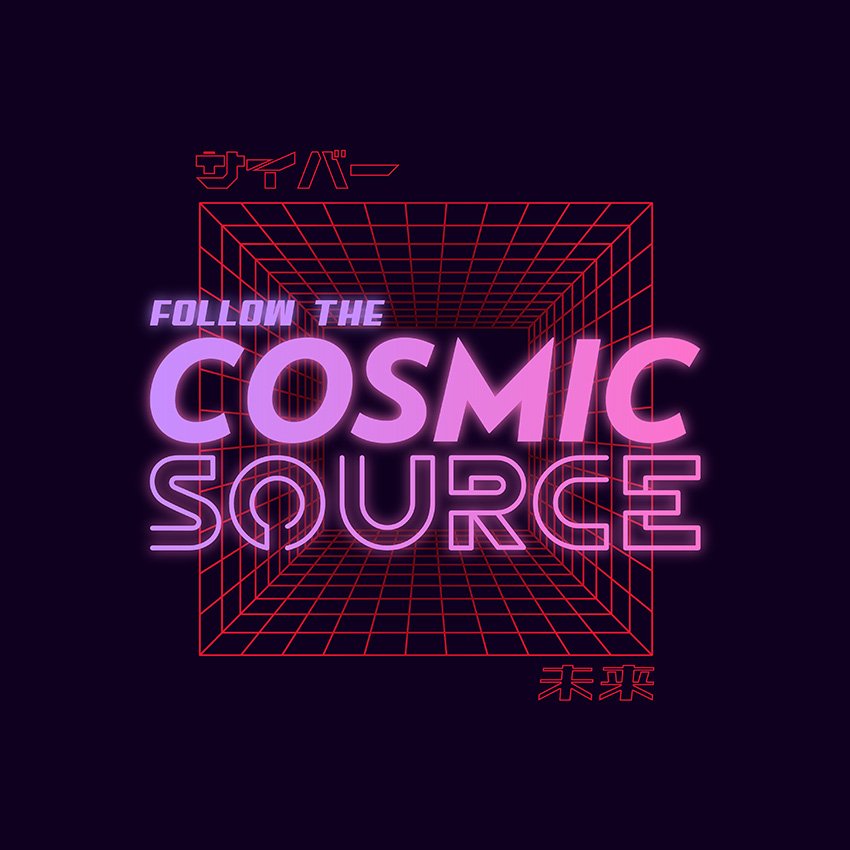
Gaming Logo Maker With a Cybernetic Grid
Looking for a retro cybernetic logo design? You got it. All you have to do is adjust the colors as you wish.
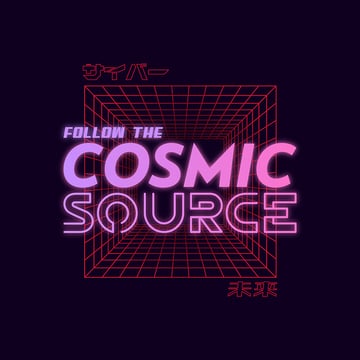
Logo Generator for Gamers
Keep it smooth and simple with this minimalist logo generator for gamers. Just change the colors to fit your needs, and your logo is ready.



Want to Learn More?
We have loads of tutorials on Envato Tuts+, from beginner to intermediate level. Take a look!