When you run an online store, there’s no such thing as selling too many products.
Just because the customer has found what they’re looking for, doesn’t mean you can’t convince them to throw a few more items into their cart.
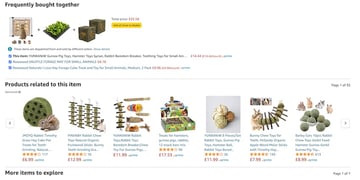
If you’ve ever spent any time on sites such as Amazon, then chances are you’re already familiar with related products. This is a tried-and-tested trick for convincing shoppers to spend more.
In this article, I’ll show you how to use this Amazon-approved technique to boost your sales, and your profits. We’ll start by creating a related products section using WooCommerce’s built-in features. I’ll then introduce you to a free plugin that promises to help you generate an accurate related products section, automatically.
Cross-Selling and Upselling: What’s the Difference?
You can divide related products into two categories: cross-selling and upselling. Cross-selling is where you display items that the customer may want to purchase in addition to the product they’re currently viewing.


Placing these related products within easy reach, can convince shoppers to add more items to their basket. This may help you sell additional products, and boost your average order value.
The right related product may even convince customers to purchase the item they were originally viewing. For example, imagine a shopper is debating whether to splash out on a soup maker, but is unsure how useful this appliance would be. As if by magic, the related products section suggests they also purchase a 100 Easy Soup Recipes book. This gives the shopper the final nudge they need, and secures you the sale.
If you really want to drive conversions, then you might even offer these related products as a bundle, or provide a discount when purchased together.
By contrast, upselling is where you recommend a higher-priced alternative to the item the customer is currently viewing.
Depending on the product in question, the fancier alternative may have more impressive specifications, or extra features. It may be the newer model of the original item, or it might be a different model entirely.
Encouraging customers to splash out on a pricier product can increase your profits. To really drive upsells, you might even present the more expensive alternative as the wiser financial choice. For example, you could recommend the customer indulge in a top-of-the-line alternative, while also highlighting the fact that this fancier model is currently 10% off.
How to Create a Related Products Section (Without a Plugin)
Out-of-the-box, WooCommerce has everything you need to create a related products section.

This requires you to manually link the original item, and the products that you want to include in your related section. If you have lots of different products, then this can be a time-consuming process. However, it does give you complete control over your upselling and cross-selling strategies.
To link two products:
- Navigate to Products > All Products.
- Find the product in question, and open it for editing.
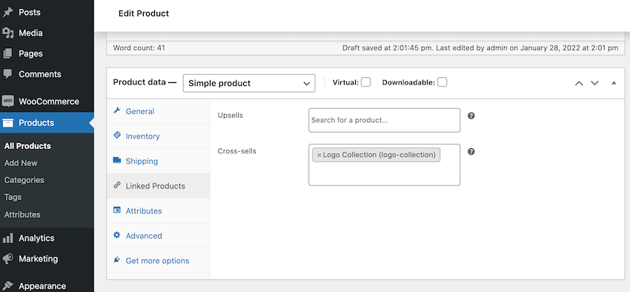
- Now, scroll to the Product Data section, and click on the Linked Products tab.
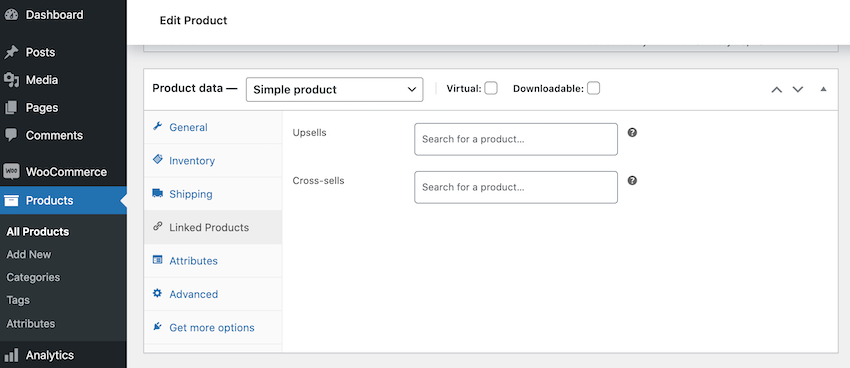


This tab contains separate fields for upselling and cross-selling. To create a linked product, simply click inside either field.
Start typing the name of the product that you want to link. When the correct product appears, click it.

Rinse and repeat, to add more items to your related products section.
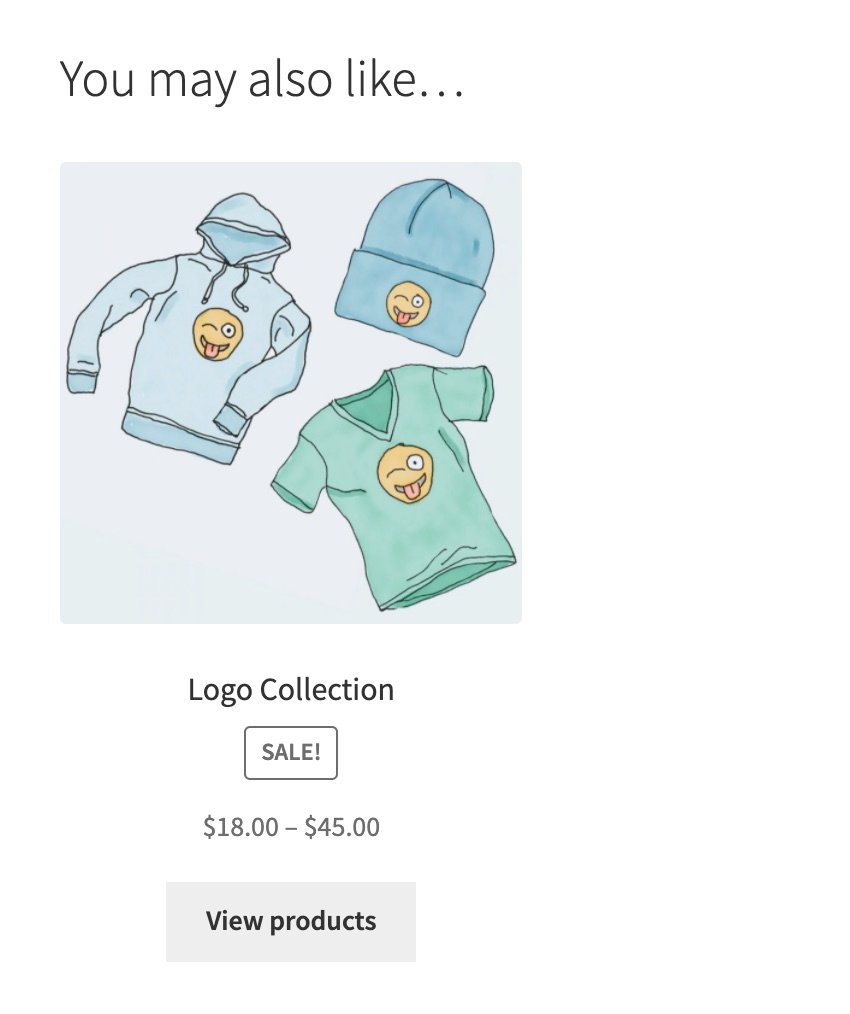
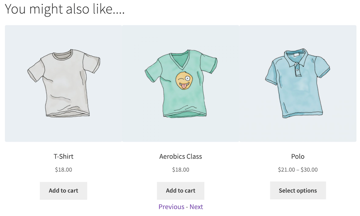
Once you’ve added all of your products, you can publish these changes by clicking on either the Update or the Publish button. Now, check out this product in your store–it should feature a brand-new related section.
Rinse and repeat for every product where you want to implement upselling, or cross-selling. Alternatively, if this sounds like too much work, then why not use a plugin instead?
How to Create a Related Products Section (Using a Plugin)
Creating these relationships manually can be a time-consuming and frustrating process. This is particularly true if your store features lots of different items, or you’re continuously expanding your product catalog.
Fortunately, there are plugins that can take the pain out of cross-selling and upselling. Related Products for WooCommerce is a popular plugin that auto-generates a related products section based on the current item’s categories, tags, or attributes. This can help you create a relevant related products section, without having to invest time and effort into forging these connections manually.
This plugin also gives you greater control over where the related section appears. Thanks to the power of shortcodes, you can add a related products section to any post, page, or even a sidebar widget. For example, you might embed related products in your latest blog post, or even add them to your checkout page, in a last-ditch attempt to boost sales.
The Related Products plugin can also present related products as a slider. This is great for displaying lots of items, in a smaller amount of space.
1. How to Create a Related Products Section
After installing and activating the Related Products for WooCommerce plugin, navigate to WooCommerce > Woo Related Products.
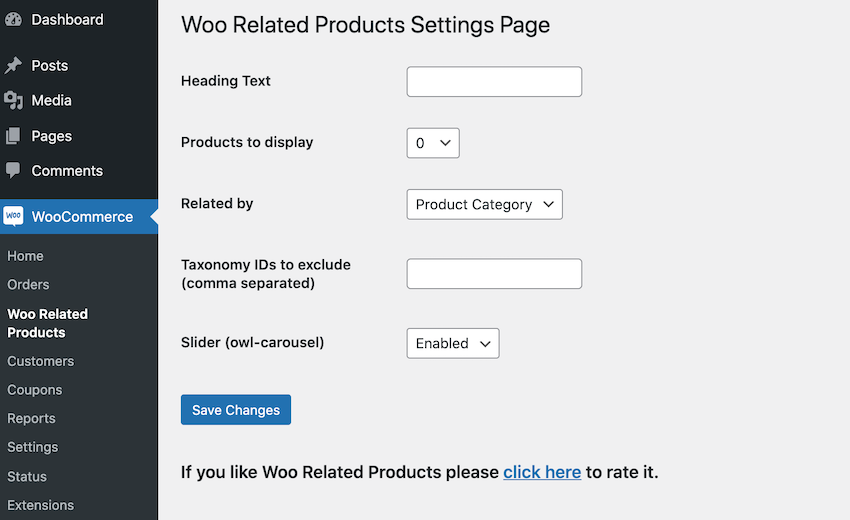


You can now enter a heading for your related products section. For example, you might use Frequently bought together, More to explore – or you could keep things simple, with a classic Related Products heading.


Next, specify how many products to include in your related section. By default, WooCommerce will display these items as static content. However, you can also present them as an Owl slider.
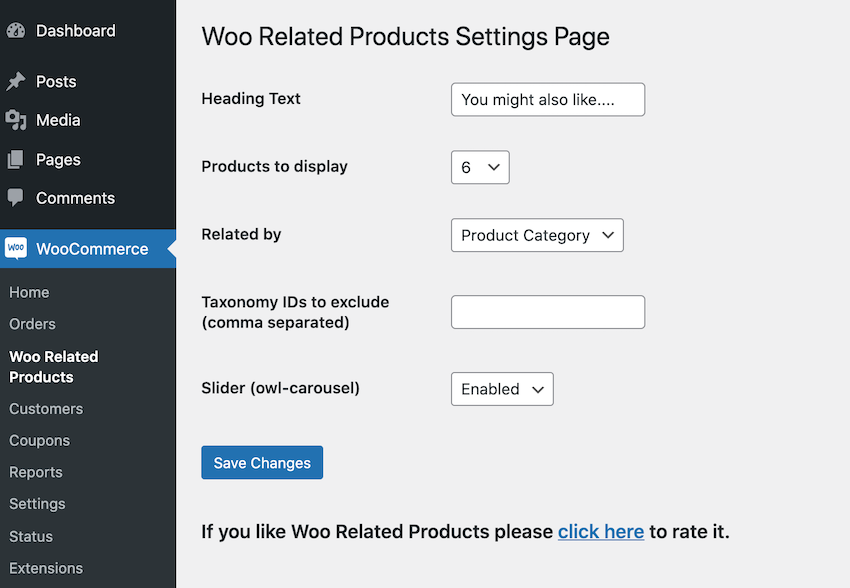
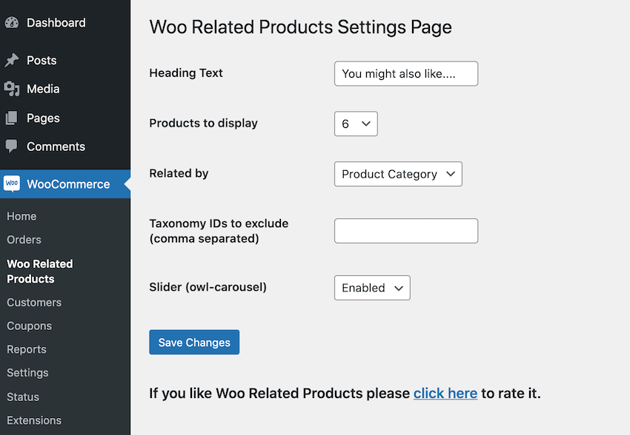

The Related Products plugin can display recommended items based on the current product’s category, tags, or attributes. You can make your selection, using the Related by dropdown. Here, it may help to experiment with the different settings, in order to see what delivers the most accurate results for your particular online store.
The final setting is Taxonomy IDs to exclude, which will exclude a specific product category. When this option is enabled, items from the specified category will never appear in your related sections. To exclude a category, you’ll need to know its ID.
If you need to retrieve this information, then:
- Navigate to Products > Categories.
- Hover over the category in question, and then click on Edit.
- In the subsequent screen, check the address bar. This should contain the following section: taxonomy=product_cat&tag_ID=. Here, the ID= value is the category ID. For example, if the URL is taxonomy=product_cat&tag_ID=217 then the category ID is 217.
You can now use this ID as part of your Taxonomy IDs to exclude settings.
When you’re happy with your settings, click on Save Changes. And that’s it! If you head over to any product page, you should see a new related section.
2. How to Add Related Products to Any Widgetized Area
Related Products for WooCommerce can also add products to any widgetized area. This is perfect for featuring goods or services in your site’s recurring elements, such as the sidebar or footer. Customers can then add products to their cart, from any page of your website.
This does work a little differently to the related products sections we’ve previously covered. You’ll need to start by nominating a “core” item or service. The plugin will then display the related products for this particular item.
To nominate a product, you’ll need to know its ID:
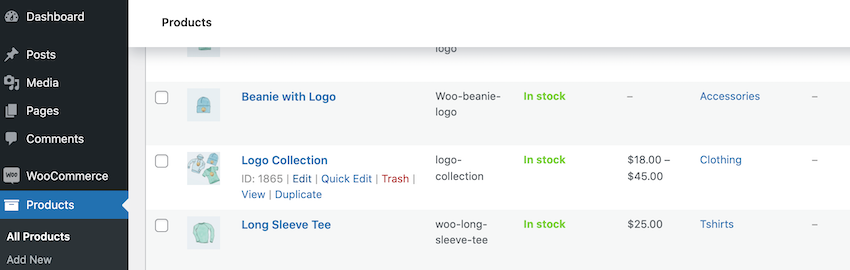
- Navigate to Products > All Products.
- Hover over the product in question. This will reveal the product ID–make a note of this value, as you’ll be needing it shortly.


- Next, navigate to Appearance > Widgets.
- Find the widgetized area where you want to create your related products section. Note that your options will vary depending on your WordPress theme.

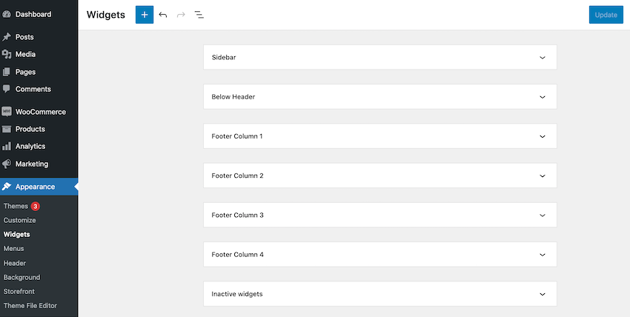
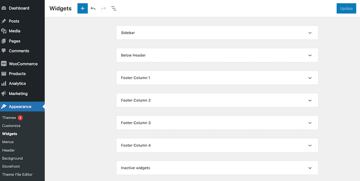
- Once you’ve chosen an area, click the blue + icon. This will launch a menu containing all of the available widgets.
- Find the Shortcode widget, and drag it to the area where you want to create your related products section.

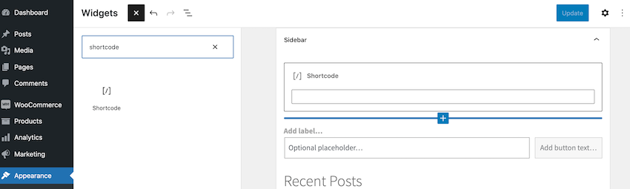

- Inside this block, add the following shortcode, making sure you replace 1865 with the product ID you retrieved earlier:
[woo-related id='1865' title='no']
To publish your related products section, click Update. Now, if you head over to your WooCommerce store you should see a series of products inside your widgetized area.
3. How to Add Related Products to Your Landing Pages and Blogs
Sometimes, you may want to add related products to a specific webpage. This might include promotional content, such as the landing page you created for your latest campaign. If you blog about your products, then you may decide to feature these items alongside your content. This can encourage readers to click through, and make a purchase.


Thanks to the magic of shortcodes, you can embed a related products section in any page or post. Once again, you’ll need the ID of the item that will serve as your “core” product. The Related Products plugin will then display all items that are linked to this product.
Once you’ve retrieved the item’s ID (Products > All Product), navigate to the page or post where you want to create your related products section. Open this webpage for editing, as normal and create a new Shortcode block where you want your related products to appear.


Add the following Shortcode to this block, being sure to replace the product ID:
[woo-related id='1865' title='no']
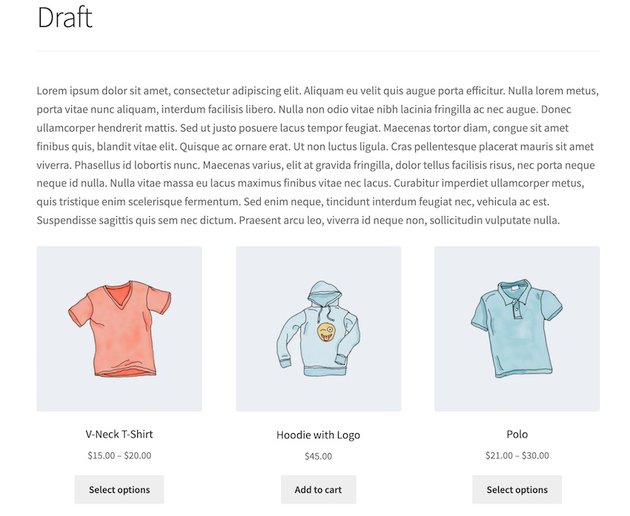
WordPress will now display a series of related products, at this exact location. This technique gives you the flexibility to feature products across any page of your online store – and beyond.
Conclusion
As an online store owner, the hard work doesn’t end when a customer adds an item to their basket. By employing upselling and cross-selling tactics, you can often encourage customers to dig a little deeper into their pockets.
Displaying a related products section is one of the best ways to upsell and cross-sell. Whether you’re suggesting some additional products or a more expensive alternative, these related sections mean one thing – greater profits for your business.