In the following steps, you will learn how to curve text in Affinity Designer. We’ll use this simple badge design to exemplify all the techniques that you can use to edit and stylize curved text in Affinity Designer.
Once you’ve learned how to curve text in Affinity Designer, you can take your design to the next level using this pack of brushes and patterns from Envato Elements. Use it to create amazing designs and text styles in Affinity Designer.
What You Will Learn in This Affinity Designer Text Tutorial
- How to add text in Affinity Designer
- How to add text on a path in Affinity Designer
- How to make text curve in Affinity Designer
Follow along with us over on our Envato Tuts+ YouTube channel:
What You Will Need
You can use any fonts as you learn how to make curved text in Affinity Designer, but these are the ones I used in this tutorial:
- Robinson Regular font
- Richson font
1. How to Add Text on a Path in Affinity Designer
Step 1
First of all, you will need a shape on which you can add the text. For this example we’ll use a circle, but keep in mind that you can apply text on any type of shape or path.
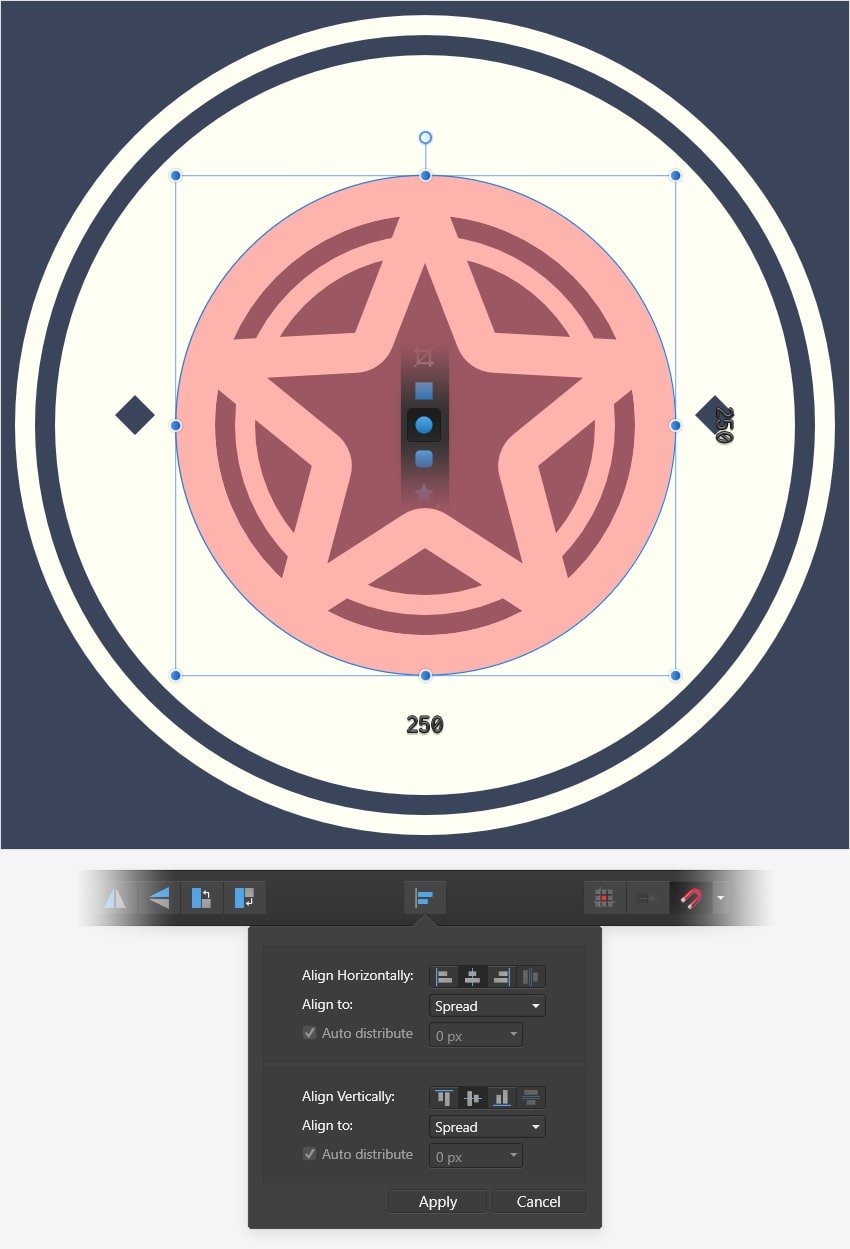
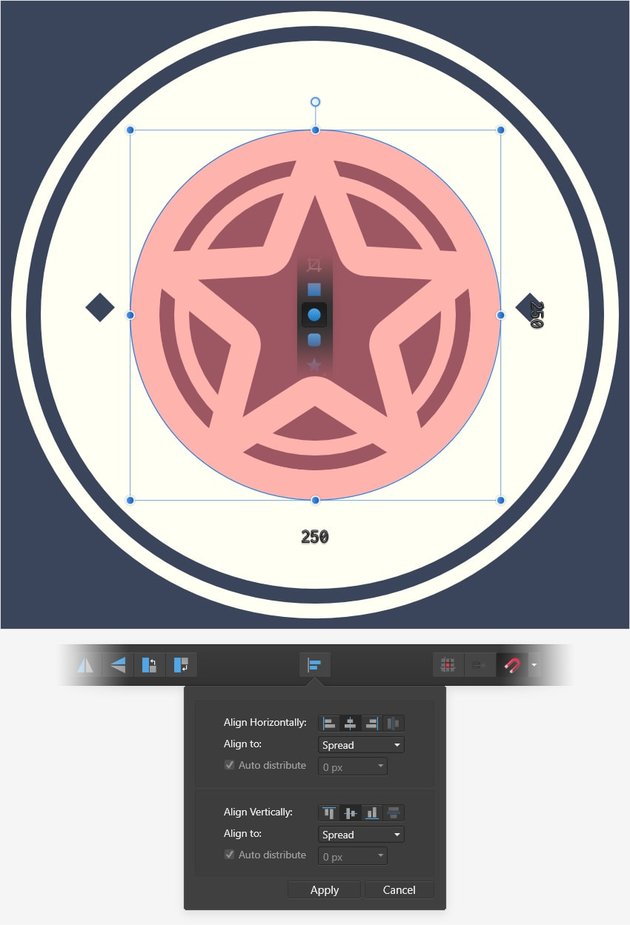
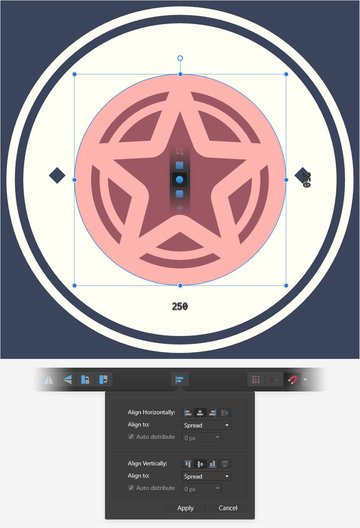
Select the Ellipse Tool (M) from your Tools and click and drag on your canvas to create a 250 px circle. Make sure that you’re holding down the Shift key as you click and drag to easily create a perfect circle.
To move this circle to the center of the canvas, click the Alignment button from the context toolbar, and just click the Align Center and Align Middle buttons. Now that you have your shape, let’s learn how to add text in Affinity Designer.
Step 2
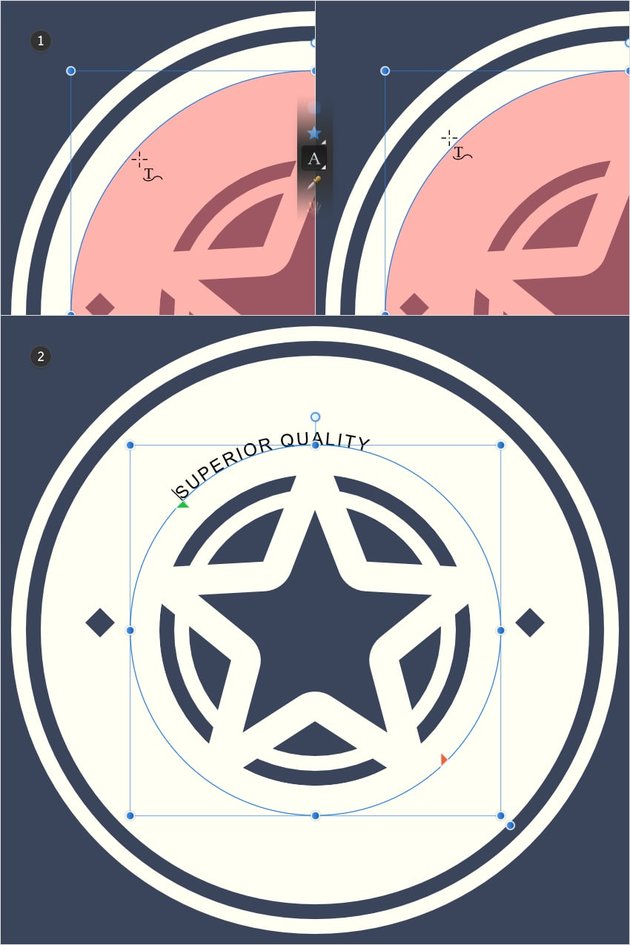
Make sure that your circle is still selected and select the Artistic Text Tool (T) from your Tools.
Hover the cursor over the edge of your circle and, once your cursor icon changes, you can click to add text on that path. Keep the cursor slightly outside the path if you wish to add text on the outside of that path or on the inside when you wish to add the text inside that path.
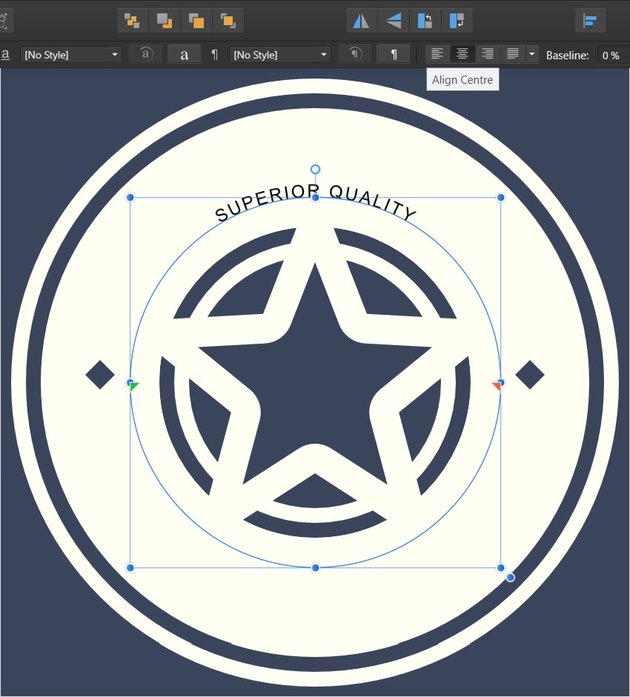
For this example, we’ll add it on the outside, and let’s type in “SUPERIOR QUALITY”.

2. How to Make Text Curve in Affinity Designer
Step 1
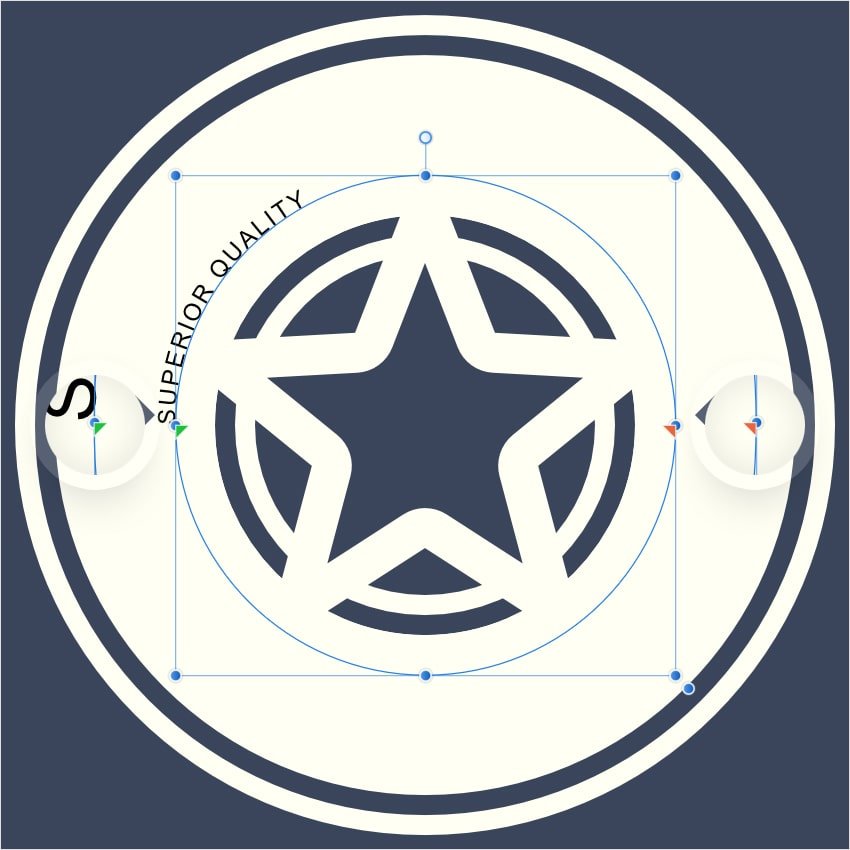
Now that you’ve learned how to curve text in Affinity Designer, let’s see how you can adjust the position.
Take a closer at your path, and you’ll notice a green handle which indicates the starting point of the text and an orange handle which indicates the ending point of your text. Simply click and drag any of these two handles whenever you wish to adjust the position of your text on the path.
Step 2
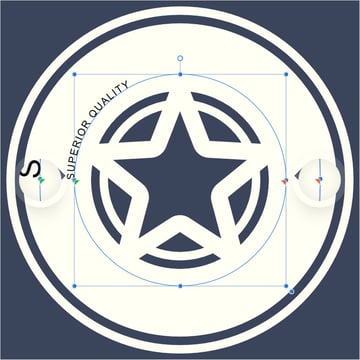
You might have noticed that your text starts exactly from that green handle. This happens because the text alignment is set to Left.
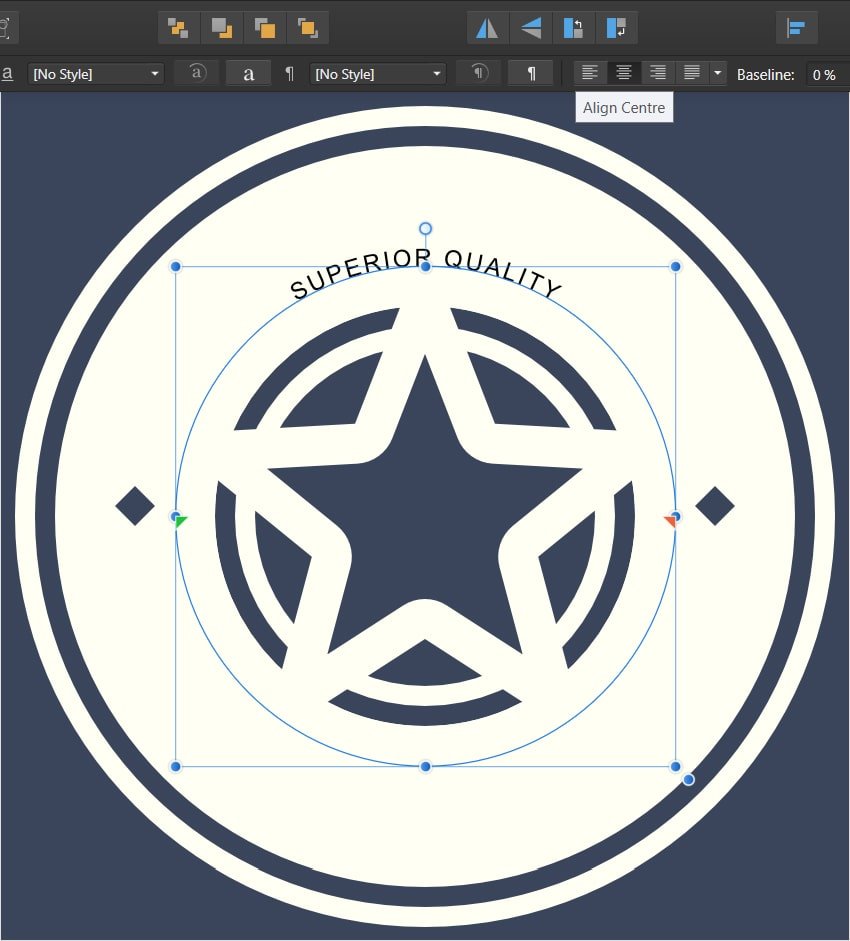
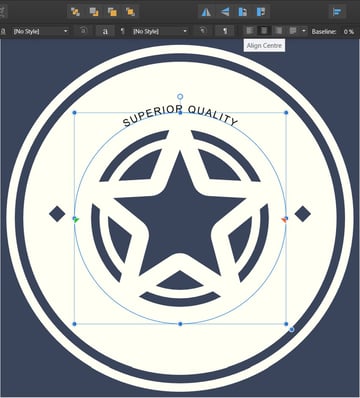
To move your text in the center, at an equal distance between the green and orange handles, just click the Align Centre button from the context toolbar.
Step 3
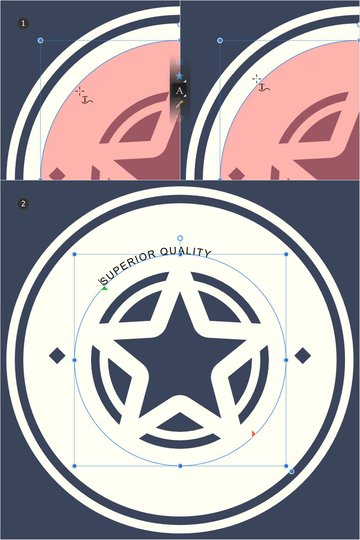
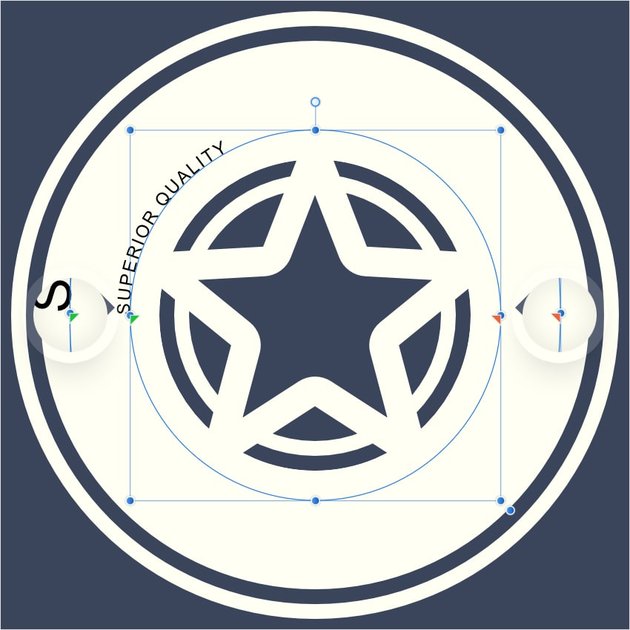
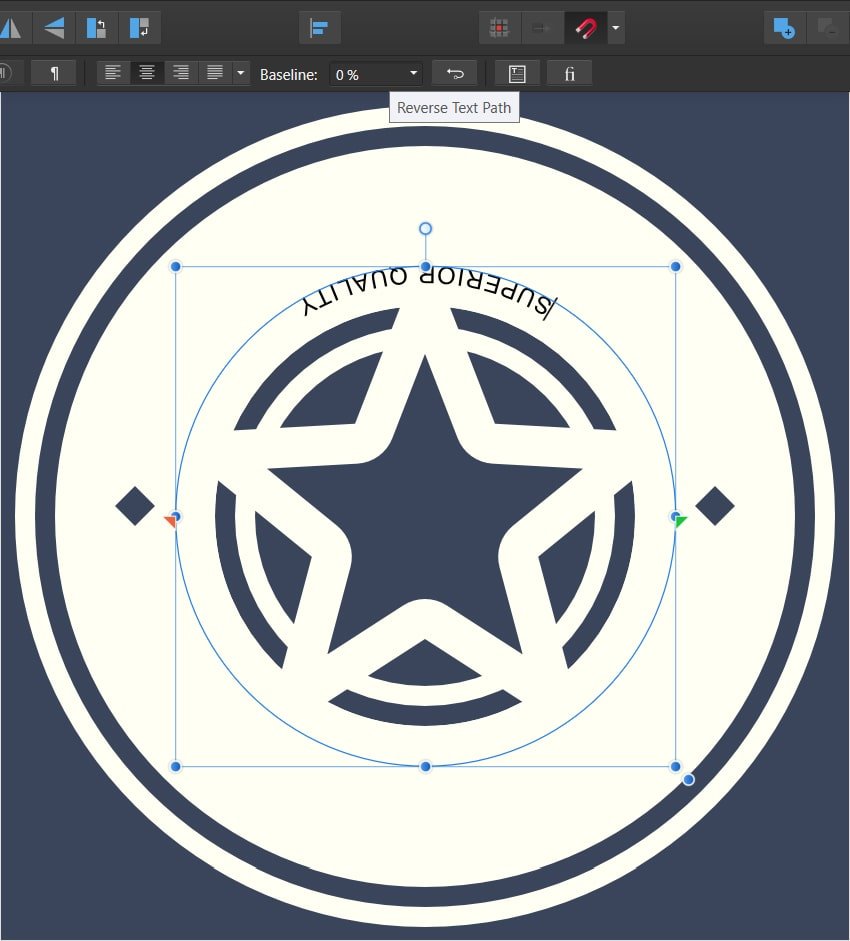
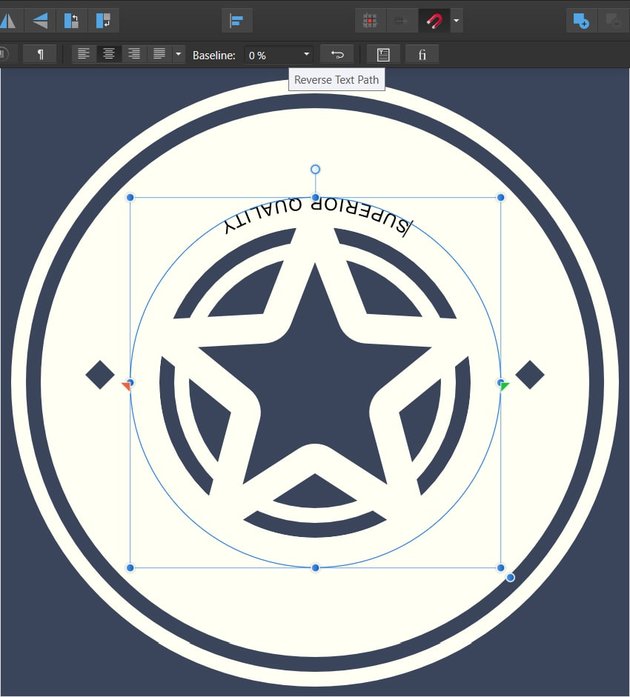
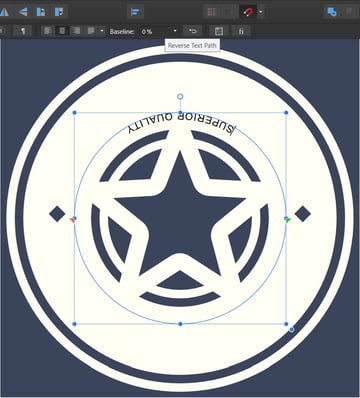
In some cases, you might want to move your text from one side of the path to the other. To easily make this change, all you have to do is click the Reverse Text Path button from the context toolbar.
Step 4
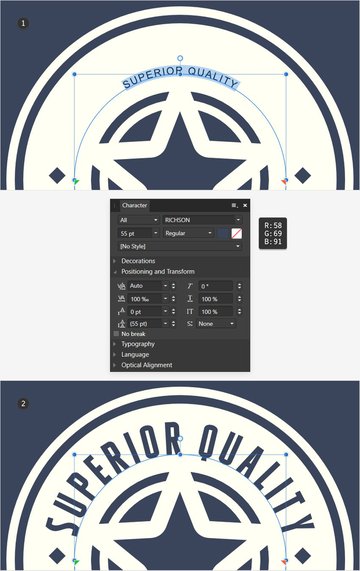
Once you add your text, you’ll most probably want to stylize it. In order to make changes to your text, first you need to select it. Double-click when you wish to select only one word, or triple-click when you need to select more than one word.
Focus on the Character studio panel (View > Studio > Character) and replace the font with the Richson font from Envato Elements. Set the size to 55 pt, click the Font Colour wheel, and replace it with R=58 G=69 B=91, and then move to the Positioning and Transform section and increase the Tracking to 100%.


Step 5
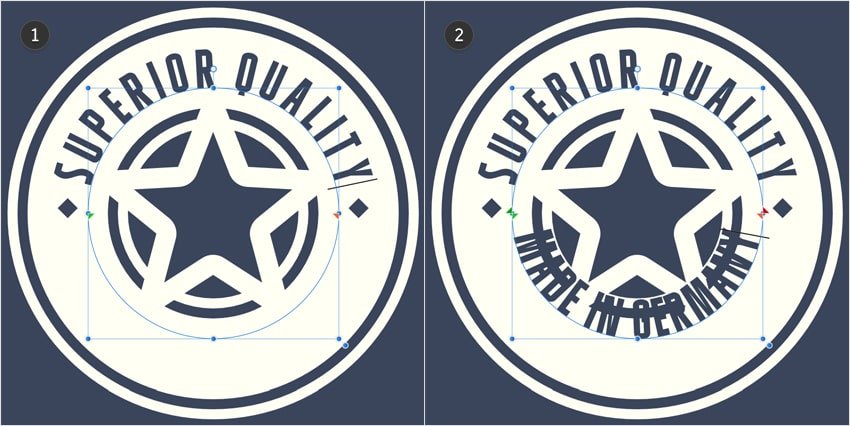
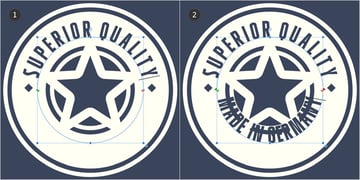
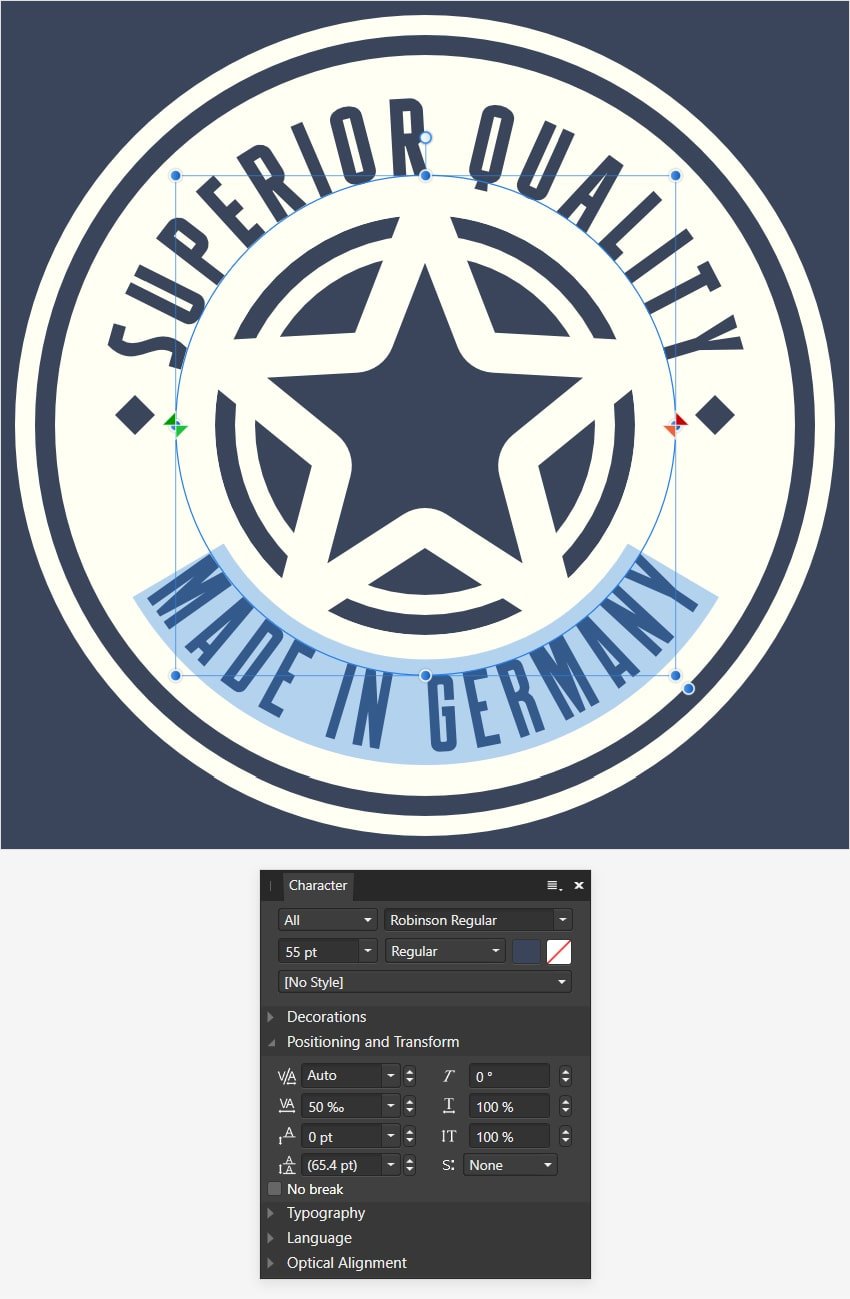
Make sure that you deselect the text and click at the end of it, and then simply press Enter to add a second piece of text, but this time on the inside of that same circle.
Type “MADE IN GERMANY”, and now you have another two handles (darker green and red) that can be used to adjust the position of this new text.
Step 6
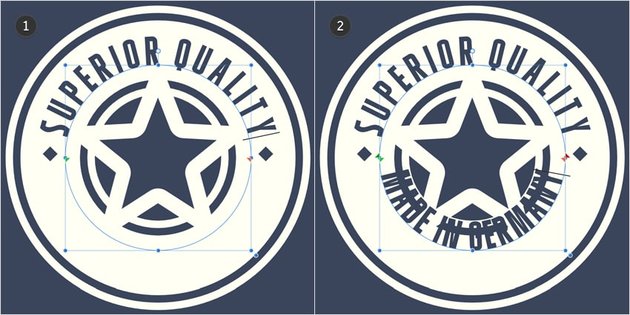
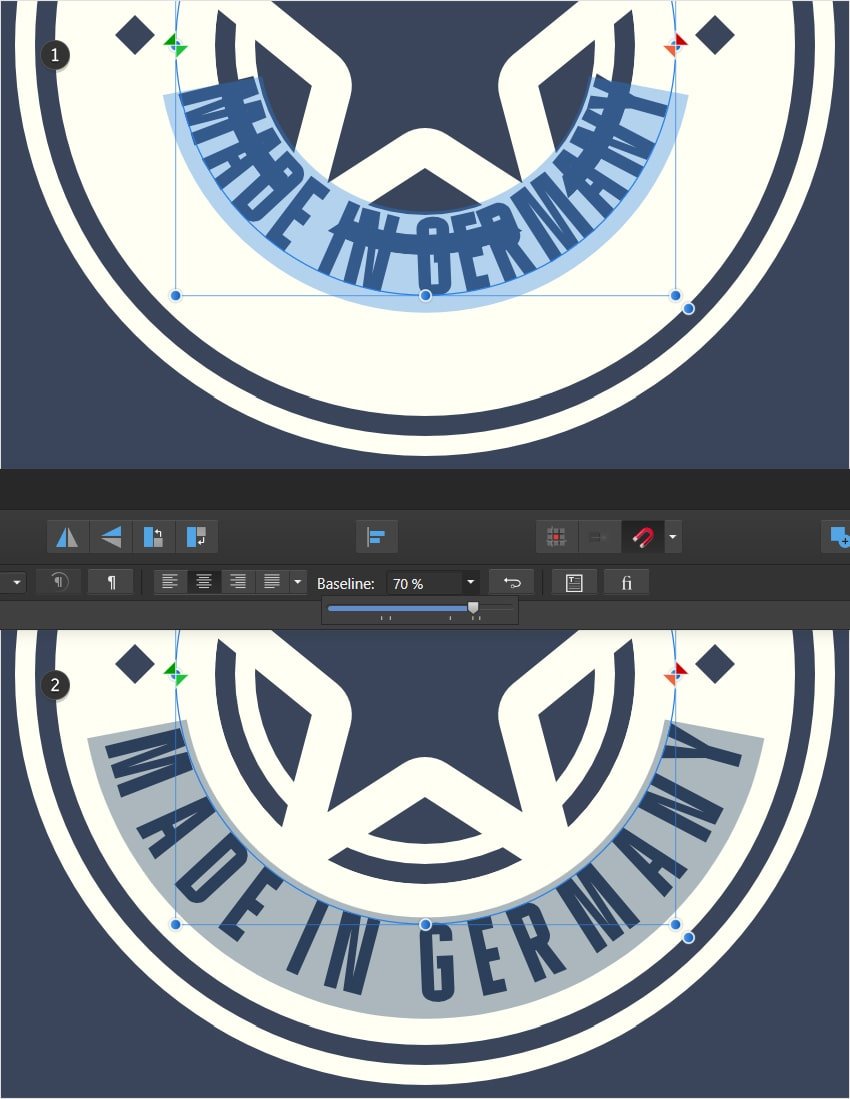
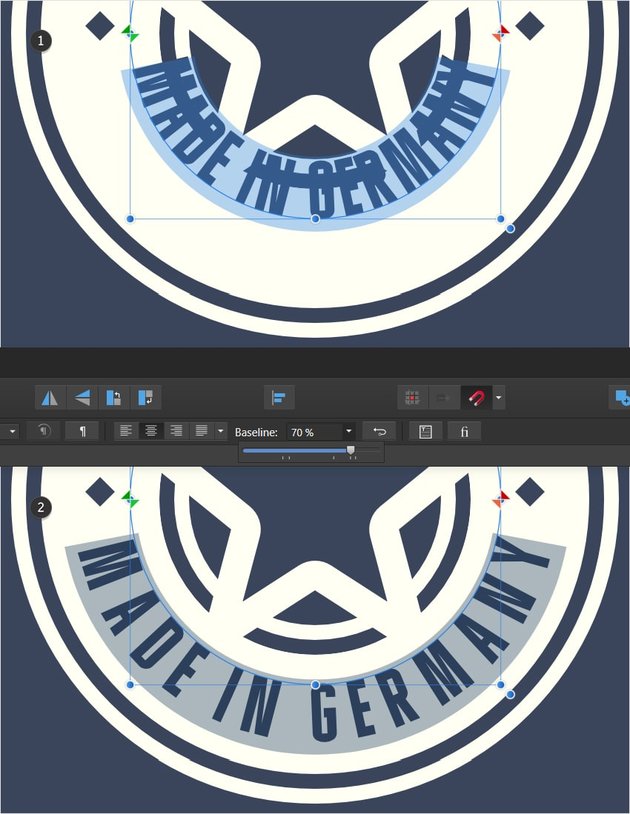
Even though you added the text on the inside of the path, there’s a neat technique that you can use to move it to the outside of the path.
Make sure that you have it selected or simply click on it, move to the context toolbar, and just adjust the position of that Baseline slider.
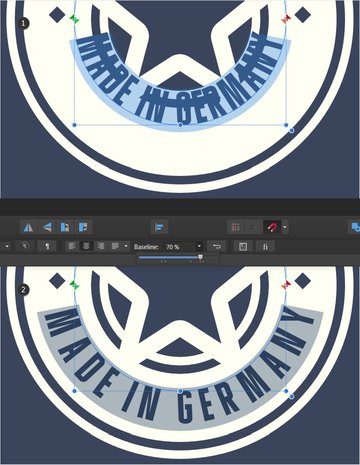
Step 7
Finally, triple-click this text to select it, replace the font with Robinson Regular, and lower the tracking to 50%.
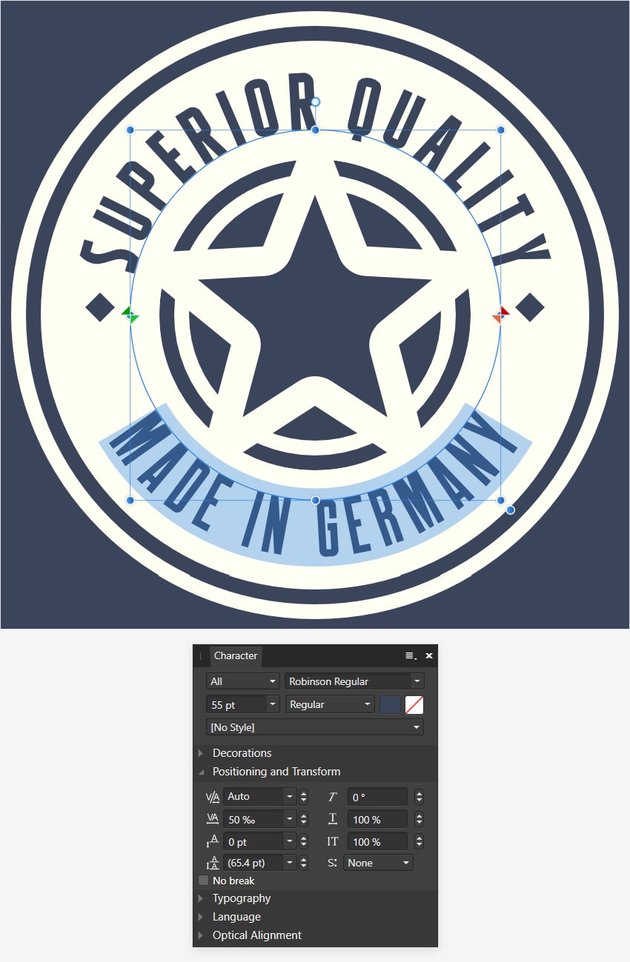

Congratulations! Your Affinity Designer Text Tutorial Is Complete!
Here’s how it should look. I hope you’ve enjoyed this Affinity Designer text tutorial and can apply these techniques in your future projects.
Feel free to adjust the final design and make your own Affinity Designer text styles. You can find some great sources of inspiration at Envato Elements, with interesting solutions to improve your design.


Popular Affinity Designer Resources From Envato Elements
Envato Elements is an excellent resource for Affinity Designer items. Here’s a short list of some of the most popular items that you can find.
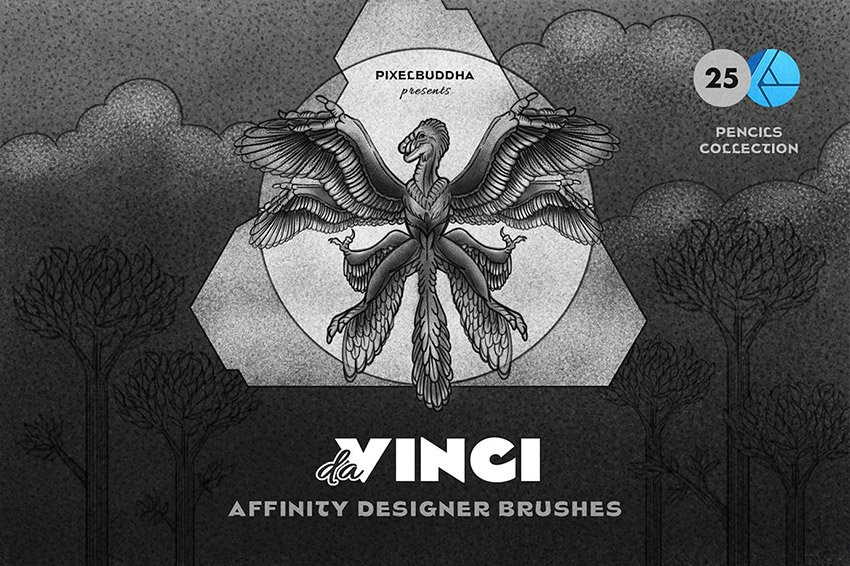
Pencil Affinity Designer Brushes
Learning Affinity Designer and how to curve text can be a good introduction to this software. Now that you’re familiar with this feature, why not continue and play with some brushes.


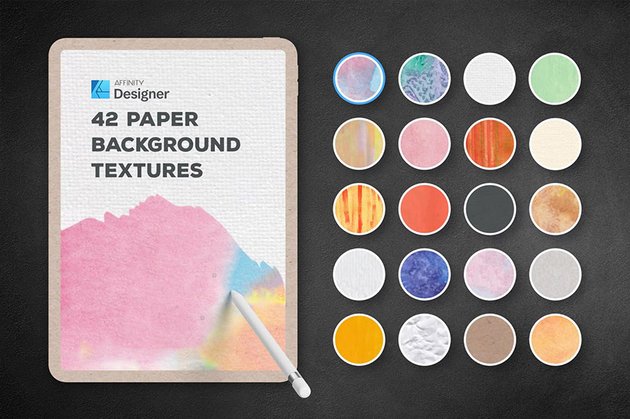
Affinity Designer Background Paper Textures (AFDESIGN, JPGs)
Now that you know how to make curved text in Affinity Designer, you might need a nice background to make your final design stand out. Check out this amazing and easy-to-use set of paper textures.


Shader Brushes for Affinity
Don’t stop at learning how to curve text in Affinity Designer. Check this colorful set of brushes as you continue to improve your skills in Affinity Designer.


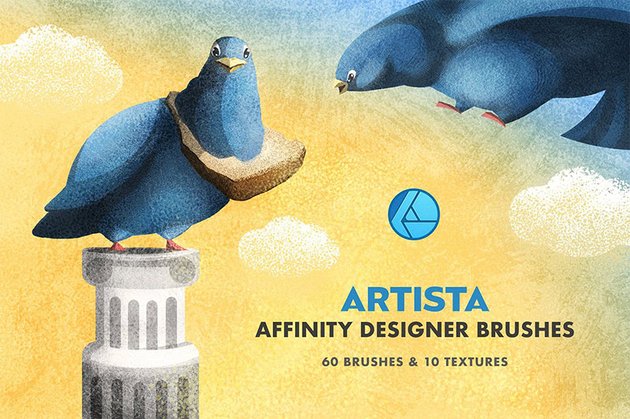
Artista Affinity Designer Brushes (EPS, PNG, PDF)
Now that you know how to curve text in Affinity Designer, you can use this set of brushes to further stylize your design. Pencil, dry brush, spray, pen, and all their variations can be found in this neatly put-together collection.


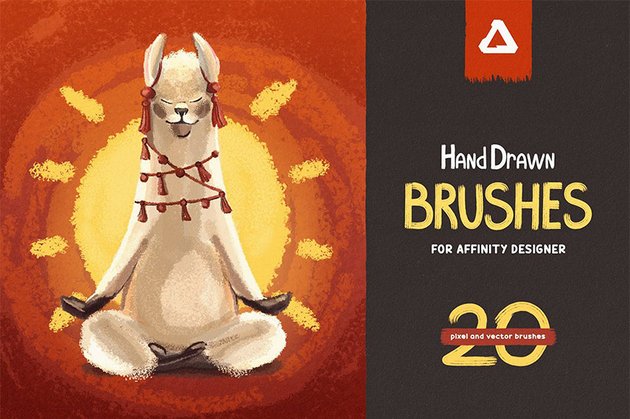
Hand Drawn Brushes for Affinity Designer
Maybe learning how to curve text in Affinity Designer didn’t turn out to be as difficult as you expected, so why not take a new challenge and experiment with brushes in Affinity Designer? This pack of hand-drawn brushes can be the perfect start.

Want to Learn More?
We have loads of tutorials on Envato Tuts+, from beginner to intermediate level. Take a look!
 Affinity DesignerHow to Create an Icon in Affinity Designer
-
HalloweenHow to Create a Dead Rising Illustration in Affinity Designer
-
Emoticon DesignHow to Create a Stylish Emoji in Affinity Designer
-
Affinity DesignerHow to Create Patterns in Affinity Designer
-
Affinity DesignerHow to Use Affinity Designer to Design a Logo
-
Chinese New YearHow to Create a Greeting Card Template in Affinity Designer
-
Affinity Designer30+ Awesome Affinity Designer Textures, Assets, & Resources (Free & Premium!)
-
Affinity Designer25+ Best Free Affinity Designer Brushes (& Affinity Designer Tutorials!)