In this two-part tutorial, you’ll learn how to make a movie poster in Adobe Photoshop and create an animated movie poster from the design using Adobe After Effects.
This is a simple and striking Photoshop poster layout that you can recreate using the steps below or easily adapt with your own choice of image. So if you know a superkid, get them involved! By the end of the tutorial, you’ll have a static poster design and animated movie poster GIF that you can share on social media.
The static poster is easy to create for complete beginners to Photoshop, but the second part of the tutorial is intended for intermediate After Effects users. Looking to brush up your After Effects skills? Check out the courses below to start your animation journey…
Ready to take off? Let’s go!
Tutorial assets
You’ll need the following resources to complete this project:
1. How to make a poster in Photoshop
Let’s begin by creating a static poster design with a Superman aesthetic. We’ll format a Superman font, bring in a Superkid photo, and create a blurred city background to give the impression of flying movement. A subtle light effect will be the finishing touch.
Once you’ve created the static Superman poster, you can either use this as is or move on to the second part of the tutorial to bring in some cool animation effects in Adobe After Effects.
Step 1
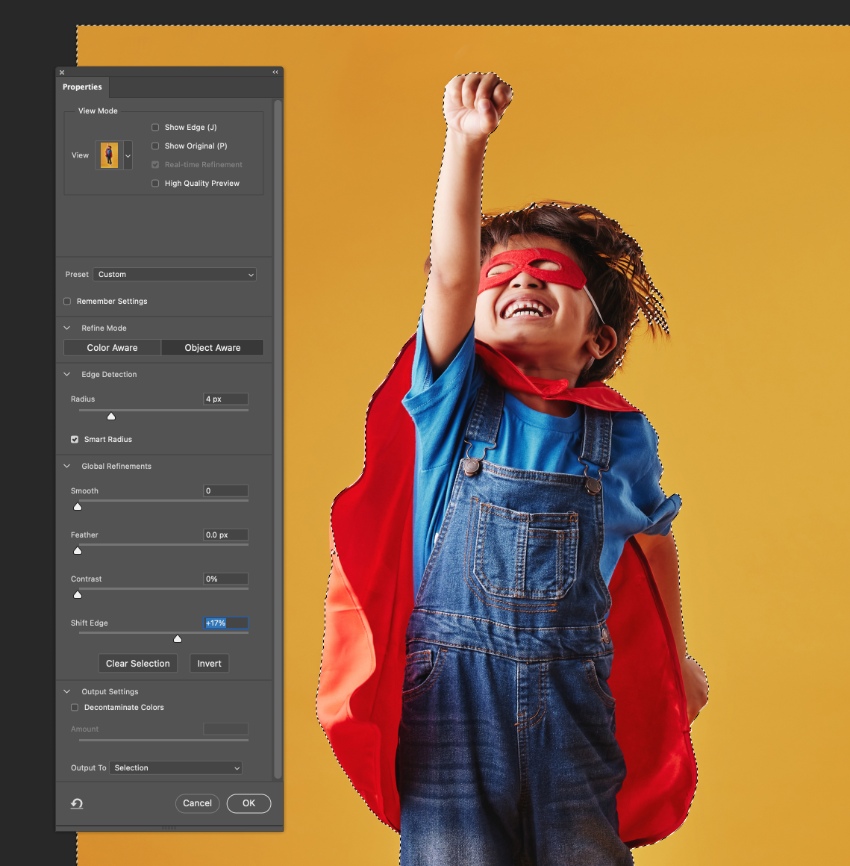
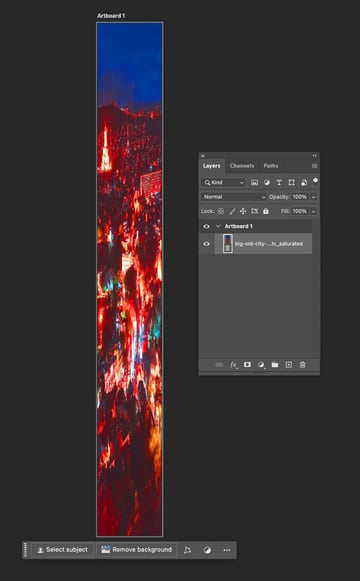
Let’s begin by preparing the photo we’ll be using on the poster. Open your superkid image (you can use this one, or your own image) in Photoshop and click on Select and Mask. Check Smart Radius and adjust the Radius slider until you have selected the subject of your image, excluding the background.
Hit OK, and then Copy and Paste this onto a new layer, deleting or hiding the original layer. Then File > Export > Quick Export as PNG, preserving the transparent background.


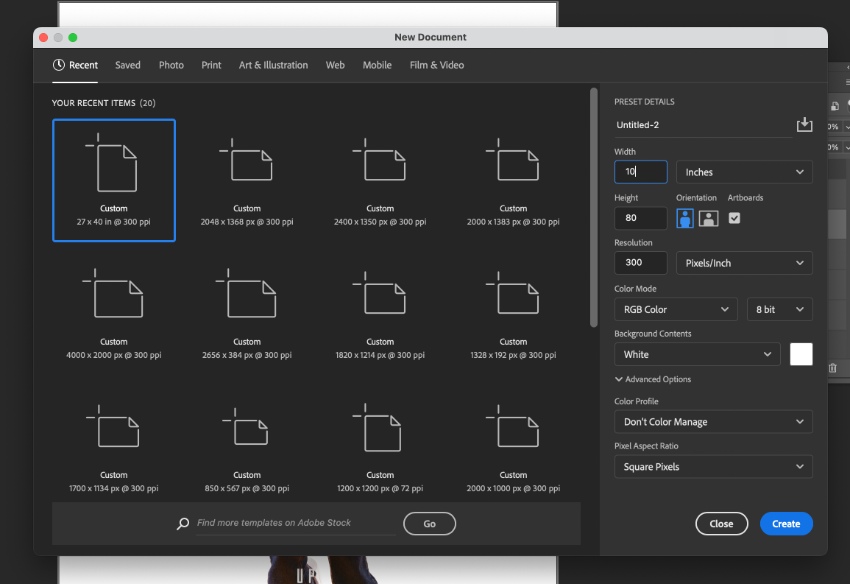
Create a new Photoshop document, setting the size to a movie poster size, 10 by 80 inches.


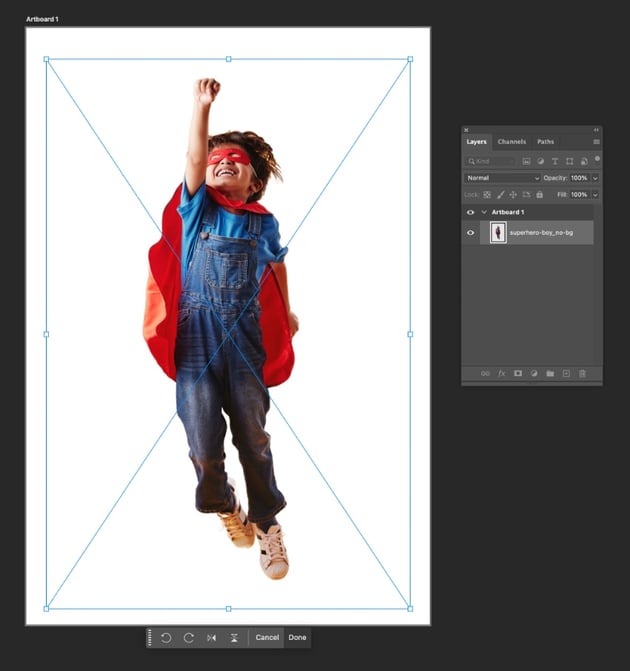
File > Place Linked your PNG superkid image onto the canvas, and size it to fit centrally.

Step 2
To create a true Superman aesthetic in your movie poster design, use the Stag font to set a movie title across the base of the poster, giving it a pale grey color.


Do the same for the teaser text, reading ‘Look’ and ‘Up’, set in Stag and aligned centrally above the title.


Set the director’s name in Stag at the top of the canvas, giving the text a dark gunmetal gray color.


Step 3
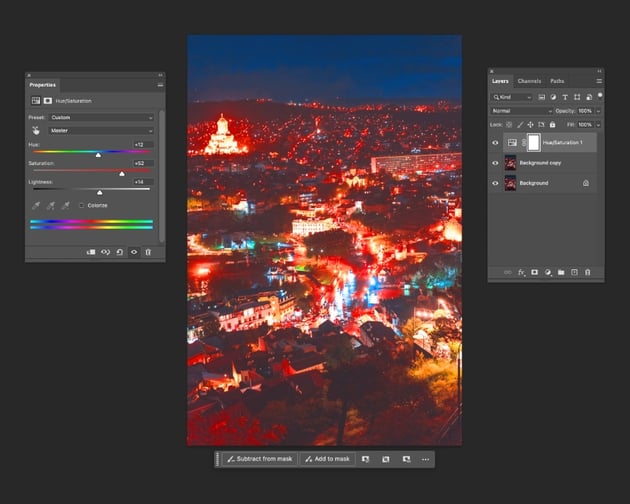
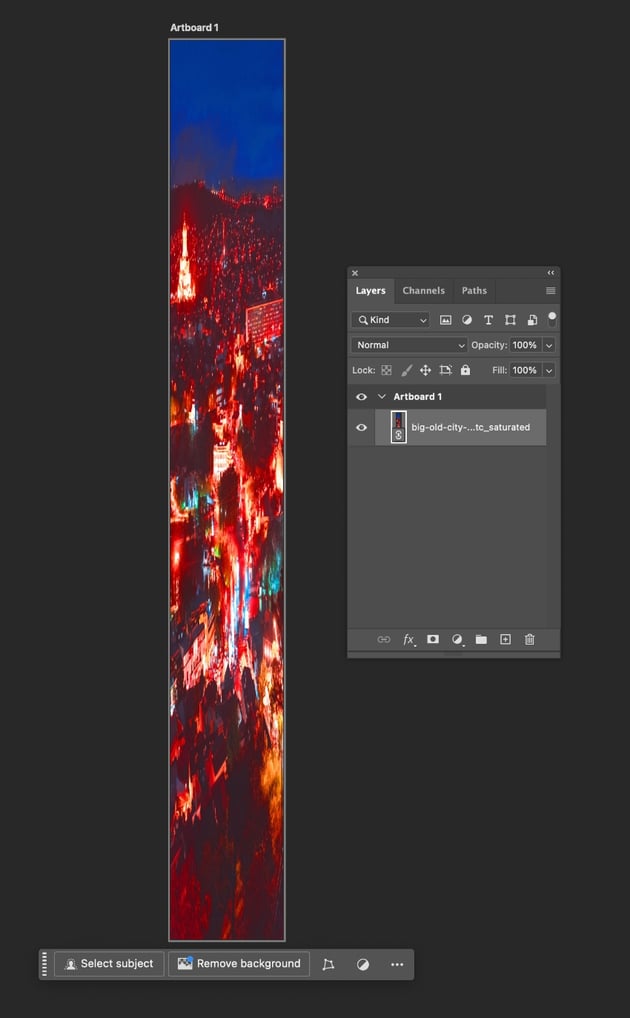
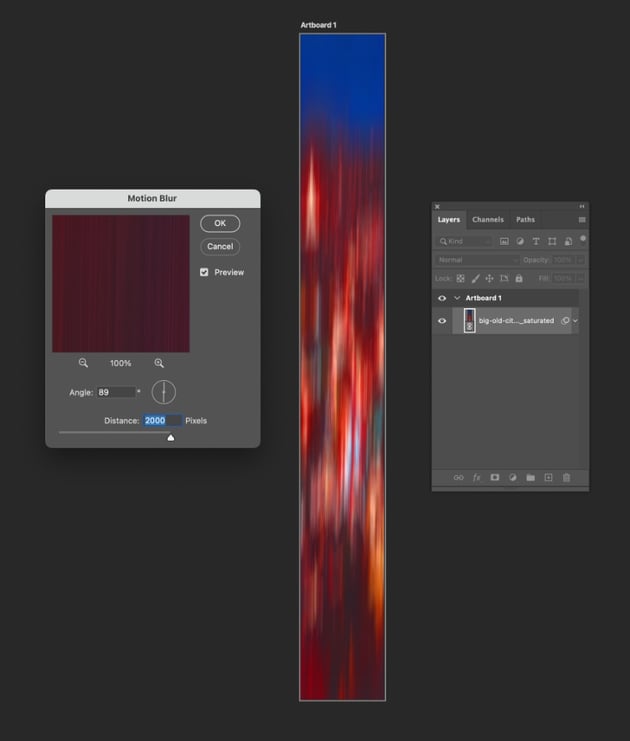
To recreate the Superman movie poster style, we’ll need a blurred background in suitably Superman-inspired color hues of red, blue, and white.
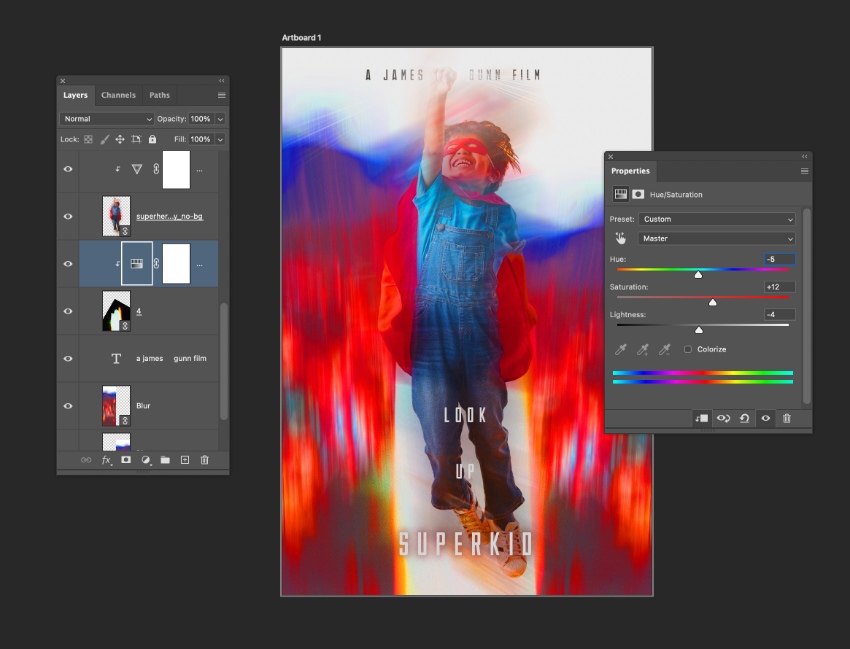
Open the city scene photo in a new document in Photoshop, and choose Hue/Saturation from the New Fill/Adjustment Layer icon at the bottom of the Layers panel. Increase the Saturation to around +52 and Lightness to +14.


Go to Select > Color Range, and click on the blue area of sky at the top of the image. Click OK when the area of sky is accurately selected.
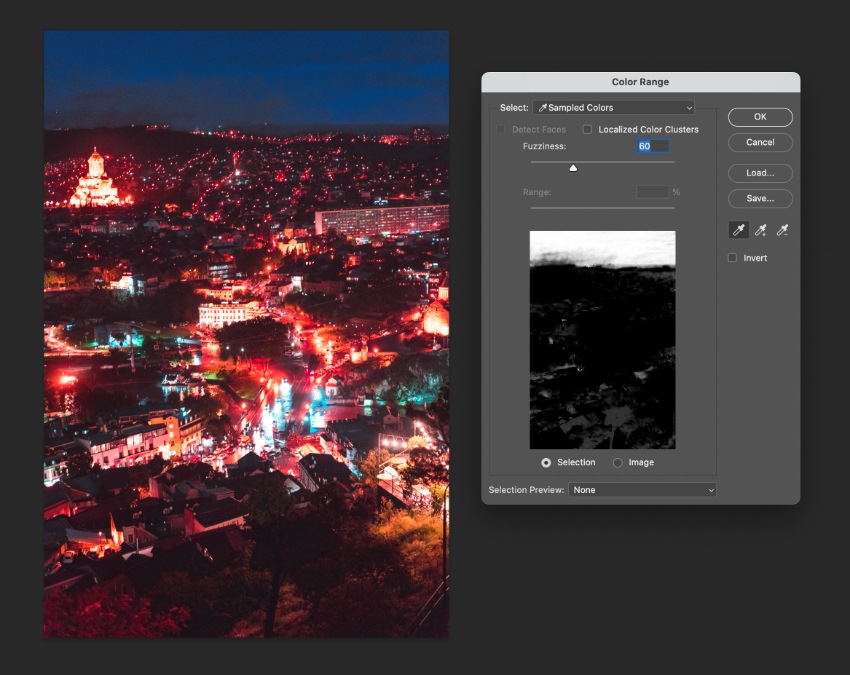


Using the Color Picker, choose a vivid blue shade and click OK. Option-click to attach this layer to the Hue/Saturation layer below, bringing more vivid blue tones into the sky.
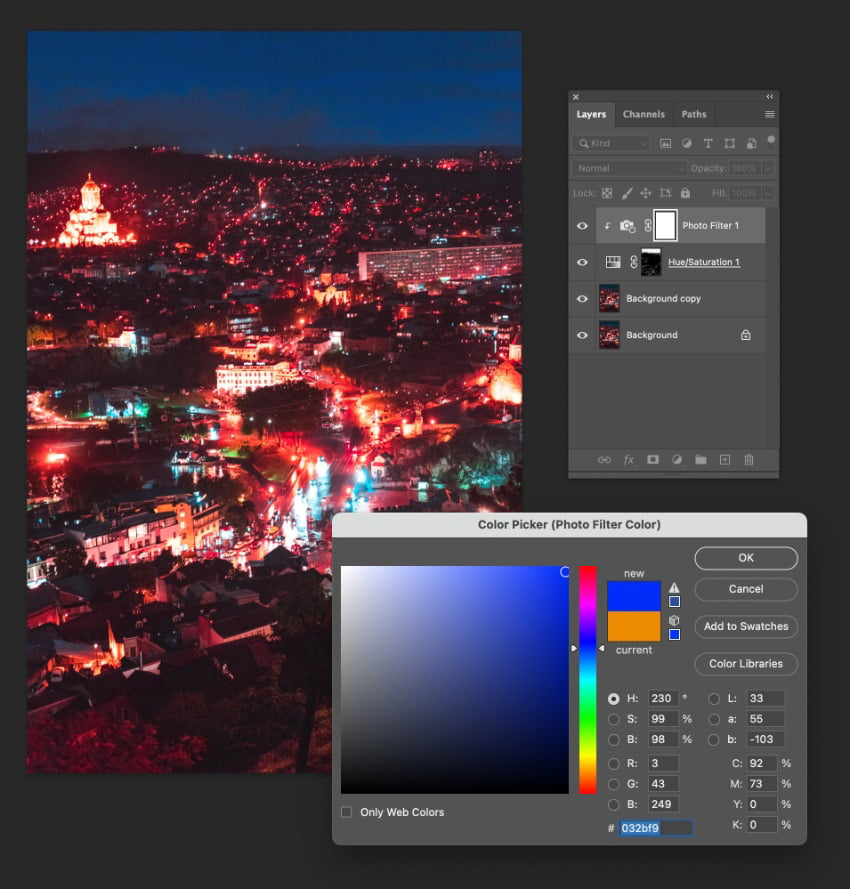


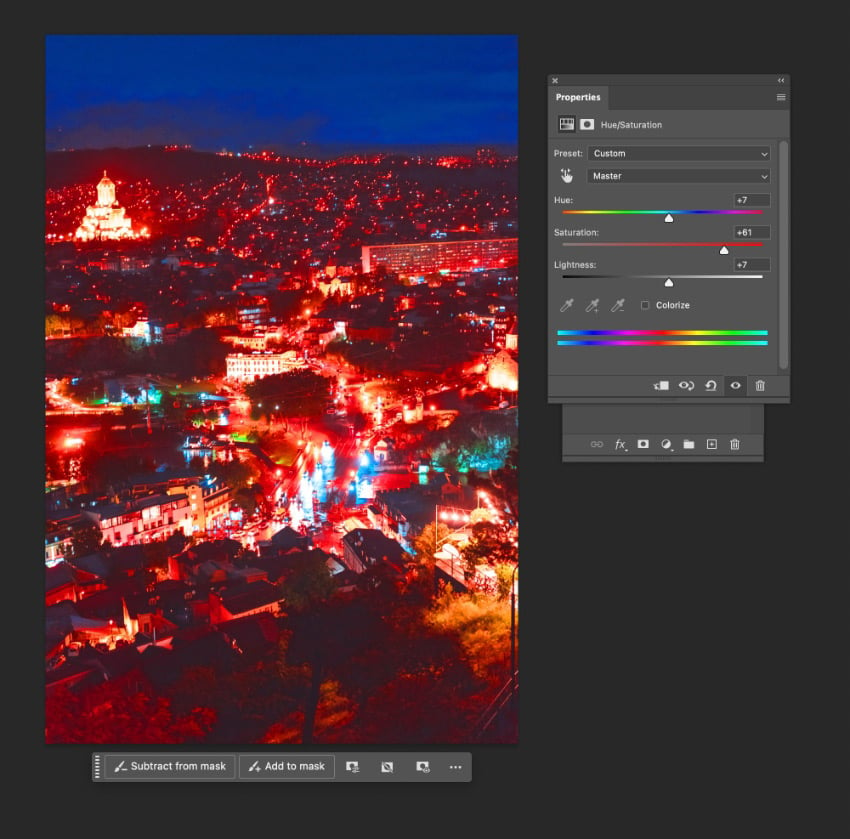
Introduce another Hue/Saturation layer across the whole image, bringing up the Saturation to +61 and Lightness to +7. We want to work with a very bright, vivid image to create our blur effect.


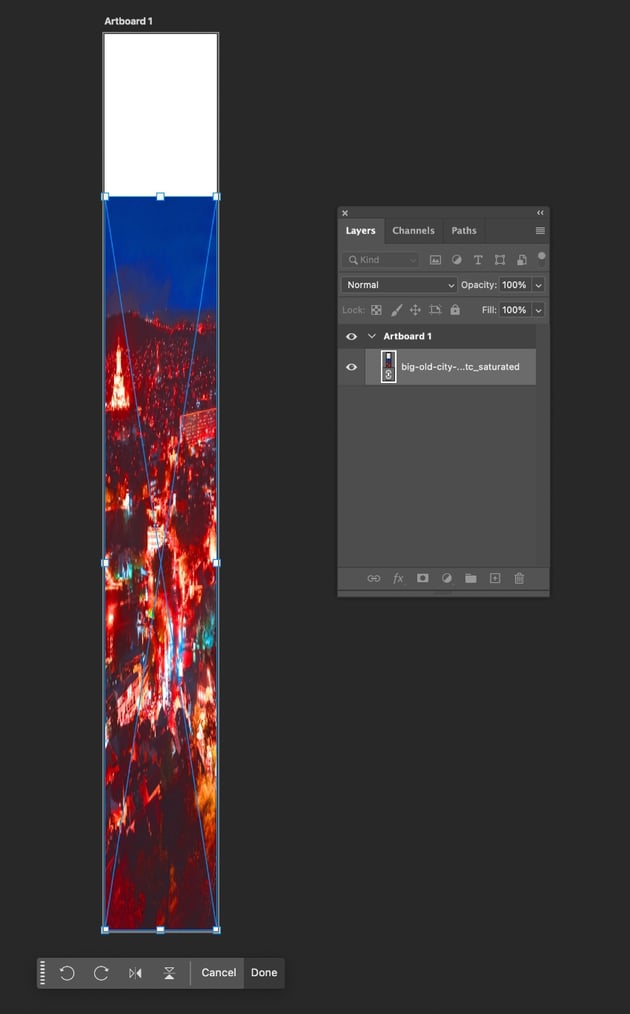
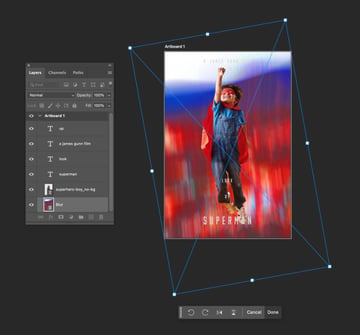
Using the Artboard Tool (V), stretch the top of the canvas up, creating about 5 times the height of the original image above it.
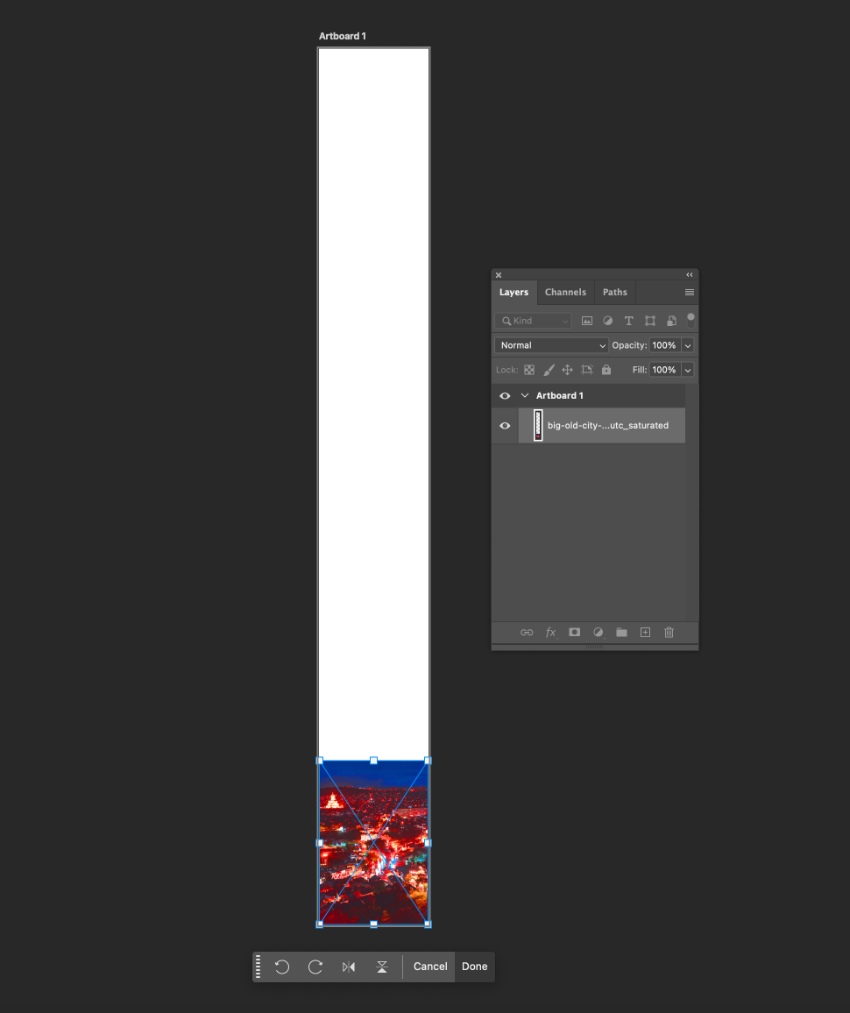
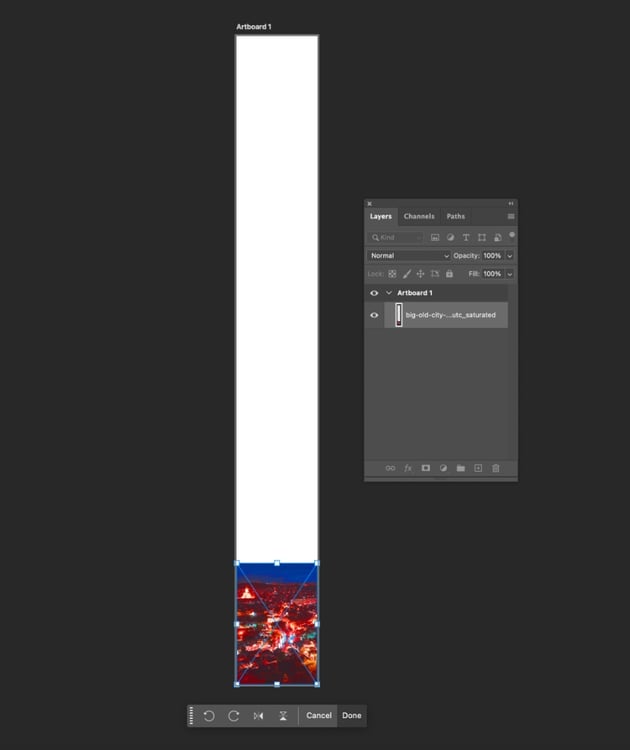
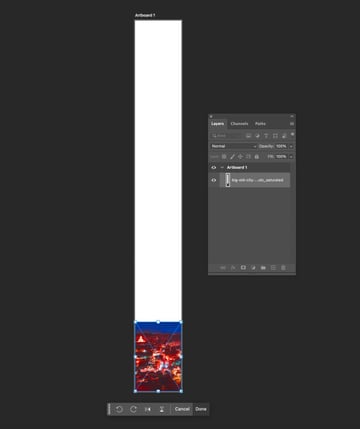
Stretch the image up so it hits the top of the new canvas size.

Go to Filter > Blur > Motion Blur and increase the Distance to 2000 Pixels.


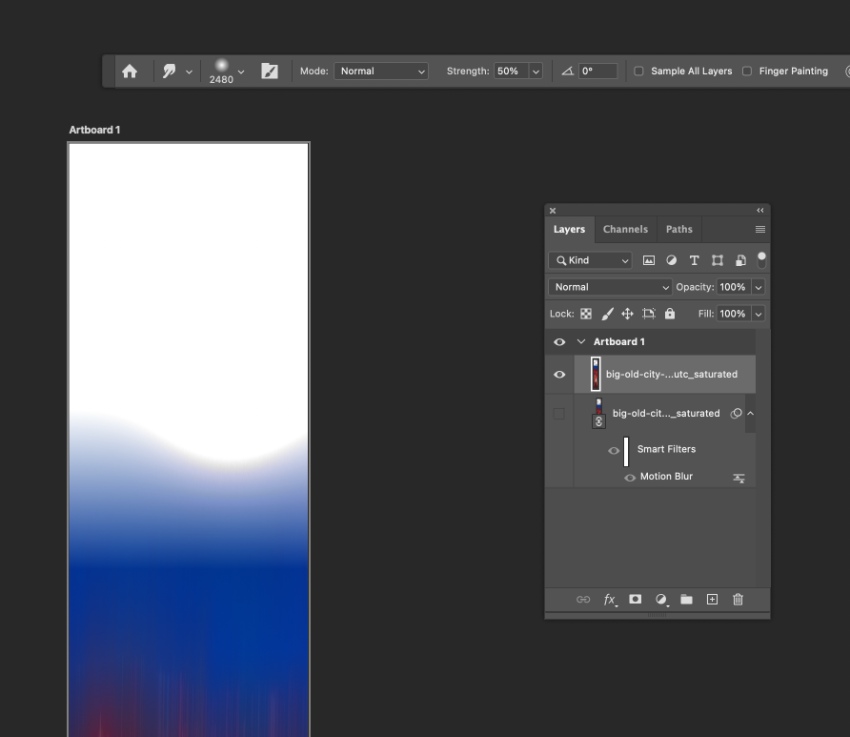
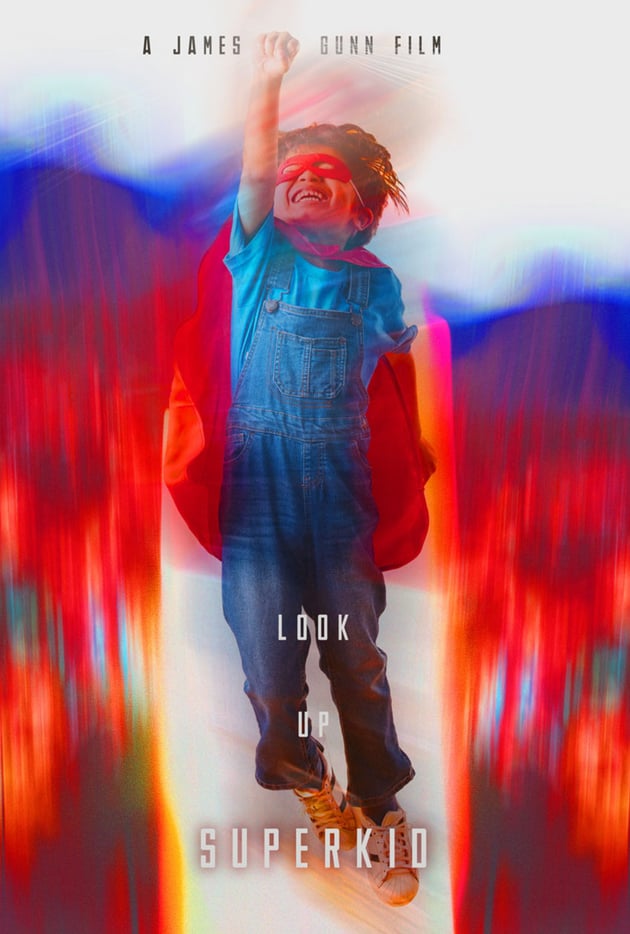
In our final poster design, we want to give the impression of Superkid pushing through the atmosphere at the speed of light. To create this Superman aesthetic in the poster design, let’s pull the blurred image down a little, leaving some white space at the top.


Use the Blur Tool set at about a 2480 Size to blur the sharp edges of the blue sky, creating a blended effect at the top.


Step 4
File > Export the blurred image as a PNG file with a transparent background, and then File > Place this onto your poster canvas. Rotate a little to get a nice upwards direction, and set it behind the Superkid image.


Duplicate the blur layer, moving the copy above the boy photo and setting the blending mode to Lighten and 37% Opacity.
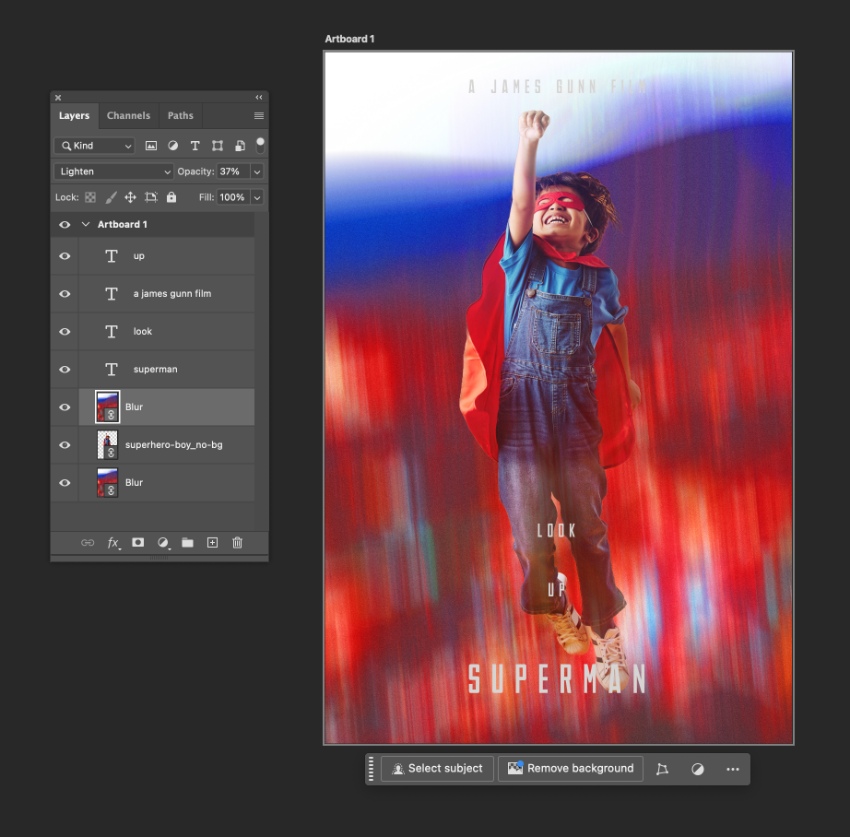


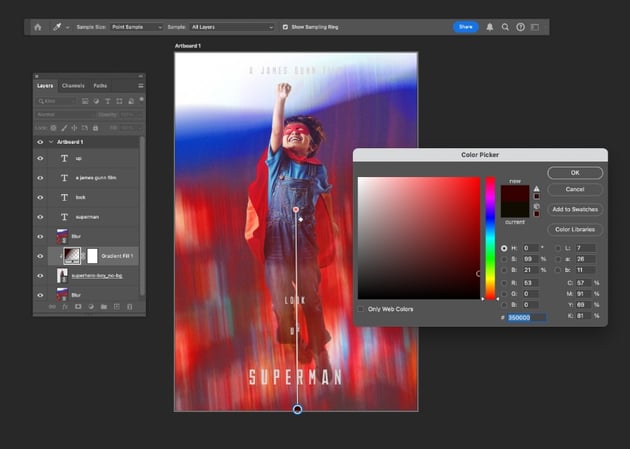
Use the Gradient Tool (G) to draw a simple gradient going from the base of the poster to the center, above the image of the boy. Set the Color of the bottom of the gradient to dark red, blending the boy’s feet into the blur. Keep the top of the gradient transparent.


You can also apply a Gradient to the movie title text, with a dark gray base color and a transparent fill at the top.


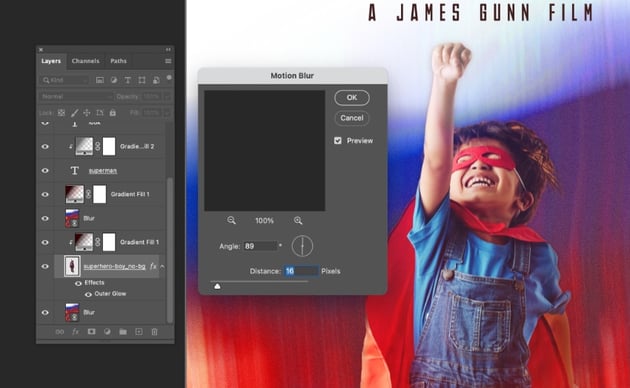
With the Superkid photo layer selected, go to Filter > Blur > Motion Blur, setting the Distance to 16 px. This will give the photo a slight impression of movement to match the surrounding design.


Step 5
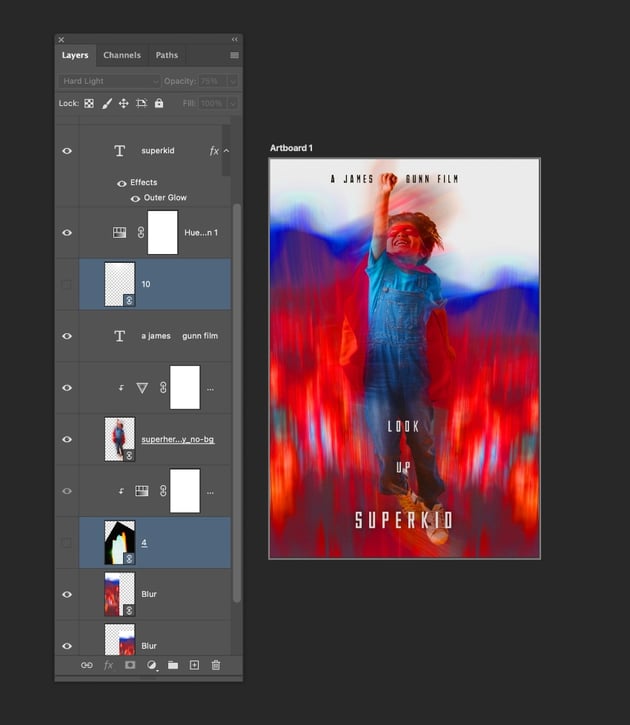
Go to File > Place and navigate to your Lamp Light Overlays folder. Find the file marked 10.png and Place this onto the canvas, positioning it centrally over the boy’s fist at the top of the canvas.
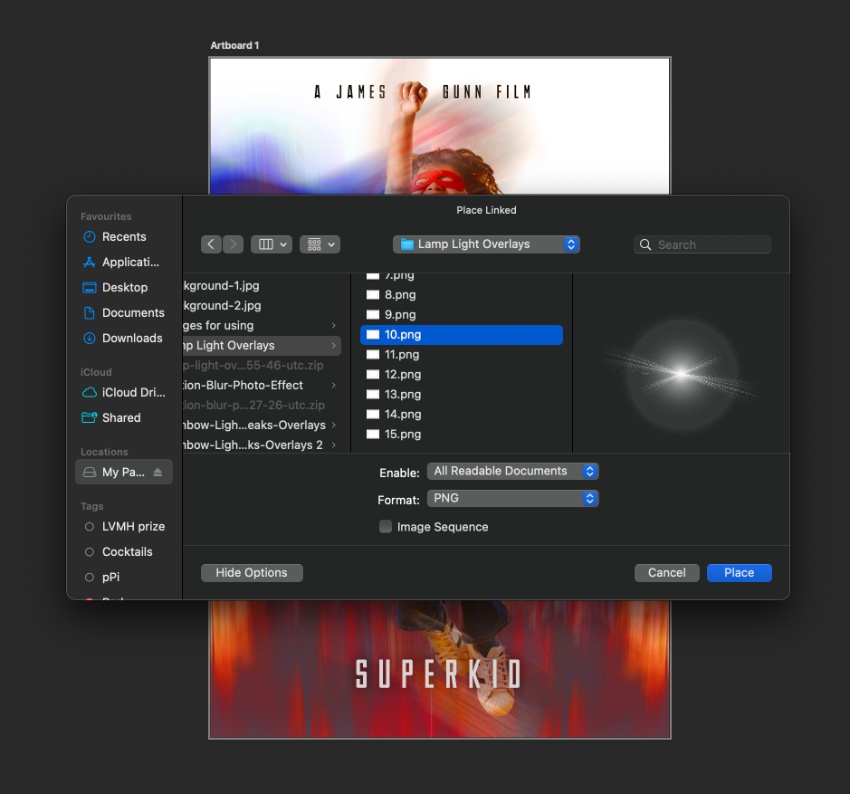

Set the Opacity of this light effect to Hard Light.


Now go back to File > Place, choosing the Rainbow lights folder and selecting the image called 4.jpg.


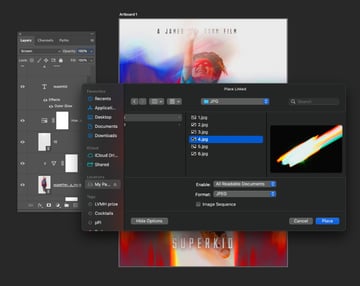
Set the blending mode to Screen, sit the image behind the Superkid photo layer, and rotate the image to create an upwards trajectory, giving the poster even more dynamic movement.


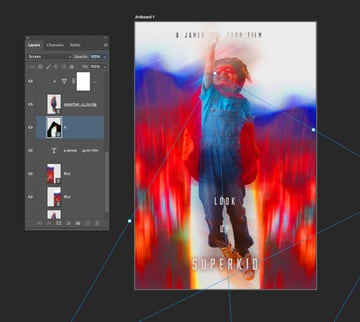
Apply a Hue/Saturation adjustment layer to this rainbow light image to bring in more Saturation (+12).


Step 6
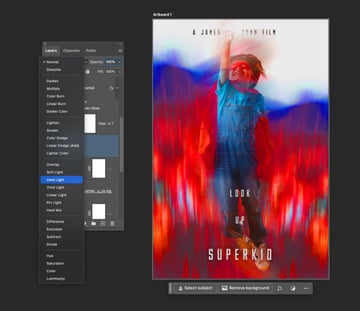
Your Superkid movie poster is finished—awesome job! You can now either File > Export your poster as a JPG or PNG file for sharing with others or prep your static poster slightly for the next part of the tutorial, the After Effects animation.


For the animation to work successfully, we need to simplify our poster a little. Switch off the layers named ‘10‘ and ‘4‘, which are the additional light layers we’ve just added.
Now save your poster as a PSD file ready for animating.


2. How to animate the poster in After Effects
Although not an essential step, creating an animated movie poster from your design is pretty cool and will bring extra movement and interest to your design. You can also share the result on social media!
Step 1
Open After Effects and create a new project, with a Height of 1920 px and a Width of 2844 px.
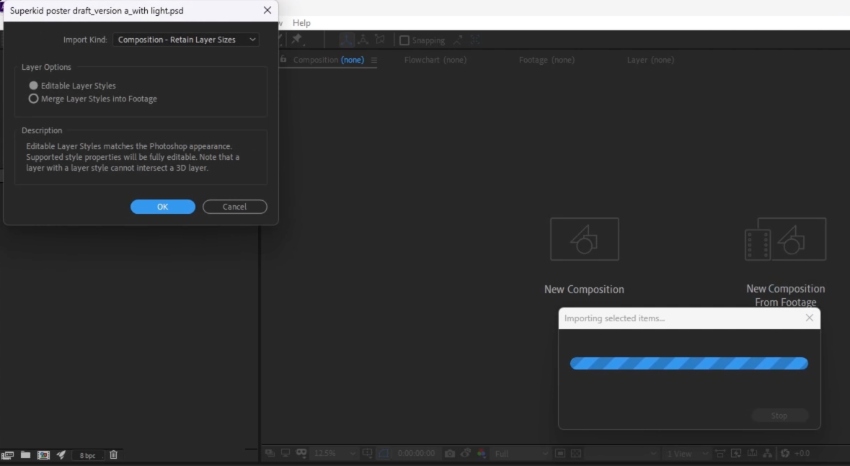
Go to File > Import > File and find your saved PSD file from the first part of the tutorial.
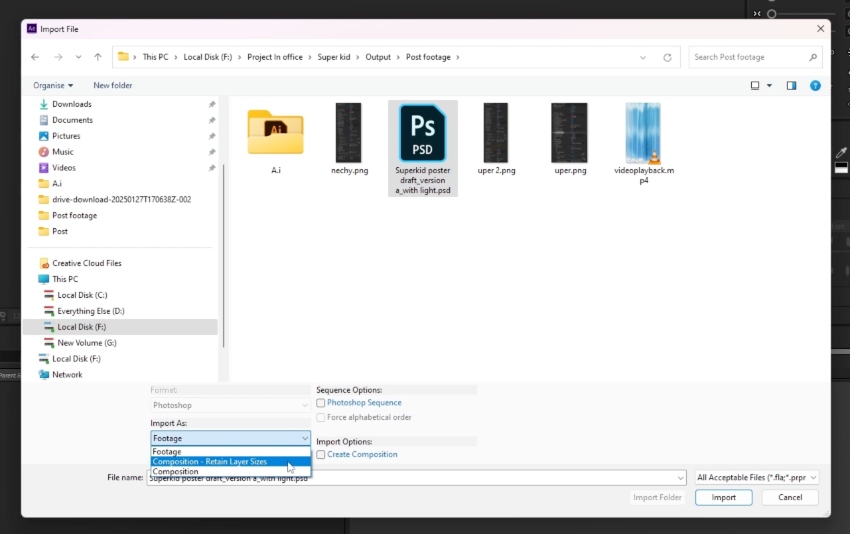


If a message appears before importing, make sure Enable Layer Styles is checked, before clicking OK.


Step 2
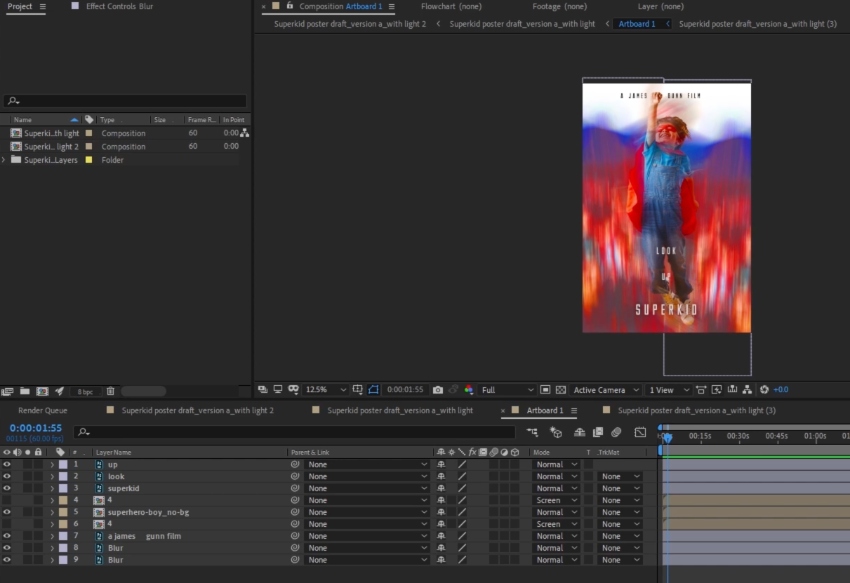
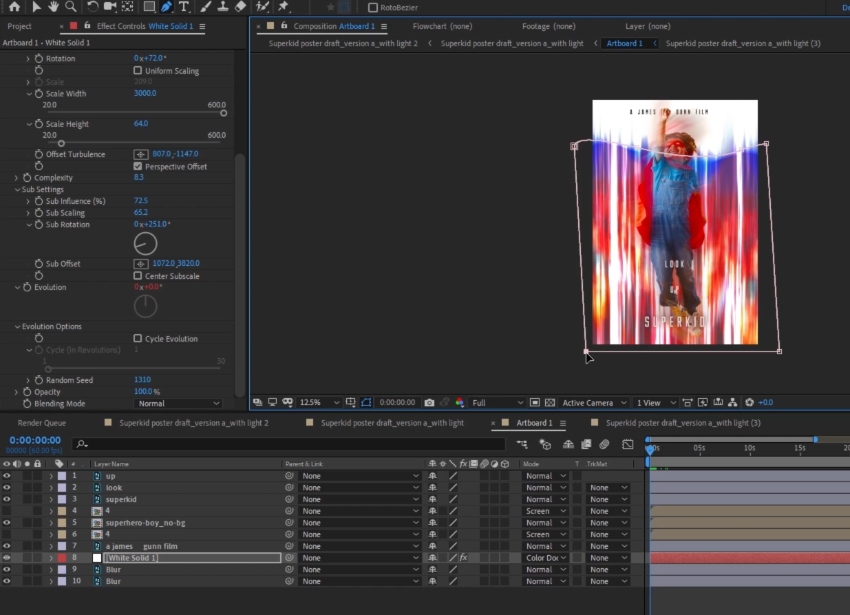
Drag the imported file labelled Composition from the Project panel onto the central Composition Window. Make sure everything is in place, adjusting anything that may have imported a little differently. You can see the layers in the file by expanding them in the Layers panel in the bottom left.

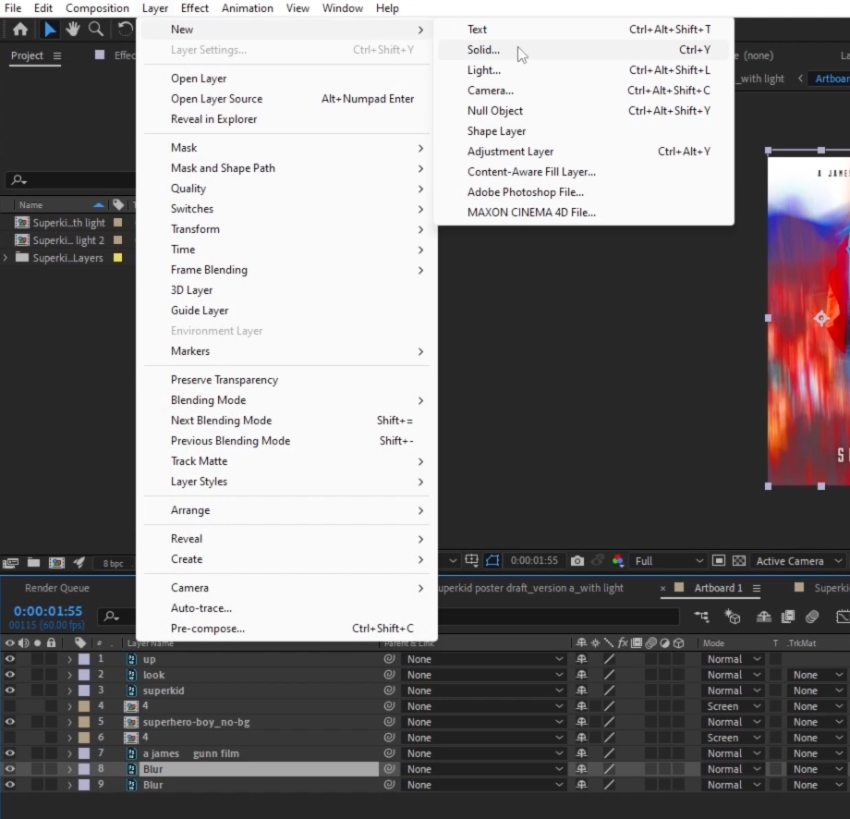
Go to Layer > New > Solid.


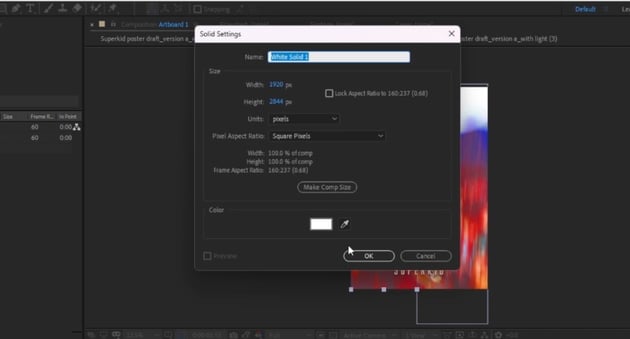
In the Solid Settings window, create a new white solid, matching the size of the existing composition.


Step 3
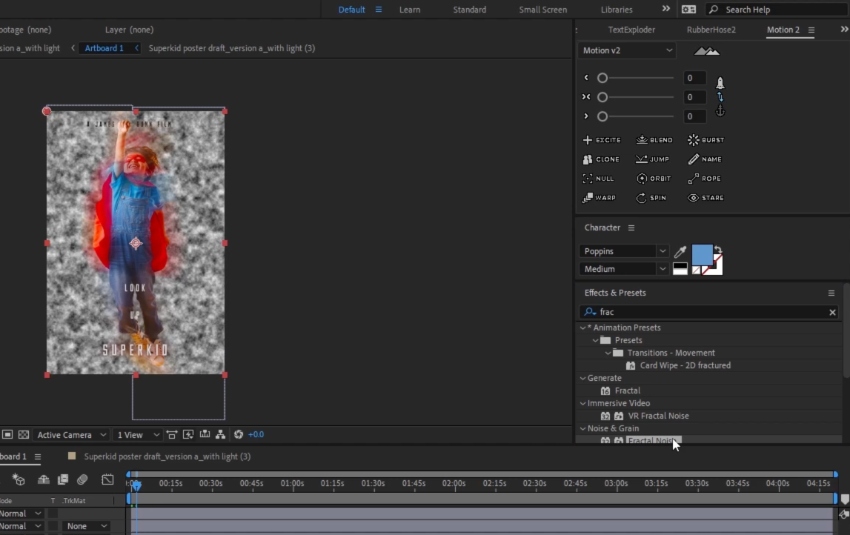
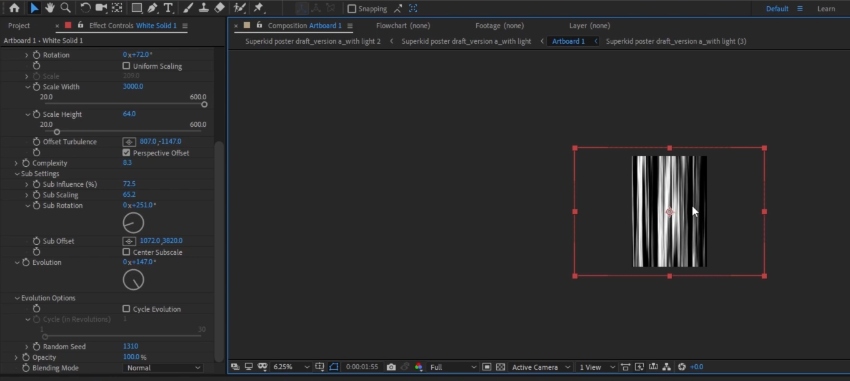
With the white solid layer selected, go to Effects & Presets at the right of the workspace. Search for Fractal Noise.


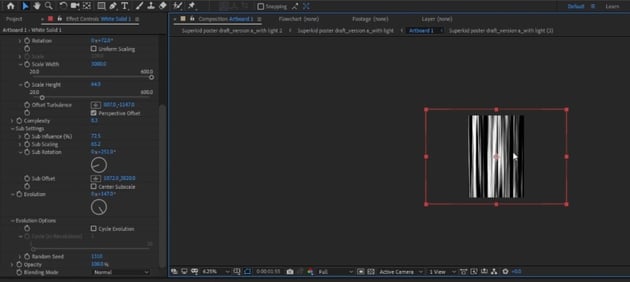
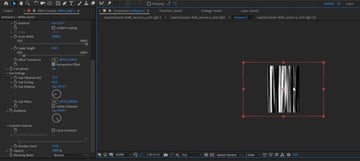
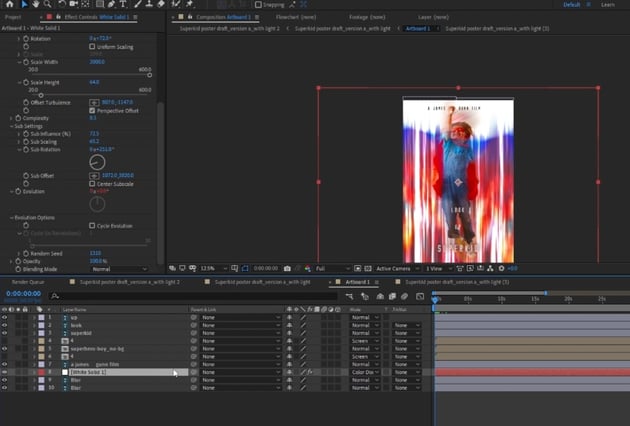
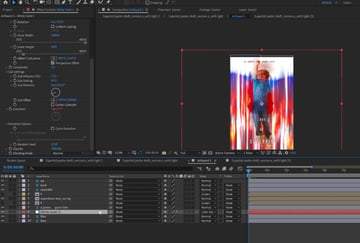
Check the circular solo icon next to the White Solid layer in the Layers panel. Under Effect Controls in the Project panel to the left, uncheck Uniform Scaling, and set the Scale Width to 3000 and Scale Height to around 64.
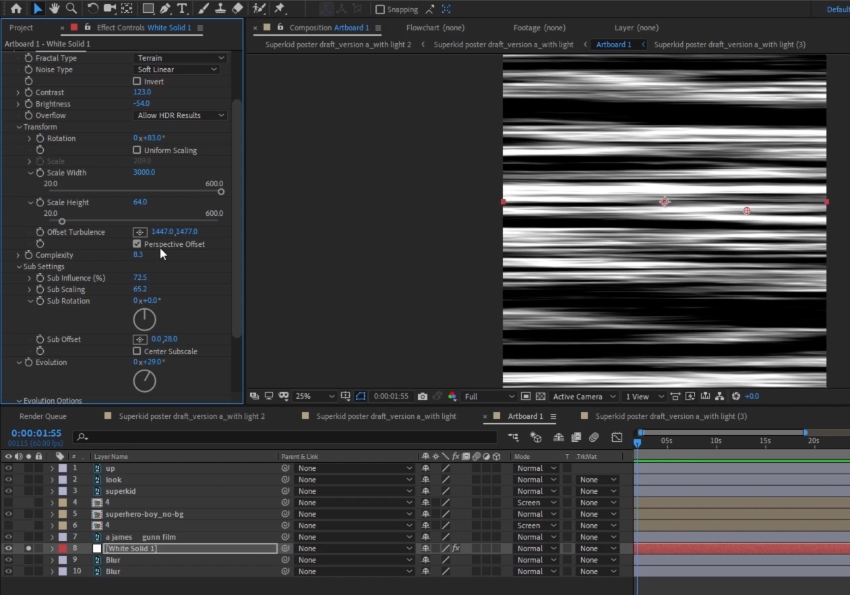
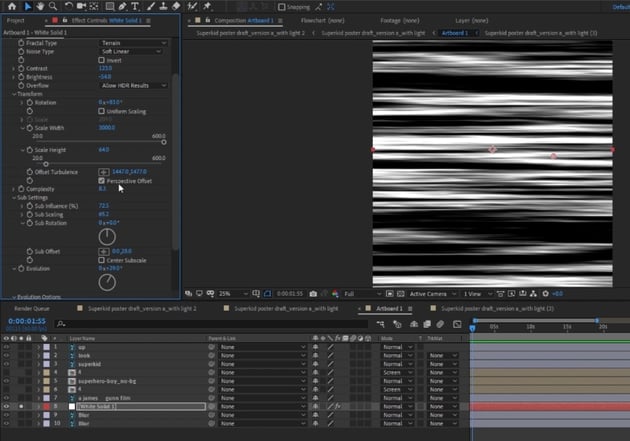
Rotate the white solid so that the lines now sit vertically on the composition.
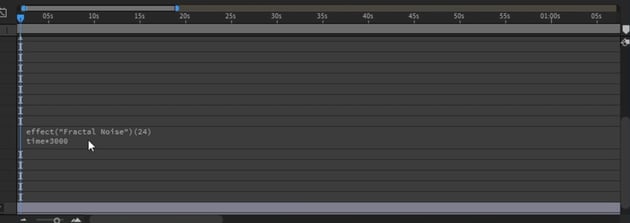
Click on Evolution under Effect Controls.

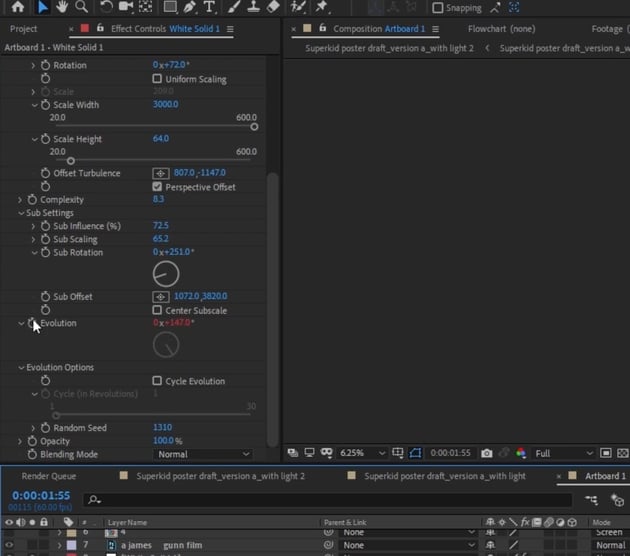
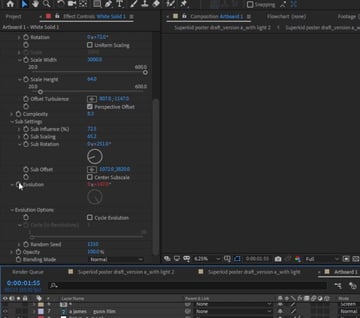
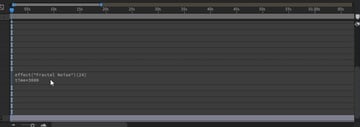
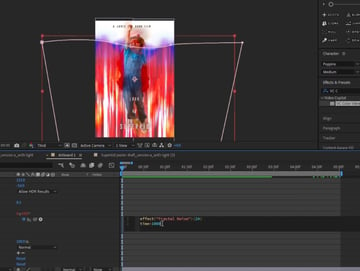
At the bottom of the Timeline panel, at the bottom right of the workspace, you will see text that reads effect("Fractal Noise")(24). Below this, type in and select time.
Type in time*3000. This effectively multiplies the speed of the composition by 3000, creating a very fast animaition that is going to give us those desirable Superman style streaks and blurs.


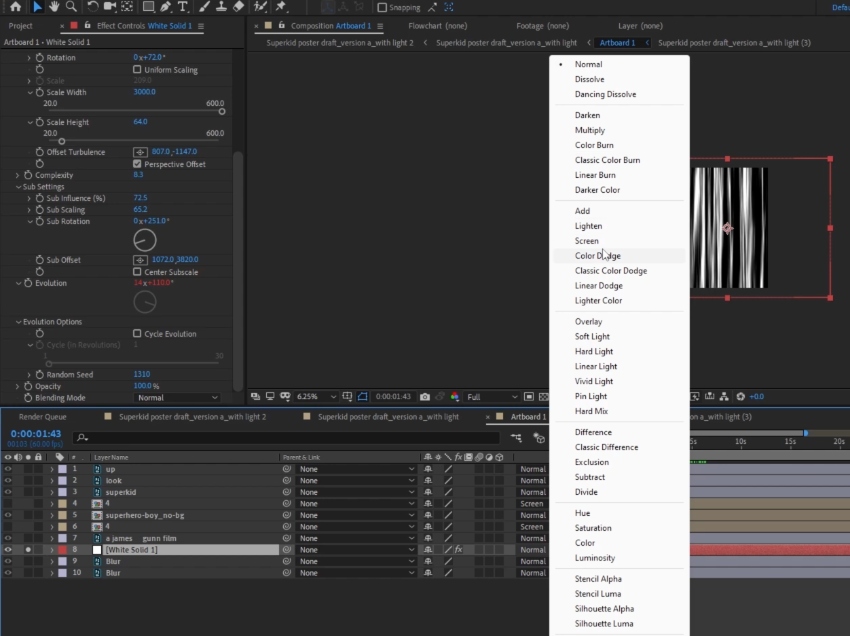
With the White Solid layer selected, Right-Click > Blending Mode > Color Dodge.


Step 4
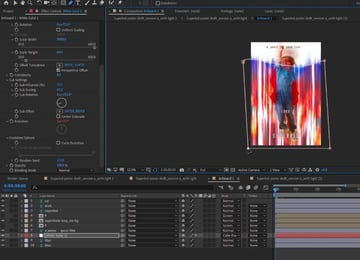
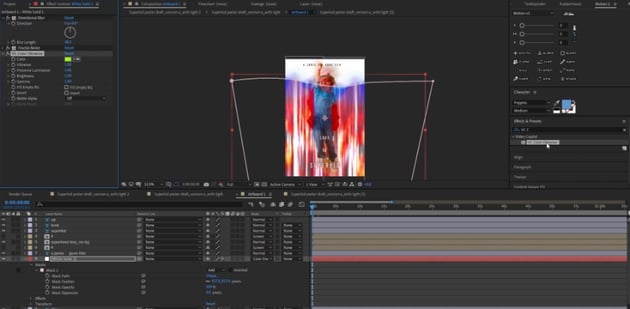
Uncheck the solo setting on the White Solid layer, so you can see the other layers in your composition.

We want to bring more red tones into the light strobe animation, so working on the White Solid layer, let’s select the Pen Tool (G) and draw a rough rectangle around the colored blur area of the design, curving across the top of the blur. This creates a Mask layer that you can find nested inside the White Solid layer.

Enlarge the mask, giving more generous space around the edge of the poster on the left, right, and bottom edges, and increase the Mask Feather to around 927 px.
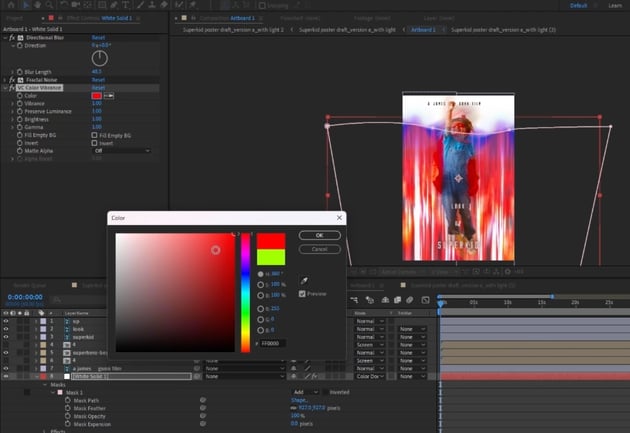
Go to Effects & Presets and type in Directional Blur, setting the Blur Length to around 48. Return to Effects & Presets again, this time typing in and selecting VC Color Vibrance.
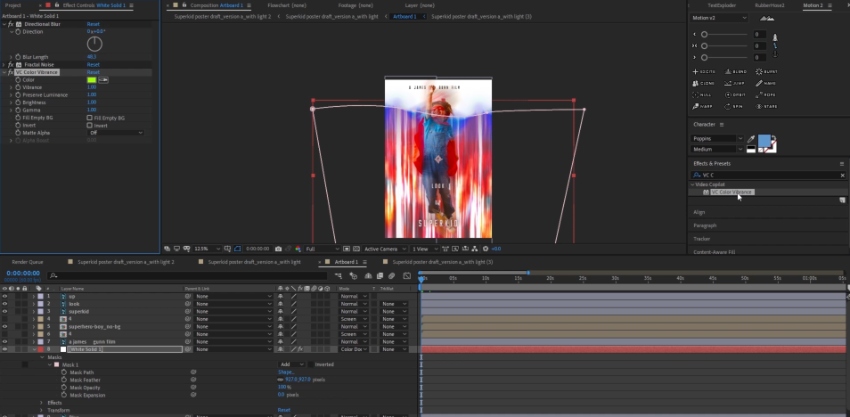

Under the VC Color Vibrance settings, select a bright red color swatch.


In the Timeline panel, set the time for this mask as time*1000. This will give a slightly slower effect that interacts with the faster white streaks.


Look over the video in your timeline, and adjust any settings as required. You can create a slower or faster animation by adjusting the time settings on each effect applied.
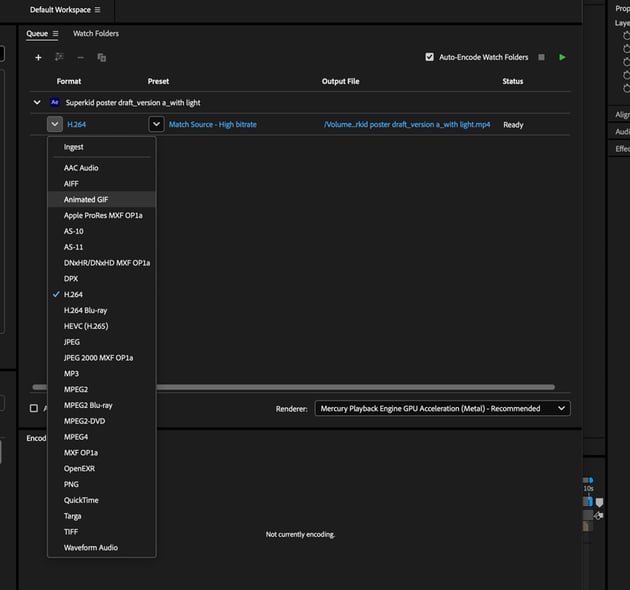
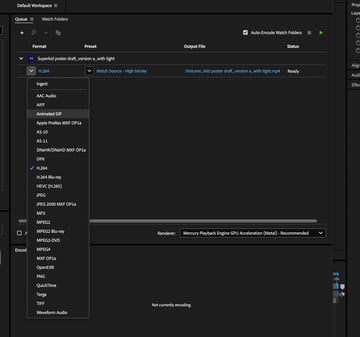
Your animation is now ready to queue for rendering! To create a GIF animation, you will need to use Adobe Media Encoder. In your After Effects project, go to File > Export > Add to Adobe Media Encoder Queue.
This will open Media Encoder, from where you can choose the format of your exported video from the drop-down menu. Choose Animated GIF, or alternatively stick to Encoder’s default H.264 setting for a standard video.
Click the green play icon to start the render.

Your animated Superman movie poster is finished! Ready to compress for social media or share with friends, this is a fun, immersive film poster design that pays fitting tribute to the original superhero. Grab your popcorn, and we’ll see you at the theater in the summer!
Preview the animated poster here:

Up, up and away! Your Superkid poster is ready to share…
In this tutorial, you’ve learned how to create a poster in Photoshop that pays tribute to cartoon movie posters and the classic Superman aesthetic. Providing serious Superman inspiration, this red and blue poster is all about classic Americana style and atmospheric movie poster design.
Seeking more After Effects tutorials or movie poster inspiration? Don’t miss our pick of the best below: