
Designing animations by coding is both a complex and time-consuming undertaking that can hinder creativity. This is why designers are looking for a no-code solution to create scalable animations for mobile apps. Finding a way to easily create and export these types of engaging branding assets can also make the designer-to-developer handoff a frustration-free exchange.


In this tutorial, you’ll learn how to create animations for mobile apps with SVGator, an online SVG animation tool. You’ll see how fast and simple it is to design an animation that you can then export directly to your framework of choice, React Native or Flutter.
A Breakthrough in Mobile App Animation
The full-featured animator helps design professionals create animations from start to finish without having to write a single line of code or use any third-party apps/plugins. To further simplify things for mobile app developers, SVGator’s cross-platform mobile export feature allows you to export fully customizable animations that run on both Android and iOS, packaged neatly in a single lightweight .svg file.
Before we get into the step-by-step walkthrough section of this tutorial, let’s take a look at what SVGator’s mobile export feature has to offer, for mobile app developers in particular.
- Cross-platform export options for native apps: animations will run smoothly in both iOS and Android apps.
- No compatibility issues: there’s no difference between your animations’ performance inside a website vs. native apps.
- Single-Player Mode: installing a package that includes SVGator’s own SVG player Node module helps reduce APK and IPA file sizes.
- Animations run in Offline Mode: your animations can work in mobile apps without requiring an internet connection.
- Export a single file: with an embedded player or in single-player mode.
A Step-by-Step Guide to Creating Mobile App Animations With SVGator
Now let’s begin the creation process to see how SVGator works. To begin with, you have two options: you either create your SVG file from scratch or start with existing graphics. In this case, we will start with an existing SVG illustration and draw only a thought bubble from scratch to get familiar with the graphic tools. Then we will also add three ready-made icons from the assets library.
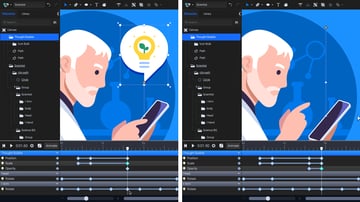
What We Will Create


Download all the files here: Static assets and animated SVG.
What you’ll find inside:
- a static SVG file you’ll use to follow along with this tutorial
- a static SVG file with all the elements already included, so you can skip ahead and start animating in section 3
- final animations in .svg, .js (React Native), and .dart (Flutter) formats
Skip ahead to section 3—Animate to use the SVG file with icons included.
Skip ahead to section 5—Integrate to try out the final .js and .dart animations in an app.
1. Create a New Project
Step 1
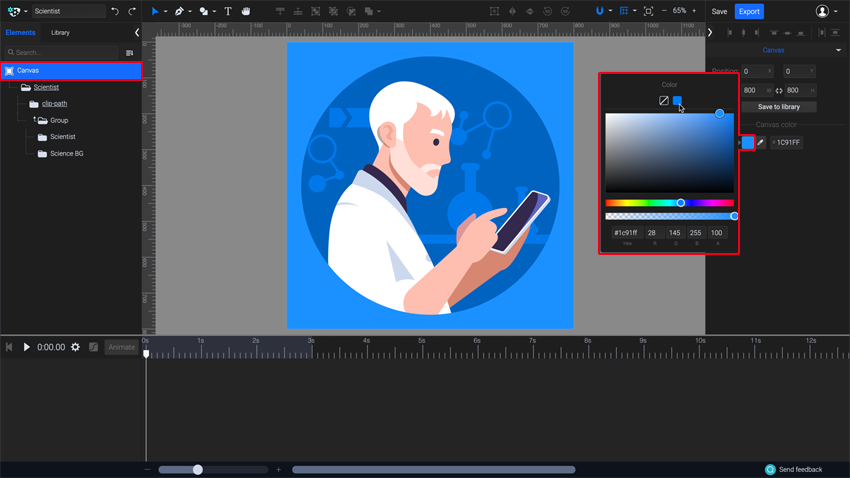
Press the Import SVG button, then choose the file named Scientist(static).svg from the provided assets, and SVGator will open it right away. You can change the project name in the top left field. Rename it to Scientist.


Step 2
In the left panel, you will find all the elements of the SVG file. Elements can be grouped by pressing Command-G (Control-G). In our example, the arm, head, and other parts of our character are in their separate groups already, to make animation easier.
If there are any unnecessary top-level groups after import, you can ungroup them by pressing Command-Shift-G (Control-Shift-G). In this example, the illustration is clipped in a circle. Clipping masks and clipping paths appear as underlined groups in the Elements list.
To change the background color, click on the Canvas at the top of the Elements list, and then choose the color thumbnail from the right panel, or write a hex code in the field next to it. We used #1C91FF, our app’s background color. You can also uncheck this background at the final export if you don’t need it.


2. Create and Add Graphics
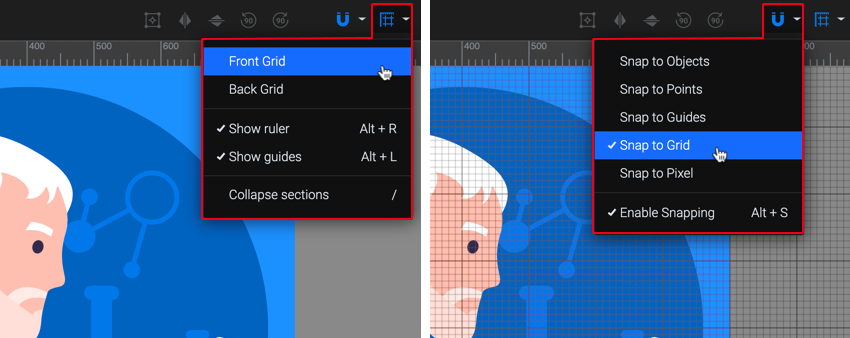
In our final animation, icons will pop up as our character taps his phone. SVGator has some very convenient tools to quickly create additional elements inside a project, so we’ll create a thought bubble for the icons. To make this easier, we’ll enable the Front Grid and Snap to Grid.
Step 1
In the top menu, enable the Front Grid. Then enable Snap to Grid, and turn the other snapping option off for now, to make drawing easier.

Now let’s create the thought bubble: draw a circle, then a smaller square below it. To be able to edit basic shapes freely, you need to convert them to paths first. In this case, convert the square into a path to be able to remove the bottom-right anchor point. Finally, you can combine the two elements into a single one with the Union tool, and duplicate the thought bubble to create a shadow effect.
Step 2
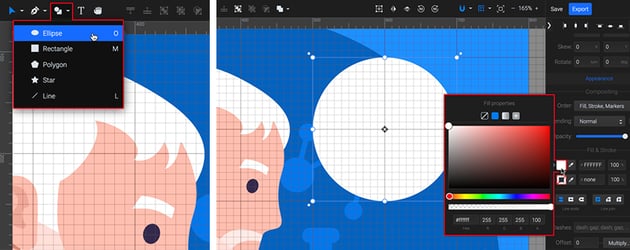
Choose the Ellipse tool from the top bar. Draw a circle along the grids while holding down Shift. Change the color to white in the right panel.


Step 3
Draw a square, switch to the Transform tool (V), right-click the square, and choose Convert to path.
Now you can select individual anchor points. Select the bottom-left one, right-click and choose Remove Nodes, and you’ll get a right triangle.


Step 4
Select the triangle and circle, and choose the Union tool from the top bar to combine them into a single path.

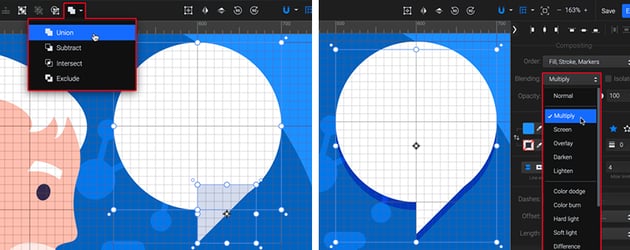
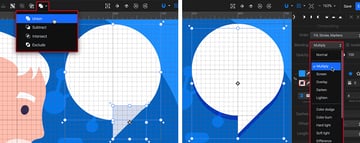
Now that the thought bubble is finished, Alt-drag downward slightly while holding Shift to create the duplicate. Select the Eyedropper tool (i) and choose the blue color from the background, then change the blending mode to Multiply.
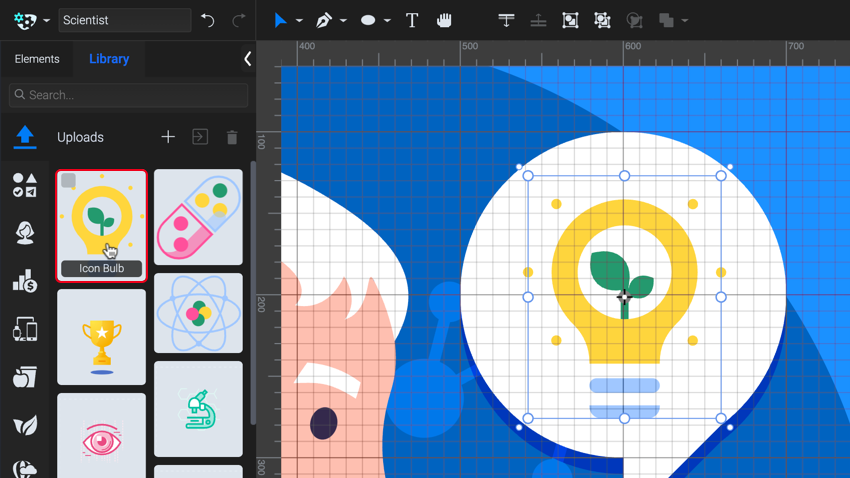
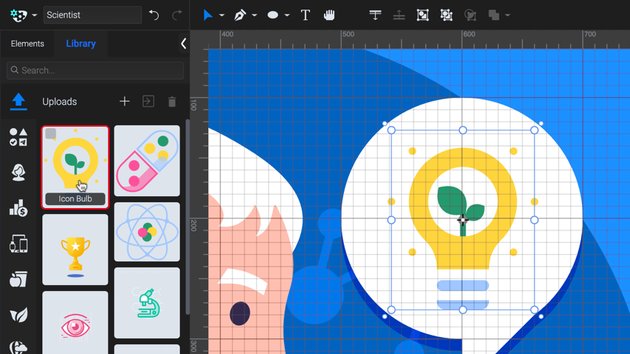
Step 5
To add the icons to the library, choose the Library tab and press the + button. A dialog box will appear, where you can choose the SVG files you want to upload.

3. Animate
We’ll start with the character tapping the phone. You can hide the grid and ruler in the UI in the top bar, and disable snap to grid.
Step 1
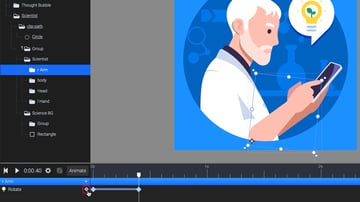
Select the Arm group in the elements panel and then, with the Transform (V) tool active, move the origin point to the joint.
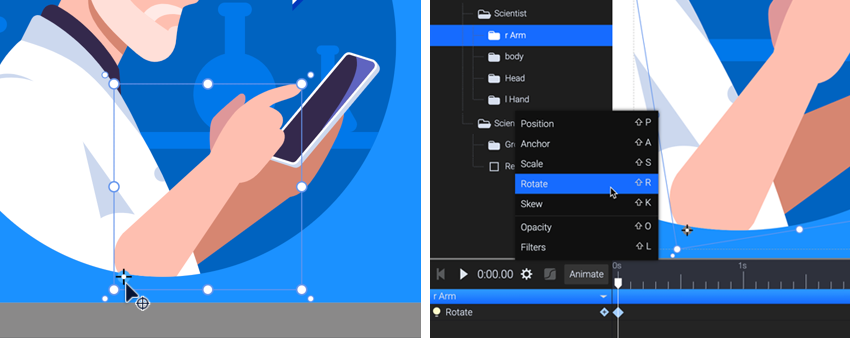

With the arm group still selected, press the Animate button and choose Rotate. As you drag the playhead on the timeline, a new keyframe will automatically be created. You can rotate the arm backward, so the hand is farther away from the phone.
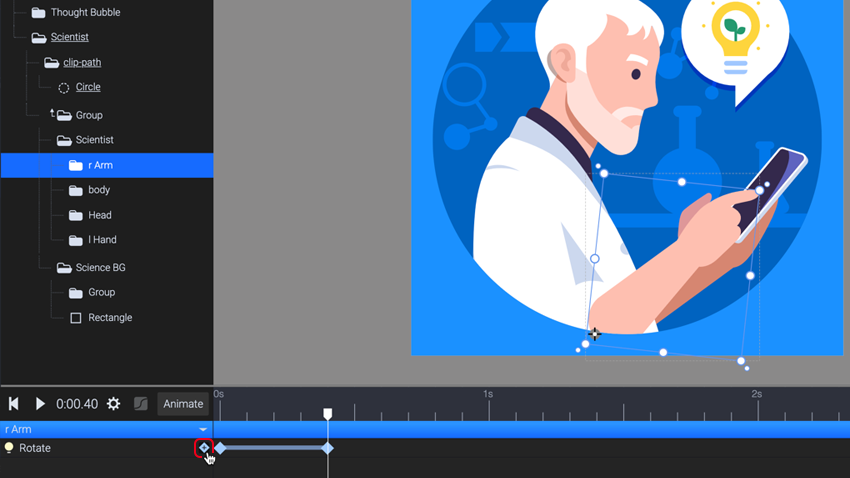
Step 2
Move the playhead and rotate the arm towards the phone to automatically add a new keyframe. You can also use the + button to add keyframes and rotate the arm after that.
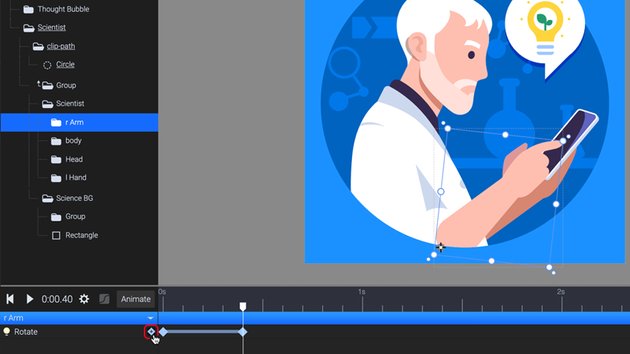


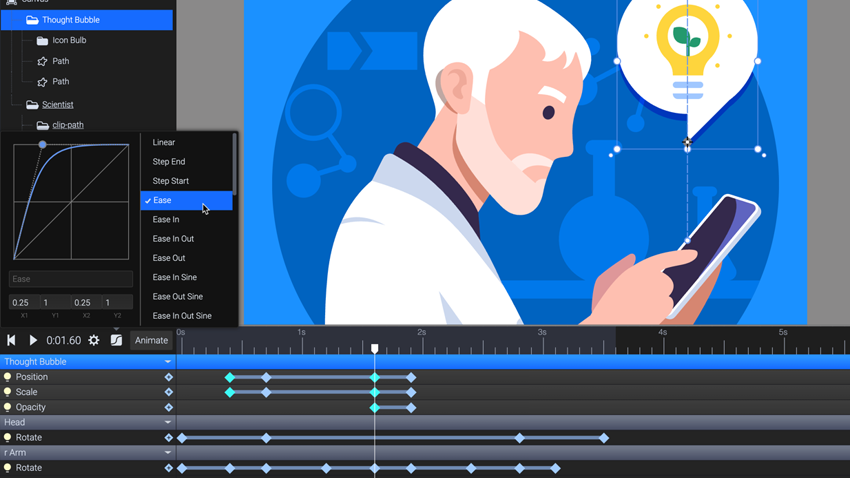
Step 3
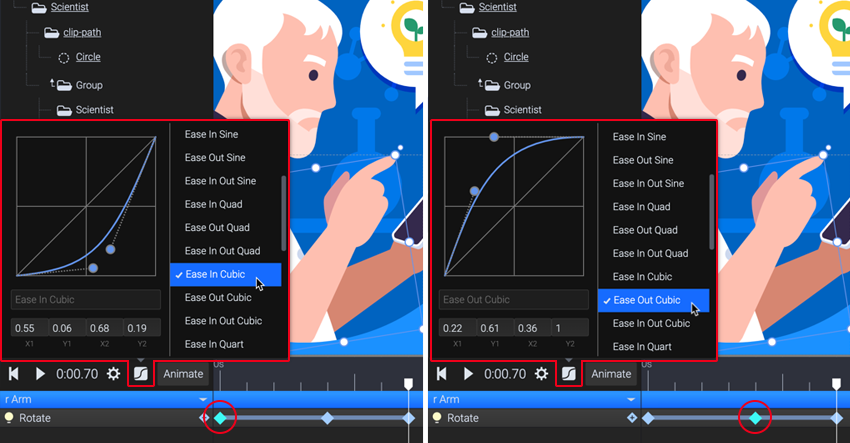
There’s a list of preset Easing options, but you can also use custom easing by dragging the curve handles. For this animation, we used Ease In Cubic on the first keyframe, and Ease Out Cubic on the second. This makes the arm move slowly toward the phone, then the tapping action is fast, and then the hand slows down again as it rises.


Step 4
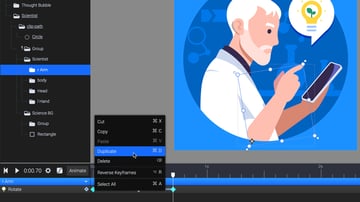
Select all three keyframes, move the playhead to the right, and duplicate (Command-D / Control-D) the keyframe sequence for each tap. Preview the animation as you work, and don’t forget to save! At this point, we need the timeline to be a little longer. To change the duration of the animation at any time, press the Gear icon at the left side of the easing options.


To animate the head, we will do something similar, but with fewer keyframes.
Step 5
Select the Head group in the elements panel, move the origin point to the base of the neck, and add the rotation animator. Animate the head to look down at the beginning and to look back up toward the end of the animation. Add easing to your keyframes.


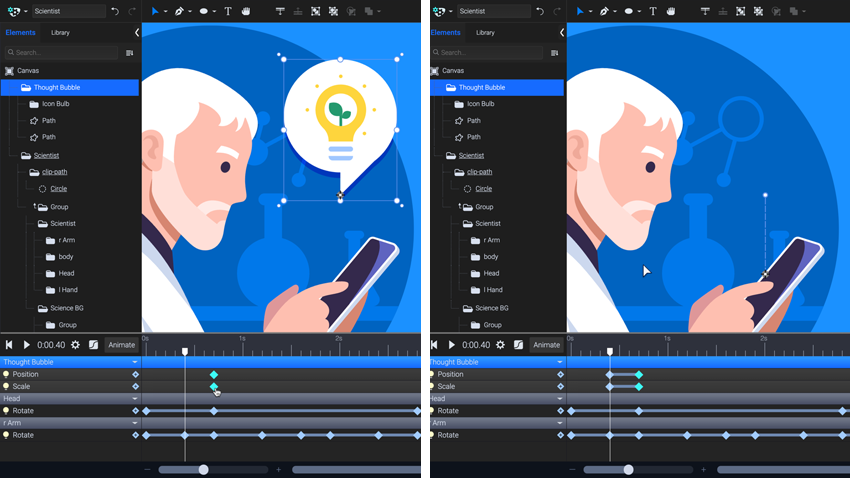
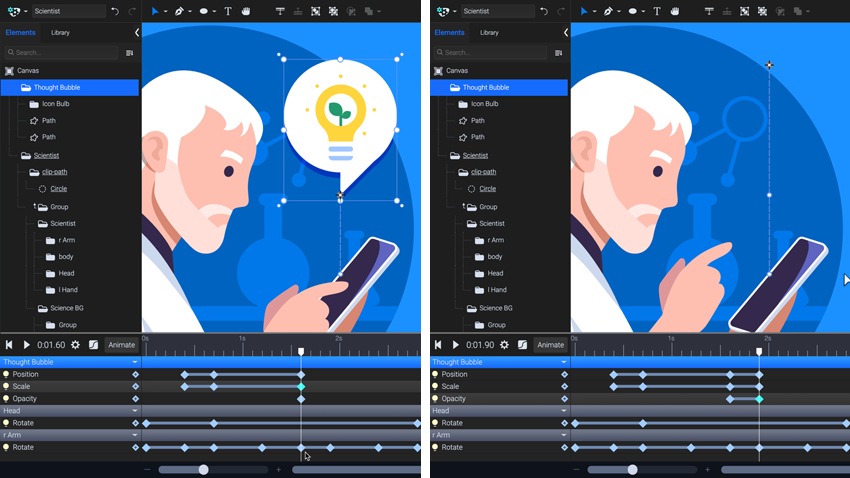
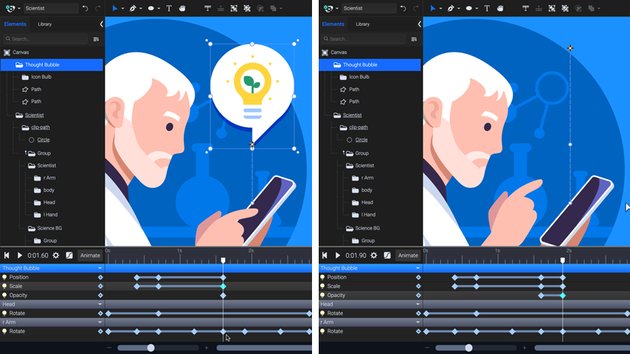
Let’s animate the thought bubbles with the other main animators: position, scale, and opacity. First, select the Thought Bubble group and move the origin point to the very bottom center, to make the bubble scale up from that point.
Step 6
Where the character’s hand touches the phone, add the position and scale animators. Select and move these keyframes to the right, as these are actually the second part of the transition.
Add a position animator and move it closer to the phone, then scale it down to zero using the right panel.
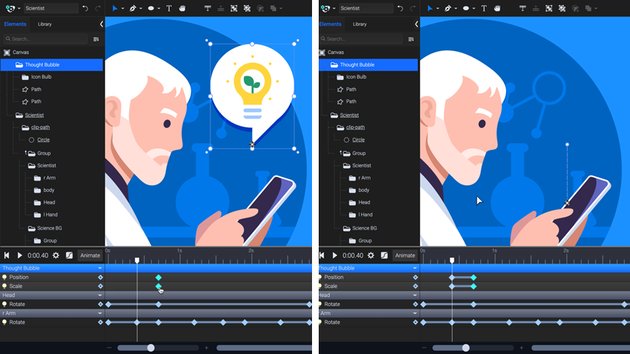
Move the playhead to the next tap, add new keyframes, and also add the opacity animator. Move the playhead a little to the right, then move the bubble up, scale it to 0, and drag the opacity slider to 0 to also create a fade-out effect.
Add a simple Ease, and preview to make sure everything looks good.


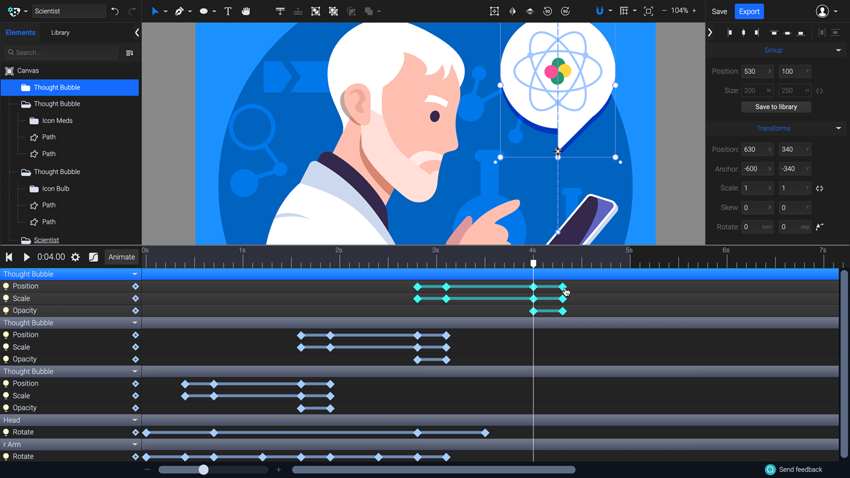
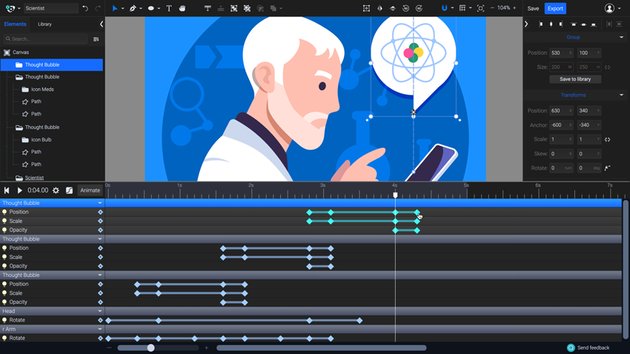
Step 7
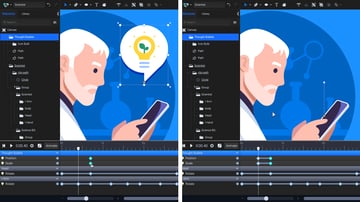
Now that one of the bubbles is animated, we don’t have to animate the other two. We can duplicate the first, swap the icon inside the group, and move their keyframes on the timeline so they appear one after the other. We also flipped the second bubble and its shadow horizontally using the Flip button in the top menu, to add a little variety. The timeline should look like this when you are done:

4. Export
Now that the animation is finished, let’s export it. Click on the blue Export button on the top right, and the Export options window will pop up.
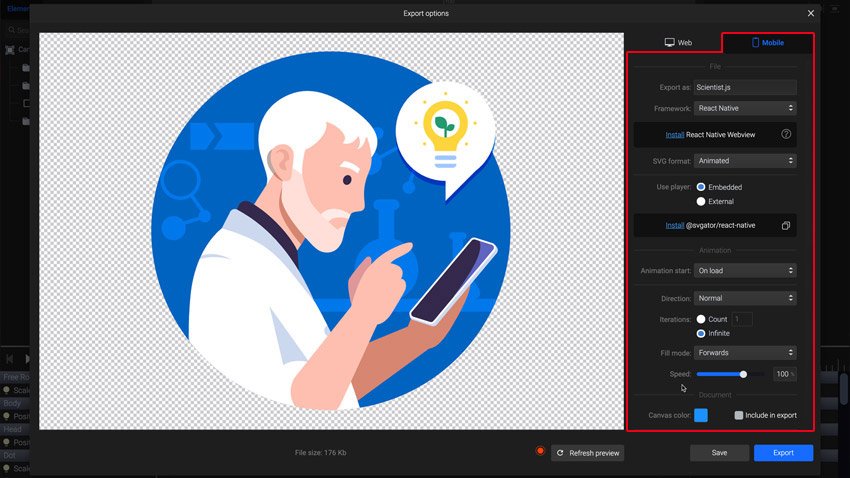

Choose the Mobile tab on the right side. The export options are divided into three sections:
File
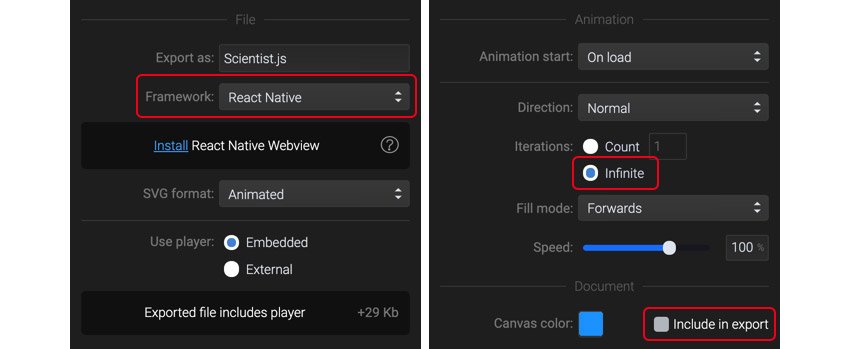
You can rename your file if you want, and choose your framework. In our case, we chose React Native. You will also find information about the needed module, and you will choose if you want to leave the player embedded inside the file or to be loaded from an external location. Here we will leave it embedded since we only have a single animation, but this setting might come in handy if you are planning to use several animations within the same layout.
Animation
We want our animation to play on loop, so make sure you choose Iterations: Infinite. Press Refresh preview on the bottom of the window to see the changes applied.
Document
Here you can choose to include or exclude the canvas color. If your background color will be set in the mobile app, you don’t need this color in your final animation.
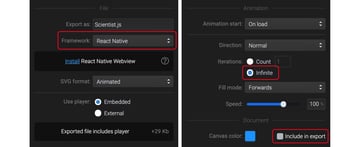
Here is a closeup of the final settings:

5. Integrate
In this tutorial we are working with React Native, but we’ll also mention the Flutter commands at the end of this section.
Integrate the Animation in a React Native App
First, we need to install the react-native-webview module. You can learn more about React Native WebView on the official project page.


Depending on the Node module manager you are using (NPM or Yarn), the command will be slightly different. For NPM, run the following command in your project root folder:
npm install react-native-webview
For Yarn, run:
yarn add react-native-webview
Note: For React Native prior to version 0.60, you will have to manually link WebView with the following command:
react-native link react-native-webview
Optional: If you intend to compile to iOS as well, you will also need to run this command inside the ios folder:
pod install
To complete the WebView setup, add the following two lines to your gradle file, found under <project_root>/android/gradle.properties:
android.useAndroidX=true
android.enableJetifier=true
After the WebView is installed, the animation is ready to use. Just copy the exported .js file into your project folder.
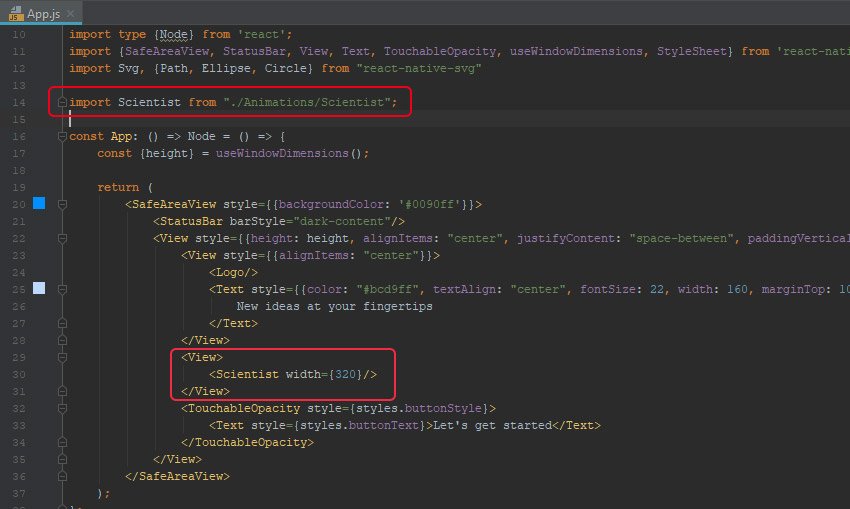
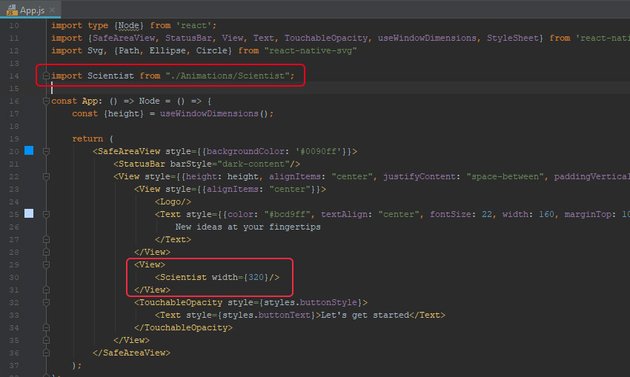

Include the animation in the component you want it to be used in, with the help of the following code:
import Scientist from './Animations/Scientist.js';


const App: () => Node = () => {
    return (
        <View>
            <Scientist width={null} height={null} />
        </View>
    )
};
Note that React Native variants can’t be fully responsive, so make sure you set the width and height manually using the width={1024} and height={768} arguments.


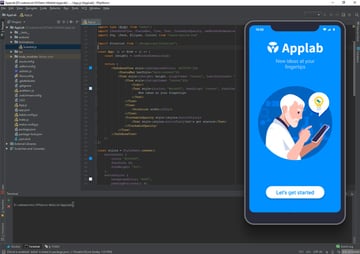
That’s all—your animation should work in your app!
Integrate the Animation in a Flutter App
For Flutter users, you’ll need to use the WebView Flutter module. Inside your project’s root directory, run the following command to install the WebView Flutter module.
flutter pub add webview_flutter
To use the Flutter animation generated by SVGator, copy the .dart file into your project’s folder, and include it in the component you want it to be used in, as shown below:
import 'package:flutter/material.dart';
import 'Scientist.dart';

void main() {
    runApp(MyApp());
}

class MyApp extends StatelessWidget {

	final _expandedKey = UniqueKey();

	@override
	Widget build(BuildContext context) {
		return MaterialApp(
			title: 'Welcome to Flutter',
			home: Scaffold(
				appBar: AppBar(title: const Text('Welcome to Flutter'), ),
				body: Column(
					children: [
						Scientist()
					],
				)
			),
		);
	}
}
Note that the class name is derived from the file name used during the export, so if you want to use a different name, you will have to rename the file and the class name.
Create Captivating Mobile App Animations With SVGator
That’s a wrap! You have now learned how to create, edit, animate, export, and integrate a mobile app animation with SVGator. The tool aims to make the animation process as easy, intuitive, and straightforward as possible. With an extensive asset library, advanced animators, and all the essential graphic tools on hand, creativity is the only main ingredient you’ll have to add into the mix (along with lots of previews to make sure your transitions are smooth). Dazzling mobile app animations are just a few clicks away!
SVGator is the only no-code solution for designing customizable mobile app animations from start to finish without any need for third-party apps, software, or plugins. To learn more about the full range of features that this tool has to offer, check out SVGator. You can sign up for the “Free forever” plan and put this tutorial to the test right away. It’s also worth checking out the animator’s social media presence as well, on Instagram, Facebook, and Twitter, to see examples of the remarkable visuals that designers in their communities have created.
