

Adding text to a dynamic background can be a bit tricky, as it usually ends up looking flat and fake. This tutorial will show you how to use the Displace filter to apply the text to a dynamic surface correctly, and make it conform to that surface to get a more realistic result. Let’s get started!
This text effect was inspired by the many Layer Styles available on Envato Market.
Tutorial Assets
The following assets were used during the production of this tutorial.
1. Save the Displacement Map File
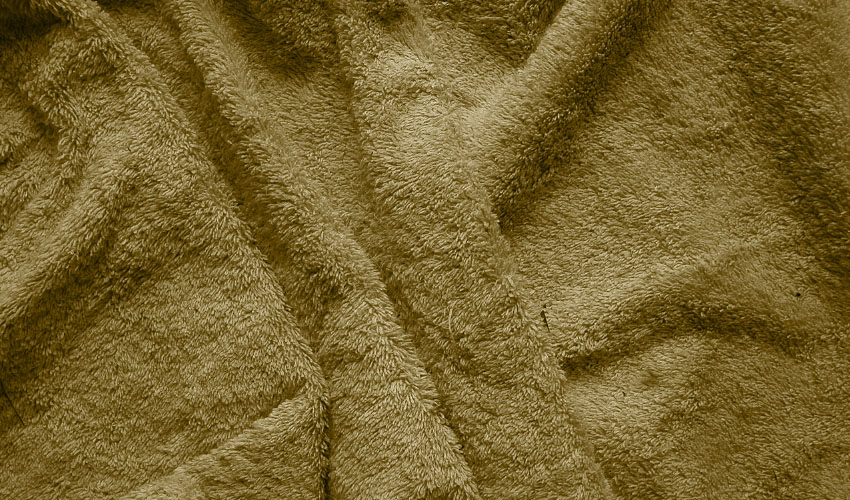
Open the Fabric Texture image, and then go to File > Save As, and save a PSD file of the image with the name Displace Map.

2. Adjust the Displacement Map
Step 1
Right-click the Background layer and choose Convert to Smart Object.

Step 2
Go to Image > Adjustments > Hue/Saturation, and change the Saturation value to -100.

Step 3
Go to Filter > Blur > Gaussian Blur, and set the Radius to 2.
A bigger Radius value will make the final effect smoother and softer, while a smaller Radius value will result in a sharper, more detailed outcome.

Step 4
Go to File > Save, to save the changes made to the Displace Map file.
3. Change the Texture’s Color
Step 1
Open the original Fabric Texture image, pick the Color Replacement Tool, and set the Foreground Color to #d7ba80.
In the Options Bar, make sure that the Mode is set to Color, the Sampling to Contiguous, and the Tolerance to 100%.
Choose a very big hard round brush tip, and paint over the texture, trying not to make multiple passes over the same area. This will change the texture’s color.

Step 2
Duplicate the Background layer, and convert the copy into a Smart Object.

4. Enhance the Texture’s Coloring
Step 1
Double-click the Background copy layer to apply a Color Overlay effect with these settings:
- Color:
#fde8bd - Blend Mode: Divide

This will brighten the texture a bit.
Step 2
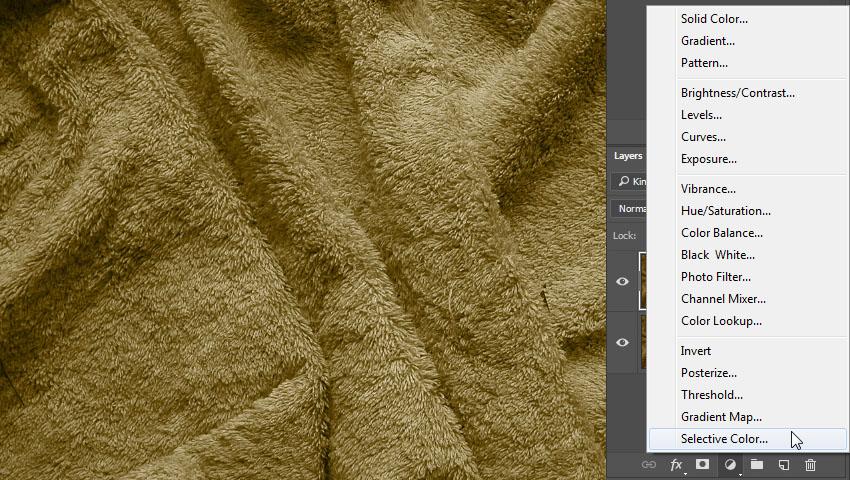
Click the Create new fill or adjustment layer icon at the bottom of the Layers panel and choose Selective Color.
Step 3
Choose Yellows from the Colors drop-down menu, and change the values as shown below:
- Cyan: -30
- Magenta: -16
- Yellow: -47
- Black: -21

Step 4
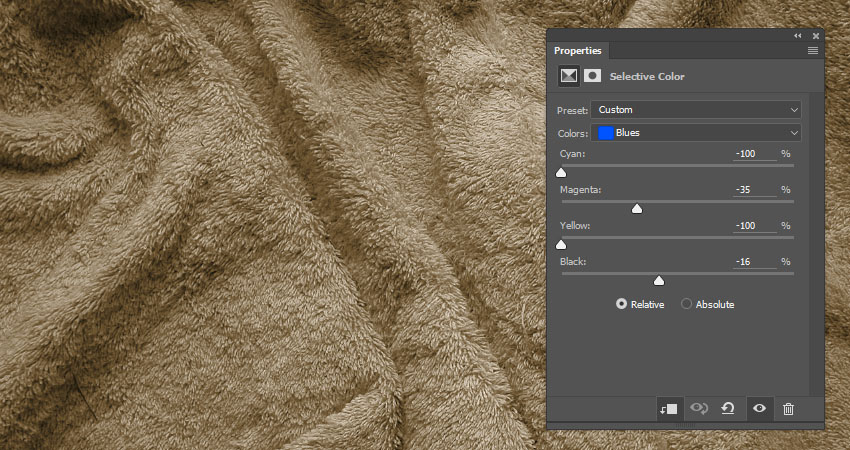
Choose Blues from the Colors drop-down menu, and change the values as shown below:
- Cyan: -100
- Magenta: -35
- Yellow: -100
- Black: -16
This will soften the coloring and tone it down. You can adjust the coloring however you like if you’re looking for a different result.
5. Add the Text
Step 1
Create the text in White using the font Cookie Regular, and set the Size to 150 pt.

Step 2
Convert the text layer into a Smart Object, and then change its Fill value to 0.

6. Style the Text
Double-click the text layer to apply the following layer style:
Step 1
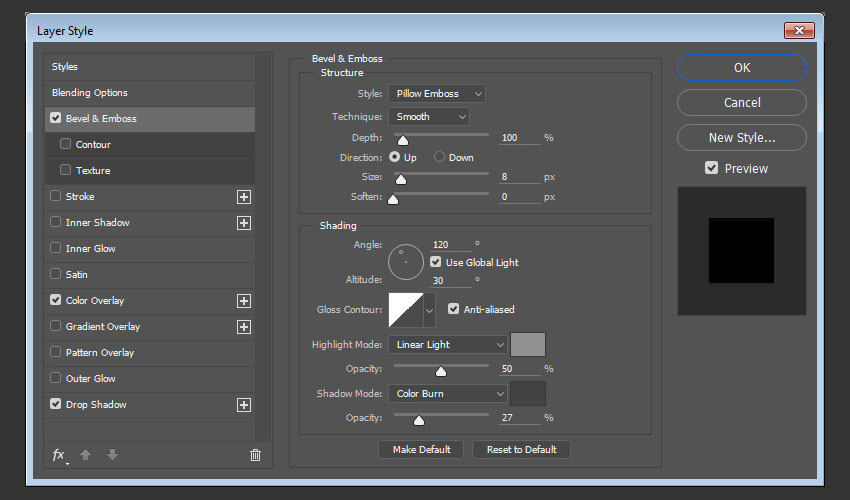
Add a Bevel and Emboss with these settings:
- Style: Pillow Emboss
- Size: 8
- Check the Anti-aliased box
- Highlight Mode: Linear Light
- Color:
#929292 - Opacity: 50%
- Shadow Mode: Color Burn
- Color:
#434343 - Opacity: 27%
Step 2
Add a Color Overlay with these settings:
- Color:
#bdadb1 - Blend Mode: Linear Burn

Step 3
Add a Drop Shadow with these settings:
- Blend Mode: Linear Burn
- Color:
#707070 - Opacity: 20%
- Uncheck the Use Global Light box
- Angle: 90
- Distance: 3
- Size: 5

This will style the text.
You can see that, although the fabric’s folds are showing through the text, it still looks a bit flat and unrealistic. That’s what we’ll work on next.
7. Apply the Blur and Displace Filters
Step 1
With the text layer’s Smart Object selected, go to Filter > Blur > Gaussian Blur, and set the Radius to 1. This will help soften the effect.

Step 2
Now go to, Filter > Distort > Displace. A dialog box will appear.
The Horizontal Scale and Vertical Scale values control the intensity and strength of the effect. Bigger values will create bigger and wavier creases; smaller values will create a more subtle outcome.
You might need to try a couple of different values before you get a result you like, but the value of 15 seemed a good one to use here.
For the Displacement Map, choose the Stretch to Fit option, and for the Undefined Areas, choose Repeat Edge Pixels, and click OK.

Step 3
When the file browser opens, navigate to the Displace Map file you created in the beginning of this tutorial, and open it to apply it to your text.
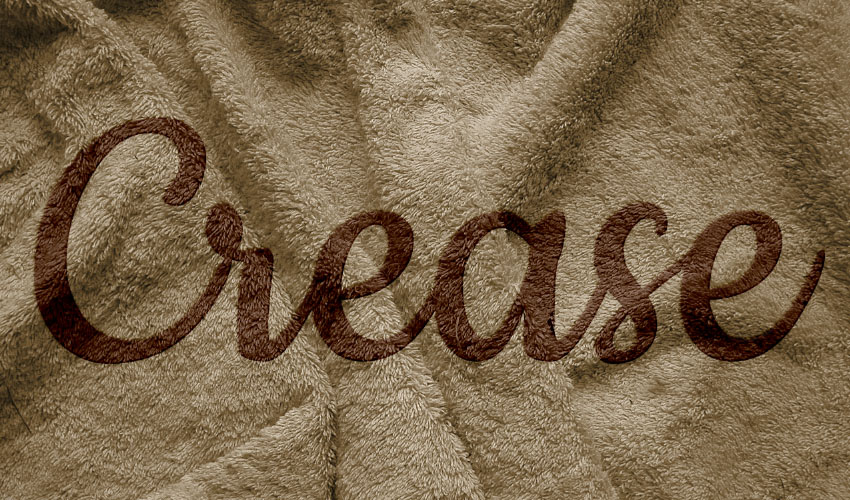
You can see now how that creates a realistic effect, by making the text conform to the texture and shape of the background image.

Step 4
Always keep in mind that you can double-click the Displace filter in the Smart Filters list to re-apply it using different values until you get a result you like.
8. Sharpen the Background
This is an optional step, but if you want the effect to look more crispy and sharp, you can select the Background copy layer, go to Filter > Sharpen > Smart Sharpen, and use the values you like.

Note that the values used throughout the tutorial might need to be changed depending on the size of the images and text used, as well as the desired outcome.

Congratulations! You’re Done
In this tutorial, we created a simple displacement map from a fabric texture, using some adjustments and filters.
Then, we adjusted the coloring of the texture, and created the text.
After that, we used the Displace filter to apply the displacement map to the text and make it conform to the fabric texture.
Finally, we sharpened the background to finish off the effect.
Please feel free to leave your comments, suggestions, and outcomes below.