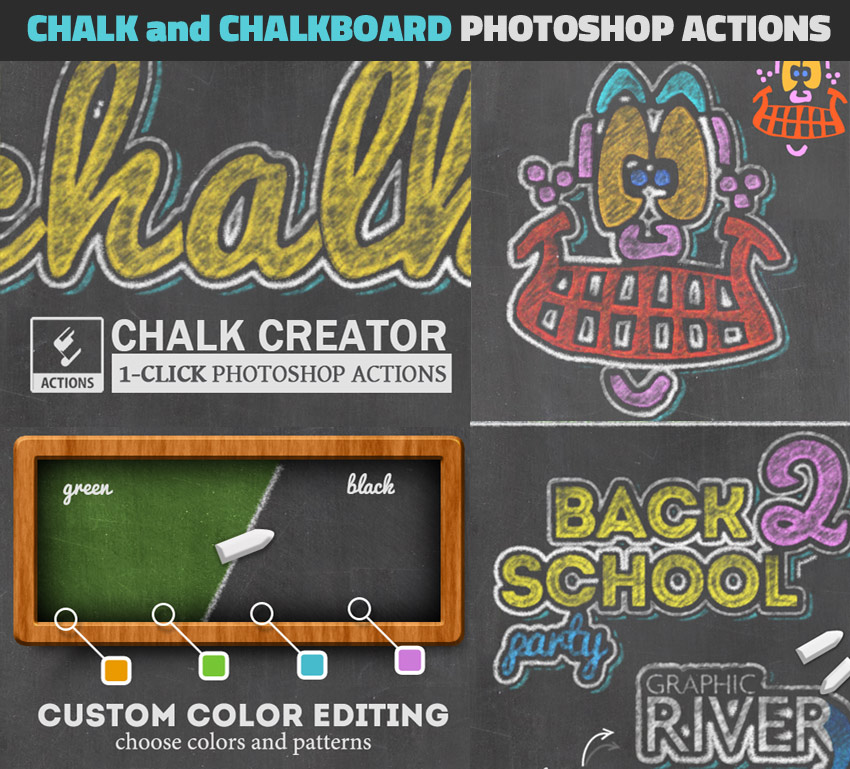
Learn how to create a chalkboard sign with chalk text effect in Photoshop using textures and layer styles. This chalk photo effect is a part of the Chalk and Chalkboard Photoshop Actions from my portfolio on Envato Market.
You can also the check the new Chalk Photo Effect Photoshop Action. You can create realistic chalk effects for text, graphics, and photos.
Tutorial Assets
The following assets were used during the production of this tutorial:
All the textures that we are going to use in this tutorial (wood and chalk) are made using Photoshop filters.
1. How to Create the Background
Create a new 1000 x 1000 px document. Make a new layer and press Shift-F5 to fill it with color #62c3c9 or any other color that you like.

2. How to Create the Speech Bubble Shape Using the Pen Tool
Choose the Pen Tool (P) and draw the speech bubble shape.
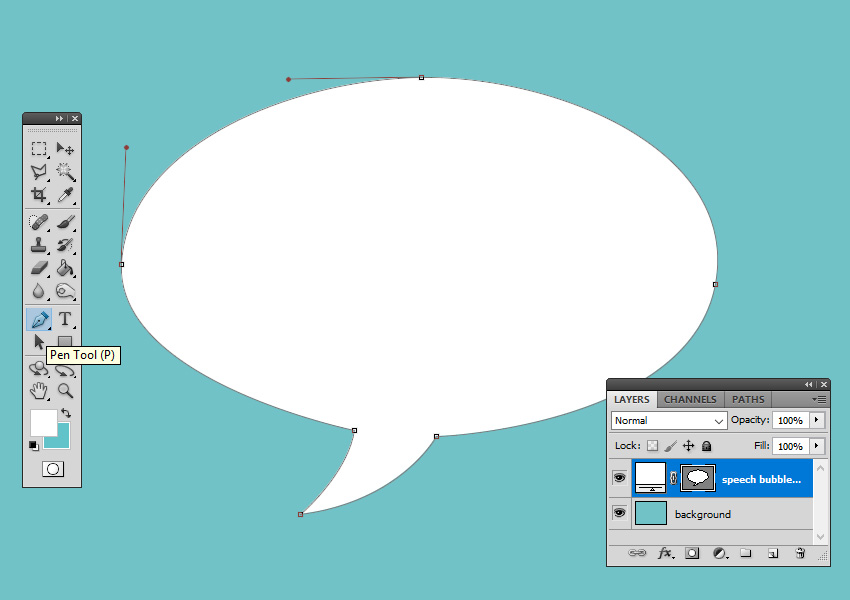
To create a curved line, click and hold down the mouse and drag.
To turn a smooth anchor to a sharp point, keep the Alt-Click on the anchor point.
3. Create the Chalkboard Texture
Step 1
Set the Foreground color to #1a1a1a and the Background color to #ffffff.
Create a new layer and call it Chalkboard Texture. Press Shift-F5 to fill it with the color #1a1a1a.

Step 2
Go to Filter > Noise > Add Noise and set the Amount to 50%.

Step 3
Go to Filter > Blur > Motion Blur and set the Angle to 50 and the Distance to 19 pixels.

Step 4
Go to Layer > New Adjustment Layer > Levels and use these settings.

Step 5
Select the Chalkboard Texture layer and the Levels adjustment, right-click, and choose Merge Layers. Rename the new layer Chalkboard Texture.

Step 6
Press Control-J to duplicate the Chalkboard Texture layer and call it Chalkboard Text Texture.

4. Create the Chalkboard Shape
Step 1
Hide the Chalkboard Text Texture layer.
Right click on the Chalkboard Texture layer and choose Create Clipping Mask.


Step 2
Press Control-J to duplicate the Speech Bubble Shape layer and call it Chalkboard. Rename the initial layer Wooden Frame.

Step 3
Set the Fill of the Wooden Frame layer to 0% and add a Stroke layer style, color #000000.

Right-click on the layer and choose Convert to Smart Object.

5. Create the Wooden Texture
Step 1
Press Shift-Control-N to create a new layer. Name the layer Wooden Texture.
Press Shift-F5 to fill the layer with color #1a1a1a.

Step 2
Go to Filter > Render > Fibers to create the wood texture.

Step 3
Right-click on the Wooden Texture layer and choose Create Clipping Mask.

Step 4
Select the Wooden Frame and the Wooden Texture layers and move them above all the other layers.

Step 5
Add these layer styles to the Wooden Frame layer:
-
Drop Shadow (color
#000000) -
Inner Shadow (color
#000000) -
Bevel and Emboss (color
#ffffffand#000000) -
Color Overlay (color
#c86800)


6. Create the Chalkboard With a Wooden Frame
Add this layer style to the Chalkboard layer:
-
Drop Shadow (color
#000000) -
Inner Shadow (color
#000000) -
Inner Glow (color
#ffffff) -
Color Overlay (color
#393838)


7. Add the Chalk Text Effect
Step 1
Add the Back To School text layer using the color #ffffff.

Step 2
Add this layer style to the Back to School text layer:
-
Inner Shadow (color
#000000) -
Outer Glow (color
#ffffff) -
Inner Glow (color
#000000) -
Stroke(color
#000000)

Step 3
Also add a Color Overlay, blend mode Normal, opacity 100%, using the color that you like. I will use this green color tone #d1ff6e.
You can also change the color of the Stroke using any color you like.

Step 4
Right-click on the Back to School text layer and choose Convert to Smart Object. Set the blend mode to Screen.
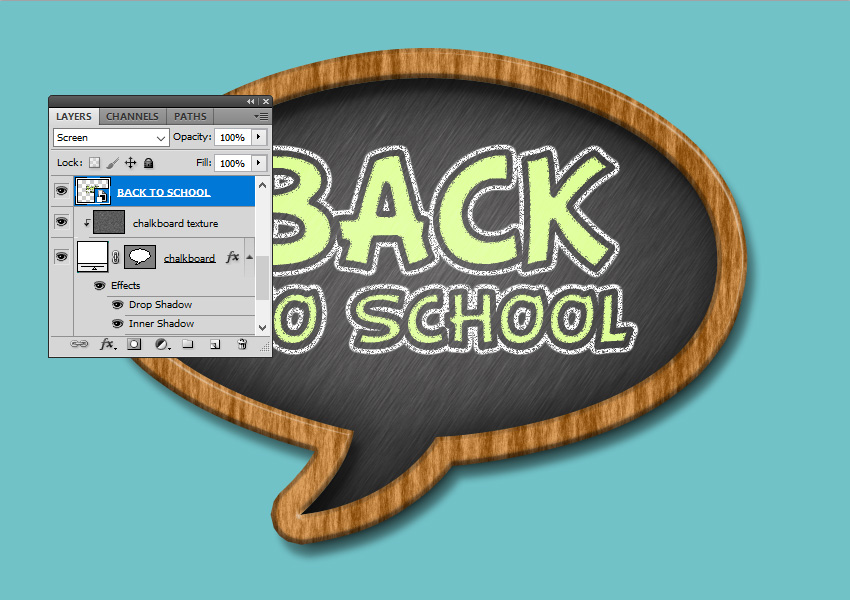
Step 5
To create a more realistic chalk effect, make the Chalkboard Text Texture layer visible. Right-click on the layer and choose Create Clipping Mask for the Back to School text layer.
Also set the blend mode to Multiply.

Step 6
To make the colors more vibrant, let’s add a Levels adjustment. Right-click on the adjustment layer and choose Create Clipping Mask.

8. Add the Chalk Pieces
Step 1
Use the Pen Tool to create the chalk piece.

Step 2
Add this layer style to create a realistic chalk piece:
-
Drop Shadow (color
#000000) -
Inner Shadow (color
#000000) -
Bevel and Emboss (colors
#ffffffand#000000) -
Color Overlay (color
#f2f2f2for the white chalk and#c1e053for the green chalk)

Congratulations! You’re Done!
In this tutorial, you’ve learned how to create a chalk effect in Photoshop from scratch using filters and adjustment layers. I hope you’ve enjoyed this tutorial.

This chalk photo effect is a part of the Chalk and Chalkboard Photoshop Actions from my portfolio on Envato Market.
You can also the check the new Chalk Photo Effect Photoshop Action. You can create realistic chalk effects for text, graphics, and photos.
You may also enjoy these tutorials:
-
![]()
In this tutorial, I will show you how to turn a photo into comic book art in Photoshop using filters and textures.
-
![]()
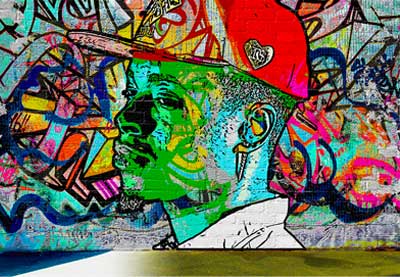
Learn how to create graffiti art from your photos in Adobe Photoshop, using filters and adjustments.
-
![]()
In the following tutorial, I’m going to show you how to create a pencil sketch Adobe Photoshop action with a unique twist.
-
![]()
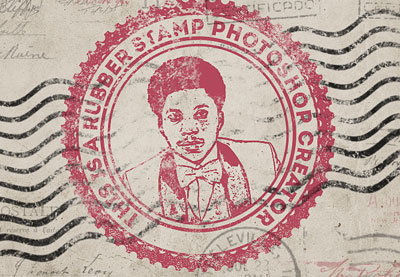
In this tutorial, I will show you how to create a realistic rubber stamp effect in Photoshop. Turn any photo into a rubber stamp in just a few quick steps.