In this tutorial, we’ll look at how to make a digital brochure in InDesign. Working with a digital brochure format could be preferable for remotely distributing your info. So if you’ve ever wanted to try making your own digital trifold brochure, check out this walkthrough. We’ll also check out some digital brochure examples that you can download now.

What You’ll Need
We’re going to create a digital trifold brochure in Adobe InDesign in this tutorial. We’ll use the following assets as we walk through how to create a digital brochure:
- Lorenza Sans Serif Font
- Stock Images, like this collection from Envato Elements: (Doctor and Patient Photo, Patient Information Photo, After Vaccination Photo, Doctor Preparing Vaccine Photo, Doctor Reviewing Patient Info Photo, Vaccination Photo)
You are welcome to use these graphics, or you can use fonts, photos, and graphics of your own. The concepts covered in this walkthrough will work with any assets you prefer. We’ll create an informational vaccine-themed medical brochure in this demonstration. Again, you could work with any subject of your choice.
Looking for Digital Brochure Templates?
Using digital brochure templates can be an awesome choice if you’re looking for some extra help or you’re looking to save time. Just download the digital brochure InDesign file, add your content, and you have a completed, professional project. Or use your template to jump-start your design process; customizing and expanding it to create the perfect digital trifold brochure.

If you’d like to give digital brochure templates a try, check out Envato Elements. It’s an awesome deal for creative professionals. One fee gets you access to a library of thousands of high-quality assets, including digital brochure InDesign documents. Download stock photos, graphics, fonts, and more with unlimited access. It’s all included.
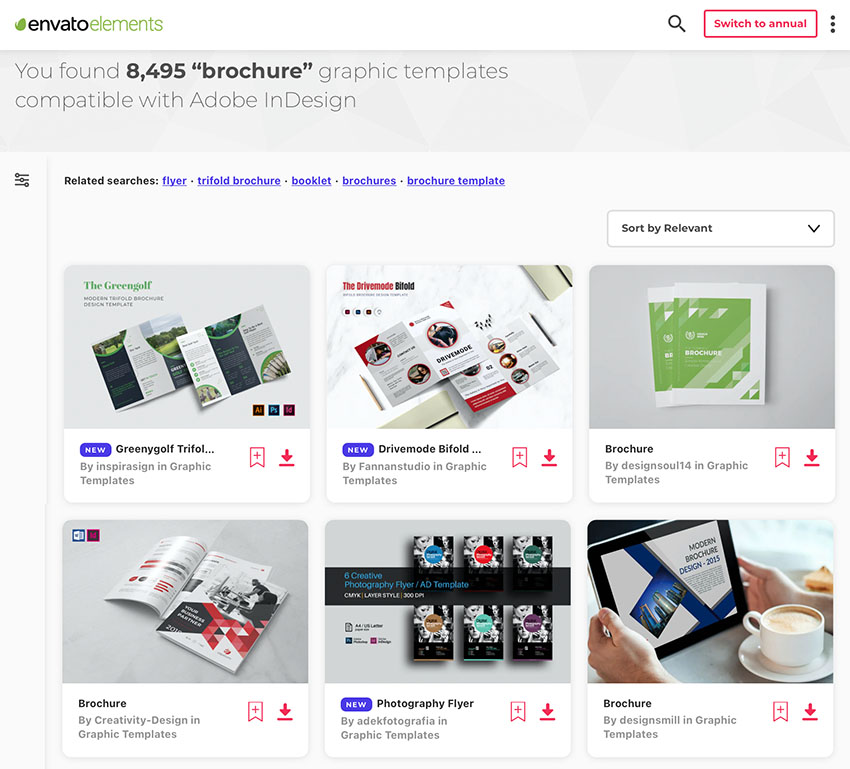
Sign up today and take advantage of unlimited downloads. It’s a convenient, cost-effective choice for creative professionals.
Now, let’s dig into how to make a digital brochure in InDesign from scratch.
1. How to Create a Digital Brochure
Step 1
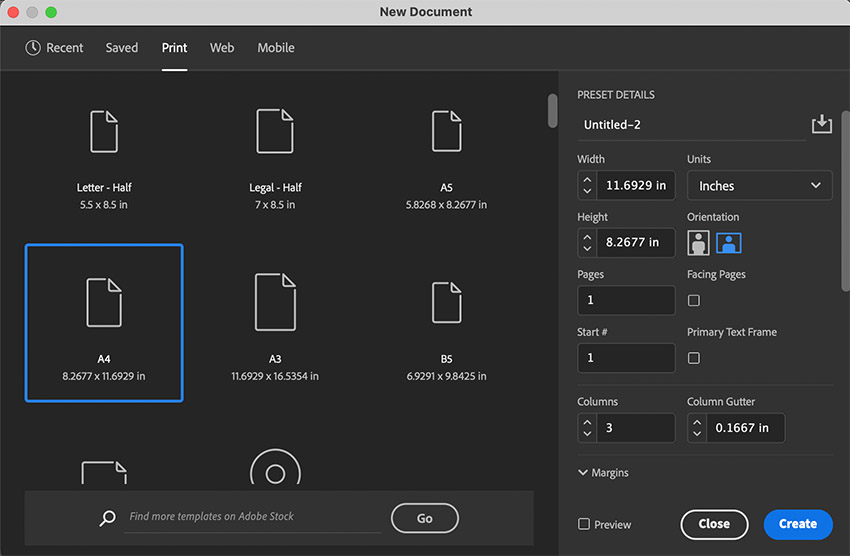
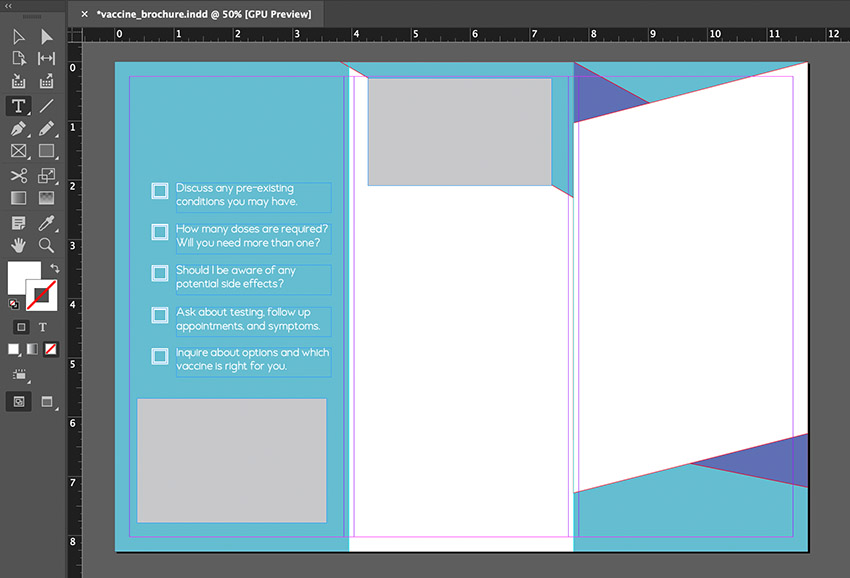
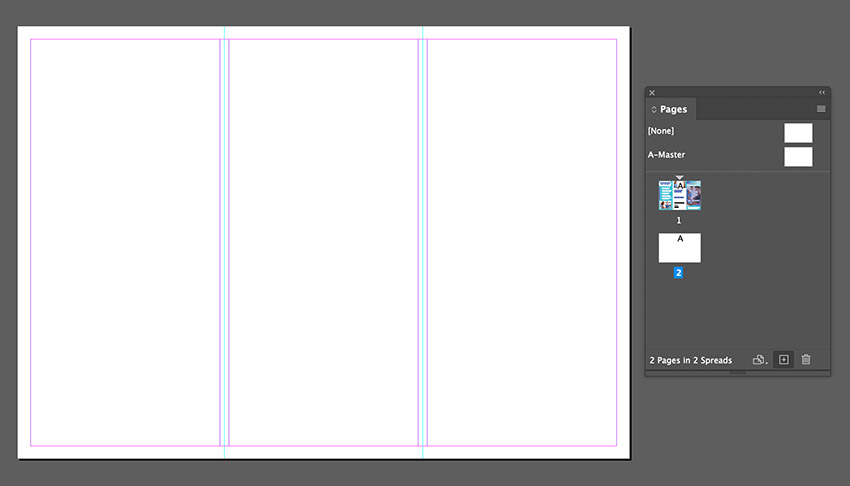
Begin by creating a new document in InDesign, by going to File > New. We’re going to work with an A4 document size, but you could work with any size you prefer. Set the Orientation to Horizontal (so the dimensions are 11.6929 inches wide by 8.2677 inches tall). Toggle facing pages off.
Set the Margins to 0.25″ on all sides, and set the Columns to 3.
Click Create once you are happy with your settings.
Tip: Make sure to scroll down here; there are a lot of settings you can customize when creating a new document!
Step 2
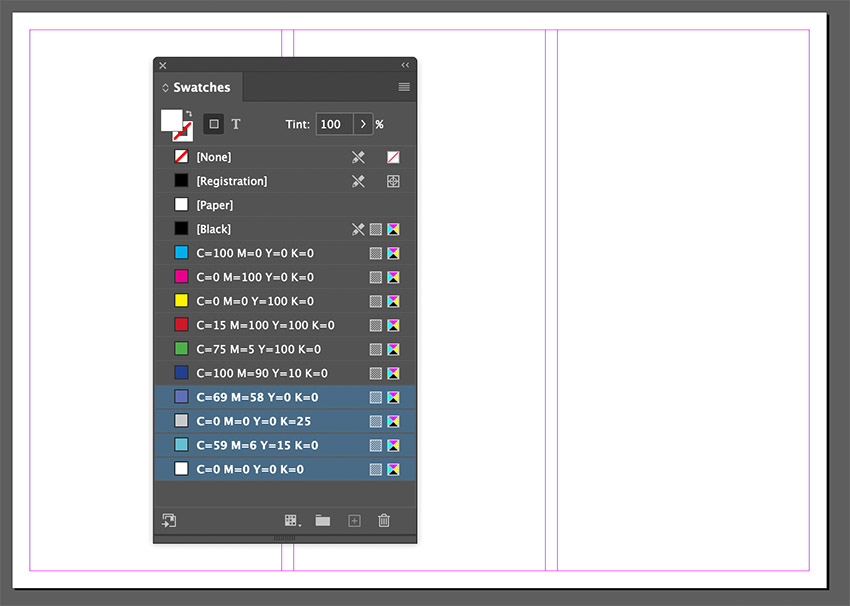
Now, let’s define some key colors in our Swatches. Go to Window > Color > Swatches to open up the Swatches panel. Click on the plus sign at the bottom of the Swatches panel to add a new color swatch. We’ll need these colors for this brochure design.
- C=69 M=58 Y=0 K=0 (a lavender color)
- C=0 M=0 Y=0 K=25 (a light gray color)
- C=59 M=6 Y=15 K=0 (a light blue color)
- C=0 M=0 Y=0 K=0 (white)
Step 3
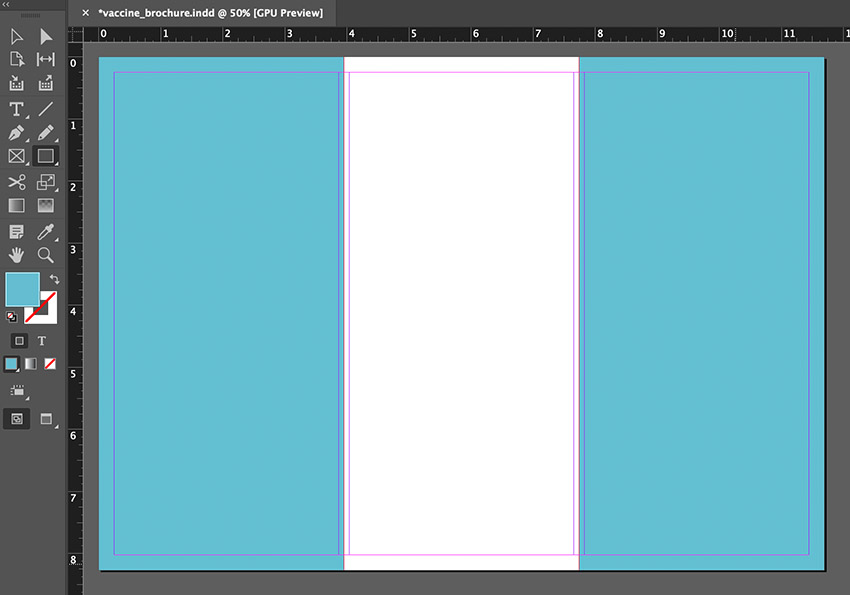
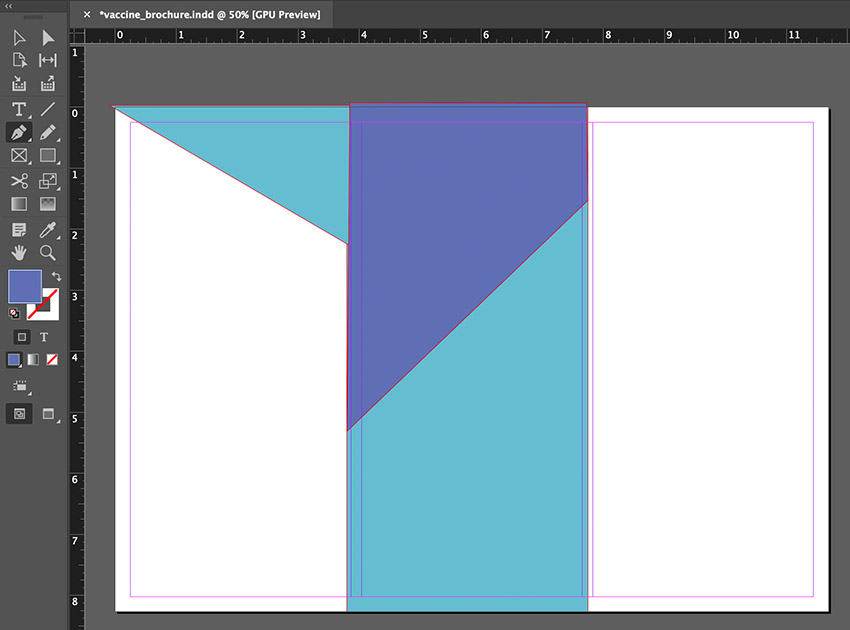
Let’s start creating our layout, using the Rectangle Tool. Choose the light blue color from our swatches. With the Rectangle Tool active, click and drag to draw a large, blue rectangle that covers the entire left panel.
Repeat this process, drawing a second large, blue rectangle that covers the entire right panel too.
Step 4
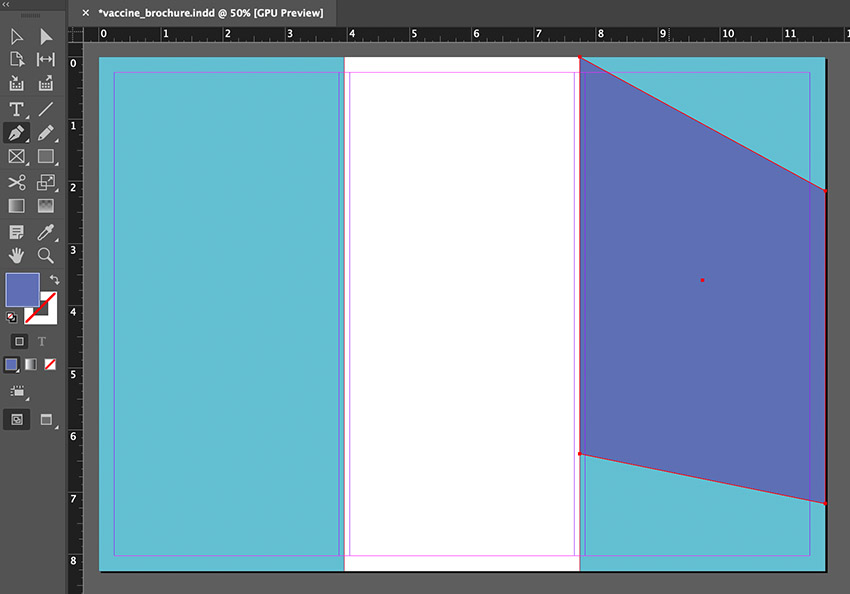
Next, select the lavender color in our Swatches. Then, select the Pen Tool. We’re going to draw a polygon instead of using the Rectangle Tool.
Click to create points in your custom shape. Create an angled, rectangular shape that looks similar to this one.
Step 5
Select the white color in our Swatches. Then, let’s use the Pen Tool again to draw a custom shape. Try to make it the opposite of our lavender shape. It doesn’t have to be a perfectly mirrored shape; a little variety here can look good.
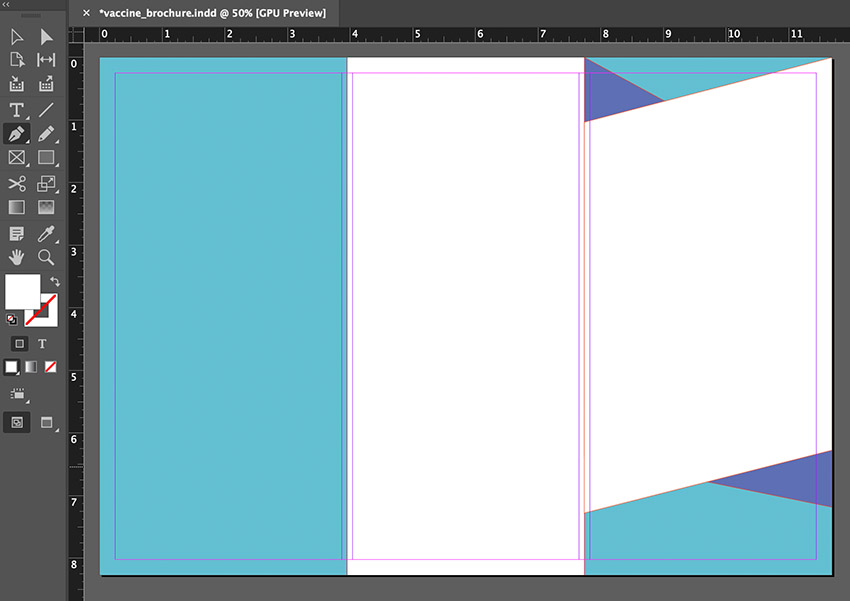
Step 6
Let’s add one more custom shape, this time in light blue. Choose the color from your Swatches panel, and then click with the Pen Tool to create a triangular shape in our middle panel.

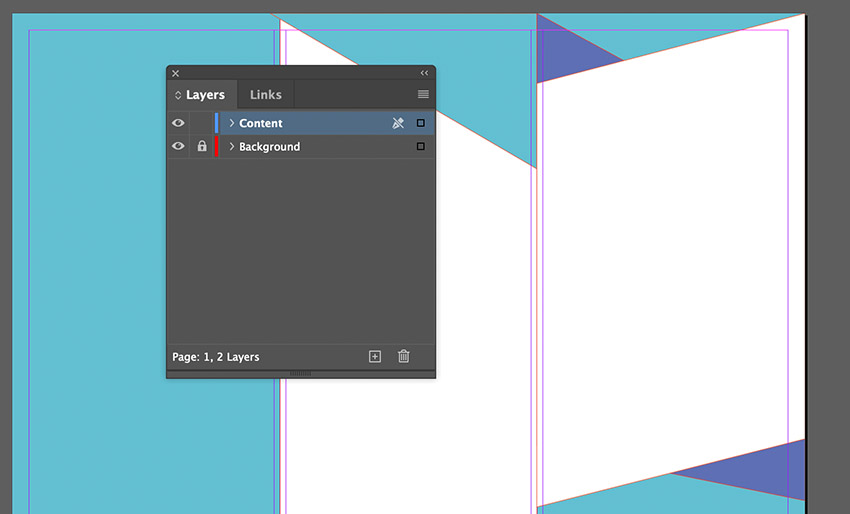
Step 7
Now, turn to your Layers panel. You can open it by going to Window > Layers. Let’s name our layer “Background”. Double-click on the name to rename it.
Create a new layer by clicking on the plus sign at the bottom of the Layers panel. Name this new layer “Content”. Then, let’s lock our Background layer for now. Click beside the eye icon to lock a layer, so its contents are preserved. It looks like a little lock symbol.
Step 8
Using the Rectangle Tool, let’s add some placeholders for our images. I used a light gray color as a temporary placeholder. Click and drag to draw these shapes.

Step 9
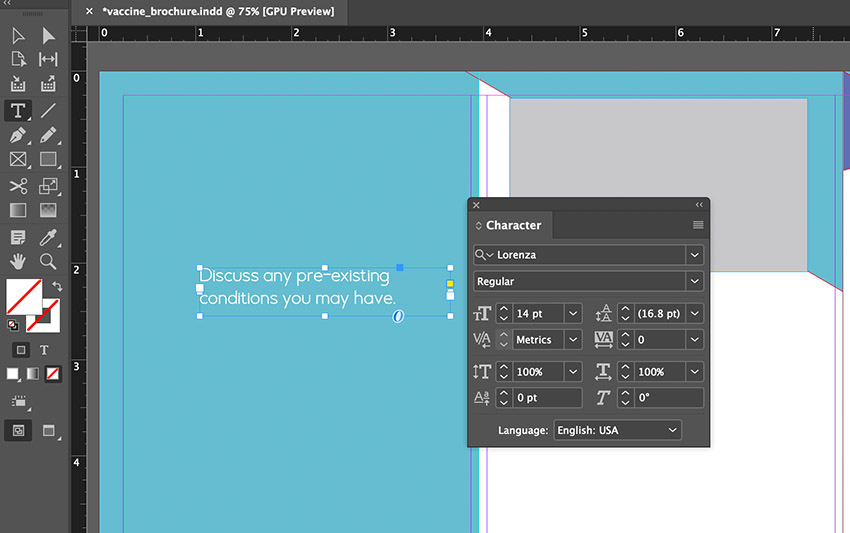
Next, let’s use the Type Tool to add some text. With the Type Tool active, click and drag to draw a text box. Then, we can type out our content. Start with a short snippet of text here. We’re going to use this text to create some bulleted points for the reader.
Turn to the Character panel to customize this type. We can open that by going to Window > Type & Tables > Character. I chose to work with the Lorenza sans serif font.
Step 10
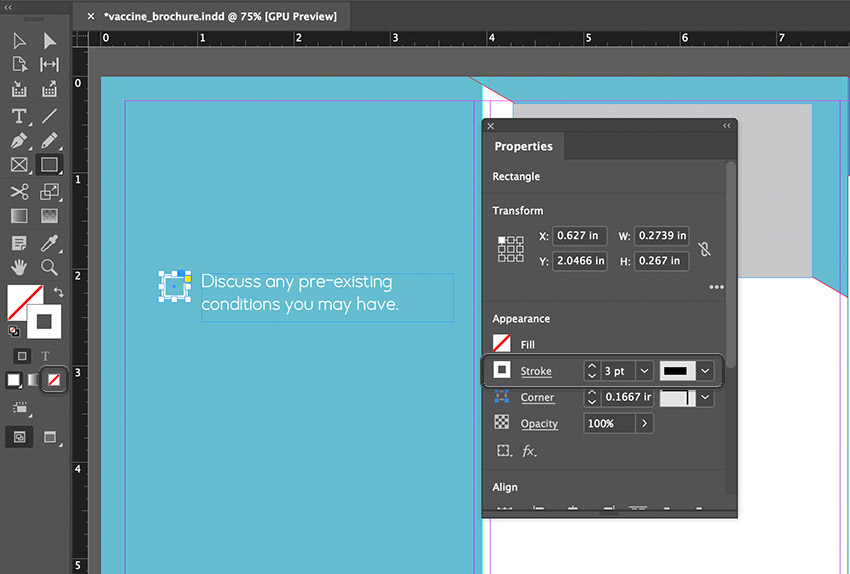
Select the Rectangle Tool. This time, we want no Fill color and a white Stroke color. You can disable a color by clicking on the square with a red line through it, below your color pickers.
Then, click and drag to draw a small square beside the text.
You can increase the stroke size in the Properties panel. Open it up by going to Window > Properties. Set the stroke to 3 pt, so the lines are thicker.
Step 11
Next, pick the Selection Tool. Click and drag to select both the text and the outlined square that we created.
Then, go to Edit > Copy. Go to Edit > Paste, and then position our copied content beneath the original items.
Repeat this process for as many points as you like. You can use the Type Tool to edit each point here.
Step 12
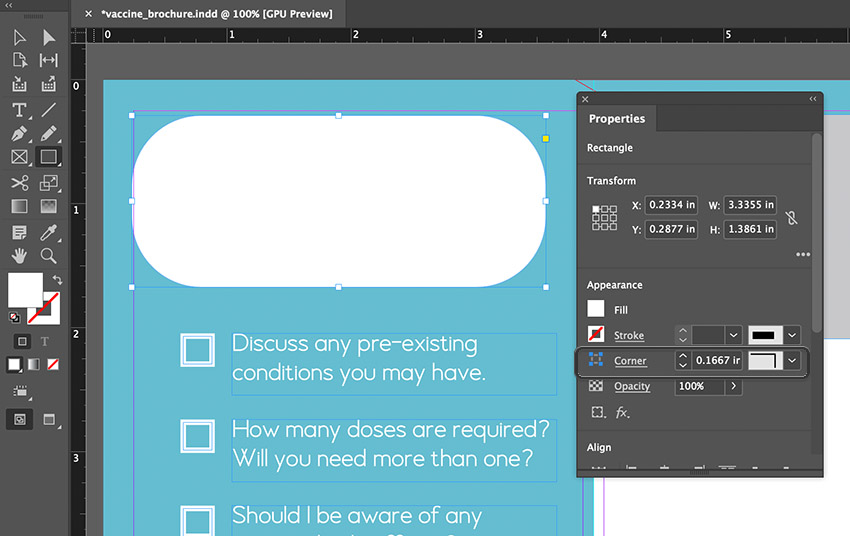
Now, let’s go back to the Rectangle Tool again. Select the white color from your Swatches, and then click and drag to draw a rectangle in the upper portion of the left panel.
With your rectangle still selected, go to the Properties panel again (Window > Properties). Set the Corner to 1.667 inches. This gives us a rounded rectangular shape.
Step 13
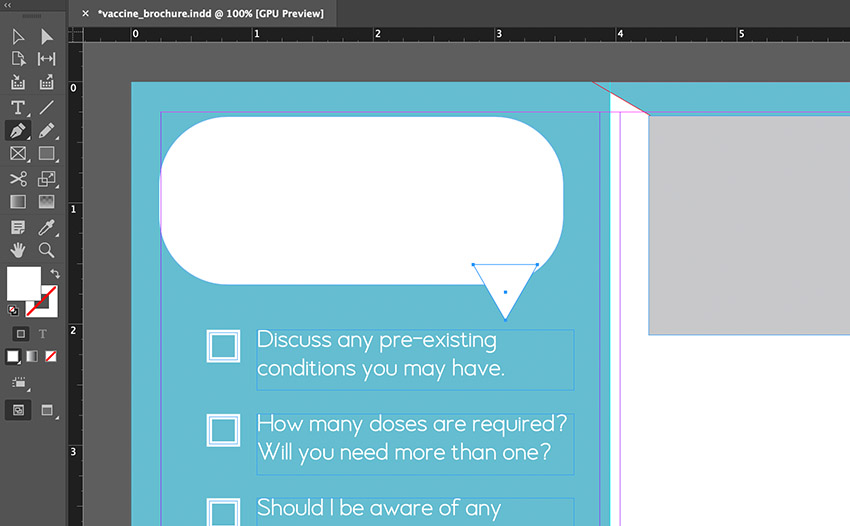
Next, let’s use the Pen Tool to draw a custom shape, as we did earlier in this tutorial. Select the white color in your Swatches, and then click to draw points in your new shape. We want a triangular shape, at the bottom of our rectangular rectangle.
The result is a speech bubble shape, like this.
Step 14
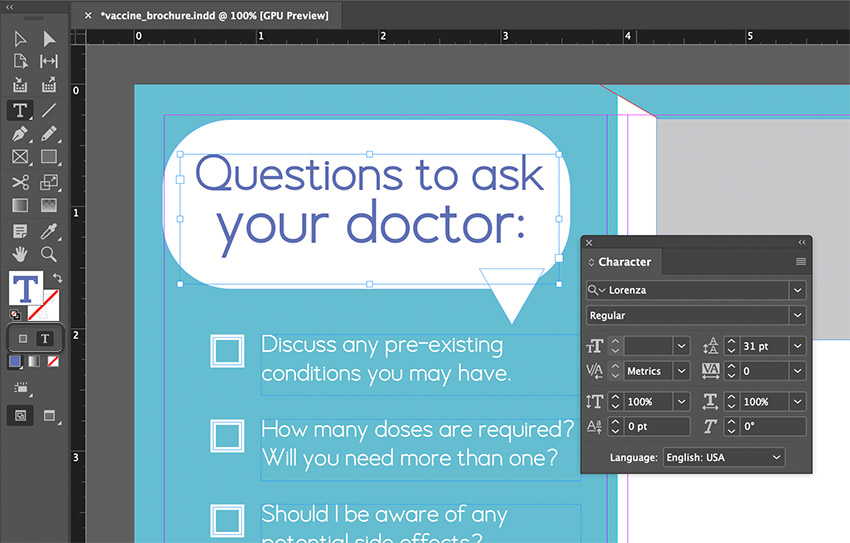
Now, let’s use the Type Tool to add a header in this speech bubble shape. Just like we did before, with the Type Tool selected, click and drag to draw a text box. Then, with your text box created, type to add your text to this space.
Use the Character panel (Window > Type & Tables > Character) to customize your text. Again, we’re using the Lorenza font in this design.
Tip: Not sure how to change the font color? Toggle between changing the color of objects and text right below the Stroke and Fill colors, as highlighted below. If your Stroke and Fill colors look like a “T”, you are changing the text color.
Step 15
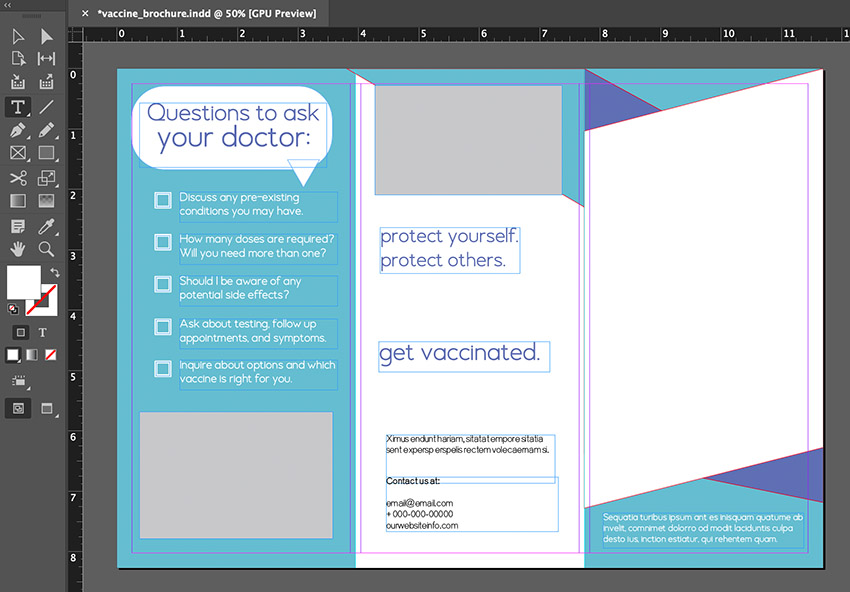
Let’s repeat this process for the other panels in our design. Use the Type Tool to add text to your composition, using the same process:
- Click and drag to draw a text box with the Type Tool.
- Type to add your text to your text box.
- Use the Character panel to customize your font, size, and other attributes.
There is no wrong answer here. Add as many text boxes as you prefer, or feel free to follow the example below:
Step 16
Next, we’ll add some accents to our work. Let’s go back to our Rectangle Tool. Turn to the colors we’ve already established in our Swatches. Just as we’ve done before, click and drag to draw new rectangles in your design.
Here’s an example of some places where you could add extra shapes. I added one to the back in lavender, and two to the front, one in lavender and one in light blue.

Step 17
We can also add some extra touches with the Line Tool. Start by selecting the Line Tool. Then, turn to your Stroke and Fill colors. Swap them by clicking on the double arrow above them. You can bring the Stroke color to the front by clicking on it (it’s the outlined square, rather than the filled one).
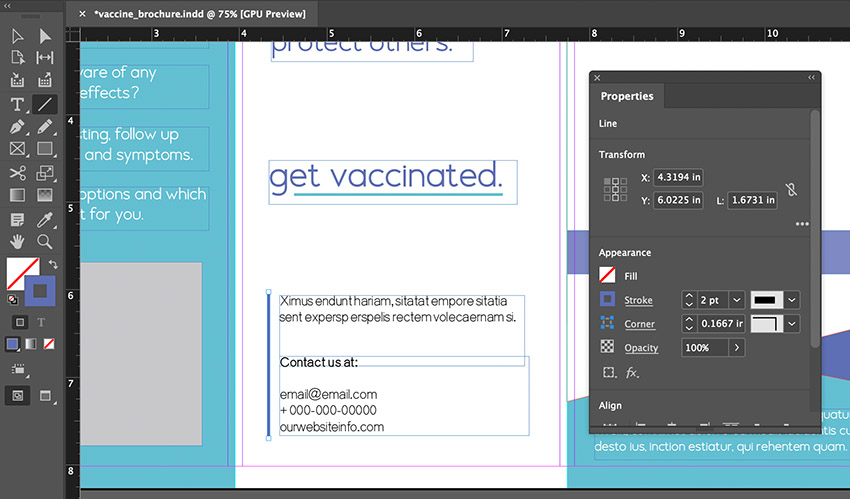
For our Stroke color, use our light blue. Click and drag to draw a line. I drew one beneath some of the text on the middle panel, to add emphasis.
With your Stroke still selected, turn to your Properties panel. You can change the stroke size here; in this example, I’ve used a Stroke size of 2 pt.
Repeat this process as many times as you like. For example, I added a vertical line to the bottom text on the center panel.
Step 18
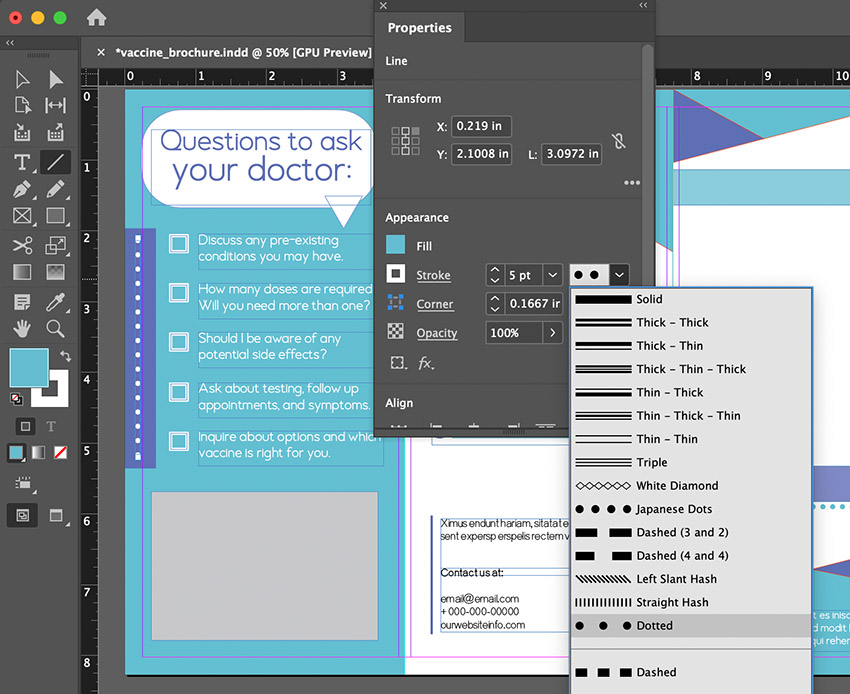
We can also create a dotted line. This time, let’s set our Stroke color to the white color from our Swatches. Select the Line Tool and click and drag to draw a line.
Then, turn to your Properties panel. This time, let’s turn the Stroke up to 5 pt. Besides the Stroke width, we can also change the style of the stroke. Let’s change ours to Dotted.
Repeat this process as many times as you’d like. I added some dots to the far right panel too.
Step 19
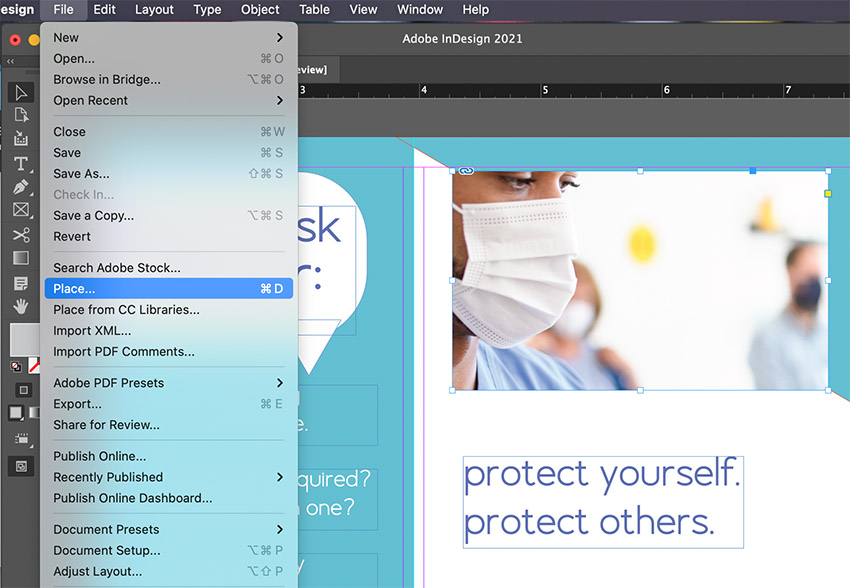
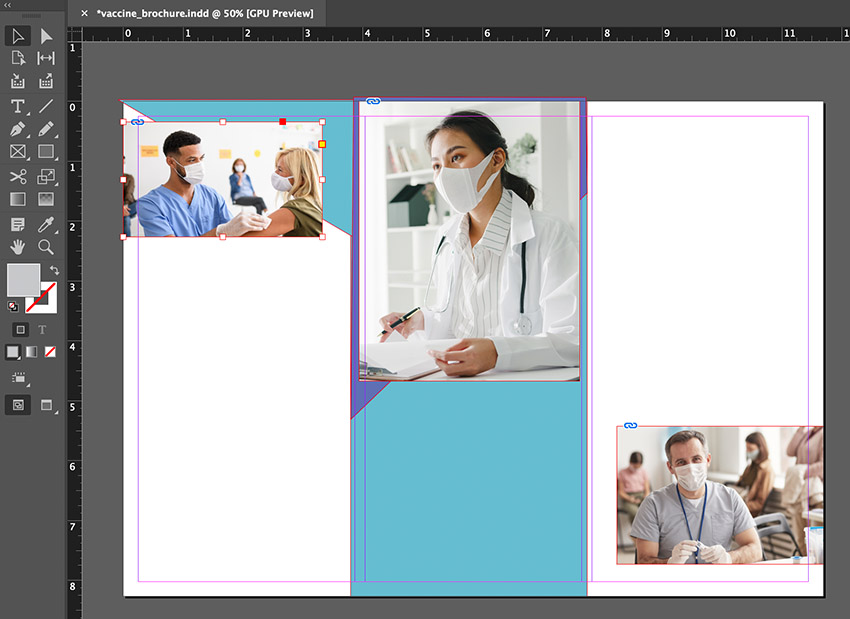
Now, let’s start inserting some images into our composition. Using the Selection Tool, select one of our placeholder rectangles.
Then, go to File > Place.
Select the file on your computer, and then click OK. InDesign will then insert the image into the rectangle for us. However, it likely won’t fit the way we’d like it to, by default.
Step 20
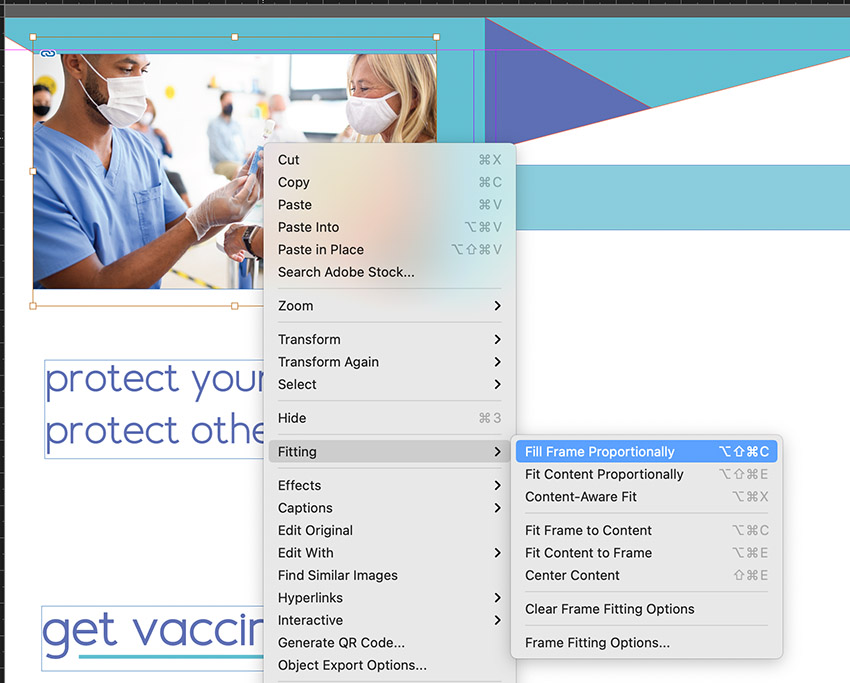
One quick way to address this issue is to right-click on PC or Control-click on Mac. Then, from the resulting menu, go to Fitting > Fill Frame Proportionately. Then, the image is resized to fit the frame in a proportionate way.
Step 21
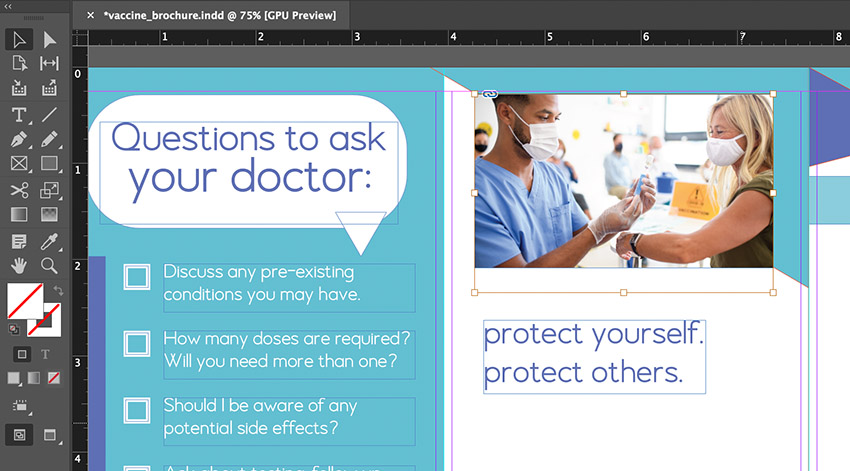
We can also double-click on the image to toggle between the rectangular frame and the image itself. With the image selected (not the frame), click and drag on the resize handles to manually resize and adjust your image.
Step 22
Unlock your Background layer. Then, repeat this process for the other placeholders in your design, including the irregularly shaped white shape on our right panel (this one is on our Background layer). The concepts and process are the same, even if our shape is not a square.
Step 23
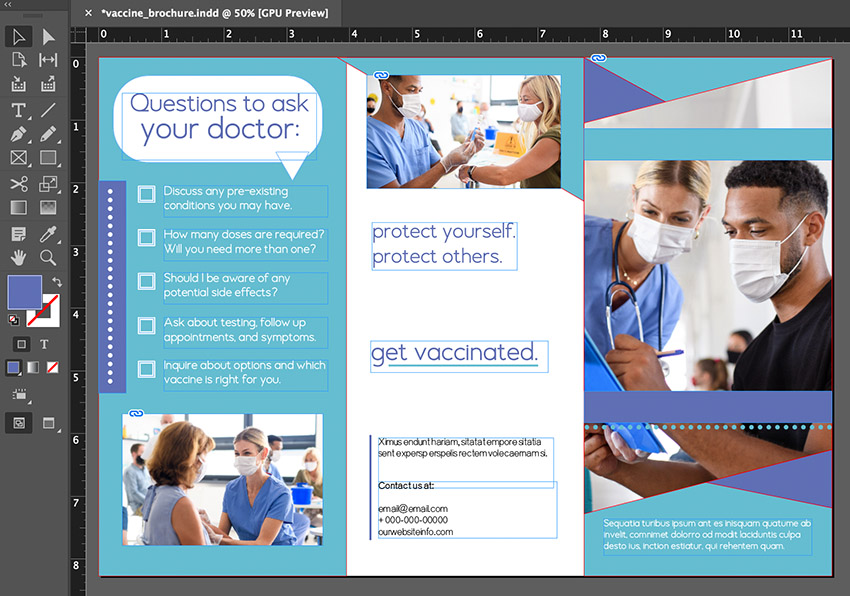
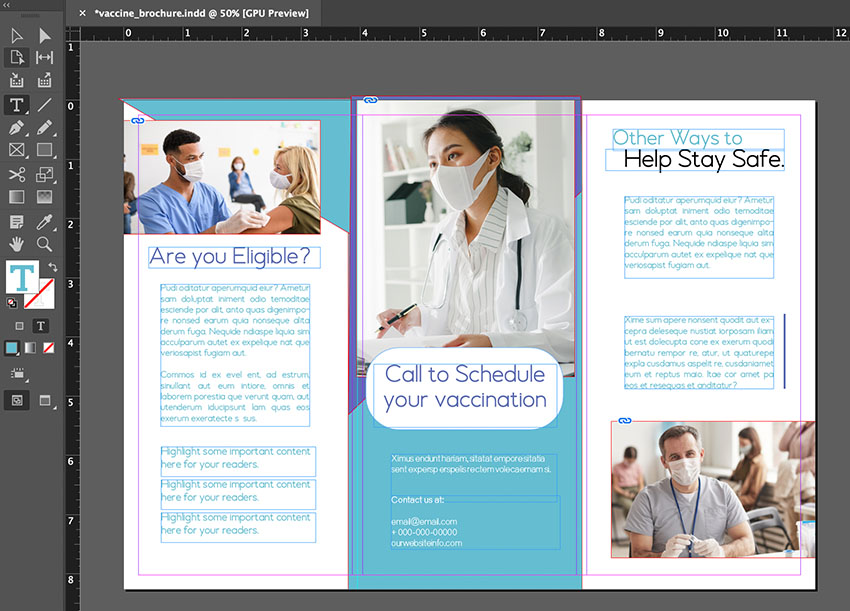
However, let’s add a special effect here on the right panel. It’s the front of our brochure, so it’s a great place for some extra eye-catching elements.
Using the Selection Tool, select the shape holding our image on the right panel. Then, go to Object > Effects > Transparency.
Set the Opacity to 63%. Then, click OK to apply this effect. Notice how this affects our photo; it gives it some opacity against our varying colors.
Tip: If you toggle Preview on, you can preview your effects before you click OK, as shown below.

Step 24
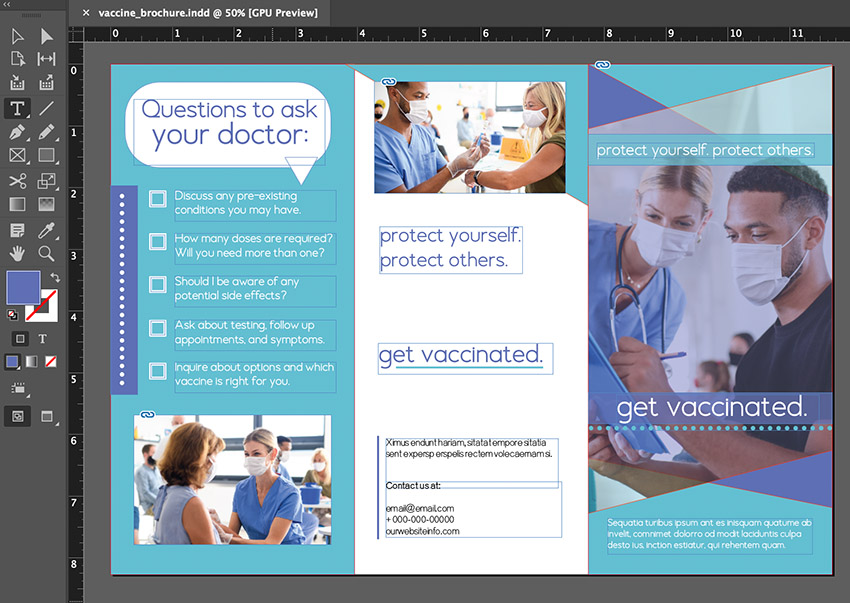
Repeat this process for the two rectangular shapes on top of our image too. Select them, and then go to Object > Effects > Transparency and turn the Opacity down to 75%.
Now we have a lot of interesting opacity in our right panel. Finish this panel by adding some text with the Type Tool.
Step 25
Now that we’ve finished the exterior of our brochure, let’s look at the interior.
To create this, open your Pages panel by going to Window > Pages.
Create a new page by clicking on the plus sign at the bottom of the Pages panel. This second page will be the interior of our trifold brochure.
From the Pages panel, we can easily jump from the front to the page. Just double-click on the page thumbnails here in the Pages panel to do so.
Step 26
Let’s use the techniques we’ve already used in this tutorial.
Use your Rectangle Tool to create a large, light blue rectangle in the center panel.
Then, use your Pen Tool to draw some custom, angled shapes, like the ones shown below. I added a light blue one to the left panel, and a lavender one to the middle panel.
Step 27
Next, let’s get some images into our layout. You can start with placeholder rectangles, as we did before.
Select the shape where you’d like your image placed, and go to File > Place, just as we did before. If you’re unsure, go back to Step 19.
Repeat this for as many images as you’d like. Feel free to follow this example.
Step 28
Then, use the Type Tool to add text to your layout, as we did on the other side of our brochure. I continued to use the Lorenza sans serif font, to help keep the design visually consistent.
I also added a rounded rectangle to add some emphasis to key type in the center panel.
Step 29
Use the Line Tool to add some accents to your work. Click and drag to draw your lines, and refer to your Properties panel to change the Stroke width and style.
If you don’t remember how, go back to Step 17. Try using lines and dotted lines in a way similar to the other side of our brochure. This can help make our design look consistent.
Remember to save your work by going to File > Save. It is highly recommended that you save as an INDD or InDesign Document.
2. How to Create an Online PDF Brochure
Step 1
One of the things we need to consider is our digital brochure format. Where and how do you plan to distribute your brochure? Will you offer a downloadable PDF document? Do you want to allow your viewers to read this online?
Let’s begin with how to create an online PDF brochure.
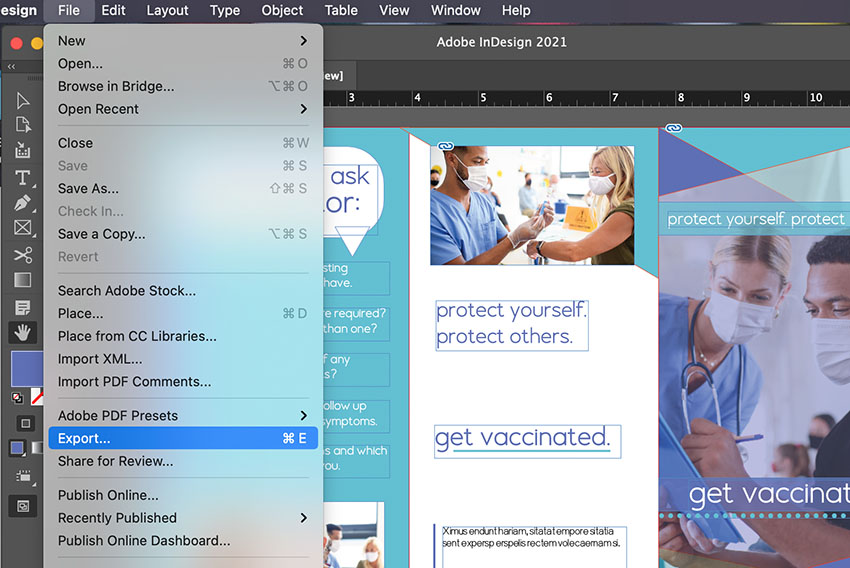
Begin by going to File > Export.
Step 2
Then, we get to choose how we’d like to export our work. You get a variety of options, so it’s good to be aware of them. In this case, we’ll go with Adobe PDF (Interactive), since we’re looking to create a web-friendly, digital presentation.
Keep your master INDD document, and make sure to save it. This is your editable design file, and you can export your work to as many file types as you want. So, if you want a printed version, you can do that too.

Step 3
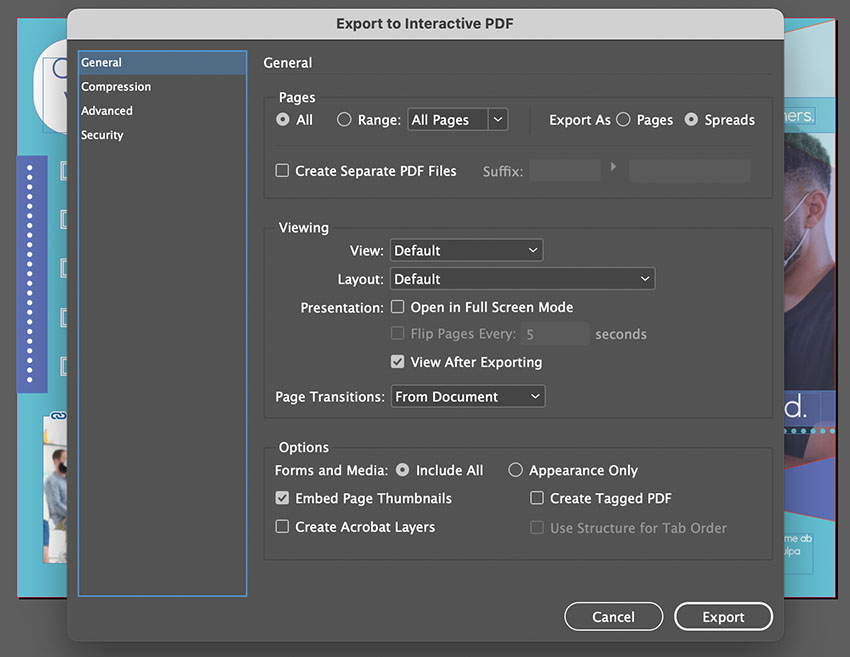
Now, we’re referred to our Export to Interactive PDF settings.
- General. These are general settings, like how many pages you want to export and viewing preferences.
- Compression. This affects your file sizes. Medium is typically selected here by default. Keep your compression moderate so it is more web-friendly. Higher-quality images are often a better fit for print.
- Advanced. These are the language and title options.
- Security. You can add a password to your PDF document, if you’d like an extra layer of security. However, consider this a deterrent and not a substitution for web security best practices and laws.
Once you’re happy with your settings, click Export to export your document. It’s ready to open and view with your favorite PDF viewer.
3. How to Publish Your Digital Brochure InDesign File Online
Step 1
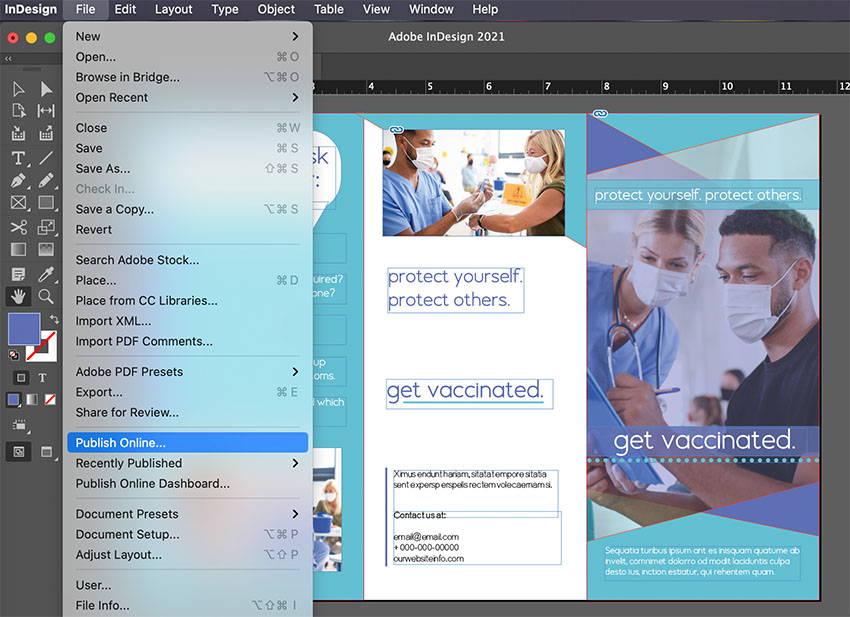
InDesign also gives us an even easier way to export, publish, and share our digital brochure online. Try going to File > Publish Online.
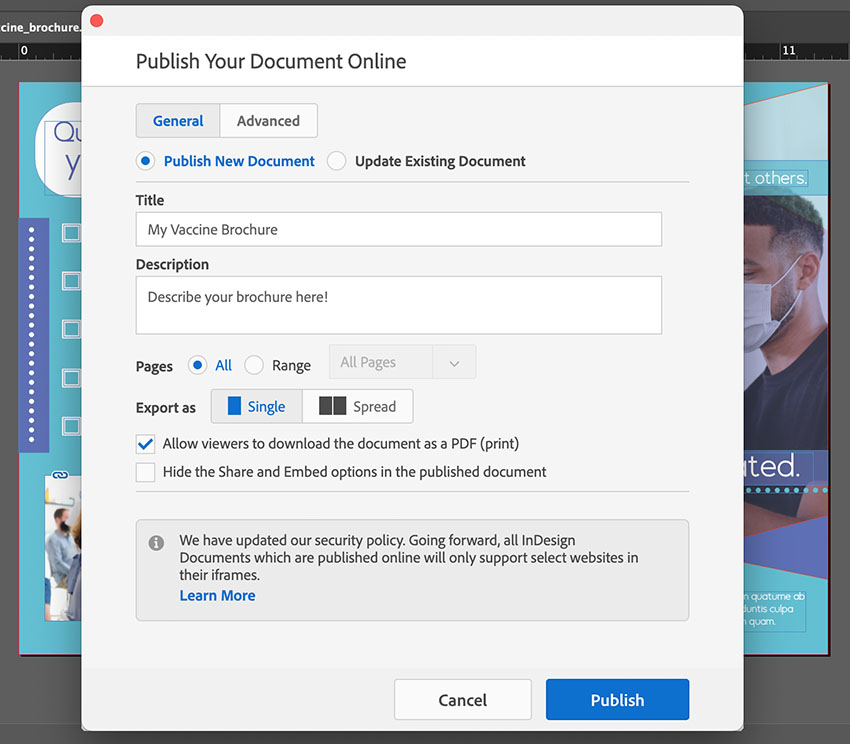
Step 2
Next, InDesign asks us for our preferences. Give your work a name and choose the settings that best suit your project. For example, you may want to allow your readers to download a PDF document that they can print out.
You can also update an existing document, just in case you change your mind later.
Click Publish to continue.
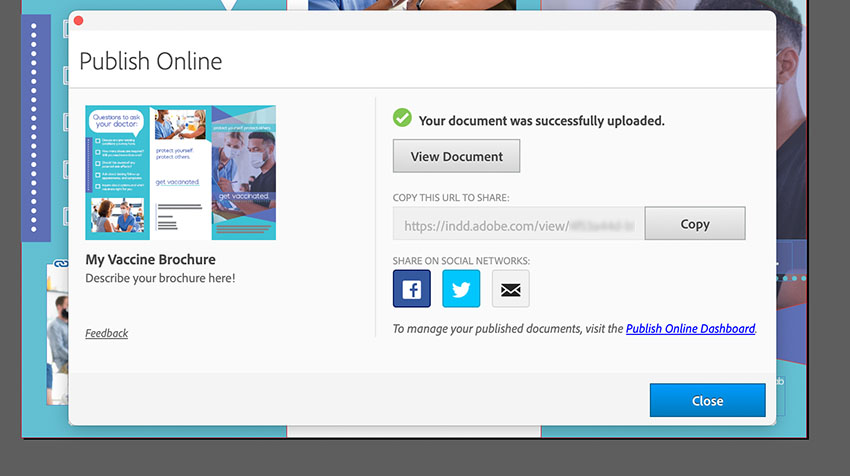
Step 3
And just like that, our work is published online. This is convenient, because we’re immediately supplied with a link that we can share. Click View Document, and you can view your document online. You can also copy the link here, if you prefer the URL.
Note that InDesign also gives us a Publish Online Dashboard link here.
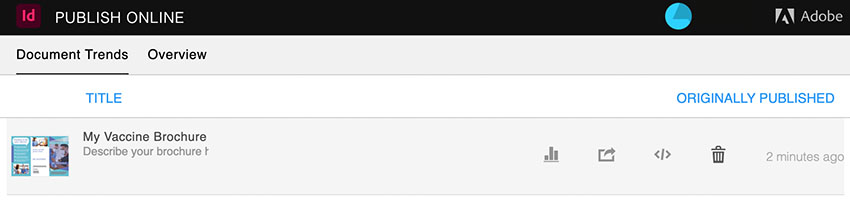
Step 4
Here is a preview of what the Publish Online Dashboard looks like. You can access and view your document, share it, and delete it too. Just hover over the file to access these options.
Step 5
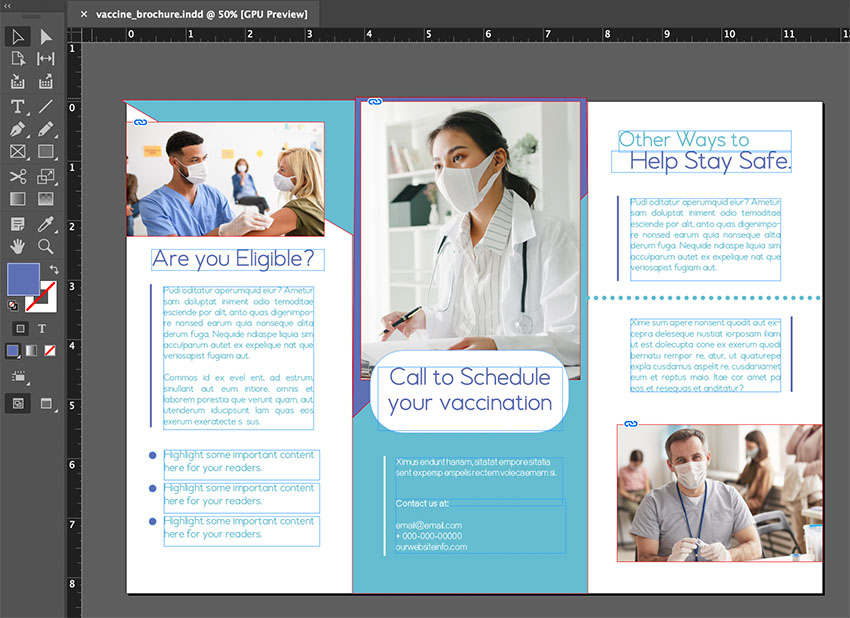
And here’s what our online digital brochure looks like when we view it online. We can browse, zoom, share, and download, right from the comfort of our browser.

And There You Have It!
We’ve created a digital brochure template, step by step. Well done making it through all the steps. I hope you take these techniques and make plenty of brochure template designs for yourself. Happy designing!
If you’re looking for a shortcut, you can check out the digital brochure templates on Envato Elements. There are thousands to choose from. Envato Elements includes unlimited downloads, so you can try out as many as you want. This also includes stock photos, graphics, fonts, and more. It’s all included.
Check out these digital brochure templates from Envato Elements.
1. Future Education Trifold Brochure
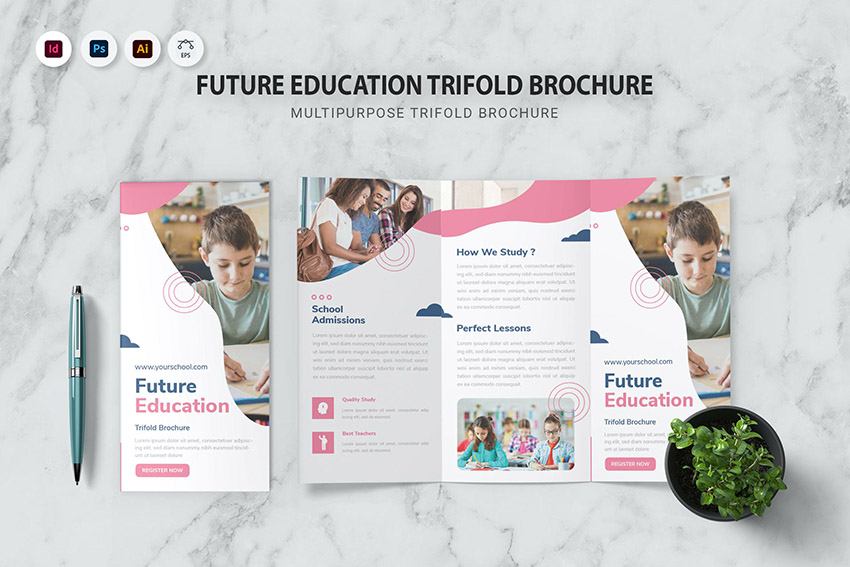
Check out this cheerful brochure design. Add your content to have a finished design in a snap. Prefer different software? It also includes files for Adobe Photoshop and Illustrator.
2. Medicalino Trifold Brochure
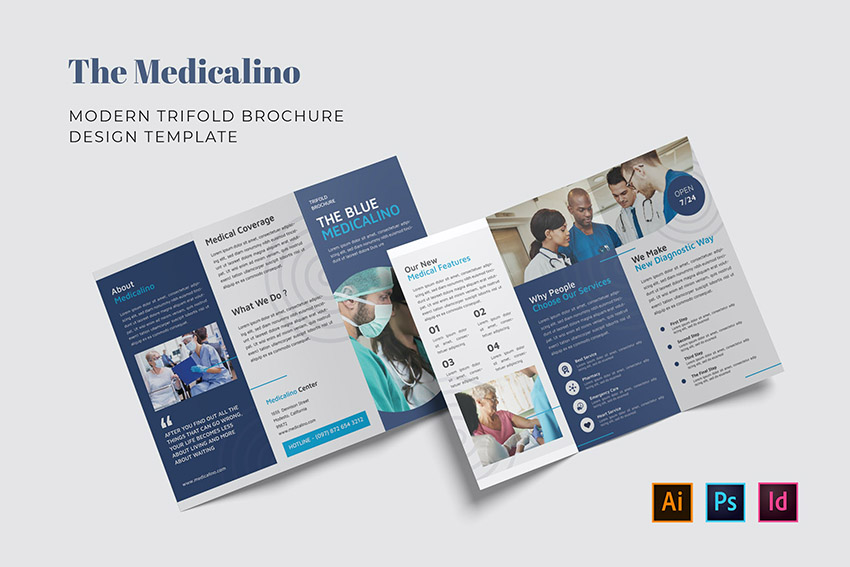
This elegant design is a versatile choice. Use it for the medical industry, or customize it to fit your design needs. You can change the colors, fonts, and more.
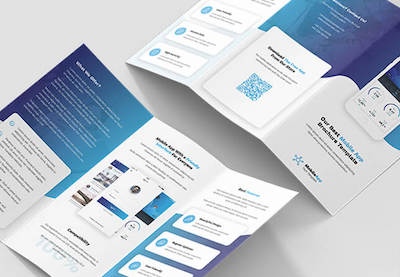
3. Business Tri-Fold Brochure

This design would work for a variety of projects. Would you stick with this color scheme, or mix it up in a different way? You can customize these designs as little or as much as you want.
4. LUMINA Trifold Brochure
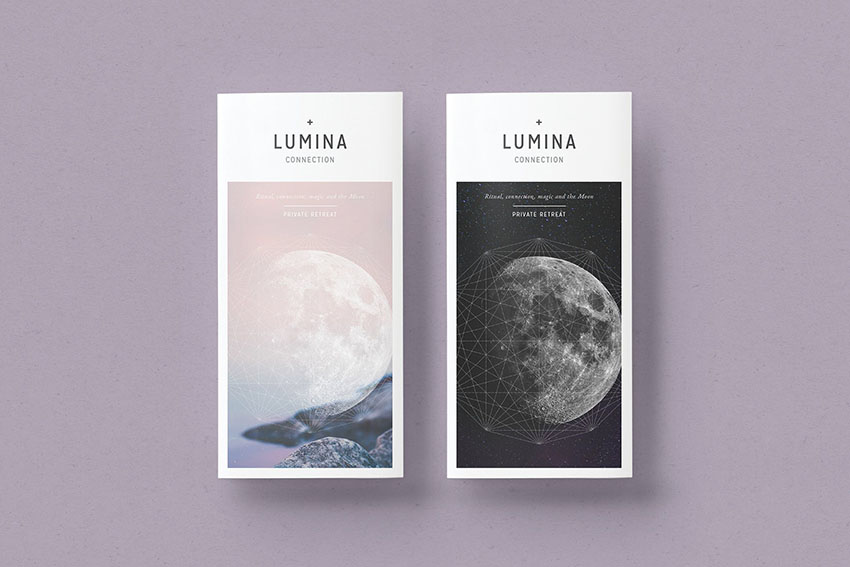
This is such a stylish, elegant design. It’s a great fit if you’re looking to show off beautiful photography, product photos, and concepts. Click to check out more previews.
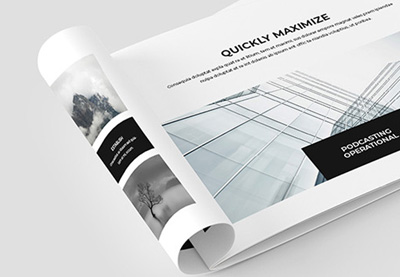
5. Brochure Studio Tri-Fold

If you’re looking for a versatile design that can serve many purposes, check out this design template. Try different images, different fonts, and different colors.
Check Out Even More Digital Brochure Examples
Looking for even more design inspiration? Check out these collections of digital brochure templates from Envato Tuts+. There’s plenty more to see.
 Brochure44 Best Creative InDesign Brochure Templates (New for 2021)
-
Brochure25+ Best Business Brochure Template Designs (Professional Pamphlets 2021)
-
Brochure20+ Best Modern Corporate Brochure Templates With Clean Designs for 2021
-
Brochure30+ Best New Business Brochure Templates for 2021
-
Brochure20 Best Free Bifold & Tri-Fold Brochure Template Designs (Download 2021)


Learn More About Brochure Design and Adobe InDesign Today
There’s plenty more to learn about Adobe InDesign too, and you can keep learning on Envato Tuts+. In fact, we have a whole collection of tutorials on brochures. Learn to make different sizes, styles, and more. Learn more about Adobe InDesign today.