
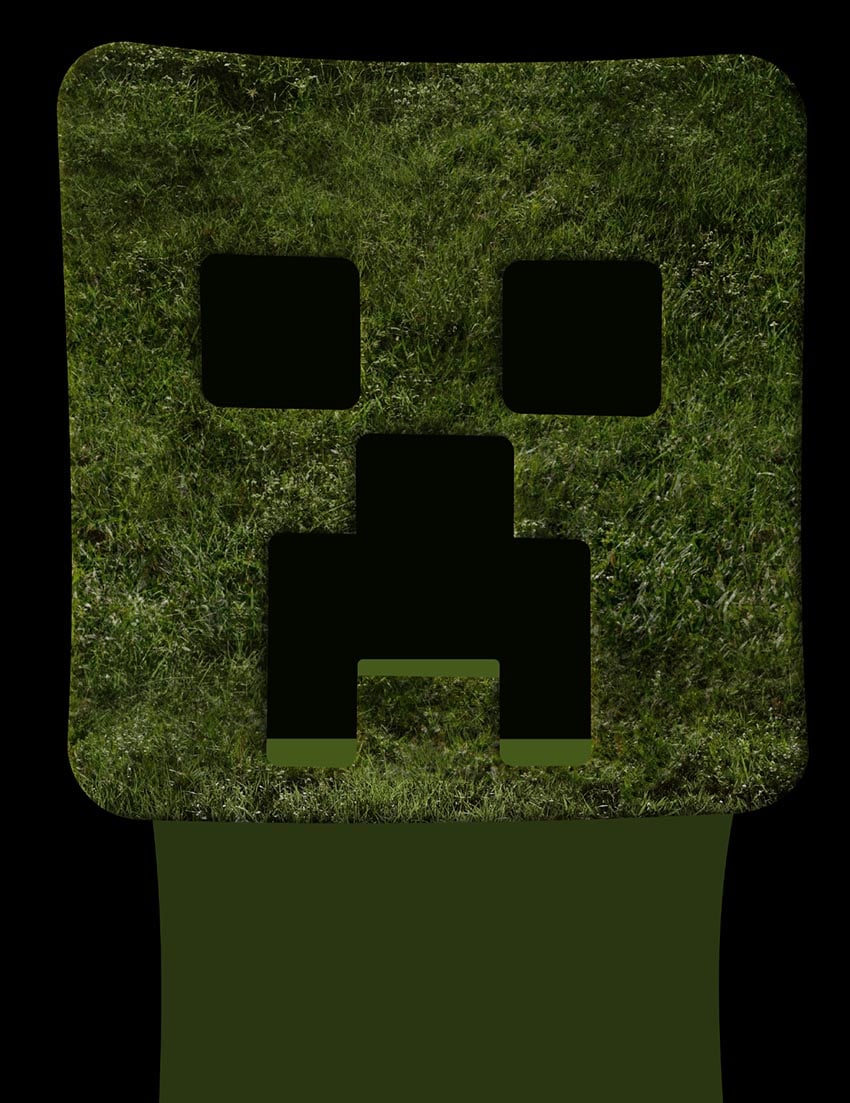
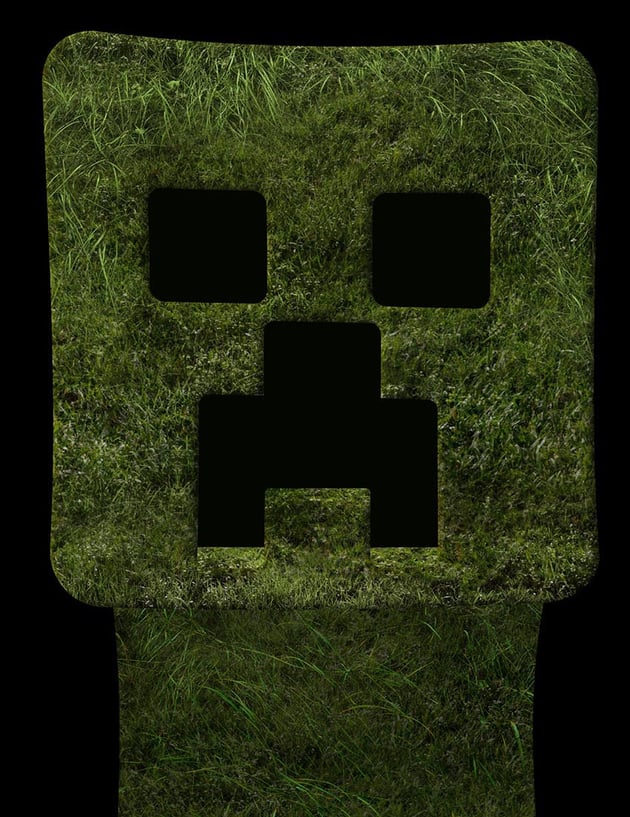
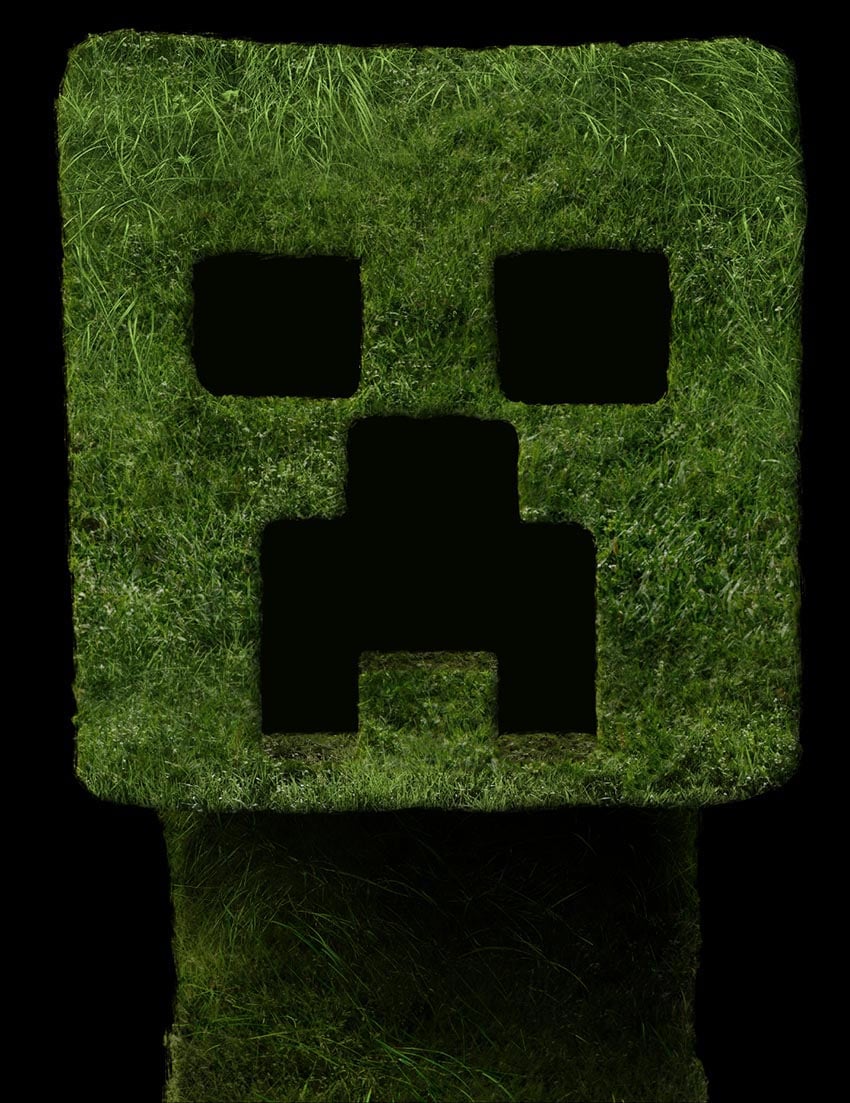
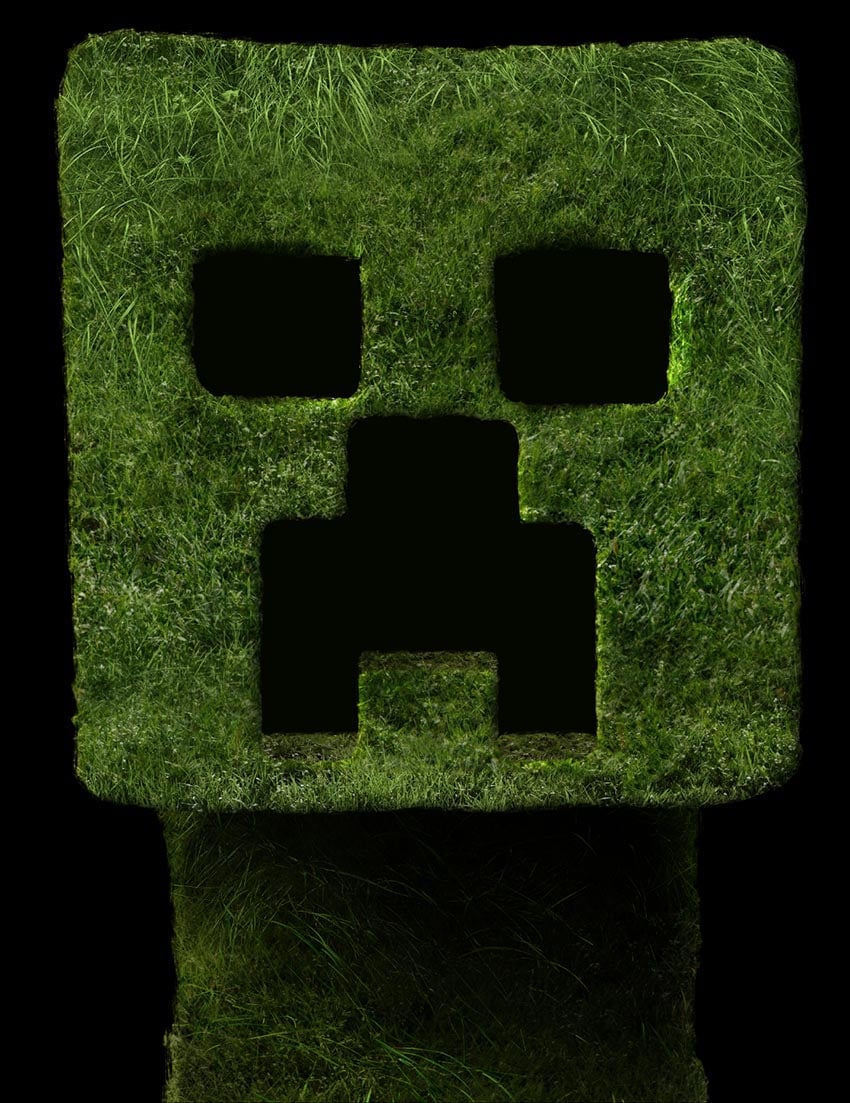
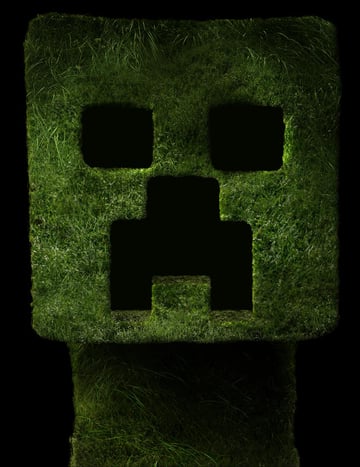
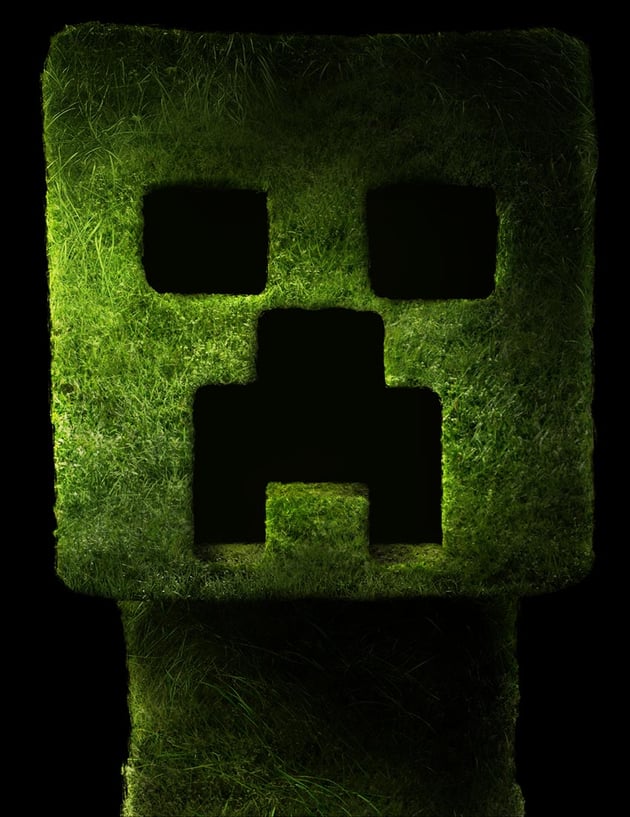
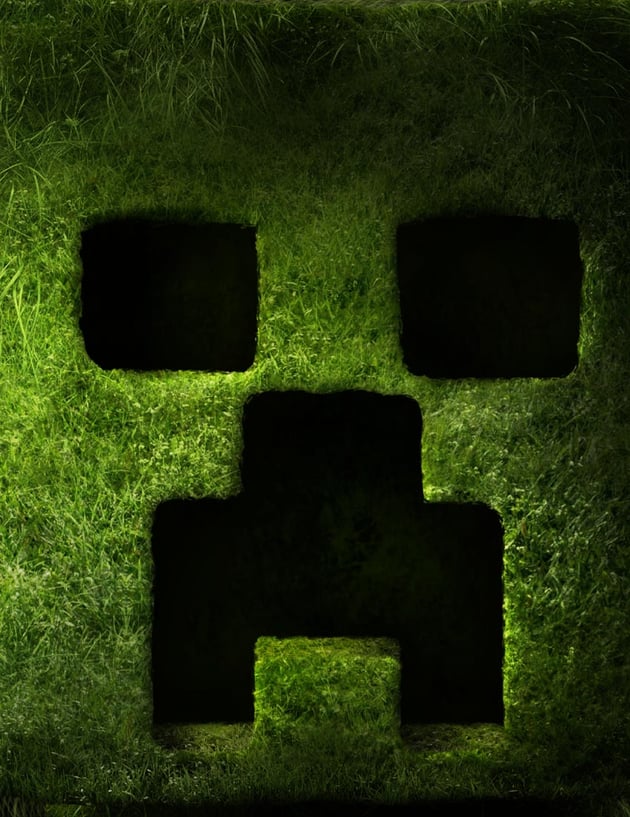
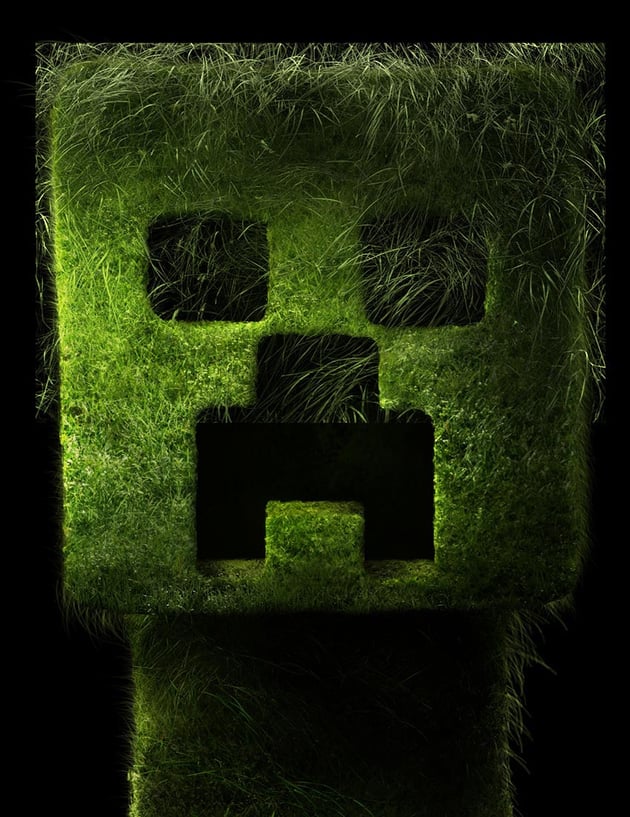
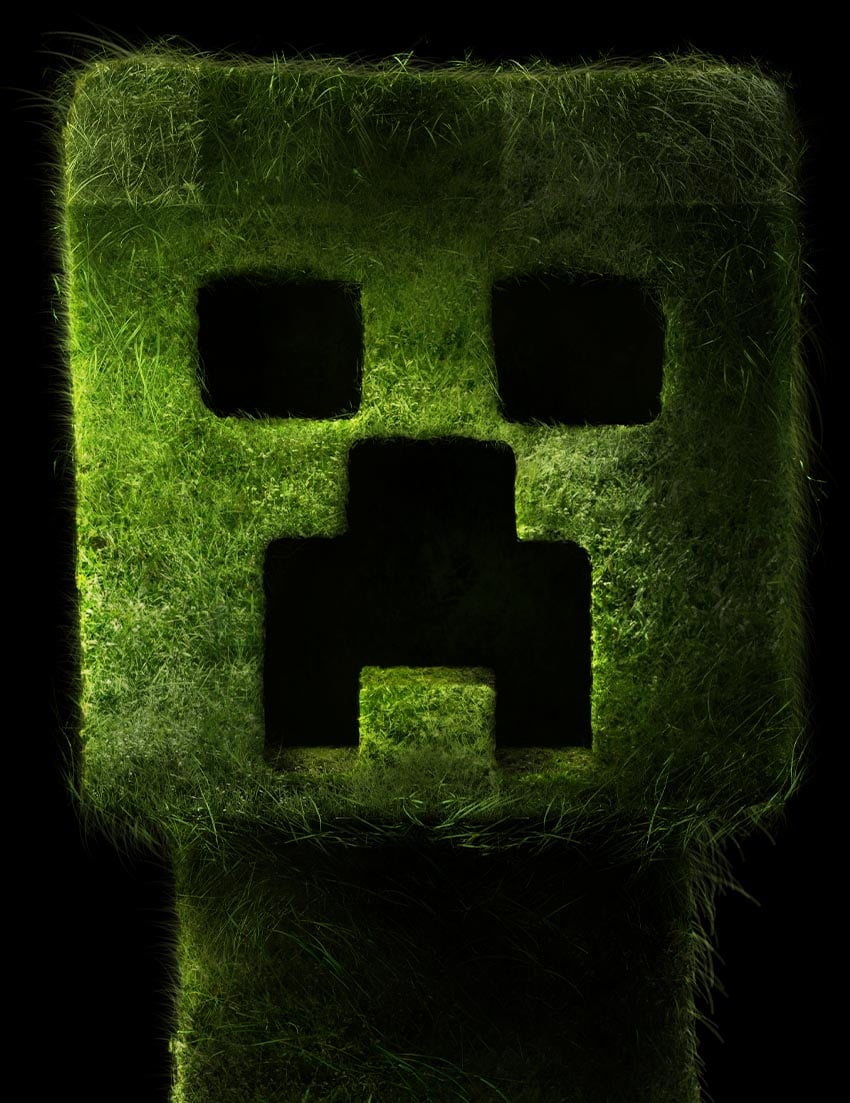
Today, we’ll be tapping into some Minecraft inspiration and creating a photo-realistic creeper! This Photoshop effect is easier than it looks, and it uses simple painting techniques to turn default shapes into 3D. You’ll also be learning how to use textures in Photoshop.
What you’ll learn in this Photoshop tutorial
- How to make textures in Photoshop
- How to make a Minecraft grass texture creeper
- How to use Blend If in Photoshop
- How to paint lighting in Photoshop
What you’ll need
1. How to create the base of the creeper
Step 1
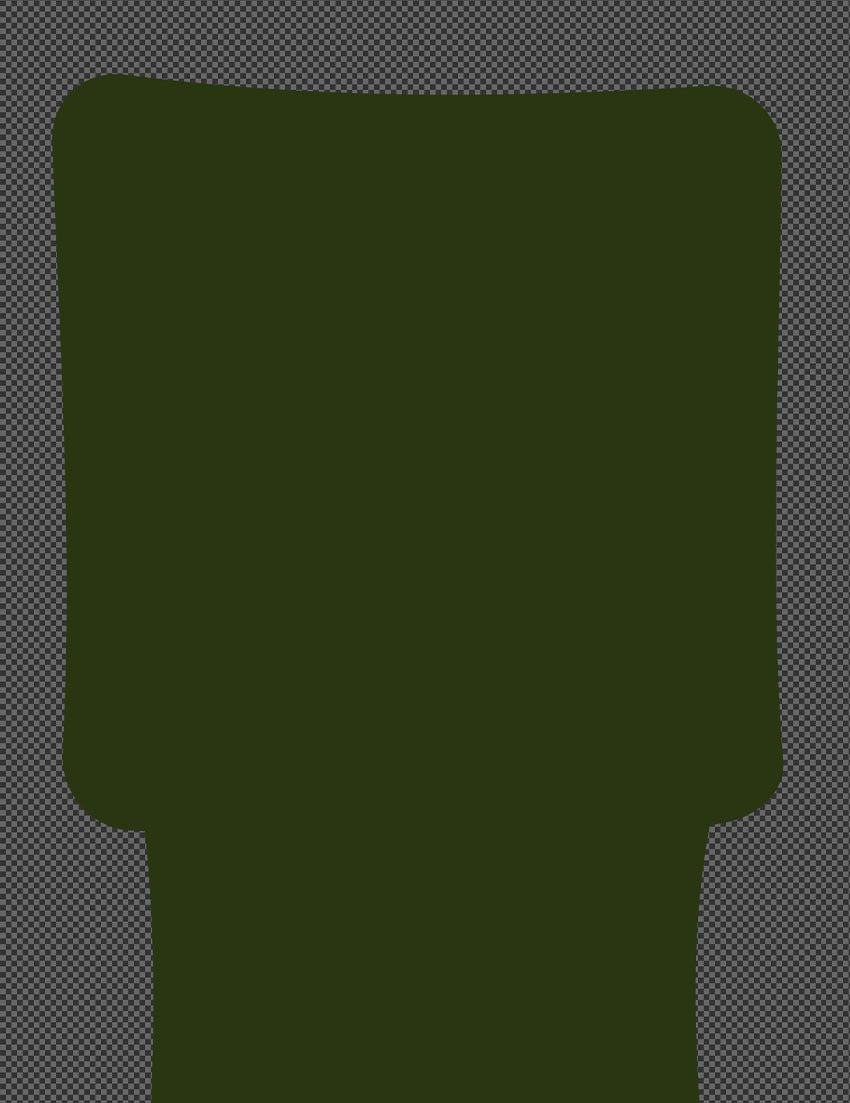
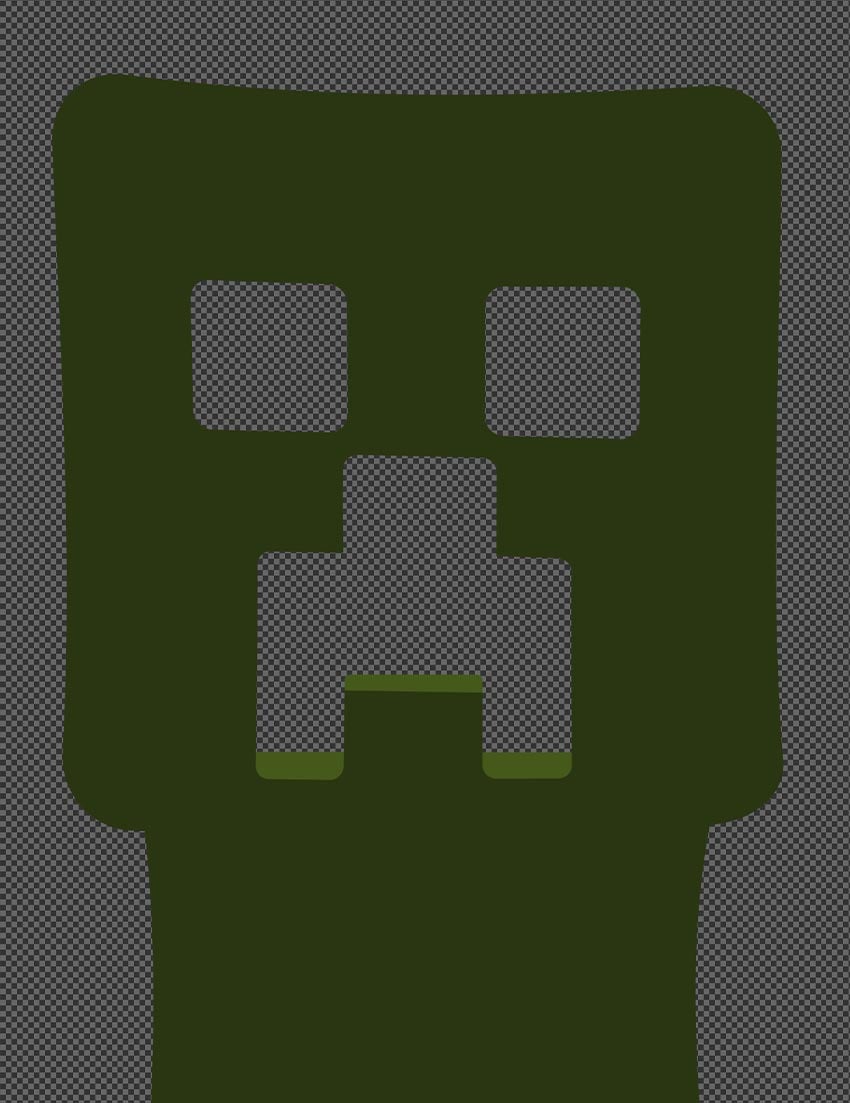
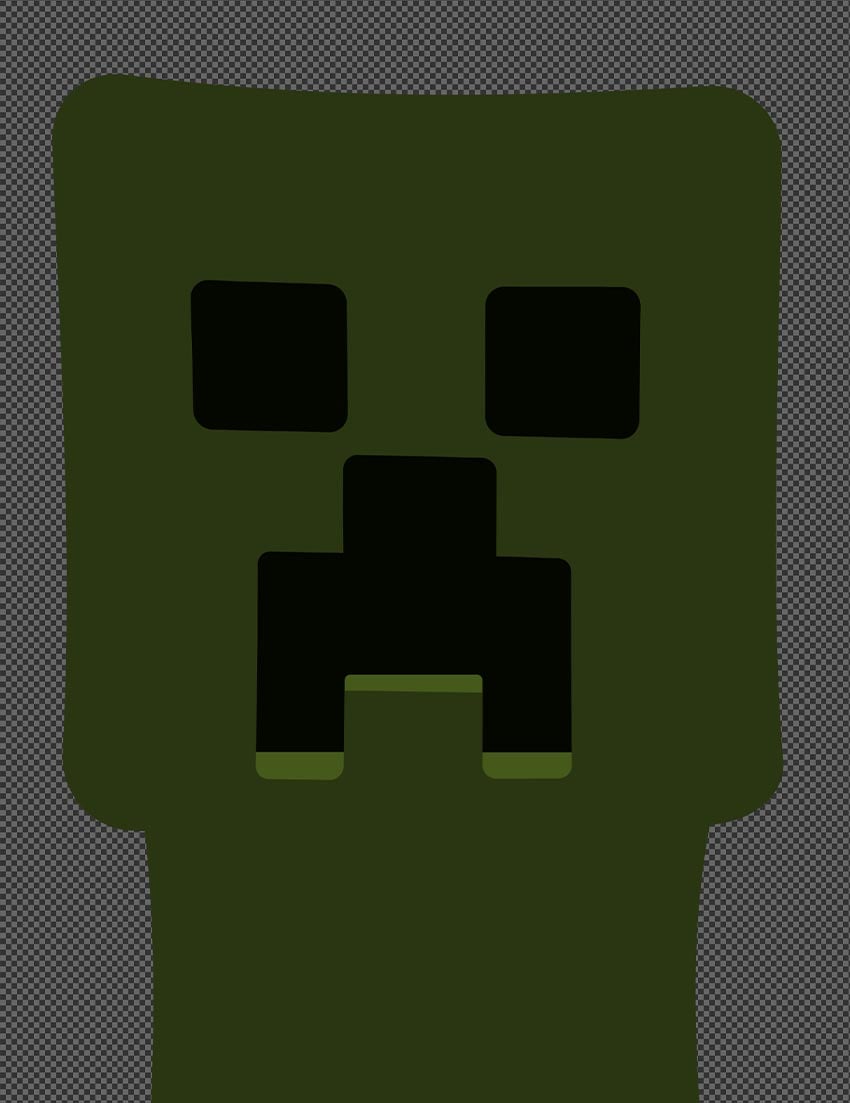
Create the face and the body of your creeper using the Rectangle Tool. The colors don’t matter at this stage.
Make sure the head and the body are on separate layers.


Step 2
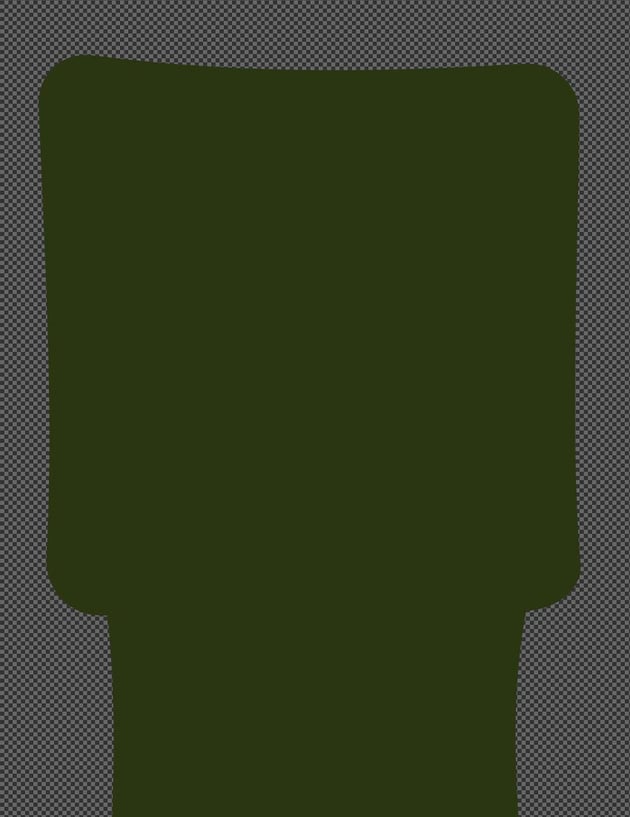
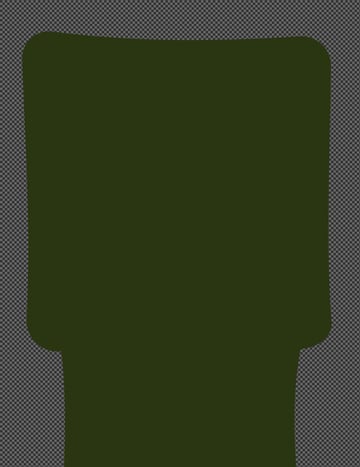
Hide the eye and mouth shapes.
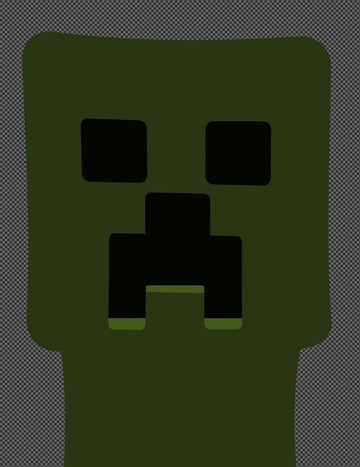
Give the head and body shapes slight curves using the Warp Mode in the Transform Tool. This will make the creeper look more organic.
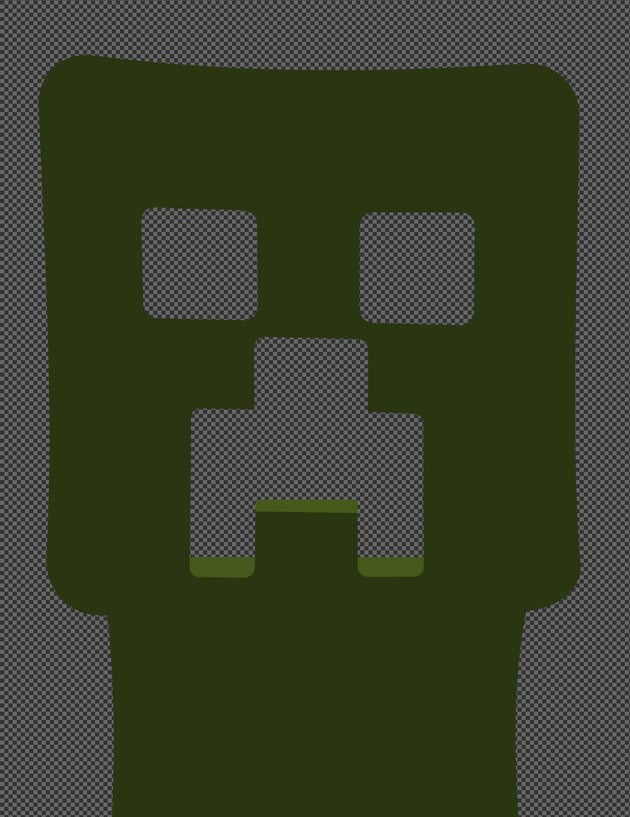
Step 3
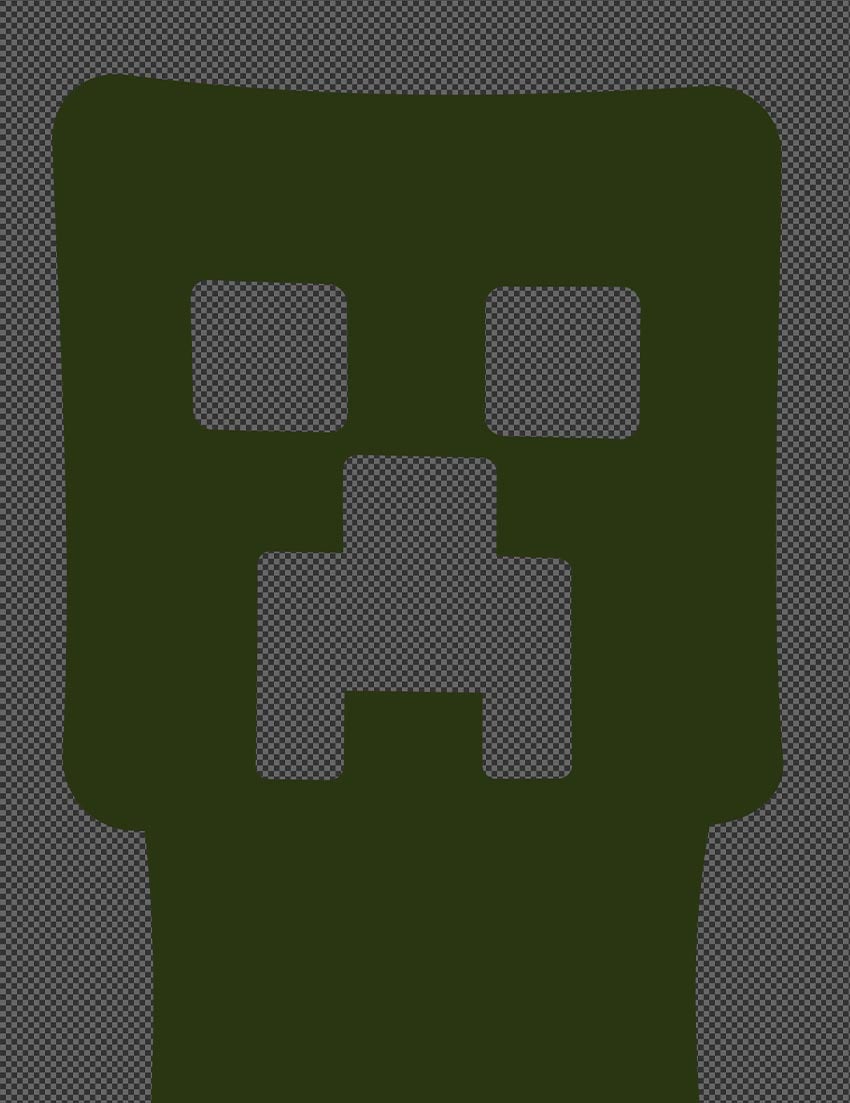
Turn the eye and mouth shapes back on. Hold Control/Command and click each of the shapes. This will create a selection around the shapes.
Hide the shapes again, and add a Layer Mask to the head shape. The mask will take the shape of the selection.

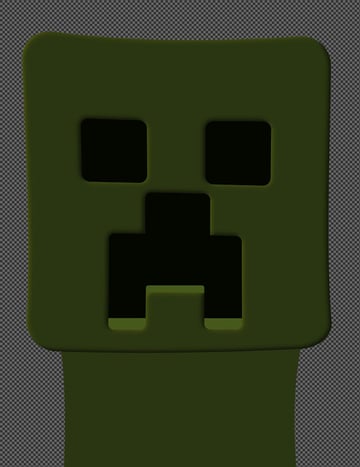
Step 4
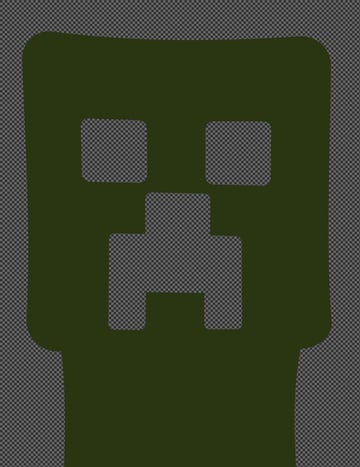
Use the Rectangle Tool to create a simple 3D surface effect in the mouth. The color doesn’t matter, but it helps to make either a lighter/darker version of the face shape.
Group the three mouth shapes together, naming the group “Mouth.”
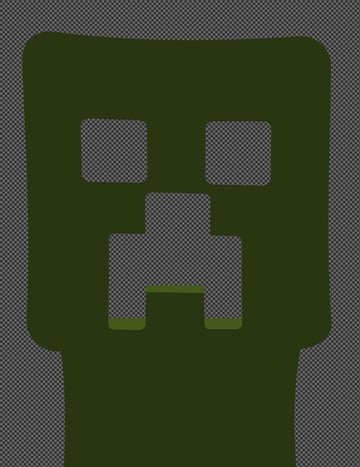
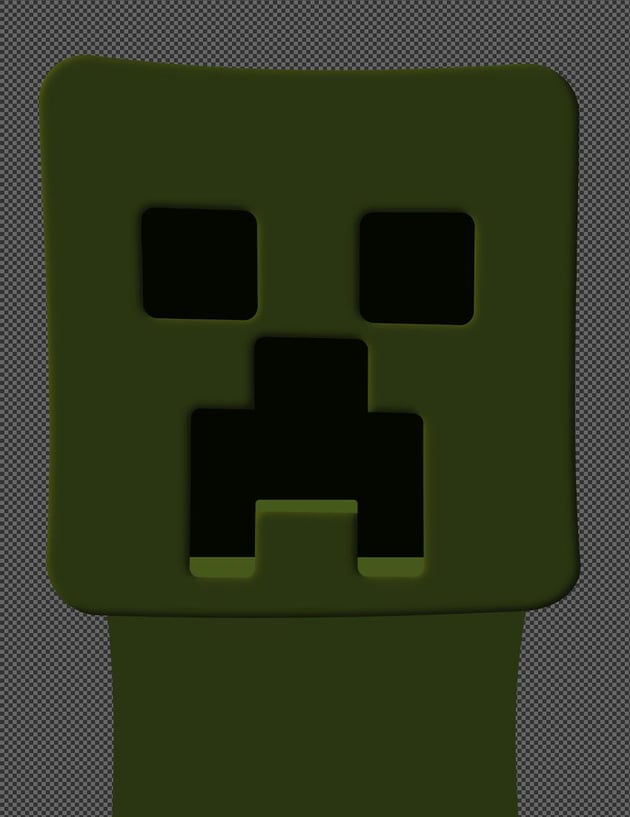
Step 5
Use the Rectangle Tool to create a dark green #040600 shape behind the face. Name the shape “Inner Face.”

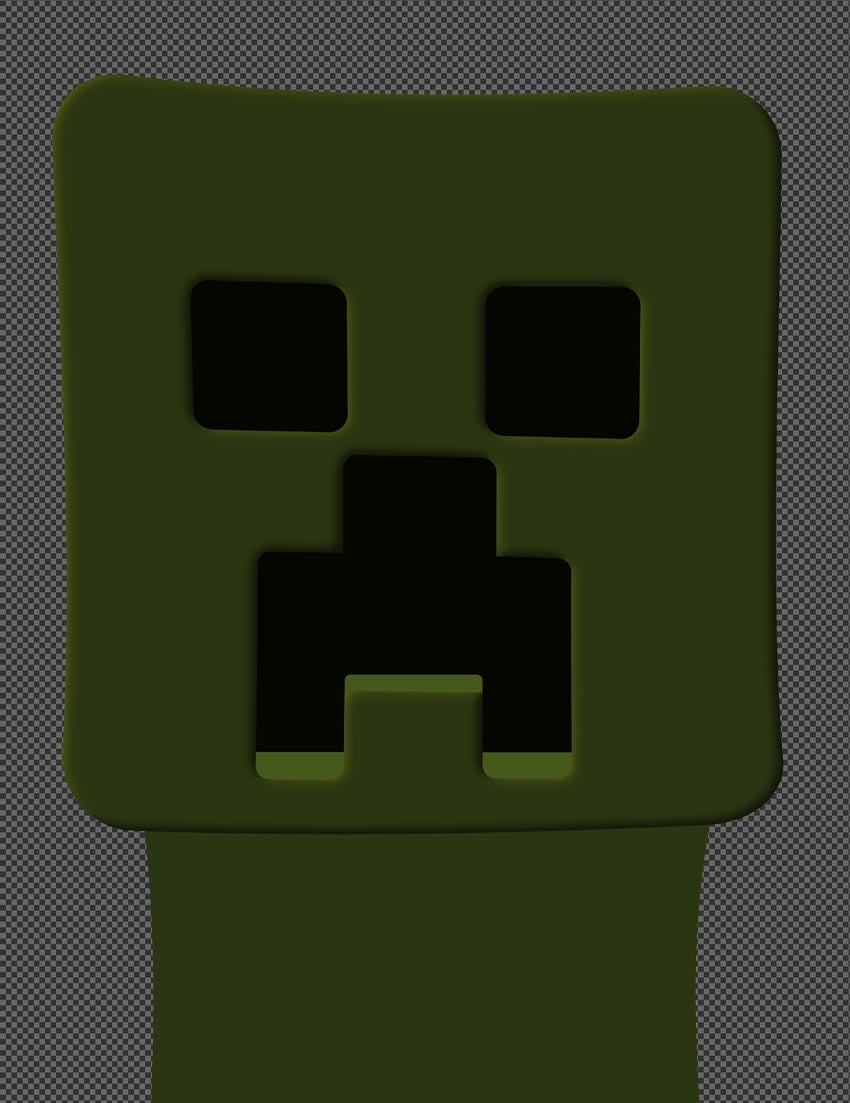
Step 6
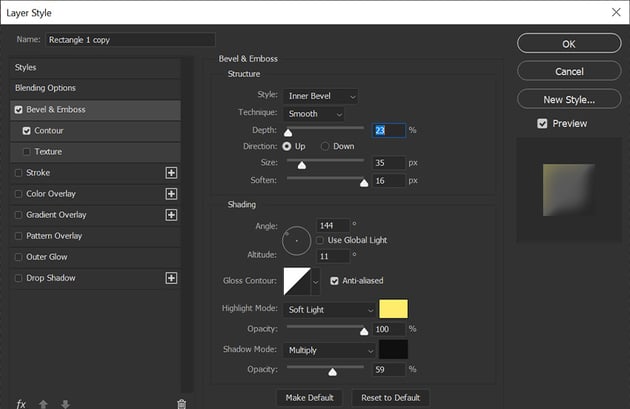
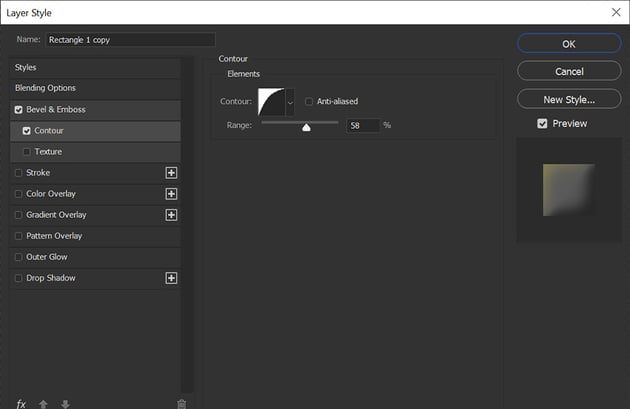
Add a Bevel & Emboss layer effect to the head shape.


2. How to add textures in Photoshop
Step 1
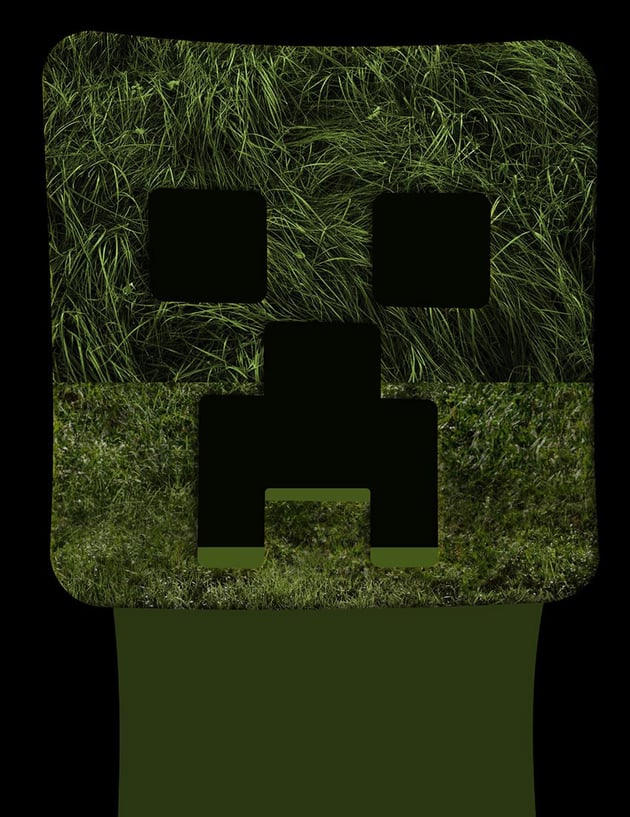
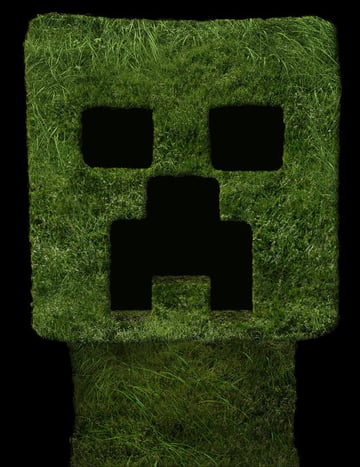
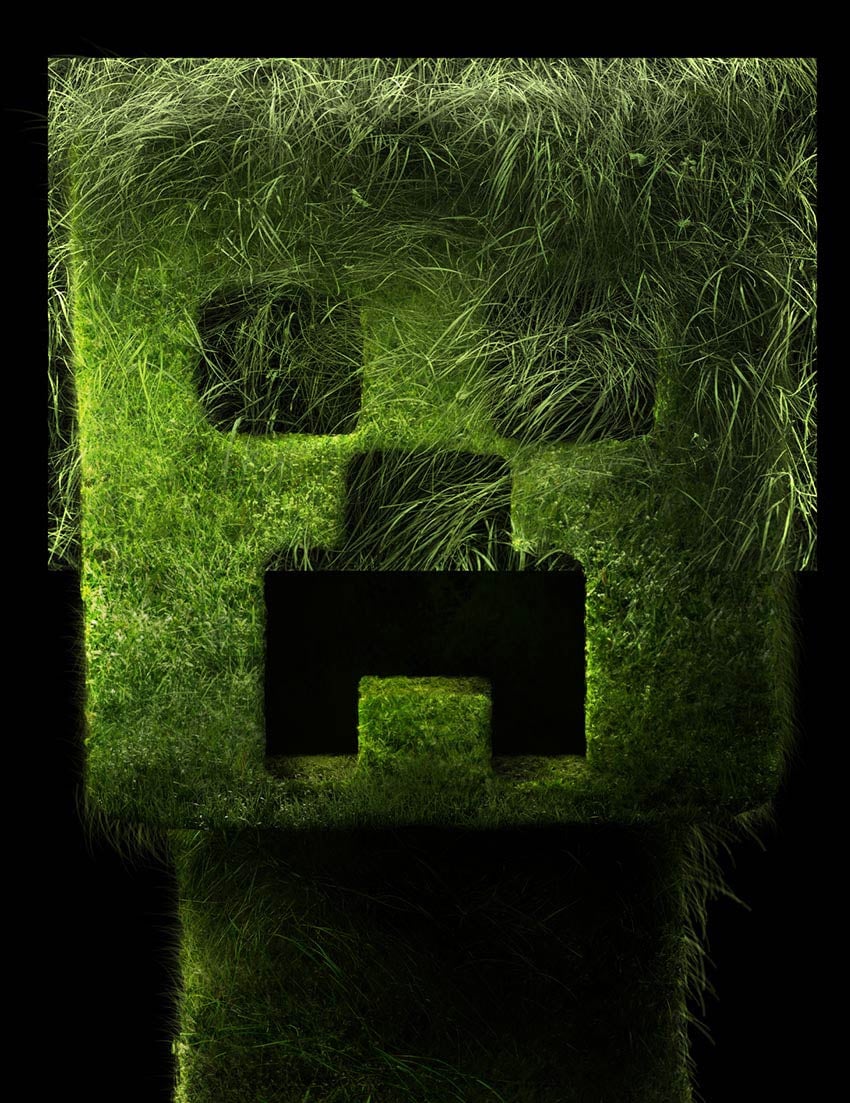
Next, we’ll apply Minecraft grass textures to our creeper. Download a grass texture and place the layer above the head shape. Create a Clipping Mask, clipping it into the head shape.
Lower the saturation by going to Image > Adjustments > Hue/Saturation, setting it to -30 Saturation.
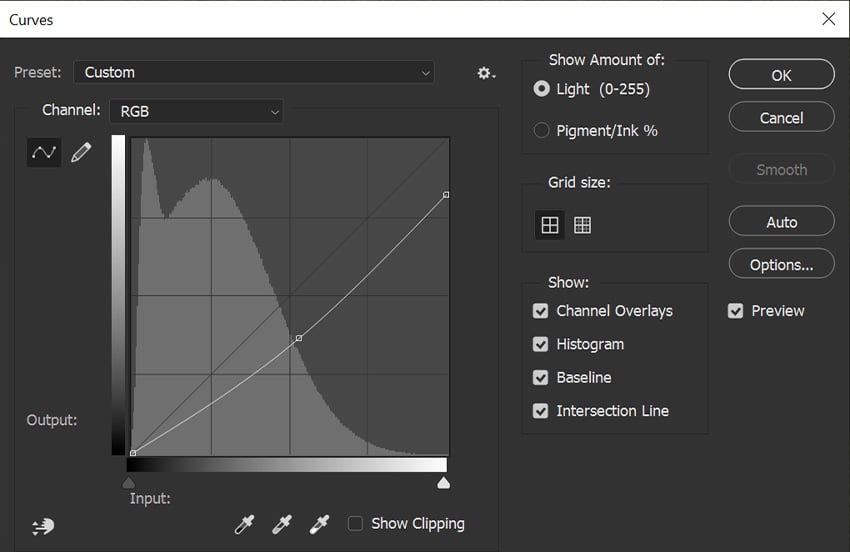
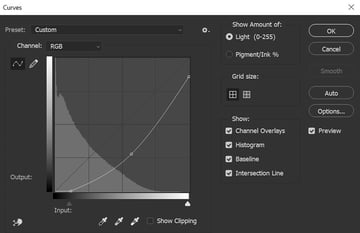
Use Image > Adjustments > Curves to darken the grass texture using the settings below.
Create a Clipping Mask in Photoshop by holding Alt/Option and clicking between the layers you want clipped into each other.


Step 2
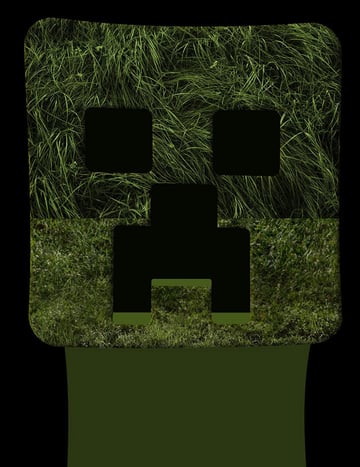
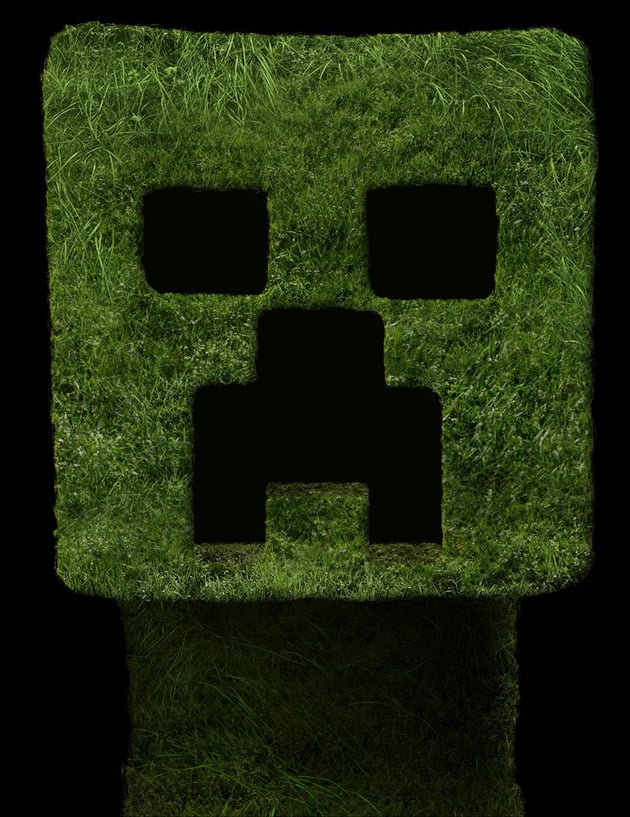
We want to use more than one texture for our Minecraft grass texture effect, so Clip a second longer grass texture into the head shape, placing it over the first.
Go to Image > Adjustments > Hue/Saturation and set it to Hue -50 and Saturation +15.
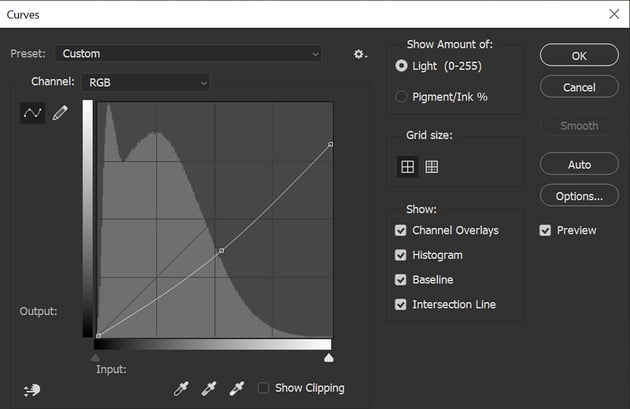
Next, use Image > Adjustments > Curves to darken the grass. The settings are below.


Step 3
Set the long grass layer to Lighten and add a Layer Mask.
Mask out any of the longer grass that you don’t want to be visible using a default soft round Brush set to black.


Step 4
Repeat the above steps on the body of the creeper.
Optional: Make the body slightly darker to help visually separate it from the head.


Step 5
Repeat the same steps by clipping the shorter grass into the “Mouth” group.
Squish the grass texture vertically using the Transform Tool.


Step 6
Clip a Brightness/Contrast adjustment layer into the “Mouth” group above the grass texture. Set the settings to Brightness -75 and Contrast -7.


Step 7
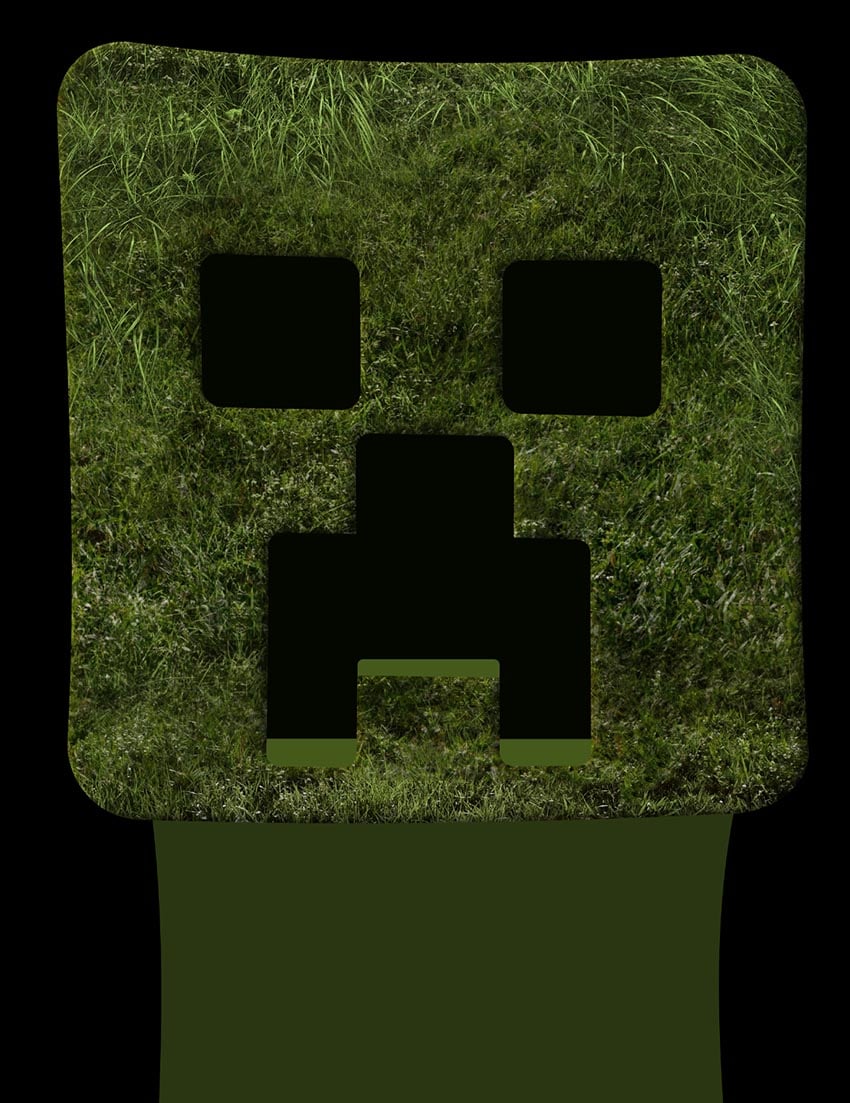
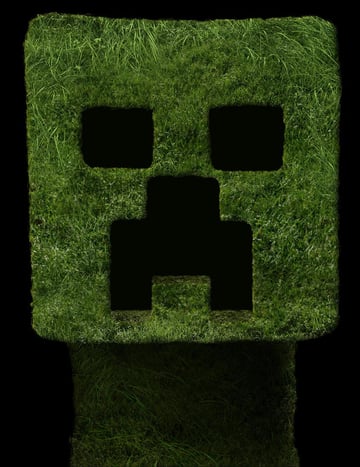
Add a Layer Mask to the body shape, and use the existing Layer Mask on the head to rough up the edges of both shapes using any kind of grungy, rough, or textured Brush set to black.
You can further adjust the color of the head by clicking a Solid Color fill layer into the head, setting it to Soft Light and 30% Opacity. Set the color to your preferred shade of green—I used #87dc7e.

3. How to add 3D lighting
Step 1
Now, we’re going to start painting on the shadows and light. We’ll do this by layering and combining layers set to Overlay, Soft Light, and Multiply.
We’ll be using a soft round Brush in different sizes to paint the light and shadow. We’ll be using three main colors that I will refer to as:
- Lime green
#bcd936 - Medium Green
#36400a - Dark Green
#141800
Create and Clip a New Layer into the body, setting it to Overlay. Use the lime green and medium green colors to darken the sides of the body and brighten the middle.
In these next steps, you can create as many layers as you need, as well as adjusting their Opacity to refine the intensity of the light and shadows.

Step 2
Next, create and Clip a New Layer into the body, above the previous layer. Set this layer to Multiply.
Use a soft round Brush to paint the darker green color onto the body. Focus the shadow under the head, and keep it lighter on the sides.
Multiply is one of the best layer modes to use for painting shadows.

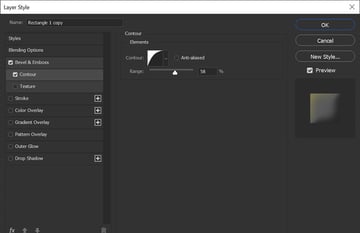
Step 3
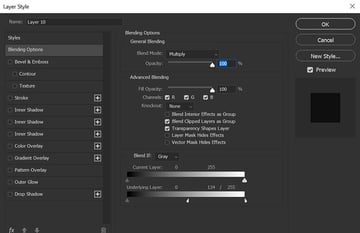
Double-click the Multiply layer to open the Layer Style panel. Look towards the bottom at Underlying Layer.
Move the white toggles to the left to blend the darker green away from the lighter values of the layer beneath the active layer. This will make the shadow seem less flat.
Hold Alt/Option to split the toggles into two halves that move independently of each other.


Step 4
Create and Clip another Multiply layer over the previous ones, and add a slight wash of dark green to deepen the shadows.


Step 5
Clip one more layer into the body, setting it to Soft Light. Use white to paint a soft rim light on both sides of the body.

Step 6
Now, we can move on to the head. Create and clip a New Layer into the head shape, setting it to Overlay.
Use lime green and medium green to add highlights and shadows to the facial features.
To help you slowly build up and blend your light and shadow, try lowering the Flow rate in the upper Options bar with the Brush active, bringing it down between 1-10% Flow.

Step 7
Create and Clip a New Layer above the previous ones and set it to Multiply. Paint dark green on the top and the right side of the face.
Adjust the layer’s Blend If settings similar to what you see below.


Step 8
Create and Clip a second New Layer above the previous ones, and again set it to Multiply. Slowly deepen the shadows using the dark green color.

Step 9
Create and Clip two more New Layers above the previous ones, setting one to Overlay and the other to Soft Light.
Use these layers to paint light onto the left and middle of the face with both white and the lime green color. Build the light and shadows up smoothly, using more layers and adjusting the Opacity as you need.


Step 10
Repeat the above steps on the mouth as well.


Step 11
Next, create a New Layer set to Multiply above all other layers. Do not clip this layer into any existing shape.
Paint shadows using the dark green color over the face and body.

Step 12
Lastly, create a New Layer set to Overlay and a second New Layer set to Soft Light under the newest Multiply layer.
Use this layer to enhance the existing lighting and shadows on the head and body, using white, lime green, and medium green.
Creating layers like these will help unify and connect the body and head, giving a more cohesive look. However, if you don’t have a black background, you’ll have to either use masks or groups to keep the lighting and shadows contained to the creeper’s shape.


4. How to paint grass in Photoshop
Step 1
Create a New Layer behind your creeper’s head and body. Select the default “Dune Grass” brush and start with a fresh green #96b746 color. Paint grass of different sizes and shades of green on the edges of your creeper.
Right-click on your Brush Tips, in the top right corner click the Gear icon and select Legacy Brushes. In the “Legacy Brushes” folder, you’ll find the “Dune Grass” brush.


Step 2
Clip a New Layer inside the large dark mouth shape. Paint a grass texture inside the mouth.
Create and Clip a second layer inside the mouth shape, setting it to Soft Light. Paint shadows to give the face depth.

Step 3
Duplicate the long grass texture from inside the head shape and bring it above the head, but below the top lighting layers.


Step 4
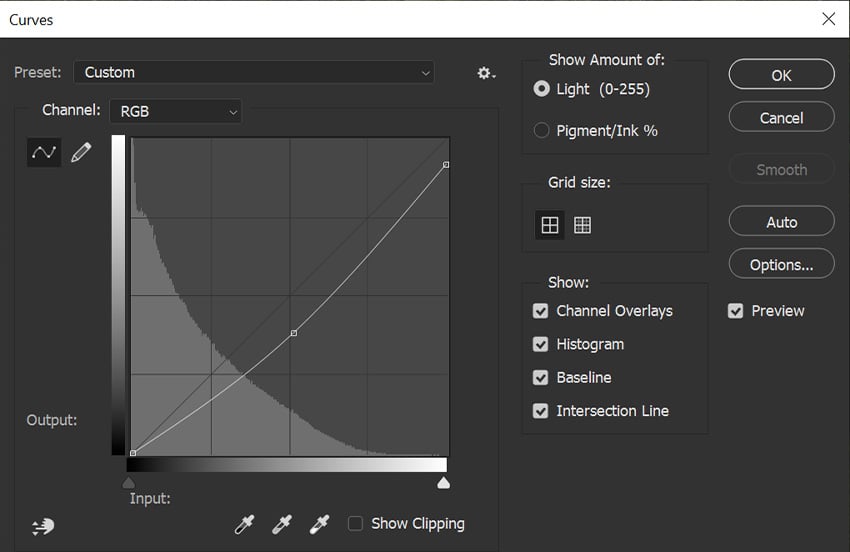
Slightly darken the grass using a Curves adjustment.
If you use Smart Objects, you can adjust the existing Curves adjustment on the layer.


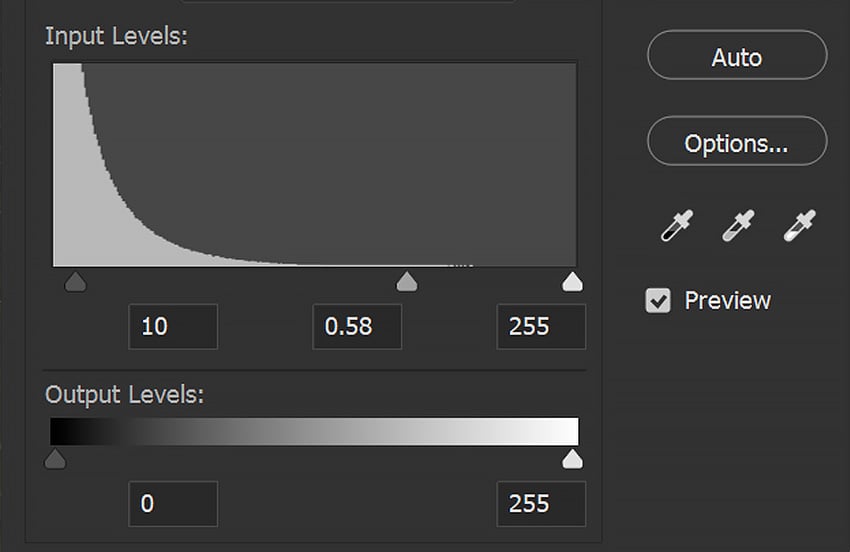
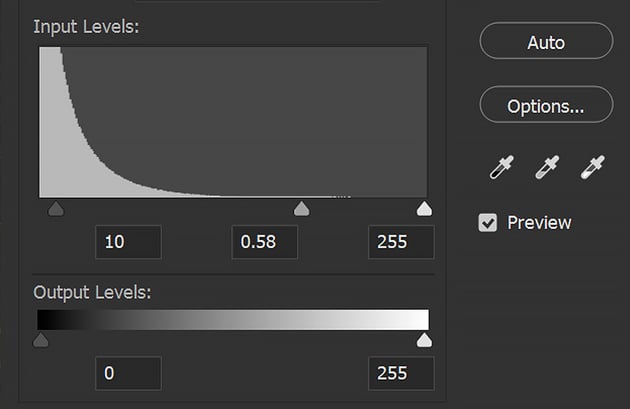
Step 5
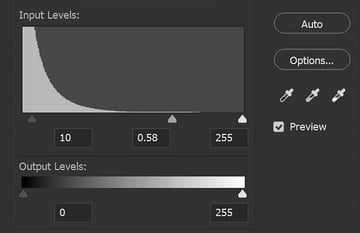
Continue to darken the grass texture using Image > Adjustments > Levels. We want the grass to look like single blades of grass.


Step 6
Mask the grass so that it looks as if it’s coming from the top of the head.


Step 7
Repeat the above steps to add grass texture around the eyes and chin as well.


5. How to add a pixel pattern in Photoshop
Step 1
Finally, let’s finish up by adding an optional pixel pattern to the creeper. You can use any pixel pattern, including some of the free creeper-inspired patterns you can find online, one you made yourself, or a Photoshop texture like this.
Import and Clip the pixel pattern into the creeper’s head, above the long grass and under the green Solid Color layer. Enlarge and place the pixel texture so that it roughly lines up with the creeper’s eyes and mouth squares.
Set the pixel pattern to Soft light. This layer will mostly show the lighter colored squares in the pixel pattern.
If the pixel effect isn’t strong enough, Duplicate the texture to make it more intense.


Step 2
Duplicate the pixel layer and set it to Multiply. This will help bring out some of the darker squares in the pixel pattern.
Use Blend If on the pixel layer to bring back texture to the darker areas if needed.


Step 3
Repeat the same steps to apply the pixel pattern to the body.

Step 4
If adding the pixel pattern darkens your creeper too much, add a Brightness/Contrast adjustment layer to the very top of your layer stack, setting it to Brightness 40 and Contrast -30.

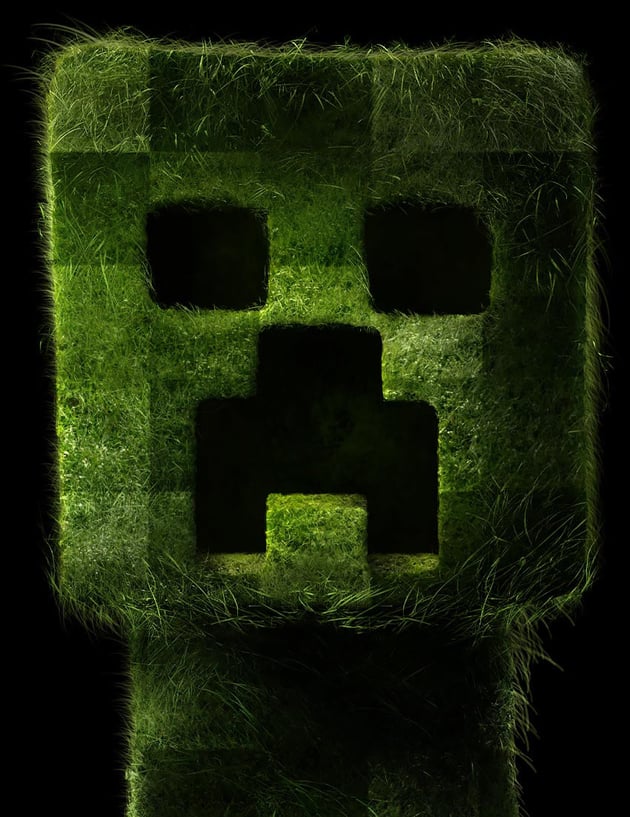

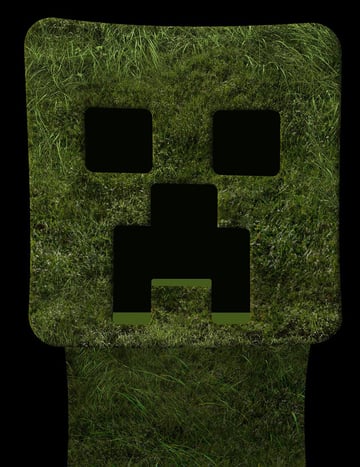
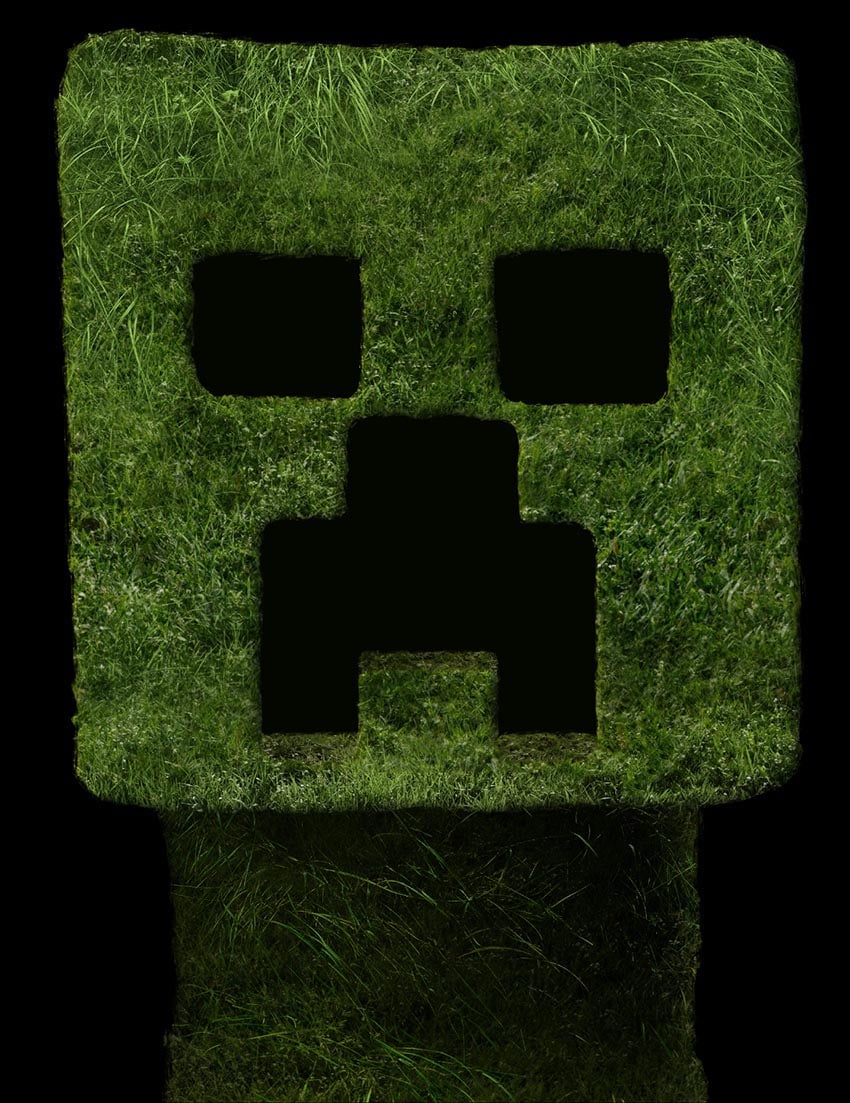
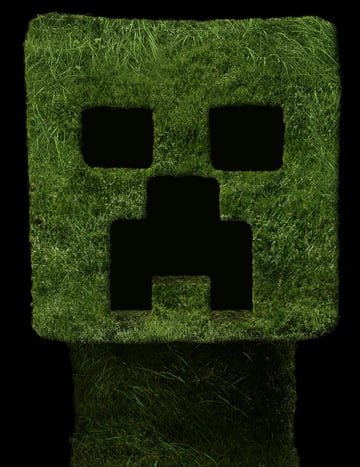
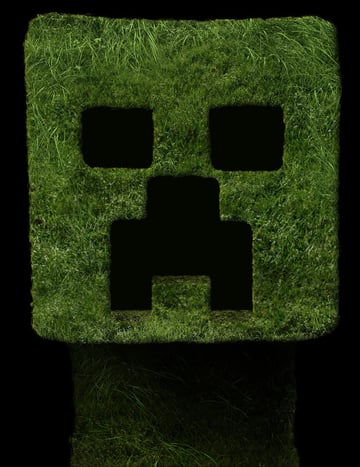
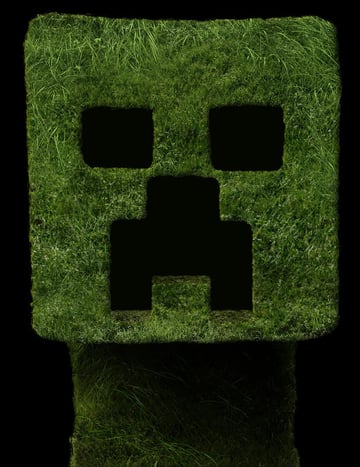
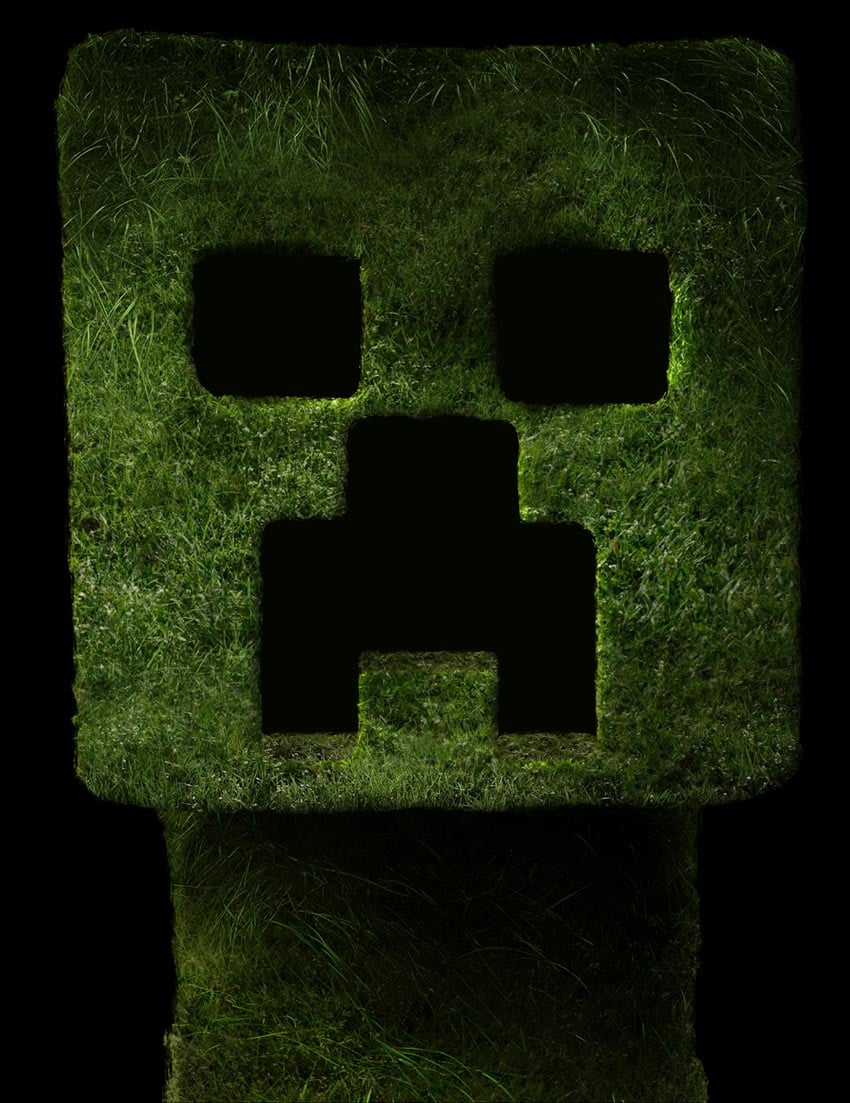
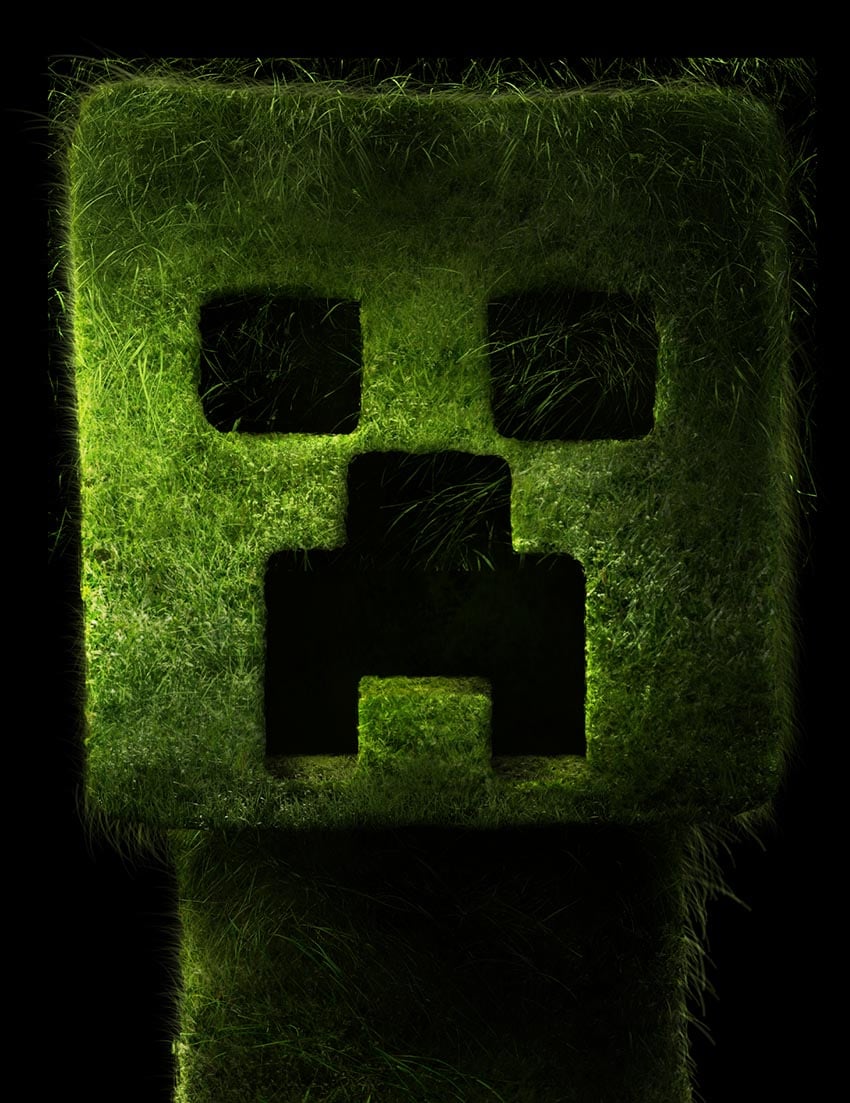
That’s how to create a grass textured creeper from Minecraft!
This Minecraft grass texture effect is not only perfect if you’re a fan of the game, but also for mastering the basics of painting light and shadow and learning how to use textures in Photoshop to bring 2D characters to life. Don’t forget that you can experiment with the lighting, colors, and shapes!

Looking for more? Check out some of these other Photoshop tutorials: