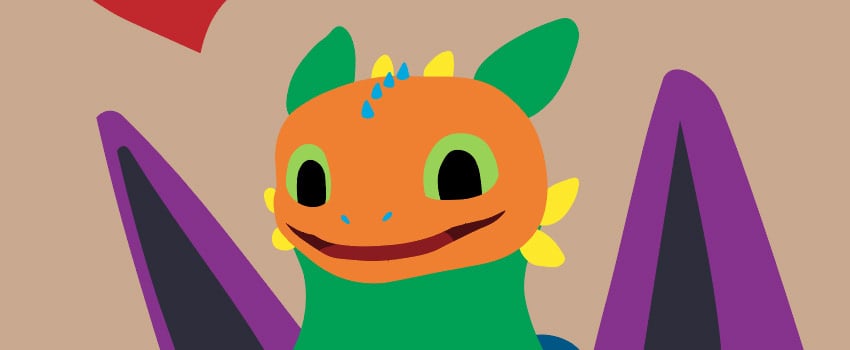
Fans of Toothless the dragon have long been waiting for How to Train Your Dragon 4—but it turns out, the next movie in the franchise will actually be a remake of the first part. And it’s coming out this year!
To celebrate it, let’s learn how to draw Toothless from the How to Train Your Dragon movie in Adobe Illustrator.
You’ll learn how to build the whole body step by step, and how to shade it using Illustrator brushes to create a nice vector illustration. And the best thing is you won’t even have to use the dreaded Pen tool for it! Instead, I’ll show you how to use the Curvature tool, which allows you to create complex shapes quickly and intuitively. With it, you can draw curves just by clicking around with your mouse—and then you can modify these curves by pulling them in a chosen direction. Basically, you get all benefits of the Pen tool, but in a more convenient, intuitive form.
So, let’s draw Toothless the dragon together, step by step—using the Curvature tool, and other tools as well!
Tutorial assets
You’re going to need two things for this tutorial:
You can also use your own shading brushes, if you have anything similar to the set I’ll be using.
1. How to draw Toothless in Illustrator
Step 1
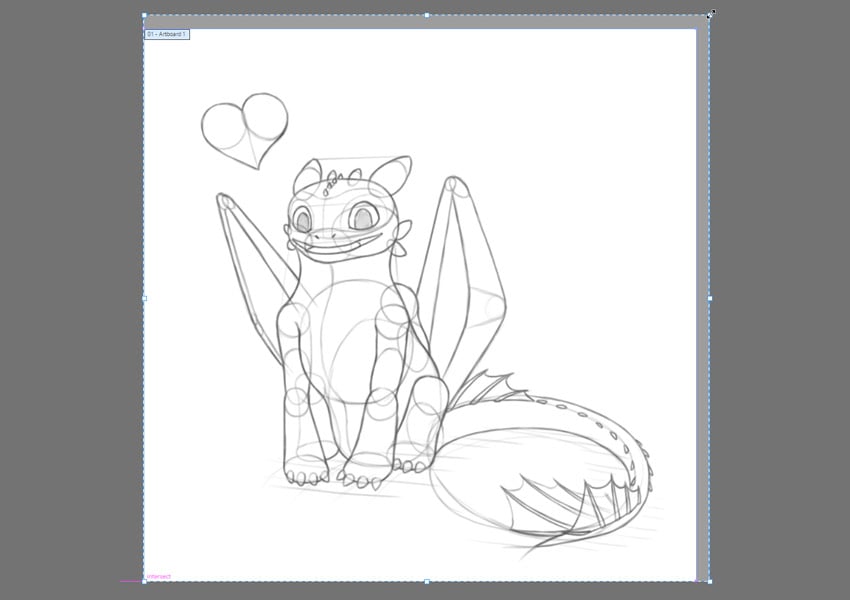
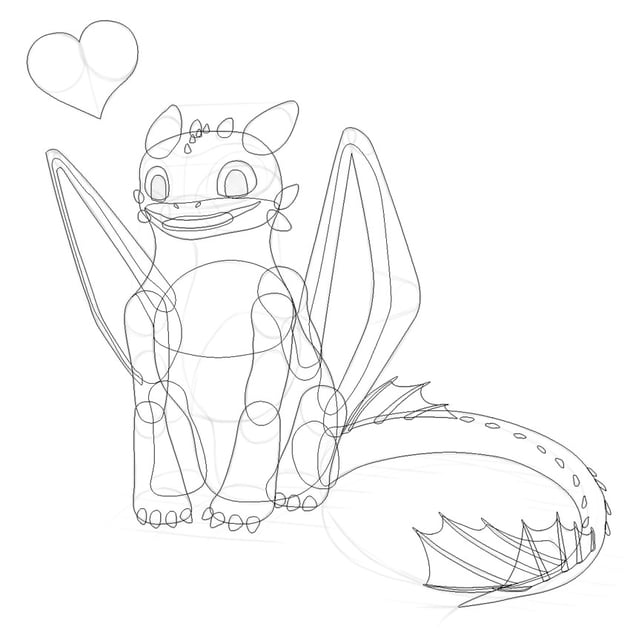
Before we draw Toothless in Illustrator, it’s best to prepare a traditional sketch first. Download my Toothless sketch and drag it directly into Illustrator. Press Shift-O and adjust the bounds of the Artboard to the size of the drawing.
Step 2
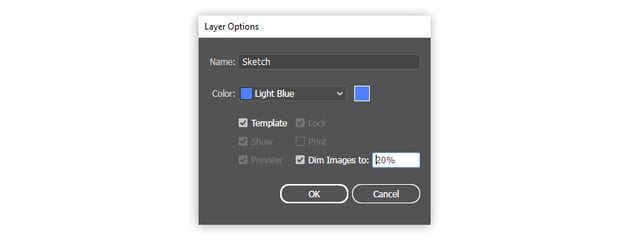
Name the layer “Sketch” and double click it. Check Template, set Dim Images to 20%, and click OK.


Step 3
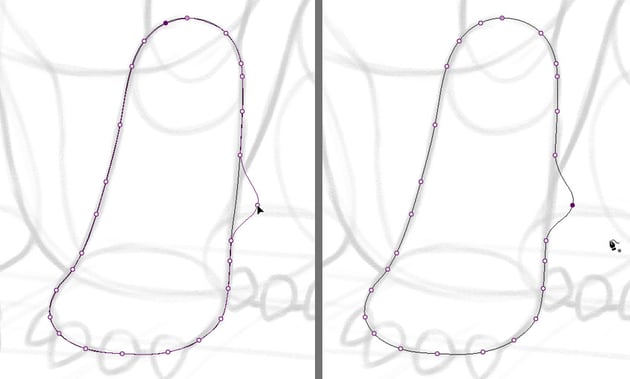
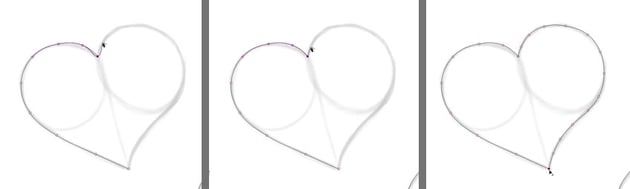
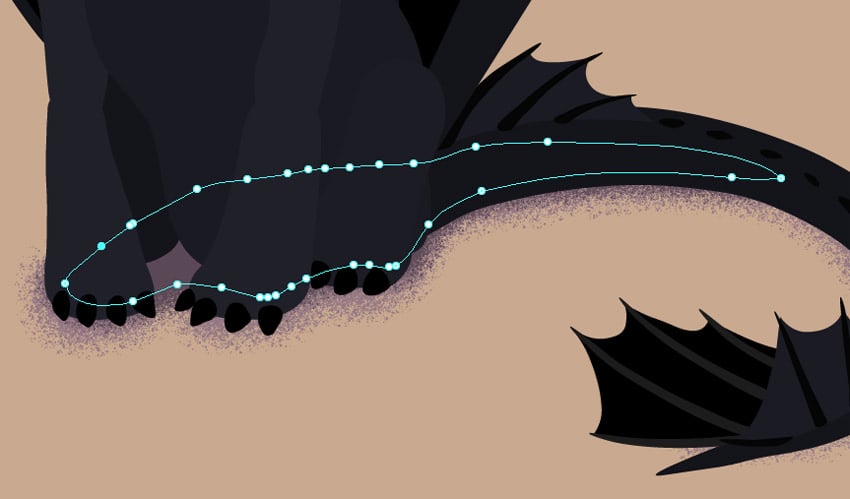
First, we need to outline all body parts. Here’s how to do it in a clean and precise way, even if you don’t have a graphics tablet! Press Control-Y to go into the Outline mode—it will allow you to see the path and the sketch below. Then, take the Curvature tool (Shift-~), and use it to simple click around the shape you want to outline. The path will curve on its own! When you’re done, just click the first point to close the shape.
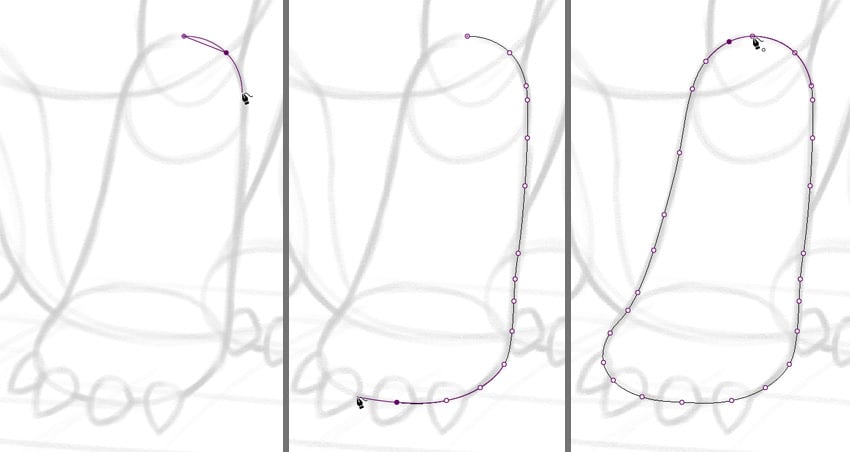
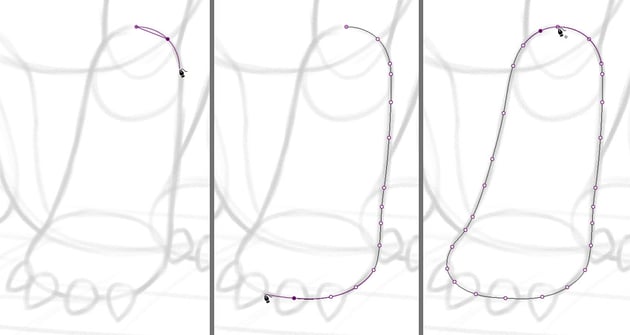
Step 4
If you don’t like where one of the point has landed, you can simple move it by clicking and dragging. You can also add more points just by clicking on the curve.
Step 5
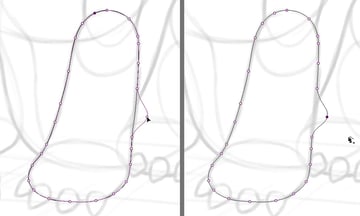
Draw all the big shapes using this technique. You can either do it slowly and deliberately, or just quickly click around and adjust the curves later—whatever works better for you! If you often activate other paths when drawing over them, you can stop it from happening by temporarily locking the other layers.


Step 6
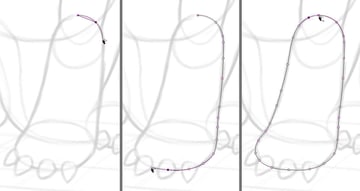
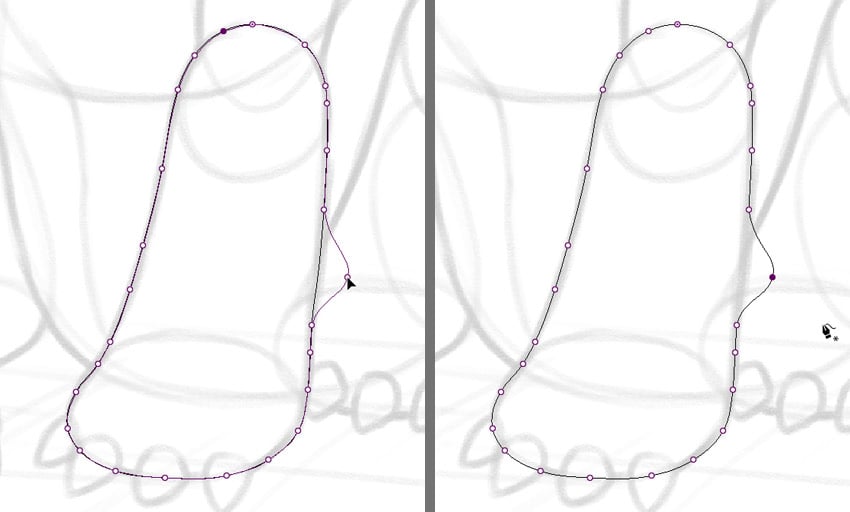
After you’ve captured the big shapes, take care of the minor ones, too. In some of them you may stumble upon an issue, though—you want to take a sharp turn, and the curve keeps bending to keep to turn nice and round. In such case, hold the Alt key and click the point to “break” it. Then you can continue the normal way.
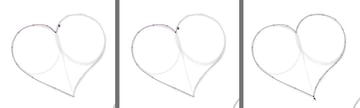
Don’t worry about the pupils and the tongue that much—we’re going to clip them later to the surrounding shapes!


Step 7
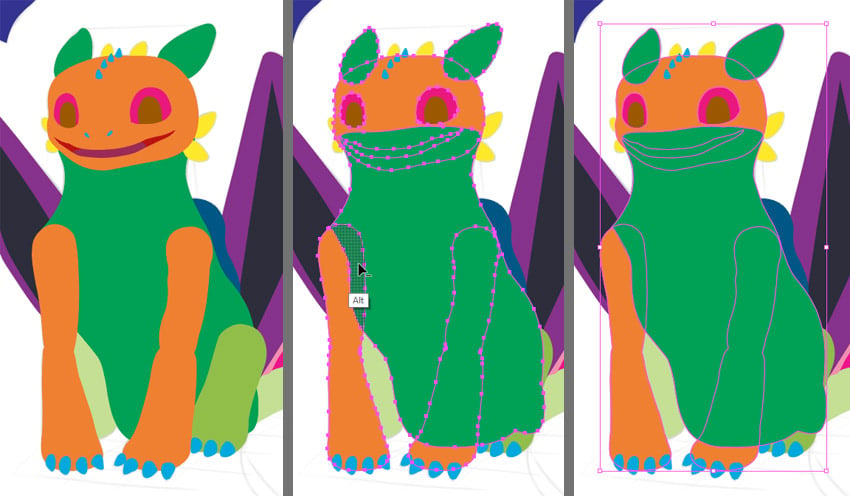
We’ve created a lot of paths to create our Toothless drawing, and it would be difficult to manage them all separately. So let’s organize them now!
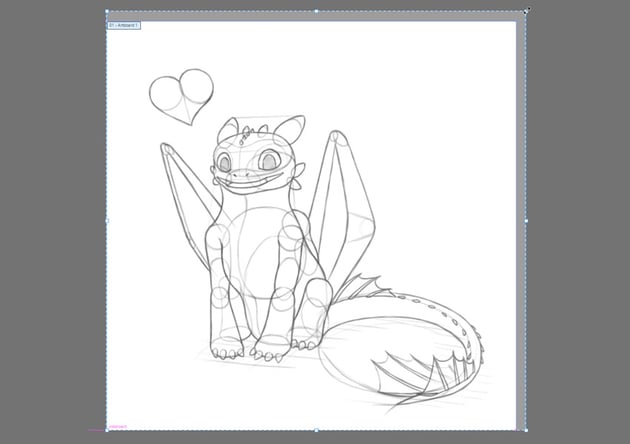
First, go out of the Outline mode (Control-Y), and give separate parts of the body separate colors. If you notice that one part overlaps with another in the wrong way, select that part and press Control-[ to move it behind, or Control-] to move it above the other part.


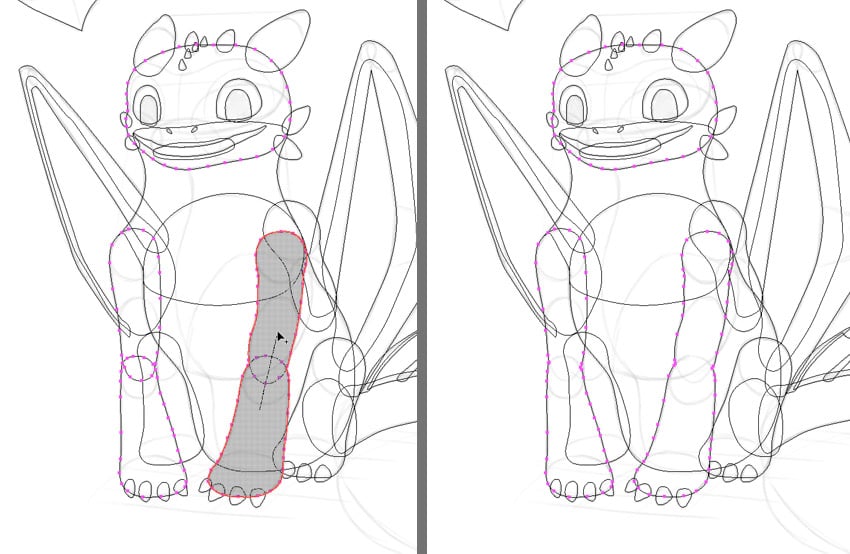
Step 8
Afterwards, try and see how many different parts you can fill with the same color, without losing any edges. Some parts can actually be combined into a single shape, like the torso or the leg. To do that, just select two shapes by holding the Shift key, then take the Shape Builder tool (Shift-M) and drag it over the overlapping area. It may be easier to do it in the Outline mode (Control-Y).
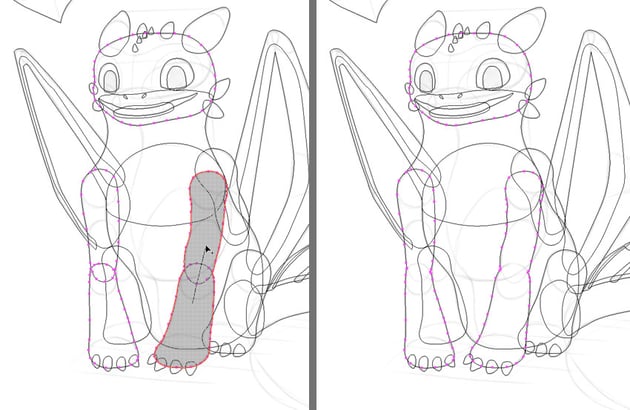
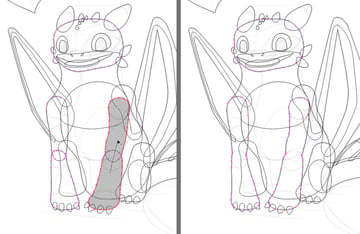
Step 9
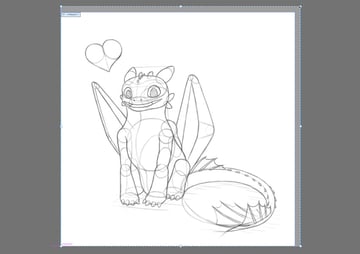
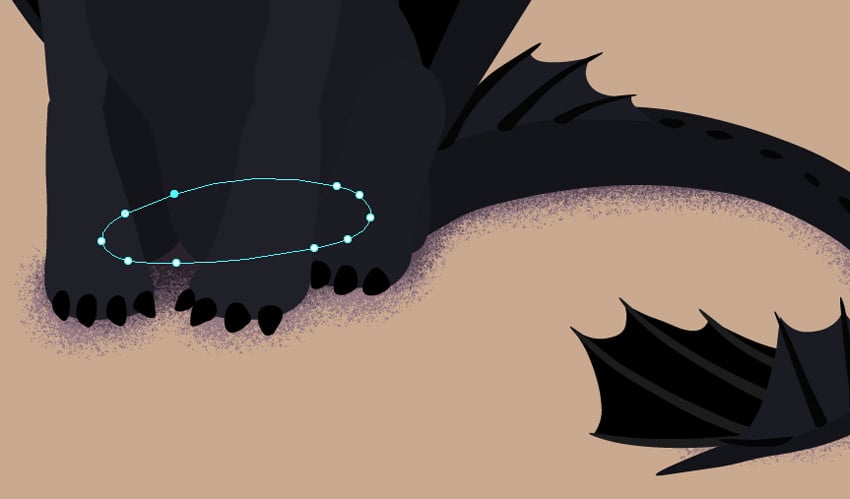
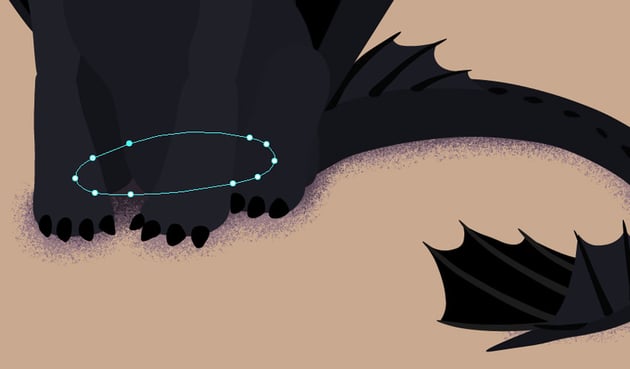
To collect non-overlapping parts in a single layer, select them and press Control-8. Here’s how I combined all these paths:


Step 10
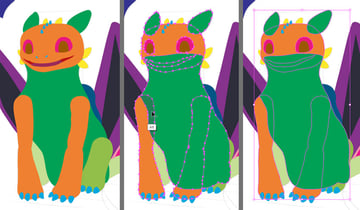
We’re going to have a lot of clipping masks in this file, so to keep everything slightly easier to manage, let’s clip the facial features a different way. Select the eyes and mouth, press Control-C to copy them, then Control-Shift-V to paste them in the same place.
Then add the head to selection, take the Shape Builder tool (Shift-M), hold the Alt key, and subtract these shapes with it.

Step 11
Then put eyes, pupils, mouth, and tongue inside a group with Control-G, and drag the group below the head layer. All these elements will now be visible through the openings in the head shape.


Step 12
You can notice that the right front leg overlaps the torso, which wasn’t the plan. To fix it, use the same technique as before—duplicate the torso, then select both the copied torso and the leg. Take the Shape Builder tool (Shift-M), hold the Alt key, and click the part you want to cut. Then just remove the remaining parts of the copied torso.


2. How to color Toothless in Illustrator
Step 1
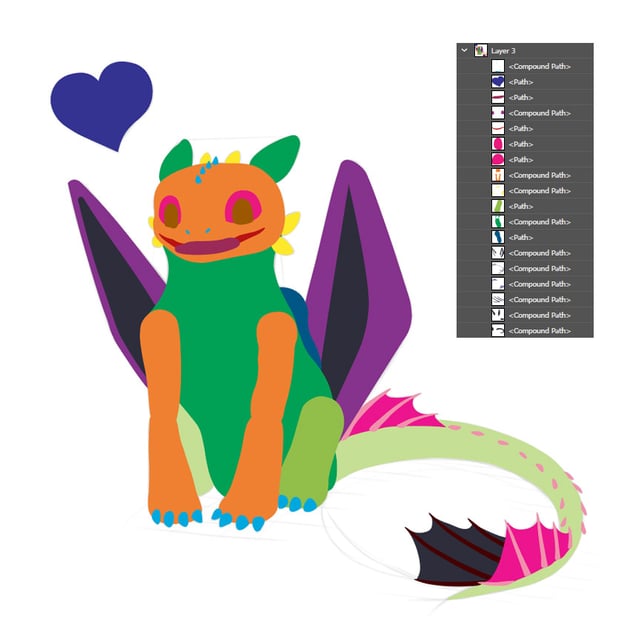
Let’s give our Toothless drawing basic coloring now. First, create a New Layer between the artwork and the sketch, and use the Rectangle tool (M) to create a #C9A98F filled square in the background. Lock this layer, so that it doesn’t get in the way.


Step 2
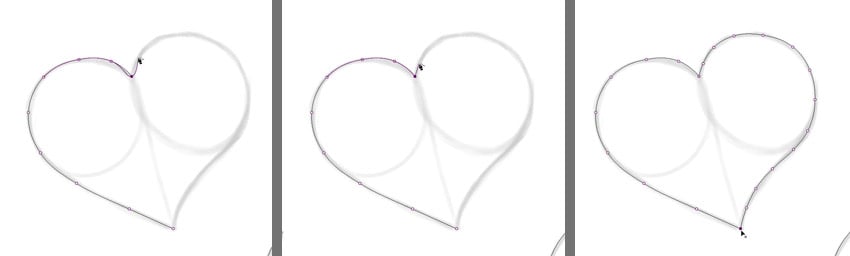
Then, give the heart a #C1272D fill. This read heart will add some colorfulness to the illustration, and will complement the Toothless’ eyes and mouth nicely.


Step 3
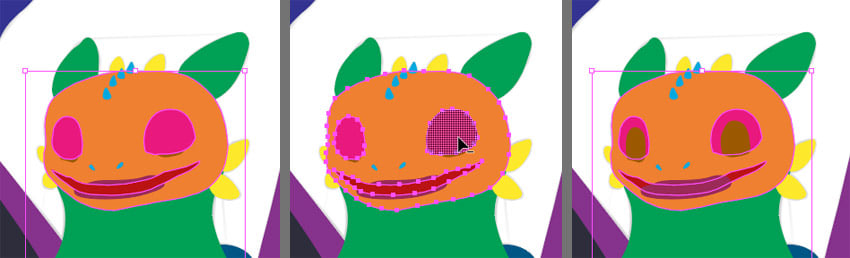
Because the parts of the face have been put inside the group, you need to select them with the Direct Selection tool (A) instead of the Selection tool (V). Here are the colors you can use for them:
- Pure black for the pupils
-
#99D257for the eyes -
#4D0F12for the mouth -
#8A1B20for the tongue


Step 4
The other parts of the body should be bluish black, but let’s give them slightly different shades in order to keep them visually separate. Start by adding #202029 to the head + front legs, and then add various shades of the same color to other parts—the farther away, the darker the shade.


Step 5
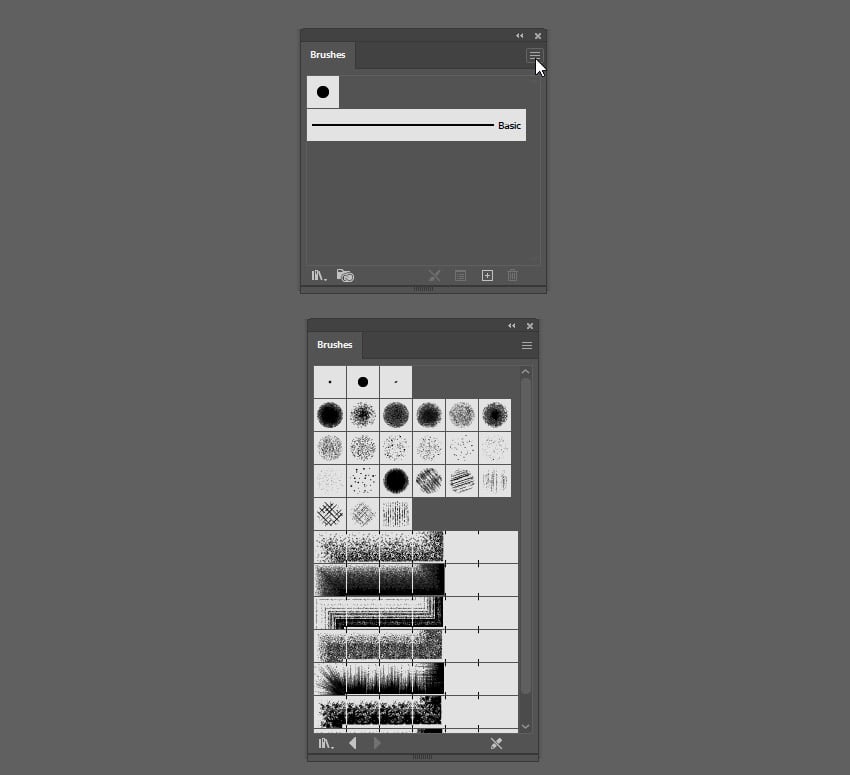
Let’s add some shading now! First, you need to download and install the shading brushes. Go to the Brushes panel, open its menu, go to Open Brush Library > Open Library, and point to the folder where you’ve downloaded the brush pack. Go into the “Memento Shader Brushes for Illustrator” folder, then Brushes, and select the Brushes file.


Step 6
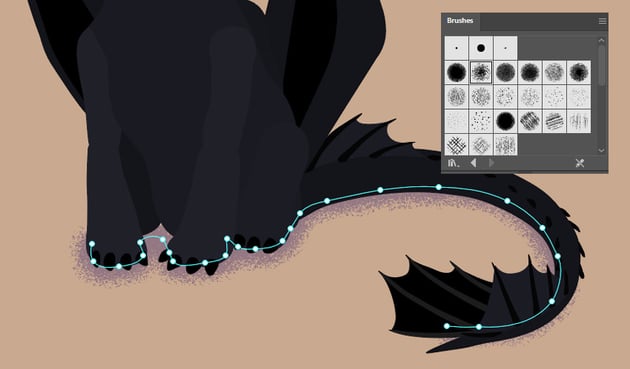
Create a New Layer right over the beige background. Use the Curvature tool (Shift+~) to draw a curve around the bottom of the body, right where it touches the ground. Then apply the Brush 2 to it, with #937783 as the Stroke color.
Because noise brushes like this one are very complex, you may notice lags as you keep working on this file. If this is the case, you can select the curve, and go to Object > Expand Appearance.

Step 7
Use the Curvature tool (Shift+~) again to draw a closed shape of shadow under the body. Give it Stroke and Fill of #5b4856, and apply Brush 2 to it, with 0.75 pt Stroke.


Step 8
Finally, draw a smaller shape closer to the body. Use the same brush with 1 pt Stroke, with Stroke and Fill of #2b222b.

Step 9
Lock the shadow layer, and select the front legs. In the toolbar on the left, select Draw Inside. In this mode you’ll be able to draw directly within the boundaries of the selected shape, without having to create any Clipping Mask beforehand.
Use the Paintbrush tool (B) to add a bit of darker shade inside these body parts—it will make them look shiny and more 3D. Experiment with the brushes and their sizes to get the bets results—I’ve used Brush 2 and Brush 6, with sizes ranging from 1 to 0.75 pt.


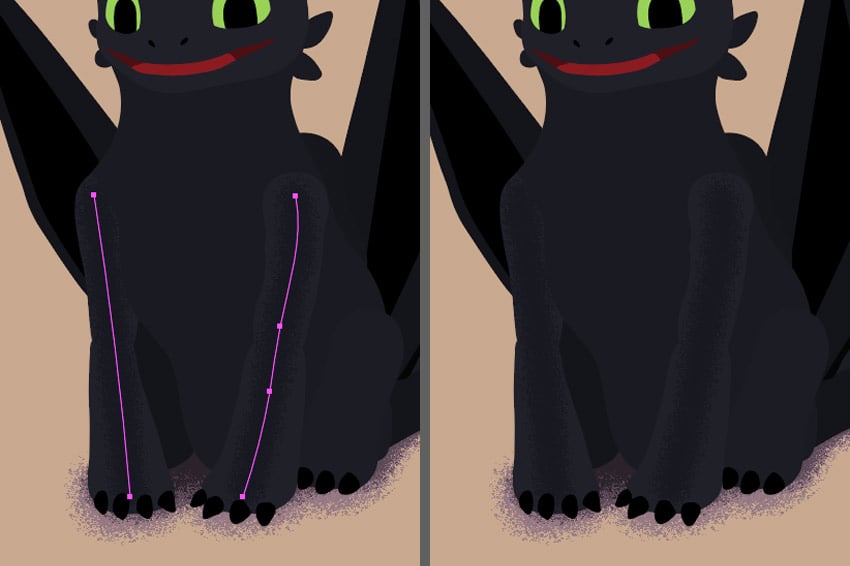


Step 10
Use the same trick to add some shine on the sides of the shapes, accentuating their 3D form. They should be slightly brighter than the bluish black below, but you can also give them different hues to make the color scheme more appealing.
For example, here I’ve made the shine the upper parts warmer, more yellowish, to simulate light reflected from the background. In the lower parts, I’ve made it cooler, more purplish, to simulate some cool ambient light.
You can change the color of the brushstroke at any time—so you can first draw them with any color, and then adjust them to create a coherent scheme.


Step 11
Do the same with all the body parts. Remember to always go back to the Draw Normal mode before you switch to another shape group. Also, if you want to draw inside a shape that’s already filled with shading, open its Clip Group and select Compound Clipping Path or Clipping Path first.


Step 12
Use the same technique to shade the eyes, mouth, and tongue.
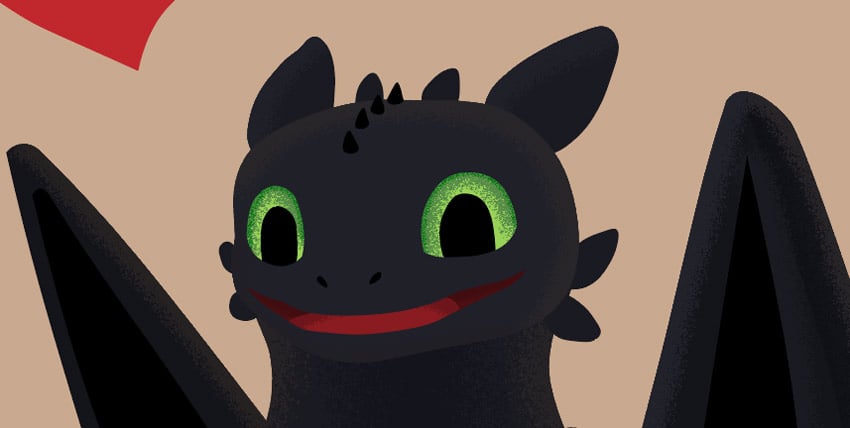


3. How to add shine to Toothless in Illustrator
Step 1
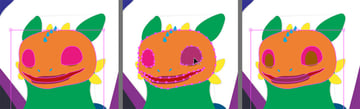
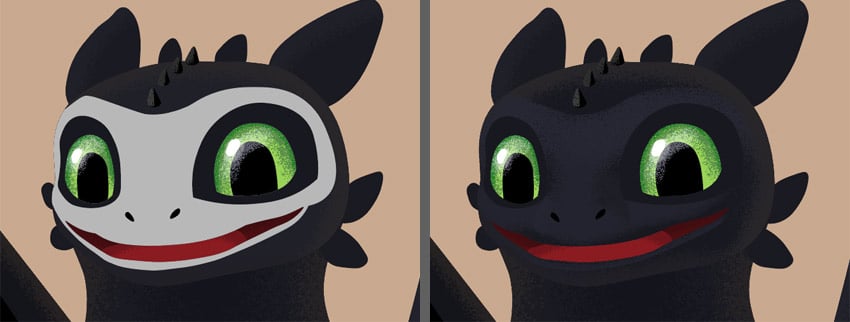
Let’s add some shine above the Clip Group of the eyes, so that it’s applied to the pupils as well. Change its Blend Mode to Screen and lower it Opacity, to make it look nice and reflective. Then add some small shine dots to finish the effect.


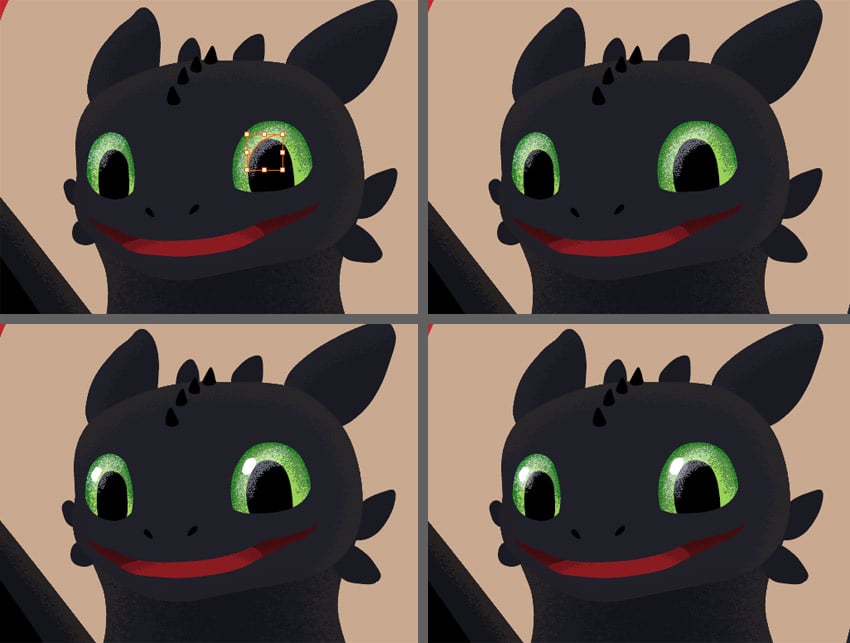
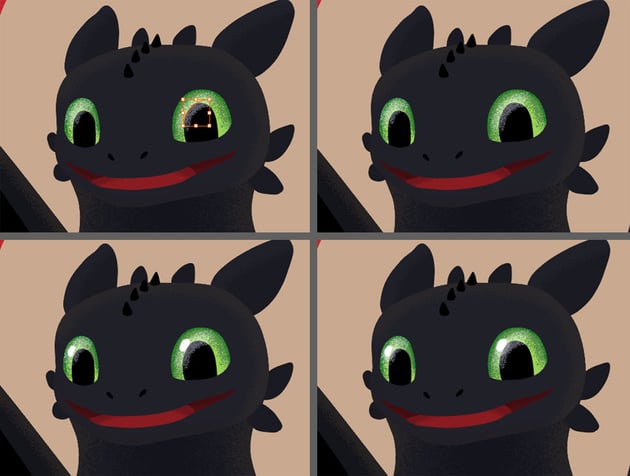
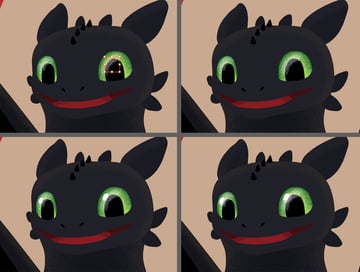
Step 2
The eyes can’t be complete without the darkened patches around them, creating the illusion of the eye sockets and the eyebrows. Draw them with a darker shade, inside the head layer.


Step 3
Let’s take care of other shiny elements of the body—the claws and the spikes on the head. Activate Draw Inside to add some sharply defined area of shine. Select all these areas, merge them with Control-8, and remove the fill to make this area invisible. Then Draw Inside this invisible area with the textured brushes to create some shine.


Step 4
Use the same technique to add shine to the face and front legs (since these are the areas we want to put the most focus on). Be careful not to overdo it—Toothless isn’t shiny like glass! Defining a shading area with shapes like this will help you create shading strokes that are sharp on one side, and soft on the other, which makes shine look more authentic.


Step 5
Let’s work on the head some more, creating an invisible “mask” containing some more shine. To increase the contrast, you can also add some darker shade under the mask.


Step 6
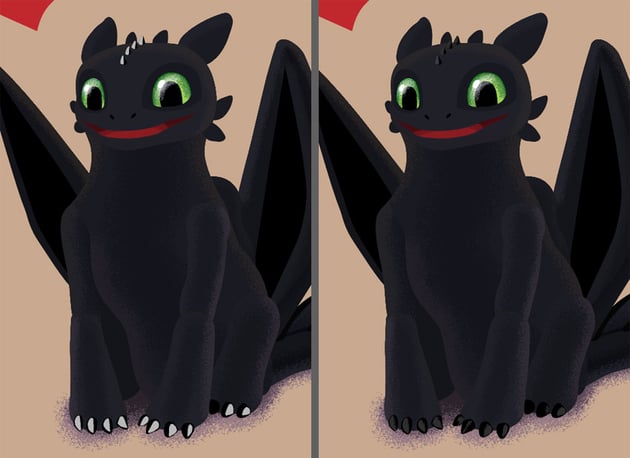
To finish the illustration, let’s add the shiny scales in selected areas of the body. First draw them in black, trying to adjust their position to the curvature of the body. I’ve also used this opportunity to add a row of spikes on the forearm, which I forgot to add earlier.
Keep these scales black—we want them to remain visible. Merge them all with Control-8, then Draw Inside the scales to create bright bands of shine. This shine can be brighter than the shine on the body (since these scales are more glossy).

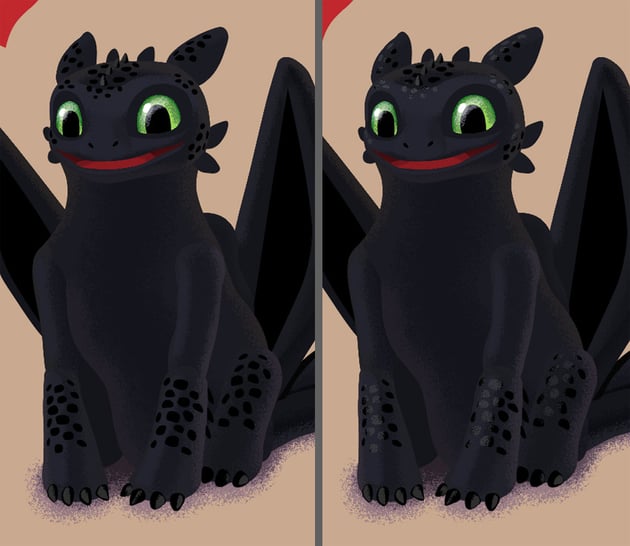

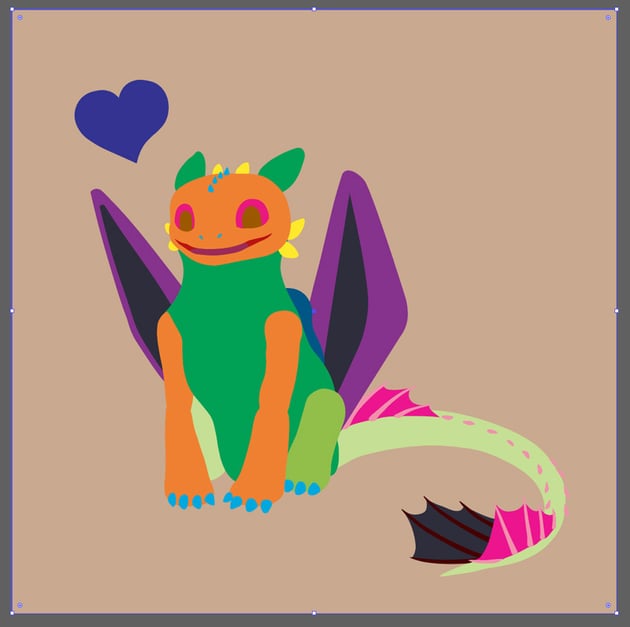
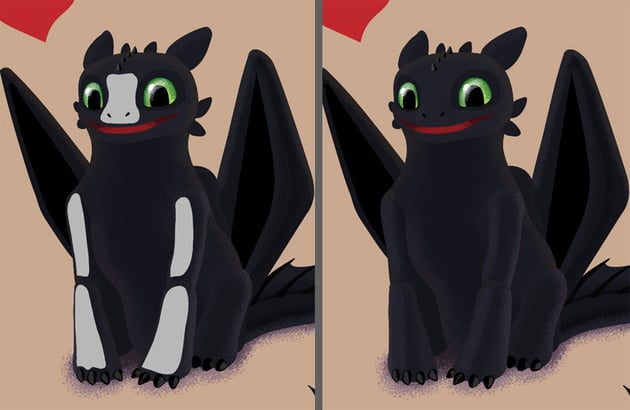
Step 7
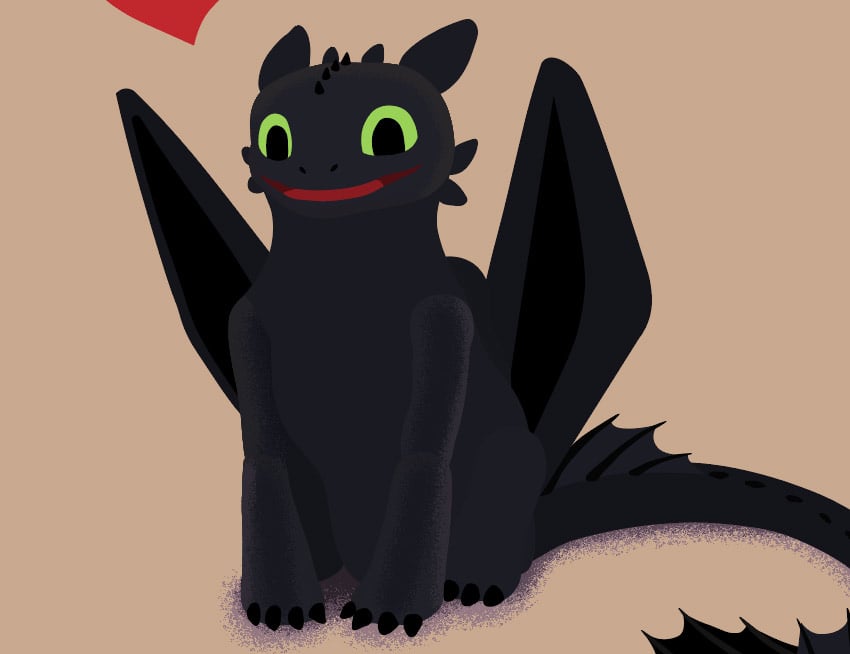
Finally, take a good look at the whole illustration, and see if there’s anything that can be improved. In my case, I’ve added a bit of a darker shade behind the knee, for a better contrast, and some shine over the shoulder, to blend it with the body. But depending on the exact shades you’ve used, your drawing may need different corrections, so take some time to analyze it on your own.
I’ve also added a hand-drawn outline to the heart, to give it a “child illustration” feel. To do the same, go to the Brushes menu, then Open Brush Library > Artistic > Artistic_ChalkCharcoalPencil. The specific brush I’ve used here is called Pencil – Feather 2.


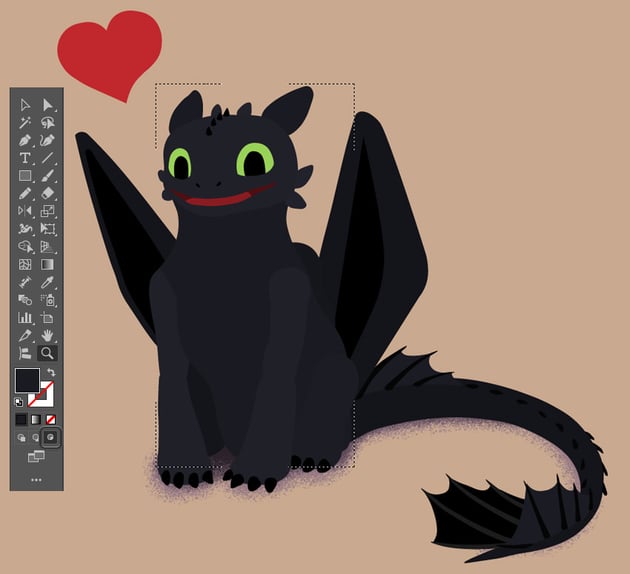
Good job!
Now you know how to draw Toothless from How to Train Your Dragon movie, by going from a Toothless sketch to an Illustrator drawing. And now you also know how to draw in Illustrator—how to start with the sketch, and then use the Curvature tool and Illustrator patterns to create an Illustrator drawing.


Illustrator brushes from Envato
Now that you’ve seen how custom Illustrator brushes can easily change simple shapes into a beautiful drawing, you may be curious what you could achieve with different brushes, too. Check out these five propositions from Envato to find out!
Ink brushes for Adobe Illustrator (AI)
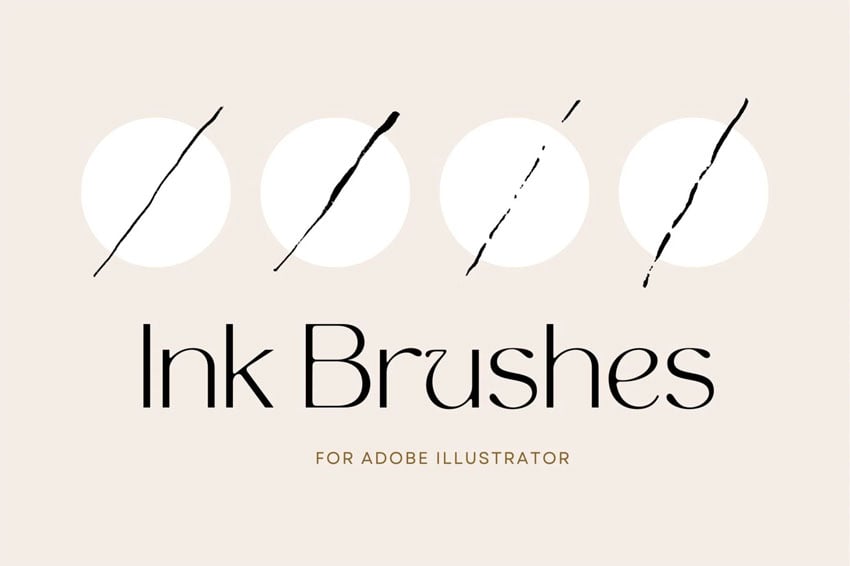
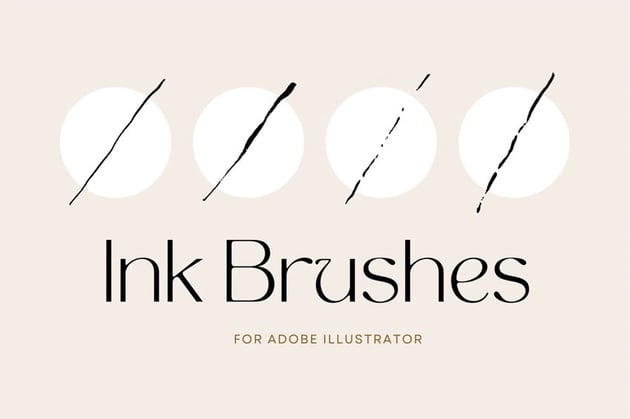
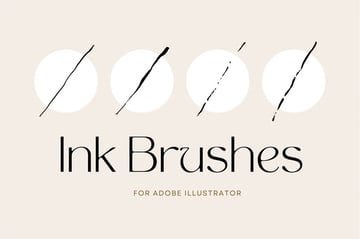
Default Illustrator paths are clean, but very sterile and rather artificial in look. With these brushes you can give these predictable, neat paths authentic hand-drawn look, and make them as organic as real ink lines.
Stipple brush set for Illustrator and Photoshop (ABR, AI, EPS)
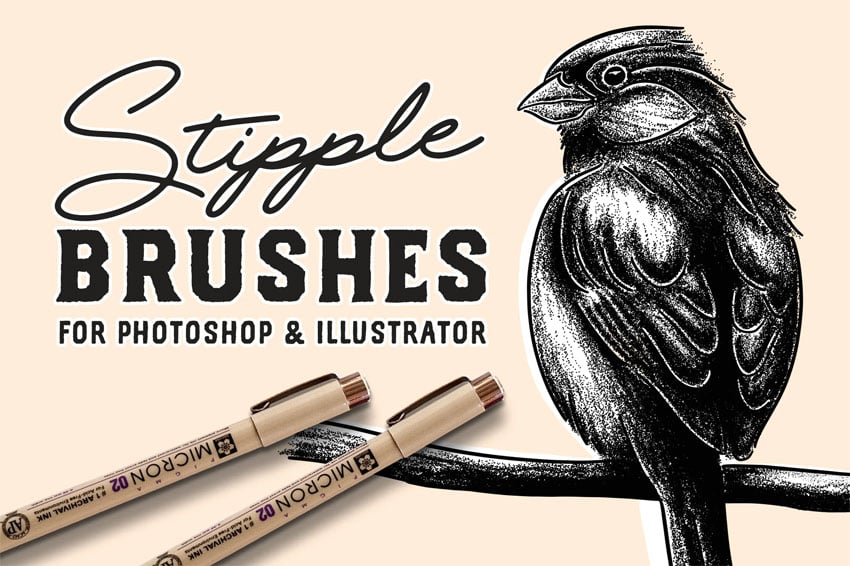
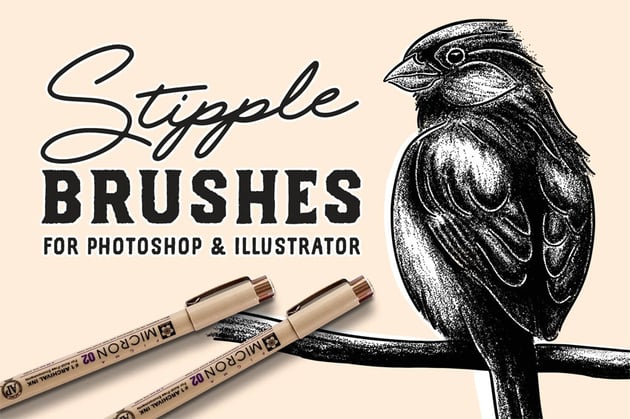
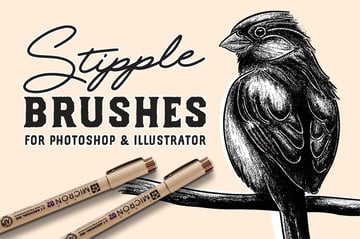
Stippling is a technique of shading that looks very cool, but takes an insane amount of work to get it right. Fortunately, this is something that digital tools are great for, and with these Illustrator brushes you’ll be able to achieve a genuine stippling effect in minutes!
Grunge texture stamp Illustrator brushes (AI)
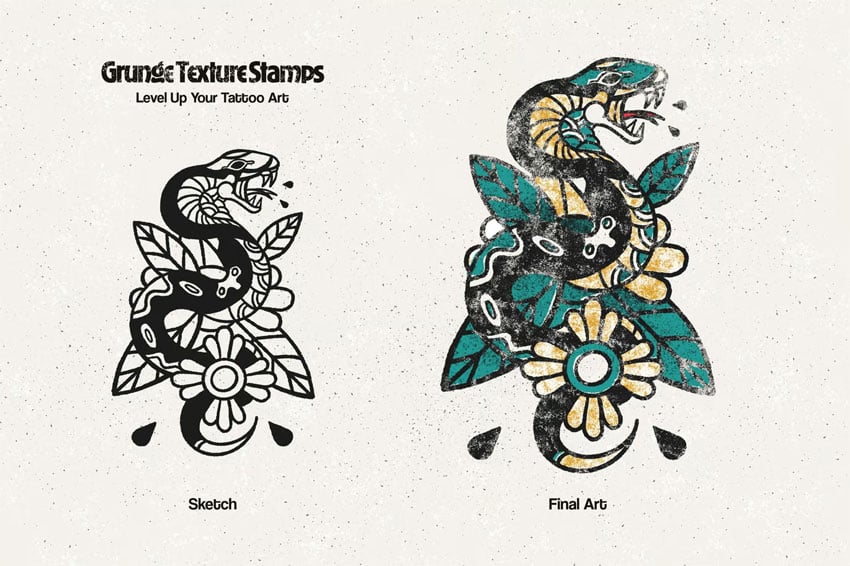

Another reason why your Illustrator art my look too clean and artificial, is that it lacks texture. With this set of Illustrator brushes, you’ll be able to easily fix it—make your drawings more attractive by making them a little dirty!
Multi color brushes for Illustrator (AI)

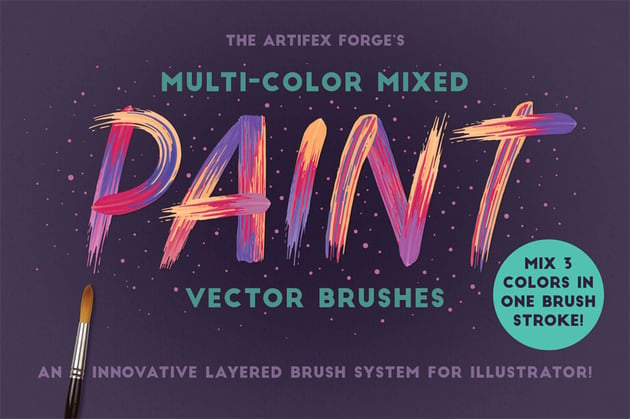

When you paint with a real brush, you can combine multiple colors in each stroke. In Illustrator it’s not possible… or is it? With this brush set, you can overcome this limitation, and create vibrant, multi-color strokes with no effort at all.
Pencil brushes for Illustrator (AI)
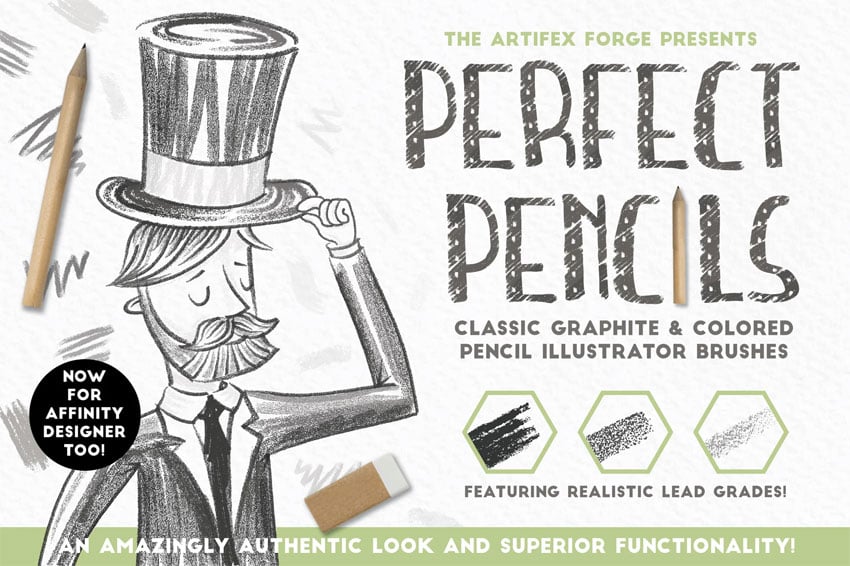
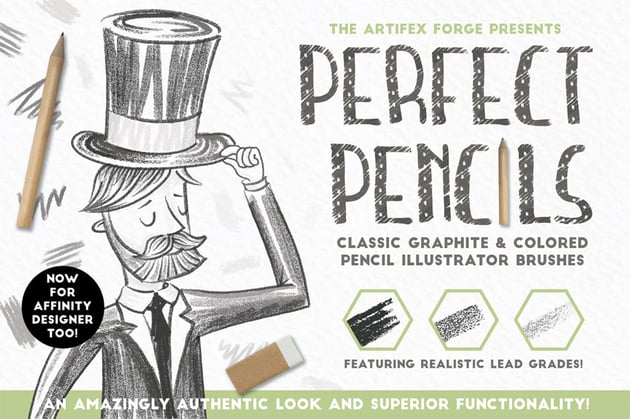
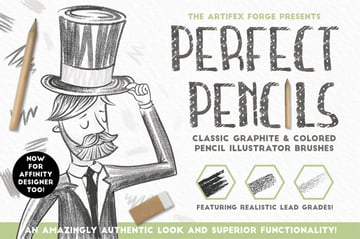
This brush set will allow you to combine the flexibility of vector art with the organic look of real graphite pencils! It contains a variety of brush strokes—thick, thin, dynamic, short—so you can achieve a genuine hand-drawn style in your Illustrator drawing!
Recommended tutorials
If you liked this Illustrator drawing tutorial, you may also enjoy this collection of articles on Envato Tuts+: