Welcome to the tutorial, where we’ll create a cute winter illustration with a retro vibe, perfect for holiday graphics and seasonal projects. We’ll play with basic shapes, warp effects, the Pathfinder panel, and Adobe Illustrator’s Anchor Point Tool to craft something truly magical.
So grab a warm drink, and let’s bring your winter designs to life!
Did you know Envato offers free hand-selected files every month? It’s an awesome way to grab high-quality graphics, illustrations, fonts, presentations, videos, and more—perfect for elevating your projects without spending a dime!
In fact, Envato is your go-to for endless creative resources, from winter illustrations to cute winter graphics and festive patterns and templates to bring your projects to life.
What you’ll learn in this winter-themed illustration tutorial
- How to create holiday graphics
- How to create a cute winter illustration
- How to use the Anchor Point Tool in Illustrator
- How to use Warp Effects in Illustrator
- How to use the Pathfinder panel
- How to use Corner Widgets
- How to use basic shapes in Illustrator
- How to use the Zig Zag effect in Illustrator
1. How to create the first ice skate in Illustrator
Step 1
After you’ve opened Adobe Illustrator, create a new document (File > New). Enter 850 px Width and 950 px Height in the dialogue window, and press OK. This will be your new artboard.
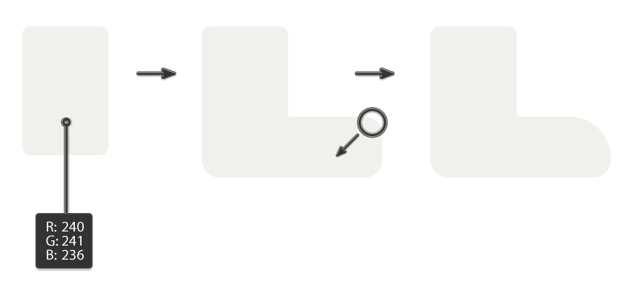
We’ll start to create our winter illustration by making the first ice skate. Create a vertical rounded rectangle with the Rounded Rectangle Tool. Make its fill color R=240, G=241, B=236. Then draw another rounded rectangle, this time horizontal.
Now, you want to go to View > Show Corner Widget. When you do this, rounded rectangles get small circles in every corner which you can use to further modify it. Use the Direct Selection Tool (A) to select the upper right anchor point of the horizontal rounded rectangle. Drag it inwards.

Step 2
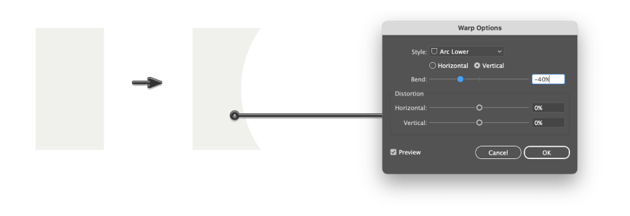
Use the Rectangle Tool (M) to draw a rectangle with the same fill color. Then, go to Effect > Warp > Arc Lower. Enter the options you see below in the image.
Expand this shape (right-click > Expand Appearance). This shape is going to be a part of the first ice skate.

Step 3
Place the previous shape as shown in the image below. You don’t actually need the black strokes—they’re just there for better visibility.
Then, use the Shape Builder Tool (Shift-M) to combine all the light parts of the ice skate. This is the main shape of the ice skate.
Change the fill color to R=193, G=192, B=191, and draw a rounded rectangle with the Rounded Rectangle Tool. This is the ice skate’s sole.


Step 4
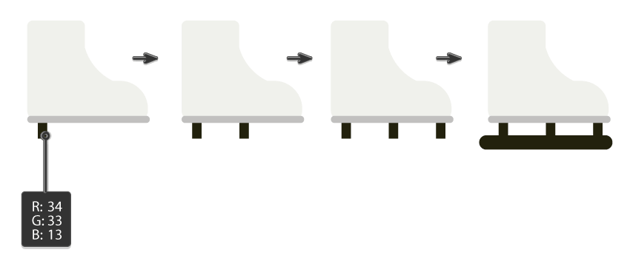
Change the fill color to R=34, G=33, B=13, and draw a rectangle using the Rectangle Tool (M). It should stay under the sole. This rectangle will hold the ice skate blade.
To create another holder, you need to hold the Alt and Shift buttons together while moving it to the right. Holding the Alt button will create a copy, and Shift will move it in a straight line. After that, just press Control-D, as this will repeat your last move.
Finally, use the Rounded Rectangle Tool to create the blade.

Step 5
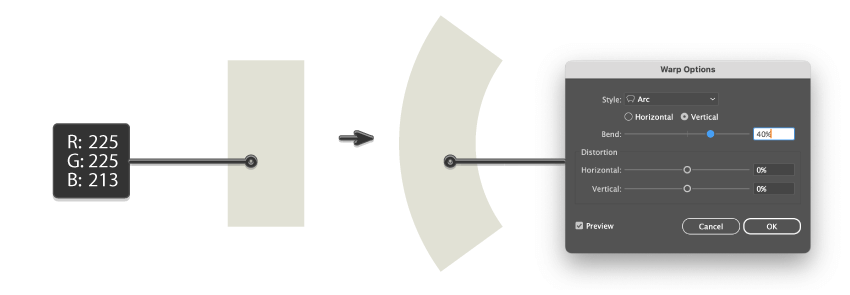
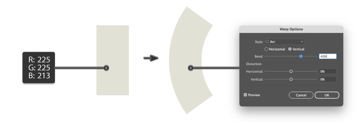
Let’s continue to create the ice skate by adding some more details. Using the Rectangle Tool (M), create a rectangle. Make its fill color R=225, G=225, B=213.
While keeping it selected, go to Effect > Warp > Arc. Then, enter the options you see below, and press OK. Then, expand this shape (Object > Expand Appearance).
Step 6
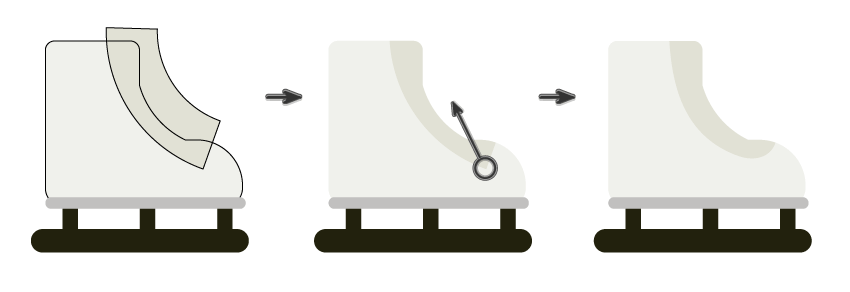
Place this deformed rectangle on the ice skate as shown in the image below. Remember, you don’t need the black strokes—they’re just there for better visibility.
Create a copy of the lightest part of the ice skate (the main shape) in front (Control-C, Control-F). Keep it selected and, while holding the Shift key, select the deformed darker shape you placed before. Go to the Pathfinder panel (Window > Pathfinder) and press the Intersect button.
Now, you want to go to View > Show Corner Widget. When you do this, any shape gets small circles in every corner which you can use to further modify it. Use the Direct Selection Tool (A) to select the anchor point shown in the image below. You can drag it inwards to give this shape a rounded corner.
Step 7
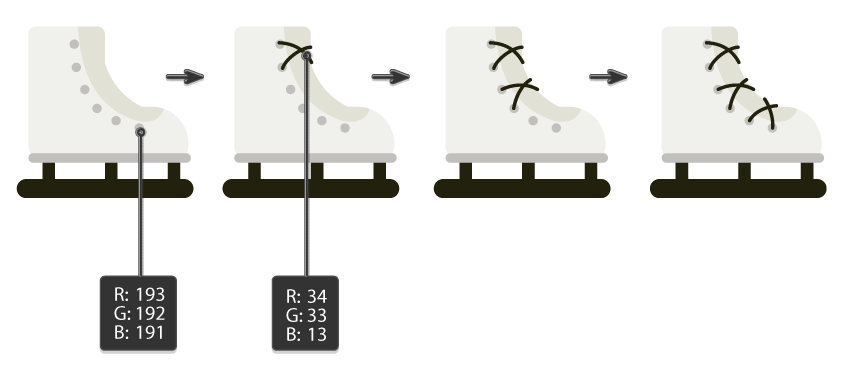
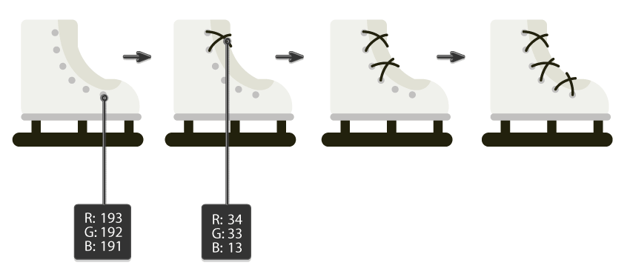
Make the fill color a bit darker (R=193, G=192, B=191) and draw a few tiny circles for the shoelace holes.
Then, make sure the shoelace holes are not selected. Press the Swap Fill and Stroke (Shift-X) button, and change the stroke color to R=34, G=33, B=13. On the Stroke panel, you can adjust the stroke Weight. Also, in the Cap section, make sure you selected Round Cap. Using the Arc Tool, draw the shoelaces, making sure that each pair crosses.
Group the whole ice skate together (right-click > Group).
2. How to create the second ice skate in Illustrator
Select the first ice skate and create a copy in the back (Control-C, Control-B). Using the arrow keys on your keyboard, move it to the right so it will be visible.
Select the first ice skate, and once again create a copy in the back (Control-C, Control-B). Move it to the right just a tiny bit.
While keeping it selected, press the Unite button on the Pathfinder panel (Window > Pathfinder). Change its fill color to black.
Keep this selection, and go to the Transparency panel (Window > Transparency). In the pop-out menu (labeled as Normal), select the Multiply option and make the Opacity 50%.


3. How to create a robin in Illustrator
Step 1
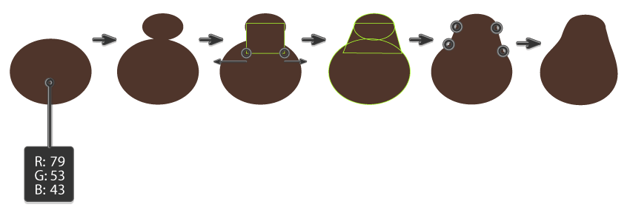
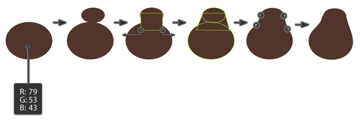
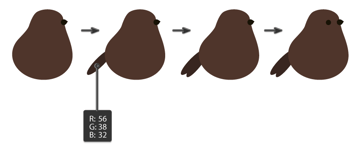
Using the Ellipse Tool (L) create an ellipse (R=79, G=53, B=43). First, we’ll create the body of the robin.
Create a smaller ellipse on top. Take the Rectangle Tool (M) and draw a rectangle; this will form the neck of the bird. To finish off the body shape, take the Direct Selection Tool (A) and make the lower part of the rectangle wider.
Select the shapes we just created for the body of the bird. Go to the Pathfinder panel and click on the Unite button.
Then take the Convert Anchor Point Tool (Shift-C) and convert the sharp corners into smooth ones. Notice that you should not be clicking with the Convert Anchor Point Tool (Shift-C), but stretching the handles of the anchor points.

Step 2
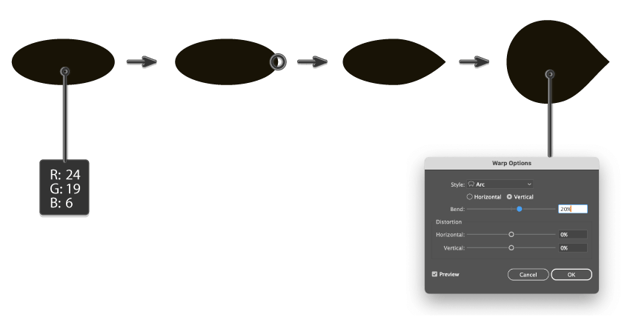
To draw the beak, draw a new horizontal ellipse (fill color R=24, G=19, B=6). Select this new ellipse, and sharpen the right anchor point by clicking on it using the Convert Anchor Point Tool (Shift-C). Now, your ellipse should have a sharp end.
Once again, go to Effect > Warp > Arc. In the Warp Options dialogue window, enter the options you see below and press OK.
Next, expand the shape (Object > Expand Appearance).

Step 3
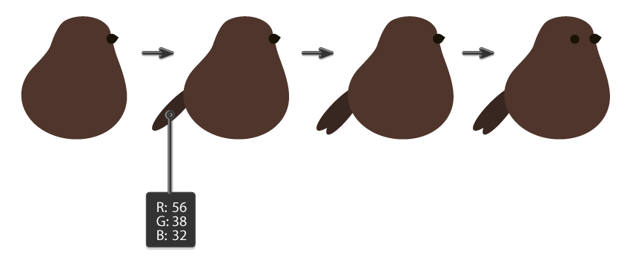
Let’s put the beak on the robin.
Using the Ellipse Tool (L), draw a long, narrow ellipse to create the tail. The fill color is R=56, G=38, B=32.
Then create another one. Be sure to place them behind the robin’s body: press Control-X to cut off the whole tail, and then Control-B to place it behind.
We’ll need to create just one eye because we can only see one side of the bird. So, using the Eyedropper Tool (I), take the fill color from the beak and draw a small circle as the eye.

Step 4
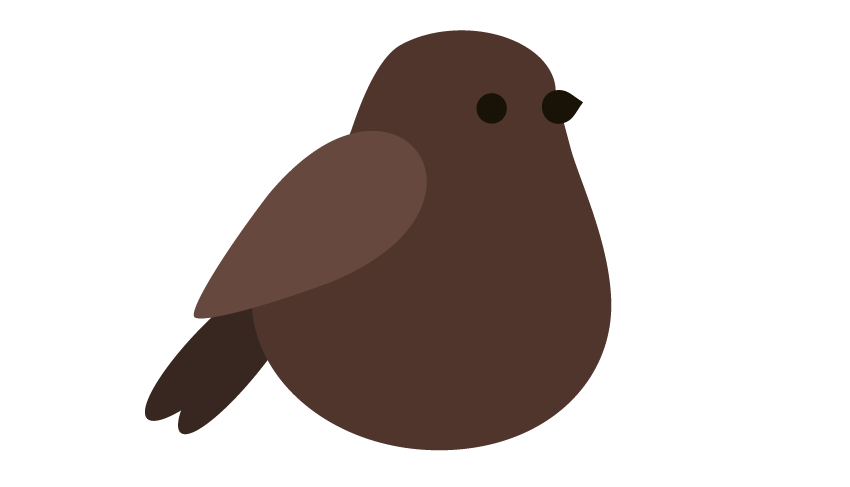
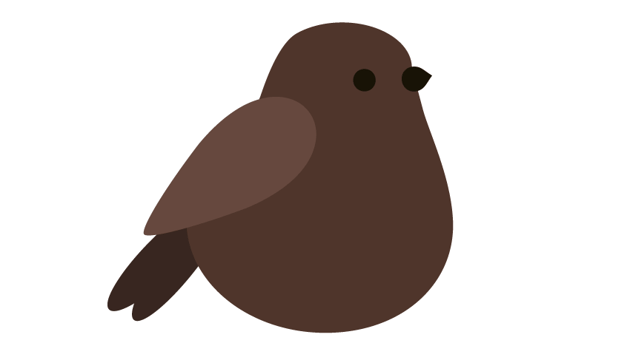
Our robin definitely needs a wing, so draw a small ellipse with a fill color of R=102, G=72, B=62.
Go to Effect > Warp > Arc, and in the new dialogue window, enter the options you see below. Then press OK.
Expand this shape (right-click > Expand Appearance).


Rotate the wing a little bit to the left and place it on the robin’s body.
Step 5
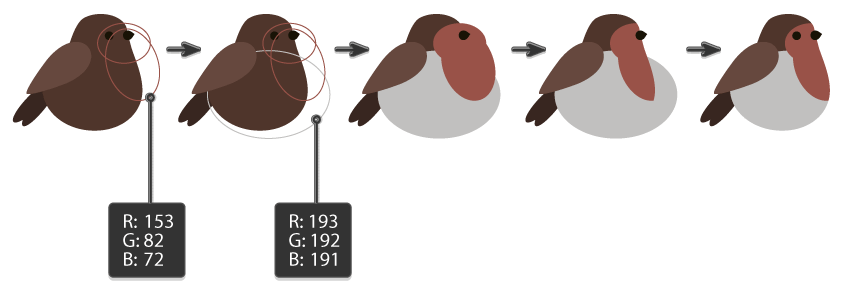
This next part is a bit tricky, but I’m sure you can do it! Be sure nothing is selected, and then press the Swap Fill and Stroke (Shift-X) button, and change the stroke color to R=153, G=82, B=72. We actually need a fill color, but changing it to a stoke color makes it easier to see what’s underneath. Using the Ellipse Tool (L), draw an ellipse that overlaps the robin’s eye, beak, and a bit of the neck.
Create another ellipse that overlaps the robin’s chest.
Change the stroke color to R=193, G=192, B=191 and draw a new ellipse that overlaps the bottom part of the robin’s body but stays under the wing.
Now, select the first red ellipse and press the Swap Fill and Stroke (Shift-X) button. Select the second red ellipse and press the Swap Fill and Stroke (Shift-X) button. Select the third gray ellipse and once again press the Swap Fill and Stroke (Shift-X) button.
Next, we want to cut off the unnecessary parts of these ellipses. For this, select the robin’s body and make a copy in front (Control-C, Control-F). Now, select the first red ellipse while keeping the copy selected. On the Pathfinder panel, press the Intersect button. The unnecessary parts should be cut off.
Again select the robin’s body and make a copy in front (Control-C, Control-F). Now, select the first red ellipse while keeping the copy selected. On the Pathfinder panel, press the Intersect button.
Using the same method, cut off the unnecessary parts of the gray ellipse. Be sure that the wing, eye, and beak stay on top.
Step 6
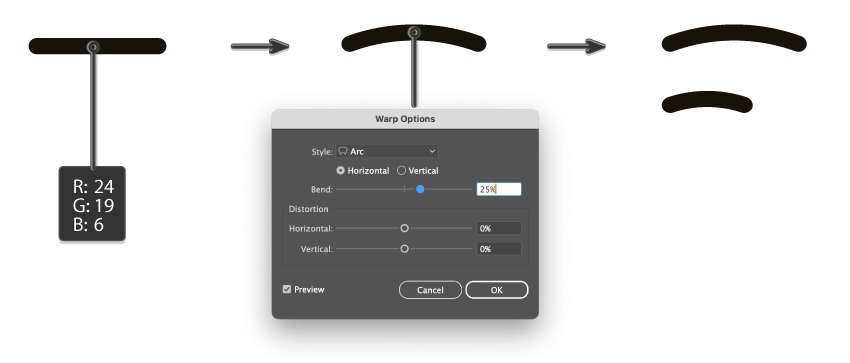
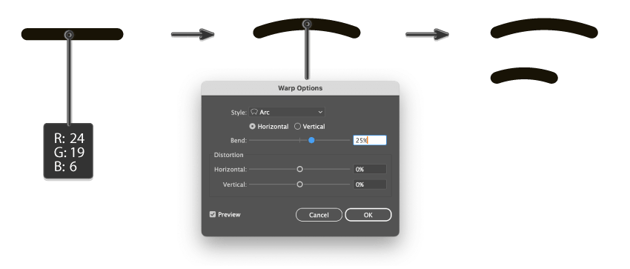
Now, let’s create the bird’s feet. Change the fill color to R=24, G=19, B=6, and draw a long narrow rounded rectangle with the Rounded Rectangle Tool (M).
After that, go to Effect > Warp > Arc. In the new Warp Options dialogue window, enter the options you see below and press OK. This will be the robin’s longer toe.
Create a copy of this shape by dragging it to the side while holding the Alt button. Make this copy shorter—this will be the robin’s other toe.
Now expand both of them.
Step 7
Next, we want to create the legs. Draw a long rectangle under the robin’s body—the fill color stays the same as the toes. The leg should stay behind the robin’s body.
Place the longer toe on the bottom of the leg. Create a copy of this longer toe and place it close to the first one, creating a V-shape. Then, place the shorter toe on the opposite side of the longer ones. Group the whole leg together.
Create a copy of the whole leg and place it next to the first one.


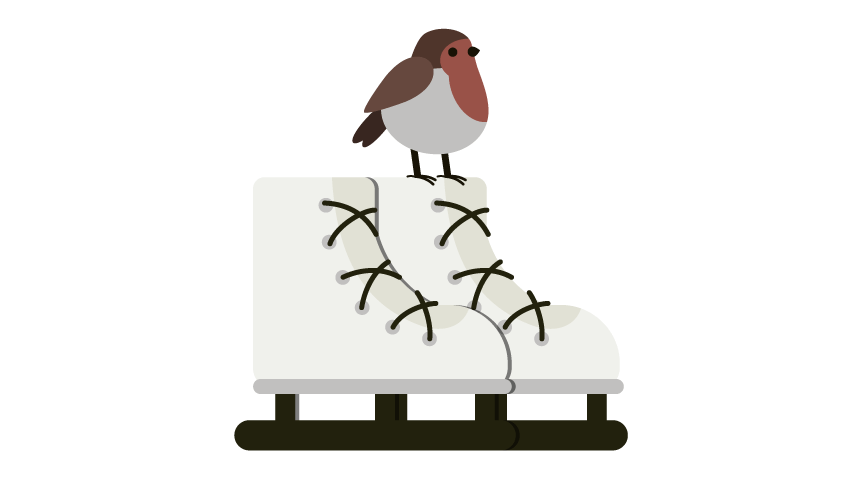
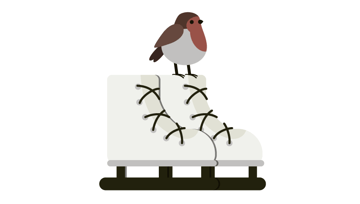
Be sure that the whole bird is grouped, and then put it on top of the ice skate.
4. How to create holly in Illustrator
Step 1
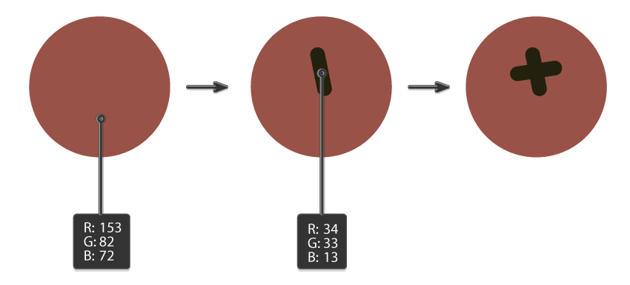
Our holiday illustration needs holly for sure. Using the Ellipse Tool (L), create a circle. In order to create an even circle, hold the Shift button while creating. Set its color to R=153 G=82 B=72.
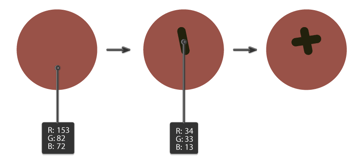
Let’s create a sepal (the base of the berry). Be sure nothing is selected, and then press the Swap Fill and Stroke (Shift-X) button, and change the stroke color to R=34, G=33, B=13. On the Stroke panel, you can adjust the stroke Weight. Also, in the Cap section, make sure you selected Round Cap. Using the Line Segment Tool (\), draw a small line like the one in the image below.
Keep the line selected and take the Rotate Tool (R). Press the Enter key on your keyboard to bring up the adjustments box. Enter 90 degrees and press Copy. You just created the berry’s sepal.
Group the berry and set it aside.

Step 2
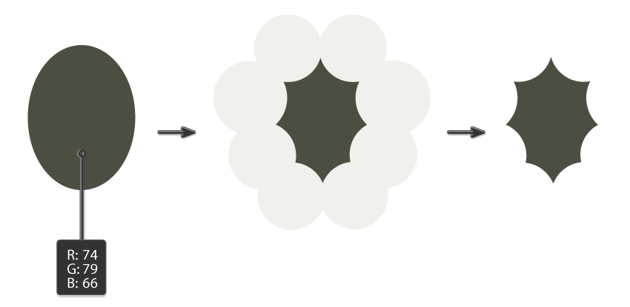
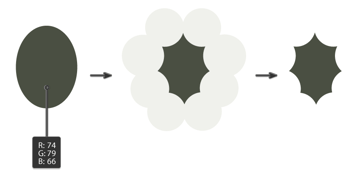
Next, let’s create the holly leaf. Draw an ellipse (the fill color is R=74 G=79 B=66).
Then, draw eight more using any other color and place them as shown in the image below, surrounding the ellipse. Can you see the holly leaf shape now?
Go to the Pathfinder panel (Window > Pathfinder) and press Minus Front. Now you should have the holly leaf.

Step 3
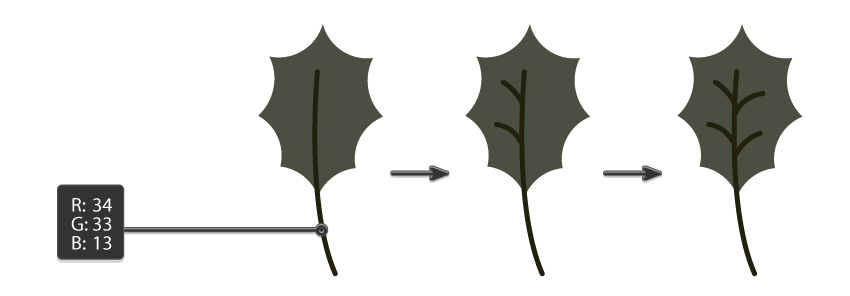
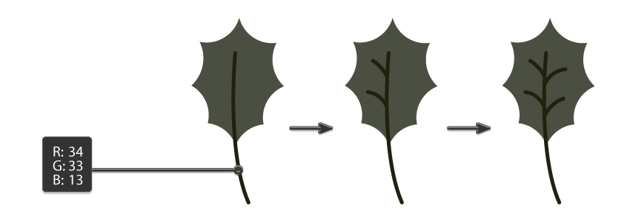
Let’s create a stalk for the holly leaf. Make sure the leaf is not selected, press the Swap Fill and Stroke (Shift-X) button, and change the stroke color to R=34, G=33, B=13. Using the Arc Tool, draw a long stalk for the leaf. On the Stroke panel, you can adjust the stroke Weight however you like, as it depends on how big the leaf is. Also, in the Cap section, make sure you select Round Cap.
Using the same stroke color and a lighter stroke Weight, draw the veins of the leaf.
Step 4
Now let’s go back to the holly berry and place it on top of the ice skate. Using the same stroke color and weight as the holly leaf’s stalk, draw a stalk for the berry. Make sure that the stalk stays behind the ice skate.
Add more holly berries on stalks by creating copies.


Step 5
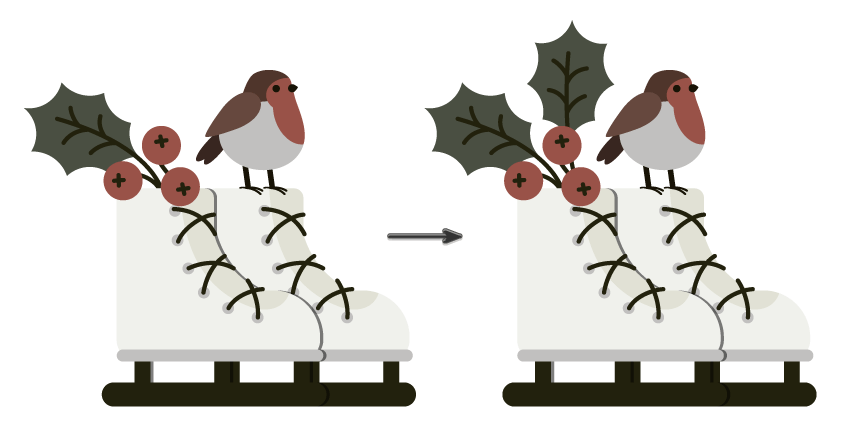
Now, put the holly leaf behind the holly berries.
Create a copy of the holly leaf and put it behind the berries as well.
5. How to create the background in Illustrator
Step 1
Now let’s add a background to our winter design. Create a rectangle by using the Rectangle Tool (M). Click on the artboard and enter 850 x 950 px. Press OK and make its fill color R=142, G=144, B=133.
Place the background behind everything. To do this, cut the background (Control-X) and then place it behind everything (Control-B). Make sure that the background stays in the middle of the canvas.


Step 2
Change the fill color to R=130, G=132, B=119, and create an ellipse using the Ellipse Tool (L).
After that, go to Effect > Warp > Inflate and, in the new dialogue window, enter the options you see below. Then press OK. Expand this shape.

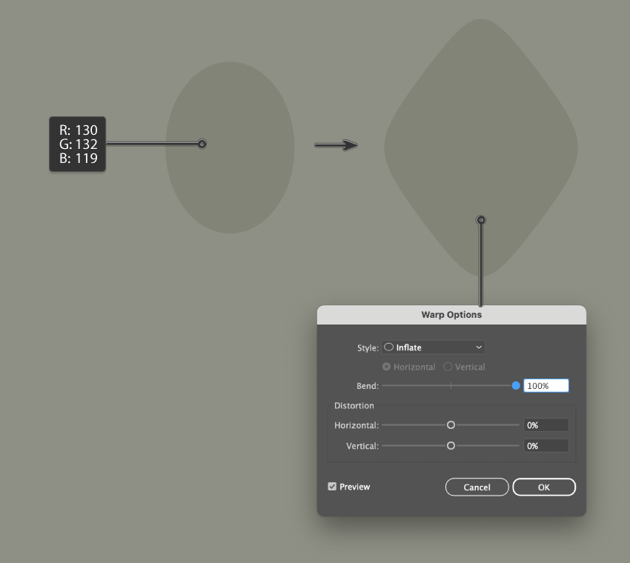
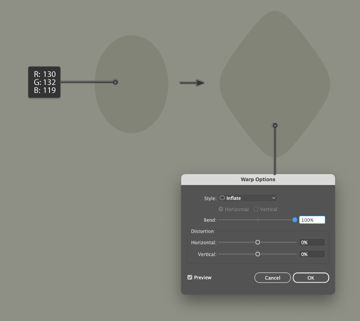
Put this shape on the background.


Step 3
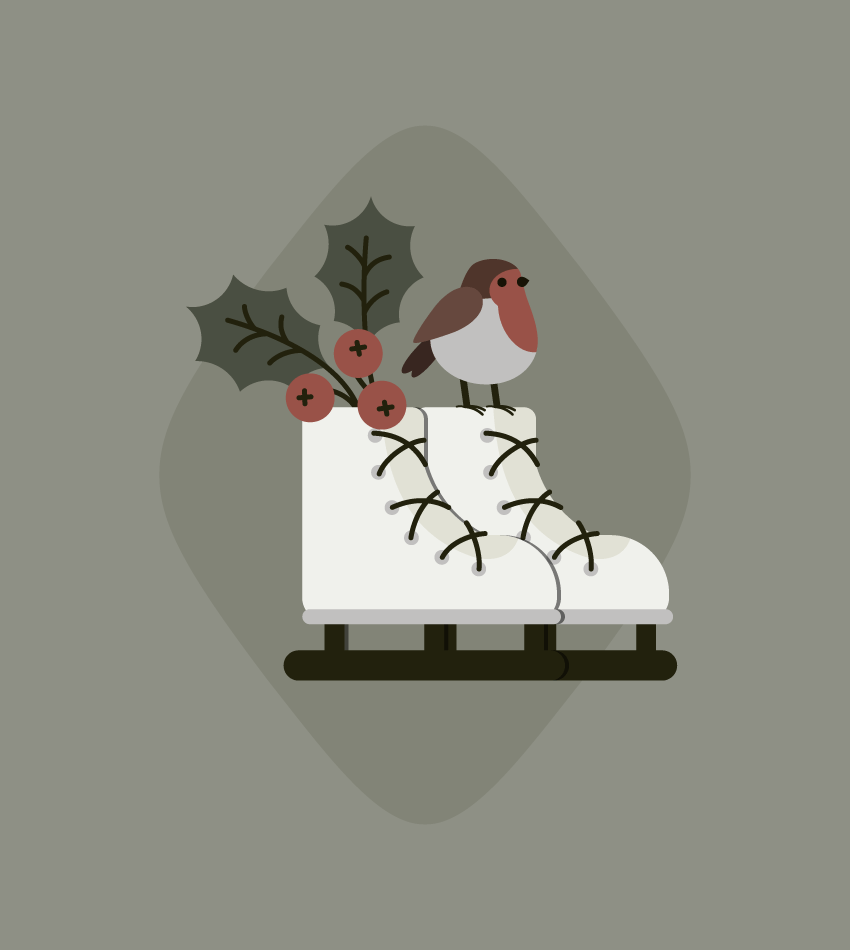
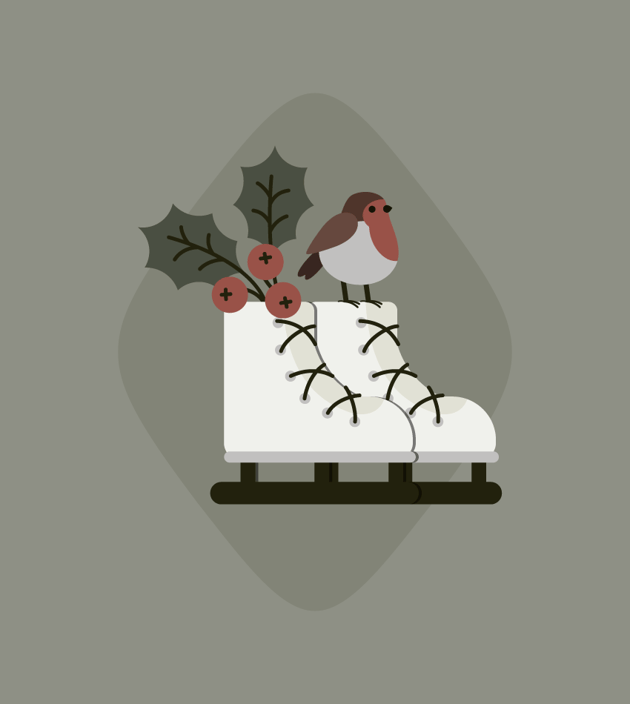
Put the ice skates, robin, and holly berries with leaves on the background.
Step 4
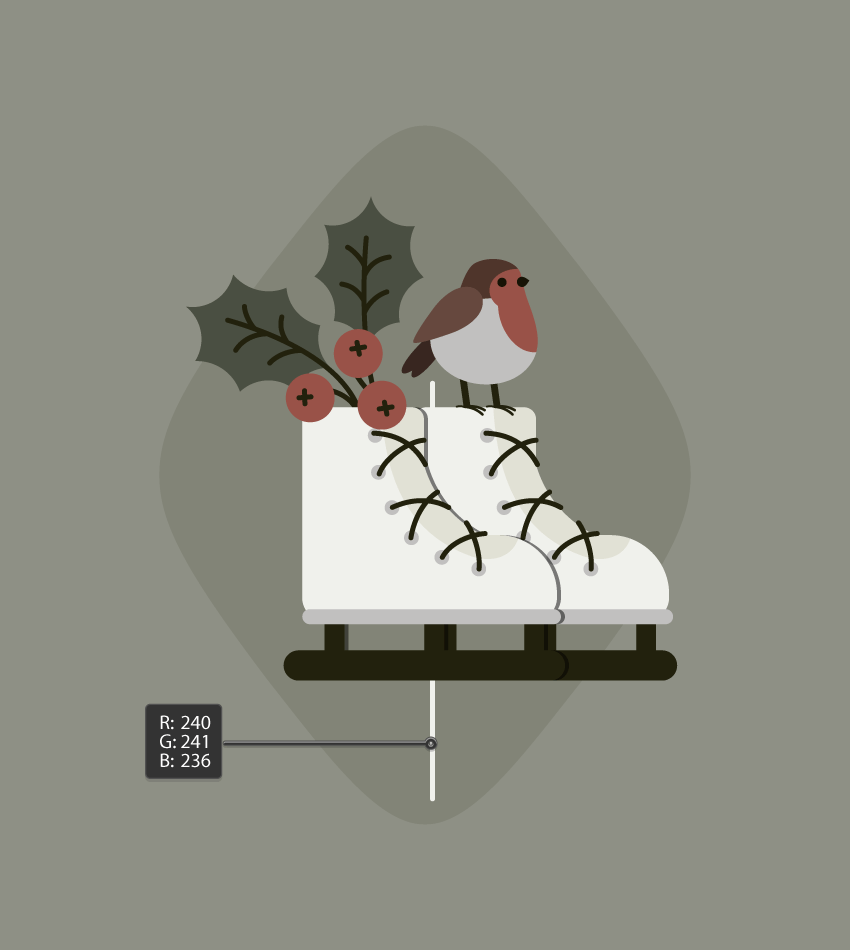
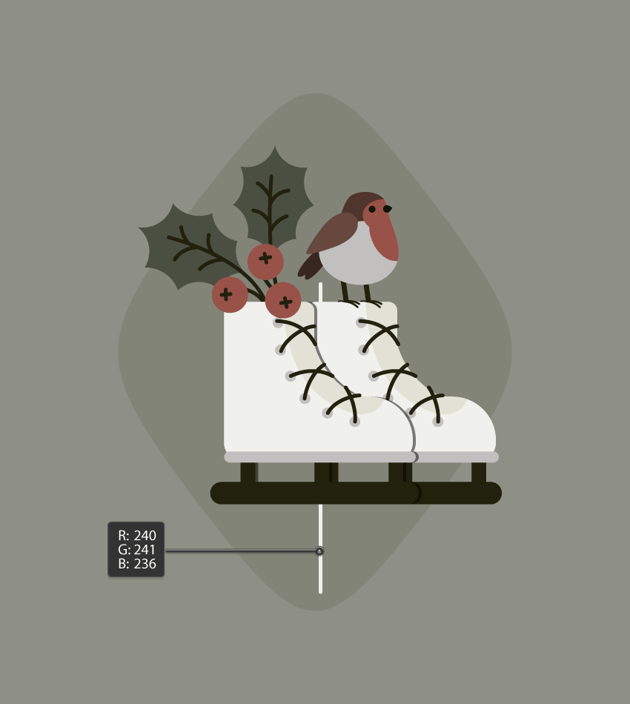
Now let’s add a few more decorative details. Make the stroke color R=240, G=241, B=236. Using the Line Segment Tool (/), draw a line behind the ice skates, robin, and holly, but in front of the background. On the Stroke panel, you can adjust the stroke Weight. Also, in the Cap section, make sure you select Round Cap.
Step 5
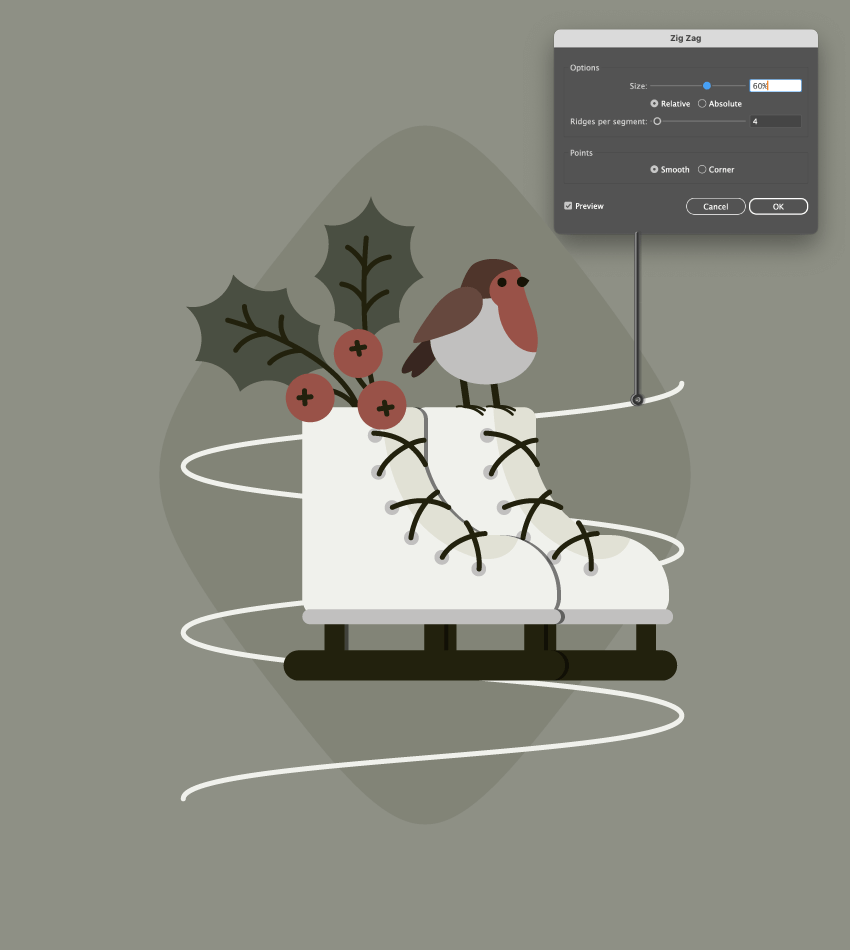
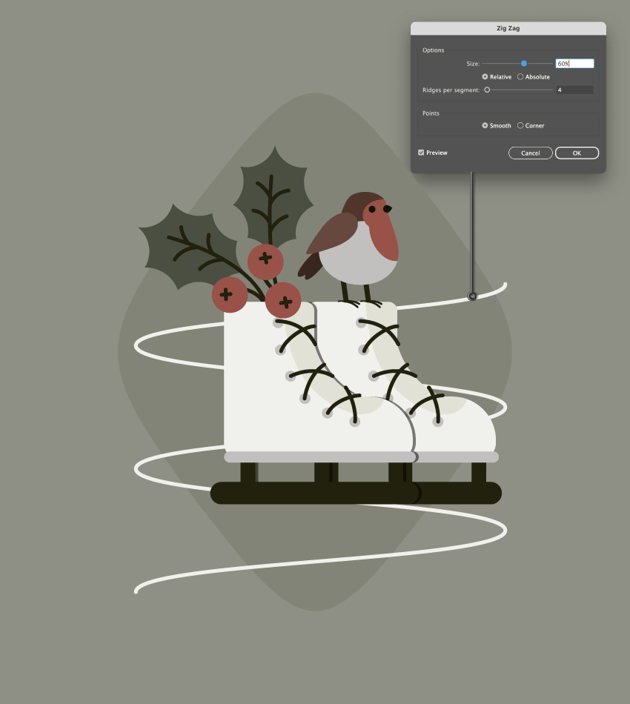
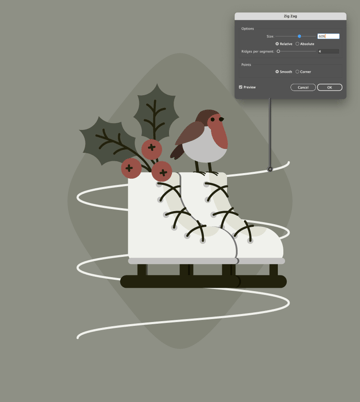
While keeping the line selected, go to Effect > Distort & Transform > Zig Zag… Enter the options you see below and press OK. The Zig Zag options below are just approximate, so feel free to adjust them to your liking. This zig-zag line represents the tracks left by the skates.
Step 6
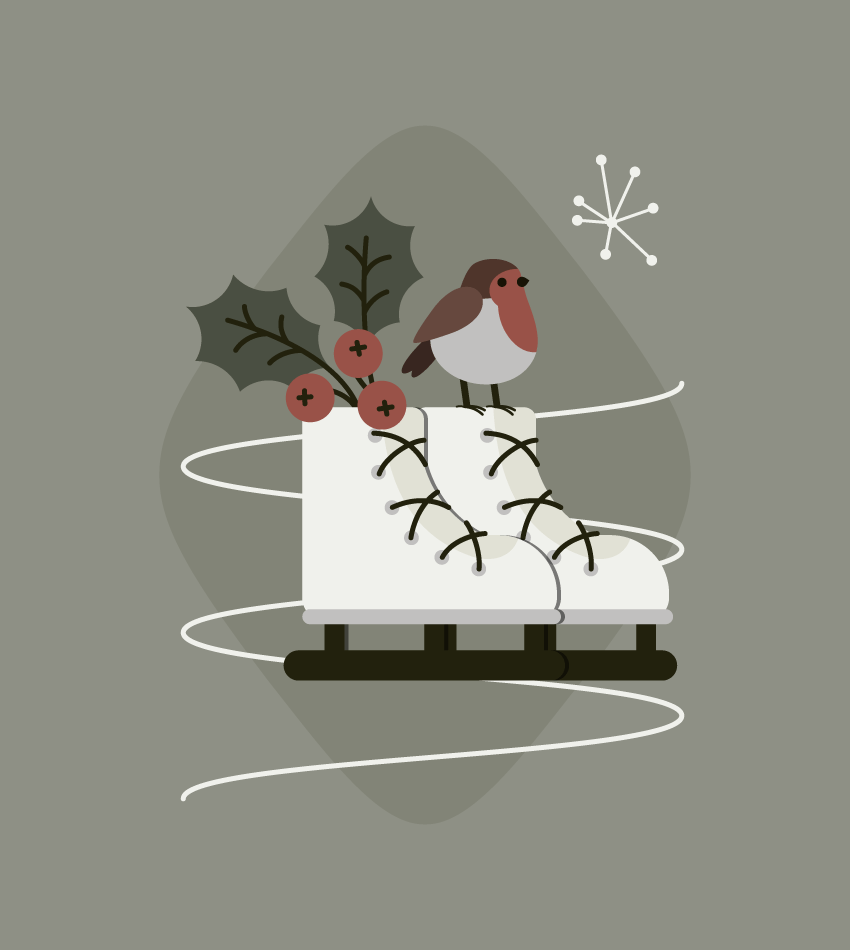
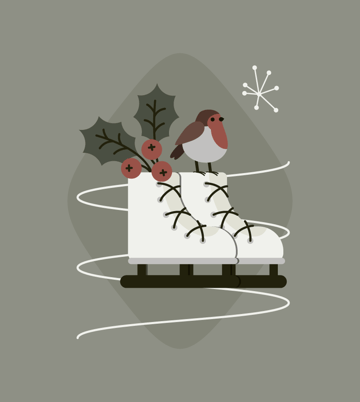
Let’s create some retro-style snowflakes to add some more detail to our illustration. Using the Line Segment Tool (\), draw a few lines that all connect at a single point.
Add a tiny circle in the middle, right where the lines are connected. Add more tiny circles at the tips of each line. Now, group the whole snowflake.


Place the newly created snowflake on our cute winter illustration.
Step 7
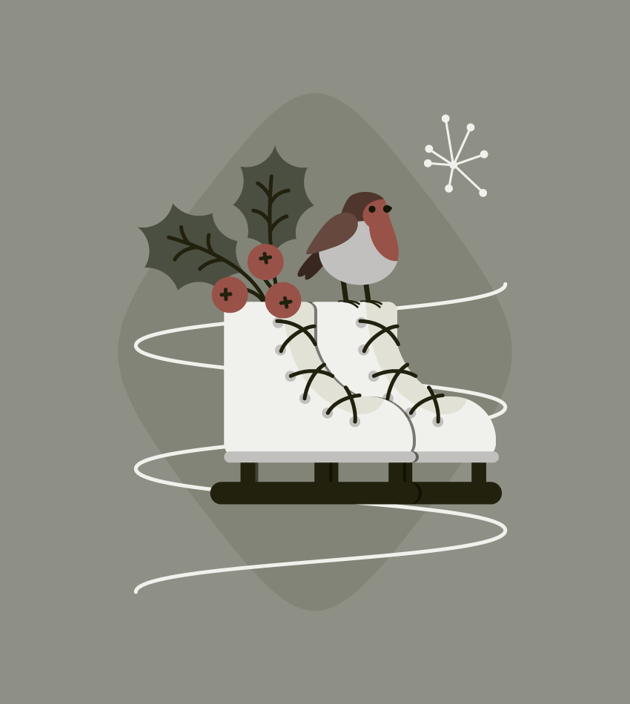
While holding the Alt button, move the snowflake to the side to create a copy.
Now create more copies, adding as many as you want. Feel free to use the Direct Selection Tool (A) to change the form of the snowflakes to your liking.
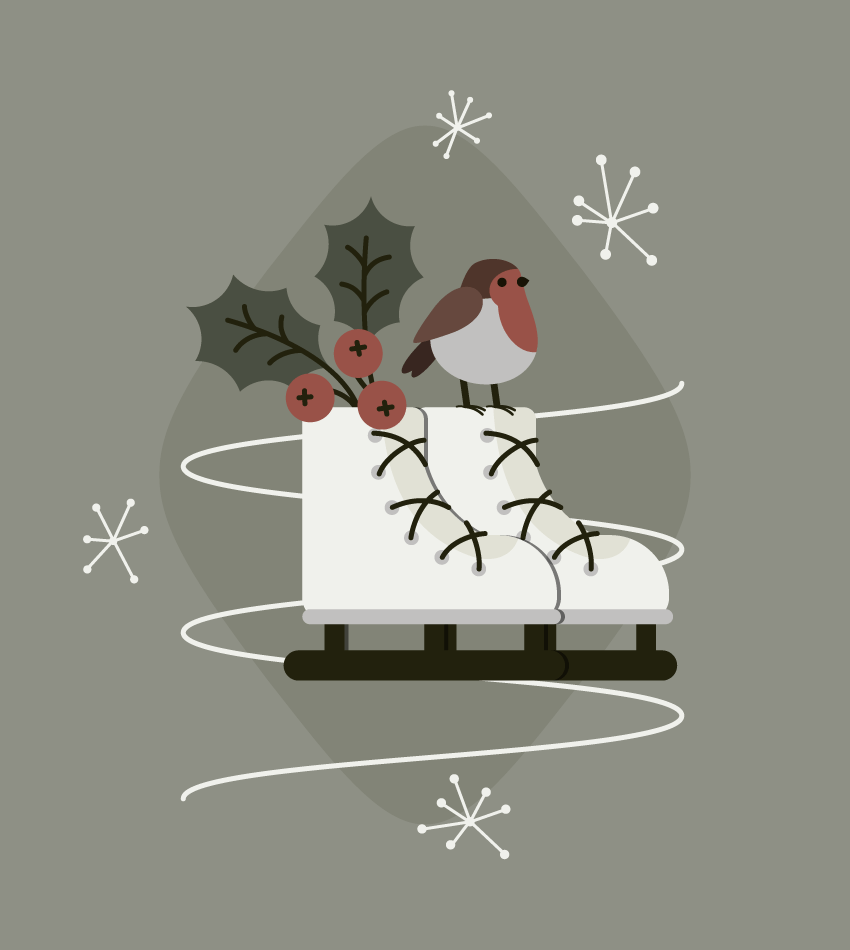
Congratulations!
Good job! You’ve done an amazing job bringing your creativity to life, and your artwork is a testament to your growing skills. Keep practicing, experimenting, and having fun—because the best art comes from the heart.
Popular resources from Envato
Discover a world of creativity with Envato! Whether you’re a digital artist, designer, or content creator, Envato offers a wide range of high-quality resources to elevate your projects. From stunning templates and graphics to royalty-free music and stock photos, you’ll find everything you need to bring your ideas to life.
Explore top picks and recommended tools curated just for you.
1. Christmas graphics & illustrations pack (PNG, PSD, JPG)
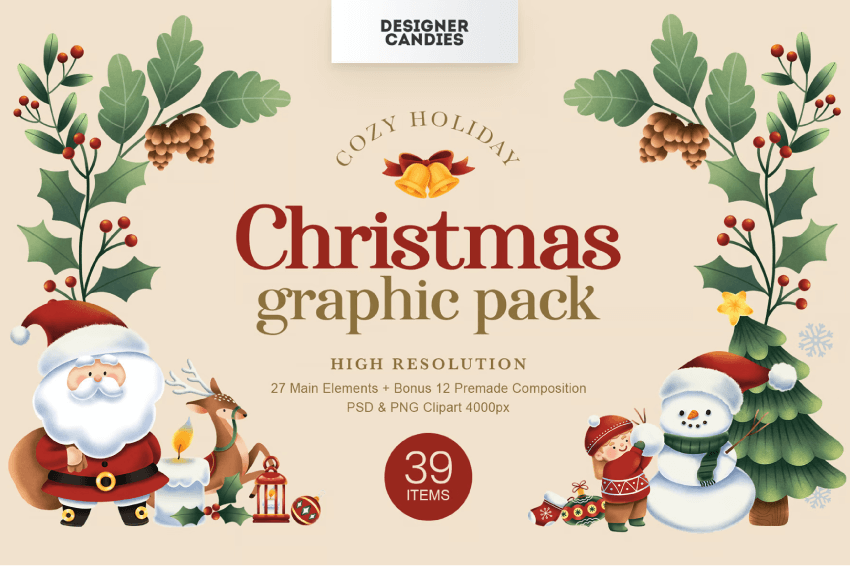
Bring the magic of childhood Christmas to life with these playful and festive illustrations. Featuring adorable kids in winter clothes, Santa Claus, a snowman, and classic holiday decorations, this collection is perfect for your creative projects. Don’t miss out—start designing your holiday magic today!
2. New Year graphics illustration (AI, EPS)
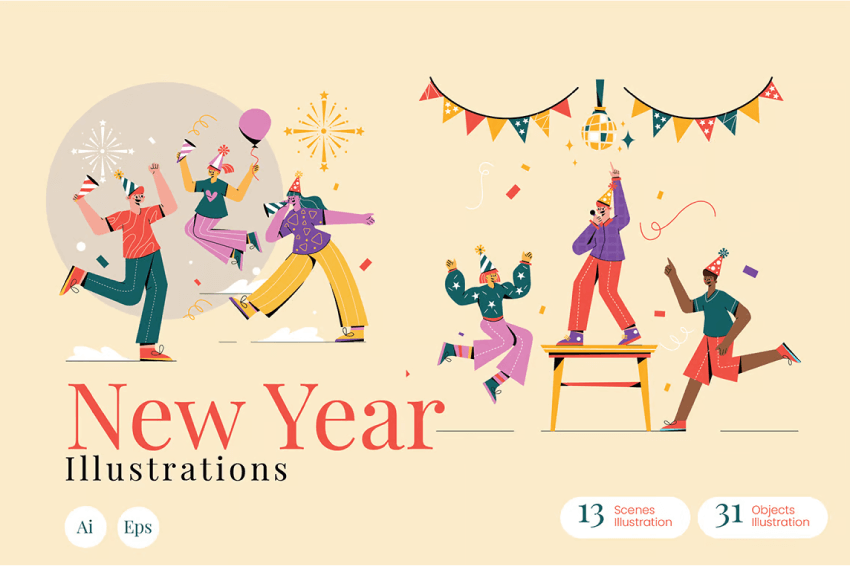


Create stunning retro-style New Year designs with this customizable illustration set. Perfect for websites, apps, landing pages, or presentations, it features 13 scene illustrations and 31 decorative elements to craft your own unique compositions. Add a touch of vintage charm to your New Year projects today.
3. Winter town (EPS, PNG, JPG)


Create a charming winter town scene with this snowy street illustration. Perfect for Christmas cards or holiday banners, this urban landscape design comes in a clean, flat style. The set includes fully editable EPS vector files for easy customization, plus high-resolution JPG and PNG files (300 dpi, RGB) sized at 6300×4200.
4. Winter in town watercolor clipart (PNG, PSD)
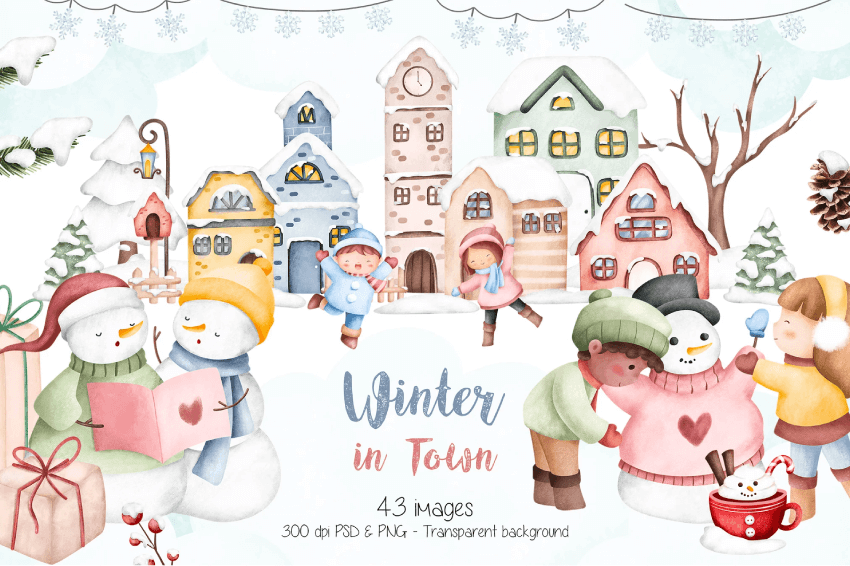
Capture the cozy charm of winter with the Winter in Town Watercolor Clipart set. Featuring 43 high-quality images in PSD and PNG formats, it’s perfect for crafting cards, stickers, invitations, and more. Add a touch of seasonal magic to your designs.
5. Winter illustrations & graphics pack (AI, PSD)
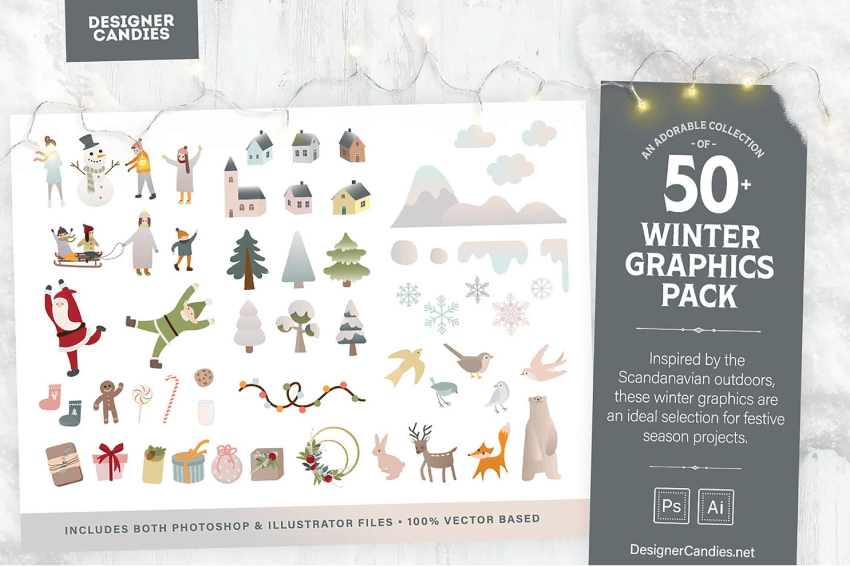
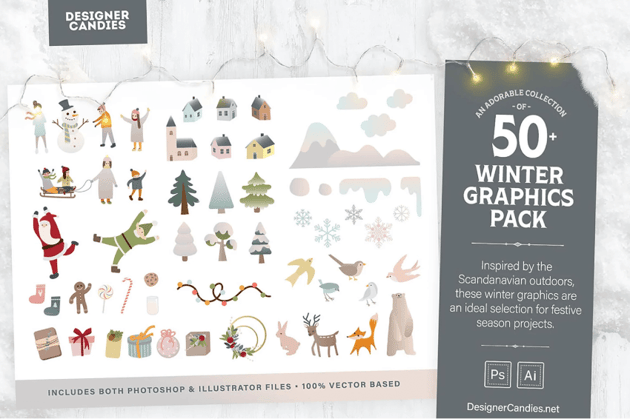
Bring Scandinavian charm to your designs with this playful collection of 50+ winter illustrations. Featuring Santa, elves, snowmen, children, wildlife, and more, these soft and modern graphics are perfect for seasonal projects. Fully editable in Photoshop and Illustrator, they offer endless creative possibilities.
Take a look at these tutorials
Unlock your creativity with our collection of Illustrator tutorials. From beginner basics to advanced techniques, find everything you need to bring your ideas to life. Dive in and start designing today.