Photoshop’s been the industry standard for artists and designers for decades, adding new and improved features every year. This is great for those of us who’ve been using it for years, but it can be a lot to take in for someone just getting into the digital art world!
So I’ve made a list of my top 10 essential design tips and tools for Photoshop. We’ll be focusing on a speedier workflow, good practices (aka good habits to start now, so you don’t have to break bad habits later…), and the tools I think every Photoshop user should be using.
Looking to speed up your workflow and create amazing photo effects in seconds? Or add thousands of high-quality fonts, brushes, and text effects to your design toolbox? Then check out Envato Elements!

Prefer to watch on YouTube? Follow along with us over on our Envato Tuts+ YouTube channel and learn even more about my top 10 essential design tips and tools for Photoshop.
What You’ll Learn in This Photoshop Tutorial
- When to use smart objects in Photoshop
- How to make a smart object editable
- How to fix color banding in Photoshop
- How to auto align in Photoshop
- How to make a clipping mask in Photoshop
- Examples of non-destructive editing in Photoshop
1. Use Adjustment Layers & Non-Destructive Editing
What Are Adjustment Layers?
Adjustment layers carry image adjustment settings, applying those settings to any layer located below the adjustment layer. This includes tonal and color adjustments, along with fills like Gradient or Pattern fill layers.
Why Use Adjustment Layers?
Adjustment layers are great for applying the same adjustment settings to multiple different layers. Have a background consisting of five different layers, and want to bump up the contrast of all five? Add a Curves layer over the top, pop in an “S” curve, and you’re done.
You can edit, adjust, and re-adjust adjustment layers without ever permanently affecting your pixel layers. You also get all of the advantages that standard layers have, like Opacity settings, Layer Modes, and being able to easily rearrange, Duplicate, or Delete a layer.
This makes your workflow much more flexible and helps you practice what’s called non-destructive editing.


What Is Non-Destructive Editing?
Non-destructive editing is a way of editing pixel-based layers without ever directly changing those pixels. Destructive editing, on the other hand, makes direct edits to a photo, permanently changing the pixels. We will have several examples of non-destructive editing in Photoshop coming up.
2. Layer Masks and Clipping Masks
What Are Layer Masks?
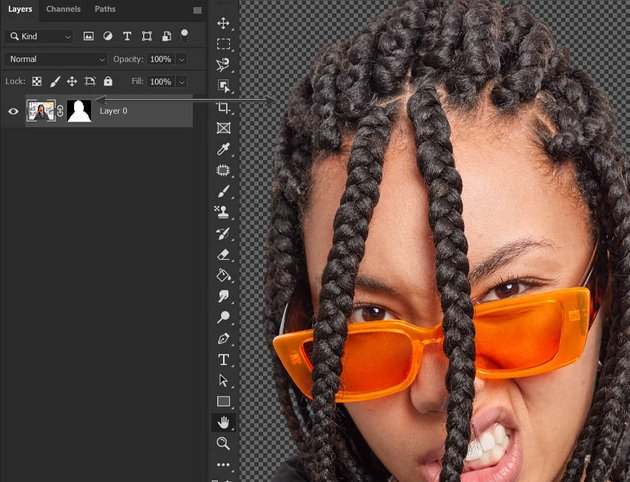
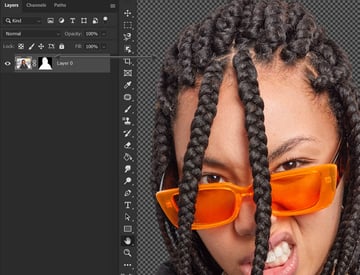
Another non-destructive editing tool, Layer Masks are an alternative to permanently erasing part of a layer. You’re hiding the pixels, as opposed to deleting them.
Layer Masks work by adding a mask to a layer or group, and then you can use black to hide parts of that layer and white to reveal, with varying shades of gray working like different Opacity levels.
You can use various tools on Layer Masks, including the Paintbrush, Smudge, Blur, and Eraser brush tool. Along with the different pixel brushes, you can use the different selection tools to create or edit masks.
One of the most common uses for layer masks is extracting subjects and objects from their original backgrounds.

Why Use Layer Masks?
Like adjustment layers, layer masks give you the flexibility to make changes and edits to your layers without committing to any one decision. They also let you spot treat while using adjustment and fill layers, which both come with a Layer Mask by default.
Anytime you want to erase or remove something but not commit to actually deleting it, you want to use Layer Masks—which will be pretty often if you’re following good non-destructive editing practices.
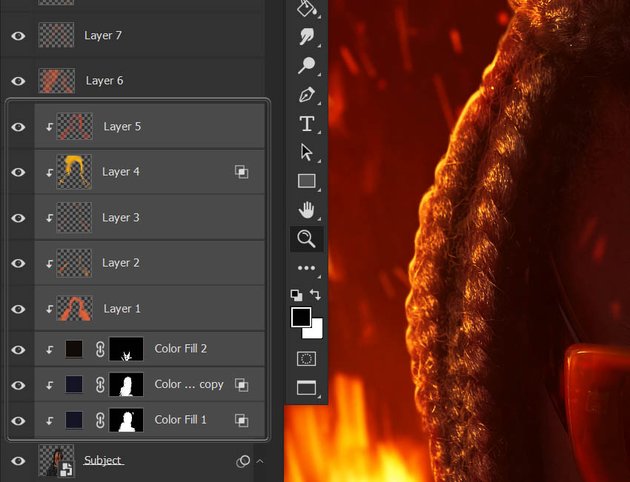
How to Make a Clipping Mask in Photoshop
Clipping masks in Photoshop are created when you Clip one layer inside another. The pixels of the bottom layer become the new boundaries for the top layer. The top layer is the clipped layer, and the bottom layer is the Clipping Mask in Photoshop.
You create a Clipping Mask by holding Alt between the two layers you want to Clip and then Clicking. Your mouse will show an icon of a square with an arrow pointing downwards.

Why Use Clipping Masks?
Clipping Masks are great for painting highlights, shadows, or any detail or color onto a subject that you only want to be on one specific layer. They’re also great when you want an adjustment layer to only affect one specific layer, not all the layers that are underneath it.
You can clip any layer into any other type of layer, and you can clip layers into groups. However, you can’t clip groups into layers, and you can only clip layers once.
Clipping masks are a great alternative to creating sections and layer masks in the shapes of other objects that have already been extracted.
3. Use Smart Objects
What Are Smart Objects?
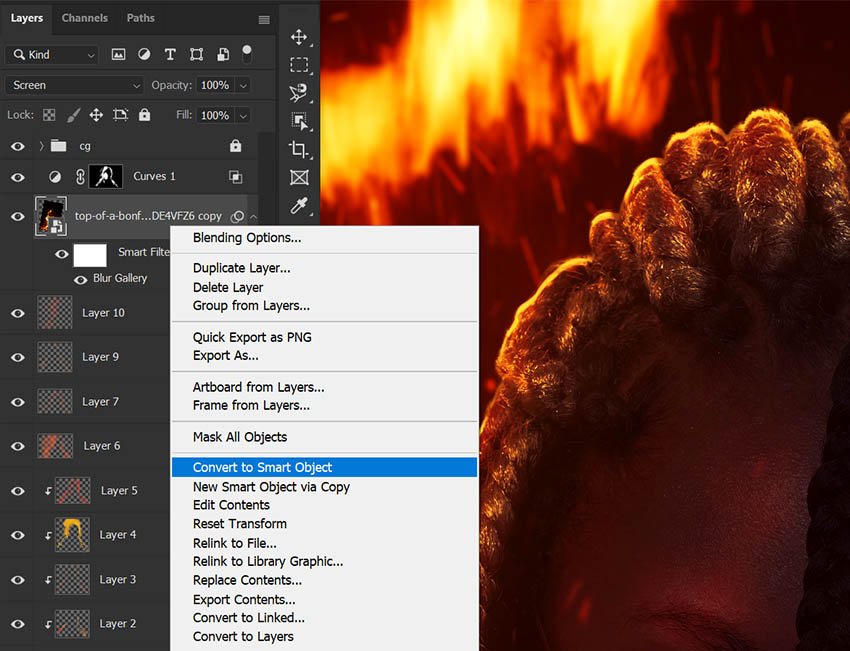
A Smart Object is a layer that references the original pixels on a layer but never permanently edits those pixels. So any edits that you apply to a Smart Object can be undone or adjusted, making Smart Objects the ultimate non-destructive tool.
You can turn any layer into a Smart Object by choosing the layer and Right-click > Convert to Smart Object.


When to Use Smart Objects in Photoshop
Smart Objects are great for retaining the full resolution of an image even after shrinking it. This means you convert an image into a Smart Object in Photoshop at its full size, shrink it down, and then enlarge it again; there will be no loss of quality or blurriness. No matter how many times you adjust the size of the image, as long as it stays smaller than the original image resolution, the image will remain clear and sharp.
Once an image is a Smart Object, you can also apply both Adjustments and Filters to them non-destructively. Filters added to a Smart Object become Smart Filters that can be edited at any time.
You can also delete a filter completely, temporarily hide it, or arrange the order of the Smart Filters.
Single images aren’t the only thing that can be changed into a Smart Object. You can convert multiple layers into one Smart Object by selecting several layers and then Right-click > Convert to Smart Object.
How to Make a Smart Object Editable
If you ever need to edit or adjust a Smart Object’s original contents, simply Double-click the Smart Object to open it, make your changes, Save, and close the Smart Object. The saved changes will reflect in the original PSD.
There are tons of examples of non-destructive editing in Photoshop using Smart Objects in various different ways. I recommend using them as often as possible!
4. Copy, Paste, & Save Layer Styles
I’ve seen people manually add the same layer style to multiple different layers. While the dedication is admirable, there’s an easier way. Copying one set of layer styles onto a new layer is super quick!
Step 1
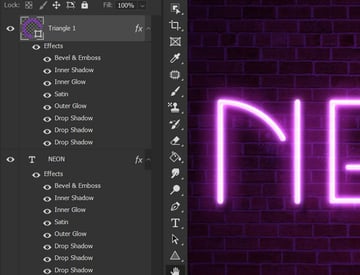
First, make sure your Layer Effects are visible and not collapsed.
Step 2
Then hold Alt, click and hold on Effects, and Drag and Drop the effects on top of whatever layer you’re copying them onto.
That’s it! You can also copy layer effects onto Groups.


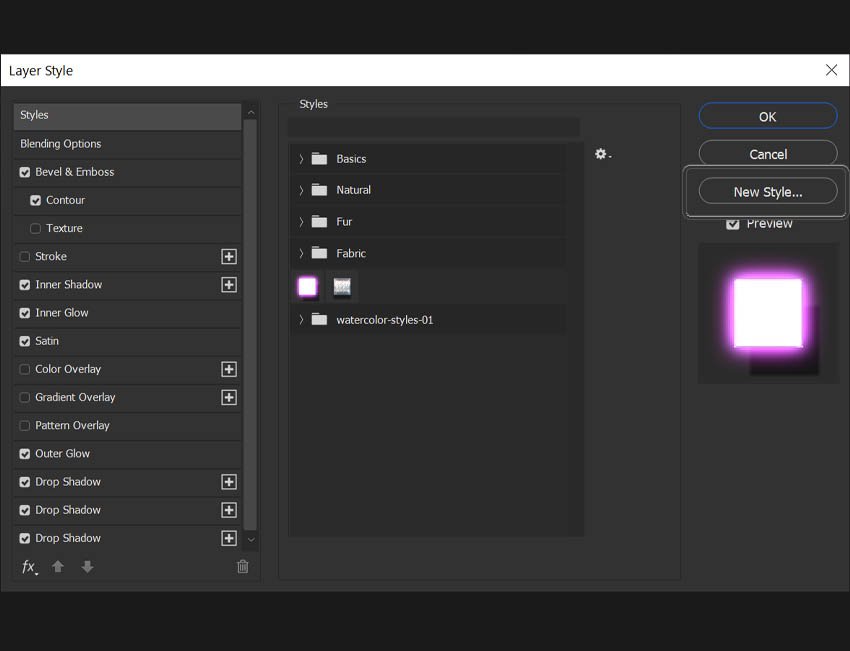
How to Save a Layer Style
If you have a layer style that you use often, or you’ve simply made one you never want to painstakingly recreate again, open the Layer Styles panel and choose New Style.
This will save the layer style settings of the layer, but you can also choose to include the layer’s Blending Options. Once they’re saved, you can go into Styles and use your presets.
And while downloading custom fonts and brushes is a well-known practice, people sometimes underestimate the power of a library full of solid premade layer-style effects.


5. Use Auto Alignment, Guides, and Snapping
How to Auto Align in Photoshop
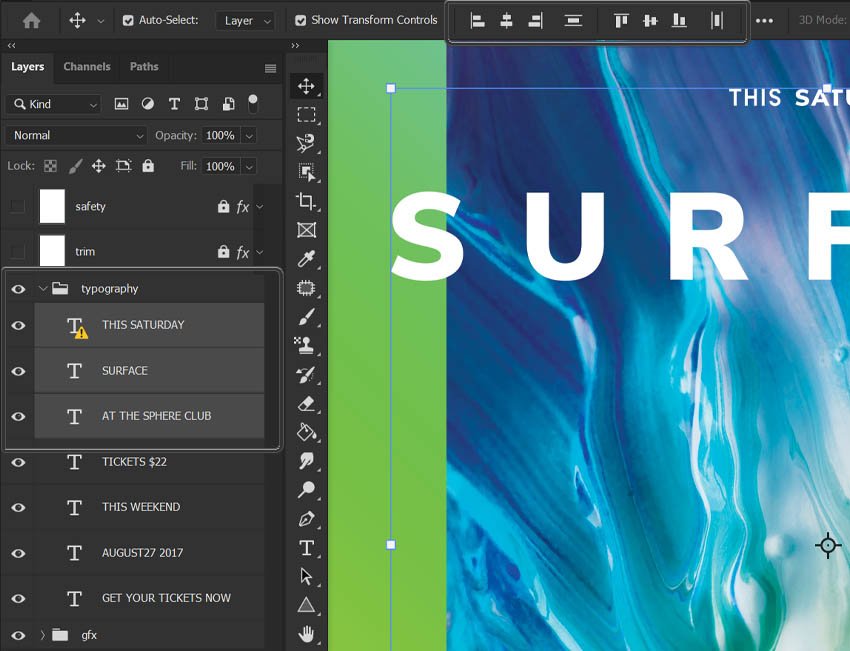
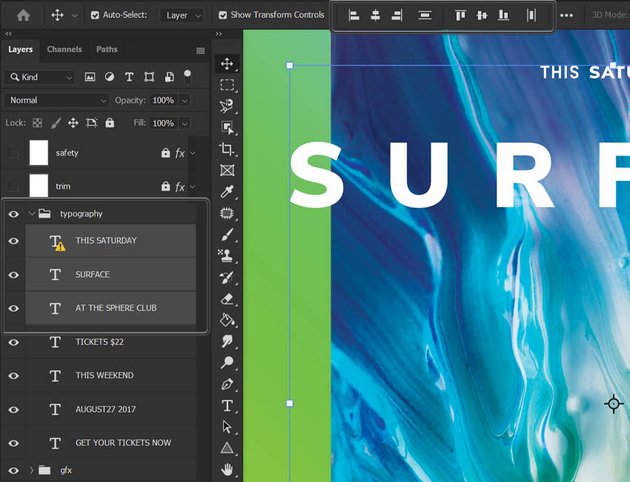
First, let’s talk about how to auto align in Photoshop using the Auto Alignment tools, which can be accessed in the Move tools in the upper Options bar.
If you have two layers selected, you’ll have six different Alignment options. You’ll have two additional Distribution tools if you have more than three layers selected.
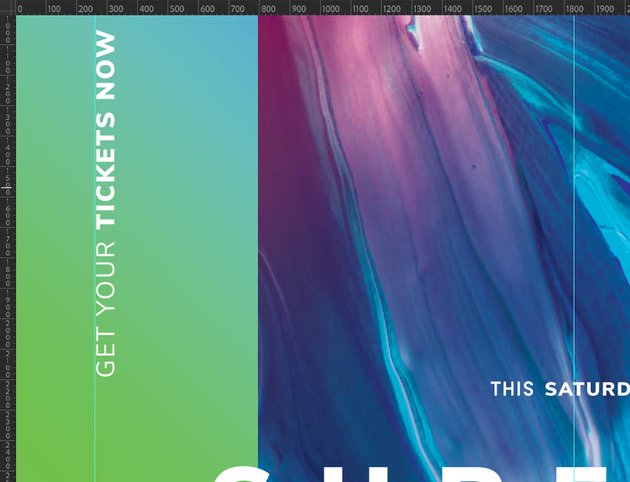
Align tools work excellently in designs with a lot of text and shape elements that need to line up. Poster designs are a great example, where precise alignment is incredibly important. Instead of guessing or estimating, hit one of the Auto Alignment tools.

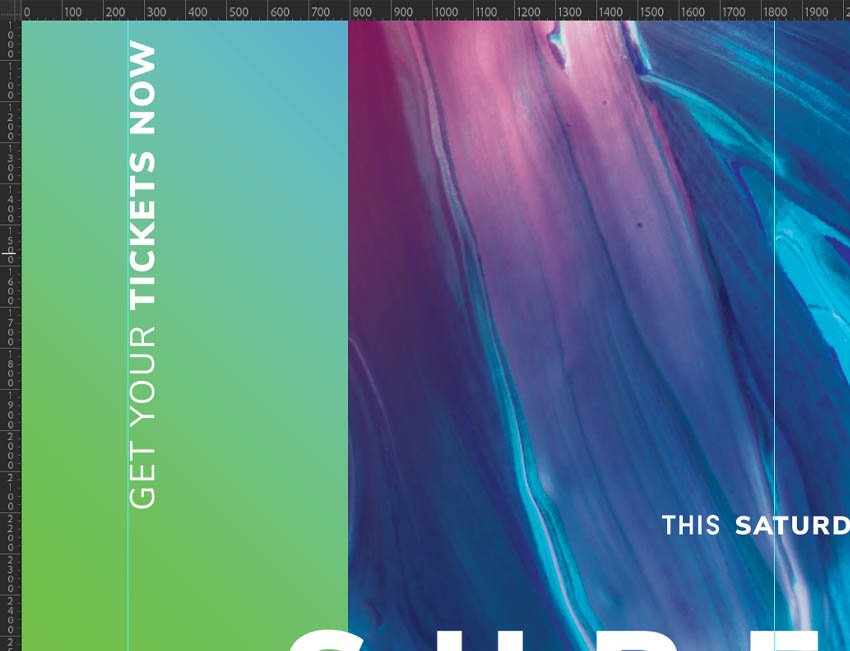
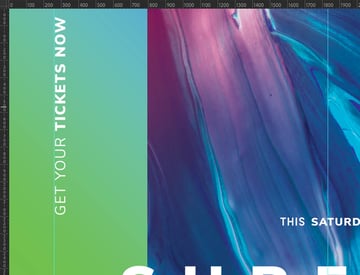
How to Use Guides
There are several ways to create a Guide; my favorite is to show the Rulers using Control-R, and then you can click and drag on the Rulers to place a Guide.
Clicking and dragging on the top ruler creates a Horizontal Guide, while the left ruler creates a Vertical Guide. You can also switch to the opposite guide by clicking and holding Alt.
Guides are super handy for predetermining layouts and ensuring proper alignment. But they’re also great for setting up compositional grids, like the rule of thirds, making guides a must for both graphics designers and digital artists who want to know how to align layers in Photoshop.
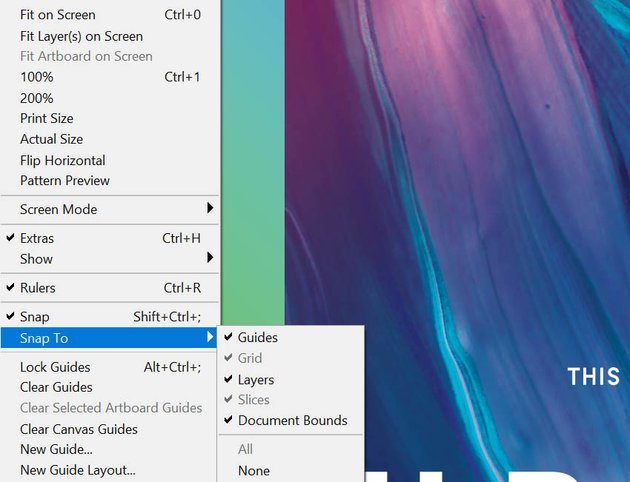
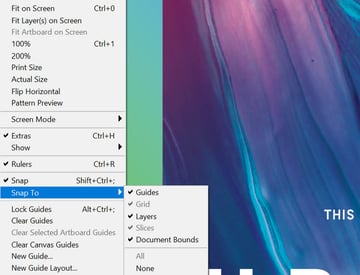
How to Turn On & Off Snapping
Snapping is another way to auto align layers in Photoshop.
Snapping is turned on by default, but if you want to double-check, you can look at View > Snap and see if it has a checkmark next to it. You can also choose what will and will not snap in Snap To.
Snap is great for graphic design and typography work, but the Photoshop auto align feature can be annoying while doing something like photo compositing. So I do suggest unchecking while editing your photos and then switching it back on when it’s time to add type or anything like that.

6. Use Custom Brushes
Download Custom Brushes
Downloading custom brushes is incredibly easy.
Step 1
Find a set of custom brushes; high resolution is always best.
Download and drop the ABR file either onto your desktop or, more ideally, into a dedicated brush folder for better organization.


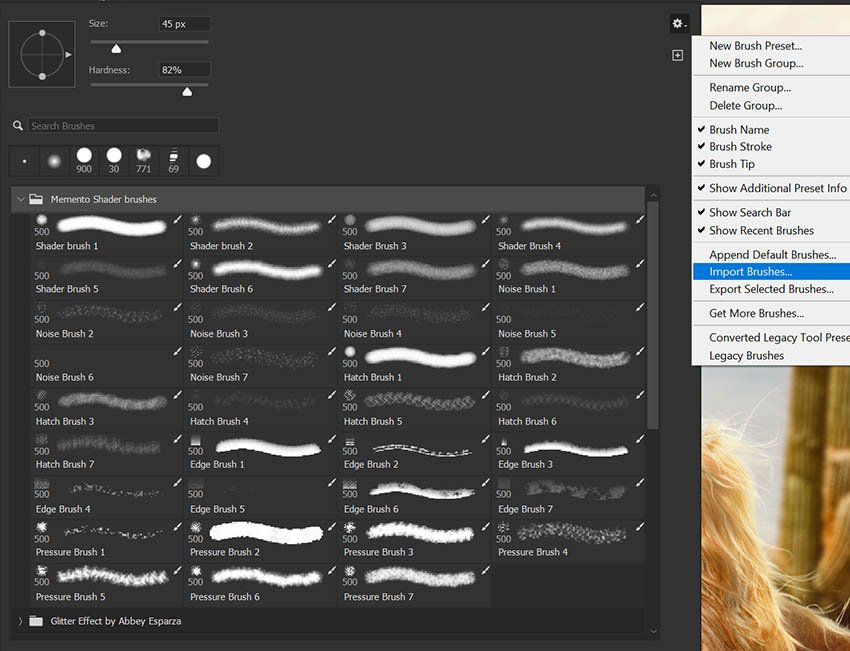
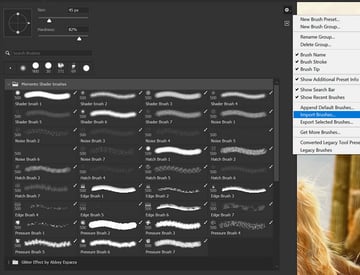
Step 2
Then go into the Brush panel, click the cog icon, and choose Import Brushes.
I have a set of core brushes that I always have installed, collapsed into brush groups. Then I keep all of my specialty brushes in their own folder, where I can re-import them as needed.

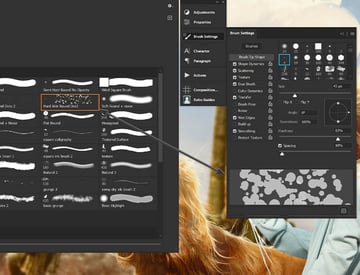
Create Custom Brushes
But what I want to focus on is creating your own custom brushes. Some of my most used brushes are just different iterations of the default round brush.
All of them are different brush settings that I found myself constantly reapplying or adjusting, which is a huge waste of time and a real momentum killer.
So instead of choosing a hard round Brush, lowering the Hardness to 80%, and turning off the Pressure for Opacity and Transfer Settings, which is something I used to do all the time, I just choose the brush I saved with those settings.


7. How to Remove & Avoid Color Banding
What Is Color Banding?
In simplified terms, Photoshop color banding happens when values within an image get pushed and pulled so much that there’s no longer any color or value information to be shared between the two bands. This leaves you with harsh lines or bands that interrupt the tonal transitions in certain parts of your image.
Flat colors with gradients on top will suffer the most from color banding, whether it’s a handmade background or an image of a clear blue sky.


How to Fix Color Banding in Photoshop
Let’s look at how to fix color banding in Photoshop. My go-to trick is to try adding in some grain or Noise. Adding a tiny amount of Noise to a layer can help smooth out the banding. It might not always remove it entirely, but it will reduce it.
I prefer using the Grain filter in Filter > Camera Raw, applying it to the layer with the banding, not the layer causing the banding. I’ll go as high as a Grain of 20 because I like the look of grain.
If the image is smaller, you’d want to go less. And of course, if you want less Grain, you can go as low as you can while still improving the color banding.
And when in doubt, Right-click > Convert to Smart Object. That way, you change the Grain later on if you’re not feeling it.


8. Create Simple Photoshop Actions
Why Create Actions?
Actions that can create intricate photo effects in a click or two are super fun! But try thinking about the different processes you repeatedly use from project to project, or even multiple times while working on one project. Then make that process into an action.
How to Create Photoshop Actions
Actions are quick to create, only taking as long as it takes you to perform the action.
Step 1
Press the Create New Action button in the Actions panel.

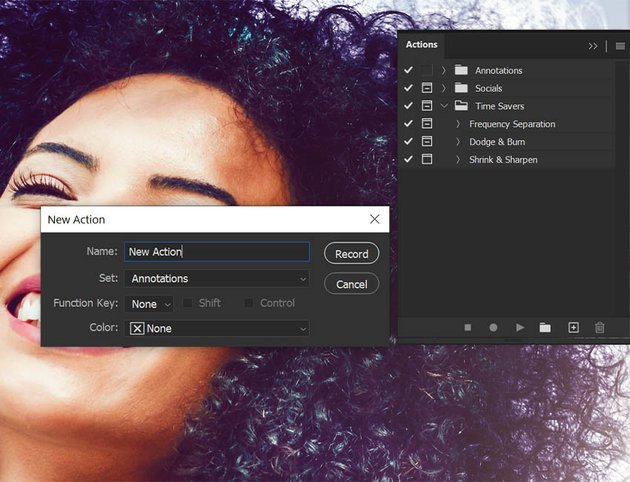

Step 2
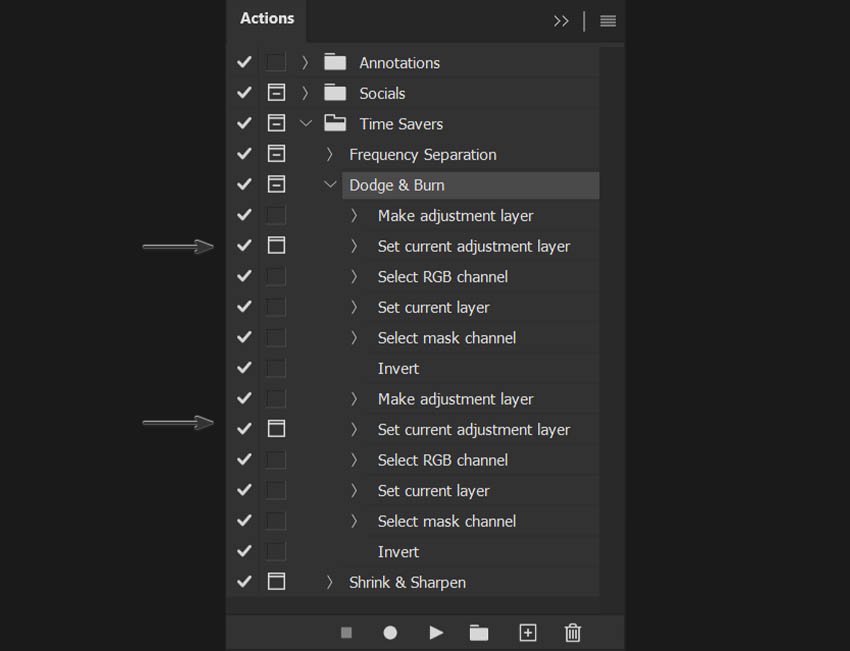
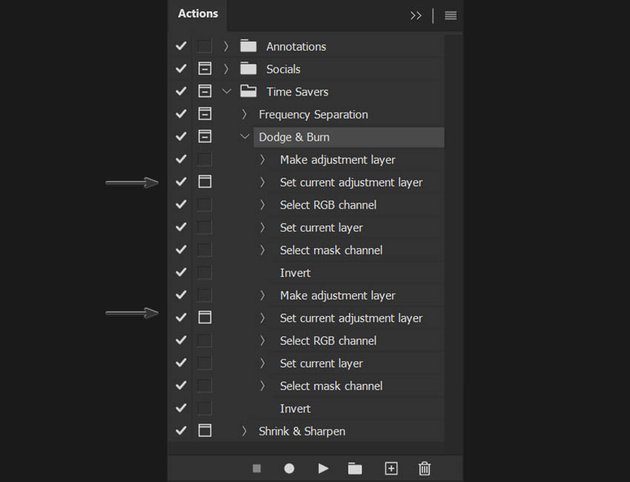
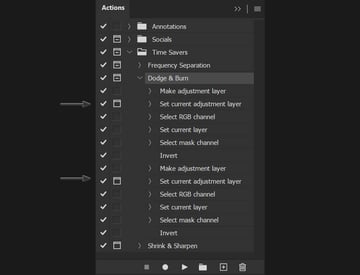
Now, let’s recreate my “Dodge and Burn” action by creating a Curves Adjustment and bringing down the shadows. Name that Curve “Burn” and Invert the Layer Mask.
Now, add a second Curve, bringing up the highlights. Name that layer “Dodge”, and again Invert the Layer Mask. And we can hit Stop to finish the action.
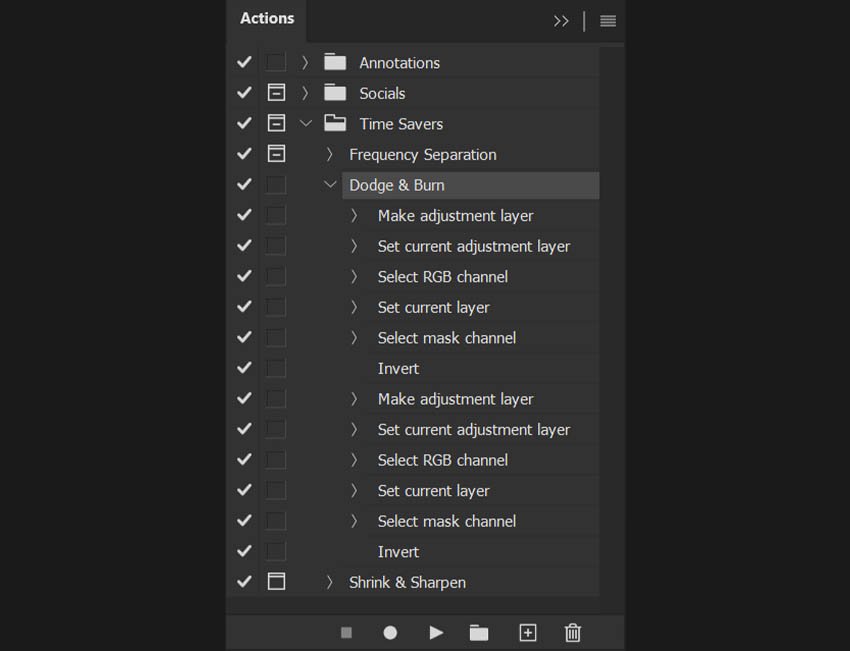
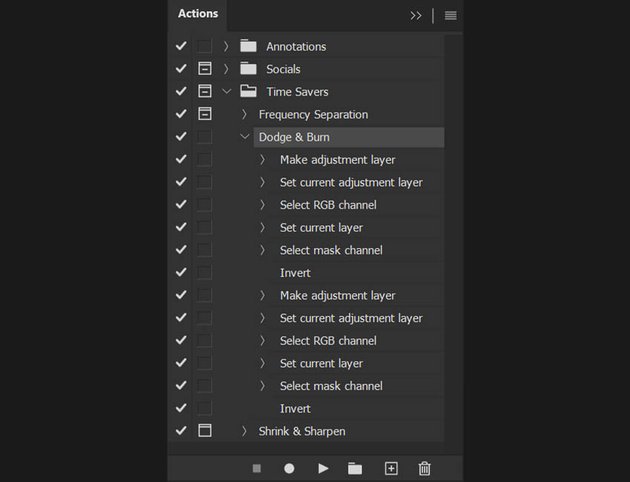
Step 3
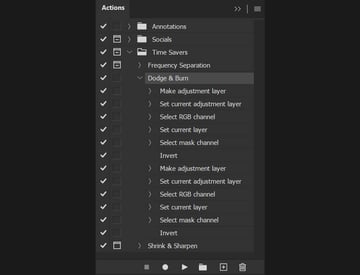
We want to go through that action and choose any step where you want the Settings window to open. In this case, we want both Curve windows to open before moving on to the next step so we can adjust them.
Keep in mind how long it took to create those layers, and now compare it to the 0.5 seconds it takes the action to run.
9. Useful Color Tools & Tricks
Color Sampler Tool in Photoshop and Color Shortcuts
Make sure you’re using your shortcuts, especially with the color tools.
- Alt: Quickly switch to the Eyedropper tool by pressing and holding Alt while the Brush tool is active.
- Sample Any Color: Click and drag to select your color, including dragging anywhere outside Photoshop.
- X: Press X to switch between your Foreground and Background colors, which is fantastic while masking.
- D: If you want to set the Background and Foreground Colors to their default, hit D.
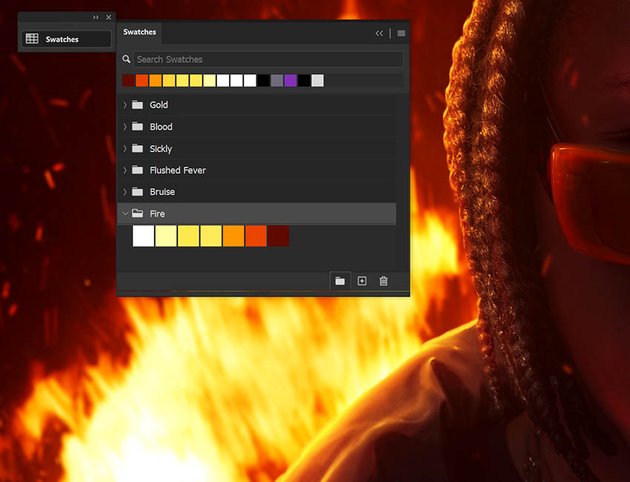
Save Color Swatches
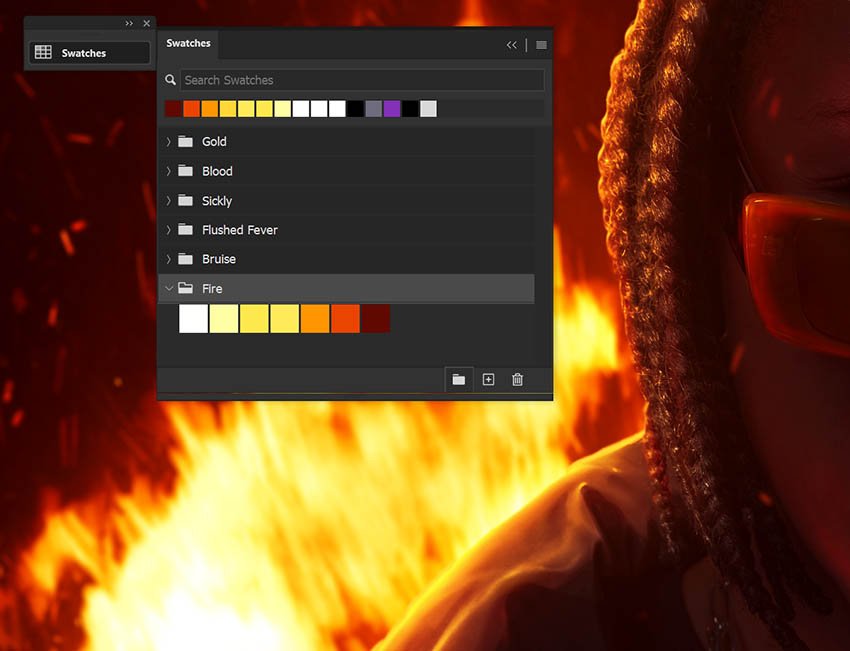
If you have a set of colors you reach for often, save them! This is especially helpful when you’re designing something that needs consistent colors.
So instead of repeatedly color sampling the same color, open the Window > Swatches panel and Create New Swatch.
You can Group them by color type, purpose, or even project. Then, when the project is done, delete the swatches.

10. Optimizing Your Layers
Why Organize Your Layers?
Your PSD becomes future-proof when you can open it up a month from now and find that exact image that you don’t want to re-extract or that layer style you want to copy.
Or maybe the PSD is years old, and you want to revisit it. I’ll run into someone wanting to purchase the rights to an old composite of mine but need some minor changes to fit their project—changes that can now be done without an hour of me turning layers on and off, wondering what does what.
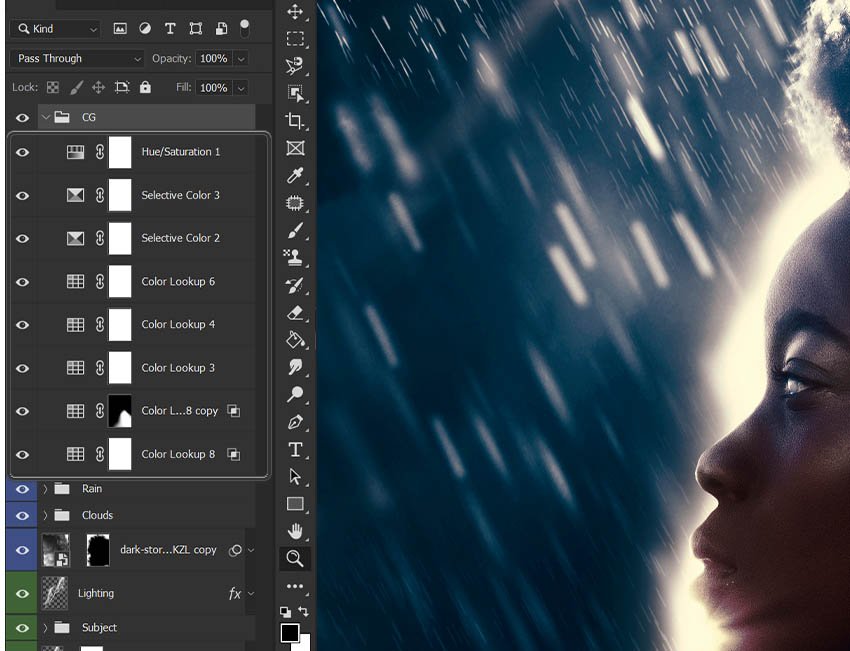
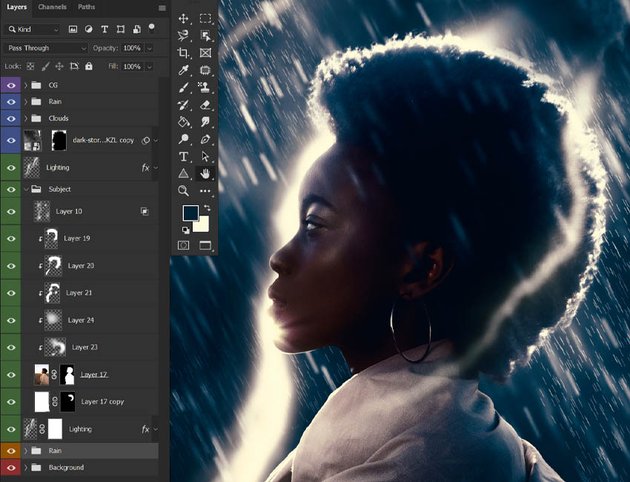
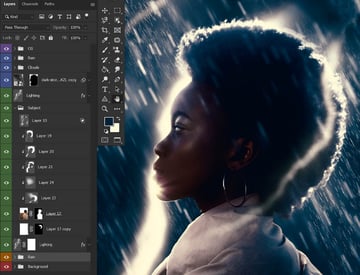
Layer Organization in Photoshop
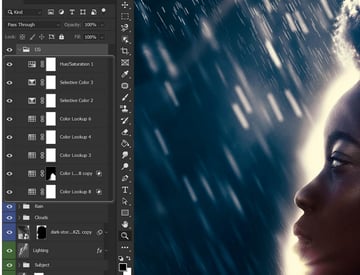
My tip for you is to stop, take a break, and Group, Name, and Color your layers every hour or two.
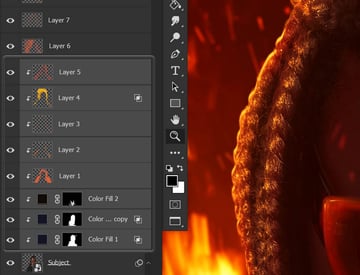
I like to color code based on what the layers are creating. So all my main subject layers will be green. That way, when I’m looking for my subject layers, I just look for green. That saves me from squinting and looking for the image in the tiny layer icon.

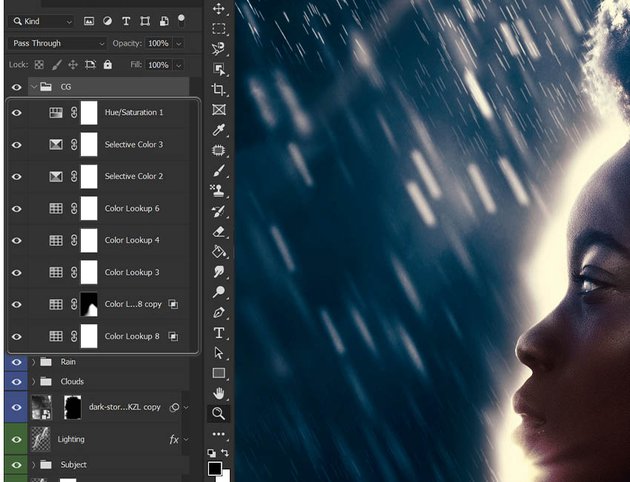
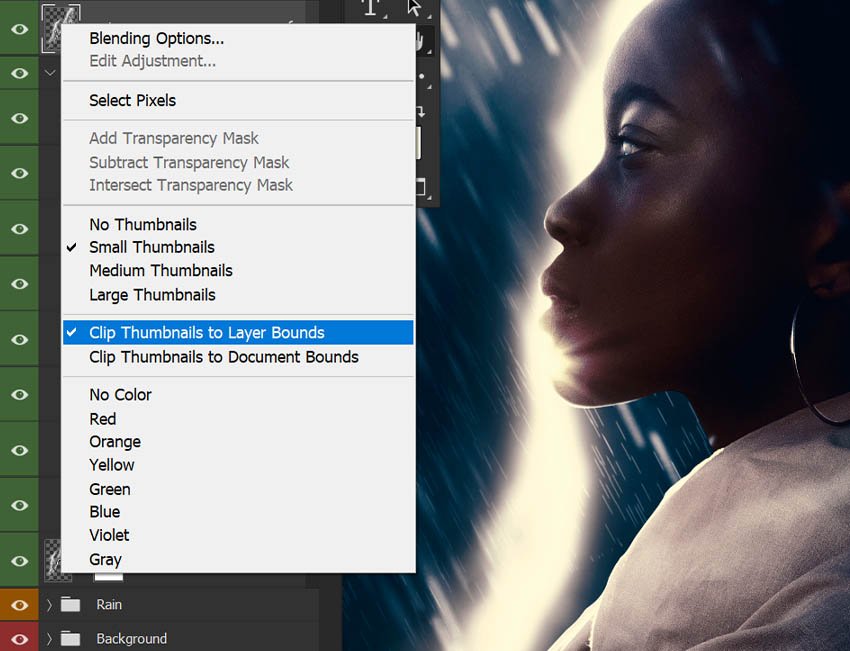
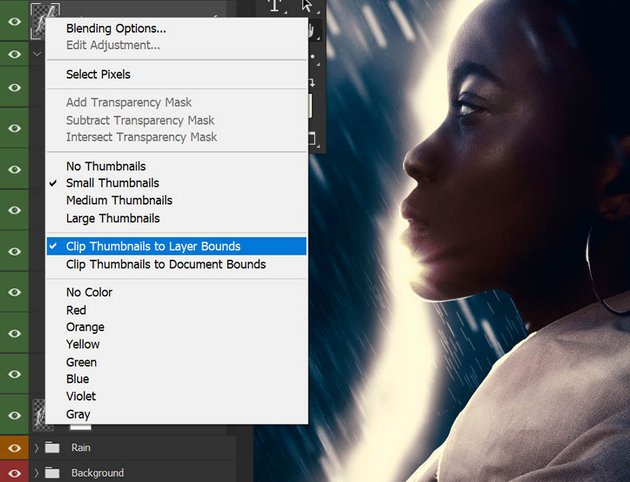
Customize Your Layer Views
That brings us to one little bonus tip: customize your layer views!
You can Right-click on a Layer Thumb and choose different layer view options, including layer Thumb Size and whether or not the layer will clip to the size of the layer’s content or the document size.
I prefer the thumbs to clip to what’s actually on the layer, so it’s easier to see what’s on that thumbnail, but that’s an entirely personal preference!


That’s It!
And there you have it: my 10 Essential Design Tips and Tools for Photoshop! Practicing non-destructive editing is my biggest tip or piece of advice to give any designer or digital artist. The three pillars of that are Adjustment layers, Smart Objects, and Layer Masks.
It’s not always about fancy neon and fire effects. Sometimes it’s just about setting up personalized and efficient workflows that not only save you time while creating but mitigate the amount of time you spend fixing and problem-solving.
Then you can use that time you saved to create even more neon glow effects.
Professional Creative Add-ons and Actions
Need some high-quality Photoshop plugins, actions, and layer effects to try out your new tips with? Check out one of the thousands of resources over on Envato Elements!
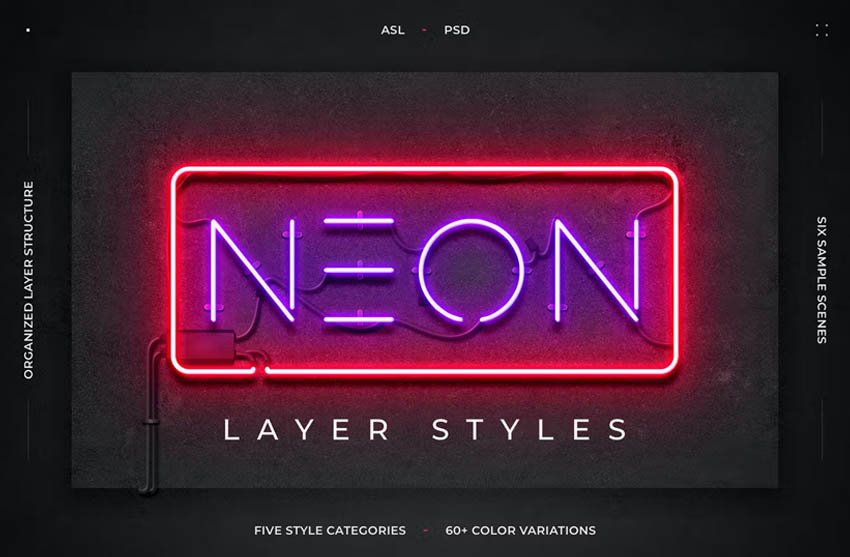
Neon Layer Styles (ABR, ATN, PAT)
These neon layer styles can turn any shape, text, or logo into a neon dream! The set comes with over 60 different color variations and 15 textured backgrounds.
Mixed Media Photoshop Action


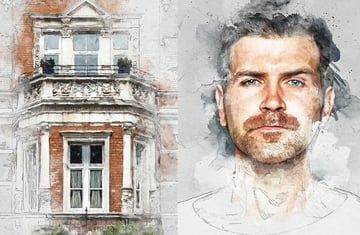
While simple Photoshop actions are great, you can’t beat creating photo effects in just a few clicks of a button! Photoshop actions like the Mixed Media Photoshop Action use different Photoshop fill Smart Objects and filters to create hyper-detailed illustrations.
ReOrder: Layer Panel Sorting Kit (ZXP)
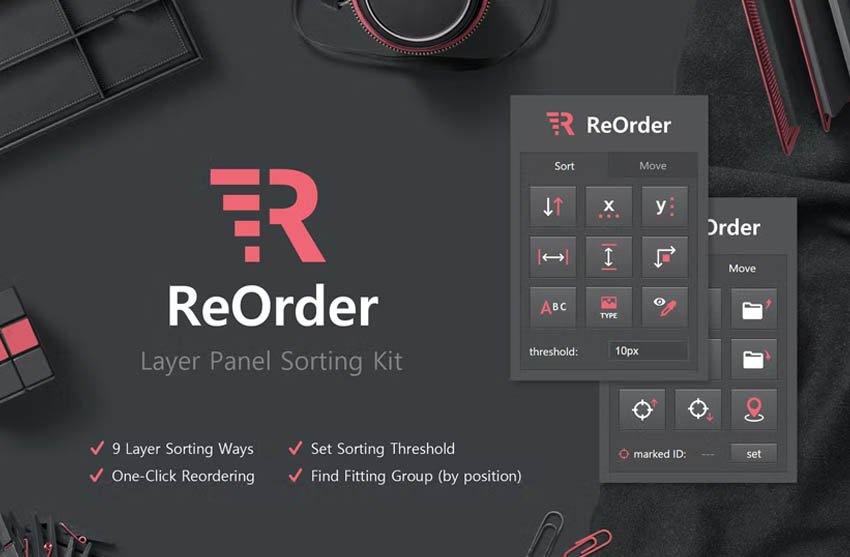
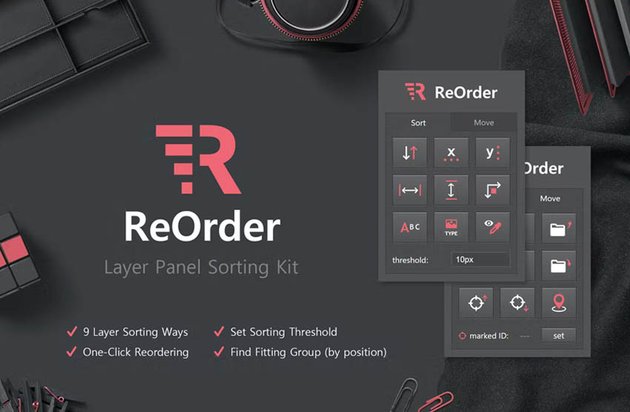
Photoshop auto align tools are already handy at keeping your canvas symmetric and clean, and now you can apply the same level of organization to the layers themselves! ReOrder offers shortcuts that move layers around in the Layers panel, keeping everything neat and tidy.
Shader Brushes for Photoshop (ABR)


Photoshop brushes and non-destructive editing can go hand in hand with a brush set like Shader Brushes for Photoshop! Use them to create textured masks that are full of detail, without compromising your original photo.
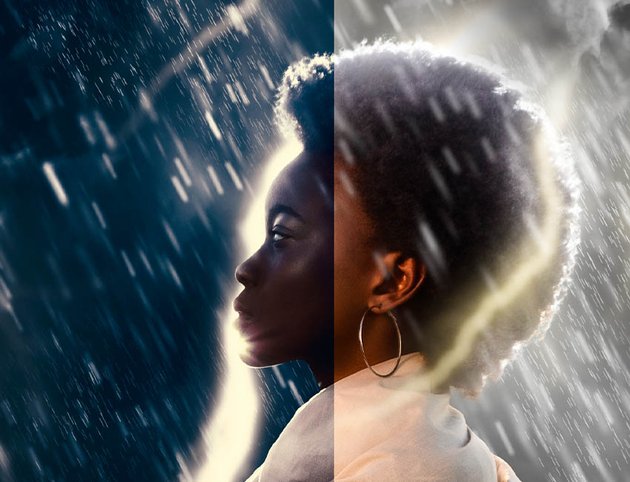
30 Realistic Cloud Photoshop Brushes (ABR)
Using cloud brushes on separate layers is one of the many examples of non-destructive editing in Photoshop! Photoshop brushes and non-destructive editing go hand in hand, and with a brush set like this, you can switch between cloudy and clear skies instantly!