

* { box-sizing: border-box; } body {margin: 0;}
In the following tutorial, you will learn how to create a digital clock text effect in Adobe Illustrator.
For this tutorial, you will need this digital clock font, so check out Envato Elements where you can find other designs and fonts that look like a digital clock.


What You’ll Learn in this Digital Clock Text Tutorial
- How to set up a simple grid
- How to create patterns in Illustrator
- How to create a digital clock text effect
What You Will Need
You will need the following resource in order to complete this vector digital alarm clock:
- Date Stamp clock style font
1. How to Create a New Document and Set Up a Grid
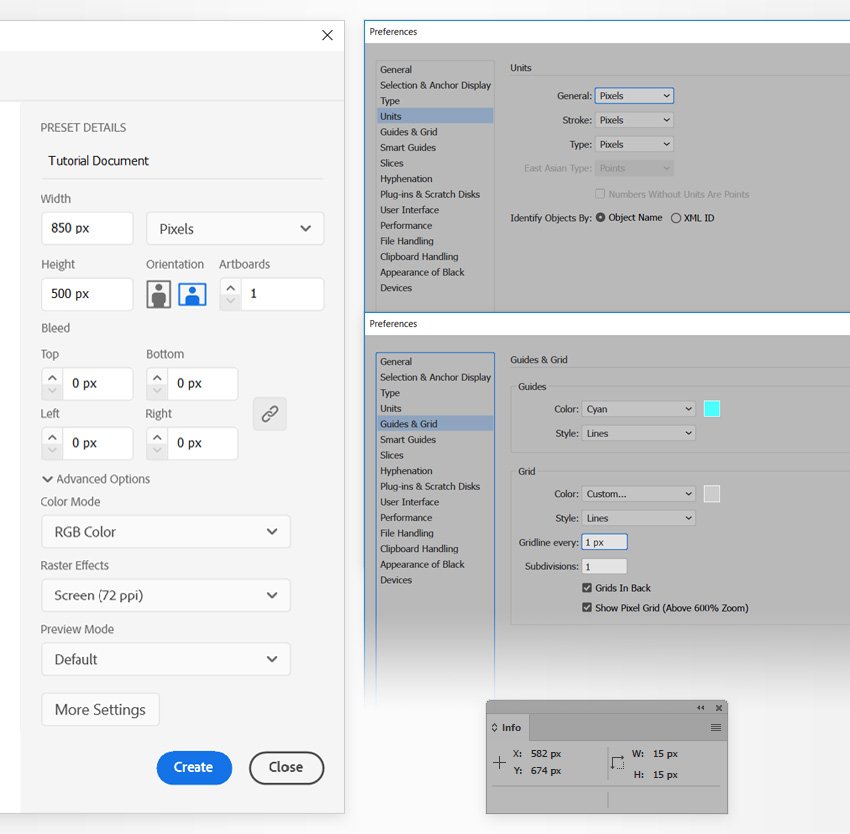
Hit Control-N to create a new document. Select Pixels from the Units drop-down menu, set the Width to 850 px and the Height to 500 px, and then click that More Settings button. Select RGB for the Color Mode and set the Raster Effects to Screen (72 ppi), and then click the Create button.
Enable the Grid (View > Show Grid or Control-“) and Snap to Grid (View > Snap to Grid or Shift-Control-“). You will need a grid every 1 px, so simply go to Edit > Preferences > Guides & Grid, enter 1 in the Gridline every box and 1 in the Subdivisions box. Try not to get discouraged by all that grid—it will make your work easier, and keep in mind that you can easily enable or disable it using the Control-“ keyboard shortcut.
You can learn more about Illustrator’s grid system in this short tutorial from Andrei Stefan: Understanding Adobe Illustrator’s Grid System.
You should also open the Info panel (Window > Info) for a live preview with the size and position of your shapes. Don’t forget to set the unit of measurement to pixels from Edit > Preferences > Units. All these options will significantly increase your work speed.

2. How to Create the Background
Step 1
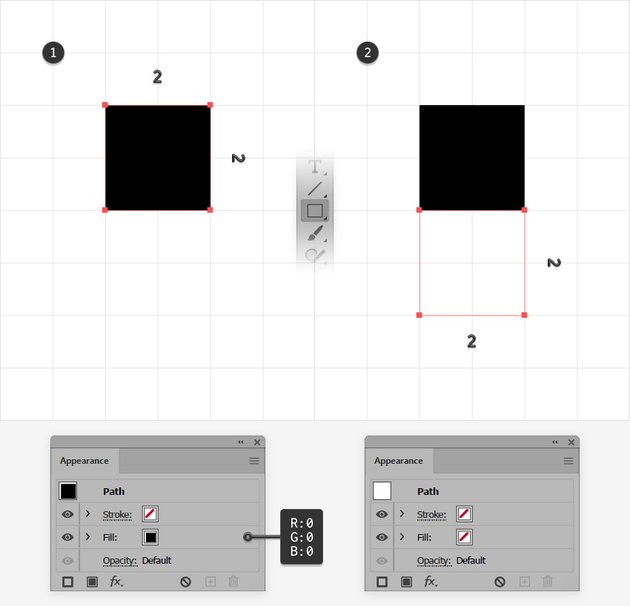
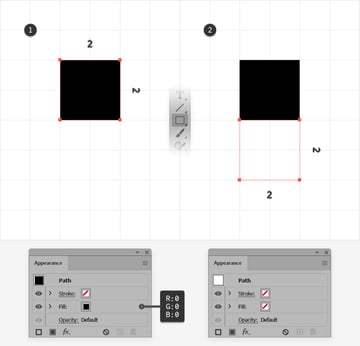
Pick the Rectangle Tool (M) and focus on your Toolbar. Select the stroke and remove the color, and then select the fill and make sure that the color is set to black (R=0 G=0 B=0).
Move to your artboard and simply create a 2 px square—the grid and the Snap to Grid should make it easier.
Switch to the Selection Tool (V), hold down the Alt key, and drag a copy of this black square right below it, as shown in the second image.
Select this second square and remove the fill color to make it invisible.

Step 2
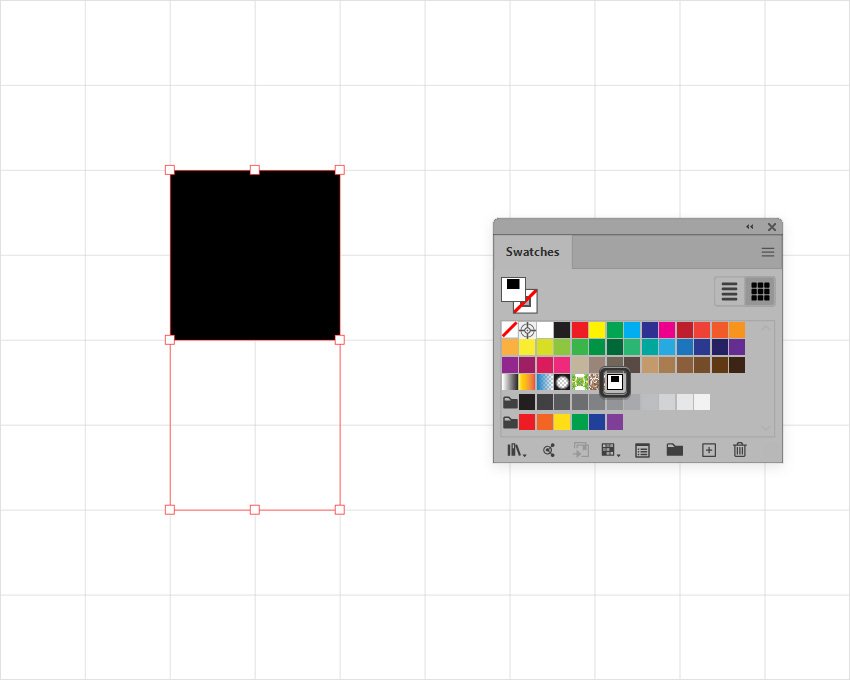
Using the Selection Tool (V), select your two squares and simply drag them inside the Swatches panel (Window > Swatches) to save them as a pattern.


Step 3
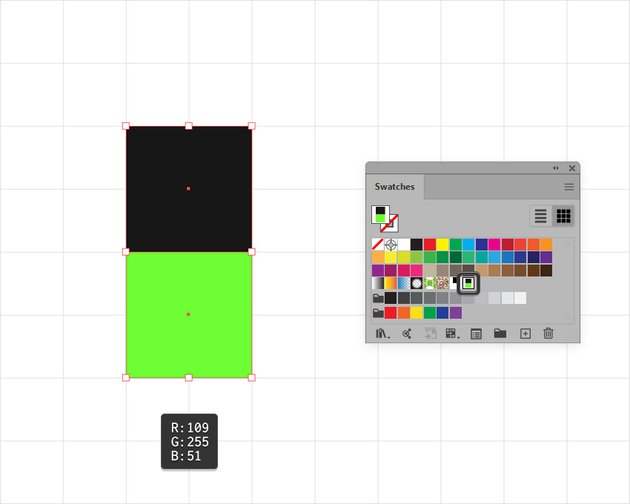
Select just that invisible square and set the fill color R=109 G=255 B=51. Reselect both squares and drag them inside the Swatches panel again to save them as a second pattern.


Step 4
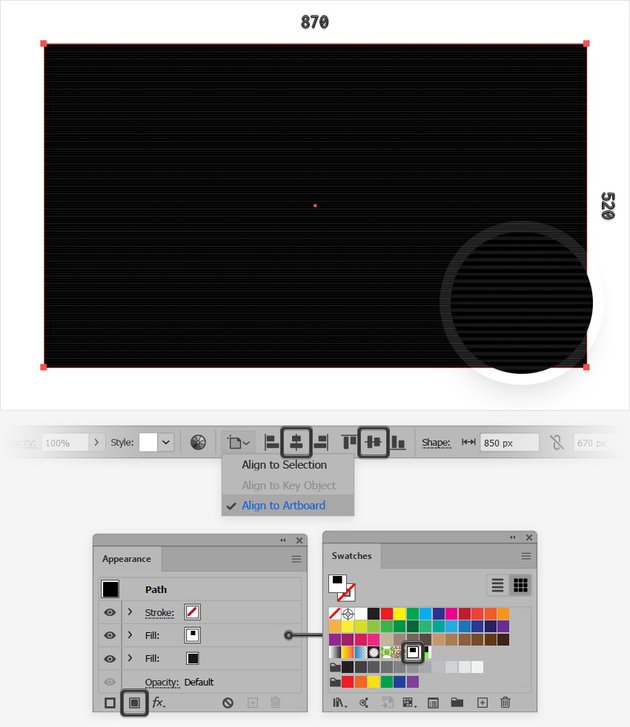
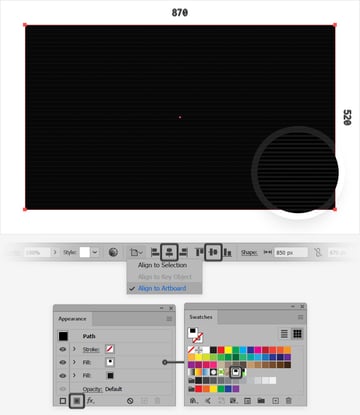
Make sure that the Rectangle Tool (M) is still active and simply click on your artboard to open the Create Rectangle window. Use it to create an 870 x 520 px shape, fill it with R=23 G=23 B=23, and keep it selected.
Focus on the control panel and make sure that the Alignment is set to Artboard, and then click the Horizontal Align Center and Vertical Align Center buttons to easily move your rectangle to the center of the artboard.
Move to the Appearance panel (Window > Appearance) and use the Add New Fill button to add a second fill for your rectangle, select this new fill, and apply your first pattern from the Swatches panel.

3. How to Create the Digital Clock Text Effect
Step 1
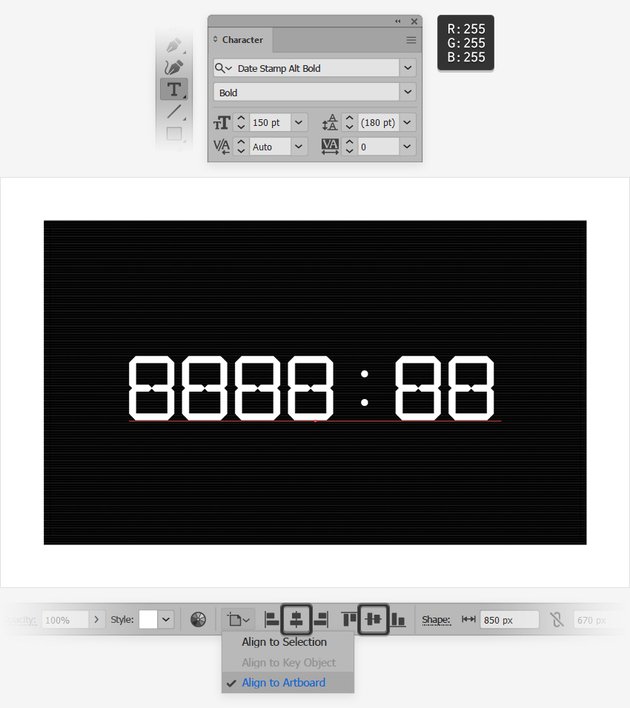
Download and install this digital clock font from Envato Elements. Select the Type Tool (T) and focus on the Character panel (Window > Type > Character) to set the settings for the text that you’re about to add.
Select that clock style font, set the size to 150, and click on your artboard to type in “8888:88”. Once you’re done, you can press the Esc key to easily switch to the Selection Tool (V). Change the text color to white to be able to see the text better, and then click the same Horizontal Align Center and Vertical Align Center buttons from the control panel to move your text to the center of the artboard.
Before you move on, press Control-C to copy this text because you’ll need a copy of this white text a few steps later.


Step 2
Make sure that your text stays selected, and click that [None] swatch from the Swatches panel to remove the white text color. This will make your text invisible.
Move to the Appearance panel and click that Add New Fill button to add a new color for your text. Set it to R=23 G=23 B=23.


Step 3
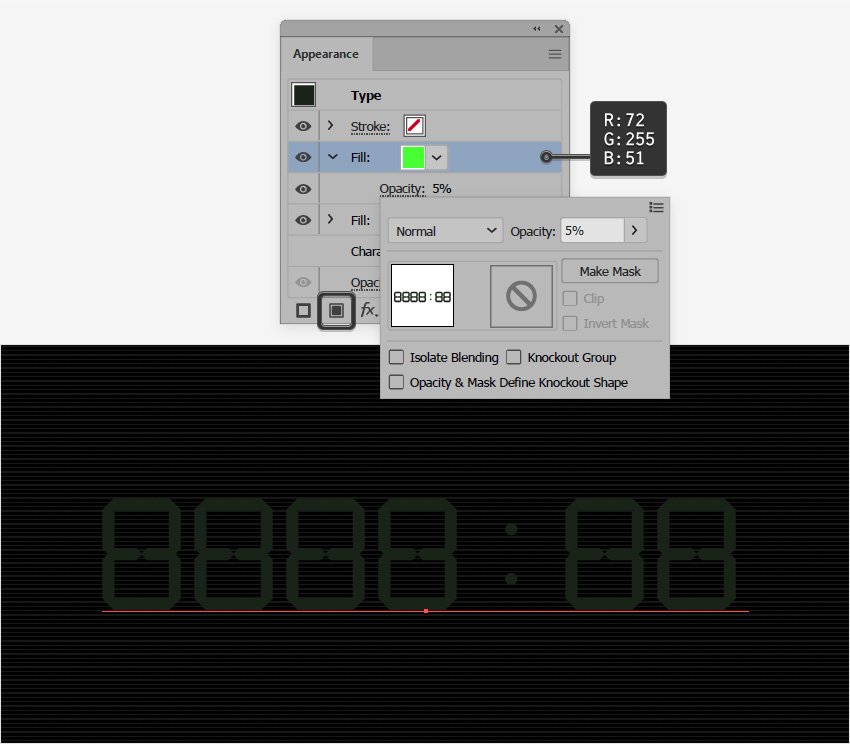
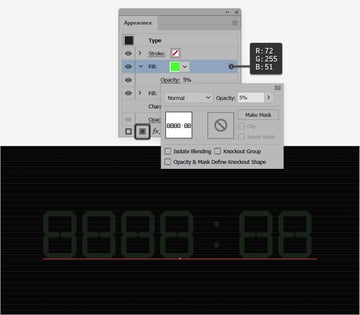
Make sure that your text is still selected, keep focusing on the Appearance panel, and add a second fill using that same Add New Fill button.
Select this new fill, set the color to R=72 G=255 B=51, and lower its Opacity to 5%.

Step 4
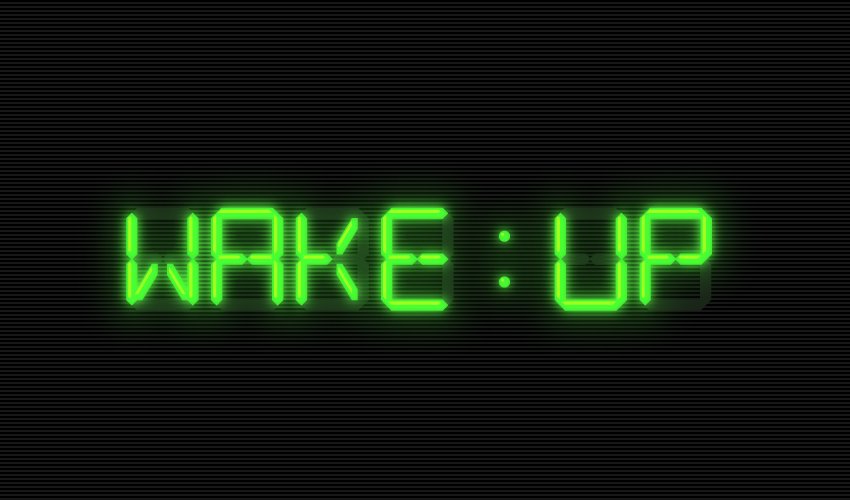
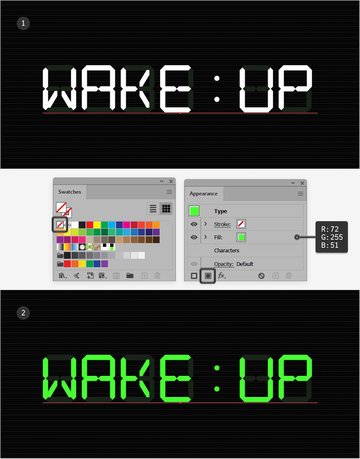
Press Control-F to add a copy of that white text in its original location. Double-click this new text and replace the text with “WAKE:UP”.
Keep this new text selected and click that [None] swatch again to remove the existing text color, and then add a new fill in the Appearance panel and set its color to R=72 G=255 B=51.


Step 5
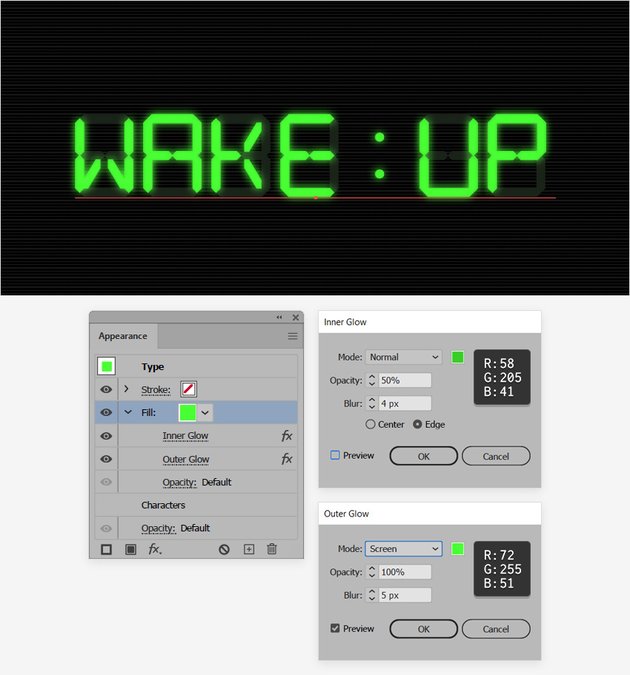
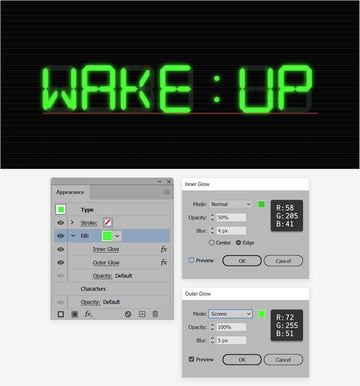
Make sure that your green text stays selected and keep focusing on the Appearance panel.
Select the existing fill and go to Effect > Stylize > Inner Glow. Enter the settings shown below and click OK, and then go to Effect > Stylize > Outer Glow. Enter the attributes shown in the following image and click OK.

Step 6
Make sure that your green text stays selected and keep focusing on the Appearance panel.
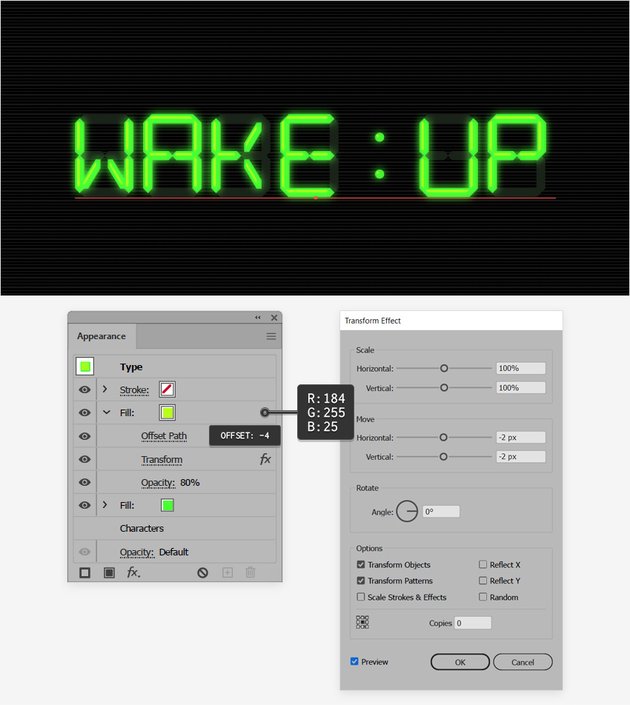
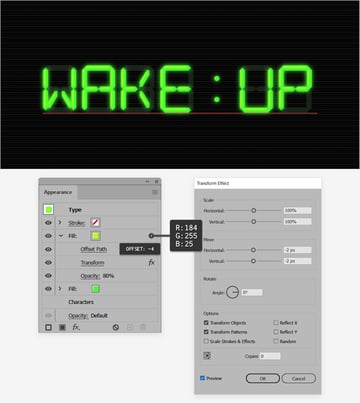
Add a second fill and select it. Set the color to R=184 G=255 B=25 and lower its Opacity to 80%, and then go to Effect > Path > Offset Path. Set the Offset to -4 px and click OK, and then go to Effect > Distort & Transform > Transform. Drag both Move sliders to -2 px to move the selected fill 2 px up and 2 px to the left, and then click OK to apply the effect.

Step 7
Make sure that your green text stays selected and keep focusing on the Appearance panel.
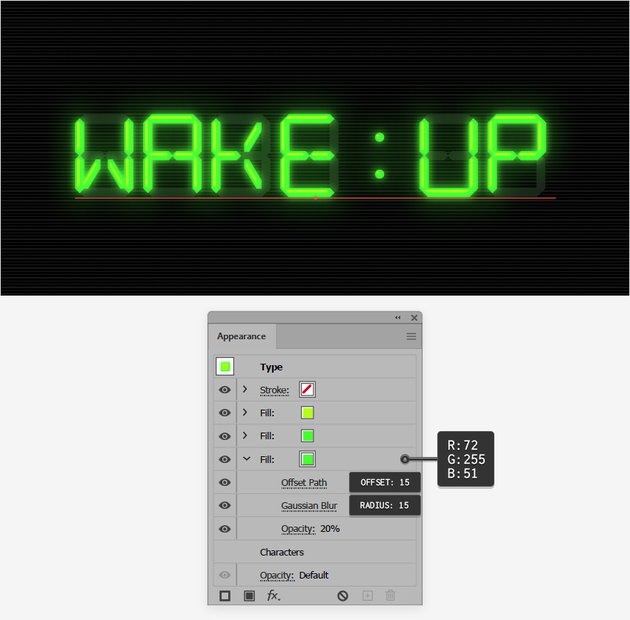
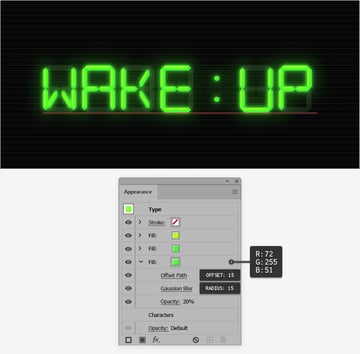
Add a new fill and drag it below the existing ones. Select it, set the color to R=72 G=255 B=51 and lower the Opacity to 20%, and then go to Effect > Path > Offset Path. Set the Offset to 15 px and click OK, and then go to Effect > Blur > Gaussian Blur. Set the Radius to 15 px and click OK.

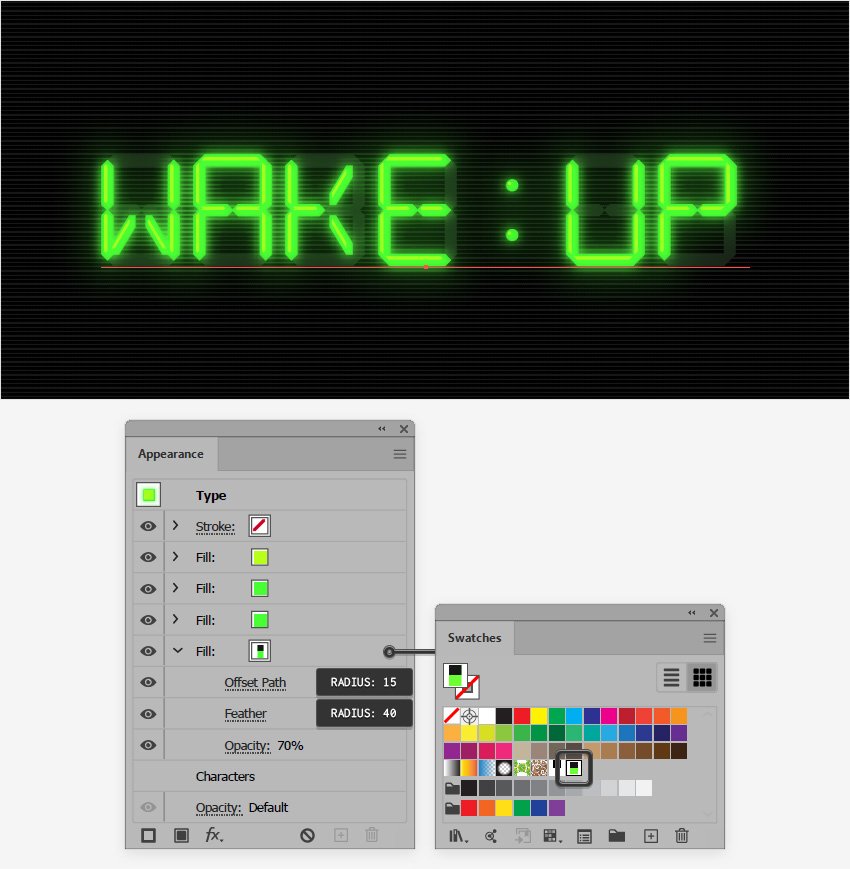
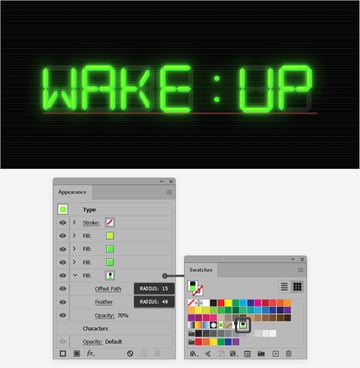
Step 8
Make sure that your green text stays selected and keep focusing on the Appearance panel.
Add one more fill and drag it below the existing ones. Select it, apply your second pattern from the Swatches panel and lower its Opacity to 70%, and then go to Effect > Path > Offset Path. Set the Offset to 15 px and click OK, and then go to Effect > Stylize > Feather. Set the Radius to 40 px and click OK.

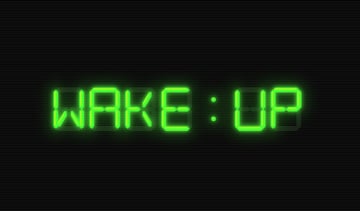
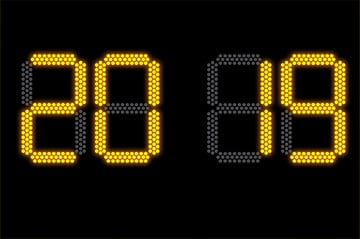
Congratulations! You’re Done!
Here is how your vector digital alarm clock should look. I hope you’ve enjoyed this tutorial and can apply these techniques in your future projects.
Feel free to adjust the final design and make it your own. You can find some great sources of inspiration at Envato Elements, with interesting solutions to improve any digital clock fonts and text.


5 Popular Assets From Envato Elements
Envato Elements is an excellent resource for digital design elements and fonts that look like a digital clock. Here’s a short list of some of the most popular assets that you can find.
Cyber Technology Font (OTF, TTF, WOFF)
Here’s a font that you can use to give your digital clock text effect a different look and feel.


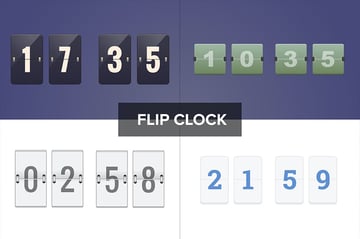
Flip Clock (AI, EPS, PNG)
If you’re looking for more of an old-school clock design, this flip clock template might be the perfect solution.


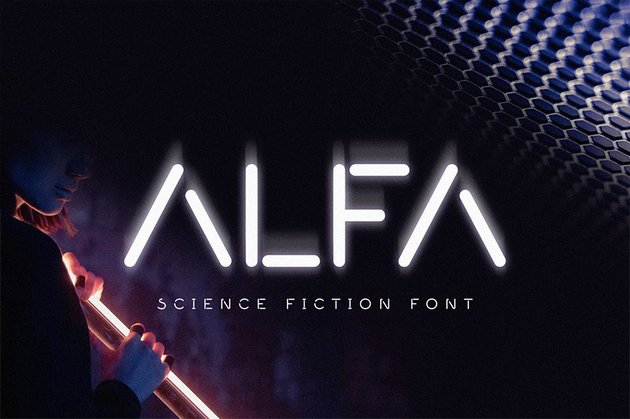
Alfa: Minimal Science Font (OTF, TTF, WOFF)
Here’s a font that looks like a digital clock design. Feel free to try it and create a modern digital clock in Photoshop or Illustrator.

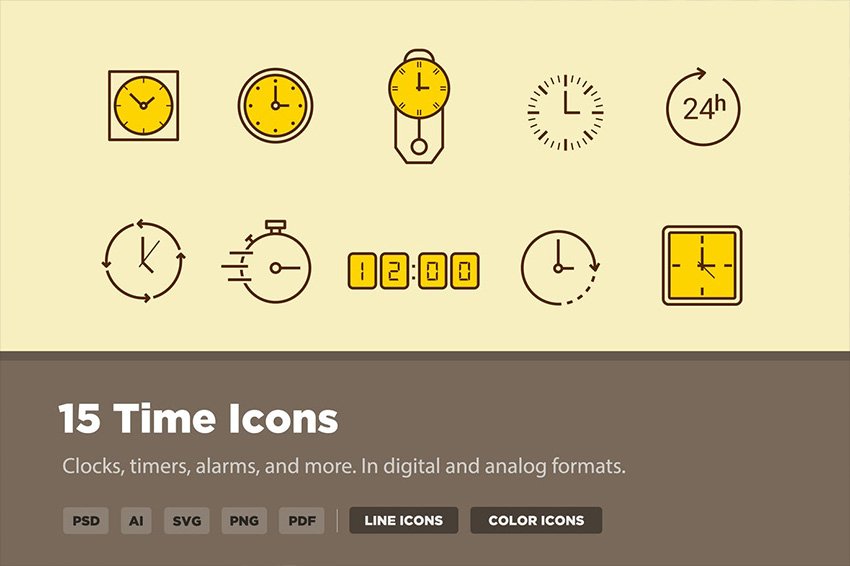
15 Time Icons (AI, PDF, PNG, PSD, SVG)
Check out this small set of icons and you’ll get 15 types of clock icons, including a minimalist vector digital alarm clock.

Digital Clock Photoshop Mockup (PSD)
Try out this mockup, and in a matter of seconds you can create your own digital clock in Photoshop.


Want to Learn More?
We have loads of tutorials on Envato Tuts+, from beginner to intermediate level. Take a look!
 Adobe IllustratorHow to Create a Fall Text Effect in Illustrator
-
Text EffectsHow to Create a 3D Text Art Effect in Adobe Illustrator
-
Text EffectsHow to Create an Isometric Text Effect in Adobe Illustrator
-
Text EffectsHow to Create a Retro Long Shadow Text Effect in Adobe Illustrator
-
Text EffectsHow to Create a Russian Text Effect in Adobe Illustrator
-
VectorHow to Create a Glow Effect Text Effect in Illustrator
-
Adobe IllustratorHow to Create a Military Stencil Text Effect in Illustrator
-
Text EffectsHow to Make a Graffiti Text Effect With Photoshop Layer Styles
-
Text EffectsHow to Create a Christmas, Knitted Text Effect in Adobe Illustrator
-
Text EffectsHow to Use Outline Stroke in Illustrator