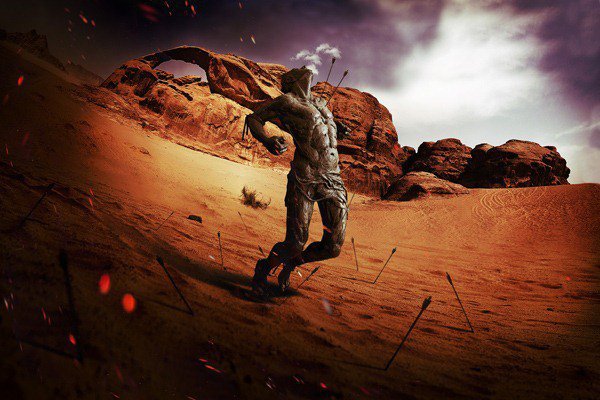
In this tutorial we are going to learn how to blend and distort different desert landscape stock images to create a dynamic fisheye-like perspective and use different adjustment layers to get different coloring and feel to the manipulation so let’s get started!
This tutorial was originally published on Jan 5, 2012.
Preview of Final Results
Tutorial Resources
Step 1
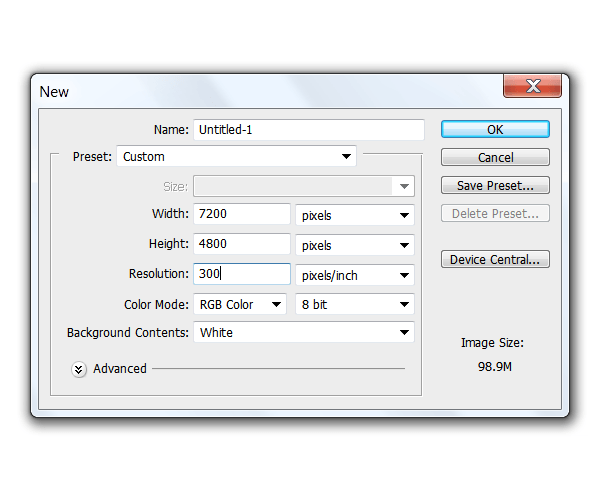
Open a new file in Photoshop.It should be about 7200 pixels wide by 4800 pixels high and 300dpi of resolution.(You can do half this sizes if this is to big for you to work in).
Step 2
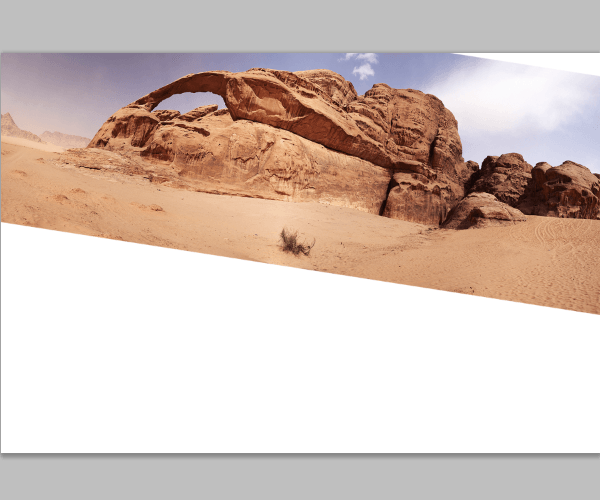
Drag the Rock formation stock image into your document and rotate it slightly towards one side.This will helps us start building our perspective.
Now place the desert stock image right on top of the rock formation layer and rotate it to match their position. You can lower this layer’s opacity if you are having trouble matching them.
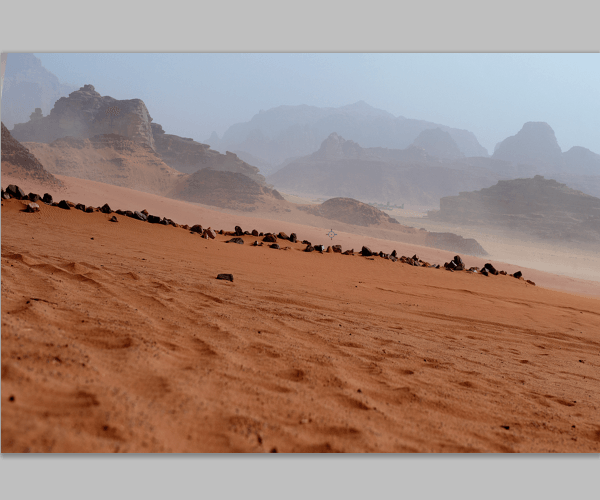
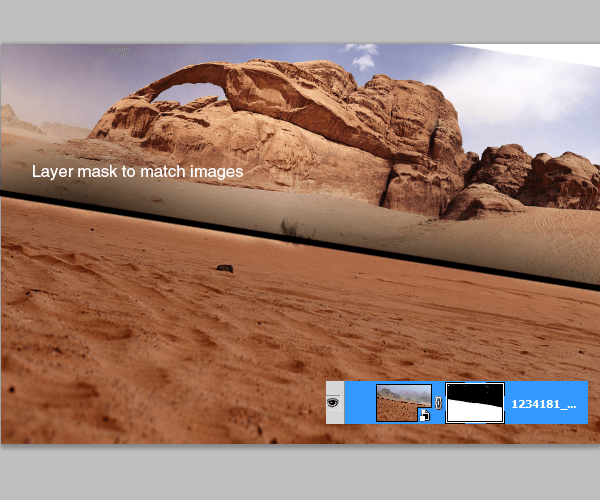
Add a layer mask to the desert layer and using a Soft brush (B) hardness 0% erase the top part of the image so that the horizon matches the rock formation and they blend with each other:
Step 3
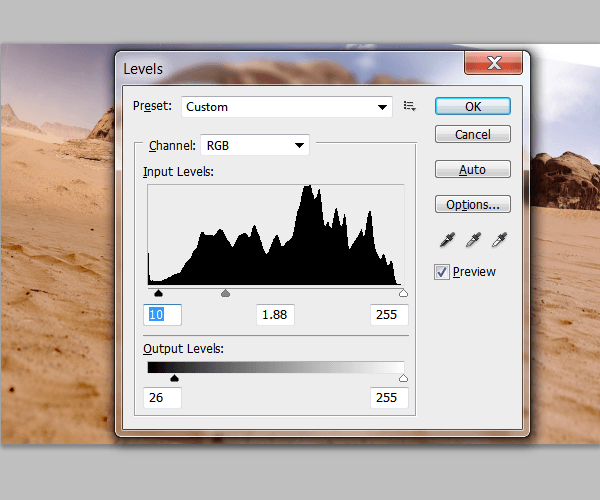
Now we are going to start working on the blending between the two images. First we need to match the color of the sand on the desert stock with the rock formation image.Go to Image>Adjustments>Levels (or Ctrl+L)and apply the next settings to match the lightning:
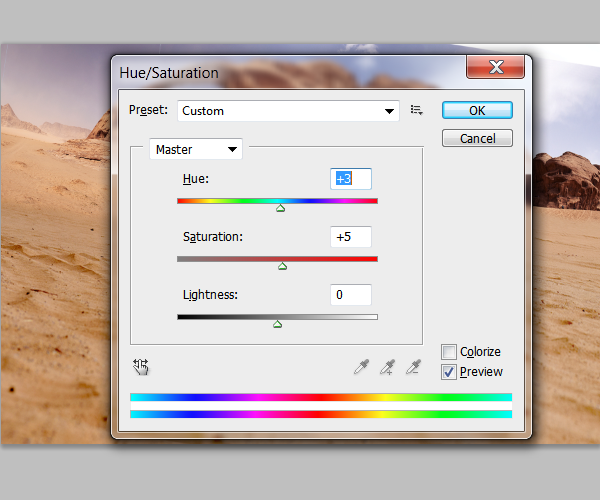
Now go to Image>Adjustments>Hue and Saturation to adjust the color:
Go to Image>Adjustments>Brightness and Contrast to do the final adjusting:
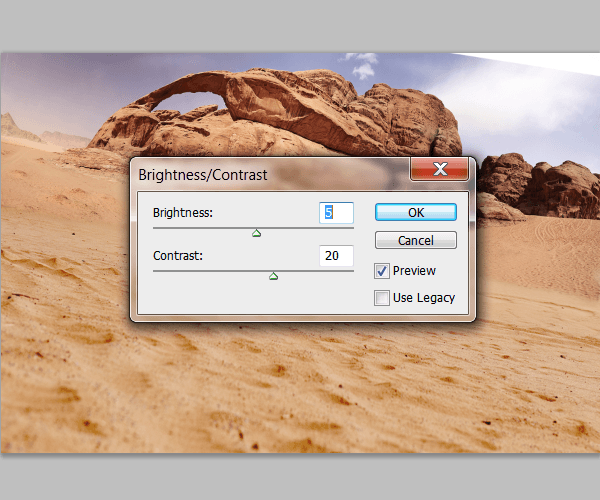
This is how your image should look like:

Step 4
Although we matched most of the color on both images,they are not quite blended yet,they need to have a smoother transition between them.To fix this we are going to use the Cloning Stamp Tool (S) to soften the edges where the two blend.Create a new layer on top of the desert images,with the Clone tool selected, take a soft (0% hardness) large round brush with the opacity set to 45% and the sample option set to “Current and Below”. While holding Alt click somewhere in the image that will be the source point we are going to clone.Once you selected your source point,brush over the edges of the image where both Deserts meet.
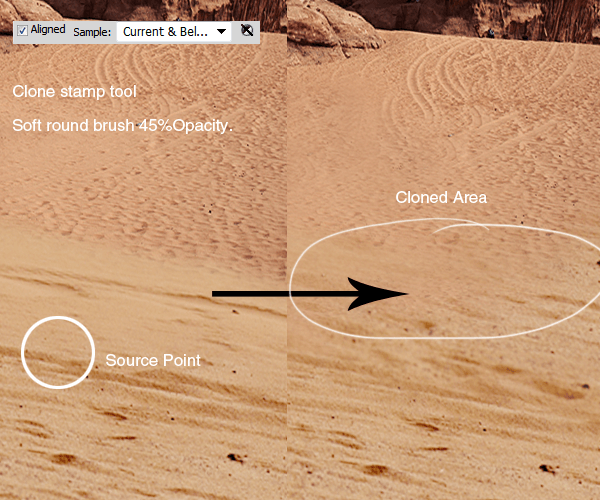
Sample new sources as much as you need. Do the same along the edge to blend both images together.
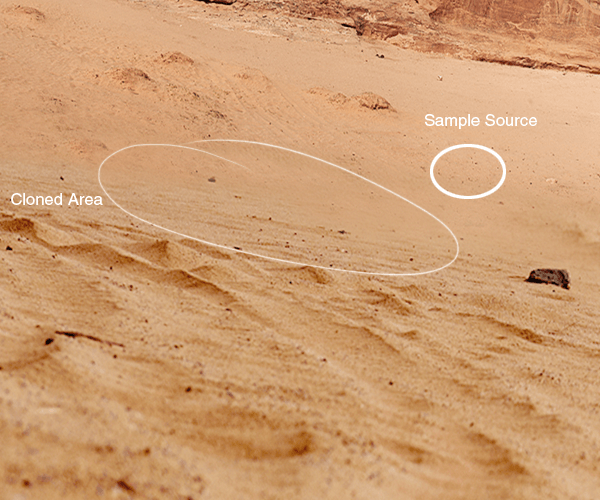
Keep repeating this step until your blending looks something like this:
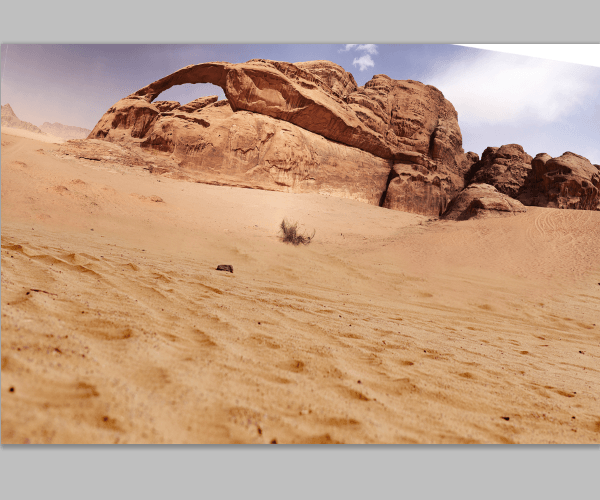
Step 5
Select all your layers and merge them together.(Ctrl+E)You can duplicate them and save them for later if you wish to have a backup before merging them. We need to flatten this layers to a single one because we are going to distort it to make the weird looking perspective effect. Once you have your layers merged,go to Edit>Transform>Warp and curve the image like in the example below:
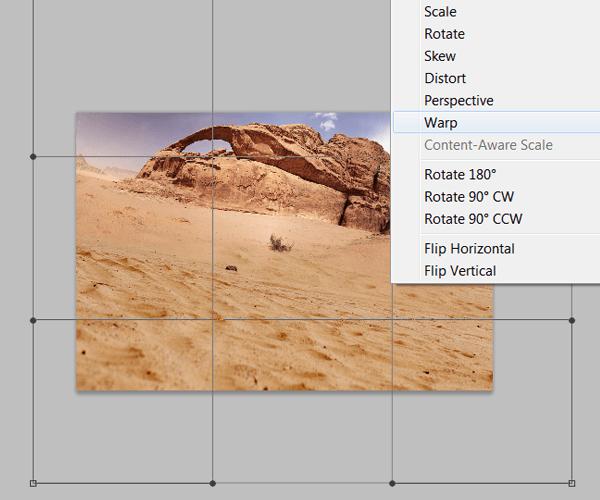
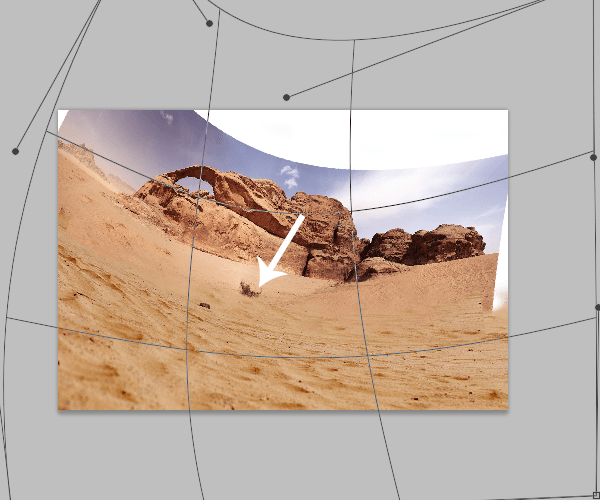
Try and experiment while doing this, it might need some time to get the desired result well done.
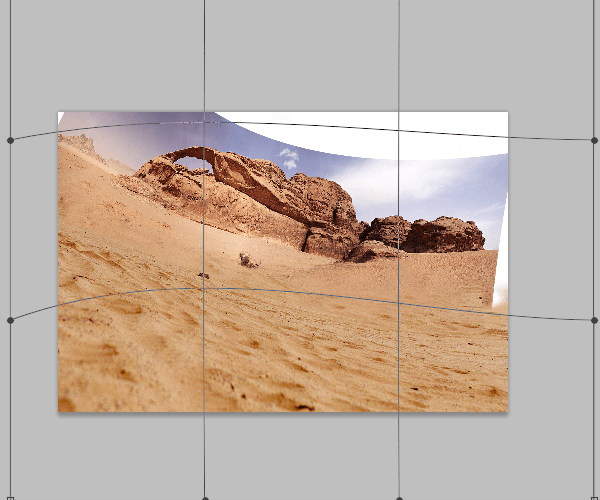
Step 6
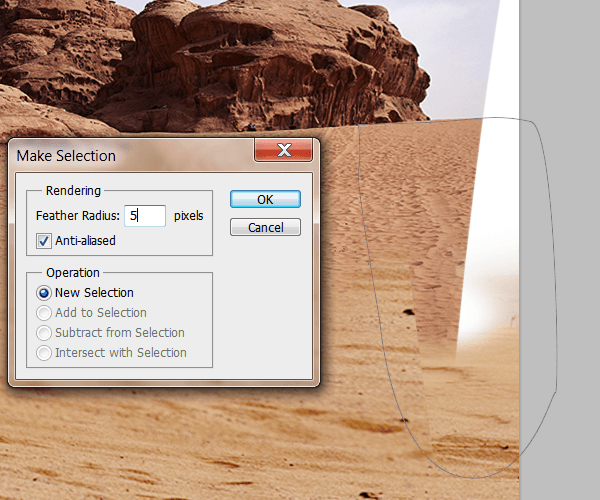
All the Warping can leave some white spots and some bad blending between the images so we need to fix that. Using the pen tool (P) or the Lasso Tool (L) draw a selection of the parts that need to be filled or blended.Use a feather of about 5 pixels on the selections to make the blending process easier.As you can se on the image below we need to fill some parts of sand and sky.First we need to do a selection on the sand part like shown below:
Create a new layer on top of the warped desert layer and go back to the Cloning stamp tool. We are going to use the same settings but this time we need the brush to be at 100% opacity. Just like we did on step 4,sample parts of the desert to clone on the empty areas.
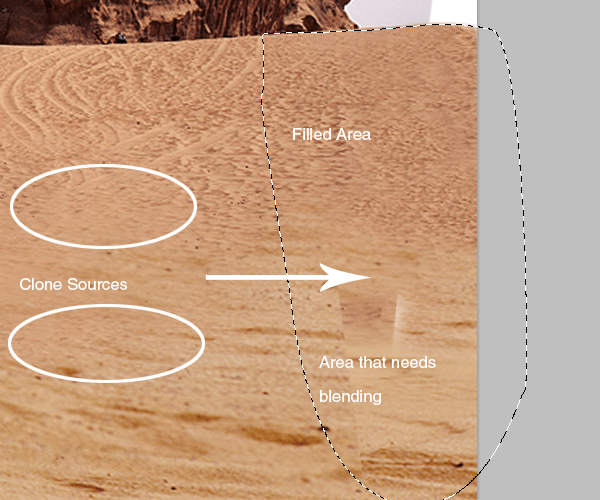
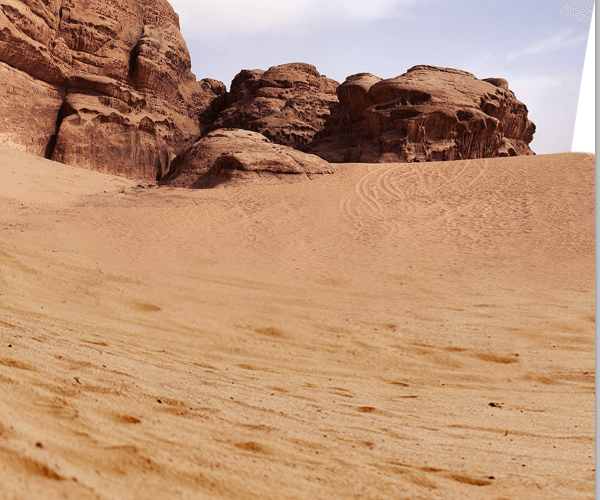
Don’t use any feather on the selections whenever there is a sharp edge to fill like in the example below:
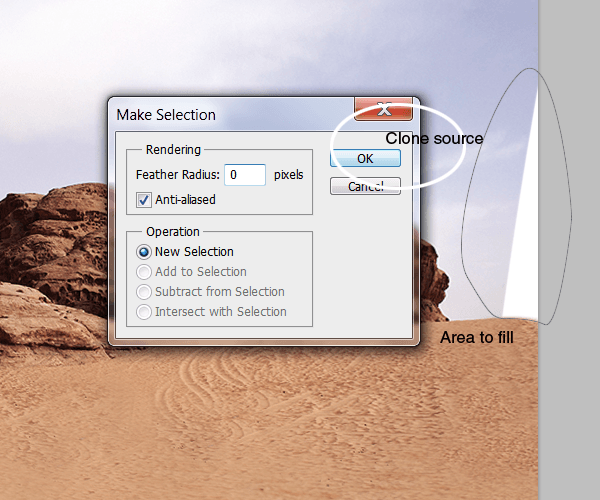
Watch out for any borders and bad blending: