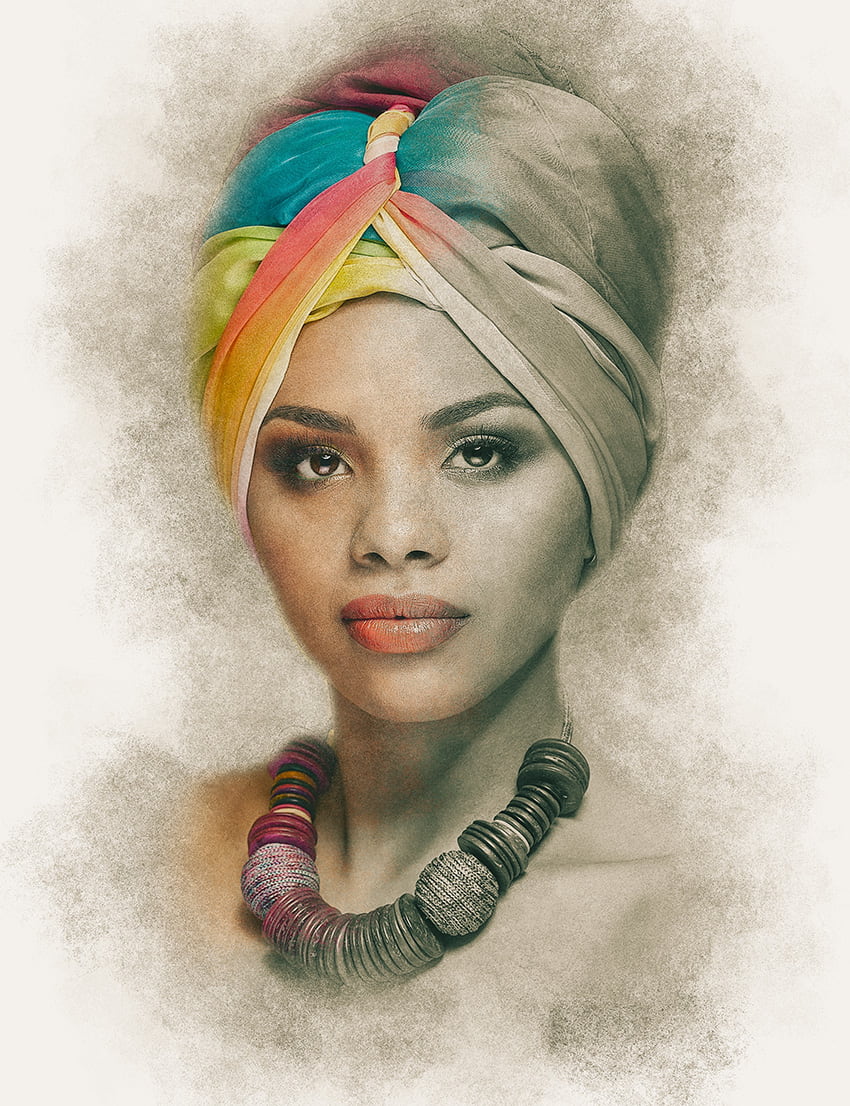
In this tutorial, you will learn how to create an amazing pastel photo effect in Adobe Photoshop. I will explain everything in so much detail that anyone can create it, even those who have just opened Photoshop for the first time.
The effect shown above is the one I will show you how to create in this tutorial. If you would like to create the even more advanced pastel effects shown below, using just a single click and in only a few minutes, then check out my Pastel Photoshop Action.

What You’ll Need
To recreate the design above, you will need the following resources:
1. How to Start Creating an Action
Step 1
First, open the photo that you want to work with. To open your photo, go to File > Open, choose your photo, and click Open. Now, before we get started, just check a couple of things:
- Your photo should be in RGB Color mode, 8 Bits/Channel. To check this, go to Image > Mode.
- For best results, your photo size should be 2000–3000 px wide/high. To check this, go to Image > Image Size.
- Your photo should be the Background layer. If it is not, go to Layer > New > Background from Layer.

Step 2
Now we need to expand the canvas on the left and right so we have more space around the subject on these sides. Go to Image > Canvas Size and use the settings below:

Step 3
We are going to do the same thing for the bottom side of the canvas. Go to Image > Canvas Size and use the settings below:

2. How to Create the Pastel Brush
Step 1
In this section, we are going to create the pastel brush. You can take a pencil and paper and draw the texture, and then scan it out, or you can use a grunge texture. Here is my result:

Step 2
Now go to Edit > Define Brush to define this texture as a brush, and name it Temp_Brush.

Step 3
Now that we have defined our brush, we need to adjust its settings and then define it again as a new brush. Press B on your keyboard, Right-click anywhere inside the canvas, select the Temp_Brush brush, and hit Enter. Then go to Window > Brush and, in the Brush window, use the settings below:

Step 4
To define this brush with new settings as a new brush, click on the top right icon in the bottom right corner of the Brush panel, and name it Pastel_Brush.

3. How to Create the Background
Step 1
In this section, we are going to create the background. Go to Layer > New Fill Layer > Solid Color to create a new solid color fill layer, name it Background color, and choose the color #d9d9d9 as shown below:

Step 2
Now select the Background layer and press Control-J on your keyboard to duplicate this layer. Then, drag this layer to the top of the Layers panel.

Step 3
Go to Filter > Filter Gallery > Sketch > Photocopy and set the Detail to 2 and Darkness to 5.

Step 4
Now change the Blending Mode of this layer to Multiply and change the Opacity to 50%. Then, name this layer Photo Outlines.

Step 5
Go to Layer > Layer Mask > Reveal All to add a layer mask that reveals the whole layer.

Step 6
Now set the foreground color to #000000, choose the Brush Tool (B), pick a soft brush, and brush over the outline of the canvas to remove it.

4. How to Create the Base
Step 1
In this section, we are going to create the base that
determines the subject in our photo. Go to Layer > New > Layer to create a new layer and name it Base.

Step 2
Hide the Photo Outlines and Background Color layers. Then, choose the Brush Tool (B), pick a soft brush, and brush over your subject. It doesn’t matter
what color you use. After that, show all layers again.

5. How to Create the Subject Textures
Step 1
In this section, we are going to create the subject textures. Go to Layer > New > Layer to create a new layer and name it ST_1.

Step 2
Now set the foreground color to #000000, choose the Brush Tool (B), pick the Pastel_Brush brush, and brush over the color fill area of the Base layer as well as around the color fill. Feel free to use different brush sizes.

Step 3
Hide the ST_1 layer and select the Base layer. Then, go to Layer > New > Layer to create a new layer and name it ST_2.

Step 4
Now set the foreground color to #000000, choose the Brush Tool (B), pick the Pastel_Brush brush, and brush over the same area again but this time much lighter. Once again, feel free to use different brush sizes.

Step 5
Change the Opacity of this layer to 30% and hide the Base layer.

Step 6
Now Control-click on the Base layer thumbnail to make a selection of this layer. Then, select the Background layer, and press Control-J on your keyboard to create a new layer using the selection. After that, drag this new layer to the top of the layers in the Layers panel.

Step 7
Select the ST_1 layer and go to Layer > Layer Mask > Reveal All to add a layer mask that reveals the whole layer.

Step 8
Now hide the Photo Outlines layer, go to Image > Apply Image, and use the settings below:

Step 9
Press Control-I on your keyboard to invert the layer mask. Then, go to Image > Adjustments > Levels and use the settings below:

Step 10
Now show the ST_1 and Photo Outlines layers again. Then, select the Layer 1 layer, and press Control-Shift-U on your keyboard to desaturate it.

Step 11
Go to Filter > Filter Gallery > Artistic > Film Grain and set the Grain to 5, Highlight Area to 0, and Intensity to 10.

Step 12
Now go to Edit > Fade Filter Gallery and set the Opacity to 100% and Mode to Darken.

Step 13
Change the Blending Mode of this layer to Soft Light and set the Opacity to 70%. Then, name this layer Subject Details.

6. How to Color the Sketch
Step 1
In this section, we are going to color some parts of the subject textures. Control-click on the thumbnail of the Base layer to make a selection of this layer. Then, select the Background layer, and press Control-J on your keyboard to create a new layer using the selection. After that, drag this new layer to the top of the layers in the Layers panel.

Step 2
Now go to Layer > Layer Mask > Hide All to add a layer mask that hides the whole layer.

Step 3
Set the foreground color to #ffffff, choose the Brush Tool (B), pick the Pastel_Brush brush, and brush over the area of your subject that you want to color. Feel free to use different brush sizes.

Step 4
Now change the Blending Mode of this layer to Color and set the Opacity to 60%. Then, name this layer Subject Color.

7. How to Make the Final Adjustments
Step 1
In this section, we are going to make some final adjustments. Select the Subject Details layer, go to Layer > New Adjustment Layer > Levels to create a new levels adjustment layer, and name it Overall Brightness.

Step 2
Now Double-click on this layer thumbnail and, in the Properties panel, enter the settings below:

Step 3
Change the Opacity of this layer to 33%.

Step 4
Now press D on your keyboard to reset the swatches. Then, go to Layer > New Adjustment Layer > Gradient Map to create a new gradient map adjustment layer and name it Textures Contrast.

Step 5
Control-click on the Base layer thumbnail to make a selection of this layer. Then, set the foreground color to #000000, go to Edit > Fill, and set Contents to Foreground Color, Mode to Normal, and Opacity to 100%.

Step 6
Now press Control-D on your keyboard to deselect the selection. Then, change the Blending Mode of this layer to Overlay and set the Opacity to 58%.

Step 7
Right-click on the Base layer and choose Delete Layer. Then, select the Subject Color layer, go to Layer > New Adjustment Layer > Curves to create a new curves adjustment layer and name it Color Look.

Step 8
Now Double-click on this layer thumbnail and in the Properties panel enter the settings below:

Step 9
Go to Layer > New Adjustment Layer > Vibrance to create a new vibrance adjustment layer and name it Overall Vibrance/Saturation.

Step 10
Now Double-click on this layer thumbnail and, in the Properties panel, set the Vibrance to +28 and Saturation to +19.

Step 11
Press Control-Alt-Shift-E on your keyboard to make a screenshot, and then press Control-Shift-U to desaturate this layer. Then, go to Filter > Other > High Pass and set the Radius to 2 px.

Step 12
Now change the Blending Mode of this layer to Hard Light and name it Overall Sharpening.

You Made It!
Congratulations, you have succeeded! Here is our final result:

If you would like to create the even more advanced pastel effects shown
below, using just a single click and in only a few minutes, then check
out my Pastel Photoshop Action.
The action will create professional and realistic pastel sketch effects from your photos with no work at all from your side! You simply brush over your photo with a
color and just play the action. It’s really that simple! The action
will do all the work for you, leaving you fully layered and customizable results that you can further modify.
The action is made so that every time you run the action you will get a unique result,
even if you use the same brushed area. The action will always create a unique variation of pastel textures, so you can create an unlimited number of
results! The action also creates 35 preset color looks that you can choose from.
The action comes with a detailed video tutorial that demonstrates how to use the action and customize the results to get the most out of the effect.
You may also like:
-
![]()
In this tutorial, I’m going to teach you how to create a Photoshop sketch effect. You will learn how to turn your photos into amazing, advanced sketches. I…
-
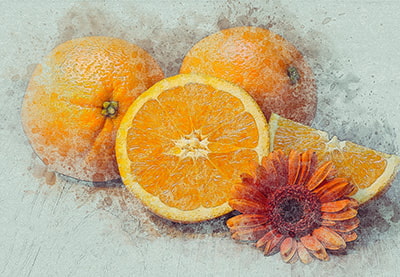
![]()
In this tutorial you will learn how to create an amazing watercolor effect in Adobe Photoshop, with simple instructions for Photoshop beginners.
-
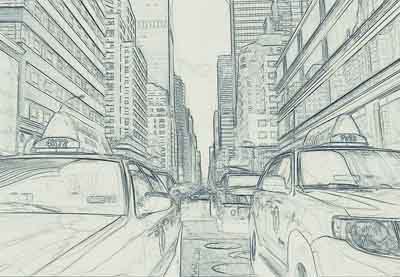
![]()
In this tutorial you will learn how to create an amazing, artistic effect inspired by art style of the Grand Theft Auto video game, using Adobe Photoshop.
-
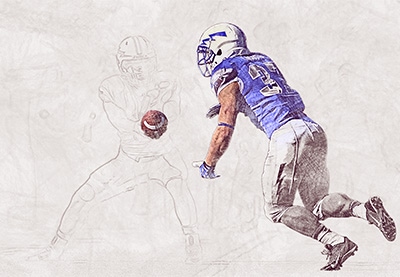
![]()
In this tutorial you will learn how to turn your photos into amazing and advanced, unfinished colored pencil sketches using Adobe Photoshop.