
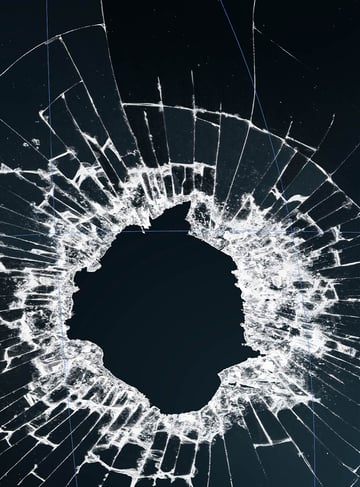
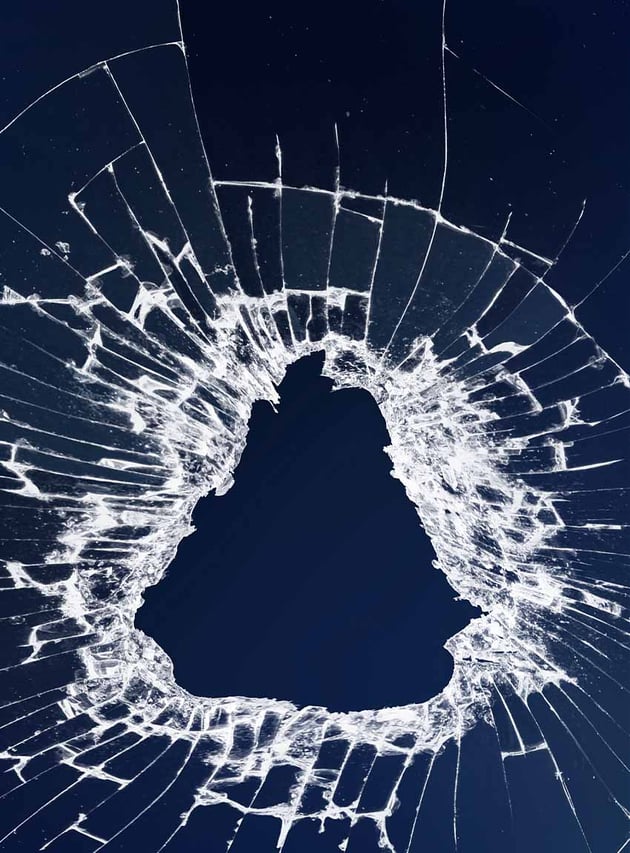
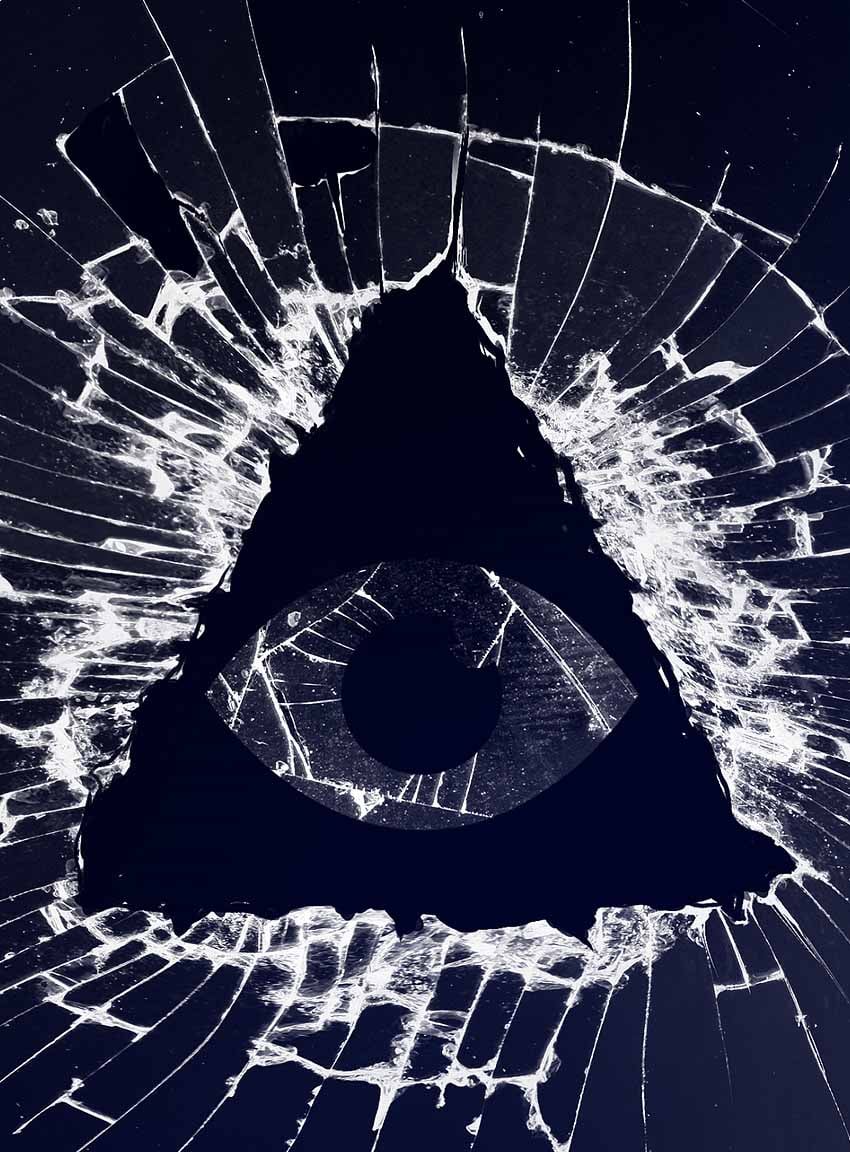
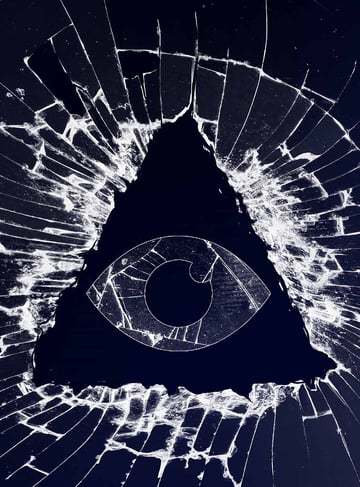
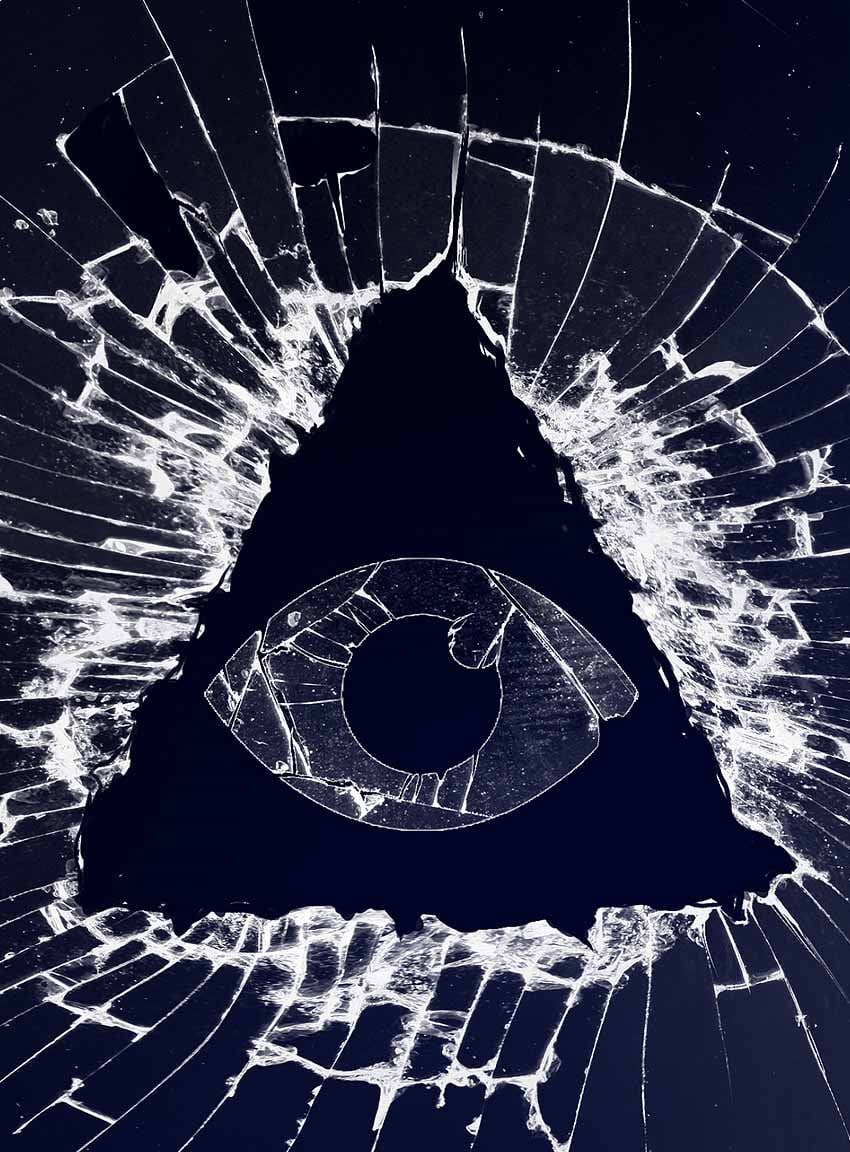
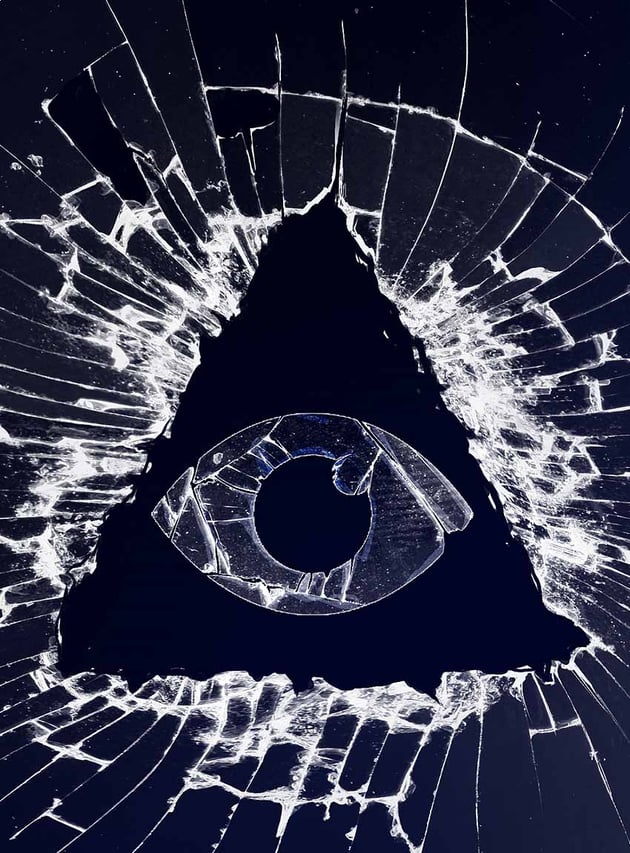
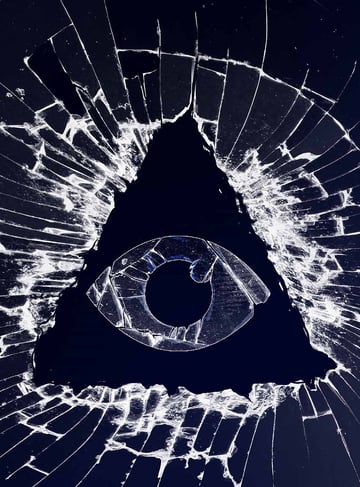
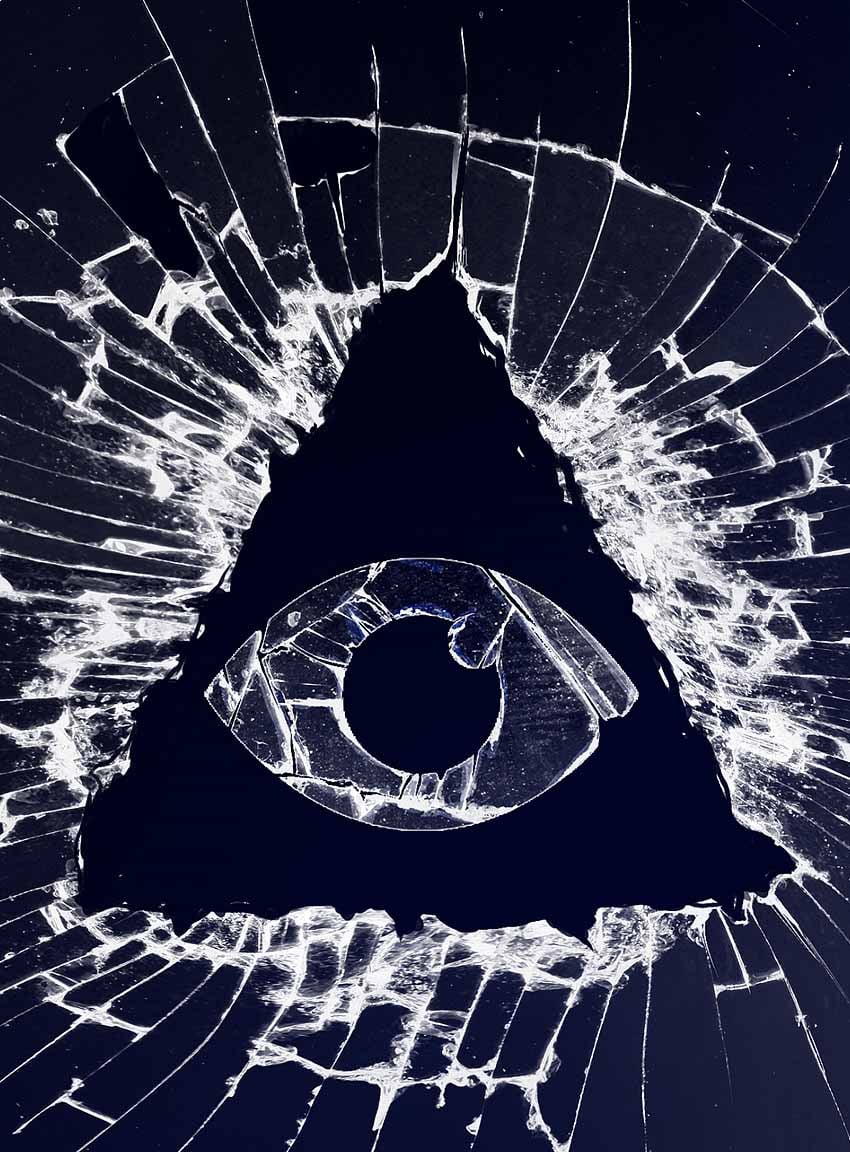
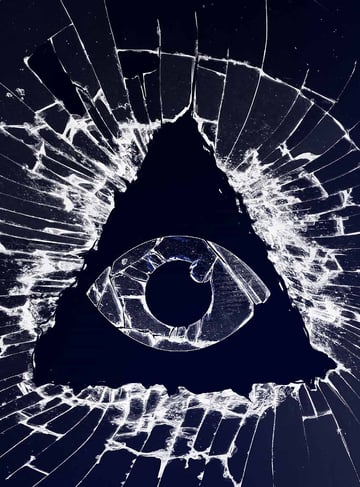
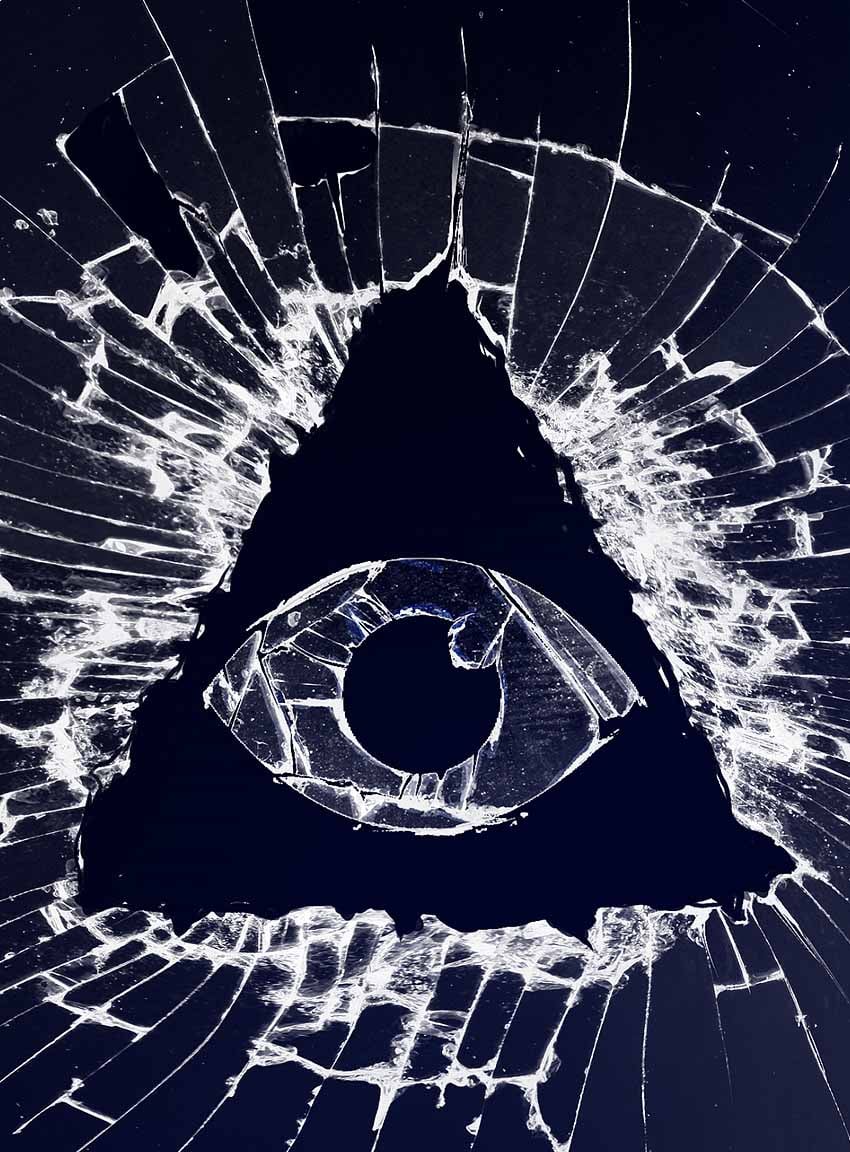
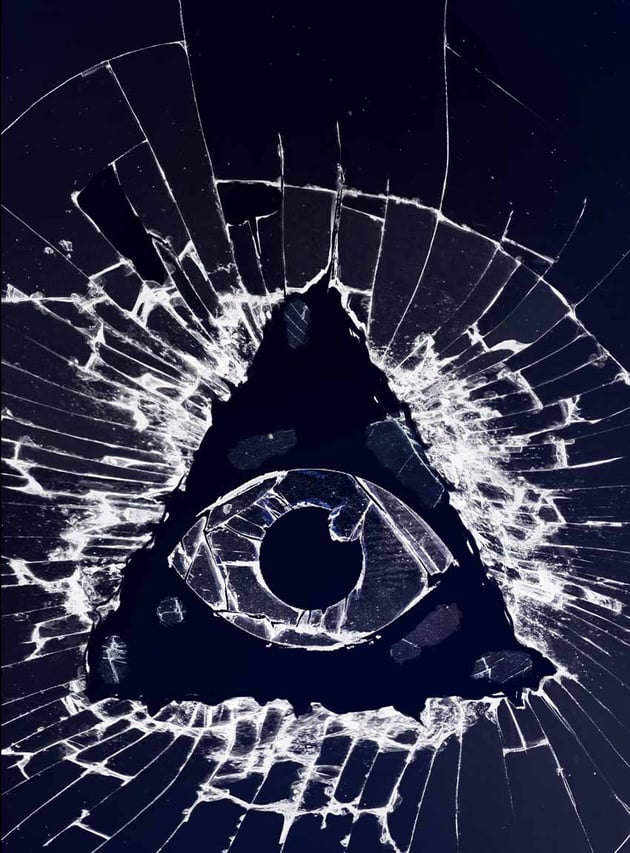
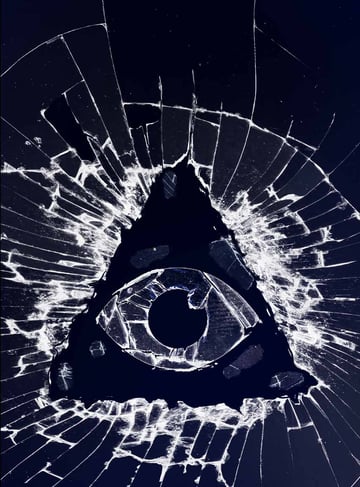
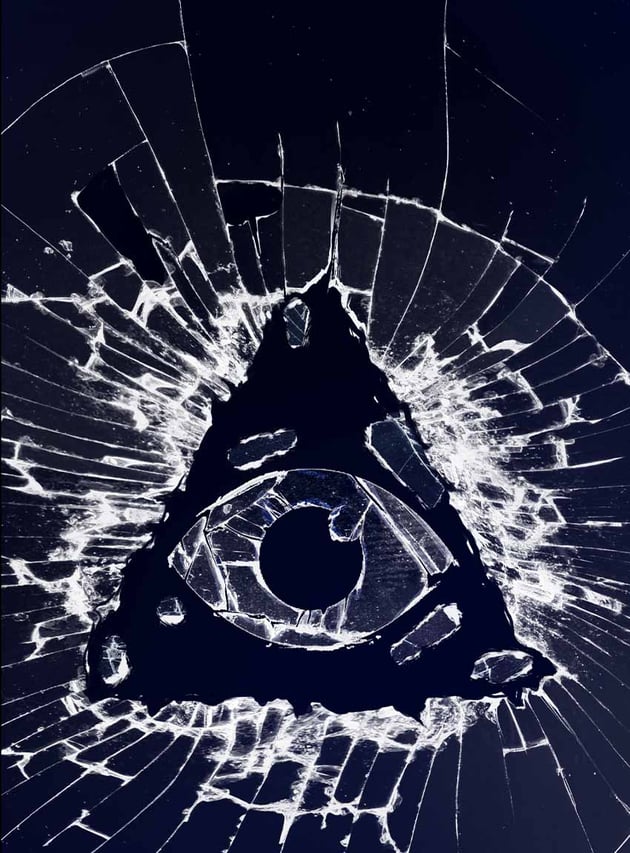
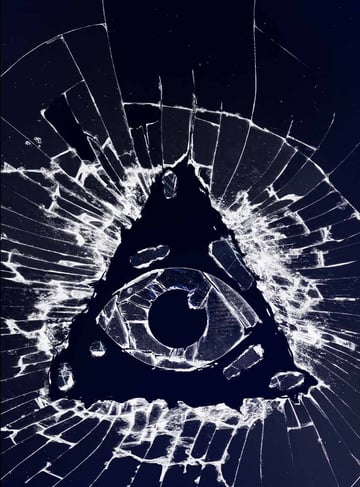
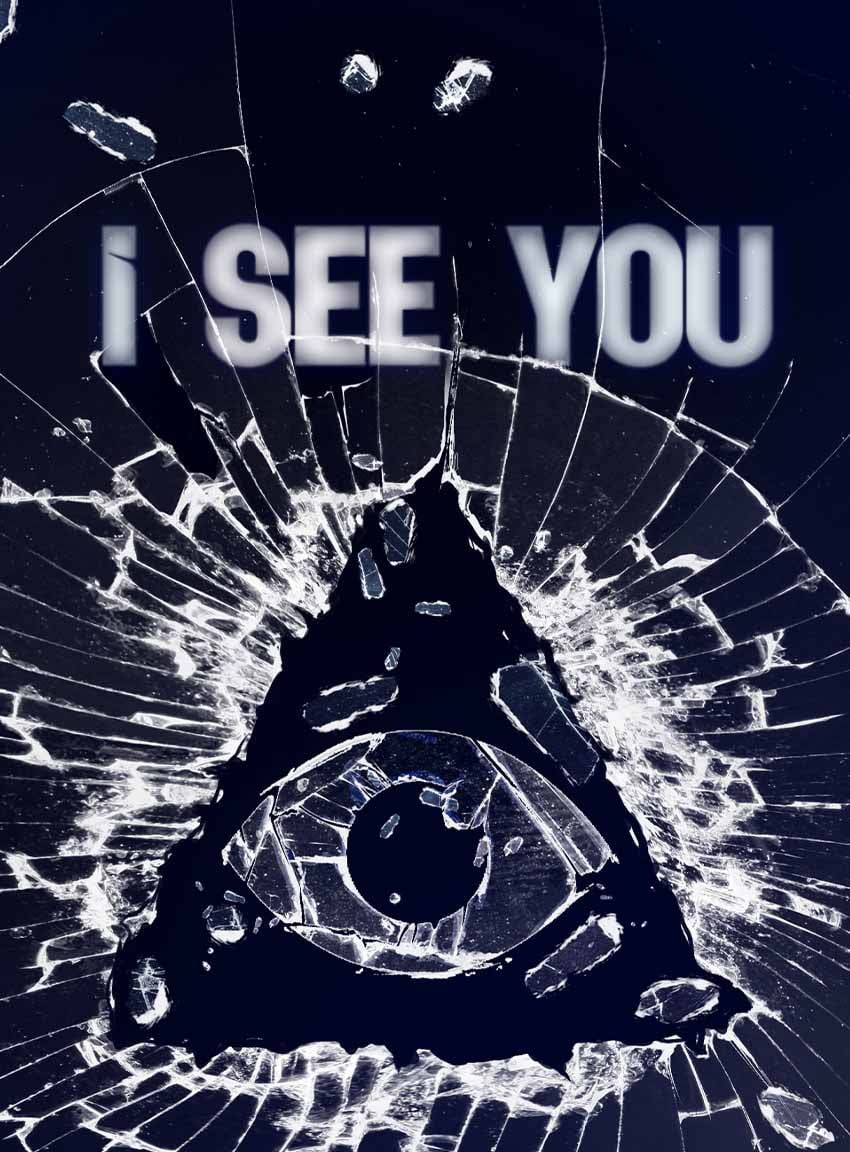
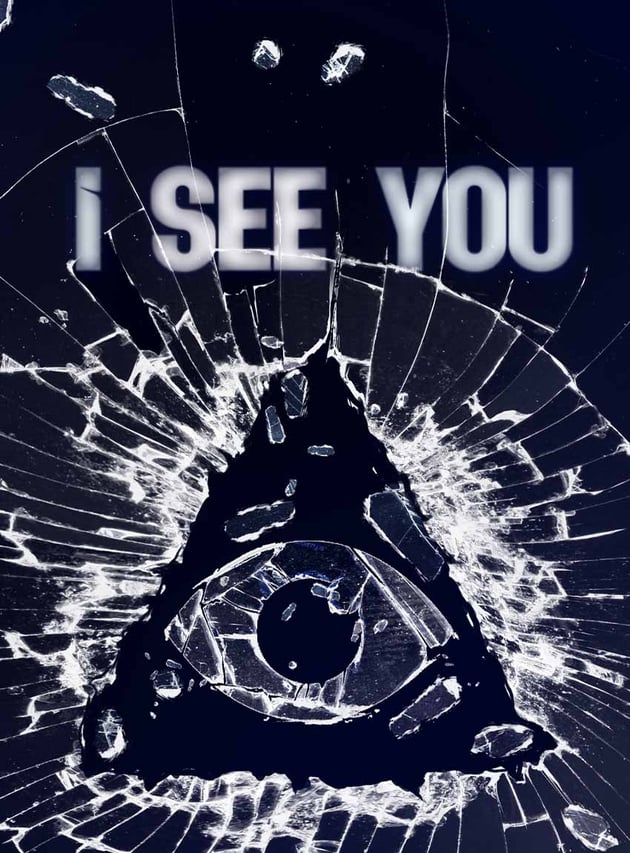
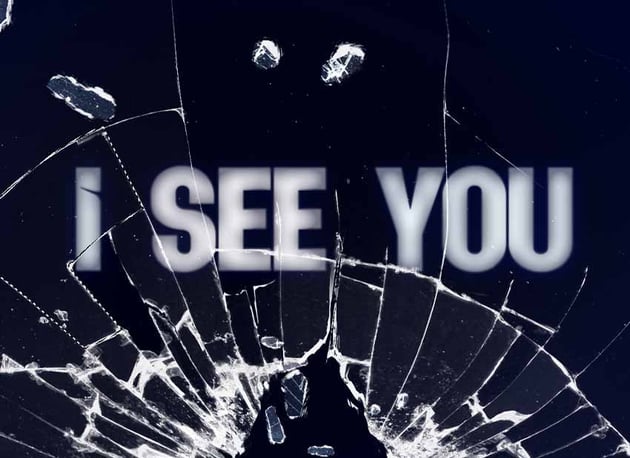
In today’s tutorial, we will be covering how to create a broken glass effect in Adobe Photoshop. We’ll be recreating an effect that was used on the Black Mirror logo for a promo poster, but using our own shapes and design. The best part about this effect is that it’s so simple and versatile! You can apply it to any simple shape, logo, or text.
Let’s take a look!
What you’ll learn in this Photoshop effect tutorial
What you’ll need
1. How to create a broken glass background in Photoshop
Step 1
Create a layer filled with very dark blue. Above that layer, create a New Layer set to Overlay. Paint light and shadow on this layer using a very large default round Brush set to black and white. This will give the background behind the glass a small amount of light and shadow.
This step is optional. You can also use a texture or another background of your choice.


Step 2
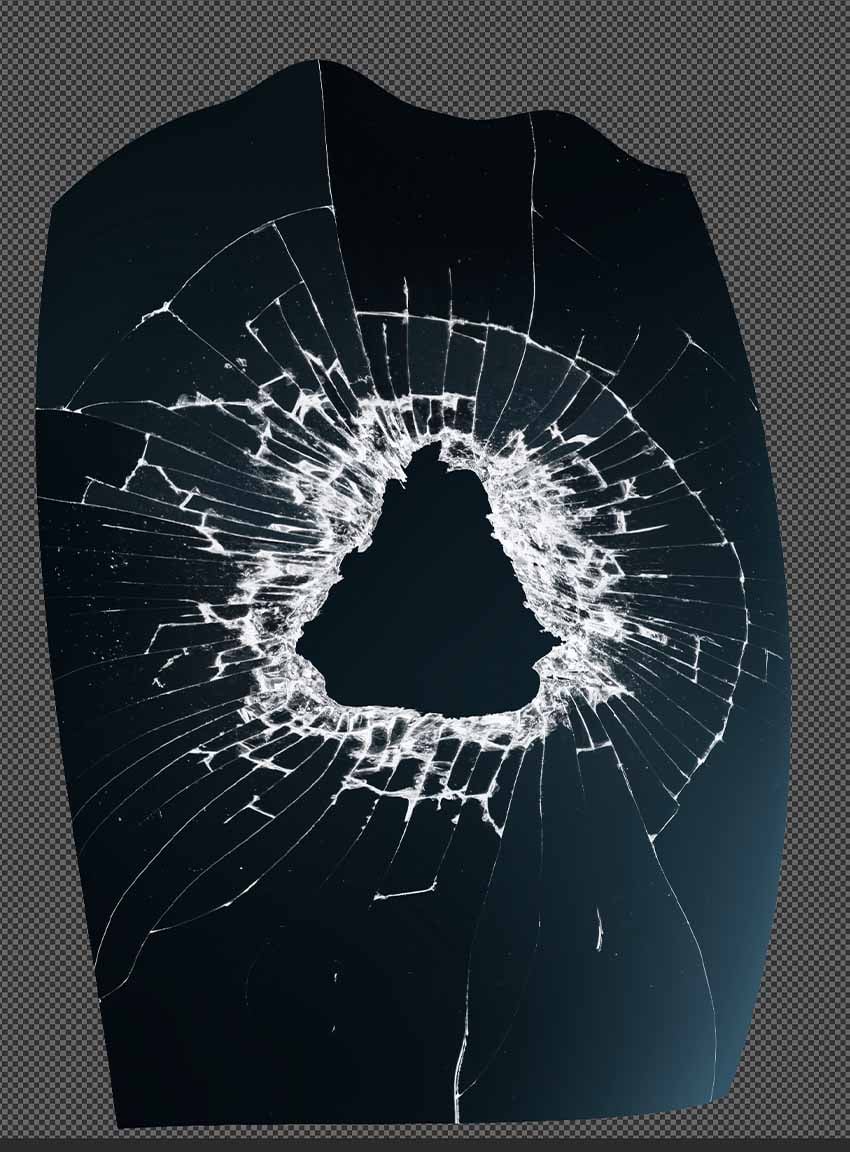
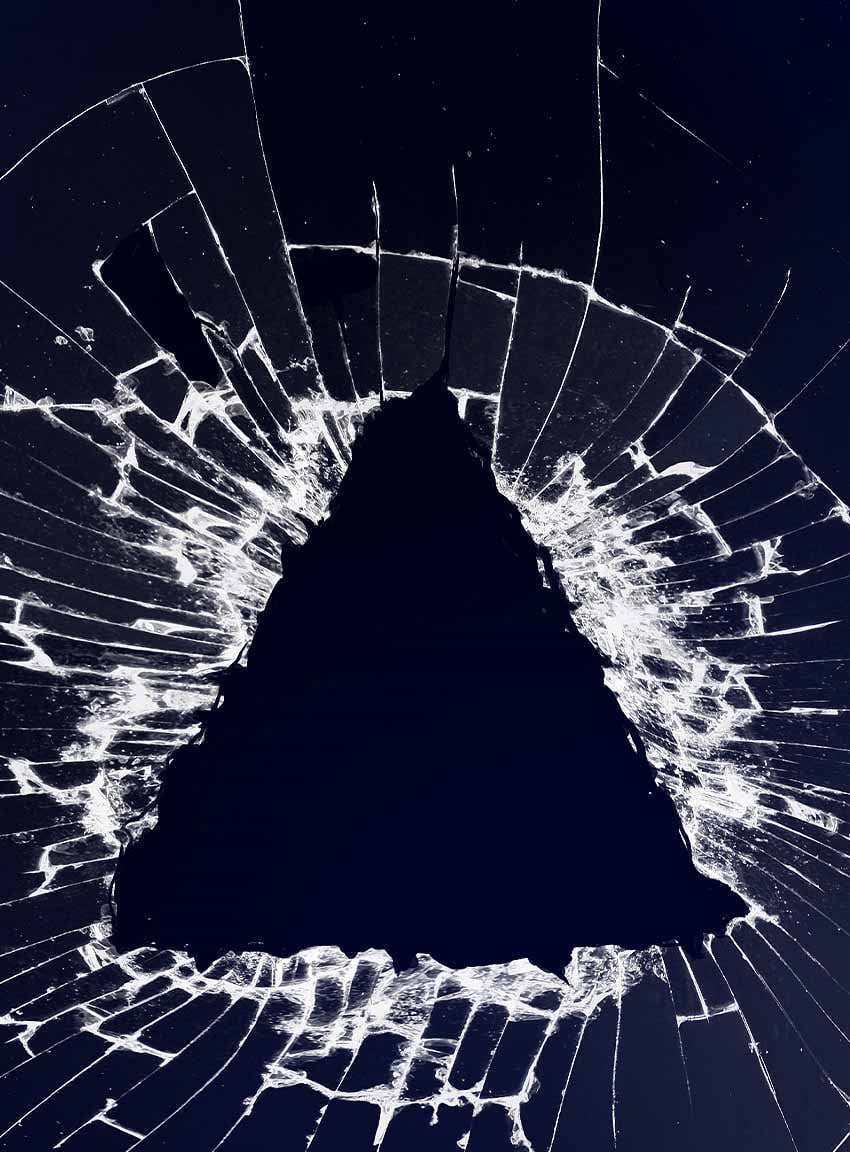
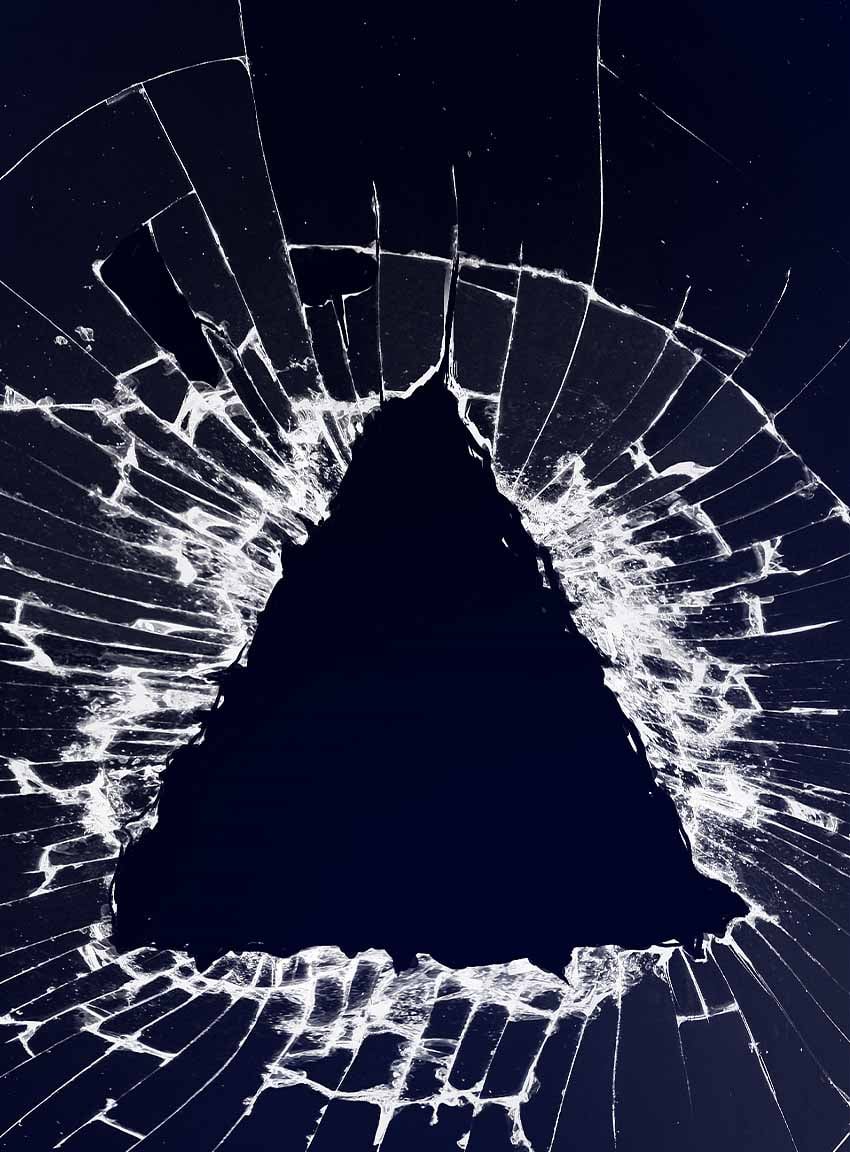
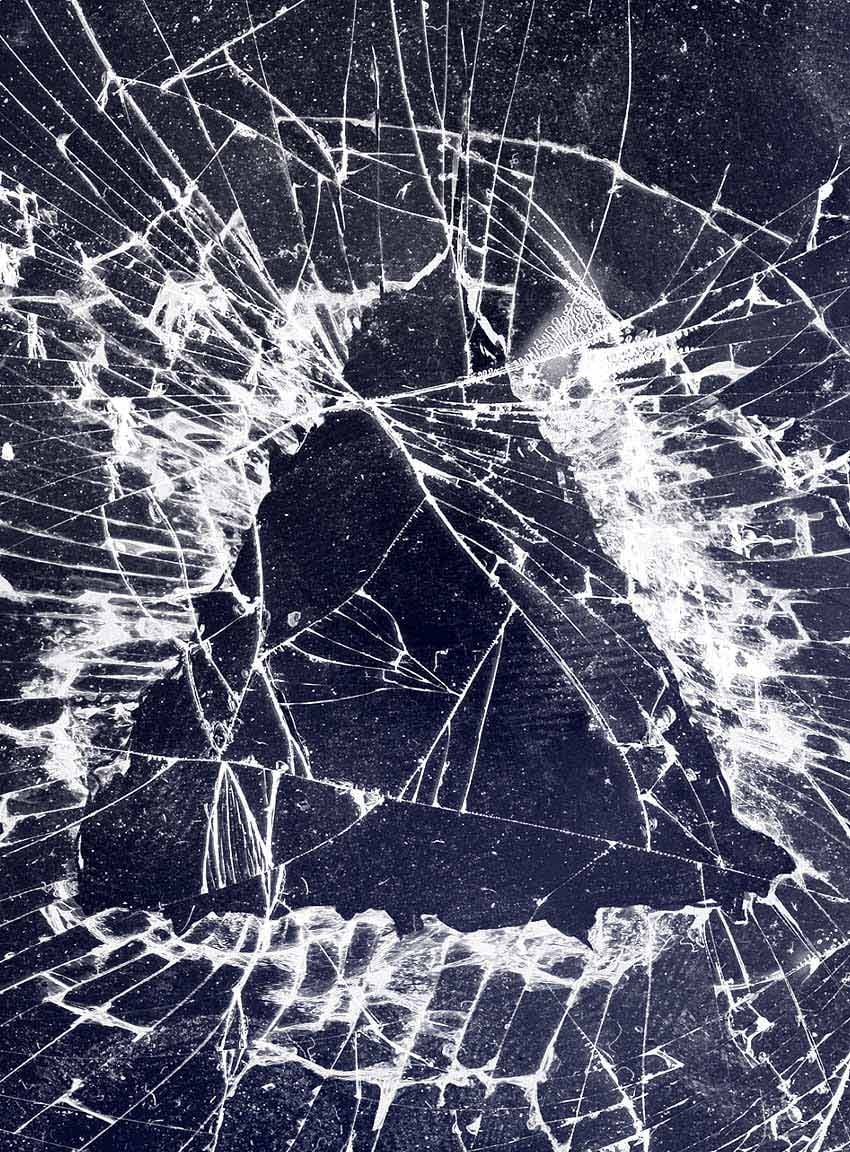
Place your glass texture onto the canvas. Press Control/Command-T to enter Transform mode, then in the upper left Option bar choose Warp Transform mode.
Pull and drag on the glass texture to form the rough shape you want. In this case we’ll use a circle, which we’ll be turning into a triangle momentarily.
I highly suggest using Smart Objects so you can return to this and all future filters and image adjustments and change their settings.


Step 3
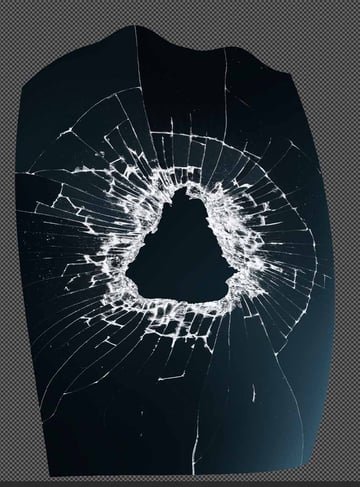
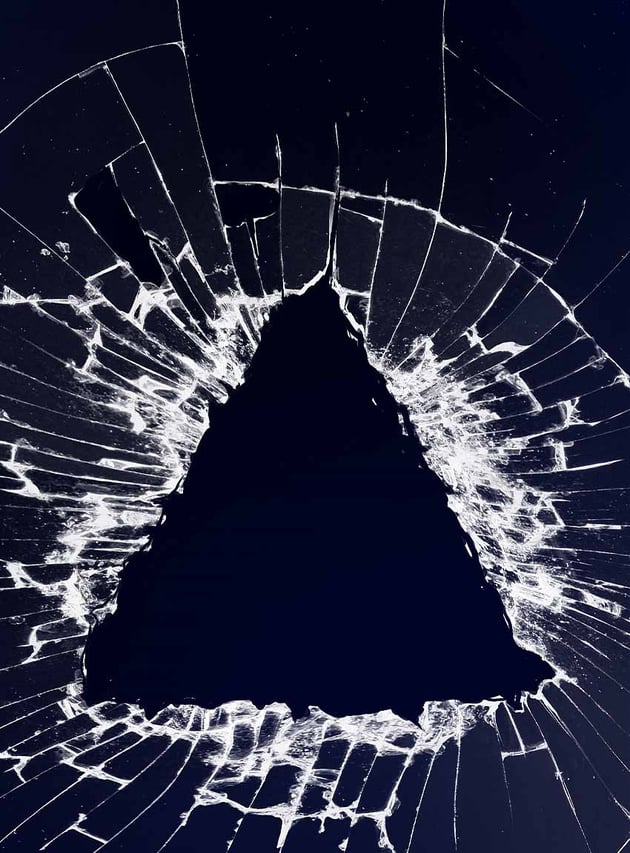
Next, go to Filter > Liquefy to refine your shape by pushing and pulling the glass texture.
Try to push and pull the texture in a way that minimizes smeared or stretched-looking pixels.

Step 4
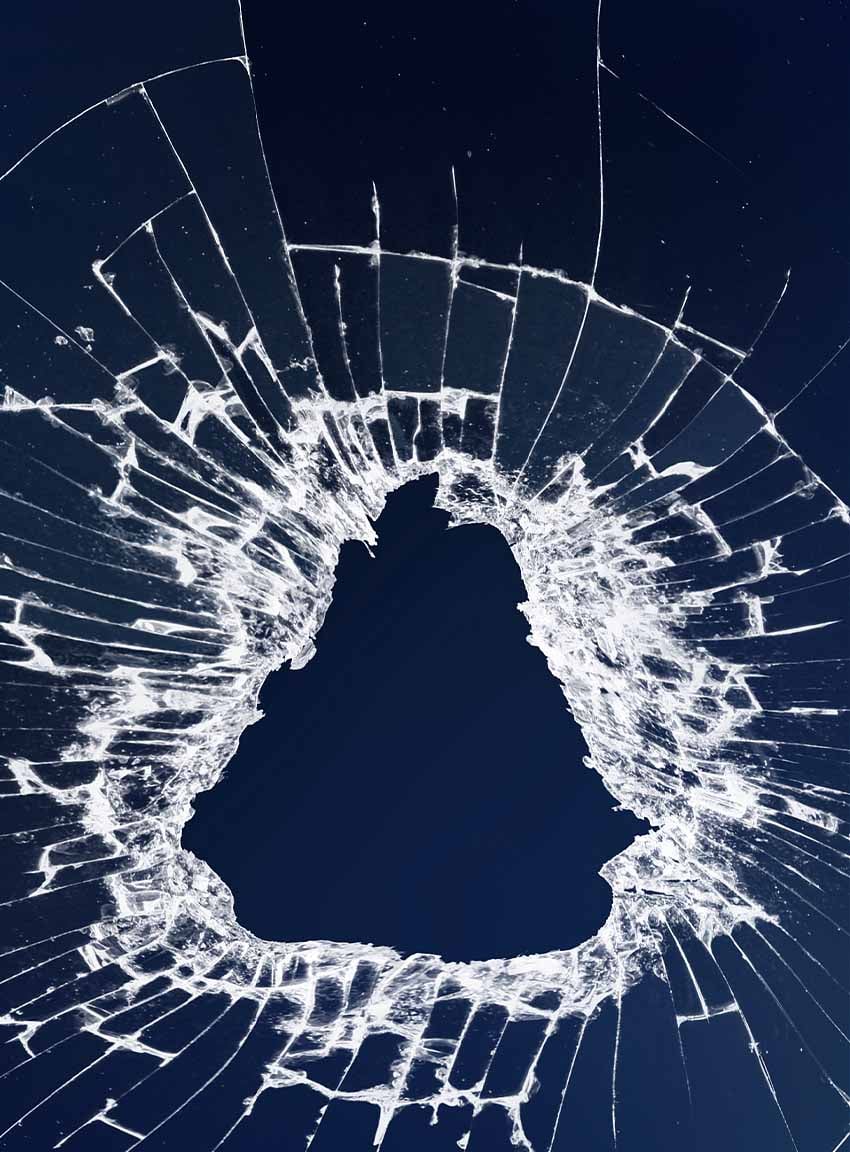
Change the glass texture layer’s mode to Screen.

Step 5
Now, we’ll make adjustments that will make the glass appear clearer and crisper. First, add a Filter > Smart Sharpen set to Amount 500 and Radius 0.3.
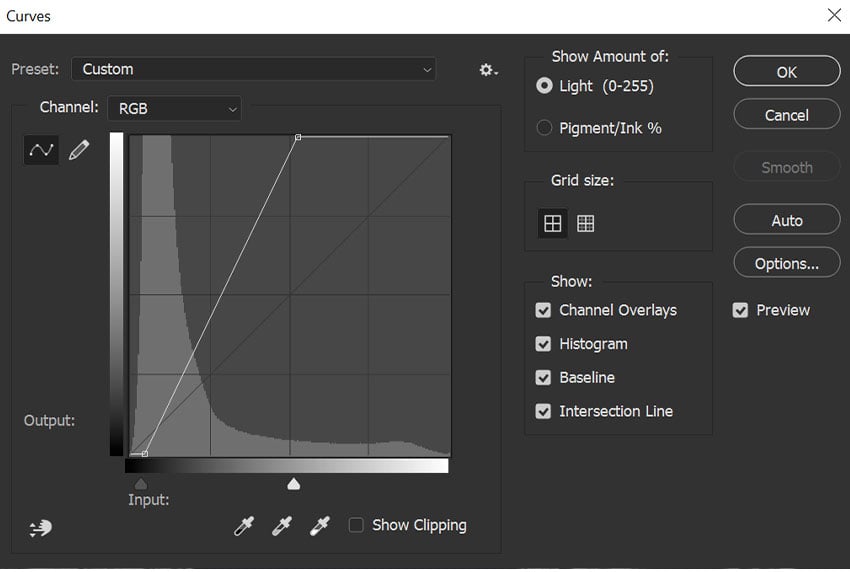
Second, use Image > Adjustments > Curves to bring down the darks of the image. Do this by bringing the bottom anchor point in towards the right. This will make the glass appear clearer.
We will be repeating this step in future steps to control how clear or foggy/solid the glass pieces appear.
Finally, if you want to remove the color from your glass, add an Image > Adjustments > Hue/Saturation bringing the Saturation to -100.
Step 6
Now, add a Layer Mask to the glass texture.
Use a large, soft Brush set to black to mask away any harsh edges on the edges of the texture.
Use a small, hard, round brush to further refine and remove the inner portion of your glass shape. You can create new cracks, cut out larger chunks of glass, and leave behind small shards.
Don’t overthink this step. The glass is broken, jagged, and messy, so you want the edges to look imperfect.

Step 7
Clip a New Layer into the glass texture.
Use a hard round brush to paint white on some of the edges of the glass. Do not make the white too solid or perfect. Keep it messy. You can also use different grungy textured brushes for more texture.
These are the basic steps you’ll take for all glass textures. Set the texture to Screen, adjust the clarity and color, mask away parts of the glass, and then paint the edges back in with a hard Brush.
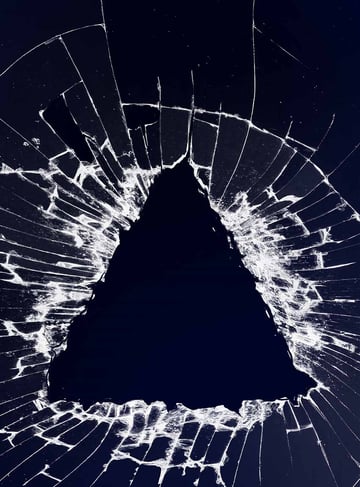
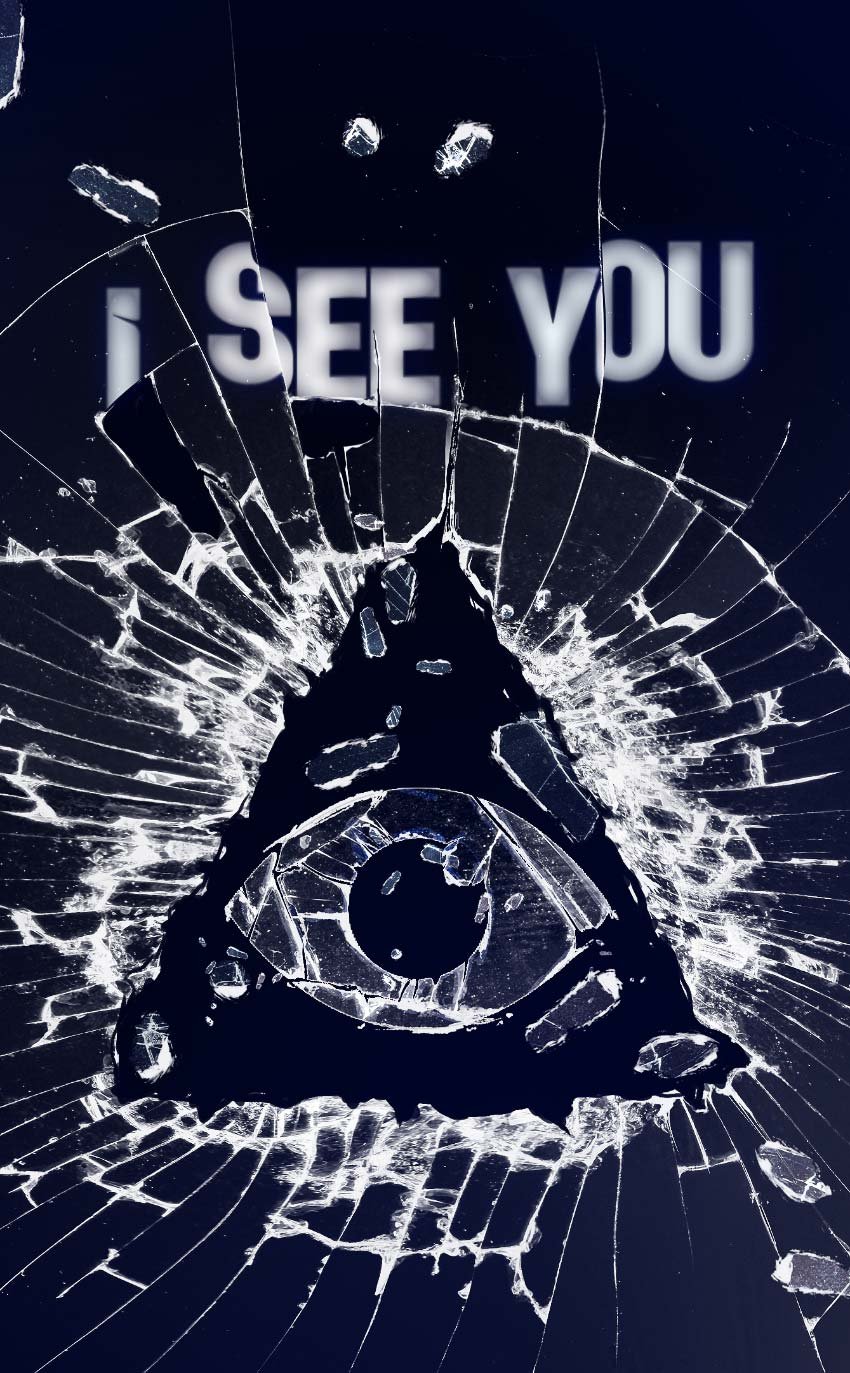
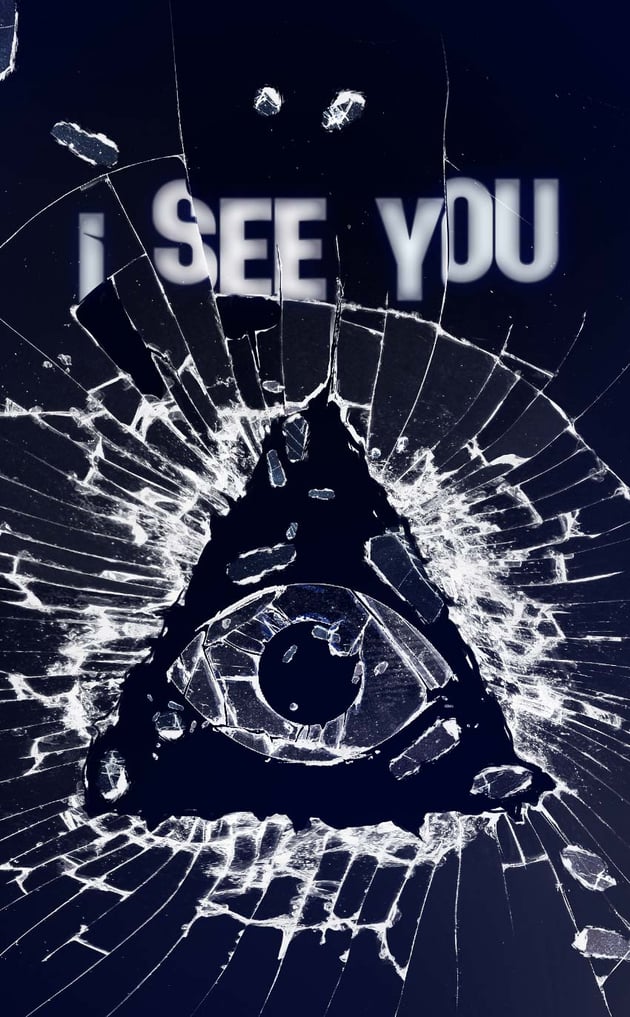
2. How to create broken glass effects in Photoshop
Step 1
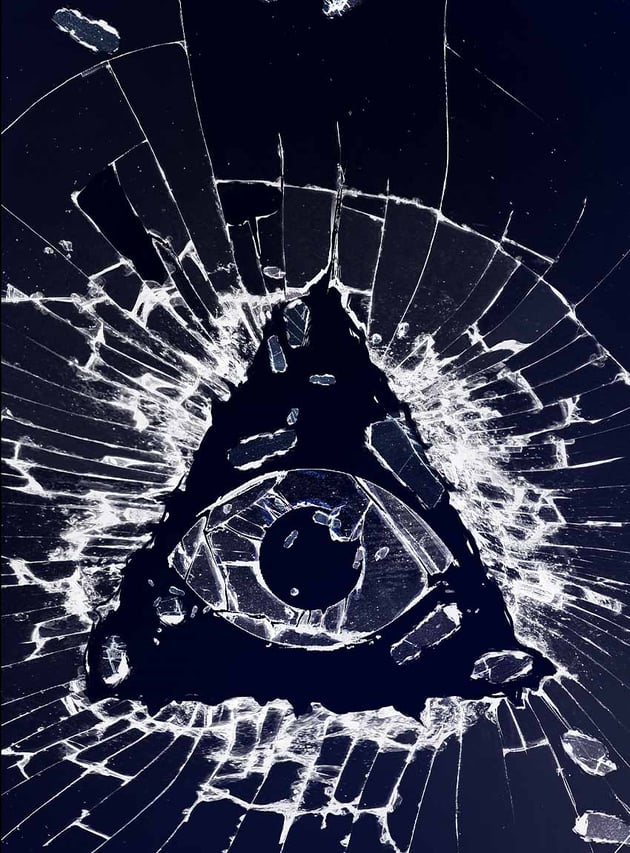
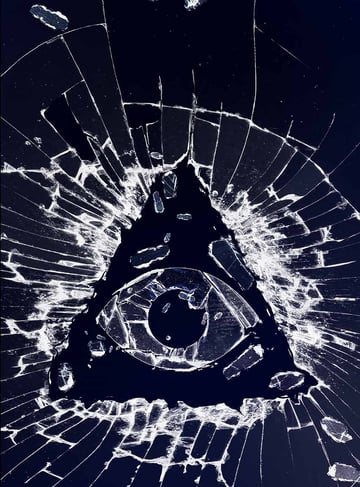
First, place your shape design in the center of your glass. I’ll be using an eye shape from this icon pack.
You can use any simple shape, or even words or logos.
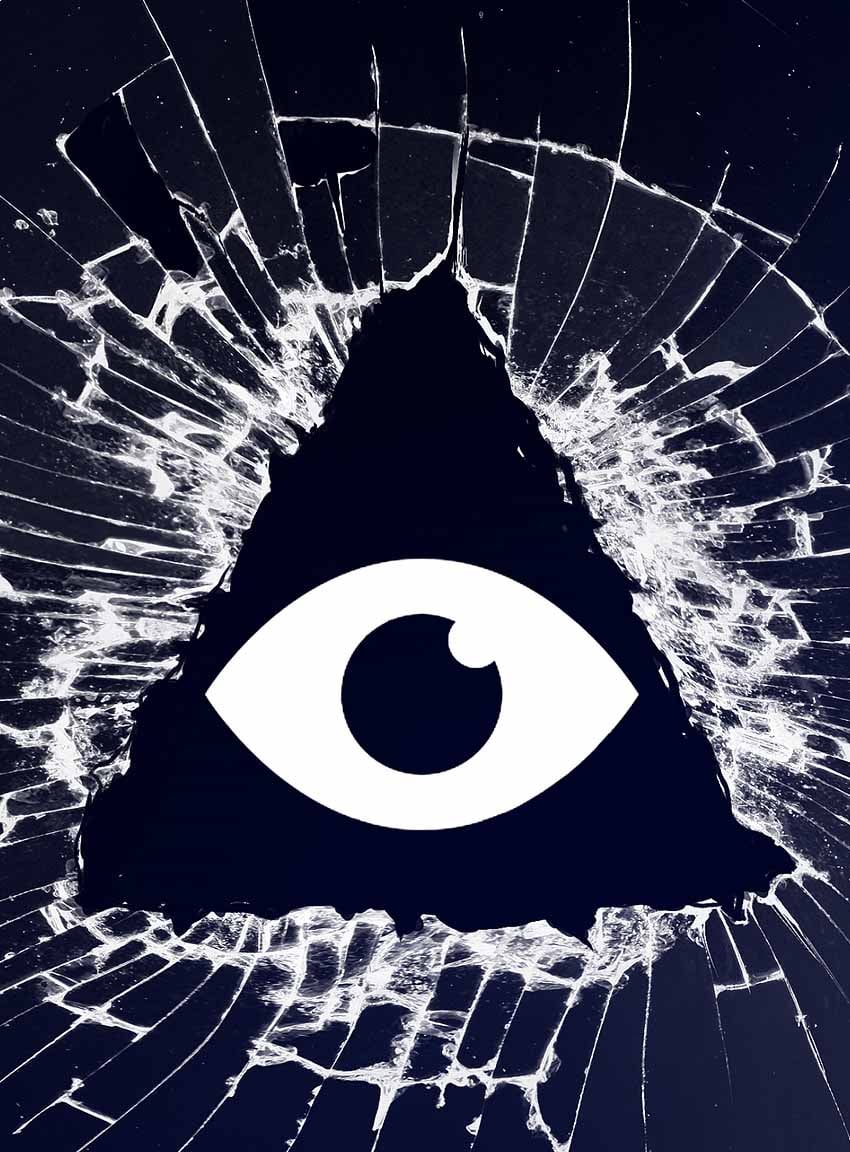
Step 2
Next, Hide the shape design.
Place a second glass texture onto the canvas. You can use the same glass texture as before, but the variety will help you avoid repeating details/cracks in your design.
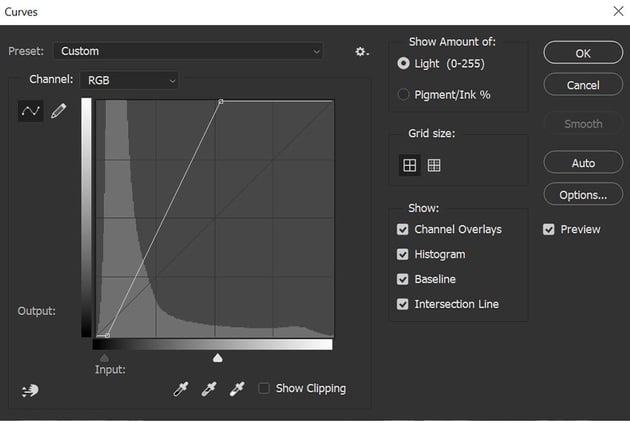
Once again, set the new glass texture to Screen and use Curve and Hue/Saturation adjustments to adjust the look of the glass.
To make the glass appear more solid, I lifted the lights using Image > Adjustment > Curves. You can see the settings below. These settings will change depending on the glass texture you use and the effect you want.


Step 3
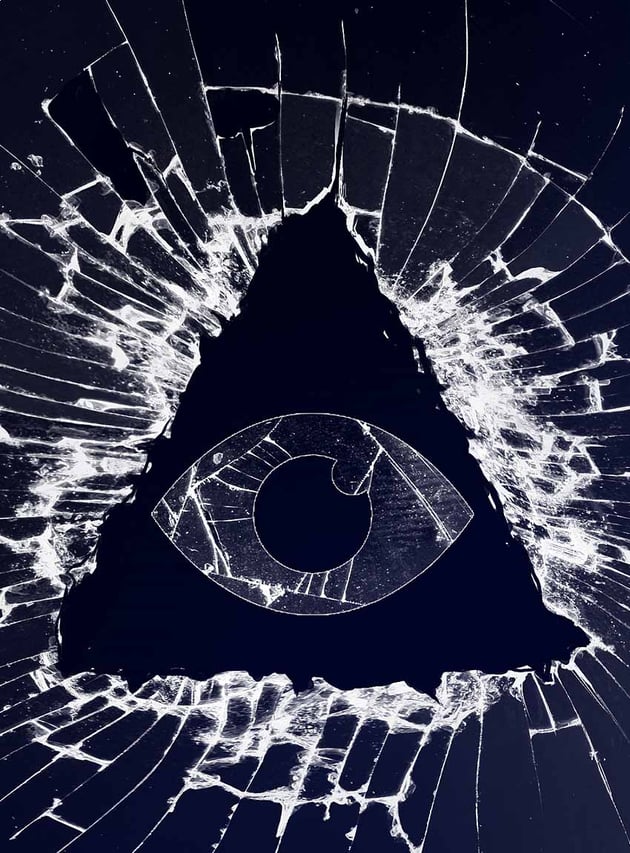
Now, create a Layer Mask in the shape of your design by holding Control/Command and clicking your design to create a selection of it. Add a Layer Mask to the glass texture. The mask will be in the shape of your design.


Step 4
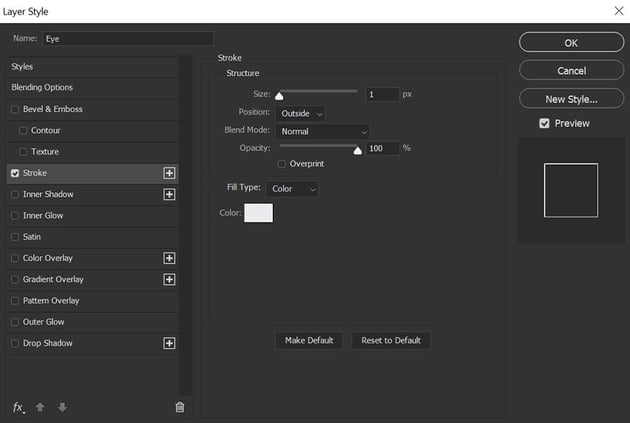
Create a new Group named “Design” and bring your shape design into it.
Add a Stroke layer effect to the group using the settings below.


Step 5
Add a Layer Mask to the “Design” group.
Use a small hard Brush set to black to mask away cracks, edges, and broken bits of glass in your design.
We’re using a group with a layer mask to protect the original shape design. This way, if we want to mask part of the cracked glass back in, or redo the mask completely, we won’t have to worry about the original shape.

Step 6
Clip and New Layer into the “Design” group, setting it to Soft Light. Use a hard round Brush to paint white highlights on the edges of the glass.
Step 7
Repeat the above step with a New Layer set to Normal.

Step 8
Now for an easy way to learn how to draw broken glass: create a New Layer below the “Design” group. Use this layer to paint hard, solid, white bits of glass and shards around the design. Use very small white marks, points, and edges.
Again, don’t overthink this step. You want the white lines to be messy, sharp, and jagged so that they look like small bits of glass. You can also add a Filter > Sharpen if they look too soft.

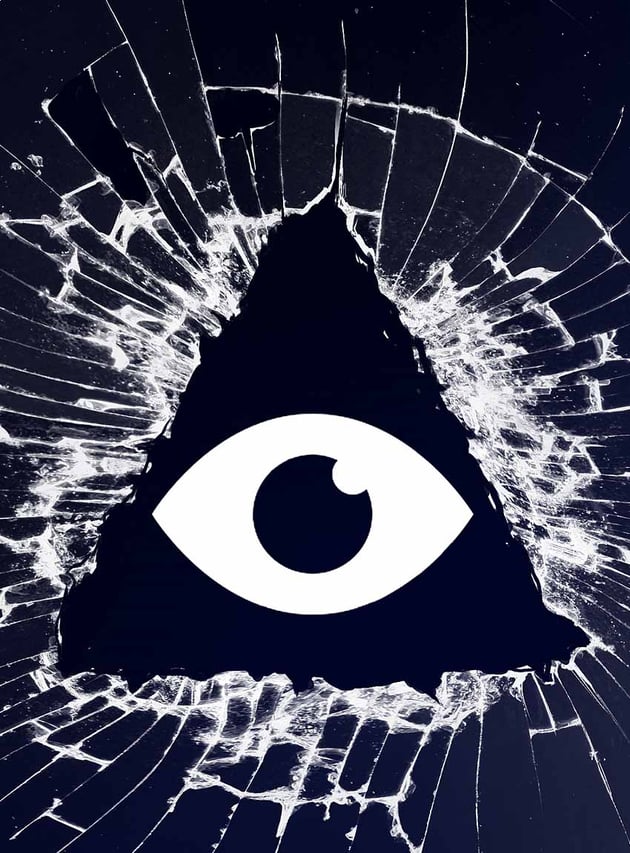
3. How to create glass shards in Photoshop
Step 1
Place another copy of a glass texture onto your canvas, setting it to Screen.
Adjust the glass’s clarity using Curves as you see fit.

Step 2
Add a Layer Mask to the glass texture, filling it with black, which will temporarily hide it. Use a hard round Brush set to black to mask in parts of the glass shards.

Step 3
Create and Clip a New Layer into the glass texture, and paint harsh white on the edges of the shards.
Do not make the white look too solid or perfect. You can also skip some of the glass to give it more dimension.

Step 4
You can either repeat the above step several times, masking new glass shards every time, or Copy and Paste the original shards and place them around the canvas.
If you use the copy and paste method, make sure to flip, rotate, and resize the shards of glass using the Transform controls so that they do not look repetitive.

4. How to create a shattered glass text effect in Photoshop
Step 1
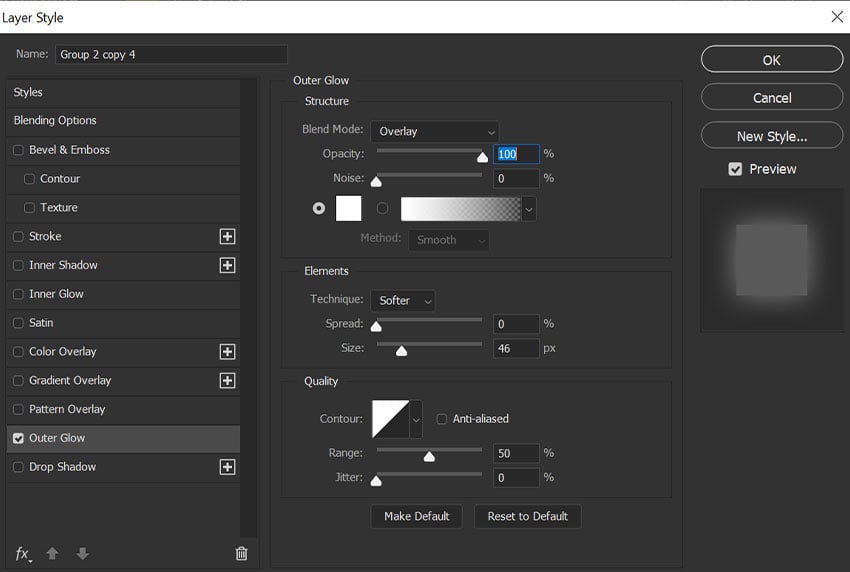
Type or paste in your text graphic. Add an Outer Glow layer style with the below settings.

Step 2
For the text effect, we’ll start by using the Magnetic Lasso tool to grab a selection of each piece of glass in which our text will appear.
Here is the selection of my first piece of glass.

Step 3
Next, create a Solid Color fill layer, set to any color, under your background glass texture.
The Solid Color layer will automatically be created with a Layer Mask in the shape of the selection.
The color is only there to help you see the shape.


Step 4
Repeat the above step, creating a different colored shape for each individual piece of glass your text will be appearing in.


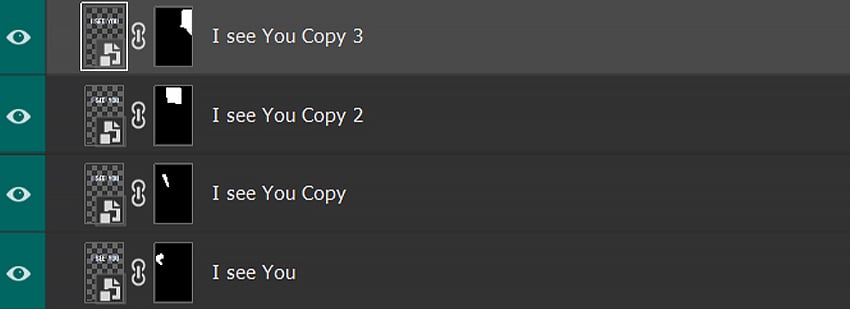
Step 5
Duplicate your text once for every piece of glass.
Drag and drop the layer masks from the Solid Color layers onto the text layers. Each mask should correspond with the part of the text that overlaps the shape. The text will look unchanged.
Hide the Solid Color fill layers once done. Below is what your text layers will look like.
Step 6
Click the Link icon between the layer icon and Layer Mask. This will Unlink the layer from its mask, making them move independently.
Move each piece of text around, making them look offset and unaligned with the other parts of the text.
You can also try resizing parts of the text for a magnify effect.
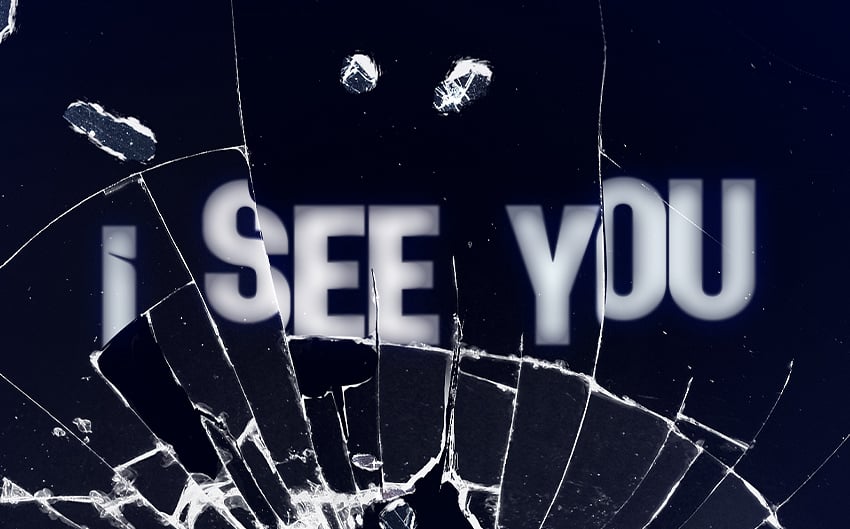


That’s how to create a broken glass effect in Photoshop
That’s how to create a broken glass effect in Photoshop! Now you can create a striking broken glass effect on any shape, logo, or text. Try experimenting with different designs and backgrounds to make even more complex visuals. You can take this effect a long way, so really go for it!

Want to learn more? Try one of these other Photoshop tutorials: