Advanced Photoshop compositing techniques
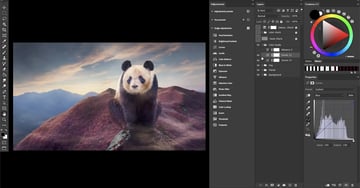
Now that you’ve learn a number of photo manipulation and composition skills in the previous tutorials of this course, let’s use these four main components to practice some advanced Photoshop compositing techniques:
- a landscape
- a panda
- a group of fog layers
- a color grade
This isn’t a step-by-step process, but instead, you’ll just be adjusting as you go, using layer checks to help you make creative decisions.
Download course files from Envato
Step 1
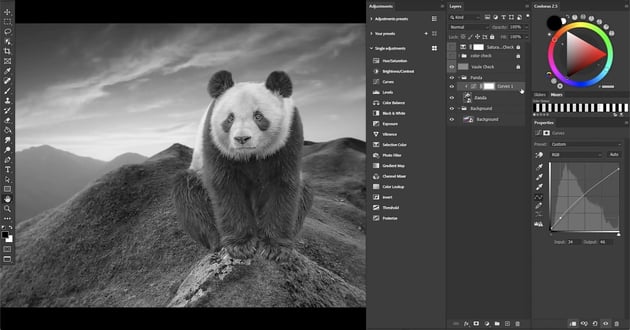
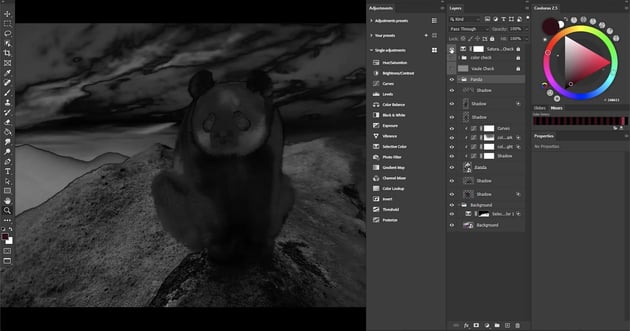
Start with your check layers at the top of your layer stack already made. You will use those layers to help blend your panda into her new environment.
Step 2
Next, turn on your value check layer so you can start working on the shadows. Clip a curves layer into the panda, and adjust the curves so that the base lighting better matches the existing environment. It won’t be perfect, but we just want to get her closer.

Step 3
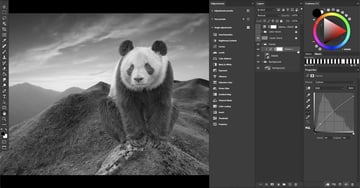
Now, lay down your initial shadows. They don’t have to be final or perfect, just something that will help you connect your panda to the environment so that she’s not just floating there.


Golden rules for painting shadows:
- Grab colors directly from existing shadows using the Color Picker tool. Ideally, use the shadows of the surface you’re painting on. So in this case, you want your shadows to be a darker magenta-like color. Do not use gray or black.
- When painting shadows from scratch, paint on layers set to Multiply. When enhancing existing shadows, try layers like Soft Light or Overlay.
- Use the sandwich technique, where shadow layers are placed both under and over the subject. If needed, you can also clip a layer inside the subject over any of the curve or color adjusting layers. This lets you build your shadows up slowly and adjust the opacity of each layer separately.
- Lower the flow setting of your brush. This will control the amount your brush lays down at once, and it works with both a mouse and a pen tablet. If you’re using a mouse, try going as low as 1-2% to build those shadows up slowly and avoid creating giant, shapeless blobs of color.
- Finally, use Blend If to give your shadows more shape.
Step 4
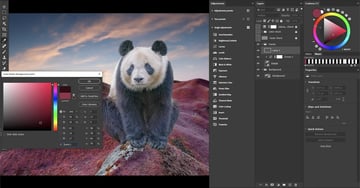
Let’s move on to color adjusting. Turn off your value check layer and flip on the color check layer. From your color check layer, you’ll can see your panda is too blue and green, which doesn’t really match her environment. You want some of the magenta of the background to bounce into the fur, and then her white fur would catch some of that warm light from the sky. So let’s clip a curves layer called ColorLight and add some reds to the highlights and remove the blues. Go into Blend If and use it to remove the layer from the shadows.
Next, do the same thing with a new curves layer called ColorDark. This layer will control the subject’s darker colors, mostly black fur. It’ll be set up just like the light layer, but with the opposite Blend If settings.


This is why check layers are so handy. You really get to key into the exact colors you want, without guessing or being distracted by other things like lighting or saturation. In addition, because you’re working in a non-destructive way, you can change your mind without affecting the quality of your image.
Step 5
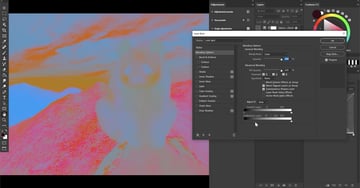
Next, turn on the saturation check layer and use a Vibrance adjustment layer to adjust both the background and the panda, pumping up the panda and bringing down the background. The image may look a bit desaturated now, but don’t worry—it’s better to bring everything to a similar range and then do global adjustments to add more overall saturation at the end.


Step 6
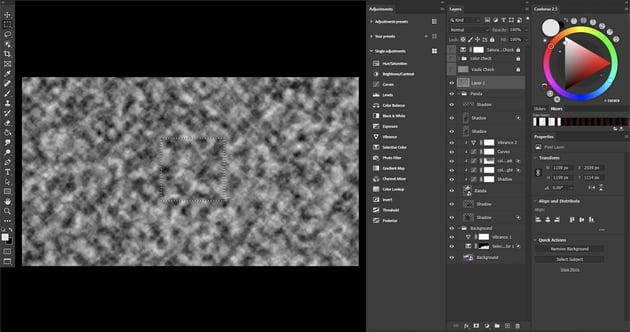
Now, create a new layer so that you can add some fog to the scene. Set your foreground layer to light gray and the background color to black. Go to Filter > Clouds > Render Clouds.
Use the Rectangular Marquee Tool to cut and paste a square of our clouds, and then delete the original. Right-click and Convert to Smart Object. This will allow you to resize and adjust this layer without repeating this step if you need more misty clouds later on.


Set the Layer Mode to Screen and go to Image > Adjustments > Levels to bring down the blacks and adjust the whites. This is going to decide the shape and thickness of your mist, so just settle on whatever looks best to you.

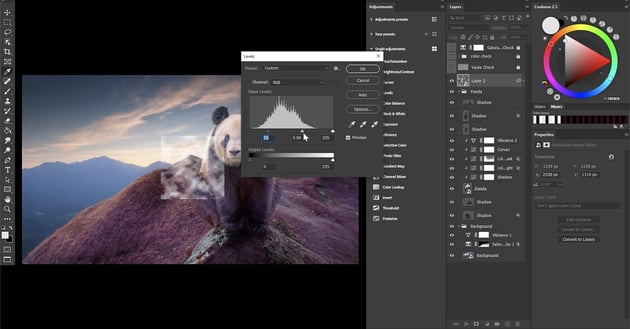

Now add a tinge of orange since our ambient light is also orange by going to Image > Adjustment > Hue > Saturation.


From here, you can increase, squash, and mask the misty fog to go around our panda’s feet. We’ll add some in the air as well, and some coming from the panda’s mouth for a “cold breath” effect. To finish up, let’s add a new layer behind our panda and do a big swipe of soft white, bringing it down to 25% for some atmospheric haze.


Step 7
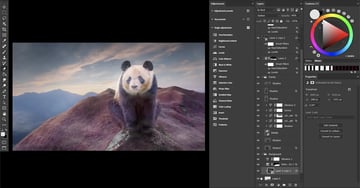
Now the image may be looking a bit flat. This is where a color grade comes to the rescue. A color grade is a set of layers at the top of your layer stack that acts as a global adjustment, adjusting the contrast, color, and saturation.
Add a new Curves layer and create an s-curve, which will add an instant boost of contrast. It’s way better than a standard contrast layer because you can further adjust that curve to fine-tune the contrast, adding new points if you need to.


Next, add a second Curves layer, and bring down the blues and the highlights. This will bring more warmth to the lighter values, giving us a lovely morning sun feel. And finally, add a Vibrance layer to bump up the saturation. Group all of these layers together.


Step 8
If you need to fix any part of your image, you can either leave this group turned on or turn it off. If you turn it off, you can make your adjustments and then flick it back on. The advantage of leaving it on is that you don’t have to keep readjusting the color grade when you make changes to the image.
These three check layers are the perfect guide to blending almost anything with almost everything. You can even turn each one of the check layers into an action or preset so you can easily create them right at the start of your Photoshop composite.