In this short tutorial, you’ll learn how to add finishing touches to your photo manipulation Photoshop project to create a cohesive look.
If you prefer video tutorials, check out the complete Photo Manipulation for Beginners course from the Envato Tuts+ YouTube channel, and if you want to master other Photoshop techniques, check out these great How to Use Photoshop tutorials.
You’ll find all the Photoshop resources you need at Envato, as well as other photo manipulation course topics like:
Global adjustments in Photoshop
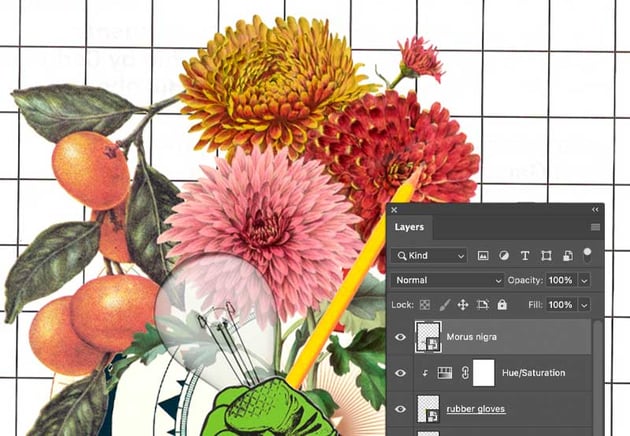
When you want to create a consistent look in a project that you’ve been working on in sections, creating a global adjustments Photoshop layer at the top is the way to go.
Selective color in Photoshop
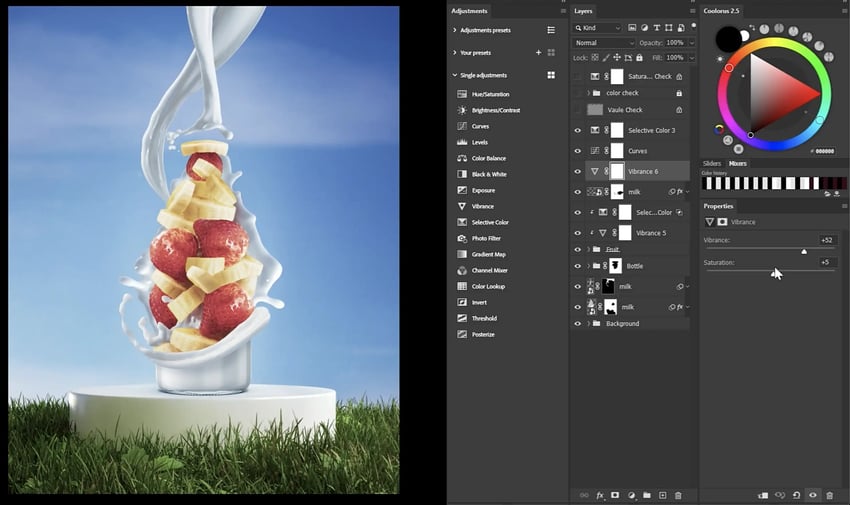
An excellent option for making global adjustments is a Selective Color Photoshop layer. This lets us fine-tune the image’s different colors and adjust their values.
Step 1
In this example, you can make the sky a slightly better shade of blue, make the grass a bit greener, and refine the reds of the strawberries further.

Step 2
You can also adjust the color of the image’s global highlights, midtones, and shadows.
Step 3
Curves and color lookup layers are other fantastic global adjustments you can place at the top of your canvas. This method can yield some very dramatic or even cinematic color grades.
Discover more Photoshop resources and tutorials
In this quick tutorial, we covered how to add global adjustments to create a consistent look in your project. To learn more about Photoshop and how to edit like a pro or to find tutorials on techniques like how to manipulate a photo in Photoshop, head over to Envato Tuts+ and the Envato blog. And for premium digital resources to cover all your creative needs, be sure to visit Envato.
Here are some great resources to get you started:
