Today I am going to share with you that how to create an electronic speaker in Photoshop. You try this tutorial in Photoshop for enhance your skills with these new tricks and techniques. I hope you will create this tutorial on first priority. Feel free and share your comments with us.
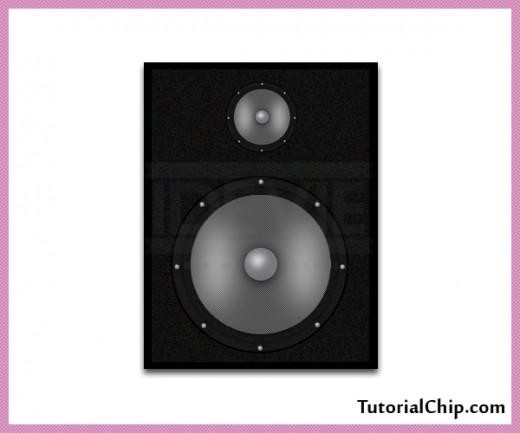
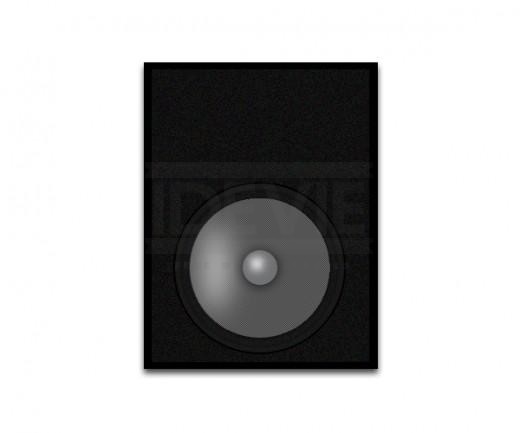
Create an Electronic Speaker in Photoshop – Final Preview
Tools and Resources
Step 1
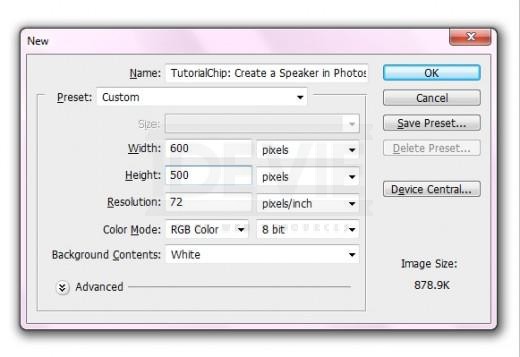
Create a new document size of (600×500) with white color #ffffff.
Step 2
Create New Document
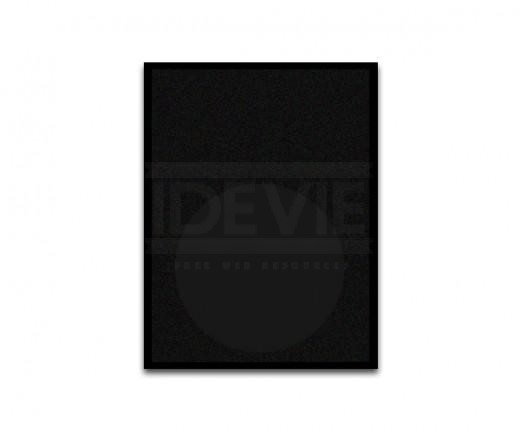
Select the Rectangle Tool from tool panel and draw a rectangle with black color #000000.
Select the Rectangle Tool from tool panel and draw a rectangle with black color #000000.

Step 3
Create a Rectangle
Duplicate this rectangle layer and go to Edit -> Transform minimize size of duplicate rectangle adjust it with this color #2e302f as like in preview.
Duplicate this rectangle layer and go to Edit -> Transform minimize size of duplicate rectangle adjust it with this color #2e302f as like in preview.

Duplicate The Rectangle
Go to Filter -> Noise -> Add Noise set the amount to 5.5%.
Go to Filter -> Noise -> Add Noise set the amount to 5.5%.
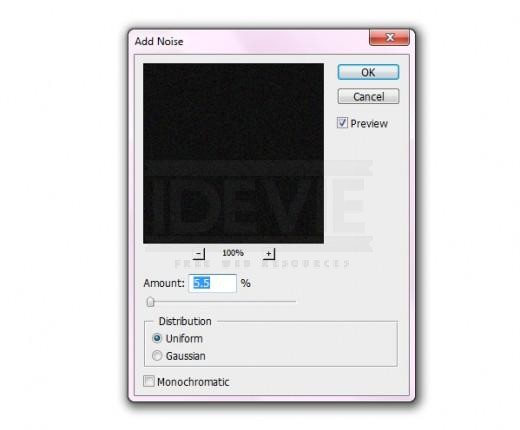
Add Noise
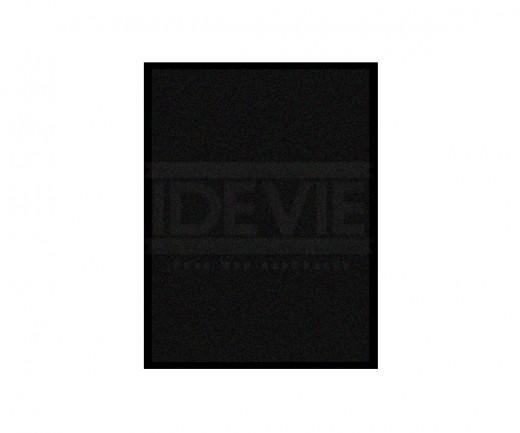
After applying noise, we get amazing effect.
After applying noise, we get amazing effect.
Step 4
2nd Rectangle Result
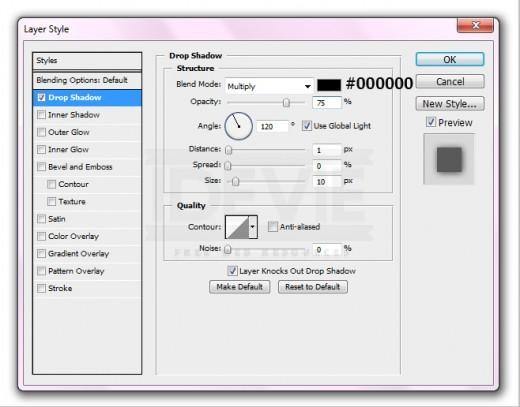
Select the first background rectangle layer and apply Drop shadow.
Select the first background rectangle layer and apply Drop shadow.
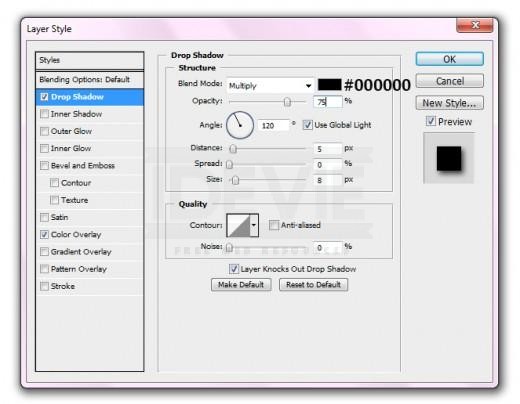
Drop Shadow
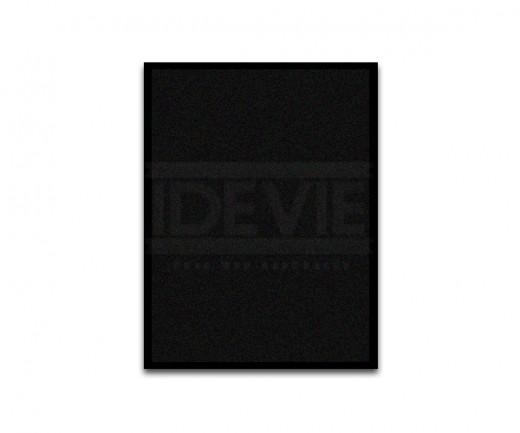
After applying drop shadow, we get a cool result.
After applying drop shadow, we get a cool result.
Step 5
Get Result
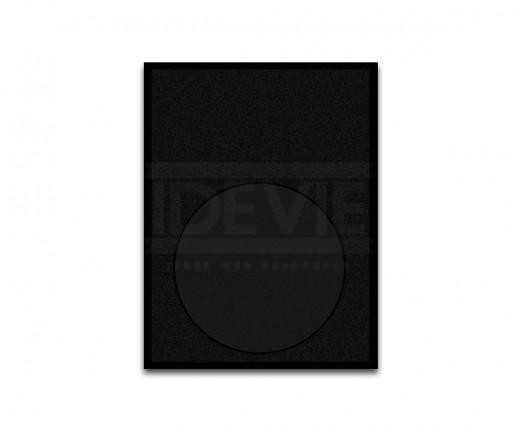
Select the Ellipse Tool and draw a circle with color #151319.
Create a Circle
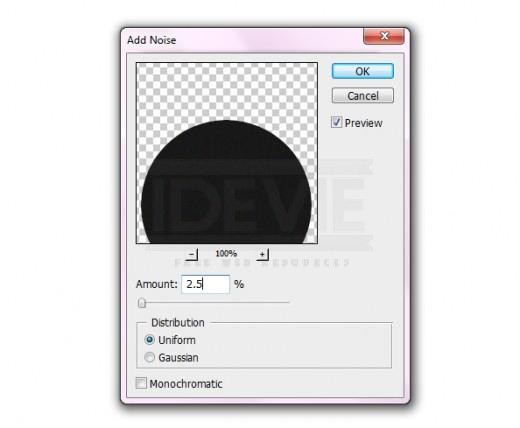
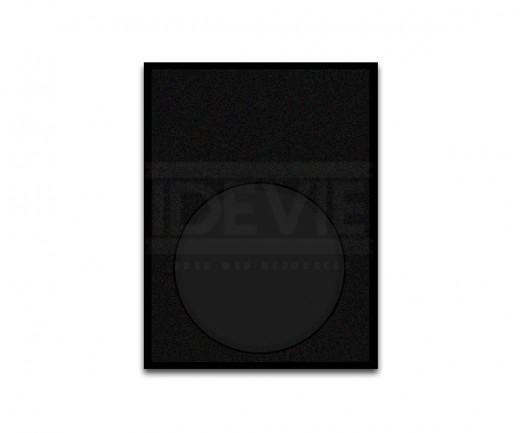
Go to Filter -> Noise -> Add Noise and set amount 2.5%.
Go to Filter -> Noise -> Add Noise and set amount 2.5%.
Add Circle Noise
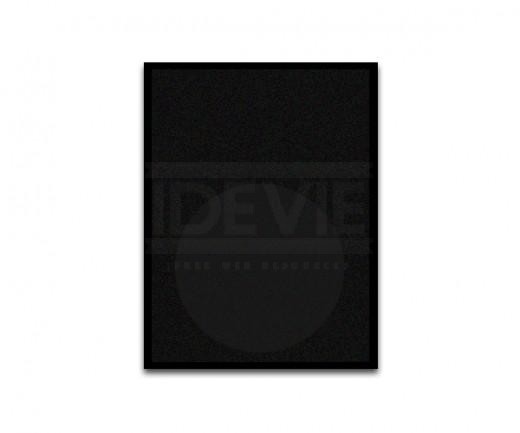
After add circle noise
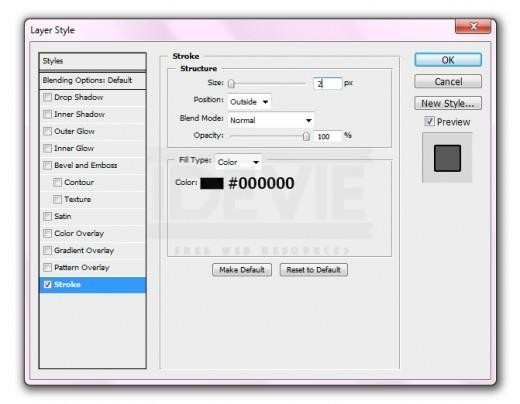
Now go to Layer -> Layer Style and applying Stroke.
Now go to Layer -> Layer Style and applying Stroke.
Stroke
Step 6
After Appying Stroke
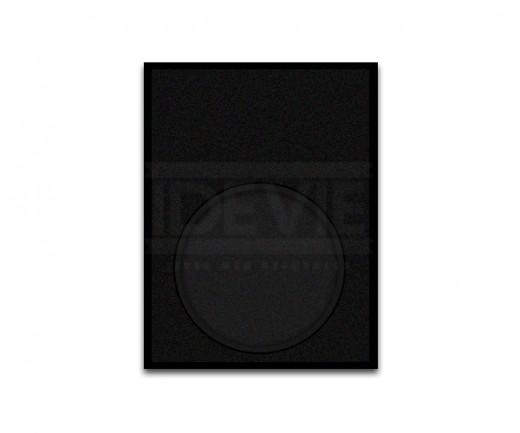
Now select the Ellipse Tool again and draw a circle with color #1c1c1c as like in picture.
Draw Circle
Go to Filter -> Noise -> Add Noise and set amount 4.5%.
Go to Filter -> Noise -> Add Noise and set amount 4.5%.
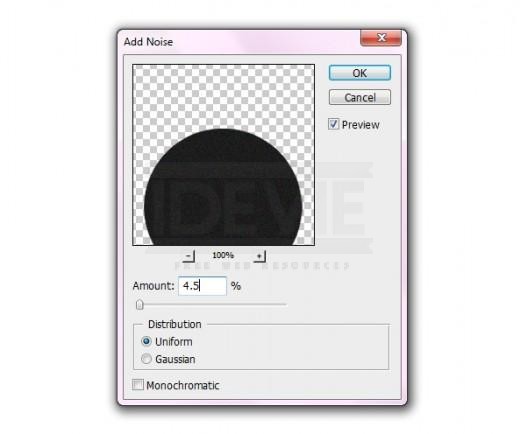
Apply Noice 2nd Circle
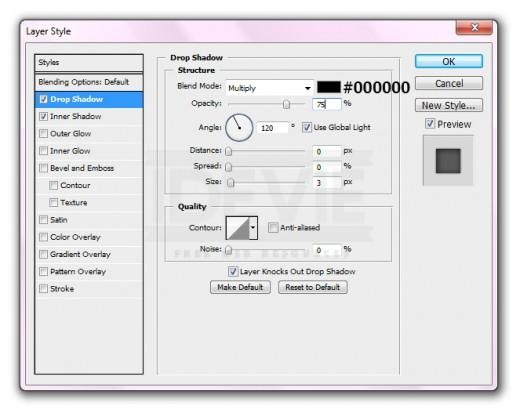
Applying some blending options to the second circle.
Applying some blending options to the second circle.
Drop Shadow
Drop Shadow
Inner Shadow
Inner Shadow
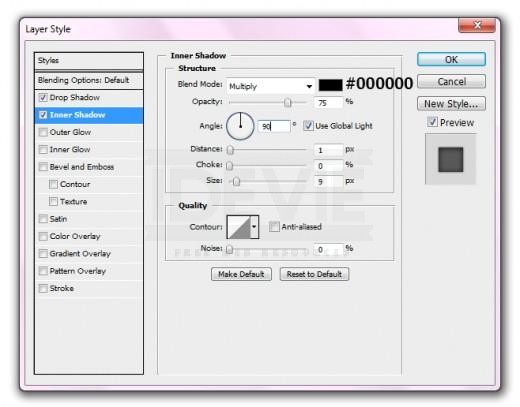
Inner Shadow
After applying blending options we get nice result.
After applying blending options we get nice result.
Step 7
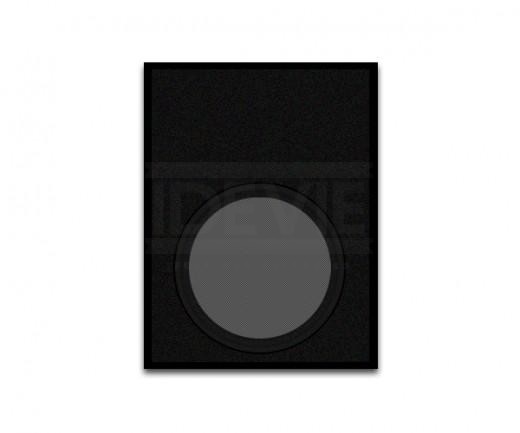
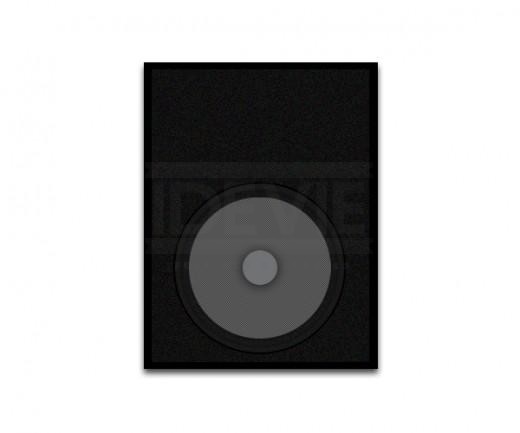
Select the Ellipse Tool and draw a third circle with this color #bbbfc5.
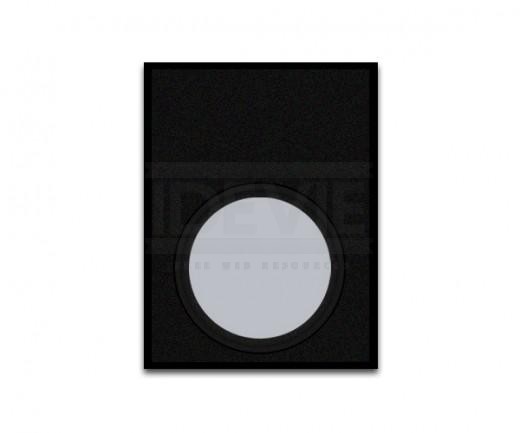
Create 3rd Circle
Go to Blending Options and applying some effects on third circle.
Go to Blending Options and applying some effects on third circle.
Drop Shadow
Drop Shadow
Pattern Overlay
Pattern Overlay
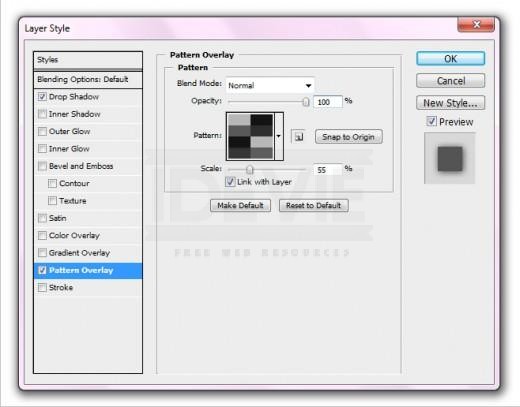
Pattern Overlay
Now we get a new style circle in preview.
Now we get a new style circle in preview.
Step 8
Get New Style Circle
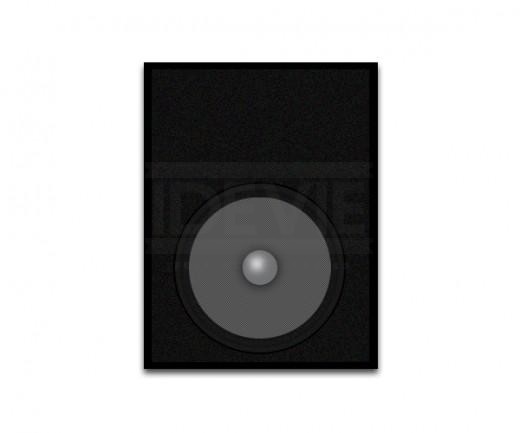
Again select Ellipse Tool and draw a small circle with this color #717275 named it small circle.
Again select Ellipse Tool and draw a small circle with this color #717275 named it small circle.
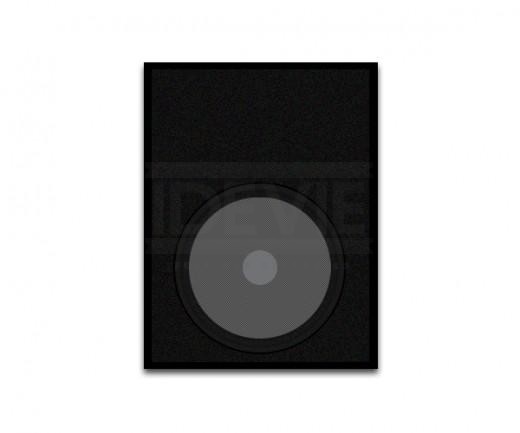
Create Small Circle
Go to Layer -> Layer Style and applying some effects.
Drop Shadow
Go to Layer -> Layer Style and applying some effects.
Drop Shadow
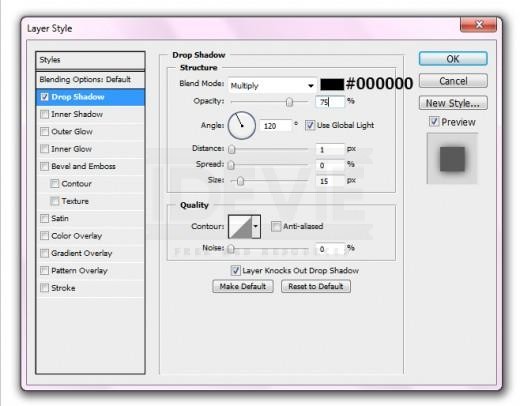
Drop Shadow
Step 9
Drop Shadow Result
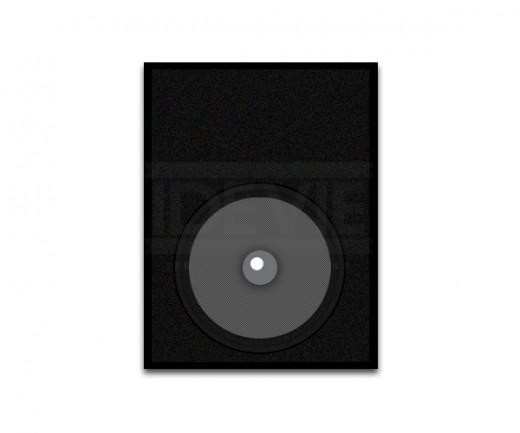
Draw a little circle with Ellipse Tool, applying white color #ffffff.
Draw a little circle with Ellipse Tool, applying white color #ffffff.
Create Small Circle
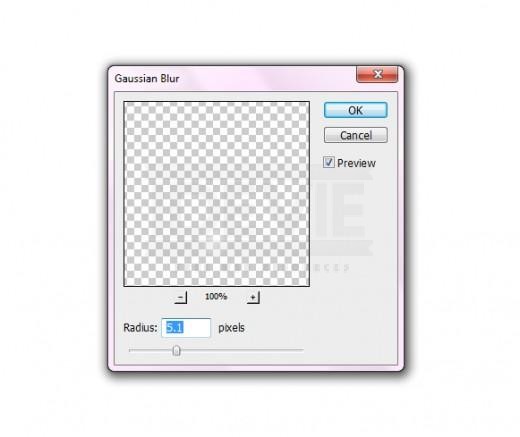
Now go to Filter -> Blur -> Gaussian blur and set radius 5.1%.
Now go to Filter -> Blur -> Gaussian blur and set radius 5.1%.

Guassian Blur
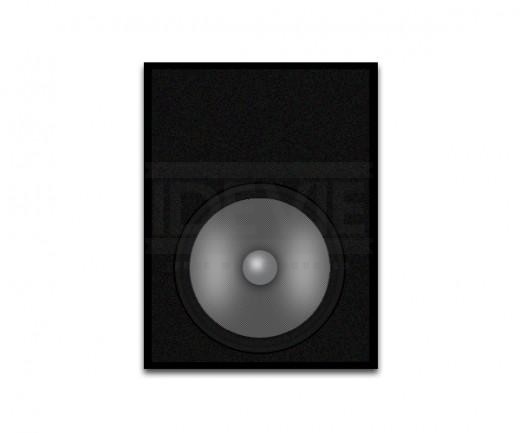
We get a nice glass effect.
We get a nice glass effect.
Step 10
Get Glass Effect
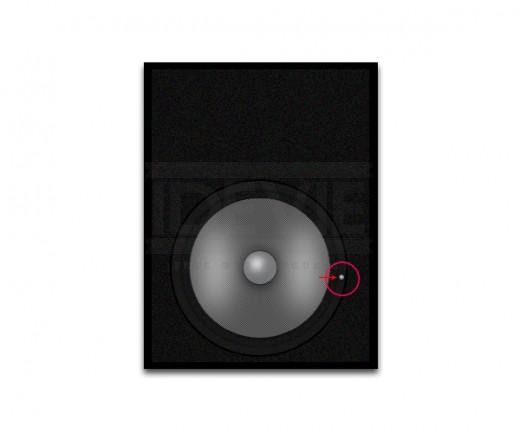
Now select Ellipse tool and draw a shape with white color #ffffff as like shown in preview.
Now select Ellipse tool and draw a shape with white color #ffffff as like shown in preview.

Create a Shape
Applying Gaussian Blur filter on this shape.
Applying Gaussian Blur filter on this shape.
Guassian Blur
When we applying Gaussian blur we get result as like in preview.
When we applying Gaussian blur we get result as like in preview.
Get Result
Duplicate the shape layer and set it right side as like in preview.
Duplicate the shape layer and set it right side as like in preview.
Step 11
Duplicate Shape Result
Select the both small circle layers, press (Ctrl+E) to merge them then duplicate it merge layer and go to Edit -> Transform and minimize the size of duplicate layer and adjust it as like in preview.
Select the both small circle layers, press (Ctrl+E) to merge them then duplicate it merge layer and go to Edit -> Transform and minimize the size of duplicate layer and adjust it as like in preview.
Small Dot Circle
Now duplicate the small dot layer seven more times and adjust them as like shown in picture.
Now duplicate the small dot layer seven more times and adjust them as like shown in picture.
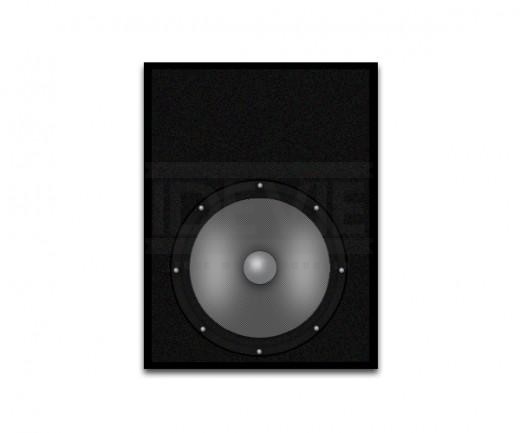
Step 12
Duplicate Small Dot
Now in this final step select all the circle layers and press (Ctrl+E) to merge them named it layer speaker, duplicate the speaker layer, minimize the size of duplicate layer with help of Transform tool (Ctrl+T) and adjust it top of the big circle as like in final preview.
Now in this final step select all the circle layers and press (Ctrl+E) to merge them named it layer speaker, duplicate the speaker layer, minimize the size of duplicate layer with help of Transform tool (Ctrl+T) and adjust it top of the big circle as like in final preview.
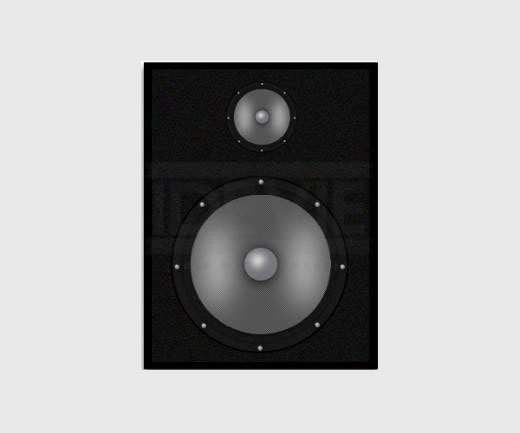
Final Preview