There are several ways to do add light and shadow to your images, and in this tutorial we’ll focus on two easy methods.
Method 1: Photoshop layer modes
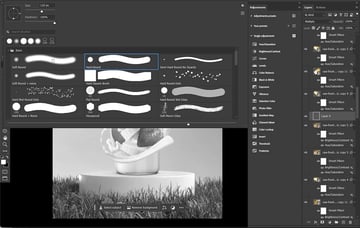
You can use Photoshop layer modes to add fast shadows to the fruit in our example image with just a default round brush.


Step 1
Turn on the value check layer, and then create a new layer below some of the banana slices, setting the Photoshop Layer Mode to Multiply. Multiply is an excellent choice for creating shadows.
Step 2
Bring the Opacity down to 30%, and feel free to play with that number.
Step 3
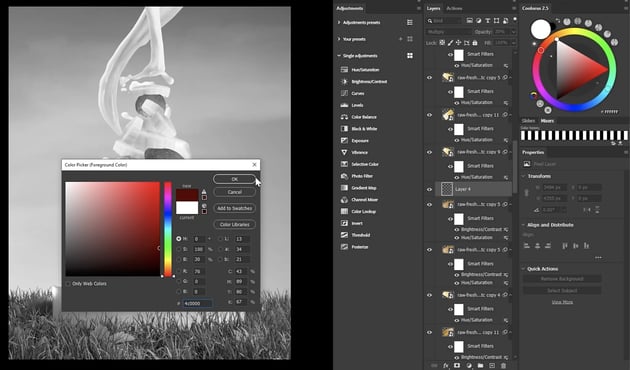
Since the bananas are pale and the strawberries bright red, the bananas will catch some of that red color. It’s going to be a bounce light. So choose a deep shade of red for the brush color, and then darken the inner areas of the pile of fruit. Rather than trying to paint the perfect shadow in one go, you can be sloppy with the painting and then refine the shape using the Eraser brush.


Step 4
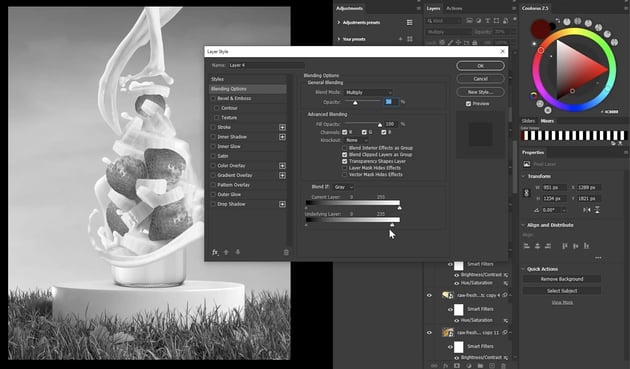
However, a great way to clean up shadows is by using Blend If in Photoshop. Double-click the shadow layer and focus on the bottom slider. This will blend the layer based on the values of the layers below it. In this case, you want to remove the shadow from the highest of highlights.


Step 5
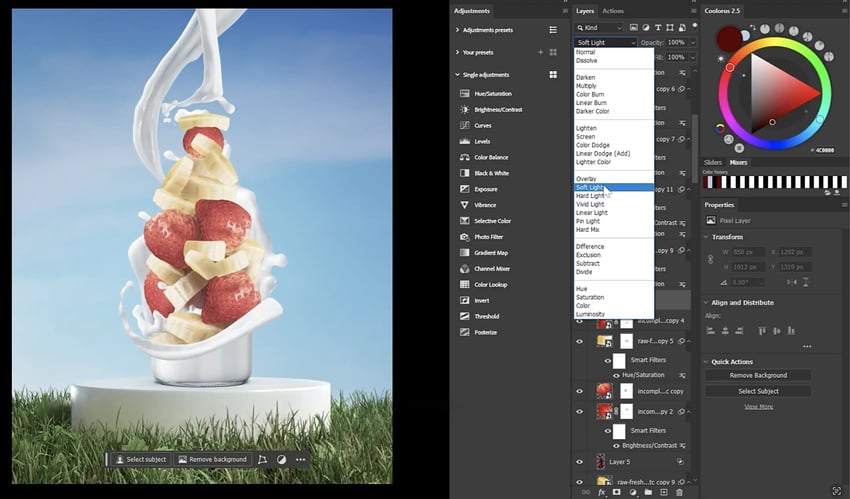
With that done, duplicate this layer and set it to Soft Light just to make the shadow a bit more intense. You can make as many of these soft light and multiply layers as you need. Multiply is a great layer mode for making shadows, and Soft Light is an excellent layer mode for intensifying existing shadows.
Method 2: Clipped adjustment layer in Photoshop
Step 1
With that all done, we can do the same thing, but using clipped layers. Create a new Soft Light layer above one of our strawberries. Hold Alt and click to clip the new layer into the strawberry.
We want to use a dark red to darken the shadowy areas and a light blue to paint just a bit of light. When painting highlights, white highlights will add a gray tint to your image sometimes, so it’s better to use the color of the ambient light rather than flat white.


Step 2
I suggest always using smart objects and adjustment layers to begin with because you will need to go back and adjust all the adjustment layers you worked on in earlier sections of this tutorial. You’re not just adding shadows to the fruit. We can clip layers into the bottle and milk splashes as well.
Step 3
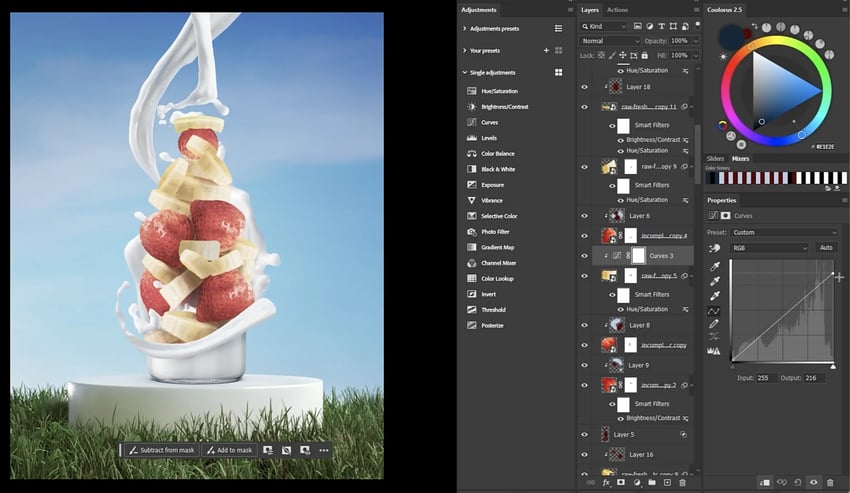
While layer modes are great for creating and adjusting light and shadow, Photoshop adjustment layers are just as powerful. Some of these bananas have an intense highlight that does not make sense for where they’re located, so you need to create and clip a Curves adjustment layer into one of the slices and bring down the highlights.


Step 4
Now go into the Blue channel and bring the shadows inward. The opposite of blue is yellow, which will bring yellow back into those darkened highlights. But we only want to affect the highest of highlights. And when we want to pinpoint a layer based on values, we use Blend If in Photoshop.
Step 5
We’re going to remove this layer from the dark and mid-tones, targeting only the highlights. We can lower the opacity if we need to bring back some of the highlights as well. We can then copy and use this layer on any slice of banana that’s slightly too bright for its location.
Now you have all the tools you need to keep tweaking your image.