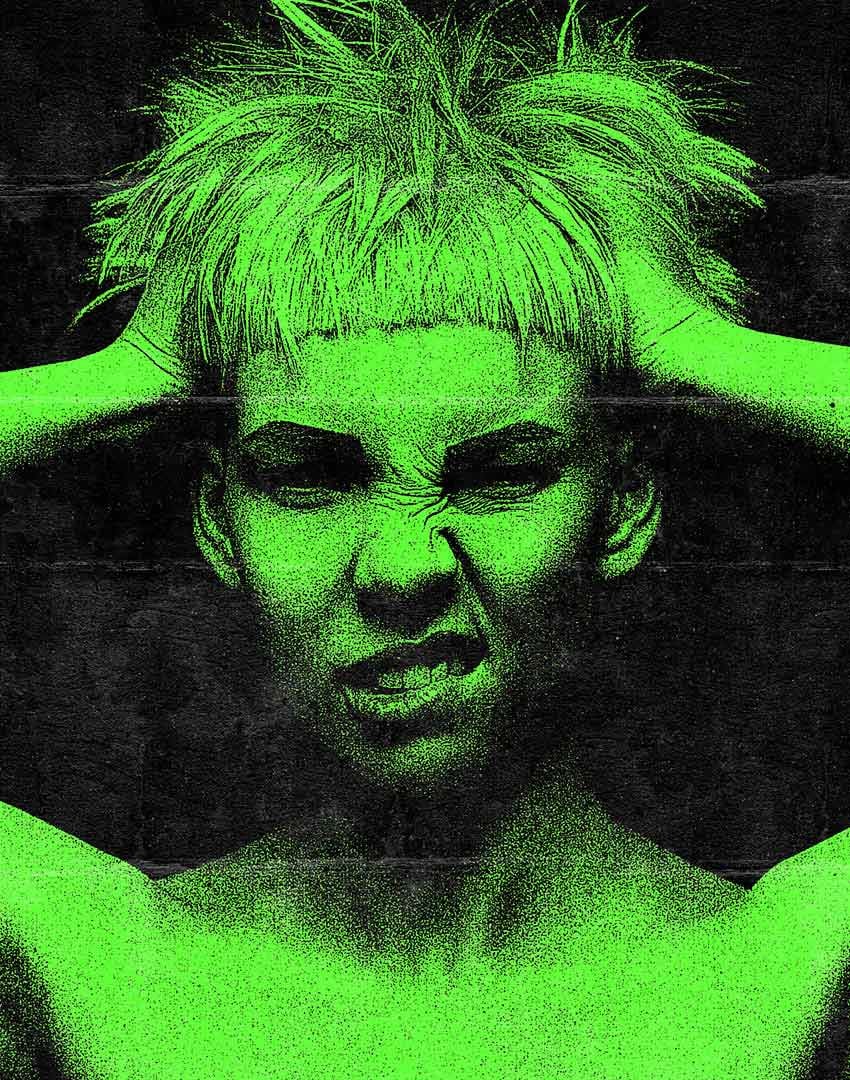
Today we’ll look at how to create a photocopy effect in Photoshop. This effect can be created in just a few steps and is completely non-destructive. The best part is you can copy it directly onto as many images as you need.
1. How to Create a Photocopy Effect in Photoshop
Step 1
Let’s start learning how to make a black and white photocopy effect in Adobe Photoshop. First, Right-click > Convert to Smart Object. This is optional but will allow us to come back and adjust settings and copy these settings onto other images.
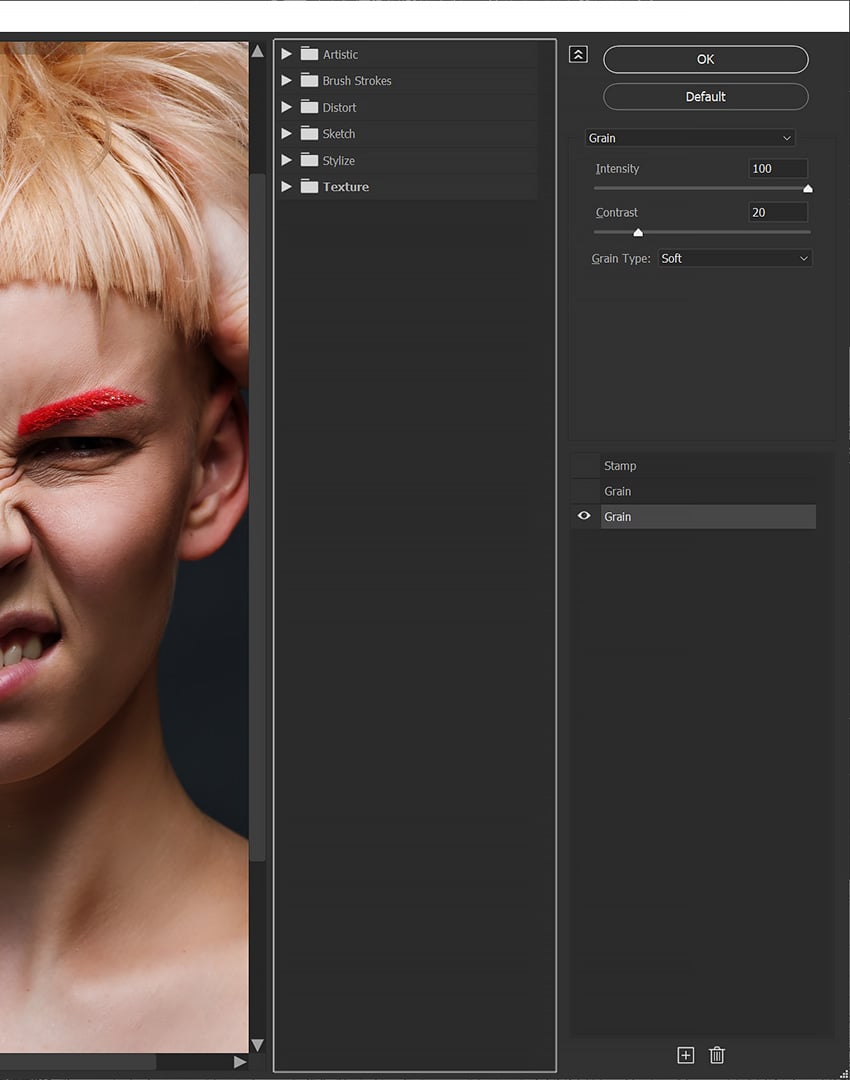
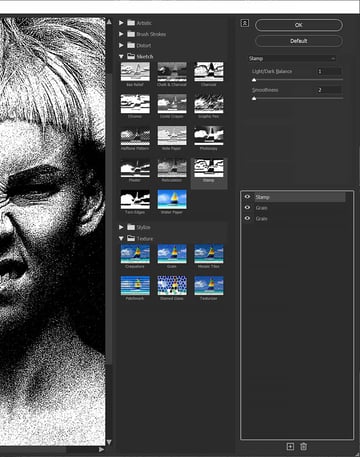
Next, go to Filter > Filter Gallery to open the Filter Gallery panel.
Step 2
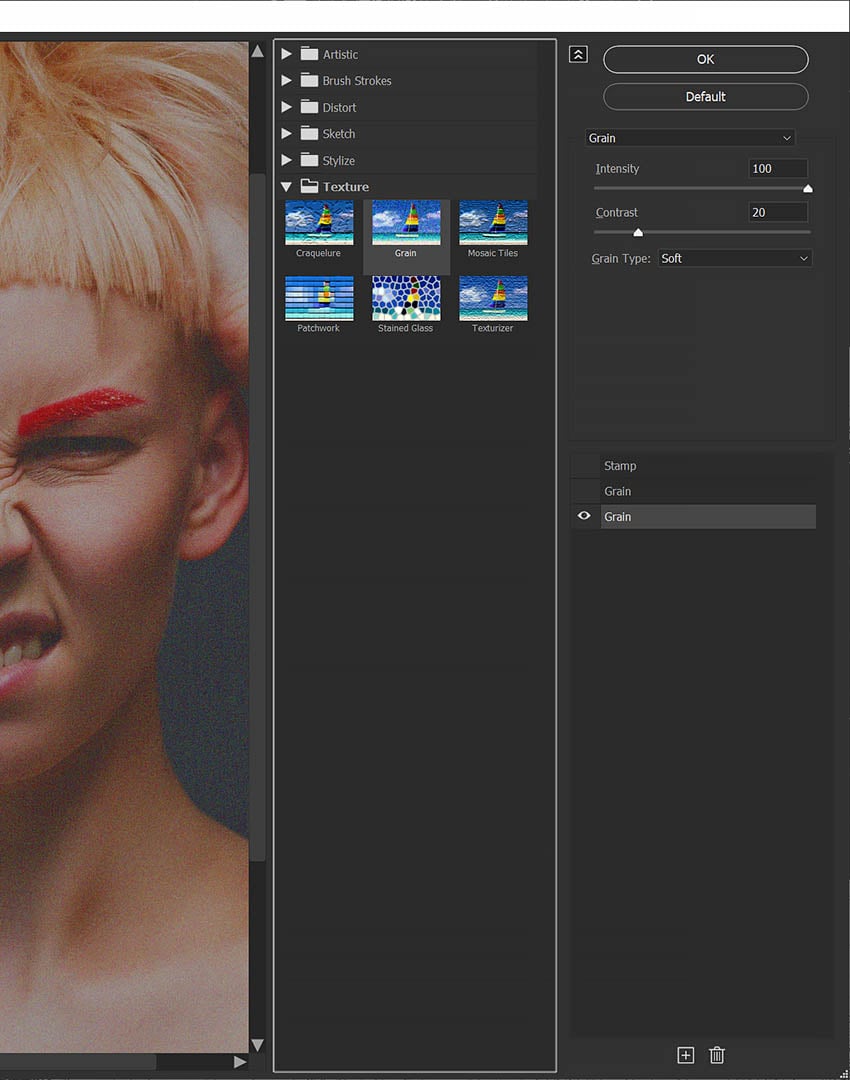
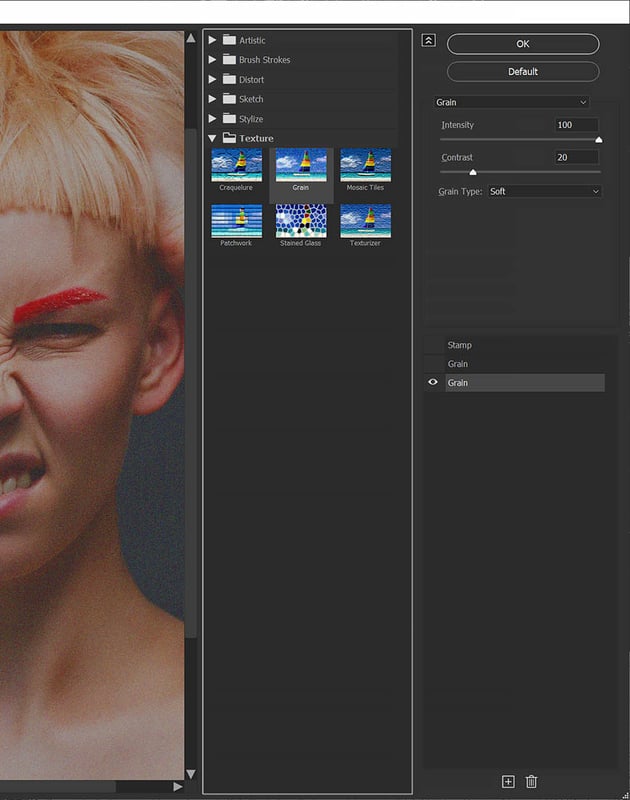
In the Textures folder, choose Grain. Set the Grain to Intensity 100, Contrast 20, and Grain Type Soft.
The filter settings will change from image to image, but this is a good starting point.
Step 3
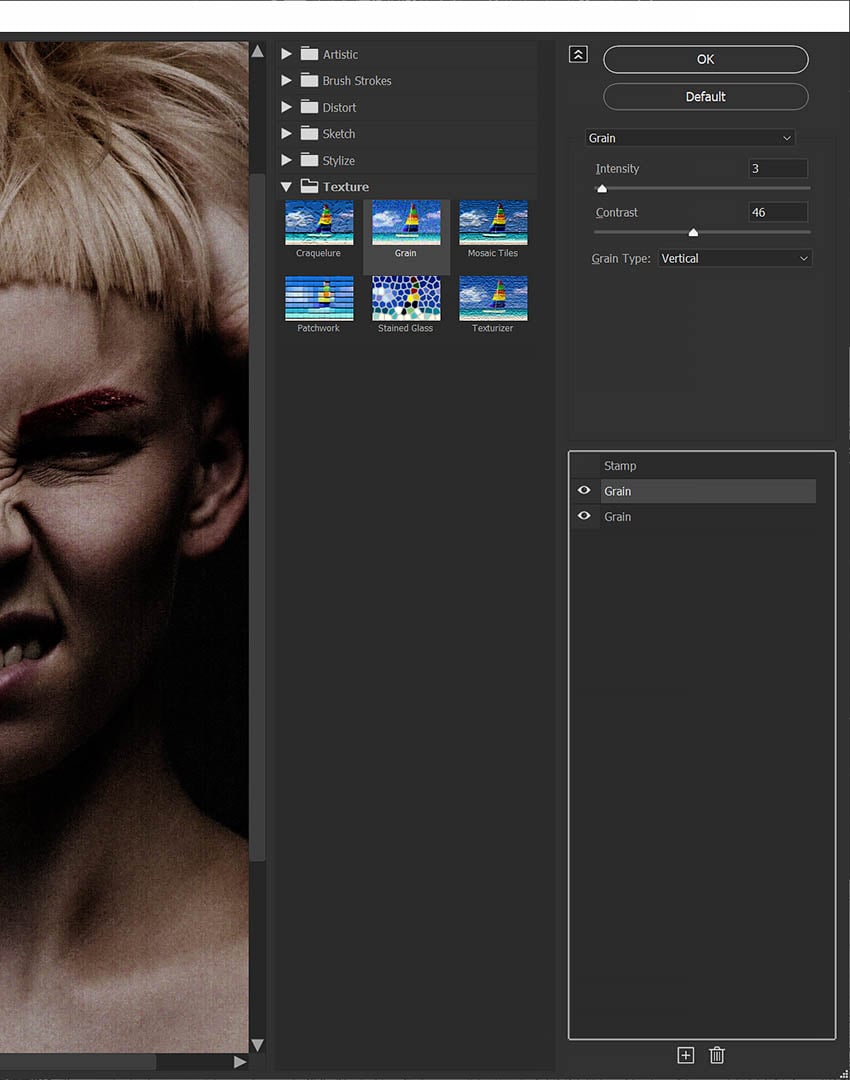
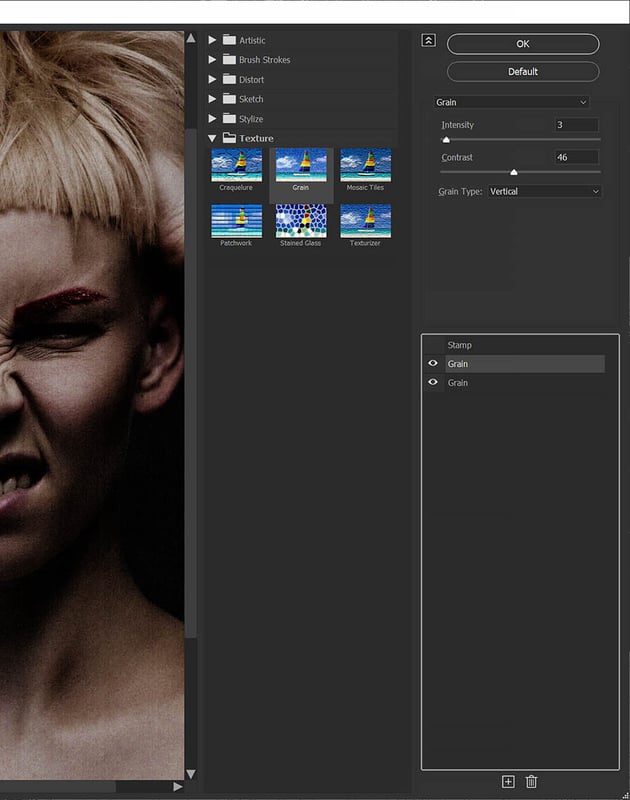
At the bottom of the Filter Gallery, add a new Filter Layer using the icon of a square with a plus sign.
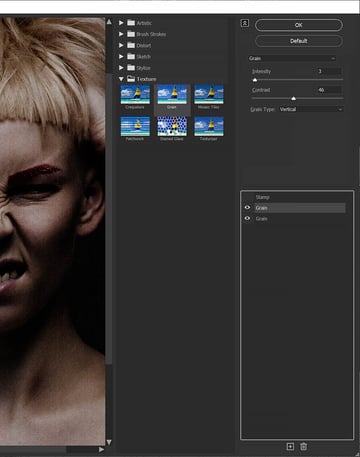
Add a second Grain filter. Set it to Intensity 3, Contrast 45, and Grain Type Vertical.
Step 4
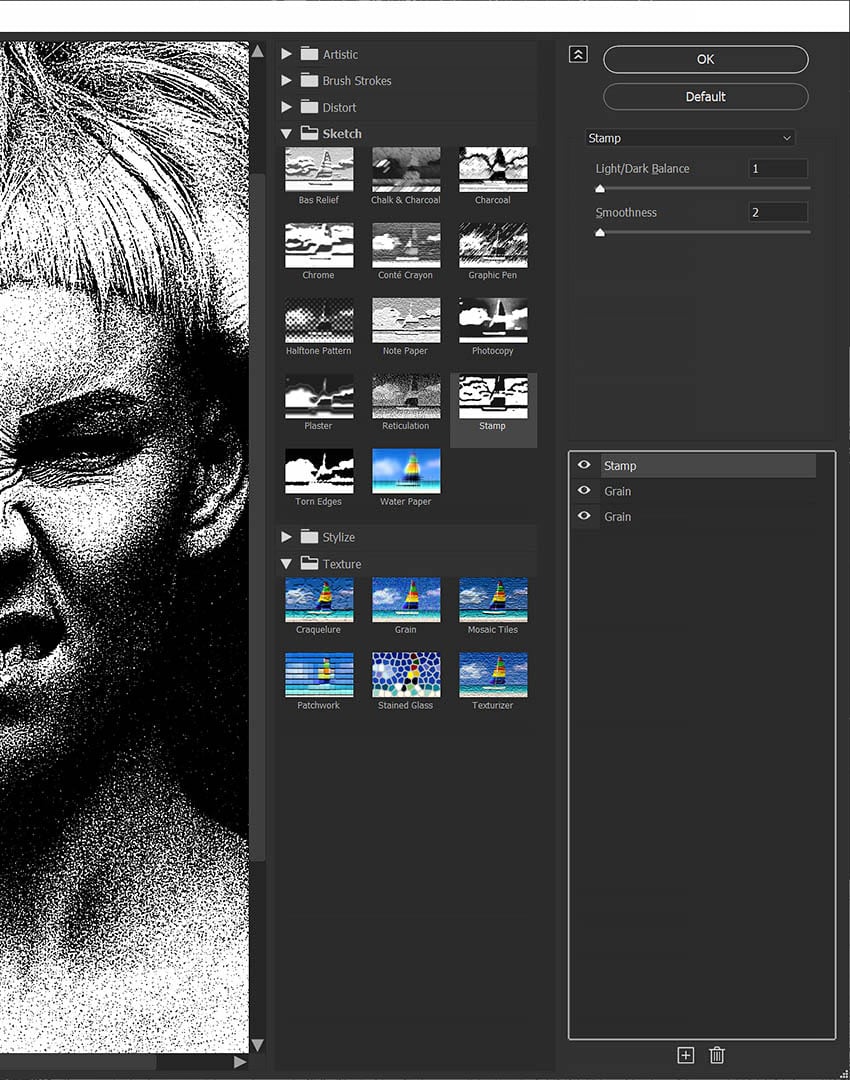
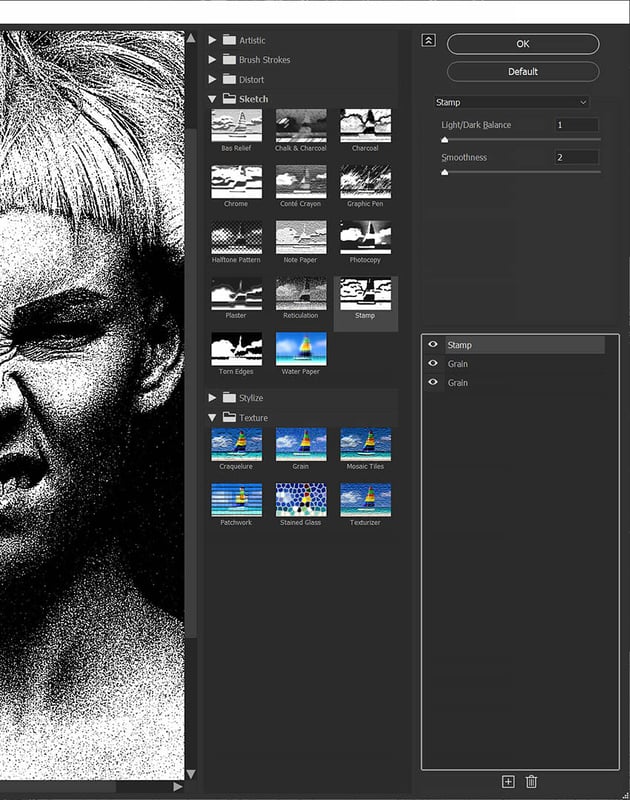
Create another Filter Layer, and add a Sketch > Stamp filter. Set it to Light/Dark Balance 1 and Smoothness 2. Press OK.
Step 5
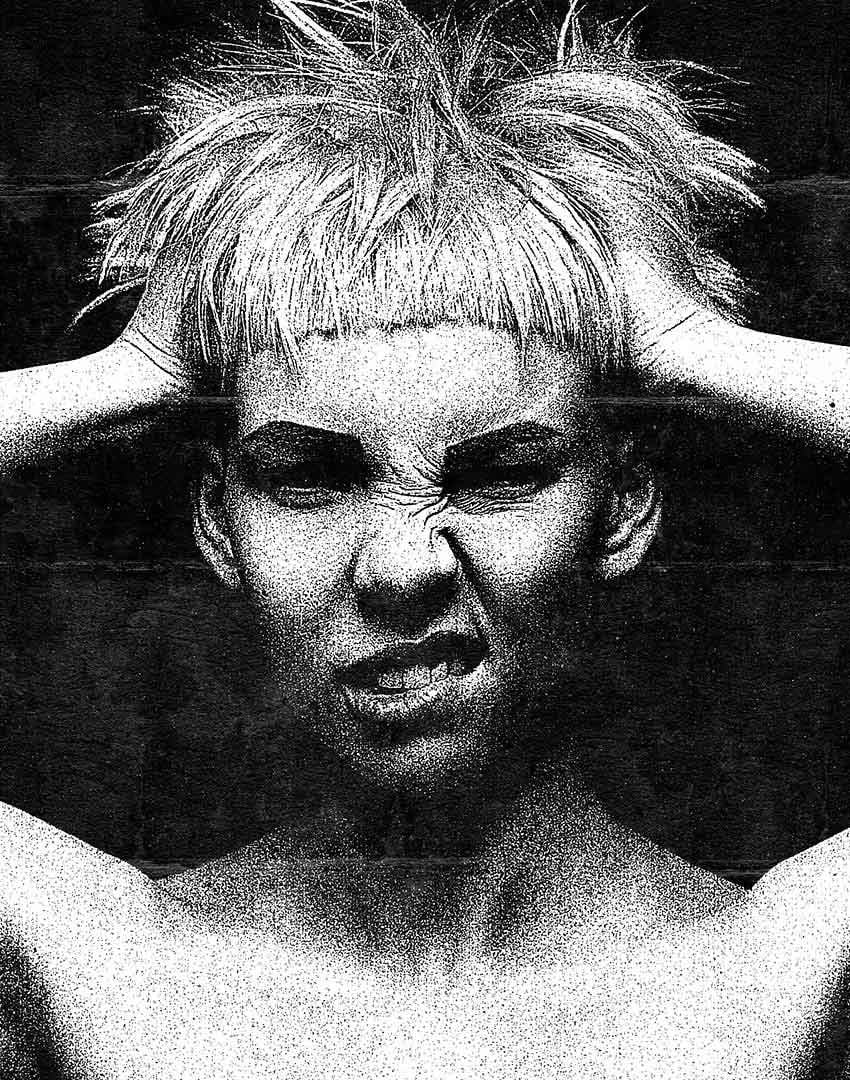
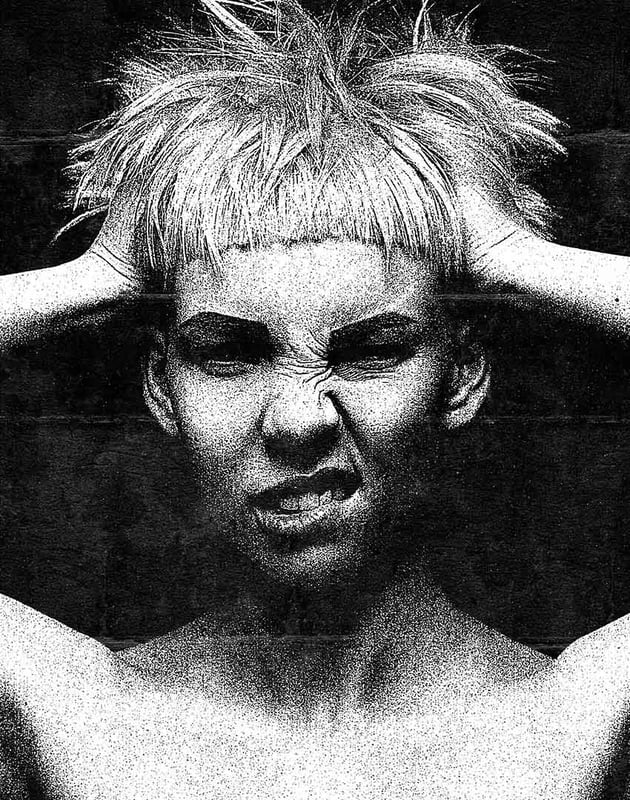
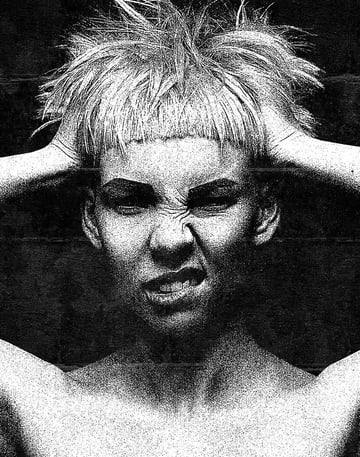
You can add more texture to your image by using photocopy texture Photoshop overlays. I’ll be using textures 05 and 09 from this Grunge Texture Overlay pack.
Set the texture layers to Screen, and lower the Opacity to 50%, or less if you want a subtler effect.
Step 6
To add color, you can create a Color Fill layer above all of your current layers. I’m filling it with a lime green #5dff32 color. Set the layer mode to Darken.
You can also experiment with other layer modes to get different effects.

2. How to Adjust Contrast and Shadows
Step 1
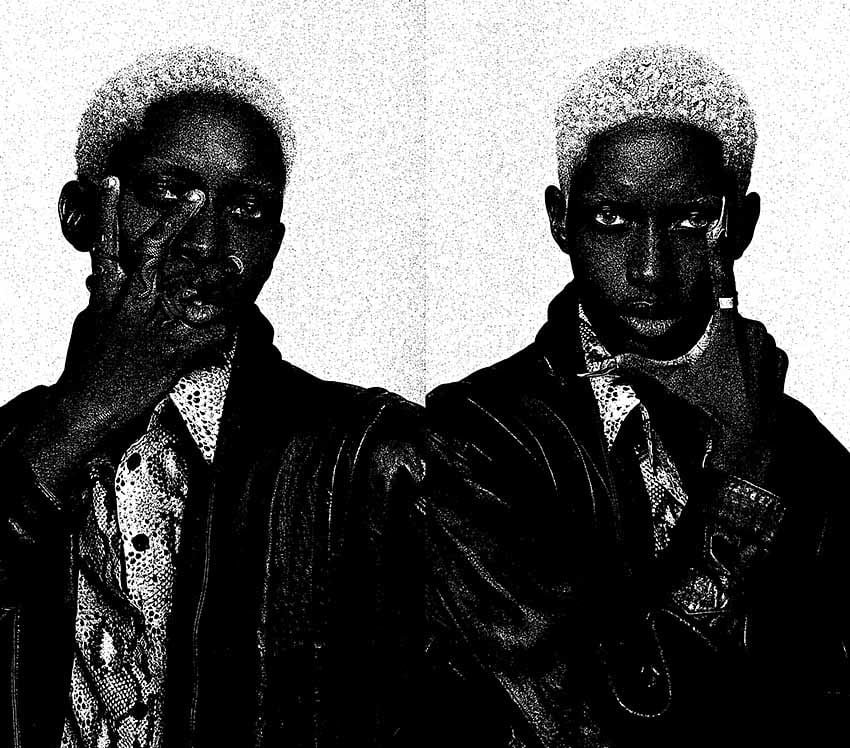
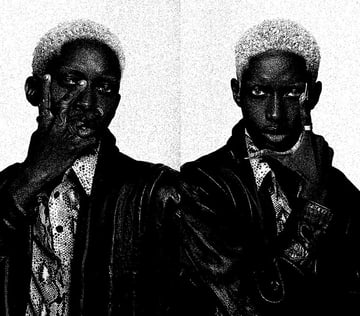
Depending on the subject’s lighting or skin tone, you may have to further adjust the shadows of the image when creating a photocopy effect in Photoshop.
First, let’s copy our Filter Gallery settings onto a new image by holding Alt/Option on the Filter Gallery smart filter from the first image and dragging it onto the new image.
The new image must also be a Smart Object for this to work.
Step 2
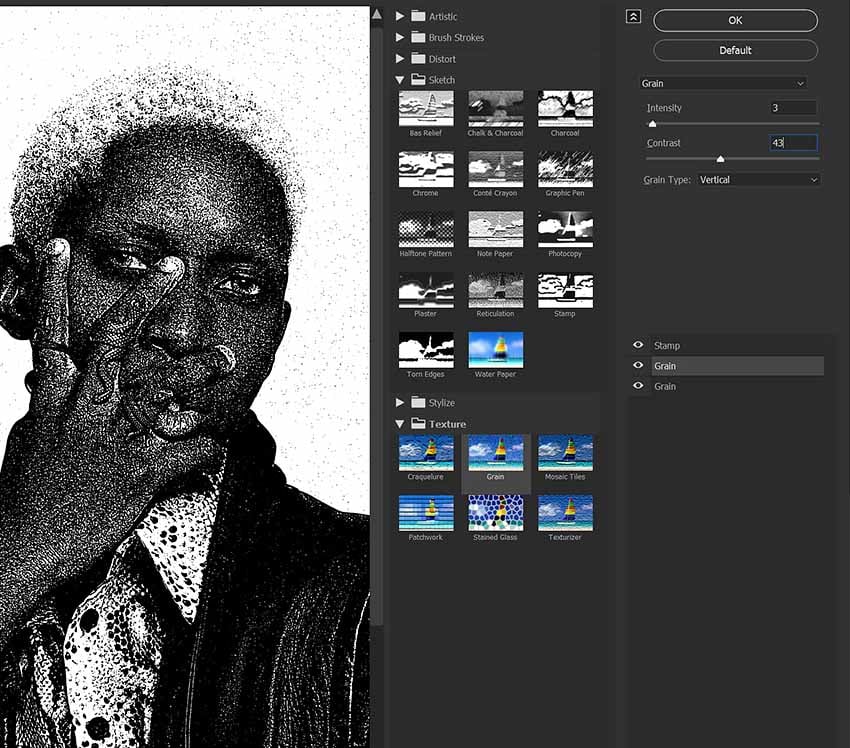
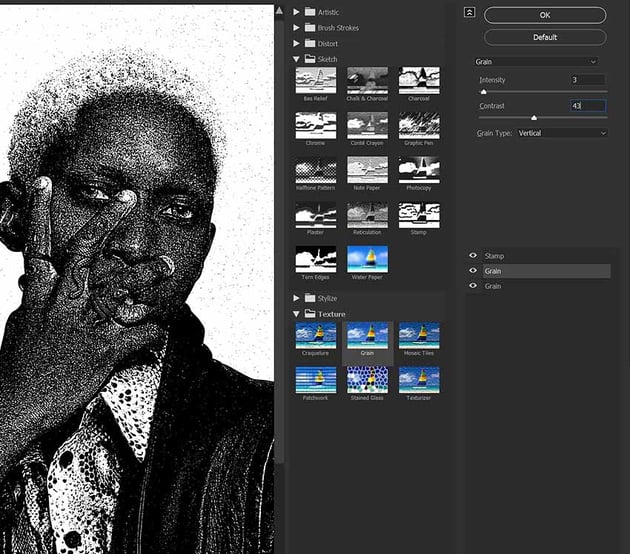
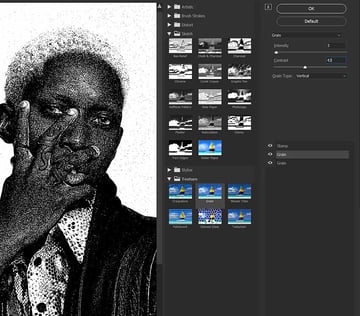
Next, you can adjust the Filter Gallery settings to better fit each individual image by double-clicking the Filter Gallery smart filter and making your adjustments. I lowered the second grain’s Contrast down to 43 for this image.
Step 3
To further lighten the shadows, you can go to Image > Adjustments > Shadow/Highlights. In this photocopy texture Photoshop effect, I raised the Shadows to 4% to help bring back some details.

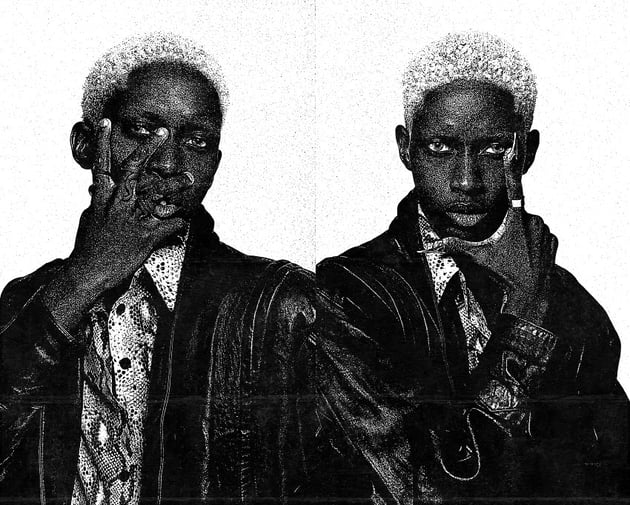
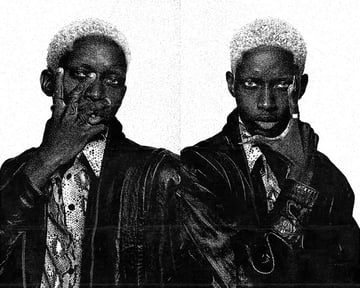
That’s How to Create a Photocopy Effect in Photoshop
That’s all there is to creating a Photoshop photocopy effect! This effect is super versatile. Try adding different colors and textures, and even mixing this photocopy effect with other photo editing effects. It works great on its own but is even better when combined with other grungy poster effects.


