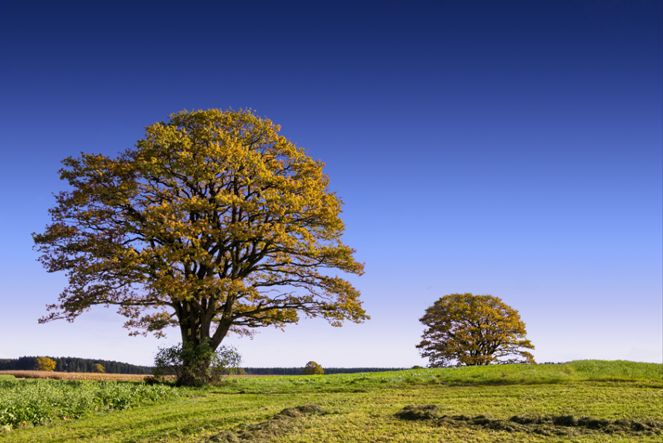
Step 1: Chose an image to work with
Open a photo that you want to extract a background from in Photoshop. In this tutorial I’m going to use a scene of two trees and a blue sky as background, but you can use the same techniques applied here to a variety of images and situations.
Step 2: How the tool works
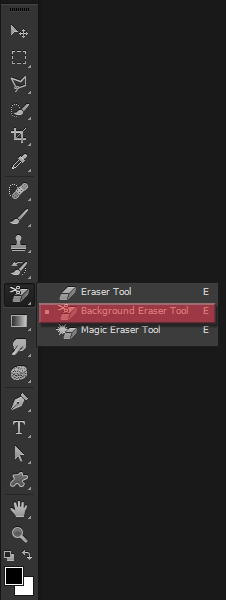
Even though the name says “Background” eraser, this tool can actually be used to erase a lot more than that, and it works more as a “Color” eraser rather than a “Background” eraser. So to start off let’s select the tool. You can use the shortcut Shift+E to cycle through the erasers panel, or you can click on its button on the left panel.
After selecting it, the options on your top panel will change, and your mouse will become a circle with a crosshair in the middle. The crosshair area is where we’re going to select the color that we want to erase, and everything else inside that circle that has that color will be erased. Right click anywhere in your image to open up the brush options for that tool.
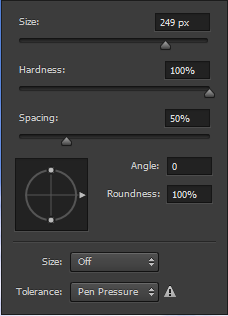
Remember to always keep the hardness high because soft edges may leave background artifacts behind. Change the size of the brush as needed, and keep the spacing fairly low (1~50%) so it creates a smooth continually erasing line when you are using the tool.
![]()
In the top panel, chose the Sampling Once option, so we will only sample the color once and erase a big part of the image with it. Keep the Limits at Contiguous and the Tolerance at 50% for now.
Step 3: Start erasing
Click in a random part of the sky, hold the left mouse button, and drag the mouse around to erase.
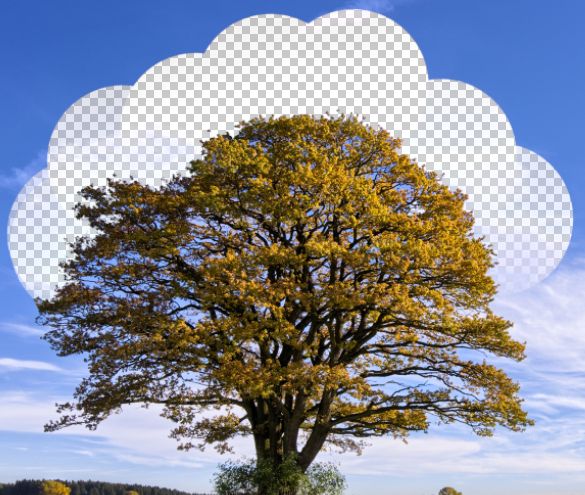
As you can see in the image above, we are not erasing the background between the leafs and branches, but that leads us to the “Limits” option of the Background Eraser Tool. Go to the top panel and change the Limit from Contiguous to Discontiguous. Now do the same thing we did before and let’s see what will be the result.
![]()
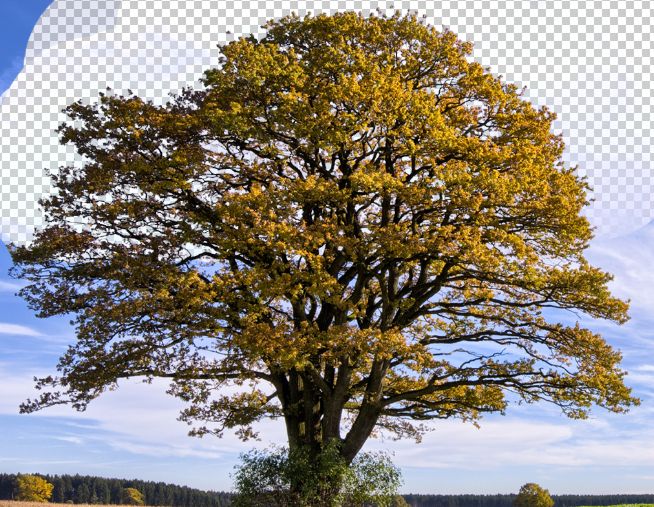
As you can see, the Discontiguous option allow us to erase the background even in isolated areas, like in between the branches and leafs of our tree.
Step 4: A few more options
In my case, when I painted with the Tolerance at 50% (default), the ending result was pretty good, but don’t worry if something like this happens to you:
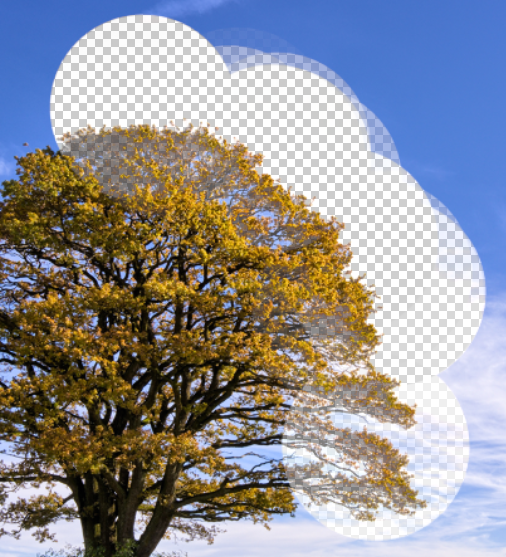
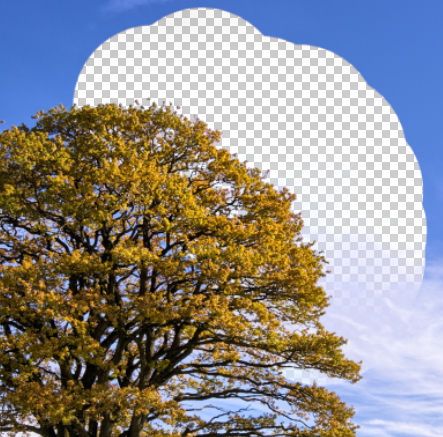
If something like that does happen to you, it means that the color from the background is too similar to your subject, so you have to lower your Tolerance levels. If the color from the background is quite different from your subject (like in my case) you can set the Tolerance to higher levels to obtain better results. With the right Tolerance level you should get results like this:
Step 5: More options!
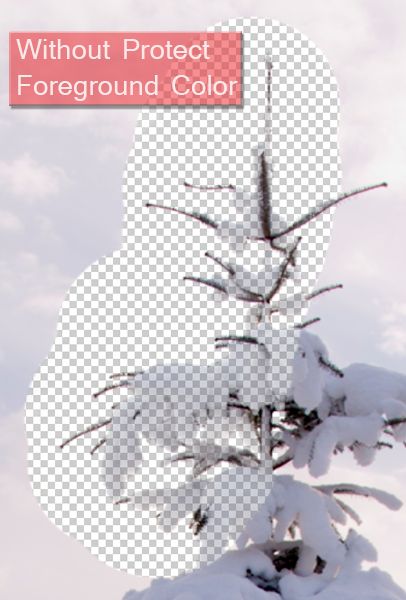
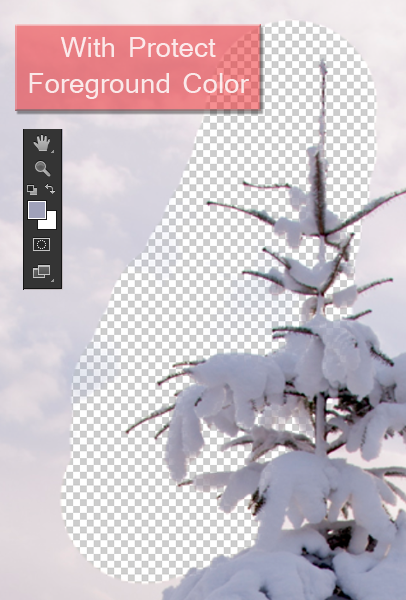
If you tried changing the Tolerance levels but are still getting problems with the Background Eraser Tool erasing your subject, turn on the Protect Foreground Color option.
![]()
This allows you to sample a foreground color (hold Alt/Opt to sample a color from your image) that Photoshop will not erase when using the Background Eraser Tool. Here’s an example of how this option works:
Step 6: Different Background colors
After you used the Background Eraser Tool in your whole image for one color, you should have something like this:
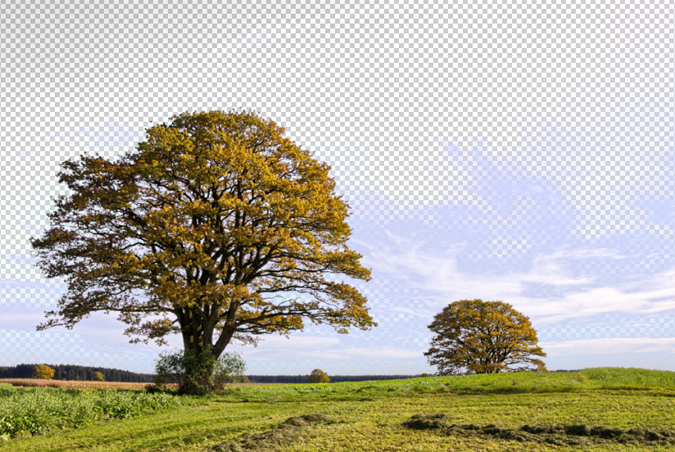
Even though my background was pretty much all blue, it has different tones of blue, and even some whites in it. To deal with that, you just have to sample a new color and repeat the process all over. You could also select the “Sampling Continous” option in the top panel:
![]()
But I don’t recommend that because if you come too close to your subject (in this case the trees) you may sample their color by accident and end up erasing parts of the image that you didn’t wanted to erase. So just aim the crosshair of our mouse into another color and repeat the same process until our image is fully cleared.
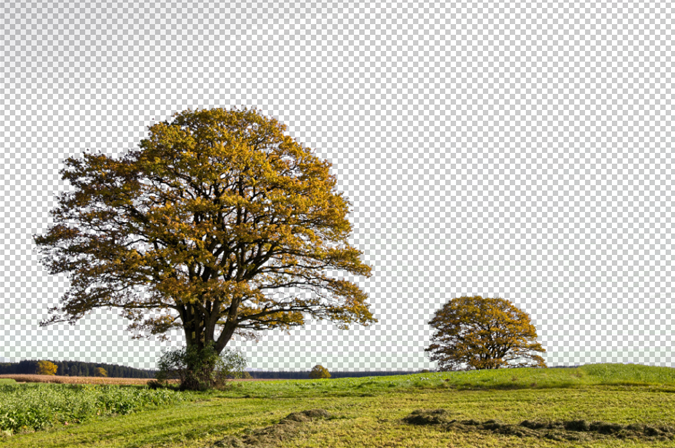
Step 7: Final step
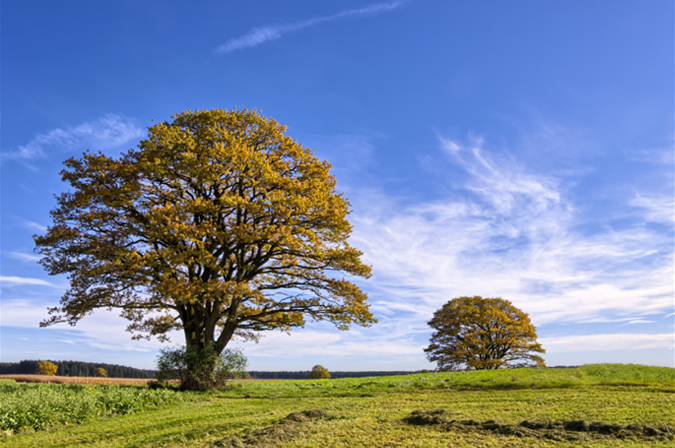
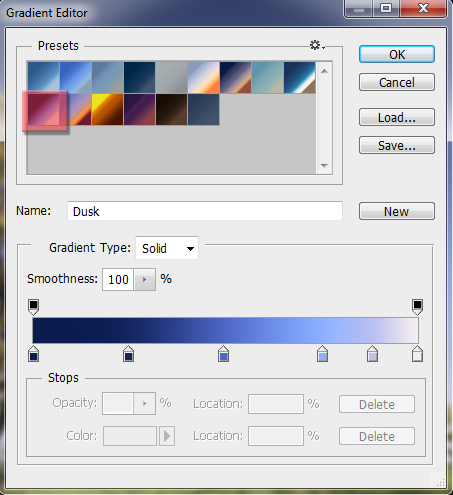
After erasing the background you have two choices, you can either select the subject you just extracted and use it in a photo manipulation project, or you could replace the background you just deleted with something new to create a different image (that’s what we’re going to do). Download the sky gradient pack and chose the best one for your image. I chose to replace my old background with this blue sky:
And this is the result:
