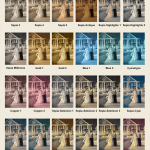
The Photographic Toning Effects
Photoshop CS6 comes loaded with 39 presets to simulate traditional darkroom toning and split-toning effects. Click on the image to download the high-res version you can print.

Step 1
Open an image you want to split tone in Photoshop. For this tutorial, we’ll be using the image below as an example.

Step 2
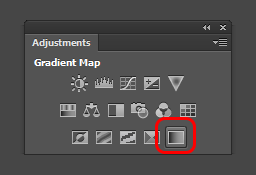
Add a new Gradient Map adjustment layer. You can do this by clicking on the Gradient Map fill layer button in the Adjustments panel (Window > Adjustments).
Step 3
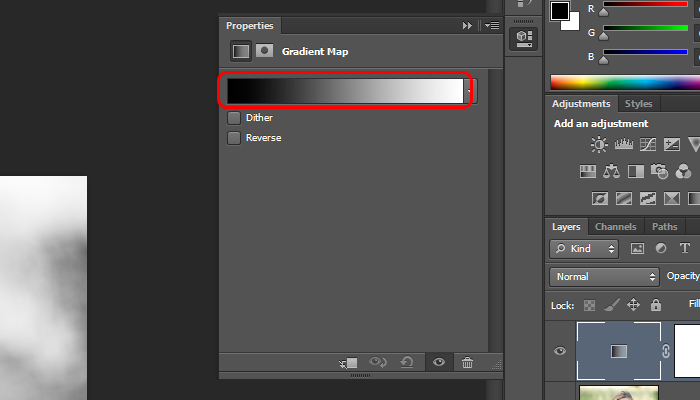
In the Properties panel (Window > Properties), click on the Gradient. This will bring up the Gradient Editor.
Step 4
This is where the photographic toning presets are hidden. Click on the panel menu located on the top-right of the presets area then select Photographic Toning.

Step 5
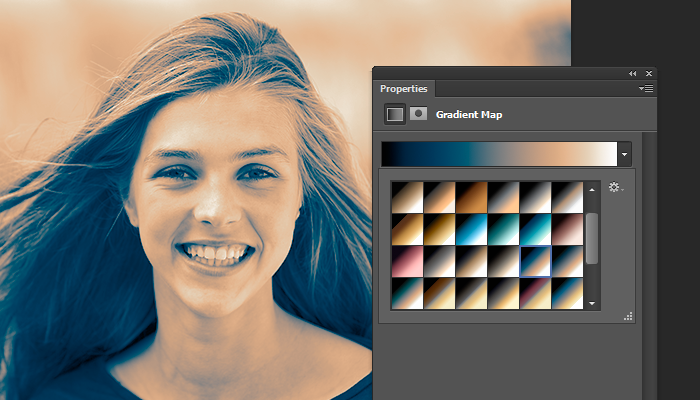
Try out the different gradients to find the one that you like. Most of them will look pretty strong, but we’ll minimize this in the next step.
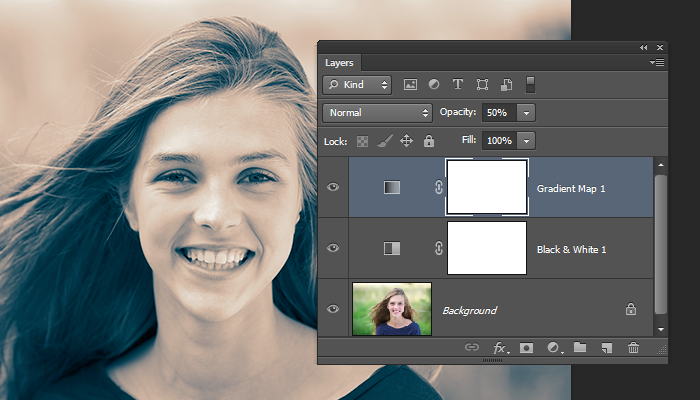
Step 6
One way to reduce the look of it is to add a Black and White adjustment layer (Layer > New Adjustment Layer > Black & White). Position this layer between the two layers then adjust the opacity of your Gradient Map. Here’s what ours look like with the Gradient Map at 50%.
Final Result