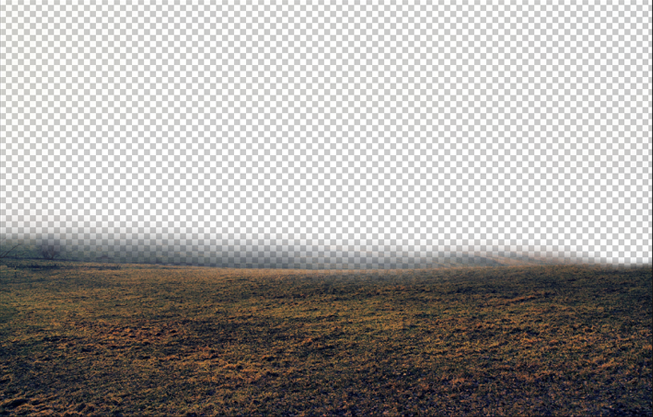
Preview of Final Results
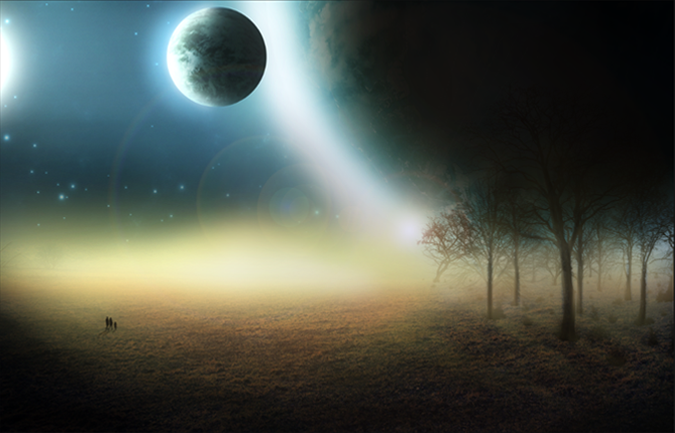
Tutorial Resources
- Stars – greenaleydis-stock
- Cosmos Package – resurgere-stock
- Field – f3rd4-stock
- People Brush – fiftyfivepixels
- Trees Silhouettes – kuschelirmel-stock
- Trees Silhouettes 2 – winerla-stock
- Bushes – redheadstock
Step 1: Creating a new Photoshop file
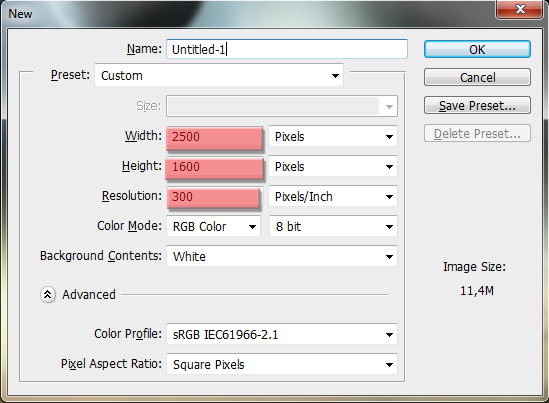
Let’s start off by creating a new Photoshop file. Create a new file with the following settings:
Step 2: Adding the field
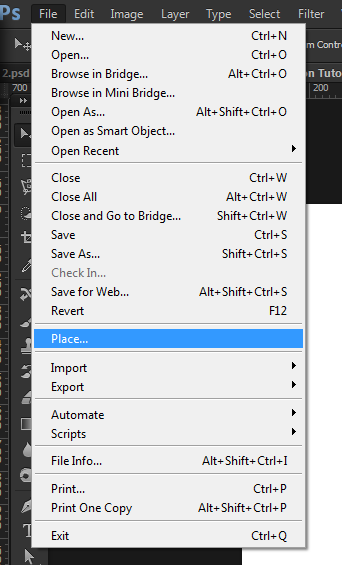
The first thing we’re going to add to our manipulation is the field. Go to File -> Place (see image below for reference) and place the Field resource into our project.
This is what you should see in your screen now:
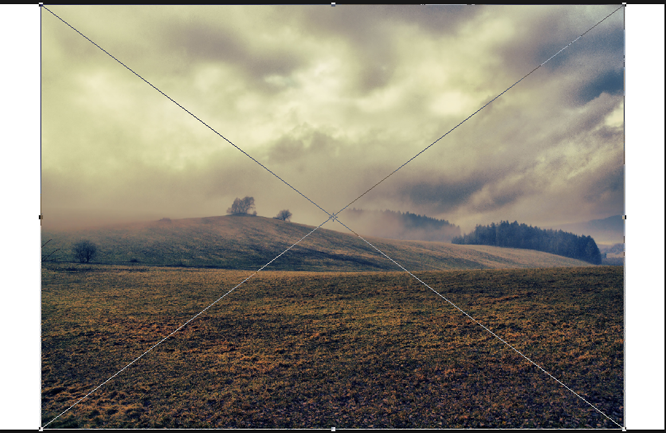
Now hold Shift+Alt/Opt, click on the top right corner of the image, and drag the mouse in the direction of the arrow shown in the image below. This will increase the size of the image while maintaining it in its center.
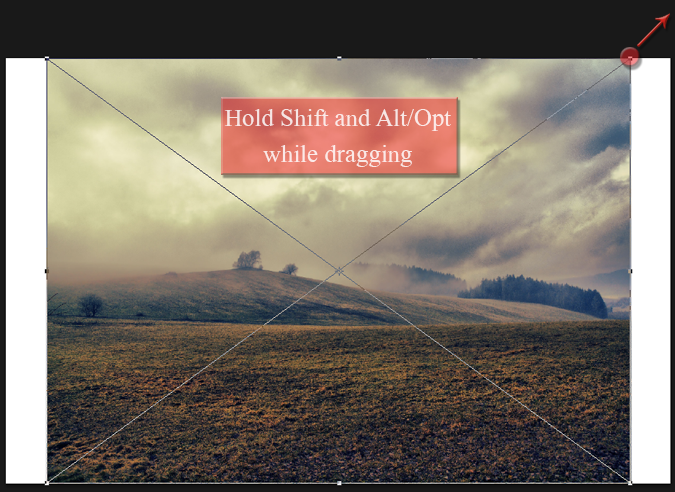
Try to increase the size of the field until it reaches the borders of our project.
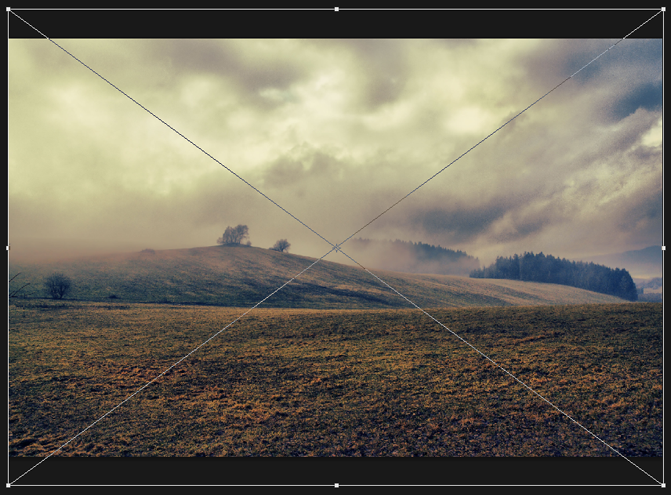
To confirm the changes just hit Enter, or click in that little check sign on the top bar:

Now let’s create a layer mask to hide the sky part of this image, because we won’t be needing it. With this layer selected, click on the “Add Layer Mask” button (highlighted in the image below).
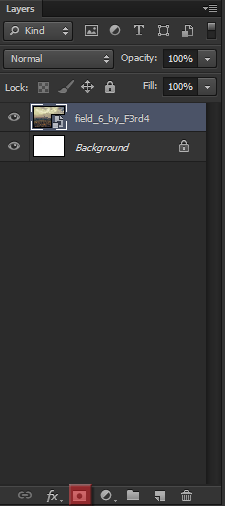
This is how your layers panel should be looking like after that:
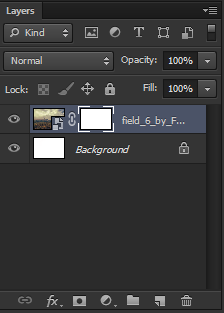
Now select the brush tool (see the image below). You can also use the shortcut B.
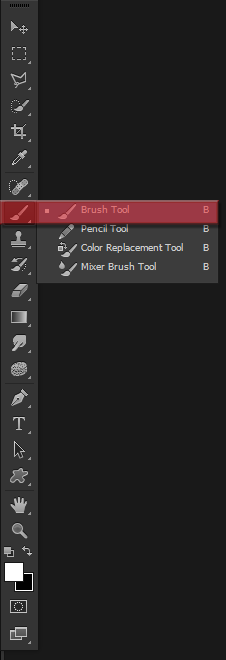
Keep the Opacity and the Flow of the brush at 100% (settings are located on the top panel).
![]()
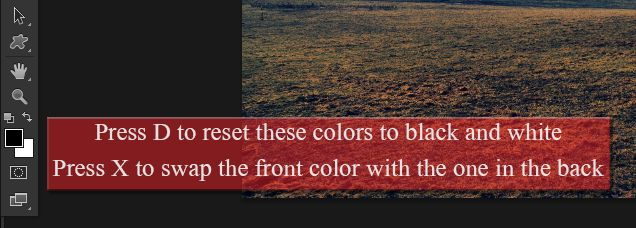
We’re going to paint the sky part of our layer with black, to hide unwanted parts of our image in a non-destructively way. To easily select black while painting a layer mask, press D to reset the colors of your palette, and then press X to swap them and make black as your foreground color.
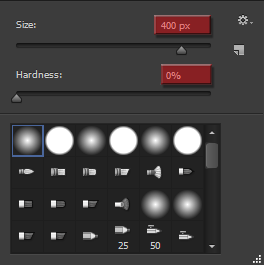
Right click anywhere in the image to change the size and hardness of the brush. Keep the size between 200-400px (you can reduce the size to help paint some parts) and keep the hardness at 0% at all times. Here are some shortcuts to help speed up your work:
To decrease the size of a brush hit [
Paint the whole sky and some parts of the mountains with black. Check the image below and try to reach a result similar to this one.
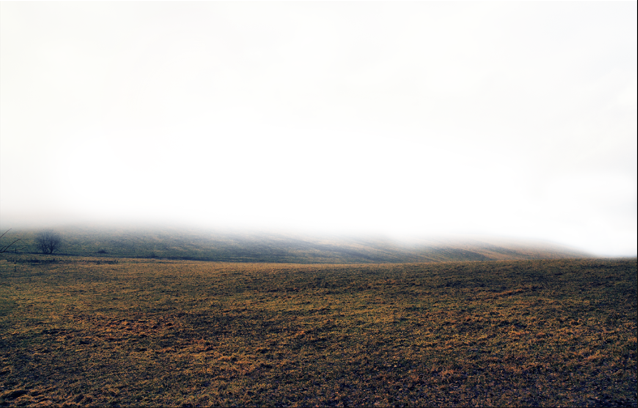
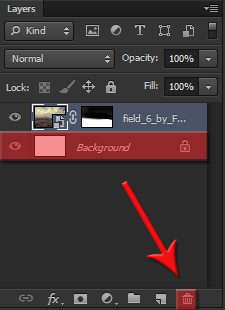
And we’re done with the Field. If you have a Background layer like me, delete it by clicking on it and dragging it to the recycle bin (check the image below for reference).
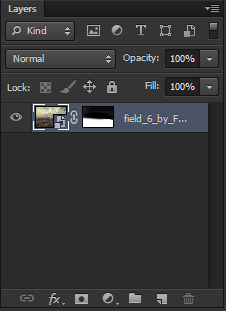
Now your canvas should be transparent instead of white, just like this:
