Requirements: Photoshop CS6
Difficulty: Intermediate
Time: max 1 hour
Outcome:

Resources:


This tutorial is just part one of “Create your own world” tutorial. Let’s begin:
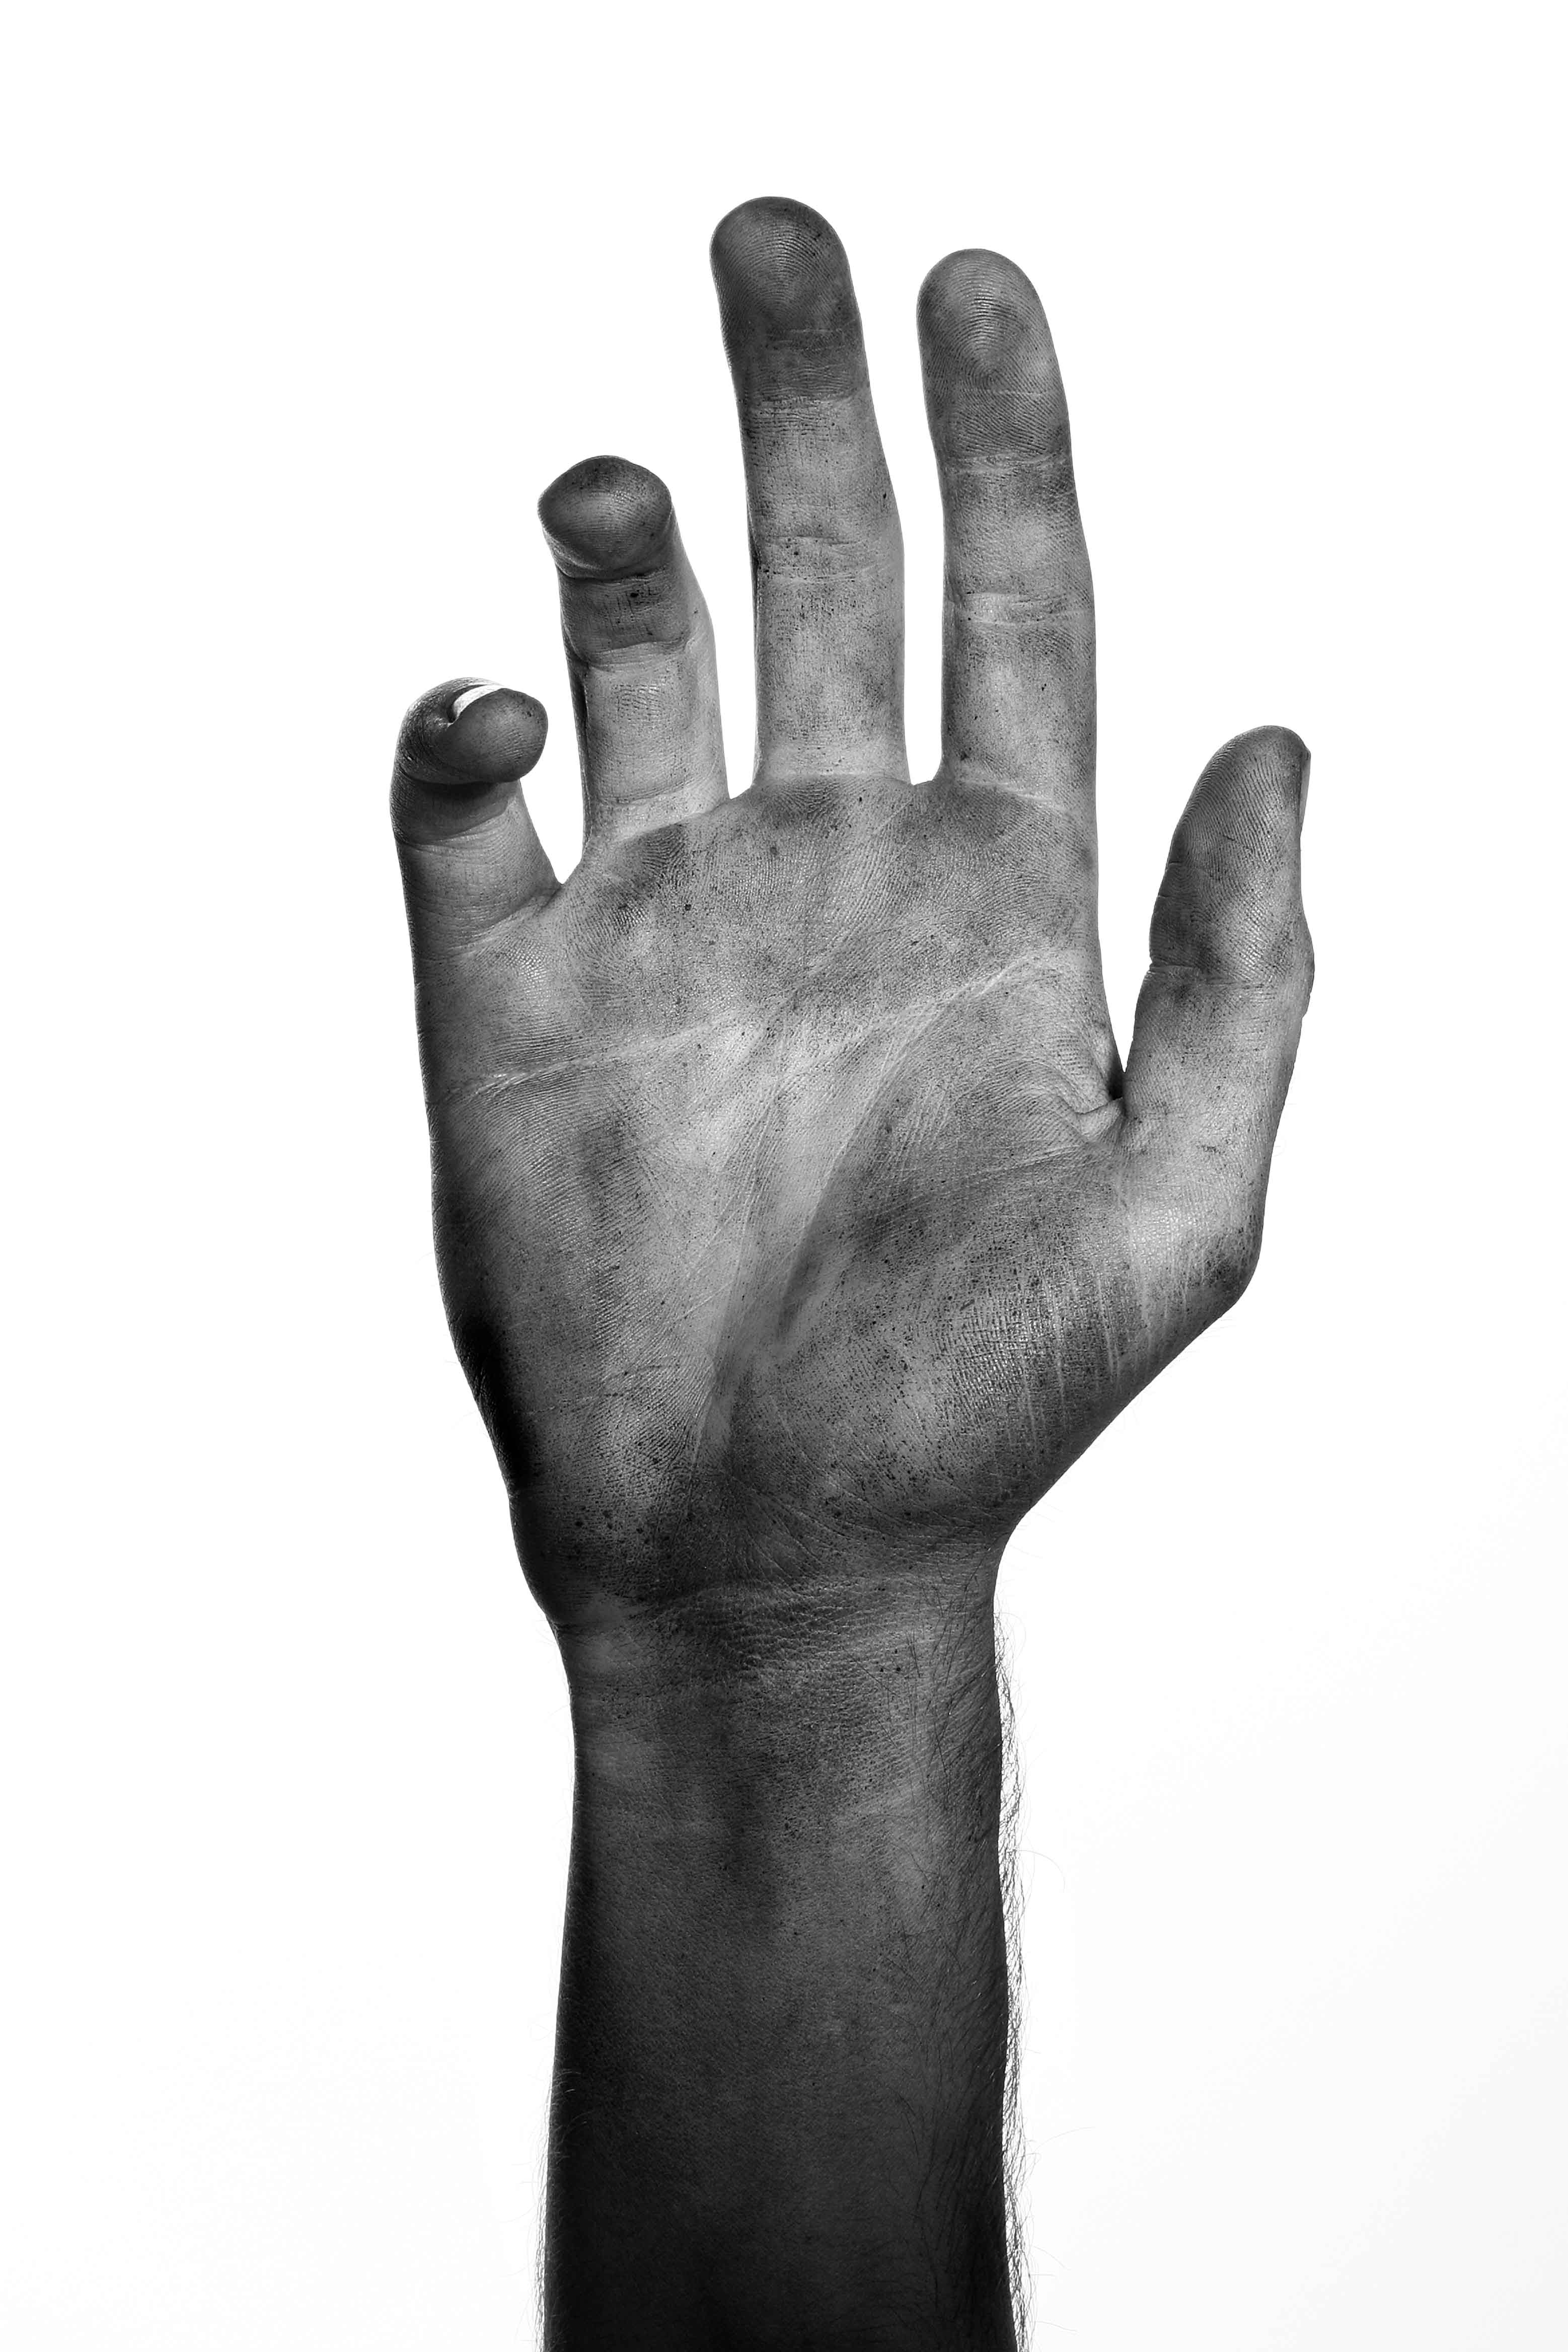
0. Open your image. File > Open > Open
1. Use Magic Wand Tool ( W ) and click on white background. Tolerance: 25.
Right click on selection > Select inverse.
2. Using Lasso Tool ( L ) Select some parts that haven’t been selected like this finger.
3. Copy selection onto a new layer.
4. Make the background layer and make it just white.
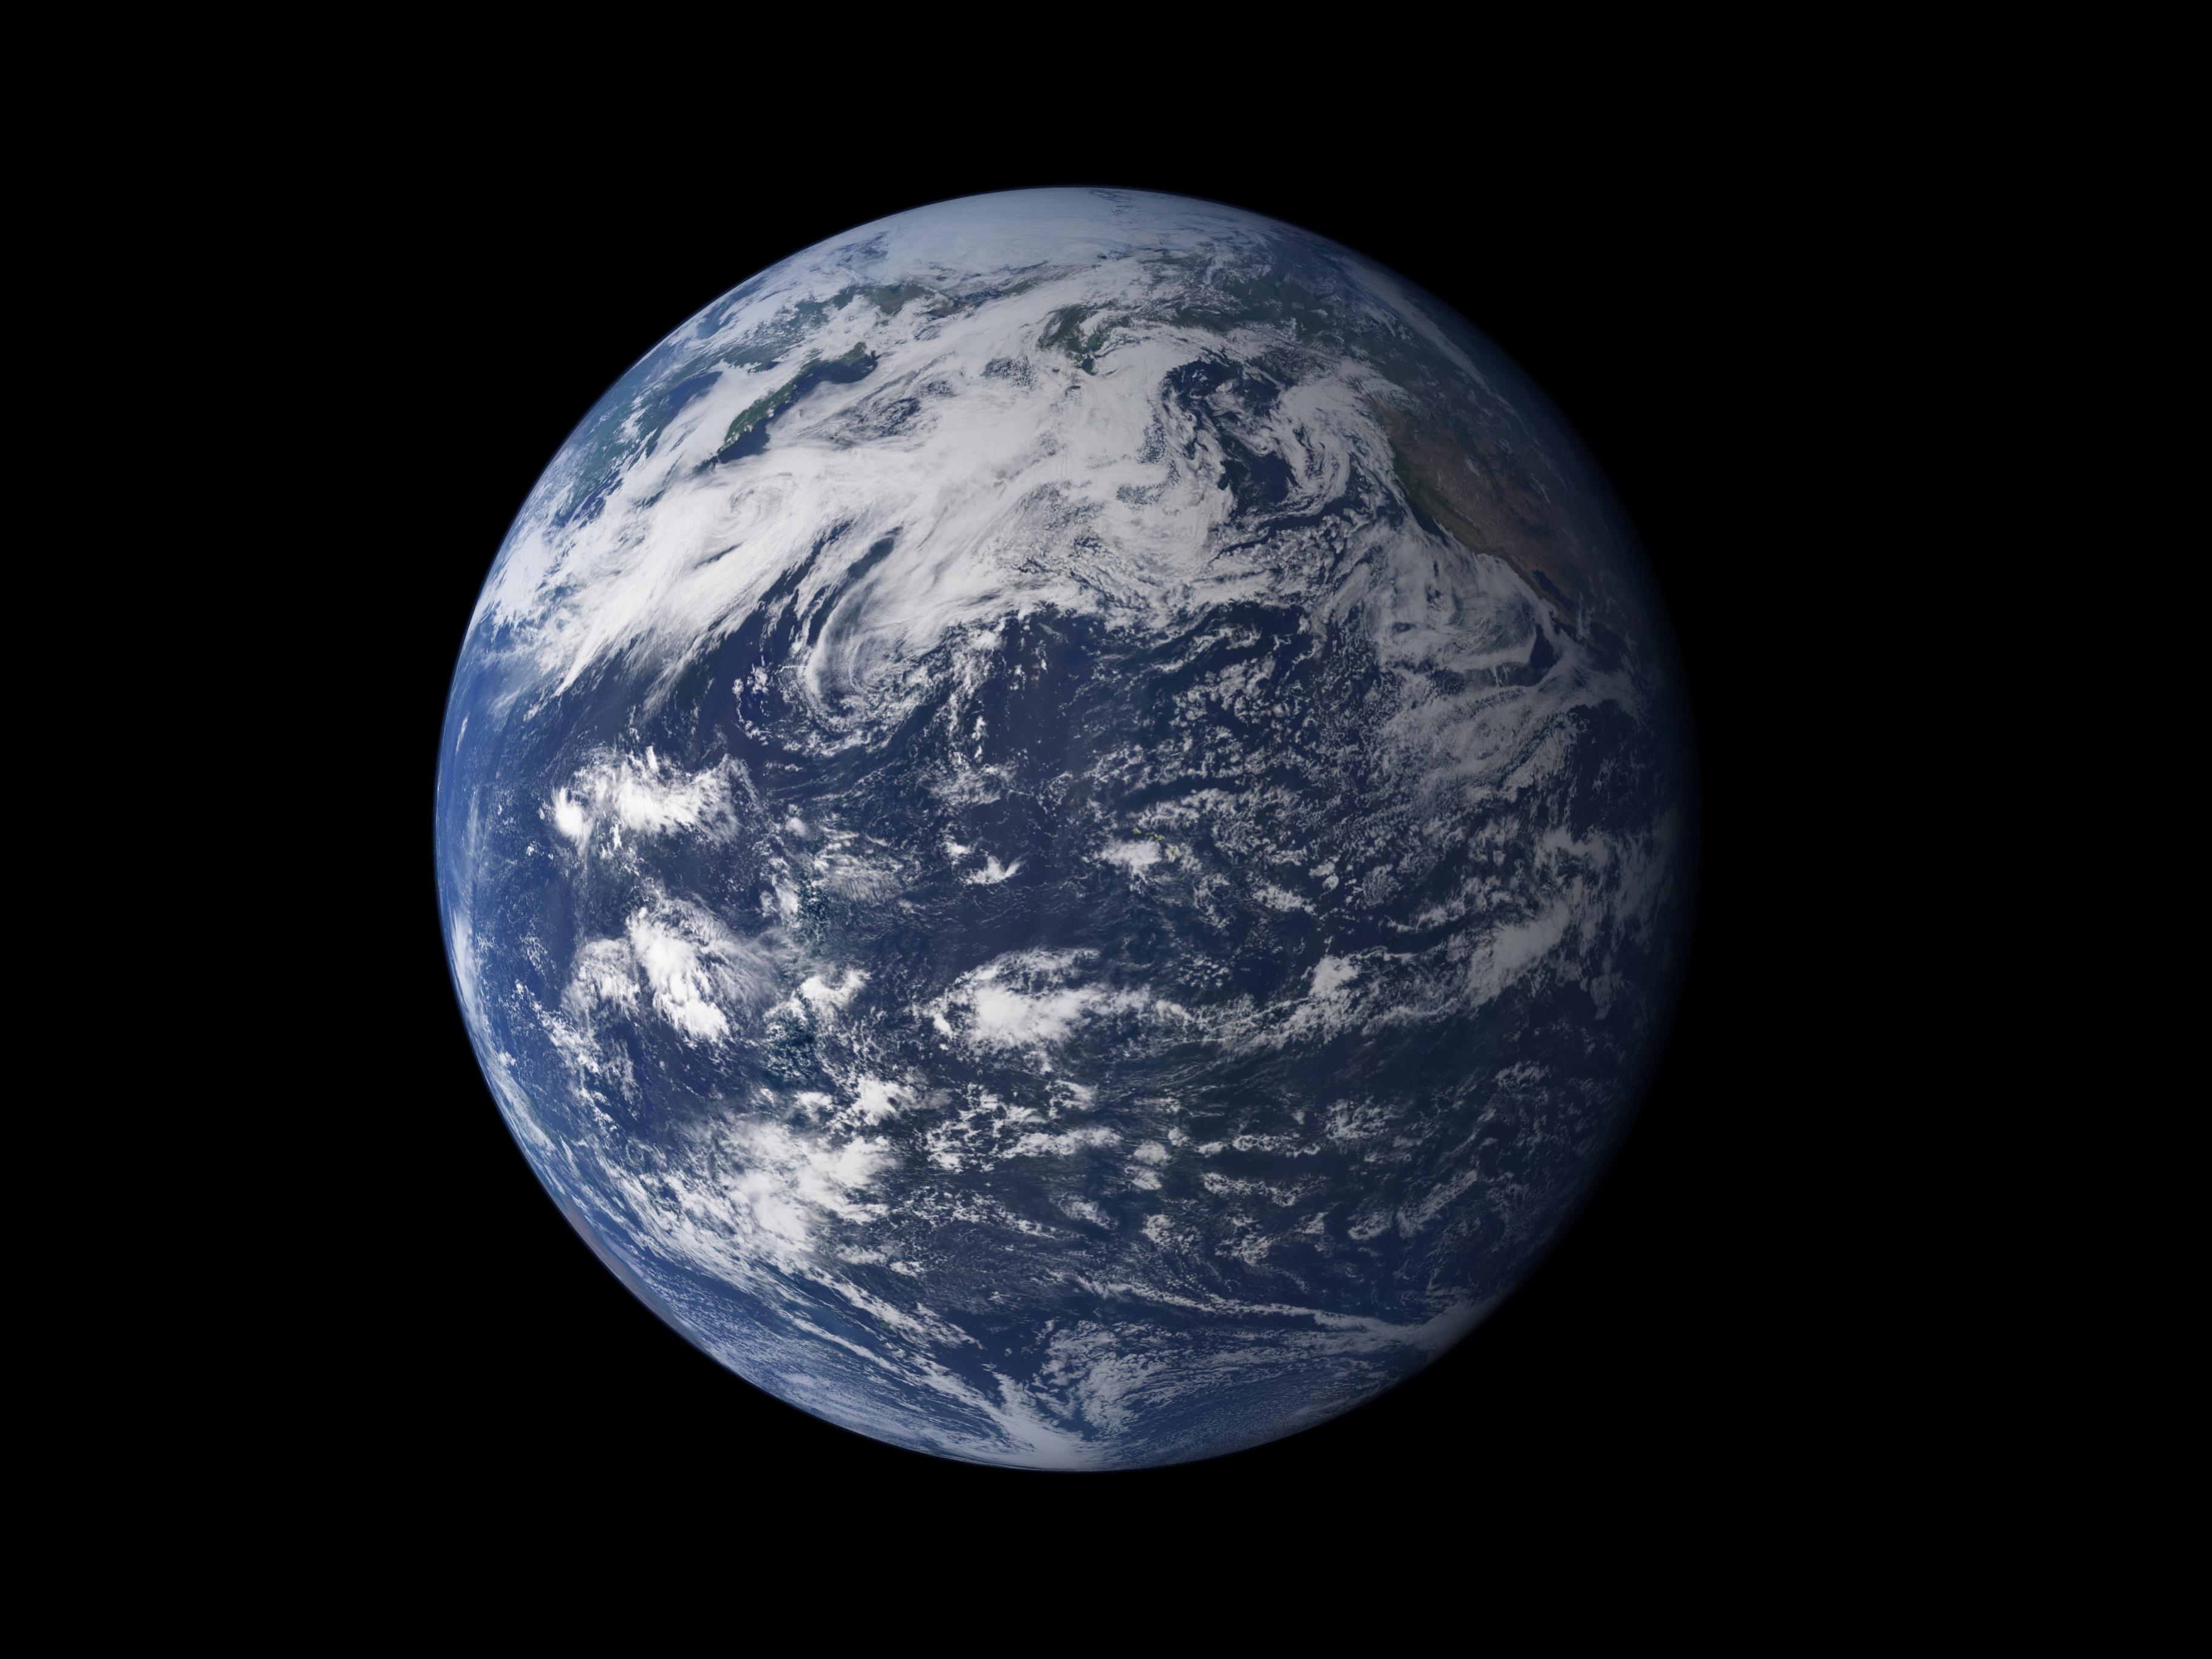
5. Open the picture of the Earth and press CTRL+R to bring up rulers. After that just click & hold on the rulers to drag guidelines to the center of earth. Use Elliptical marquee tool ( M ) and CTRL + ALT + SHIFT in the middle of guides to select earth. Copy it. ( CTRL + C )
6. Paste it onto your picture. I would recommend starting to name your layers, we have used ‘hand’ and ‘earth’.
7. Lower opacity to around 50% for the Earth layer and transform it until it fits within the hand.
8. After that click ( X ) so your colors get back to black & white and make a layer mask for the Earth layer by clicking on its icon just below of layers window.
9. Now use the hard brush and paint over the finger such that part of earth disappears.
10. Make the Earth layer opacity back to 100% again. After that copy (duplicate) the Earth layer, and put it under the current Earth layer and name it ‘shadow’.
11. Click CTRL + L to bring up Levels window and put the white pixel count to 0.
12. Transform it like this. ( CTRL + T )
13. Click Filter > Blur > Gaussian blur and select around 100 pixels.
14. Now click CTRL + CLICK on hand layer icon. Then right click on Selection > Select Inverse. Press Delete. ( So we get rid of unwanted shadow parts )
15. Change the shadow layer opacity to 70%. Duplicate it and transform it a little more.
16. Create a new layer named ‘shadow_fingers’ and RIGHT+CLICK on hand layers icon again.
17. Use hard black brush and paint like we did.
18. Filter > Blur > Gaussian blur. This time, select around 40 pixels.
19. Open ‘abstract’ image (found in the resources required above).
20. Click Select > Color range and click on the black color in the picture. Change it’s fuzziness to 100.
21. Right click on Selection > Select inverse and then COPY + PASTE to separate layer.
22. Copy that layer into your image.
23. Transform it like this. ( CTRL + T)
24. Use Eraser Tool ( E ) with soft brush and get rid of unwanted parts but leave a little bit because in the final image it will add texture.
25. RIGHT + CLICK on the Earth icon and then transform your new layer with sphersize. Filter > Disort > Sphersize. Around 74%. Now it will look rounded like the Earth.
26. Now let’s introduce Photoshop’s CS6 new ability called color lookup. Window > Adjustments. Put 3DLUT File to “EdgyAmber.3DL”.
For users without Photoshop CS6: you can continue tutorial without doing these 2 steps. ( skip to step 28 )
27. Make it 50% opacity.
28. Now click CTRL + CLICK on Earth’s mask and then RIGHT CLICK on Selection > Select inverse, lastly select your new layer ( with abstract image )
29. Press DELETE.
30. CTRL + CLICK again on earth’s mask. RIGHT CLICK > Select inverse ( like in previous step ). Click on hand layer and just copy paste ( CTRL + C and CTRL + V)
31. Put that new layer on top ( under color lookup layer ) and name it ‘finger’.
32. Copy + paste finger layer and do the level’s again ( CTRL + L ). ( Same as Step 11. )
33. Filter > Blur > Gaussian blur.
34. Add a new layer onto the top and goto Image > Apply Image and OK. Resize image to 1000×667 with Image > Image size.
35. Now with Text Tool ( T ) type ‘Create your own world’. I used font ‘Ripe’ (Find the font file in the resources section above).
36. Bring up Character window by pressing CTRL+T while typing text. Play with it until you get the result you want.
37. Text depends on you, size, color, etc…
38. Create a new layer. Then go to Image > Apply image. Filter > Noise > Add noise at around 120%.
39. Put that layer on max 10%. It adds a grunge feel to image.
40. Now open texture image. Transform it like this.
41. Right click on layer > rasterize. ( so it becomes editable )
42. Image > Adjustments > Gradient map and use a simple black to white gradient.
43. Put it on color dodge and on max 13% opacity. This just adds a textured feel.
That’s it, be patient for part 2! Hope you enjoyed this tutorial, please make sure you visit Pixel Tango Tutorials section for more great photoshop tutorials!
