Download the PSD
Metallic Apple.zip | 44.99 MB
Download from Website
How to Create a Photo-Realistic Metal Apple in Photoshop
Tutorial Resources
Step 1
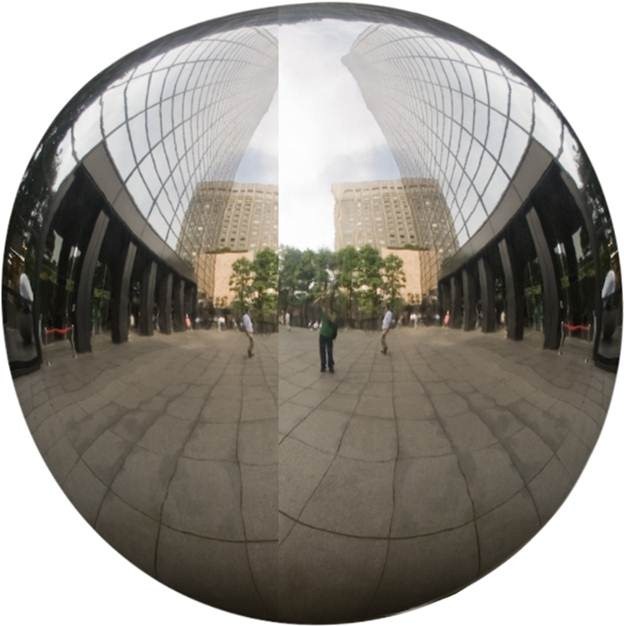
Open file “Metal Ball”. Select the Elliptical Marquee Tool and make a selection of the ball. Hold shift while dragging to keep the selection a perfect circle. After you’ve selected the ball press Ctrl + C to copy and Ctrl + N to create a new document. Photoshop it’s smart enough to calculate the dimensions of the selection and input those variables into document creation window so all you have to do it’s to press Ok. Paste the image (Ctrl + V).

Step 2
Now we have the ball selected into a new document and the reason for this it is that the door in the middle of the ball kind of ruins the whole aspect of it. We need a nice, round metallic ball and this is the only decent image of a chrome ball I could find, except it has an ugly entrance of some sort that’s ruining its symmetry. Notice that the door it’s mainly in the right half of the image while the left half looks good. The solution to this it is to use the good half to correct the bad one. This technique I am about to use it’s useful when you are retouching or correcting symmetrical objects and it also works great on human faces.
Let’s begin by selecting the Rectangular Marquee Tool and make a selection of the left half of the ball.


Step 3
Click on the ball layer to select it and press Ctrl + J to copy the selection on a new layer. I turned of the visibility of the ball layer temporarily so you can see the half ball layer.


Step 4
While on the half ball layer press Ctrl + T to enter Free Transform. Right-click and choose Flip Horizontally. Hold Shift and drag the half ball to the right to position over the original right half.


Step 5
Add a layer mask to the half ball layer (Layer > Layer Mask > Reveal All) and Alt-click between the half ball and the original ball layer in the Layer palette to clip the upper half ball layer to the lower original ball layer. This means that the half ball layer will be visible only through visible pixels below, so if you did not placed the half of the ball exactly over the right half of the ball in step 4 you don’t need to worry about it now.


Step 6
Selecta soft round Brush Tool at a decent size (100px) an paint with black in the layer mask to hide the areas encircled below.


Step 7
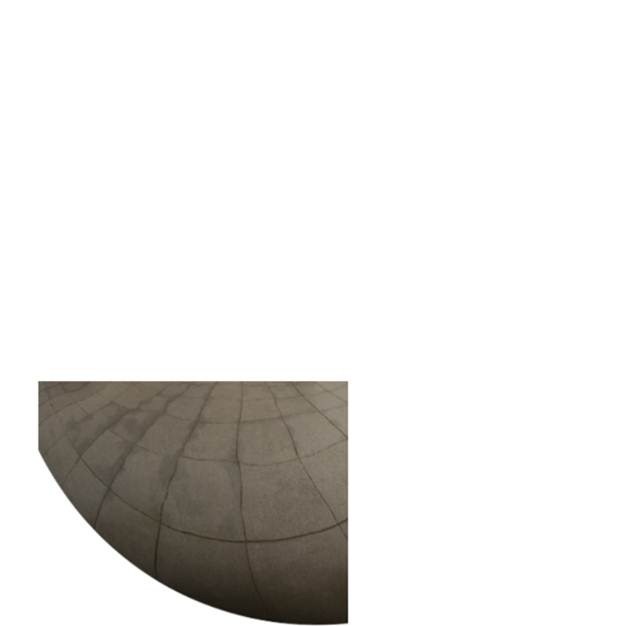
To get rid of the ugly black spot in the middle and to make the ground look right we will repeat the trick from step 2. Let’s make a selection of some ground that looks good on the right side and make press Ctrl + C to make a copy of selected area (before you press Ctrl + C turn off the visibility of the white Background layer an make sure that you have selected the ball layer in the Layer palette). Create a new layer on top of all layers (Layer > New > Layer) and press Ctrl + V to paste it.


Step 8
Now it is only a matter of placing this layer on the right side and using Free Transform and warp to make it fit. Add a layer mask to this layer (Layer > Layer Mask > Reveal All) and using a round soft black brush tool paint over the obvious edges. You should have something like the image below.


Step 9
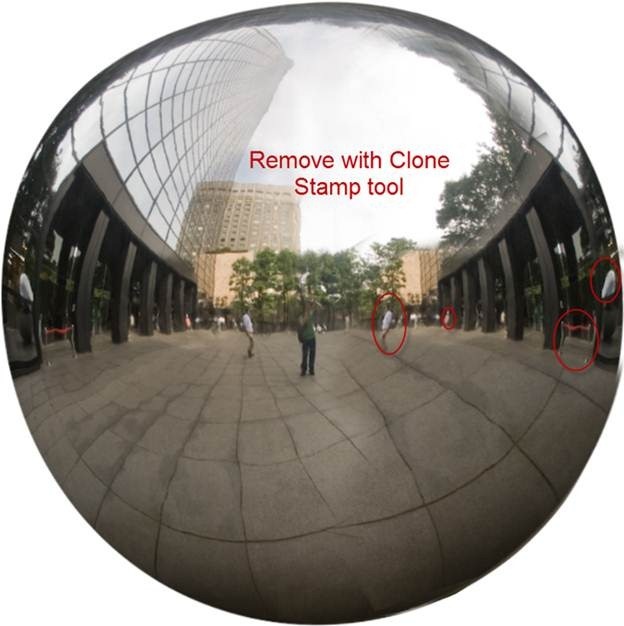
It starts to look good but there are still a few elements that need correction. First there are some elements that repeat themselves (like the guy in white or the red cordon). Create a new layer (Layer > New > Layer) and use the Clone Stamp tool to remove the indicated spots. There are some additional glitches where the lines in the ground unite but I think the ball it’s looking pretty good as it is so I won’t spend any more time correcting it.
Make sure that you are on the original ball layer and Ctrl-click on it to make a selection. Press Ctrl + Shift + C to Copy Merged (copy all visible pixels, not only the ones on the layer we currently are).


Step 10
Open the image “Apples” and press Ctrl + V to paste it. Name this layer “Metal Apple”. Make sure you save the image so in case your computer crashes your work will be safe.


Step 11
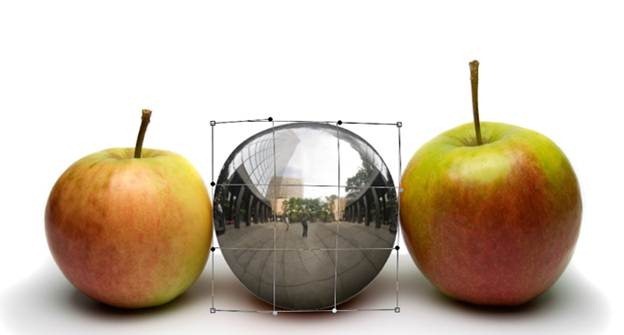
Use Free Transform (Ctrl + T) and warp to fit the ball exactly over the middle apple. Don’t worry about the protruding stem (the little stick that connects the apple to the tree).


Step 12
To make it look more realistic we need some texture from the original apple. Turn off the visibility of the metal ball layer and using the Pen Tool make a selection of the middle apple.


Step 13
Press Ctrl + Shift + C to copy merged and Ctrl + V to paste the selection on a new layer. Because we only need the texture and not the colors desaturate the layer by pressing Ctrl + Shift + U. Change the layer blend mode to Overlay and lower the opacity to 40%. Move this layer on top and clip it to “Metal Ball” layer.


Step 14
Create a new layer above all layers (Ctrl + Shift + N) and clip it to the layer below (the texture layer). Select a round soft brush tool and set it’s Opacity to 40%. Paint gently the edges of the metal ball. Change the layer blend mode to Multiply and further lower the opacity to around 60%. This step will add a bit of shading to the metal ball – I will call it metal apple from now on.


Step 15
To further add some shading and get rid of the flat look of our metal ball let’s add Curves Adjustment Layer above all layers and clip it to the layer below. Drag the curve downwards to darken.


Step 16
Click on the Curves layer mask and press Ctrl + I to invert the colors thus filling the mask with black. Now select a round soft brush and paint again at the edges of the metal apple to give it some 3D look. Take a look at my layer mask below for reference.


Step 17
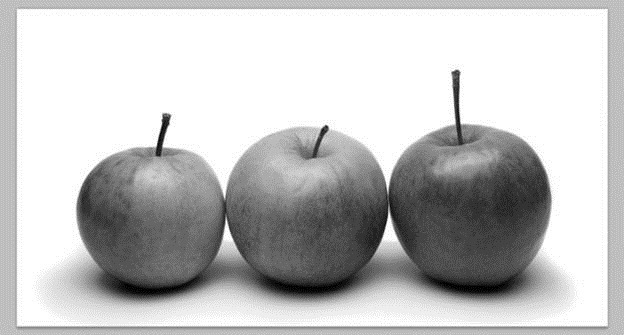
Now let’s make the little depressed area where the steam connects to the apple. In order to do this click on the background layer (the original one with three apples) and press Ctrl + J to duplicate. Move this layer on top of all layers (a handy shortcut for doing this fast is Ctrl + Shift + ]) and desaturate (Ctrl + Shift + U).


Step 18
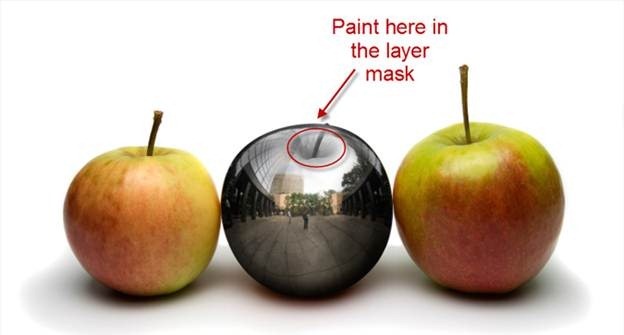
Change the blend mode of the layer you duplicated in step 17 to Multiply. Add a layer mask (Layer > Layer Mask > Reveal All) and fill it with black (press D to set default colors and Ctrl + Backspace to fill with Background Color). With a round soft brush at 100% Opacity paint with white in the layer mask to reveal the depressed area.


Step 19
We will need a steam for the apple and I decided to use the one from the left apple. The reason for that is that the steam from the middle apple it’s too short and thin and it won’t look good. So go ahead and make a selection of the stem from the left apple using the Pen Tool or your favorite selection tool (to make a selection with the Pen Tool first create your path than press Ctrl + Enter to transform that path into a selection).


