Step 1
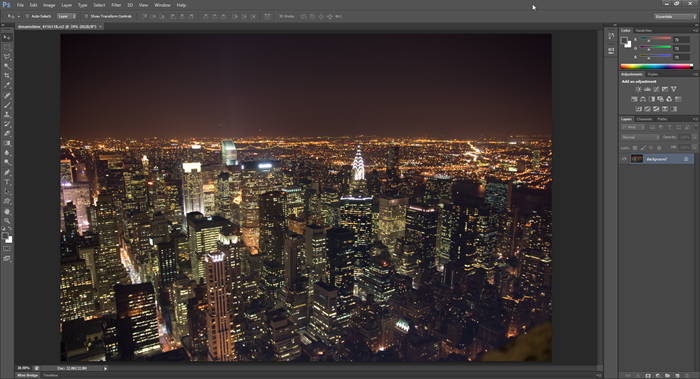
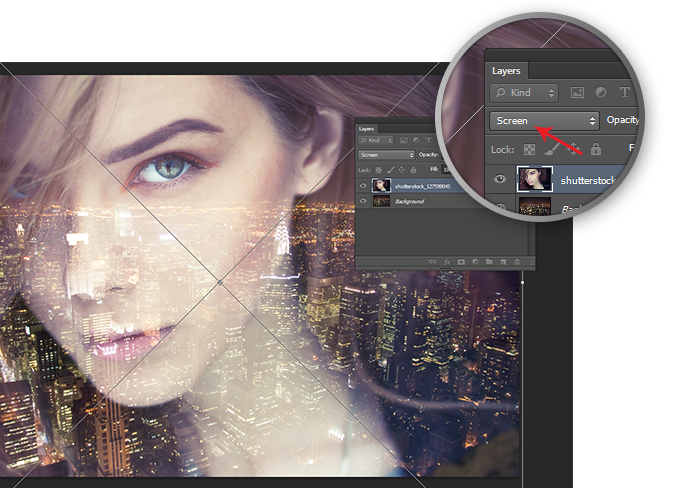
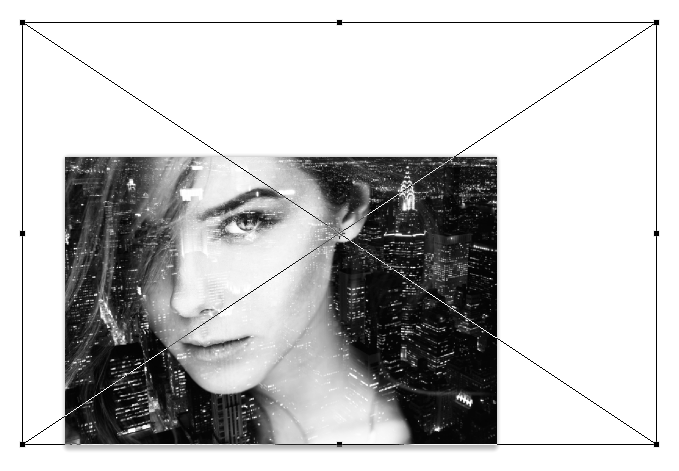
Start by opening the photo you’ll use as a background into Photoshop. This is usually a landscape/cityscape. Place the second image by dragging and dropping the file into your canvas or by going to File > Place. The transform tool will automatically be activated. Set the blending mode of the layer to screen then transform and position the image. Press Enter to apply the transformation.
Step 2
If you’ll be converting the image to B&W, add a Black & White adjustment layer (Layer > New Adjustment Layer > Black & White) then set the . This will make the next steps easier by helping you focus on the tonal settings without interference from the colors. You can always delete this layer and readjust the B&W settings later.

Step 3
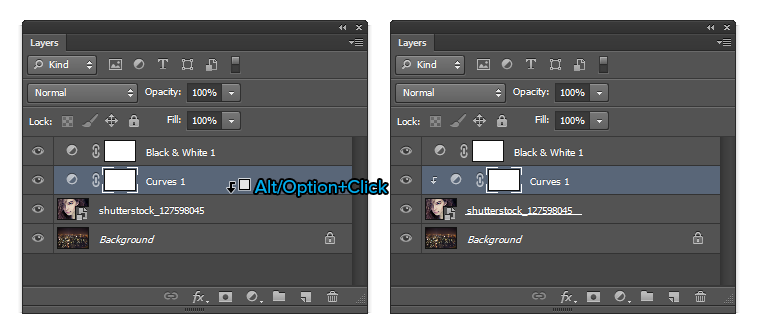
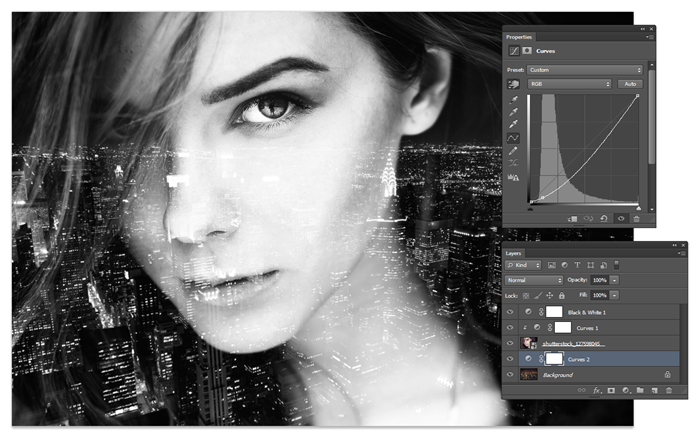
We have a double-exposure image but chances are that you’ll need to do some tweaking. We want to make the girls face brighter and the other areas darker. So to do this, add a new Curves adjustment layer (Layer > New Adjustment Layer > Curves). Position this layer above your 2nd layer. Hold the Alt/Option key then click between the curves adjustment layer and the layer below. This will clip the curves adjustment so that it only affects the one layer below.
Step 4
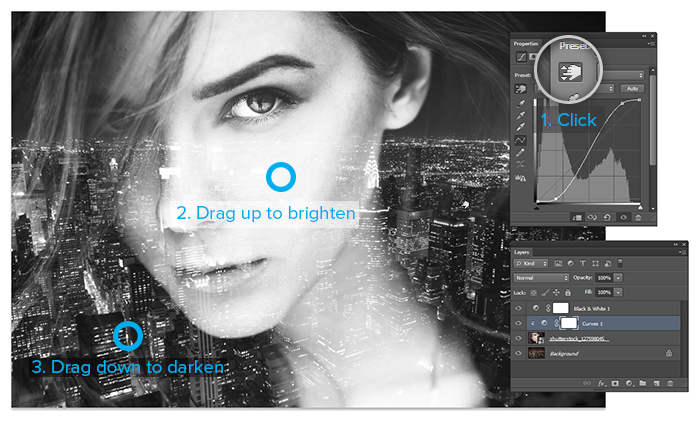
With the curves adjustment layer selected, go into the Properties panel (Window > Properties), and click on the on-image adjustment tool. With this tool, you can drag anywhere in your photo to brighten or darken an area. For our photo, we dragged up over the skin to make it more visible and down on the hair to make it darker.
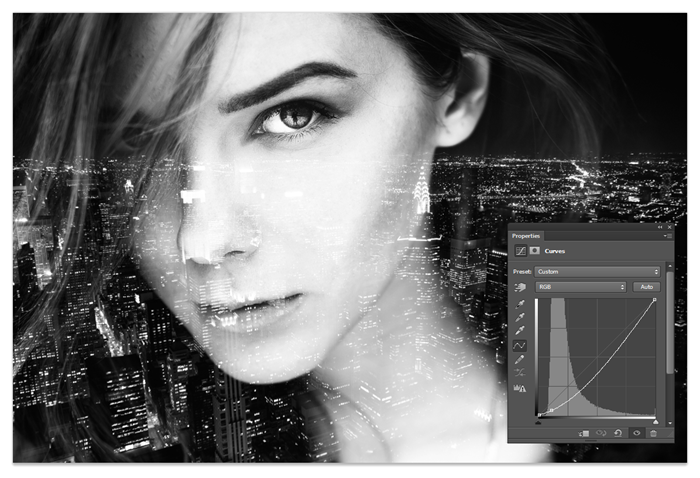
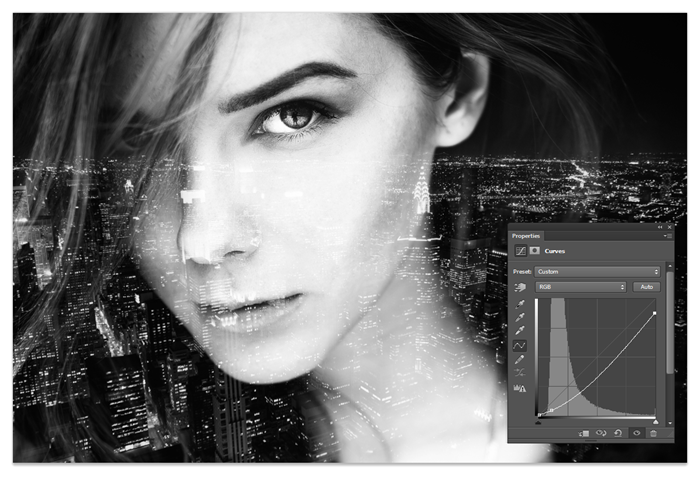
Here’s the before and after of this adjustment.
Step 5
You can also do the same with the background layer. Add a curves adjustment layer above the background layer then make any adjustments that you need.
A neat trick you can do is to darken the whites in the background layer. This makes the brightest areas of your background layer darker so that it does not compete with your foreground layer. To do this, simply drag the top-right curves point downwards. Here’s the before and after results. The difference is subtle but it helps make your foreground stand out more.
Step 6
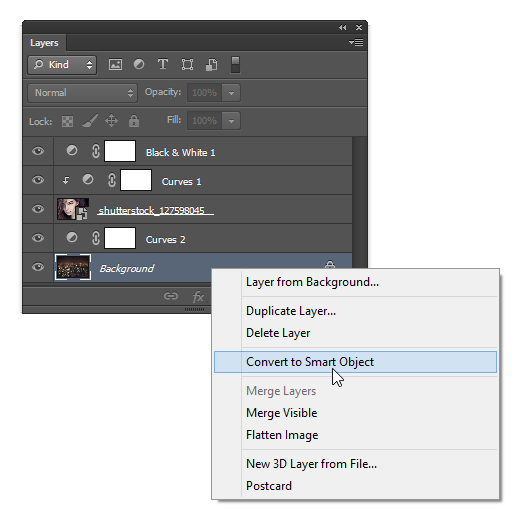
Oftentimes, you’ll find yourself repositioning your layers If you need to reposition or transform your background layer, right-click on it then choose “Convert to Smart Object”. This will allow you to move and scale your layer nondestructively.
Step 7
We’re done! Make any readjustments you need to the black & white adjustment layer. You can also delete it and try running some Photoshop actions to create a film or retro/vintage effect. Here are some actions that work great with double exposures:
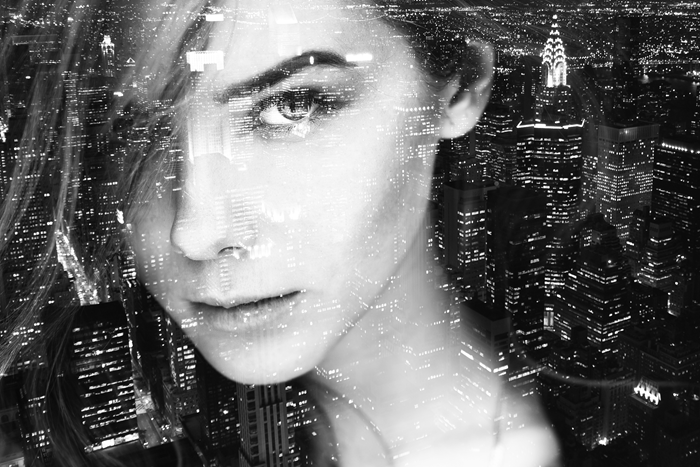
Final Results
Here are the final results creating using a variety of methods.
