Preview of Final Results
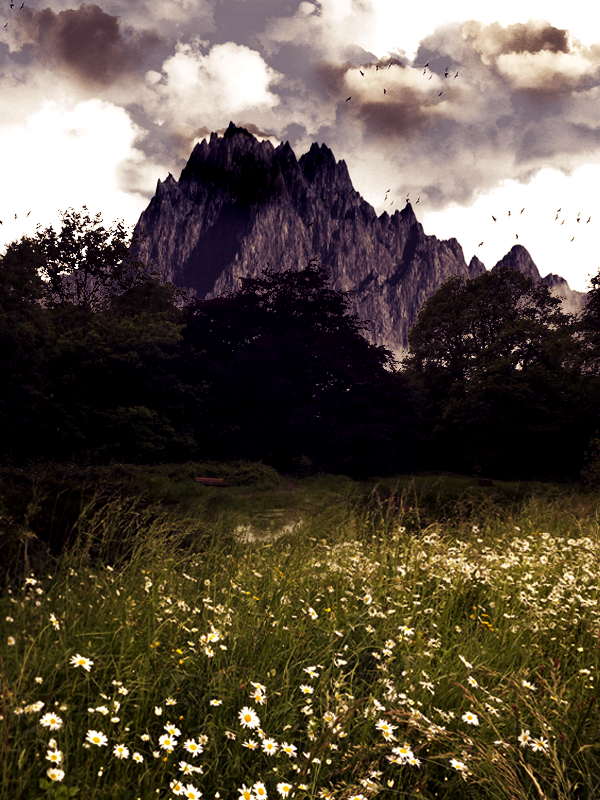
Tutorial Resources
Step 1
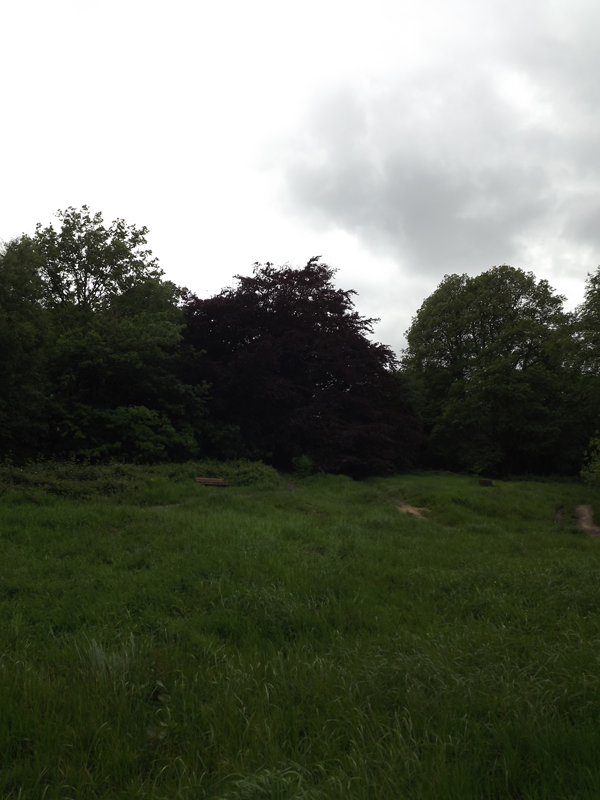
Open the image ‘Landscape 1′.
Step 2
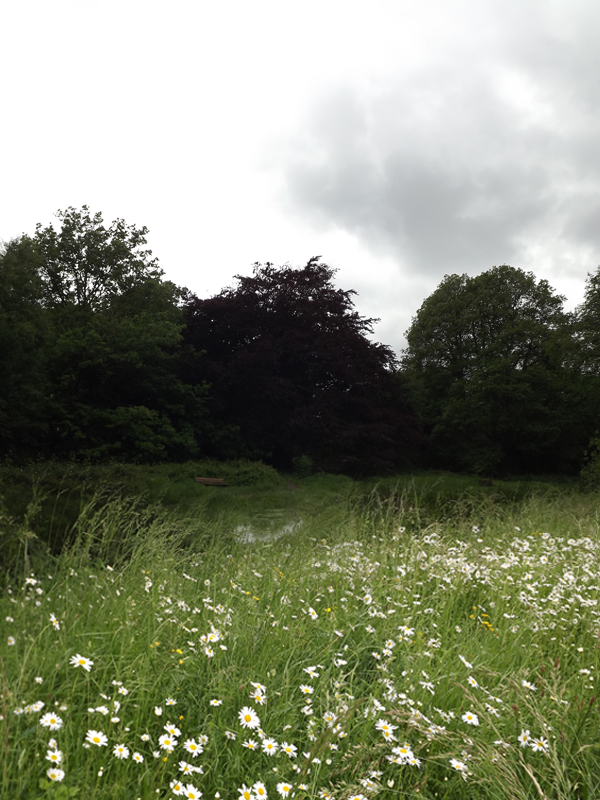
Open the image ‘Lanscape 2′ and place it above the ‘Landscape 1′ like you see below.

Step 3
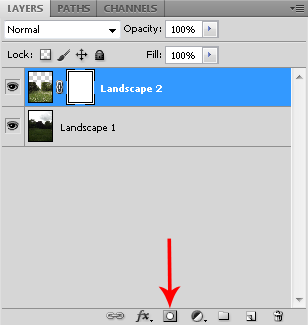
Place your mouse on the ‘Landscape 2′ image and add a clipping mask by clicking the button I show you below.
Step 4
Now we have to delete the unwanted parts of ‘Landscape 2′ image by painting with black on the clipping mask.
I painted with a big soft brush at 100%. When I was closer to the image below I set the Opacity of the brush at 20% so that the blending is better. We want the effect that it’s only one image!
Step 5
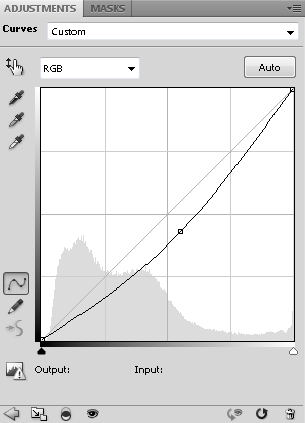
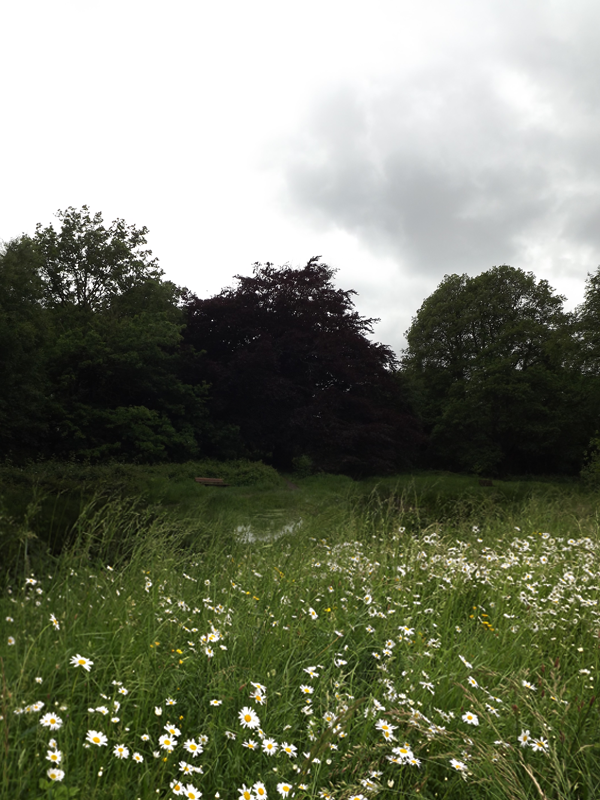
We have now to fix the light of this field. Add a Curves Adjustment Layer only for the ‘Landscape 2′ image and set it like you see below. (Output 110; Input 141).
Step 6
Open the image ‘Mountains’ and place it above everything.

Step 7
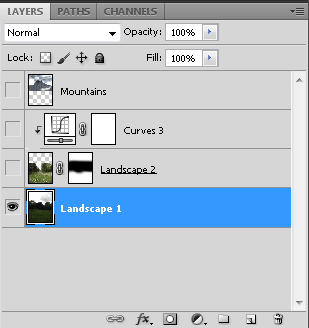
Now we have to fit this image with the rest. You have to activate only the first layer (like shown below).
Step 8
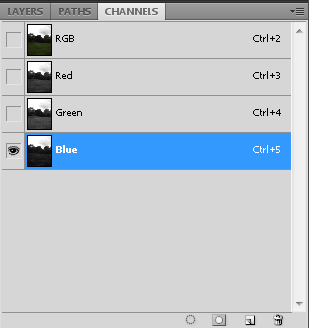
Place yourself on ‘Channels’. Check which channel has more contrast between the land and the sky. In this case it’s the blue channel. (Your work will be now in black and white but son’t worry, it’s ok!).
Step 9
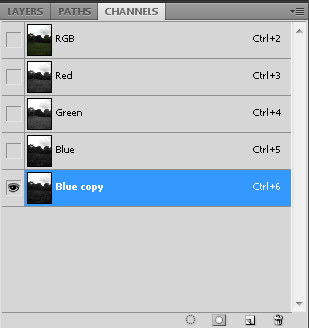
Right click on the Blue channel and choose ‘Duplicate Channel’. A pop up window will appear. Click ‘Yes’ and you will have the Blue channel duplicated. Activate only this channel.
Step 10
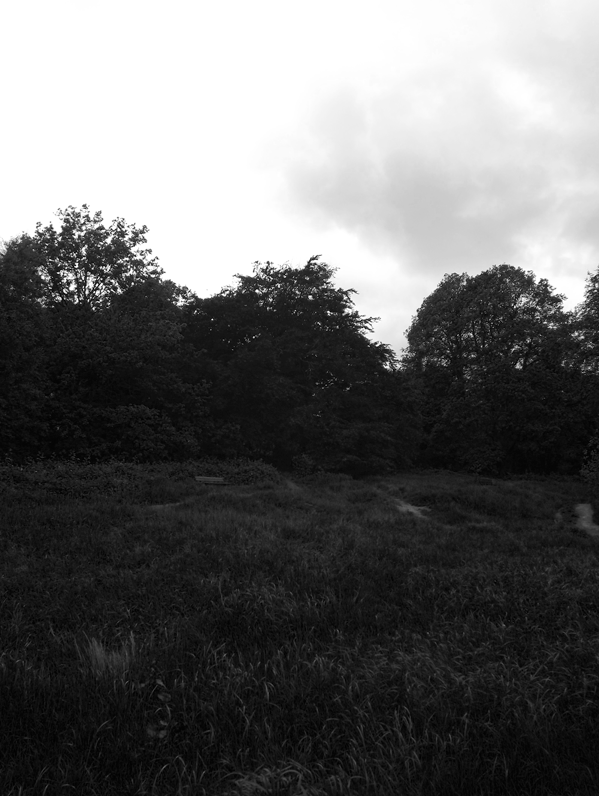
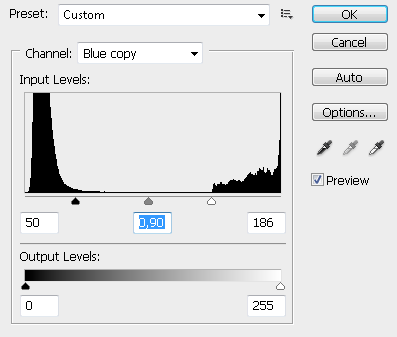
Let’s add some more contrast. Go to Image > Adjustments > Levels. Give more contrast moving the tree little arrows like you see below. Your images will be more contrasted.
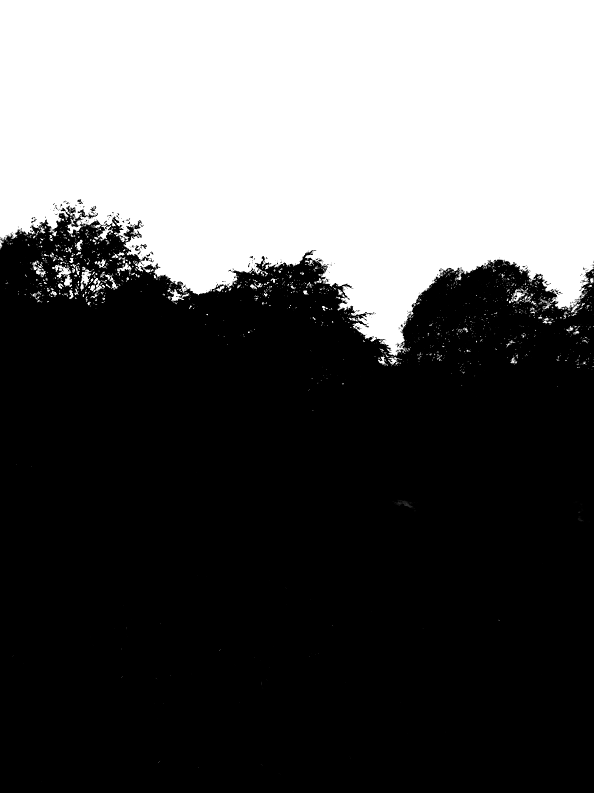
Step 11
As you can see there are some parts that are not covered by black. Just paint over them with black color!
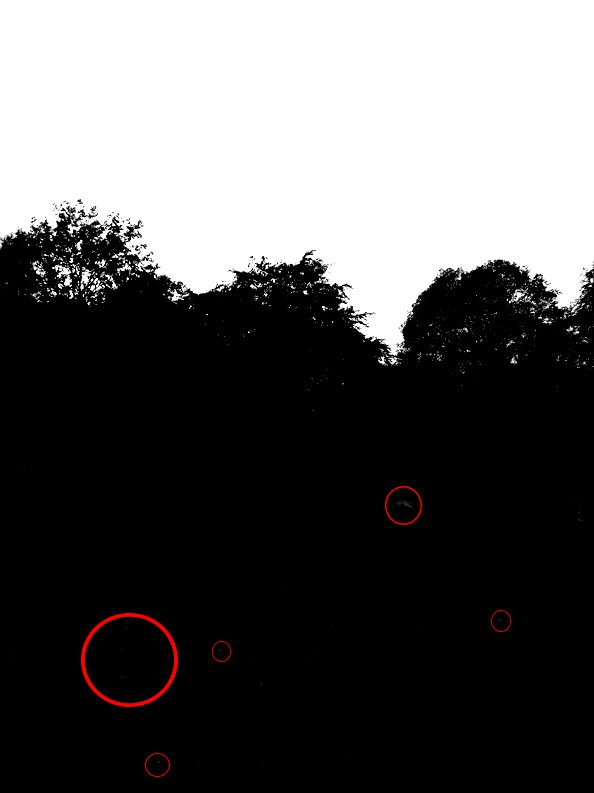
Step 12
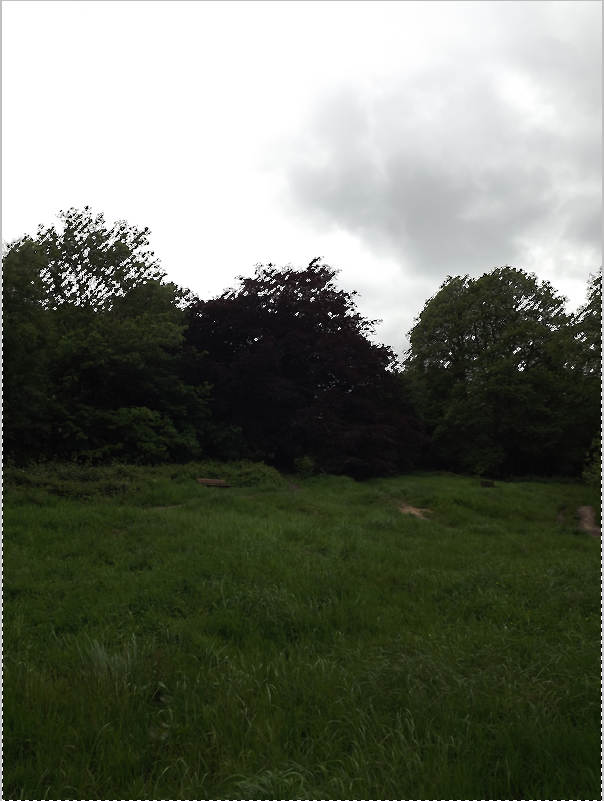
Now keep pressed the button CTRL (CMD for mac) and click the Duplicated Blue channel. You will have the top part of the image selected.
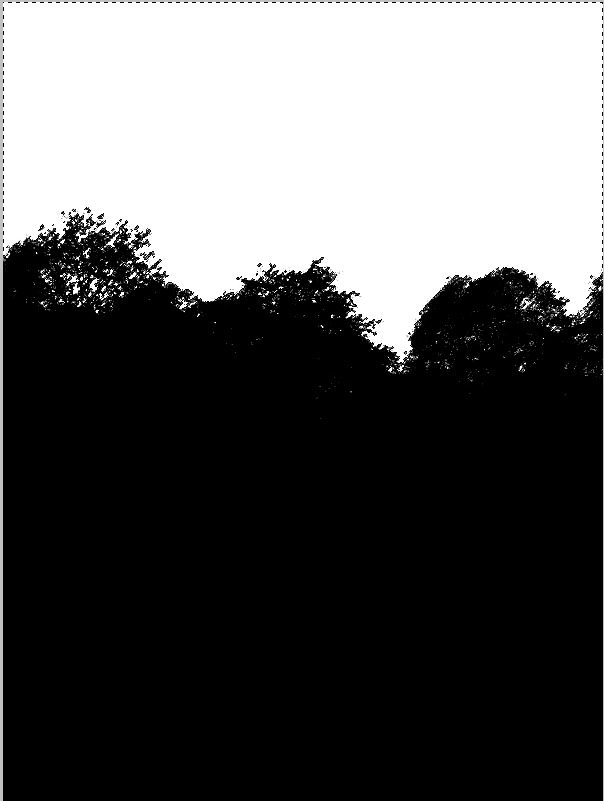
Step 13
Delete the Duplicated Blue channel and reactivatee the other channels. Go back to Layers. Below you can see that the colors are back!
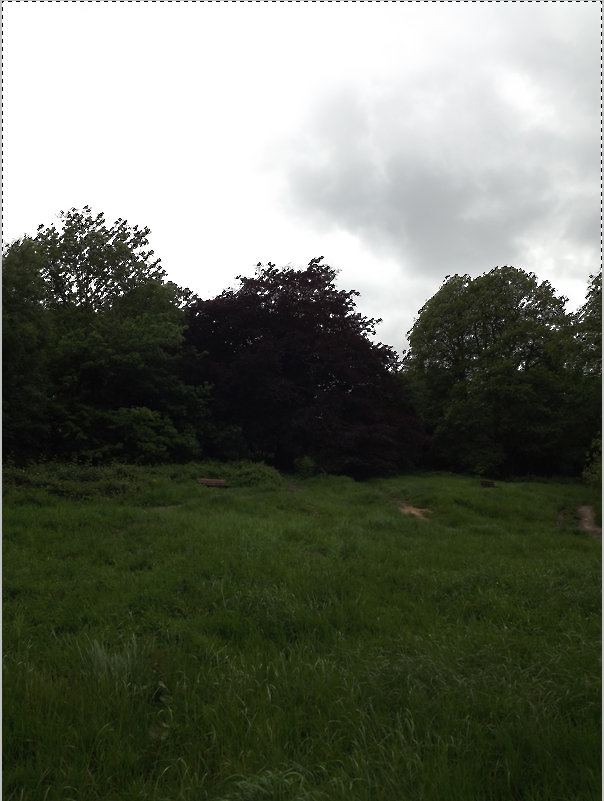
Step 14
Go to Select > Inverse. The selection will be inverted.
Step 15
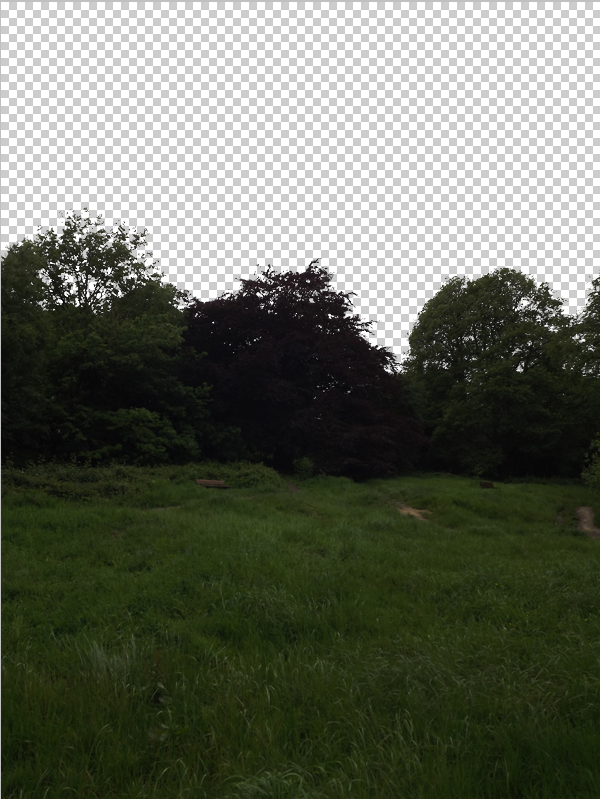
Just add a Clipping mask the the ‘Landscape 1′ image and… Voilà! The sky has gone away!
Step 16
Reactivate all layers and put the ‘Mountain’ at the bottom, below everything.

Step 17
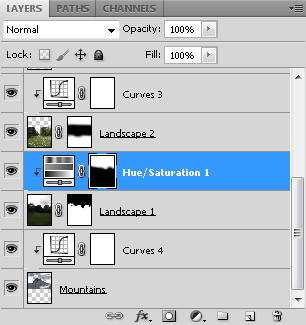
To have a better blending we will add a Hue/Saturation Adjustment Layer only for the ‘Landscape 1′ Image.
We will set the Lightness to -44.

Step 18
We don’t want that this adjustment affects the whole image, but just the top.
Add a clipping mask and with the black color we will paint on it to cover the bottom part of the image.

Step 19
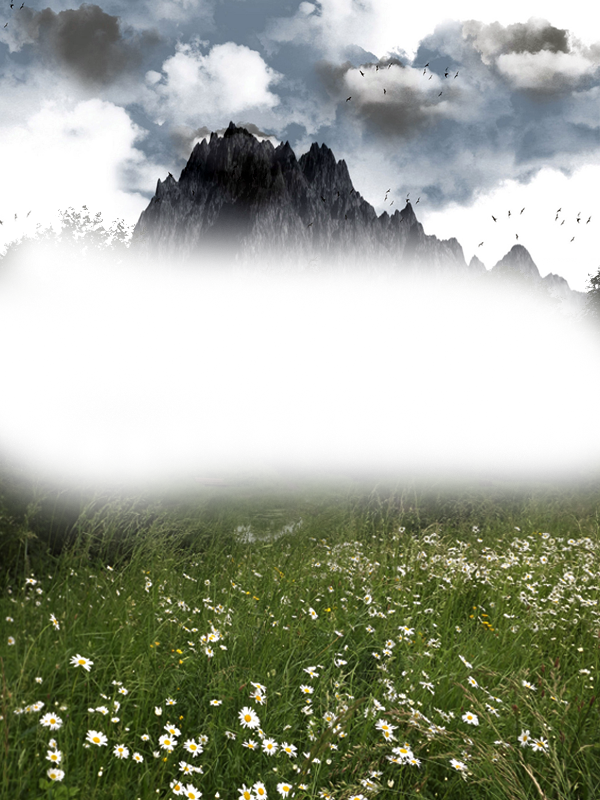
We need to illuminate a bit the centre of the image.
Create a new layer above everything and with a soft brush and color white paint something like that:
Step 20
Apply Gaussian Blur: 100px
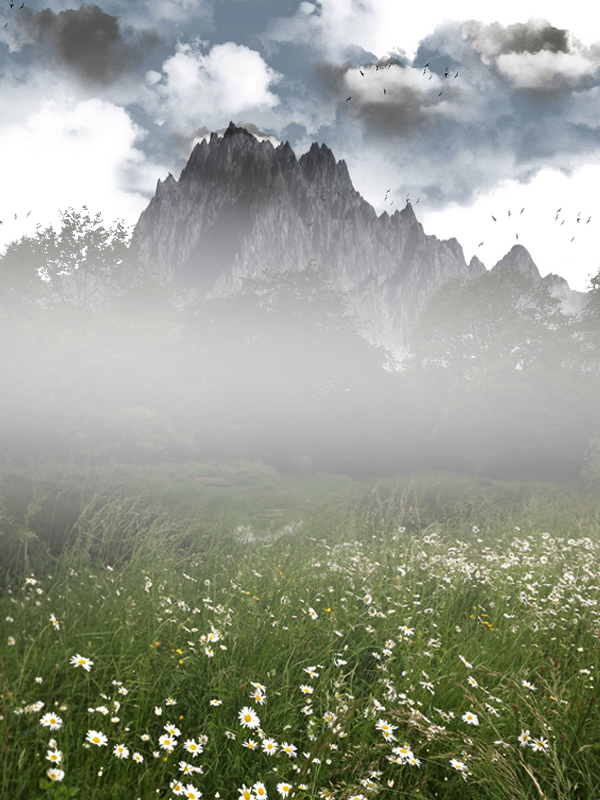
Step 21
Set the Layer to Overlay with Fill 35%.

Step 22
Time to add some adjustments!
Gradient Map: Violet to Orange.
Set it to Soft Light with Opacity and Fill at 90%


Step 23
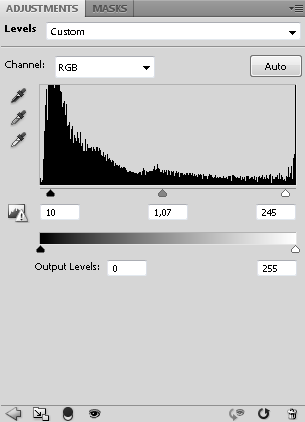
Levels Adjustments to give a bit of contrast.
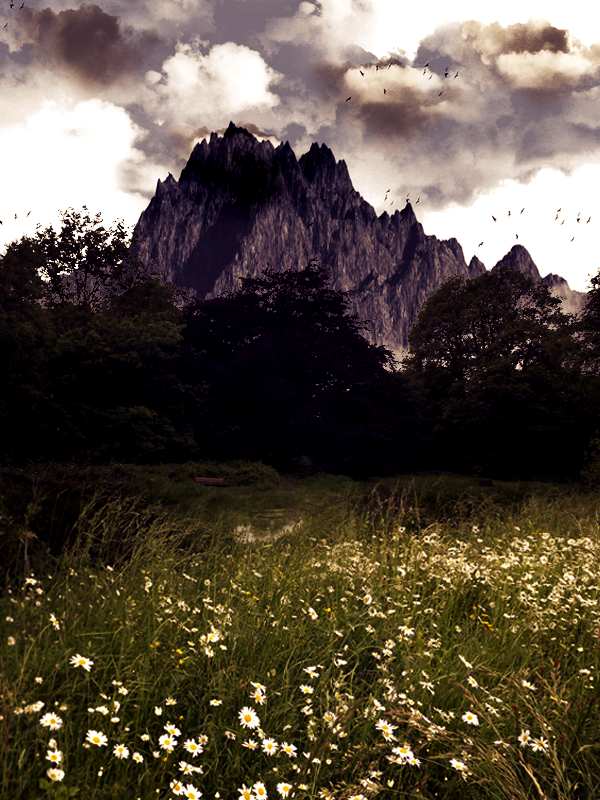
Step 24
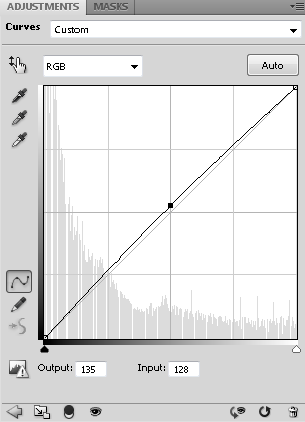
Curves Adjustment:
Final Results
![final-results[1] final-results[1]](https://cdn.idevie.com/wp-content/uploads/2013/05/finalresults11.png)
