Difficulty: Medium
Time: max 1 hour
Outcome:

Resources: Create your own world Part 1 PSD
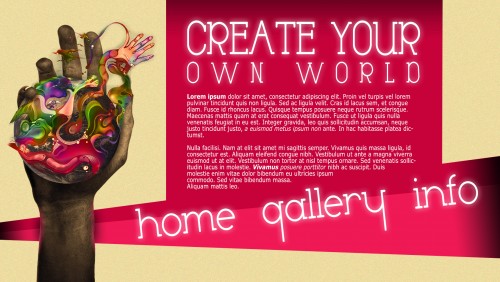
We will use our previous image to create a simple website template. Let’s begin:
1. Open a new document. I used 1600×950
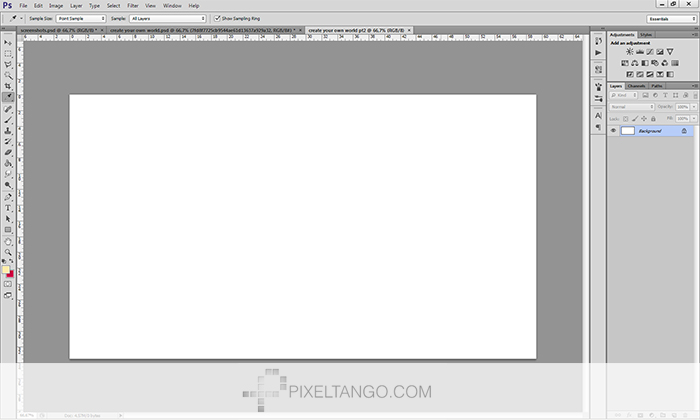
2. Fill it with #FFECAA color using Paint Bucket Tool. ( G )
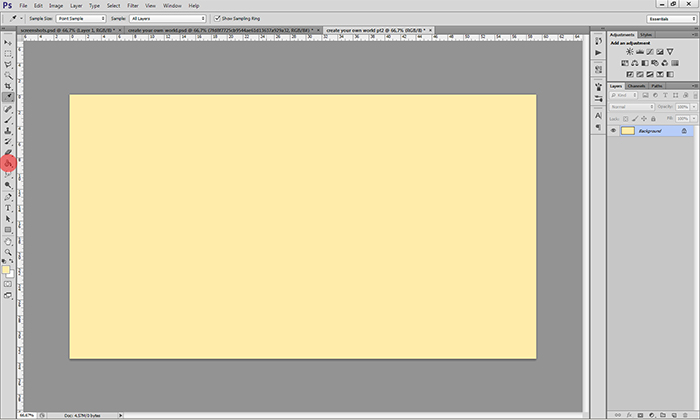
3. Create new layer and fill it with black color, we have named this ‘noise’.
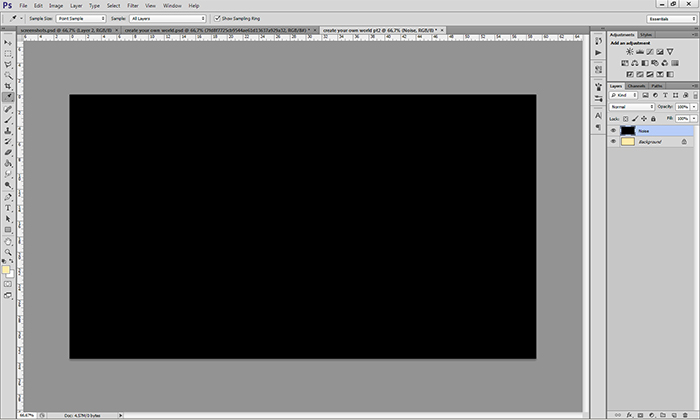
4. Click Filter > Noise > Add noise. Select uniform and select around 129%.
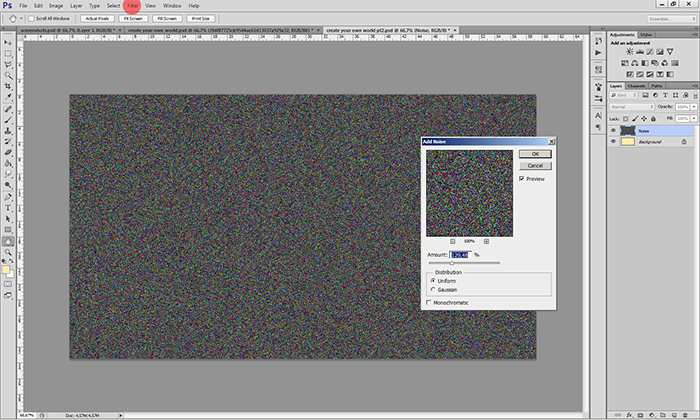
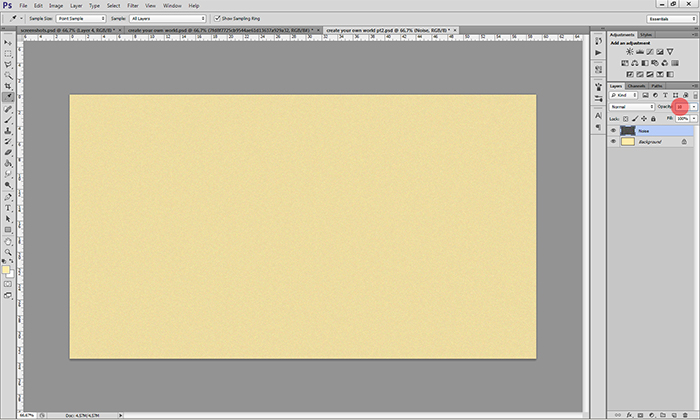
5. Now lower opacity to 10% to add the noise to the image. 10% will ensure it is not too overbearing.
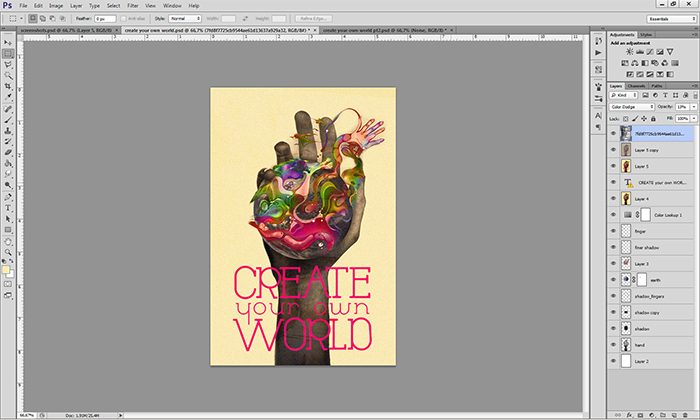
6. Open part 1 document. If you do not have it you can download it here, although I recommend that you go back and try Create your own world Part 1.
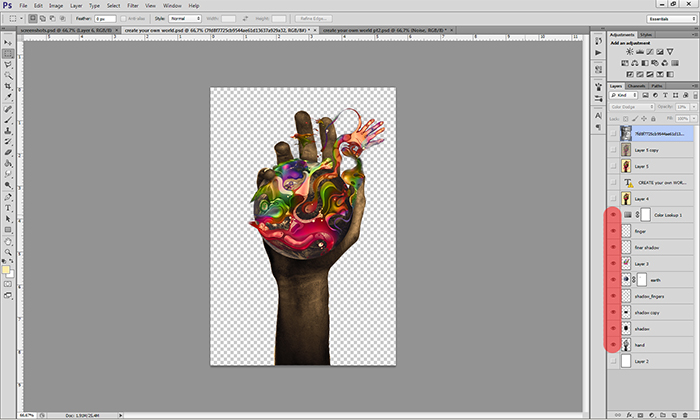
7. Now hide all layers and leave just these ones. Select them all with SHIFT+CLICK and then merge with CTRL+E.
8. Copy to the original document you created earlier and name the layer ‘hand’.
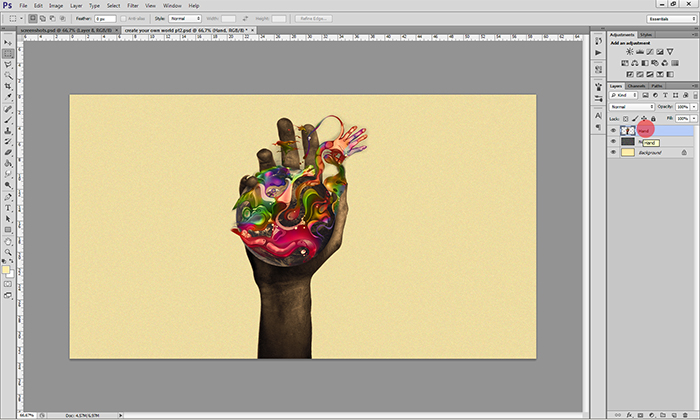
9. Now move it to the left of the document, this is where it will sit.
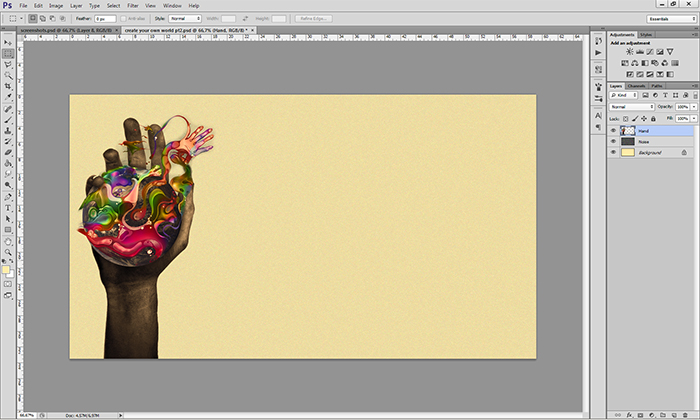
10. Draw a rectangle like this one with Rectangle Tool ( U ). I used color #C7023A.
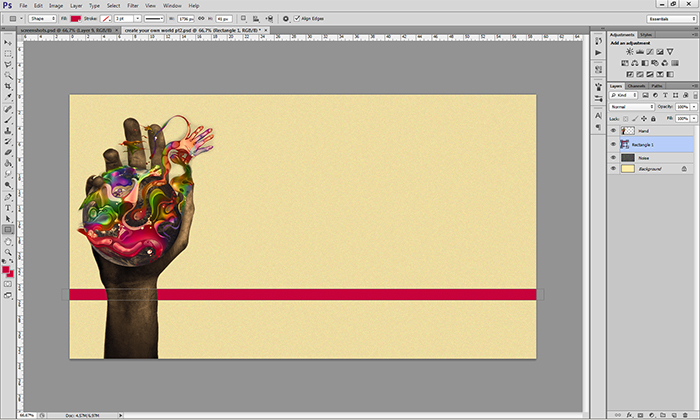
11. Now simply transform it like this.
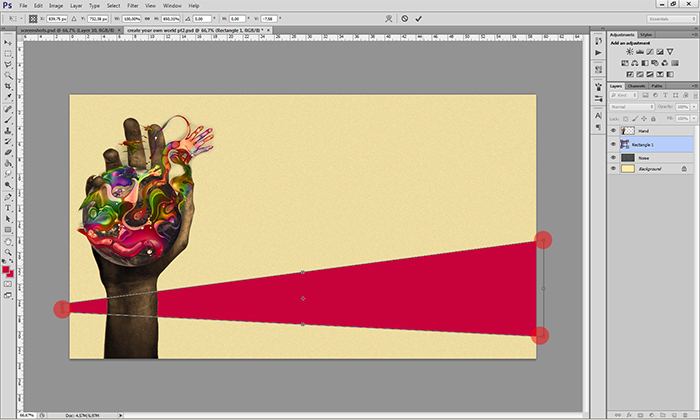
12. Now click CTRL+J on the rectangle layer to duplicate it. We will now have 2 rectangles. Now click on icon near it’s name so you can change color to #EF1955
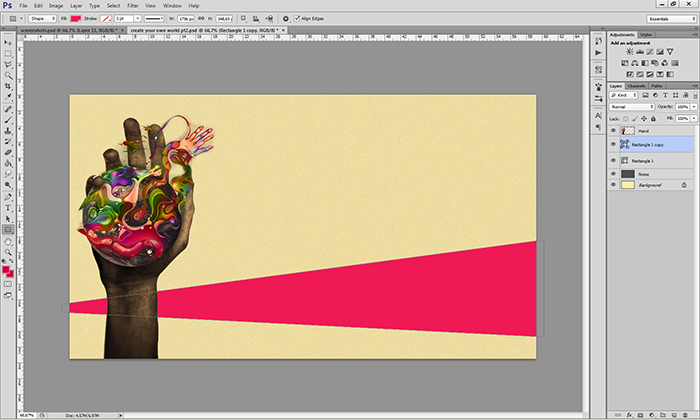
13. Move the new rectangle down.
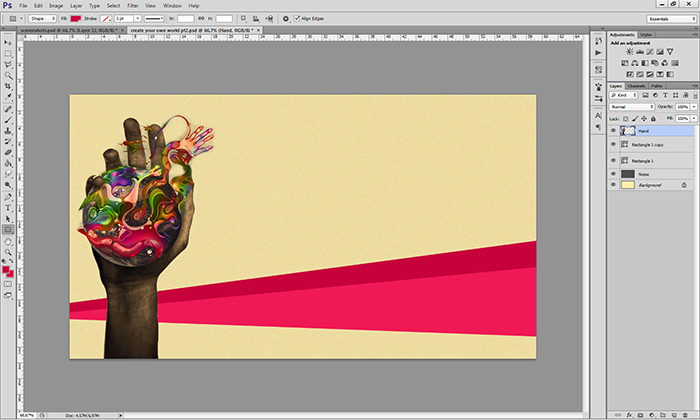
14. Now look towards those yellow spots on the hand, we need to delete them so it looks smoother.
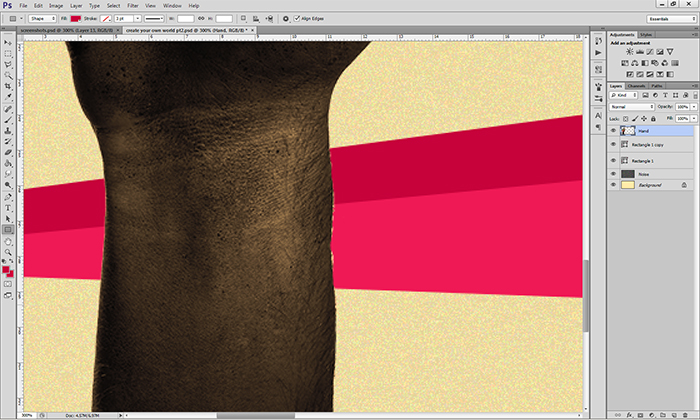
15. I used Eraser tool ( E ) for right part and Burn tool ( O ) for left part.
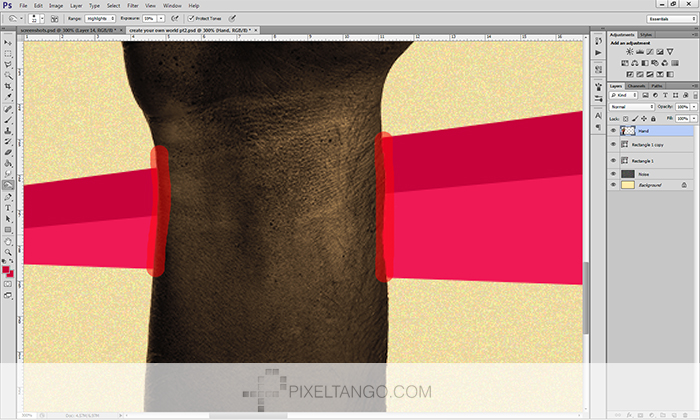
16. Now CTRL+CLICK on icon near ‘hand’ layers name.
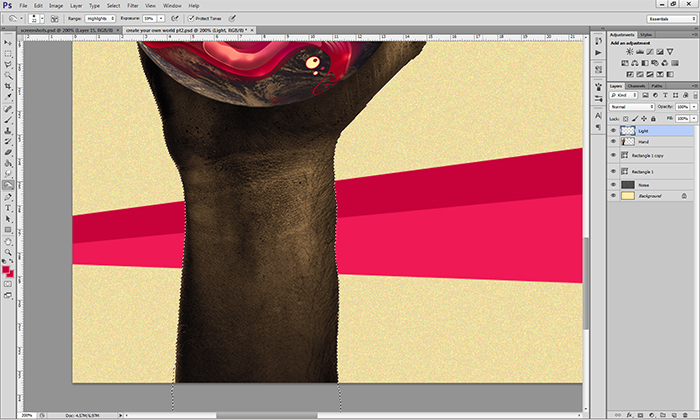
17. Using the Soft brush ( B ) draw like this on a new layer named ‘light’.
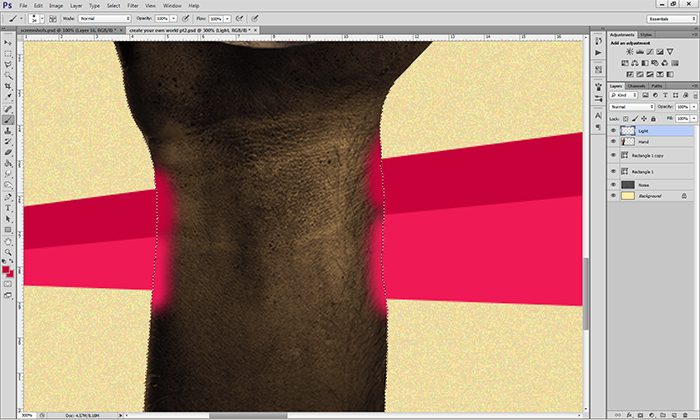
18. With Smudge tool, smudge it to look like this.

19. Set that layer to Screen and set it to around 50%.
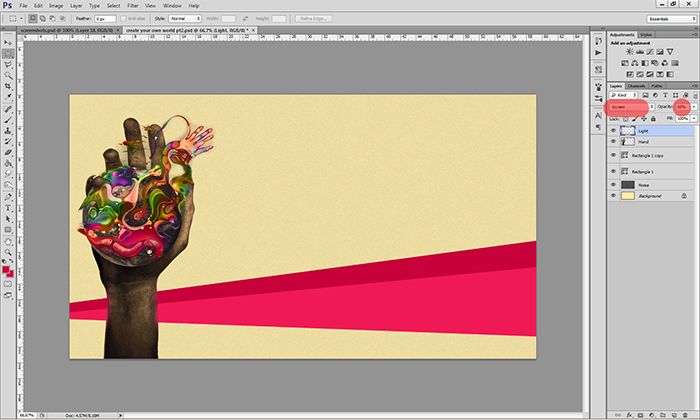
20. Create new layer named ‘shadow’ beneath the hand layer.
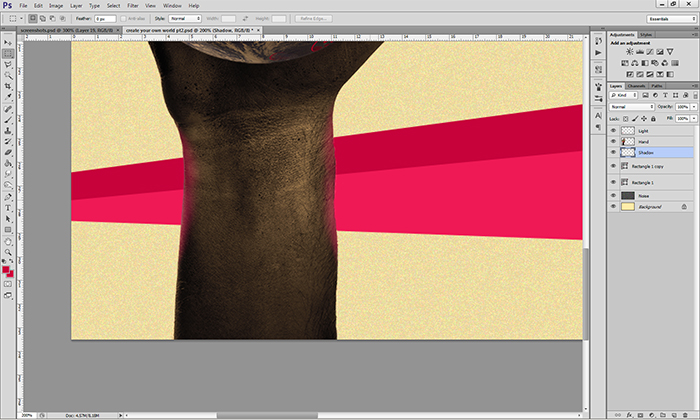
21. Use CTRL+SHIFT+CLICK on icon near both rectangle layers to select the whole element.
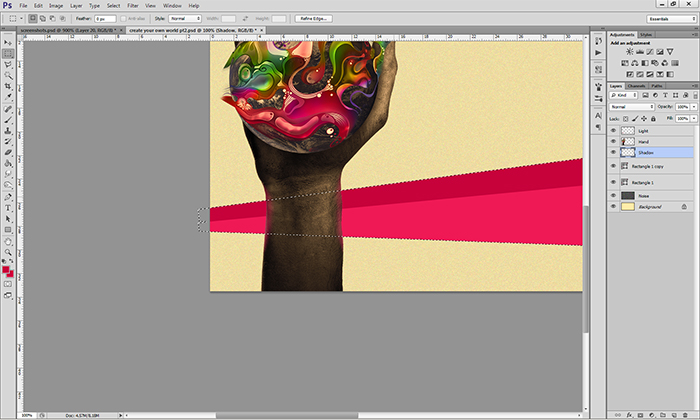
22. Using Soft black brush ( B ) draw shadow like this.
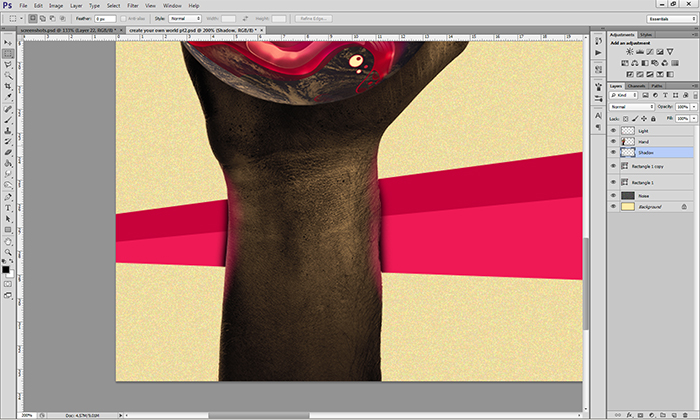
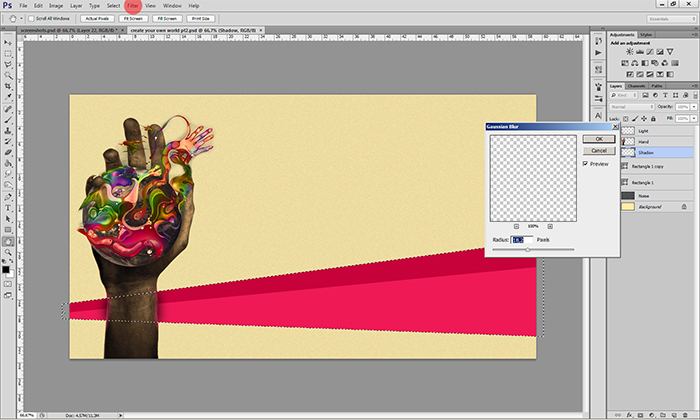
23. Select Filter > Blur > Gaussian blur, and set it to be around 18%.
24. Now create a new layer named ‘shadow_line’.
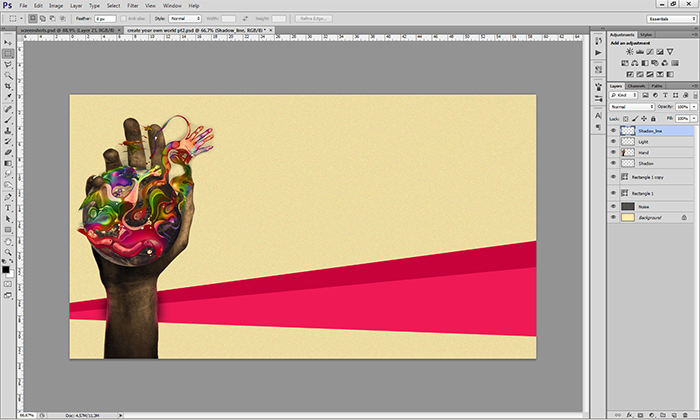
25. With Gradient tool ( G ) make shadows like this. I used a Black-to-Nothing gradient.
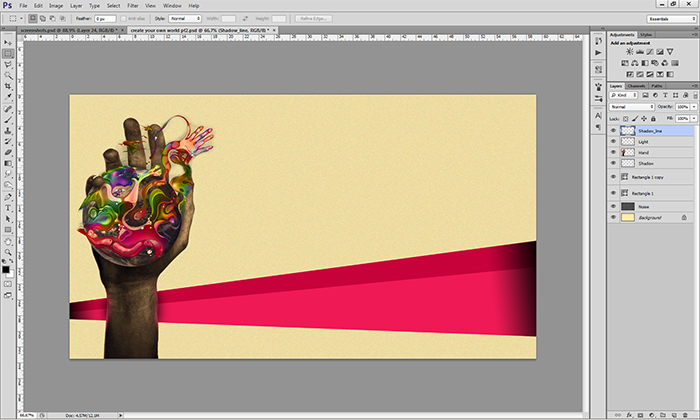
26. Create a new rectangl with color #C7023A.
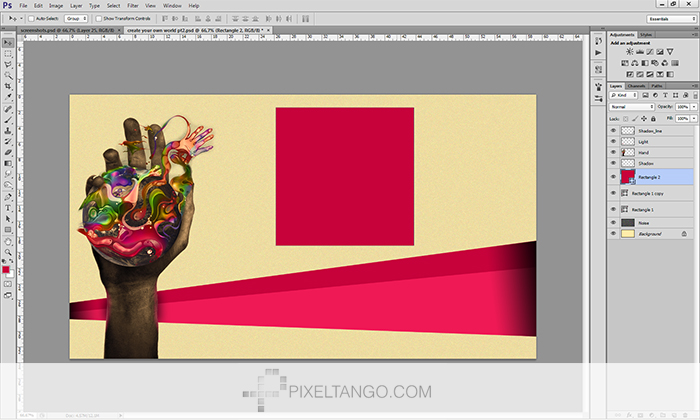
27. Now transform it like this.
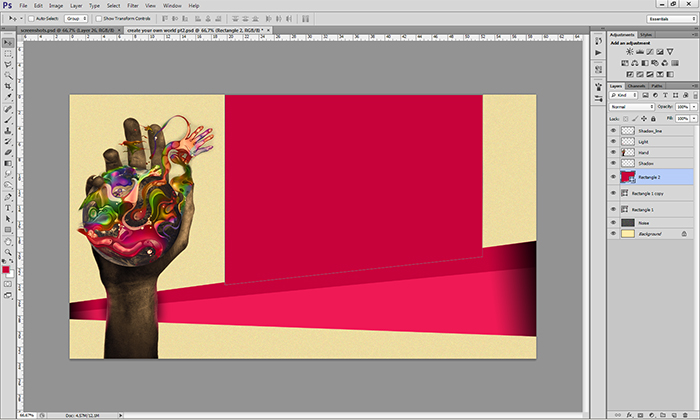
28. Now create a new layer above it and use CTRL+CLICK on that new rectangle. Then apply a shadow with gradient tool ( G ) as in step 25.

29. Write some headline text.
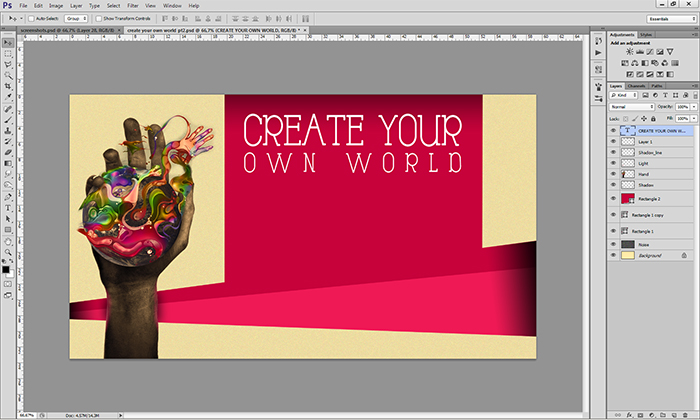
30. Right click on text layer then select Blending options. Click Outer Glow > Blend mode: normal. I used Opacity of 43% and a White color.
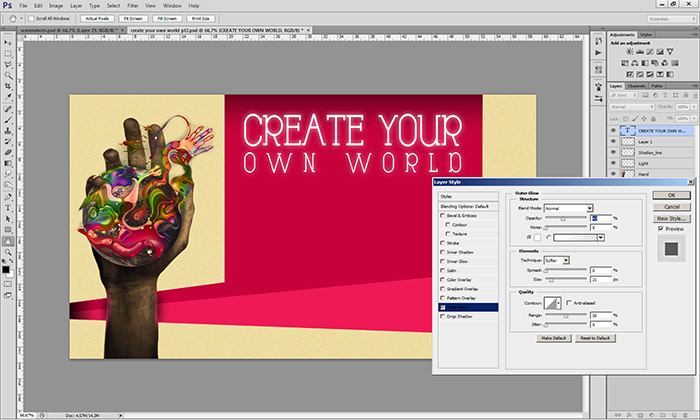
31. Now create a new rectangle but with no color. (You adjust colors in upper left corner)
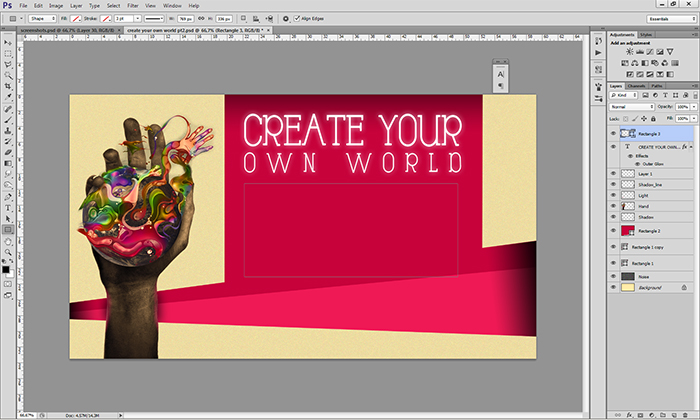
32. Transform it with Pen Tool ( P ). You can transform points while using Pen Tool. You just have to hold CTRL while clicking on a certain point.

33. Select the text tool and just click anywhere inside rectangle area.
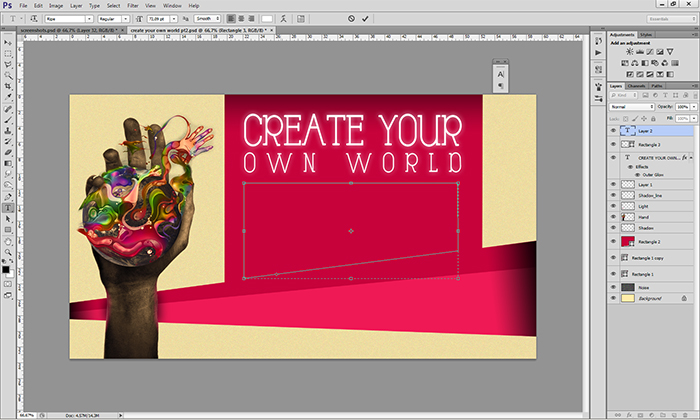
34. Write something. (I used lorem ipsum)

35. I used bold some parts just for the effect.

36. I then duplicated my headline text, lowered it’s size and created navigation with it.
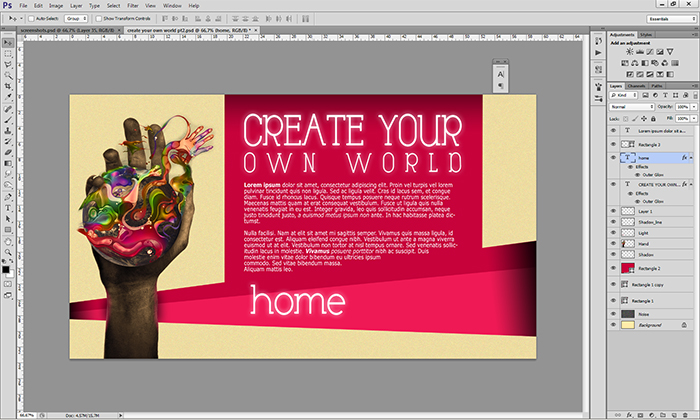
37. Just copy paste and change text into something like home, info, about, gallery, etc etc.
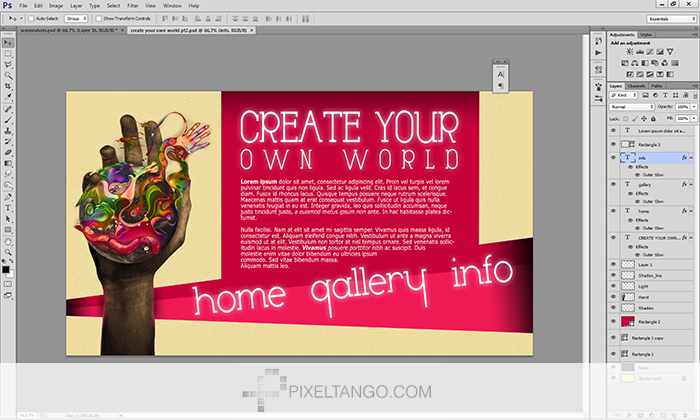
Your done! Hope this has given you a few helpful tips, we have plenty more tutorials so please make sure you check out the whole site.
