Planning a wedding can be stressful. In this tutorial, you will learn how to create an RSVP card template using Adobe InDesign. I’ll walk you through determining the size of the RSVP cards, what information to include on them, and how to design the wedding RSVP template.
What You’ll Learn in This Wedding RSVP Template Photoshop Tutorial
- What size are RSVP cards?
- What to put on an RSVP card
- How to make an RSVP template
Assets
1. What Size Are RSVP Cards?
There are a variety of RSVP cards, but the most common size is 6×4 inches. If you’re looking for something a bit bigger, try a 5×7. If you don’t have much to put on your wedding RSVP cards, then a 5×3 will do the trick. The size you choose should depend on the amount of information you want to include.
2. What to Put on RSVP Cards
If you’re struggling to figure out what to put on an RSVP card, don’t worry—it’s simple. Start by including an area for your guests to write their name. Next, indicate whether you’ve reserved one or more seats for them. The most important field to include is a place for your guests to accept or decline your invite, so that you’ll have an accurate number of those that will be in attending your nuptials.
The next section should list the choice of entrees you will serve, and a space for your guests to specify any dietary restrictions. Make sure to include your wedding website for guests to RSVP online or send you a gift if they can’t make it. If you’re sending a postcard, make sure to include an area for the stamp and return address.
3. How to Make an RSVP Template
Step 1
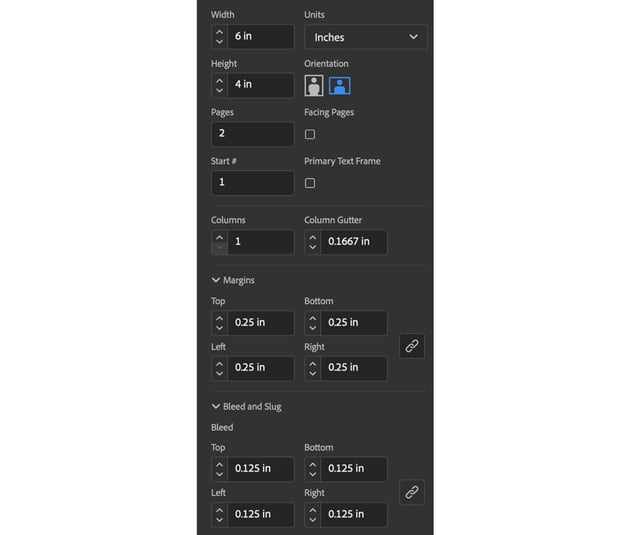
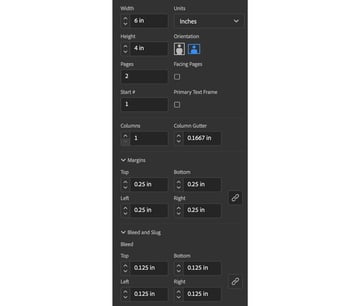
Create a New Document in InDesign using 6 inch for the Width and 4 inch for the Height. Change the Bleed to 0.125 inches on each side and Margins to 0.25 in.

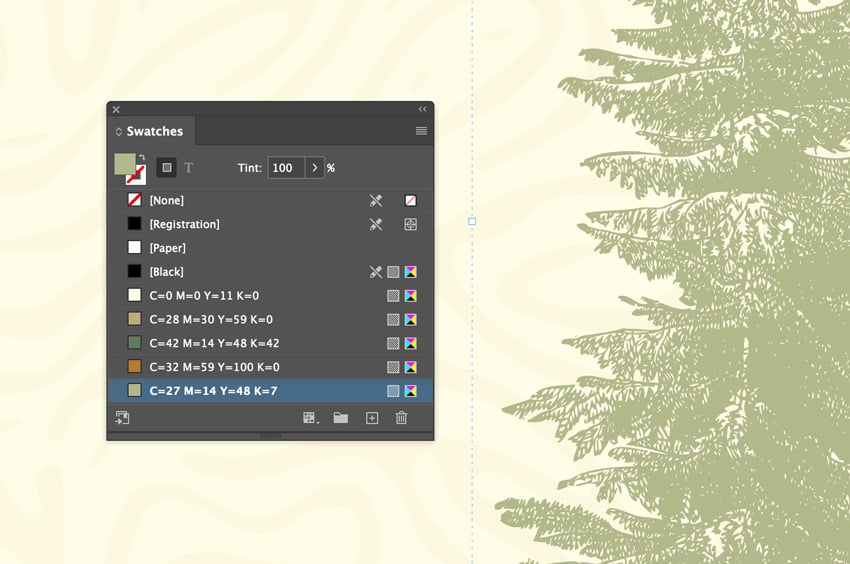
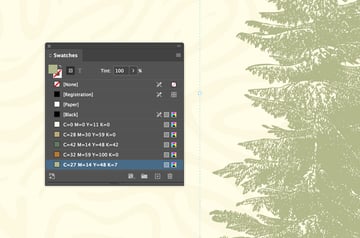
Step 2
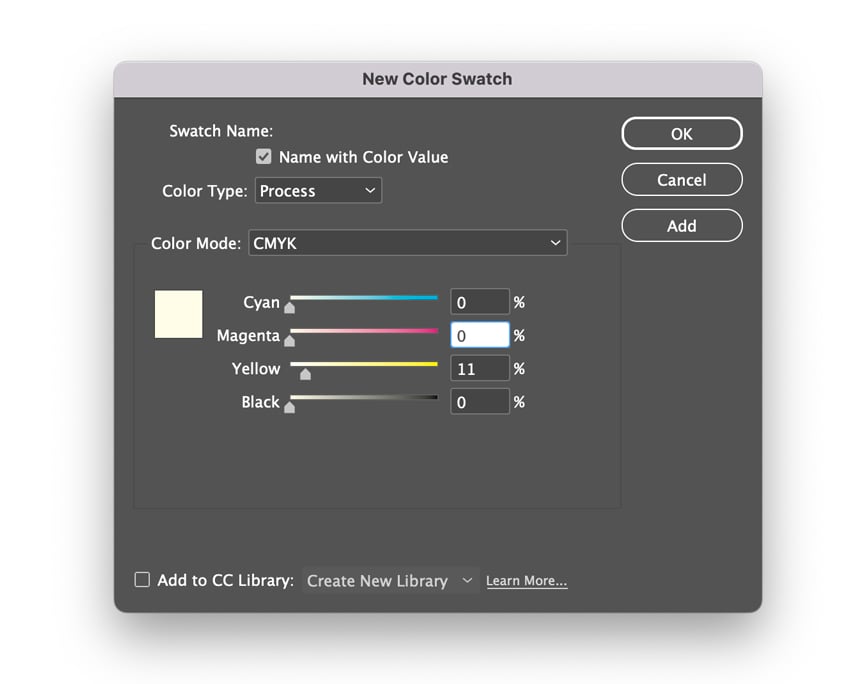
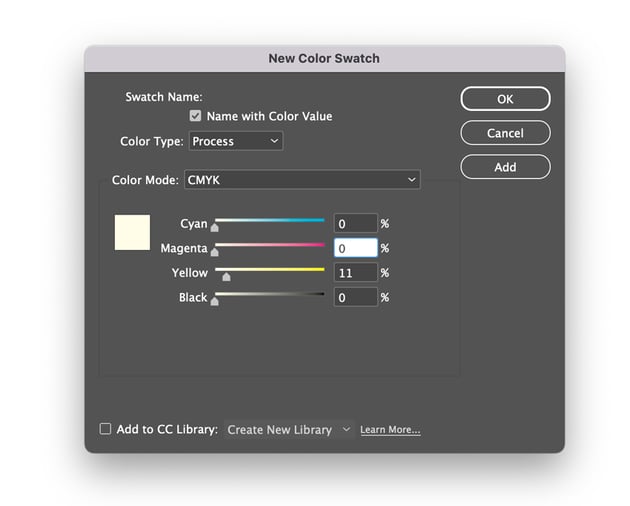
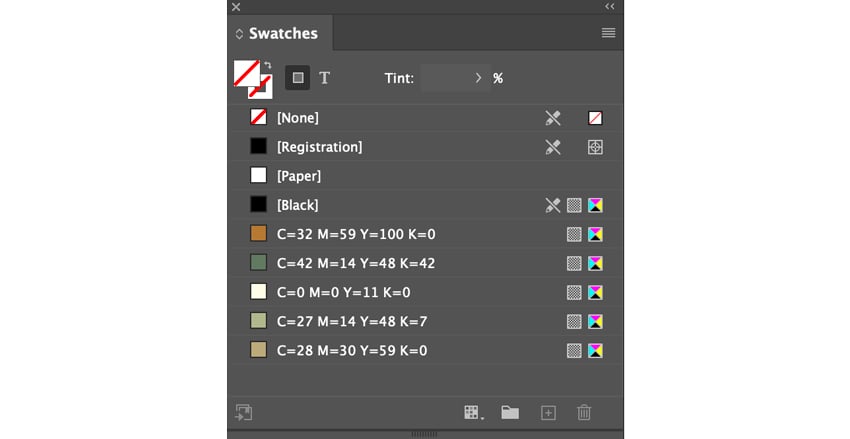
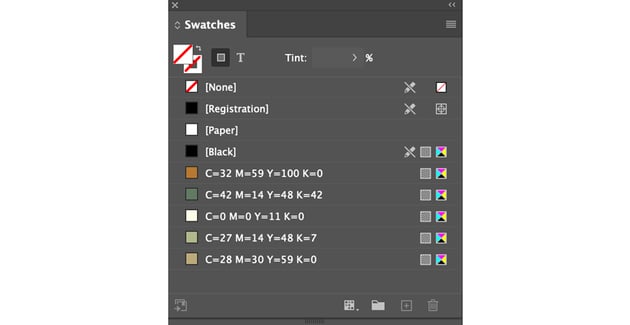
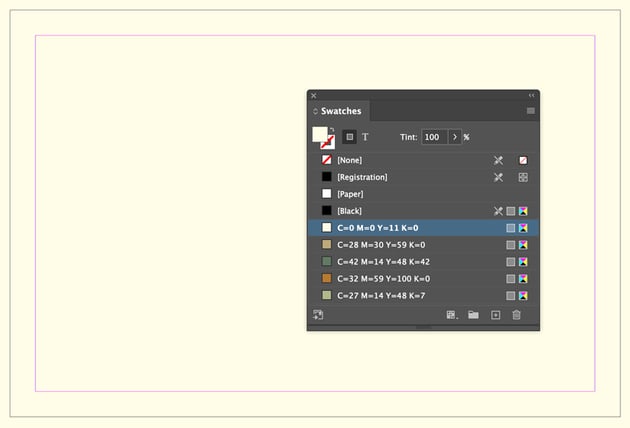
In the Swatches panel, click on the hamburger menu in the top-right corner and choose New Color Swatch. Change the color to C0 M0 Y11 K0. Click Add.

Step 3
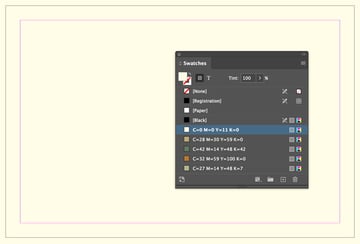
Add four more color swatches:
- C32 M59 Y100 K0
- C42 M14 Y48 K42
- C27 M14 Y48 K7
- C28 M30 Y59 K0
Step 4
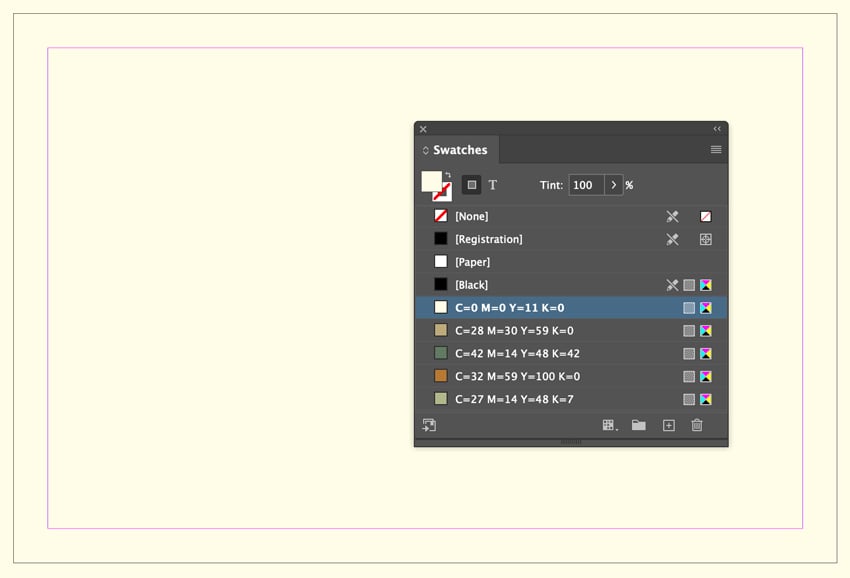
Take the Rectangle Tool (M) and Fill the background with the light yellow color swatch.
Step 5
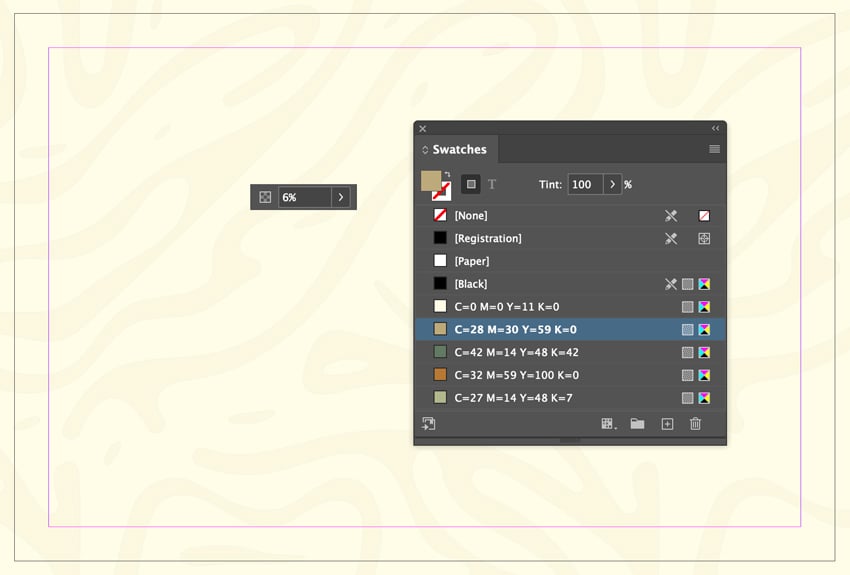
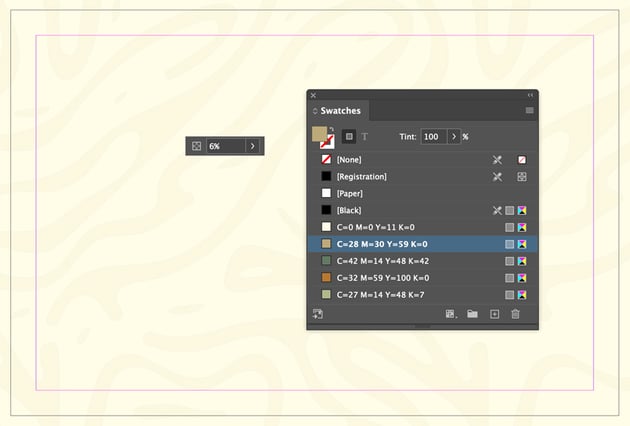
Open the Line Pattern in Adobe Illustrator. Copy (Command-C) and Paste (Command-V) the pattern over into InDesign. Use the light brown color swatch and change the Opacity to 6%.

Step 6
Open the Vintage Hand Drawn file in Illustrator and Copy (Command-C) and Paste (Command-V) the tree into InDesign. Change the color to the light green swatch.
Press W on your keyboard to view your document in Preview mode.

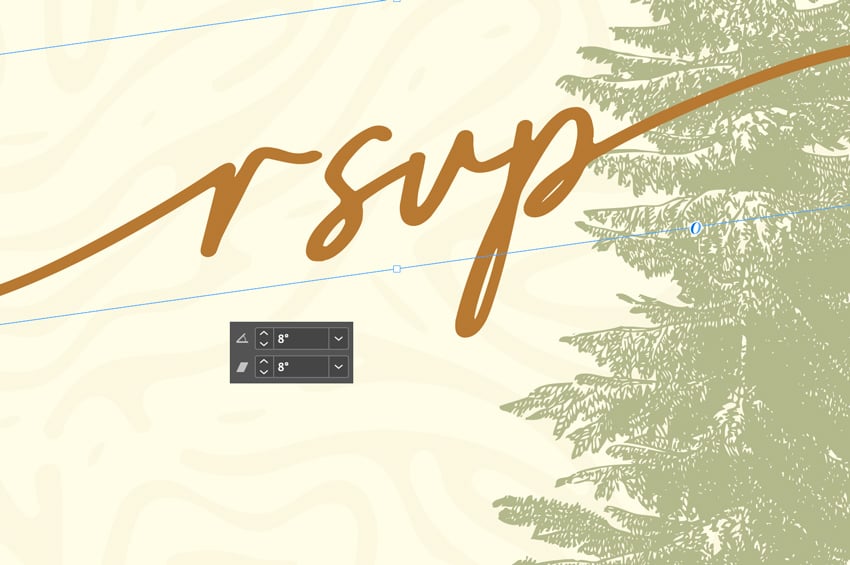
Step 7
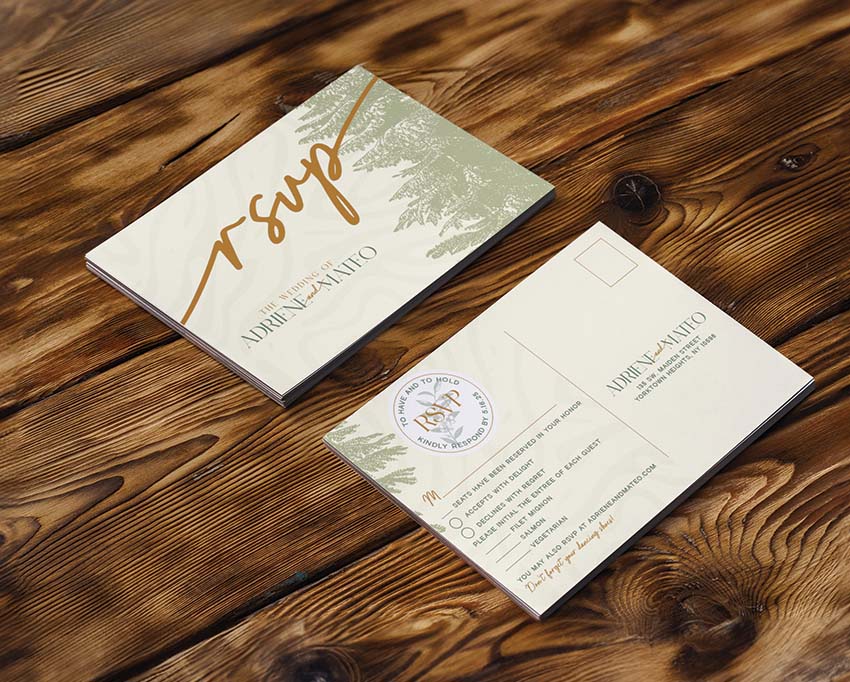
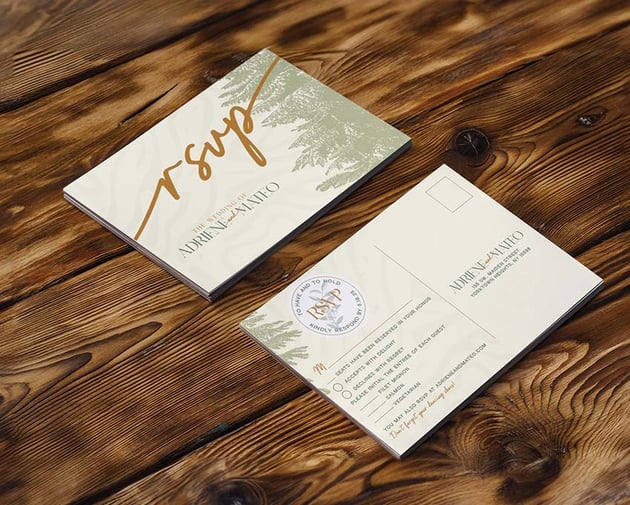
Type out “RSVP” using the font Gastela, 179 pt, and using the medium brown color swatch. Change the Rotation Angle to 8 and the Shear X Angle to 8.
To access the Glyphs panel, go to Window > Types & Tables > Glyphs.


Step 8
In the lower left corner, type the names of the individuals getting married. Use these settings:
- “The Wedding of”: Jaguar, 10 pt, Medium Brown
- “Adriene/Mateo”: Jaguar, 24 pt, Dark Green
- “and”: Gastela, 19 pt, Medium Brown


Step 9
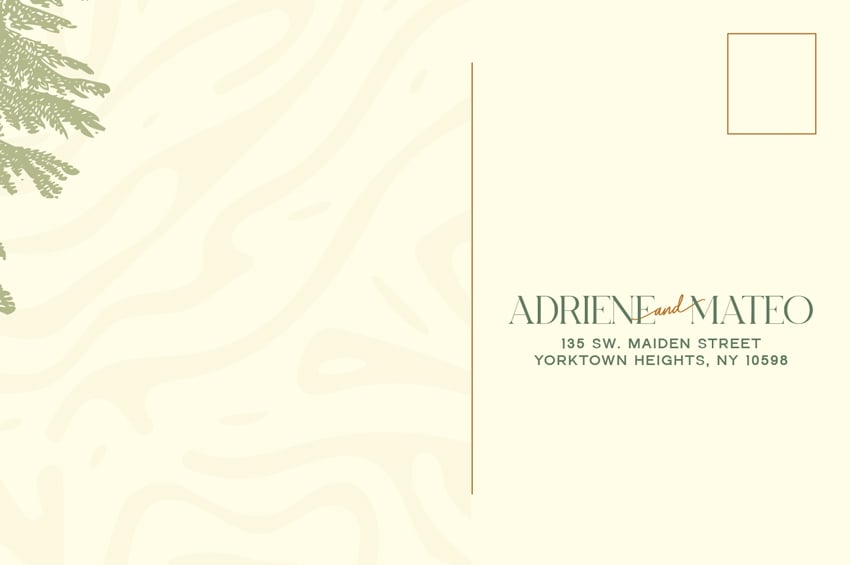
On page 2 of our wedding RSVP cards template, add the light yellow background, pattern, and tree.


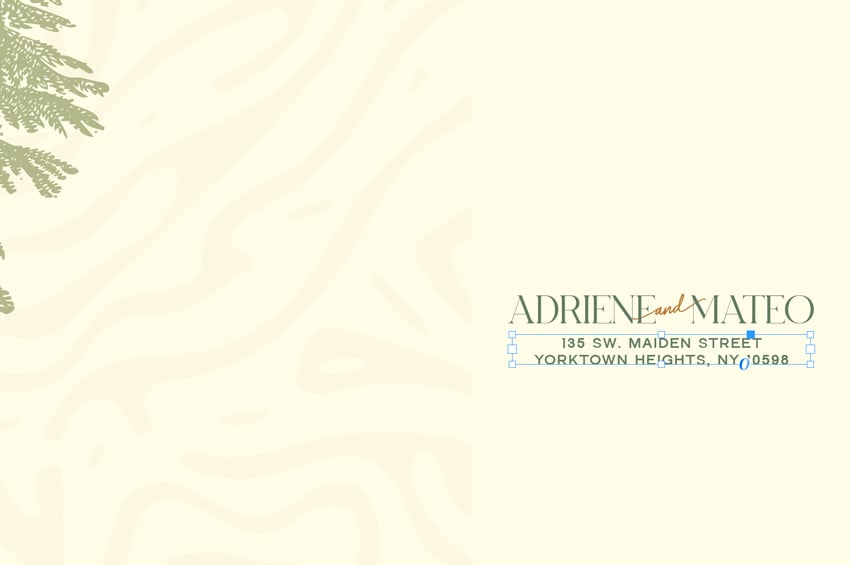
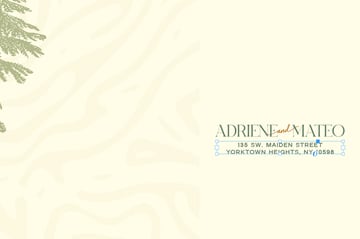
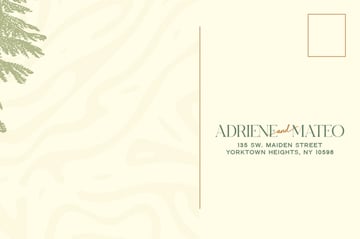
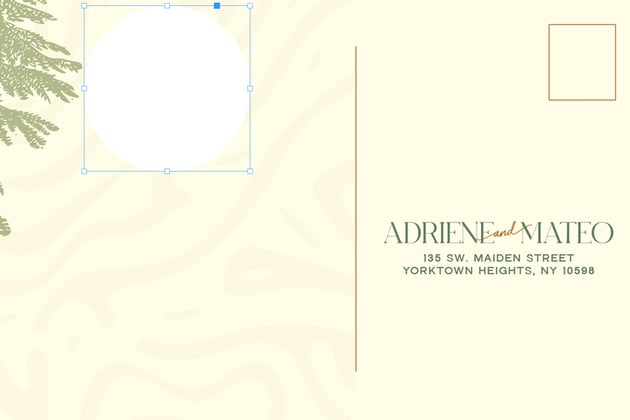
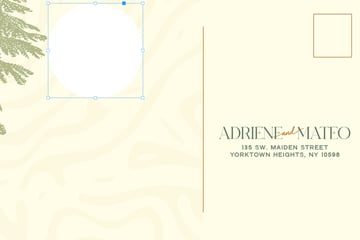
Step 10
On the right side of our RSVP template, we will place our return address. So add the “Adriene and Mateo” text along with the return address using the font Maxima Nouva, 7 pt, and the dark green swatch.
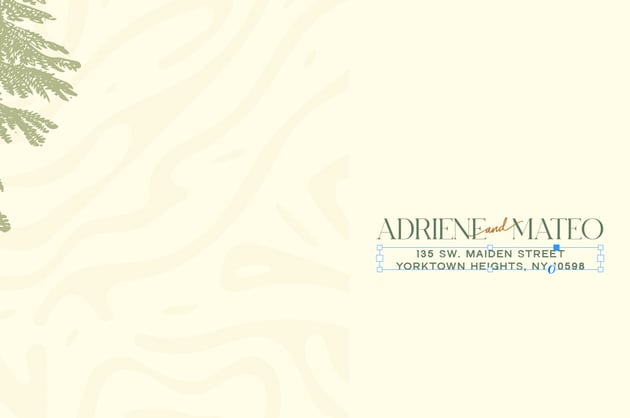
Step 11
Add a place for the stamp and create a divider line using a 0.5 Stroke.

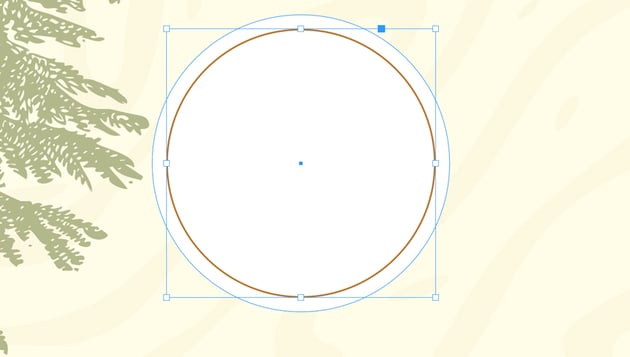
Step 12
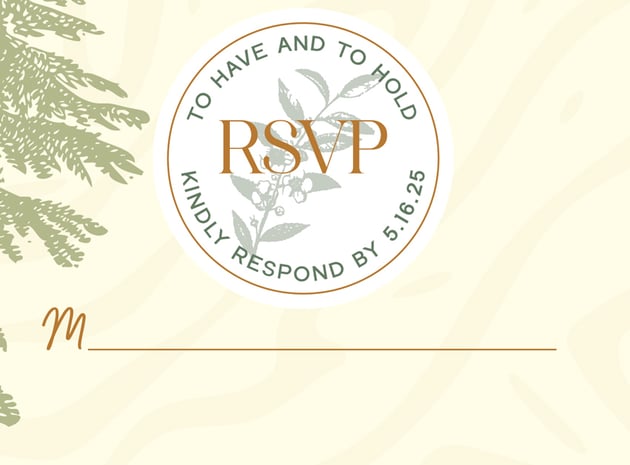
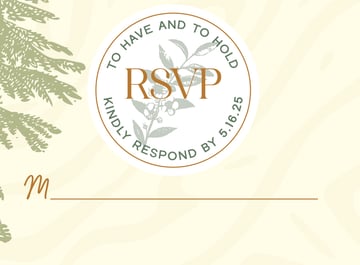
Create a 1.538 in circle using the Ellipse Tool (L) and Fill it with the Paper swatch.

Step 13
Add another 1.3916 inch circle and change the Fill to None and the Stroke to 0.5.


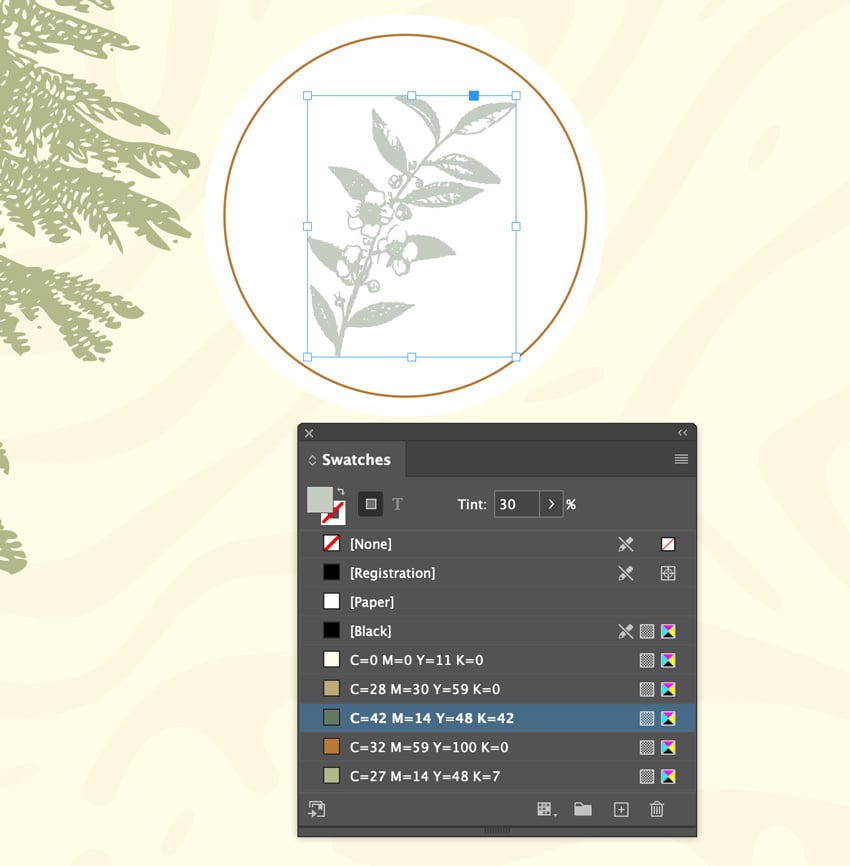
Step 14
Copy (Command-C) and Paste (Command-V) the flower from the vintage hand drawn file. Use the dark green swatch and change the Tint to 30%.


Step 15
Use the Ellipse Tool (L) and make another circle. Type out “To Have and To Hold” using the Type on a Path Tool (Shift-T). Use the font Maxima Nouva Extra Bold with a font size of 7.6 pt. Go to Type > Type on a Path > Options and set Align to Center.

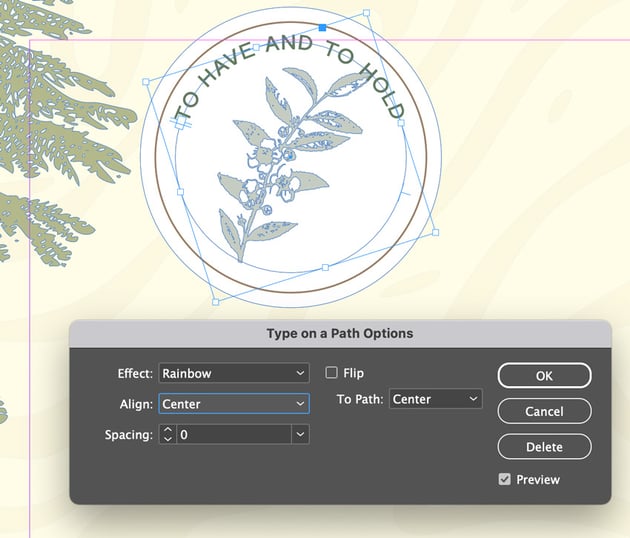
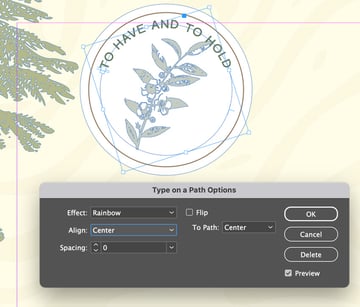
Step 16
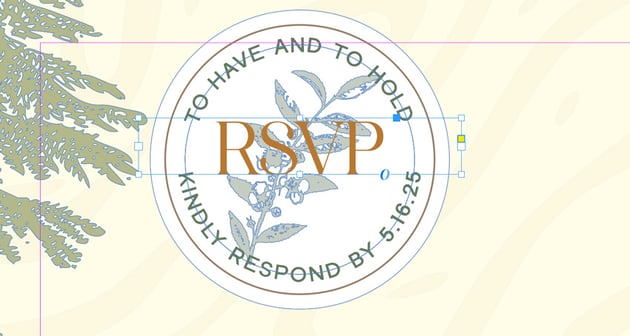
Repeat the process and add the date by which you want your guests to respond. Finish your seal by adding “RSVP” in the middle using the Jaguar font, changing the size to 27 pt.


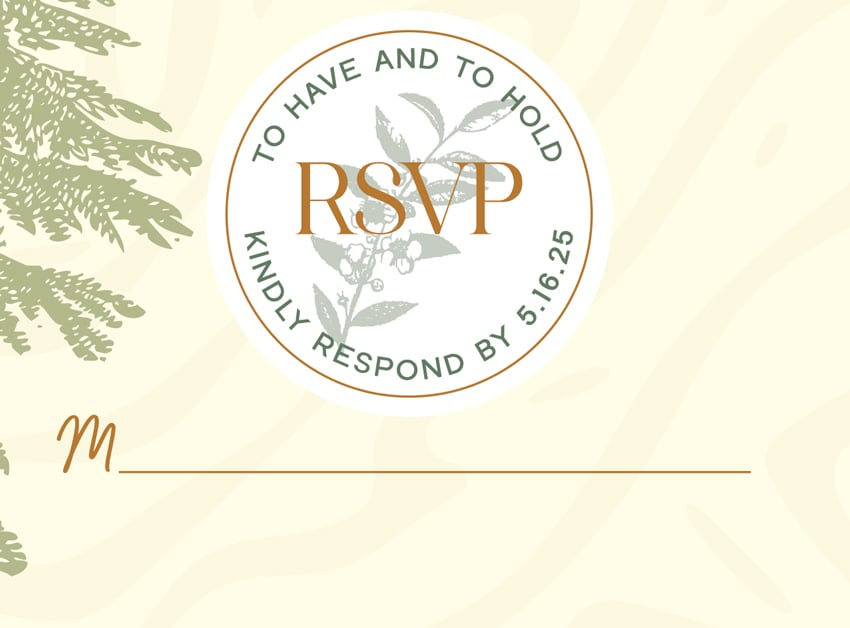
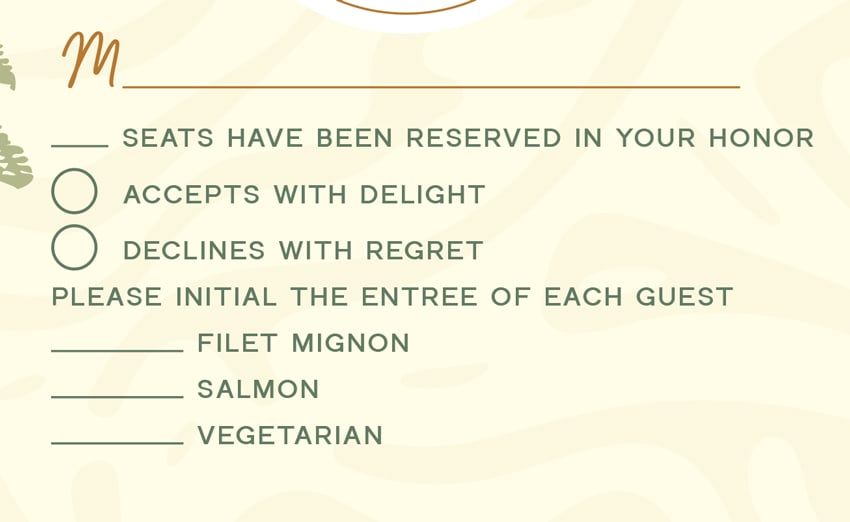
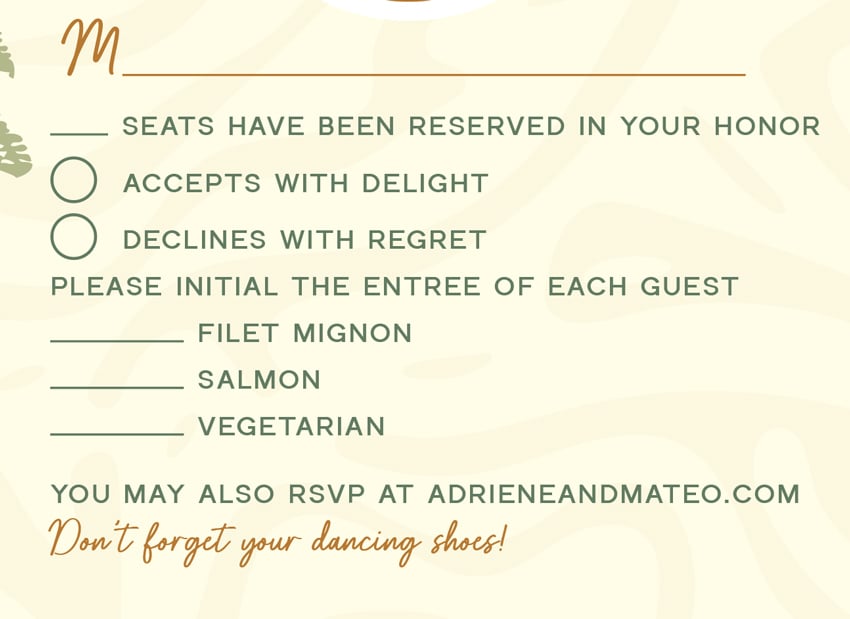
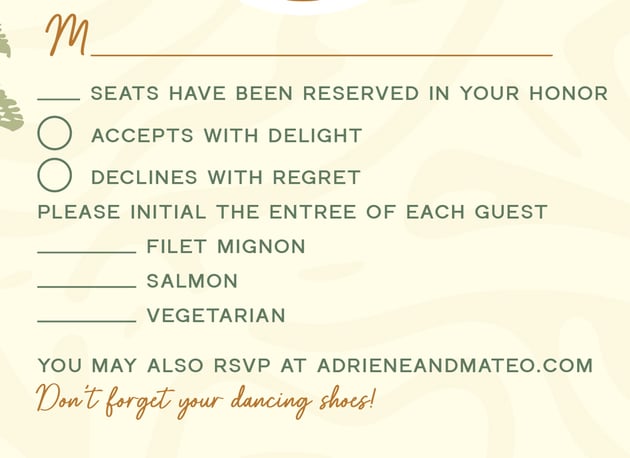
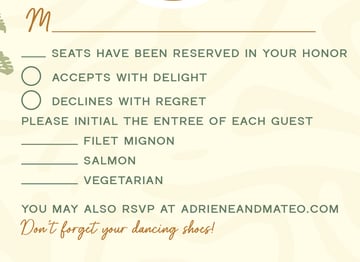
Step 17
Use the Type Tool (T) and type out “M” for guest(s) to write their name. The “M” is the title preferred by your guest (e.g., Mr., Mrs., Miss, etc.). Use the Pen Tool (P) to create a line indicating where your guest should write their name.
Step 18
Under the area for guest signatures, add a section indicating the number of reserved seats and providing options for guests to accept or decline. Also, include a list of available entrees for guests to choose from. Use the font Maxima Nouva Extra Bold, 7 pt and the dark green swatch.


Step 19
To finish off our RSVP wedding invitation template, let’s include a section where your guests can RSVP online via your website. Include a sweet and fun message like “Don’t forget your dancing shoes!” using the font Gastela, 14.5 pt and the medium brown swatch.
Signed, Sealed, Delivered. Done!
In this RSVP card template tutorial, you learned how to design a wedding card with an RSVP, how to determine the size of wedding RSVP cards, and what to include on an RSVP card. Now, you can showcase your beautiful creation using this horizontal flyer mockup from Placeit.

5 Wedding RSVP Templates for the Big Day
In a hurry and need ready-made wedding RSVP cards? This collection of RSVP templates will surely do the trick. From classy and minimalistic to fun and flirty, these cool templates will help make your day special.
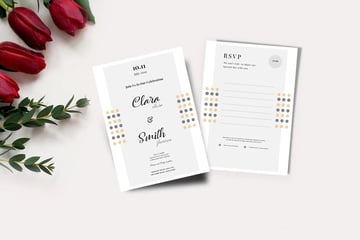
RSVP Wedding Invitation Template (PSD)
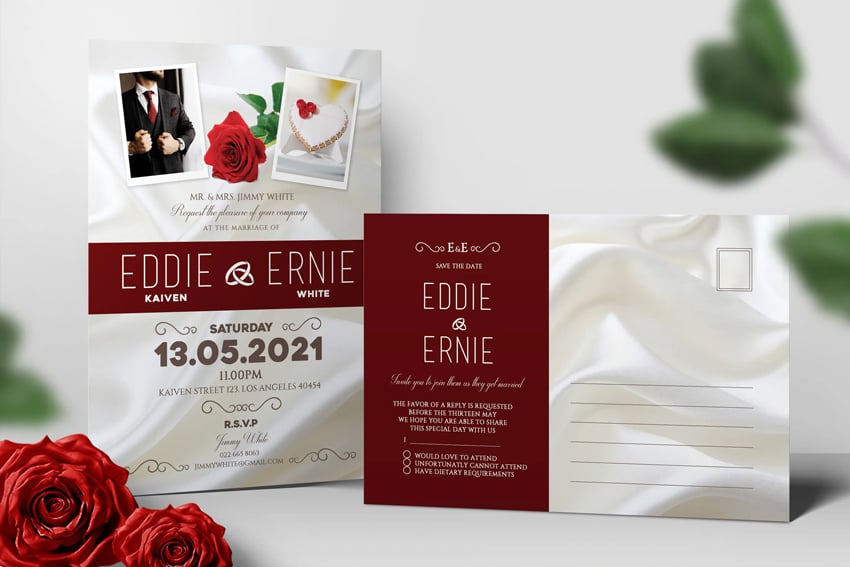


Walk down the aisle in elegance with this RSVP wedding template that includes an area for guests to RSVP to your upcoming nuptials. The colors and text are fully customizable in Adobe Photoshop, with a matching wedding invitation.
Modern Wedding Suite (AI, PSD)
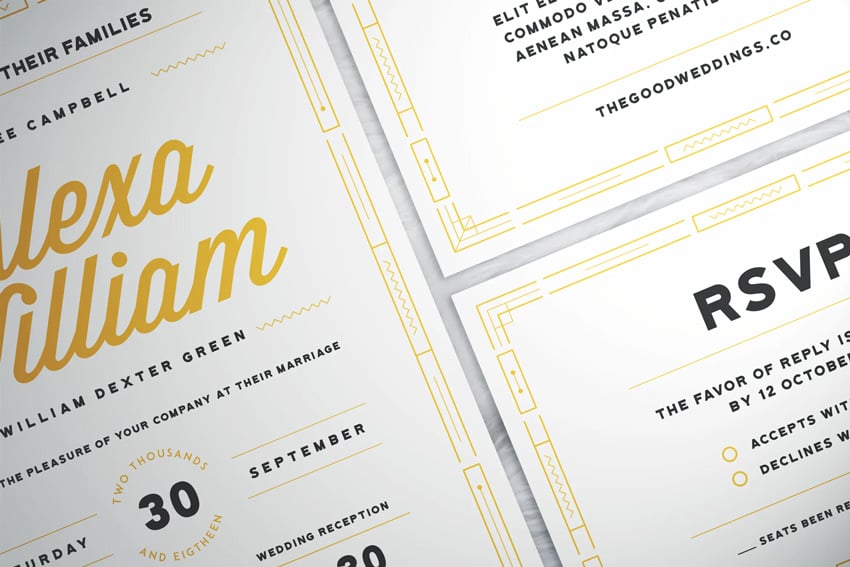

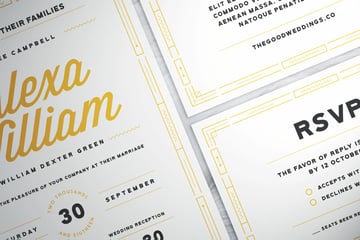
Keep it simple and minimalist with this modern wedding suite that boasts a collection of templates, including not only an RSVP template but also information, thank you, and wedding invitation cards.
Vintage Wedding Invitation (PSD)
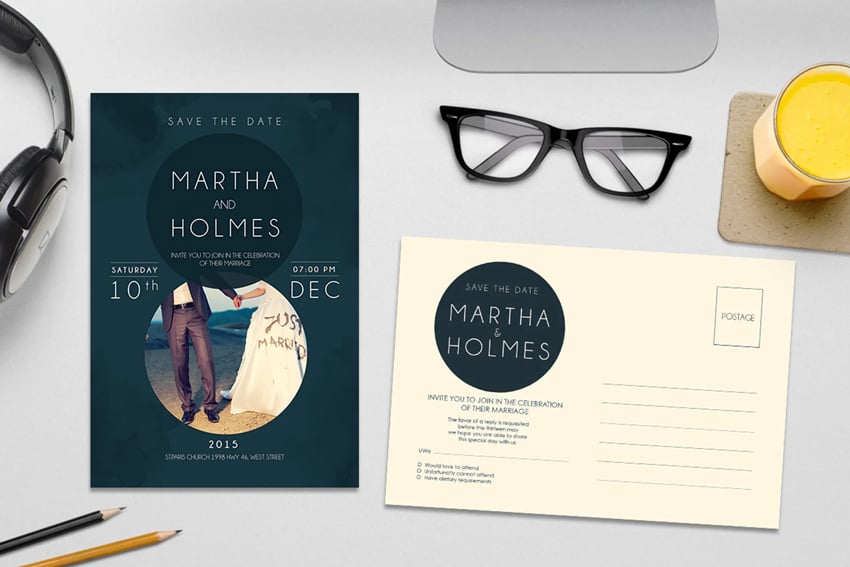


This wedding card with an RSVP on the back includes not one but two designs for you to choose from. Easily edit this template in Photoshop, and mark one more wedding task off your list.
Geraldyn Wedding Invitation Set (PSD)


This vibrant set that includes a wedding card with RSVP is great for a tropical destination wedding or a hot and summery wedding. Wow your guests in style and reduce your stress with this print-ready template.
Wedding Invitation & RSVP Cards (PSD)


If you’re looking for something a bit more clean and minimalist, then this wedding RSVP card template is the one for you. Sized at 5×7, this Photoshop template gives you just enough space to showcase your modern style.
Conclusion
Looking for more wedding assets like fonts, templates, and flyers? These tutorials will help you create the perfect wedding suite.