Dolphins are intelligent and complex creatures. They use sounds, gestures, and unique signature whistles to communicate and identify each other, making them intriguing and beautiful subjects for drawing. Whether you’re interested in dolphins or simply want to improve your Illustrator skills with beginner-friendly tutorials, this guide to drawing a dolphin is perfect for you. Feel free to look at reference pictures on Envato Elements.
And now, let’s start!
What You’ll Learn in This Tutorial
- How to draw a dolphin in Illustrator
- How to create dolphin vector art
- How to create a simplified ocean scene
1. How to Create a Dolphin in Illustrator
Step 1
After you’ve opened Adobe Illustrator and created a new document with 850 px Width and Height, let’s start.
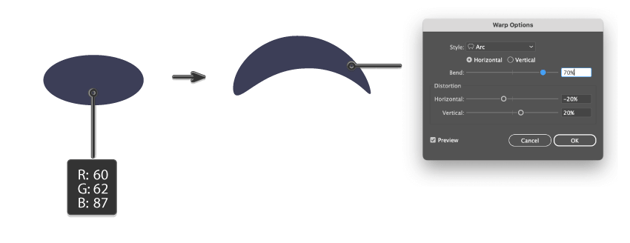
First, delete the stroke color you have by default, and set the fill color to R=60, G=62, B=87. Let’s start by creating the main shape of our vector dolphin. Hit the Ellipse Tool (L) and draw a horizontal ellipse.
While keeping the ellipse selected, go to Effect > Warp > Arc. In the new dialogue window, enter the options you see below in the image and press OK.
Expand this shape: Object > Expand Appearance.

Step 2
Now, we’ll create the mouth for our vector dolphin. Hit the Ellipse Tool (L) and draw a small ellipse. Put it on the left side of the main part of the dolphin, as shown in the image below. The stroke color in the image below is just for your visibility; you don’t actually need it.
To combine the mouth and the main shape, we want to use the Shape Builder Tool (Shift-M). Keep the two shapes selected, and use this tool to move your mouse over them.


Step 3
After that, you can make a smoother transition from the mouth to the main shape, but just underneath, as shown in the image. Zoom in for your convenience and, using the Smooth Tool (Shift-N), move your mouse over the sharp corner.


Step 4
Let’s create the dorsal, i.e. the upper fin, for the dolphin illustration.
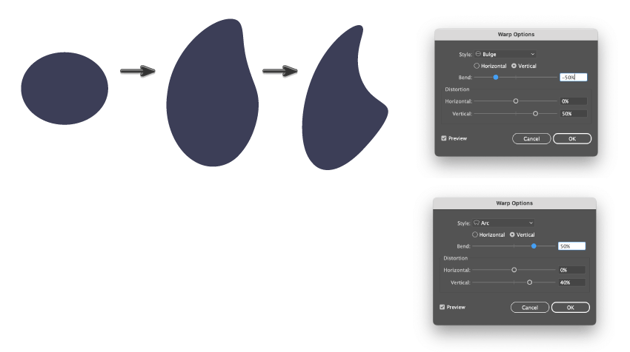
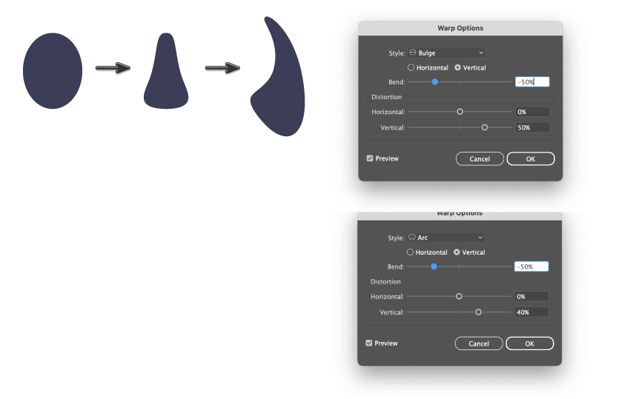
Create an ellipse using the Ellipse Tool (L). While keeping it selected, go to Effect > Warp > Bulge. Enter the upper options you see in the image. Press OK.
Then, you need to add another effect over it. Go to Effect > Warp > Arc, and in the dialogue window, press Apply New Effect. Enter the lower options you see in the image. Press OK.
Then, expand this shape: Object > Expand Appearance.

Step 5
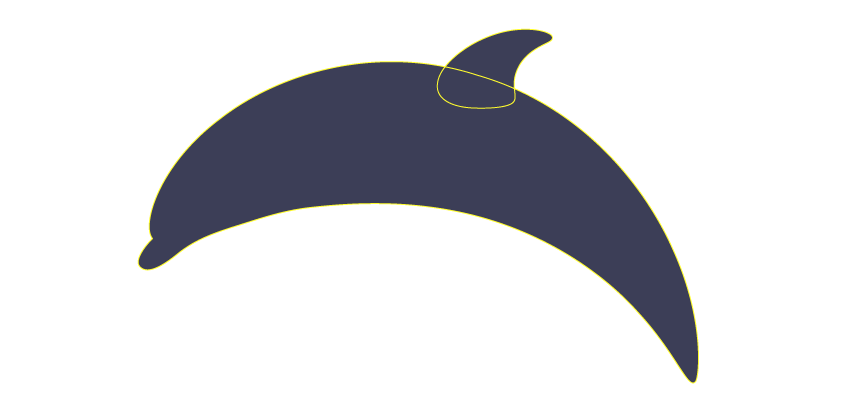
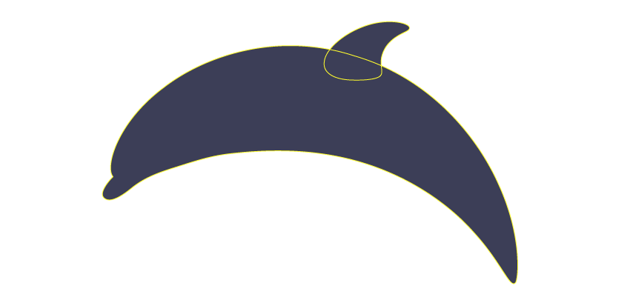
Place the dorsal on the vector dolphin’s back. Remember, the stroke color in the image is just for your visibility; you don’t need it.
Step 6
Let’s create another fin.
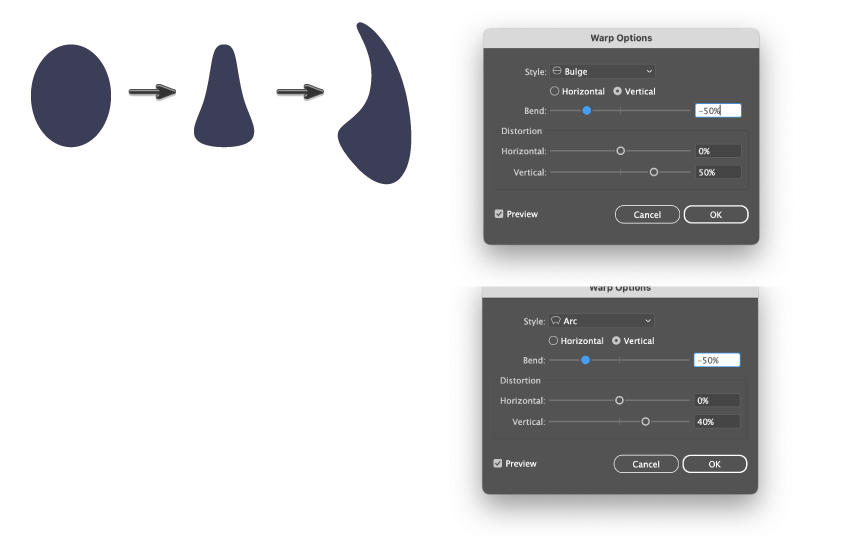
Create an ellipse again. While keeping it selected, go to Effect > Warp > Bulge. Enter the upper options you see in the image. Press OK.
Now, you need to add another effect over it, so go to Effect > Warp > Arc, and in the dialogue window, press Apply New Effect. Enter the lower options in the image. Press OK.
Then, expand this shape: Object > Expand Appearance.
Step 7
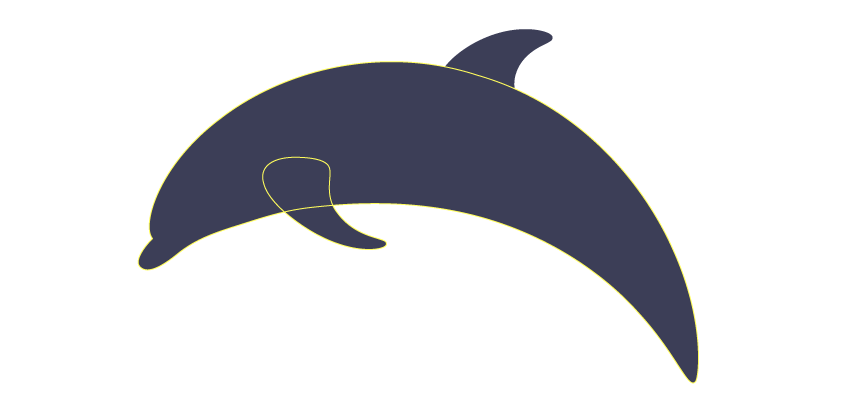
Place the second fin close to the dolphin’s head.
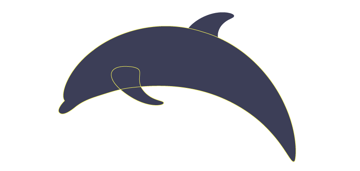
Step 8
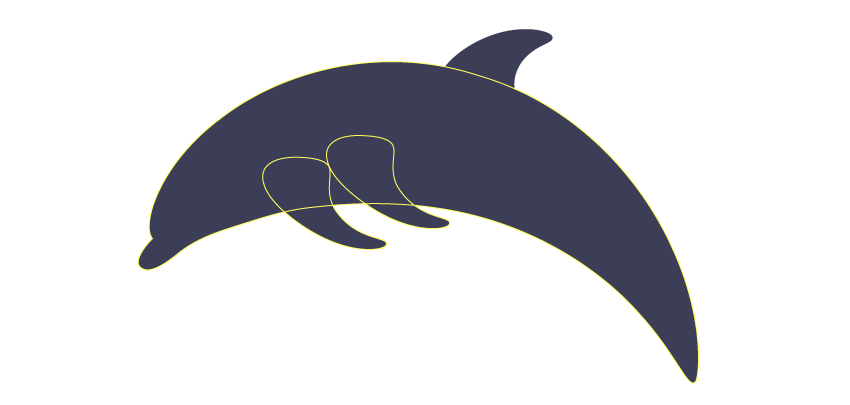
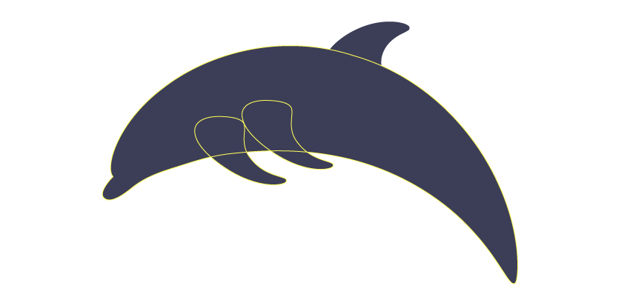
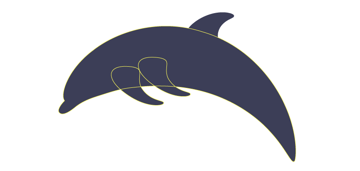
While keeping the second fin selected and keeping the Alt button on your keyboard pressed, move this fin to the right. You will notice that a copy of the fin is created. Be sure to place the two lower fins as shown in the image.
Step 9
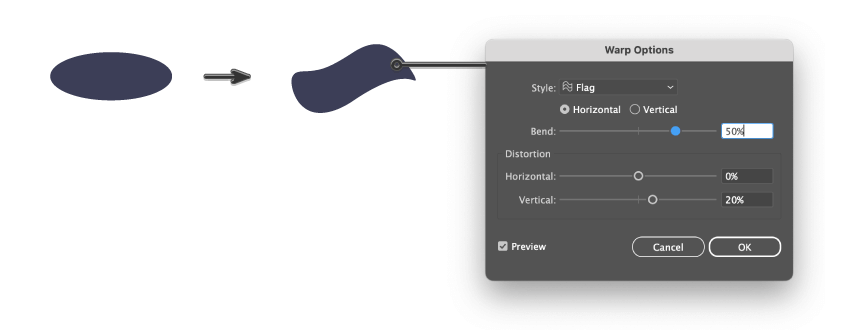
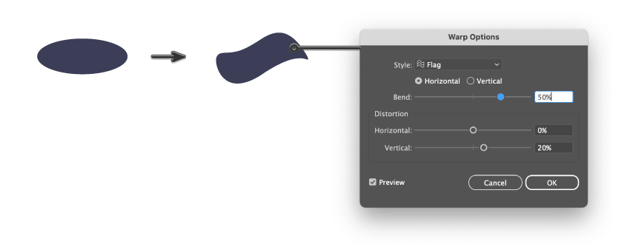
Our dolphin vector art needs a tail fluke. Again create an ellipse. Go to Effect > Warp > Flag. Enter the options you see in the image. Press OK.
Expand this shape (Object > Expand Appearance).
Step 10
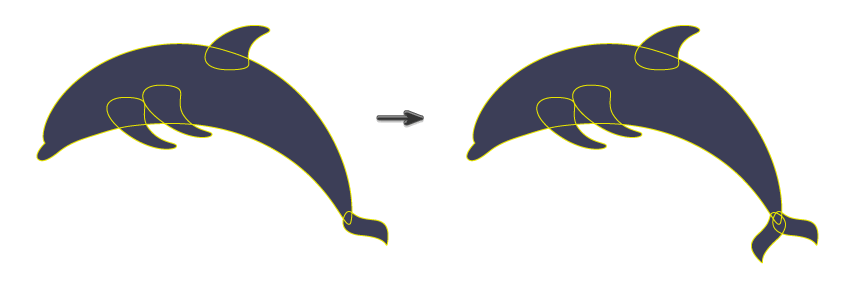
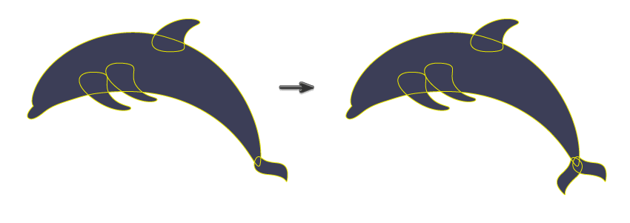
Put the fluke on the vector dolphin’s tail. While holding the Alt key, shift the fluke. That is how you can create a copy of it.
Place the tail fluke as shown in the image below.
Step 11
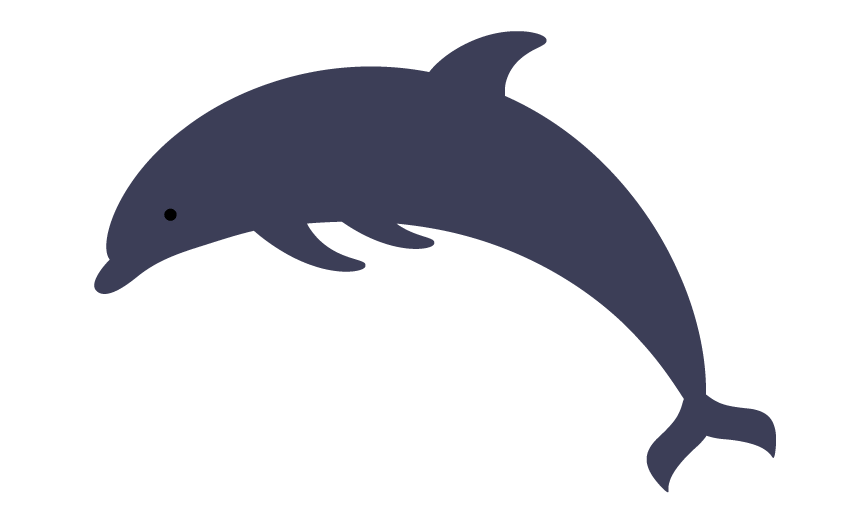
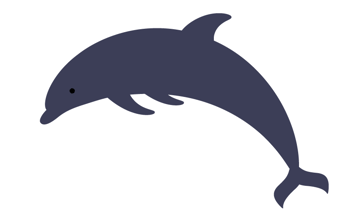
Now, change the fill color to black, and add a small black circle as the eye of the vector dolphin. To create an even circle, hold the Shift button while creating it.
Step 12
The last part we want to create is the white underbelly of the dolphin illustration. First, delete the fill color and pick any stroke color so that you can see it well. Create an ellipse as shown in the image below, capturing the space under the dolphin’s mouth and a part of the tail.
Next, put its left fin on top: cut off the fin (Control-X) and place it above the other elements (Control-F).
Return to the ellipse with no fill. Now, give this ellipse a white fill color.


Step 13
Go to the dolphin’s main body shape. Select it, and then create a copy in front: Control-C, Control-F.
Keep the upper copy selected and, while holding the Shift button, select the white ellipse with the stroke color. Go to the Pathfinder panel (Window > Pathfinder), and press the Intersect button (it’s in the Shape Modes section).
Now, your dolphin illustration has to have a white tummy with no stroke. Delete the stroke color from the white shape. The dolphin vector art is ready! Set it aside.


2. How to Create an Ocean Scene in Adobe Illustrator
Step 1
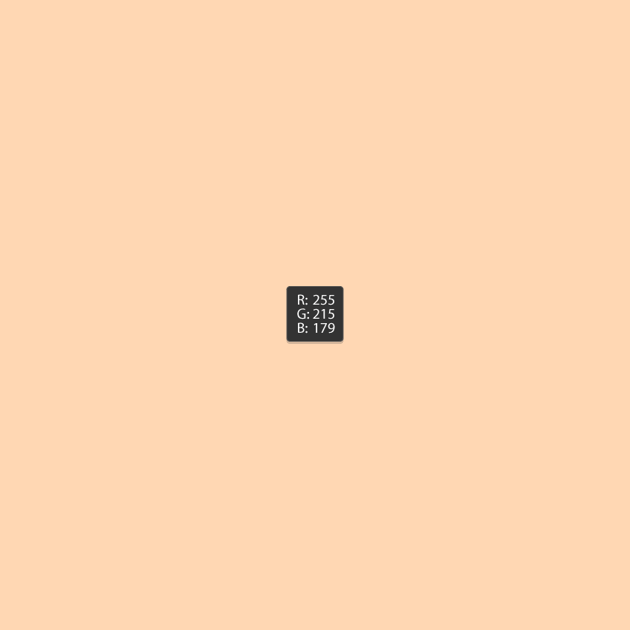
Grab the Rectangle Tool (M) and click on your artboard. In the new dialogue window, enter 850 px Width and Height, and press OK. Change the fill color to R=255, G=215, B=179. This will be your background. Be sure to place it symmetrically on the artboard.


Step 2
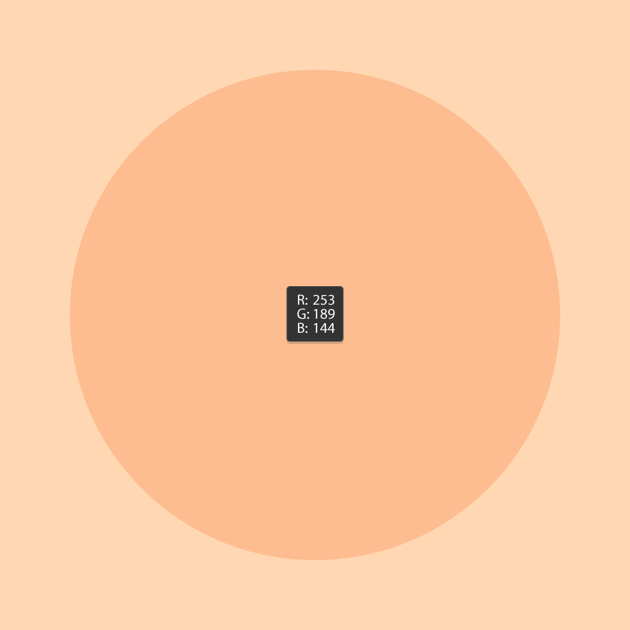
Change the fill color to R=253, G=189, B=144, and draw a circle. Hold the Shift button while creating it so that you’ll have an even circle.
If you want to place the circle exactly in the middle of the canvas, go to the Align panel and check Align to: Align to Artboard (bottom right corner). Now, any items that you choose to align will be aligned to your artboard. Now you need to select the object that you want to align. In the Align Objects section, press Horizontal Align Center and Vertical Align Center. This is how you put any object exactly in the middle of your canvas or artboard.

Step 3
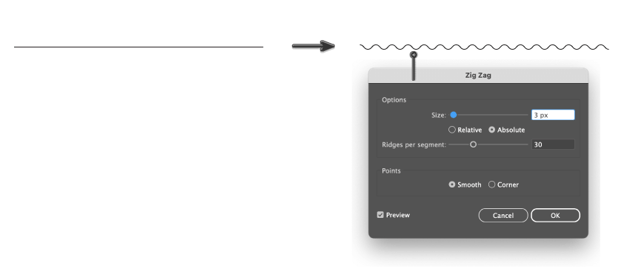
Move to the empty space beside your artboard, where we will create some waves. Delete the fill color and set any stroke color. Create a line using the Line Segment Tool (\). While it stays selected, go to Effect > Distort & Transform > Zig Zag… The options you need to enter depend on how big your line is and how big you want your waves. My options are shown below in the image.
Expand this line.

Step 4
Click the D button on your keyboard, which allows you to have black stroke and white fill color by default. Using the Rectangle Tool (M) create a rectangle.
Place the wavy line over the rectangle so the line overlaps it on top.


Step 5
Select the two shapes together. Go to the Pathfinder panel (Window > Pathfinder) and press the Divide button in the Pathfinders section. Now you have two shapes, but they are grouped. You need to ungroup them: right-click > Ungroup. Delete the top part.
The bottom part will be the waves for our dolphin vector art. Delete the black stroke color and leave the white fill.


Step 6
Place waves at the bottom of the background circle. Be sure the waves overlap the bottom part of the background circle.



Step 7
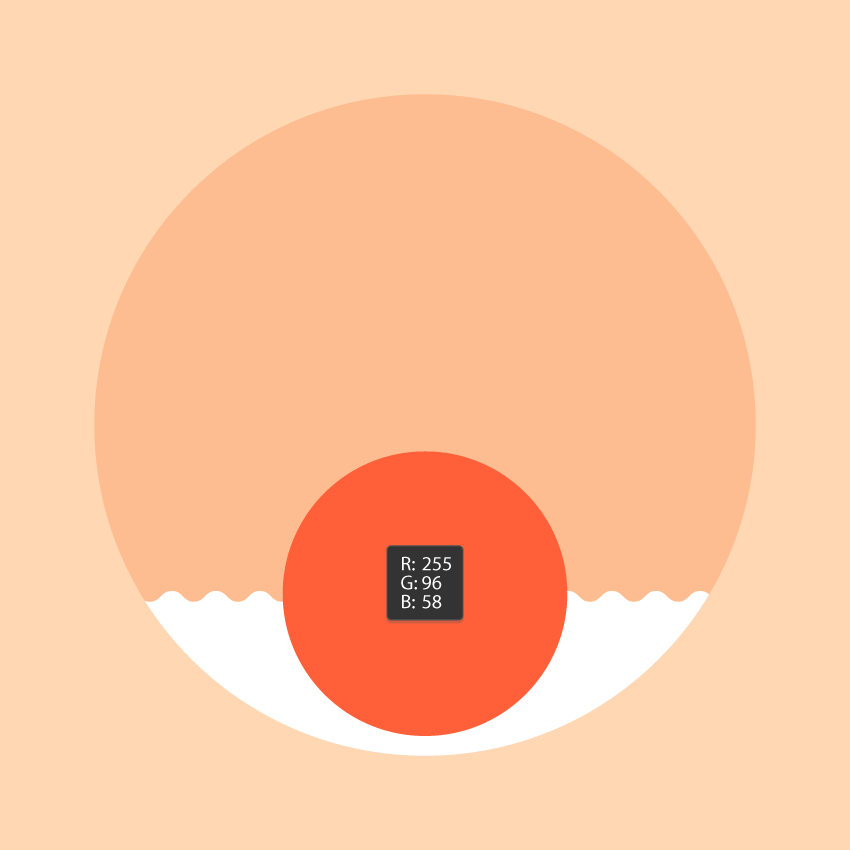
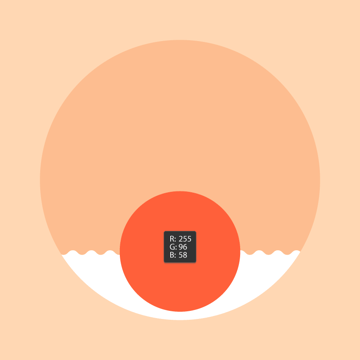
Now, we want to cut the waves so that they appear to be inside the circle. To do this, make a copy of the circle in front (Control-C, Control-F), and while holding the Shift key, select the waves at the bottom. While keeping the two shapes selected, go to the Pathfinder panel and press the Intersect button in the Shape Modes section. Your result should be similar to the image below.



Step 8
The last thing you will need to create is the sun. Create a red circle (fill color R=255, G=96, B=58) and place it as shown in the image below.
Step 9
Then, you want to place the sun behind the waves. The simplest way to do this is to cut the waves (Control-X) and place them in front of the sun (Control-F).



Step 10
The final thing we need to do is place the dolphin in the background. Make sure that the vector dolphin is grouped (right-click > Group) so that you can easily move it.


Congratulations!
You’ve just completed the tutorial—congratulations! Now you know how to draw a dolphin in Illustrator using basic shapes.
Enjoy your work!


Beautiful Dolphin Illustrations From Envato Elements
Envato Elements is a big online library with lots of stuff for creative projects like pictures, website designs, music, and videos. It’s great for people who make websites, create ads, or need cool things for work or school projects. It’s subscription-based, so you can use anything from there as long as you’re subscribed. They always add new stuff, so you can find the latest designs and ideas. It’s very useful for making your projects look professional, and you don’t need to hire a designer.
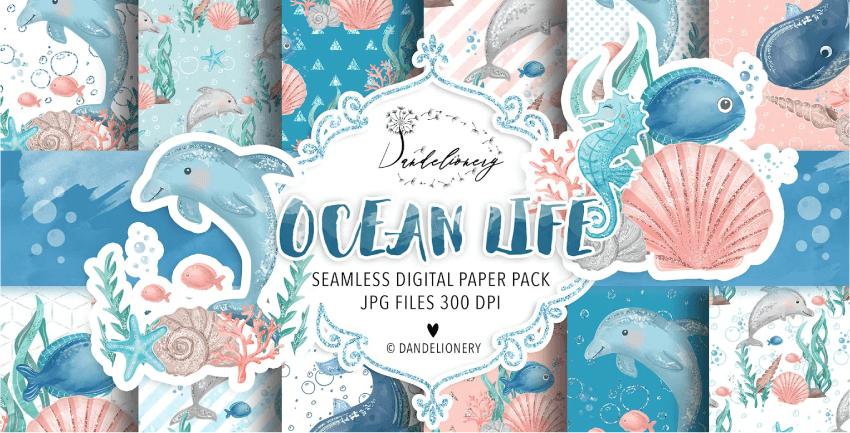
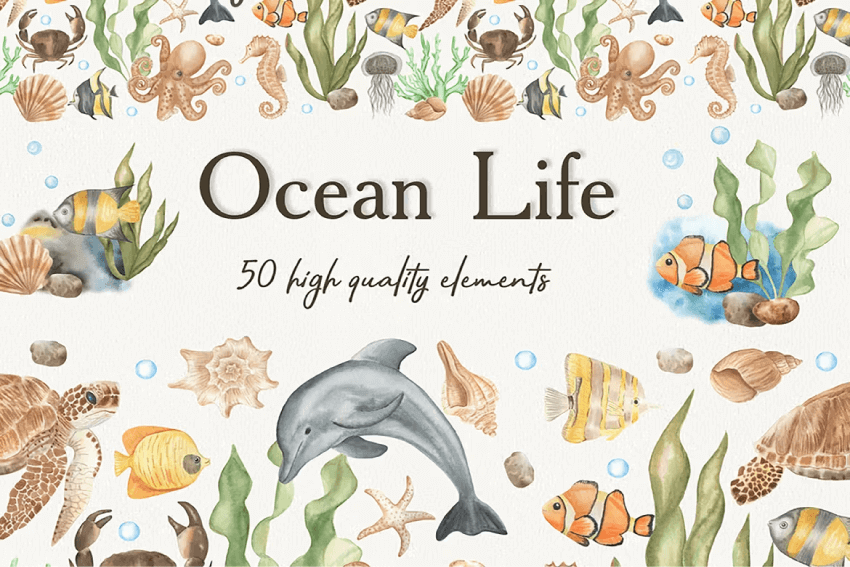
Ocean Life Digital Paper Pack (JPG)
This pack features vibrant, detailed designs of sea creatures like different fish, dolphins, and starfish for instant download. Ideal for creative projects and personal hobbies, these exquisite illustrations can transform your work, adding a unique, artistic touch that captivates and inspires.
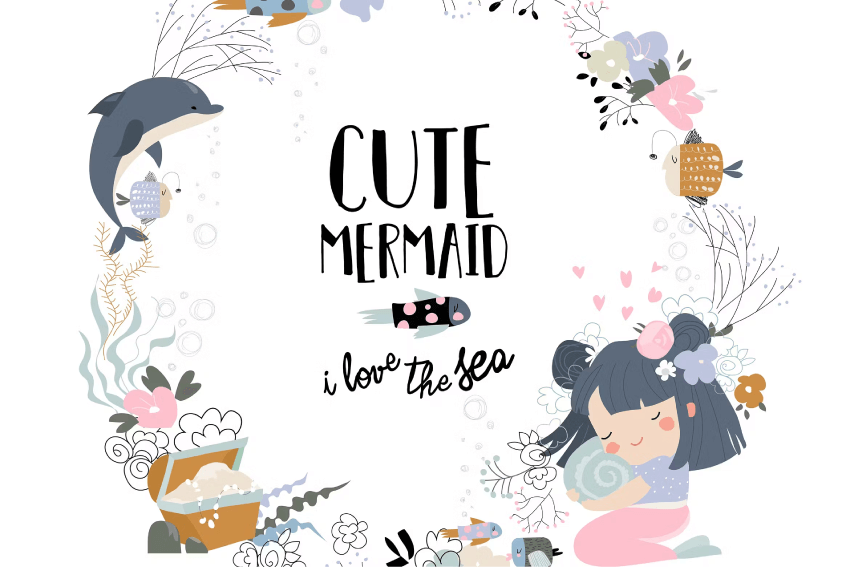
Vector Cartoon Wreath With Cute Little Mermaid (AI, EPS, JPG, PNG)
The “Vector Cartoon Wreath With Cute Little Mermaid” provides enchanting artwork ideal for adding a magical touch to your creations. Its whimsical mermaid and ocean designs effortlessly breathe life into invitations and decor, nurturing creativity and enchantment.
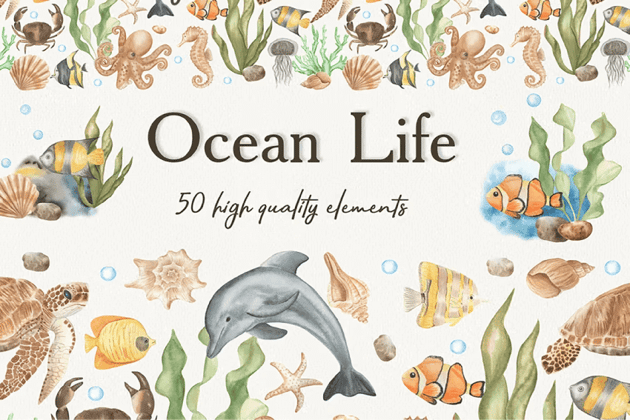
Watercolor Marine Clipart (JPG, PNG)
This beautiful set offers 50 beautifully crafted elements, showcasing vibrant oceanic life in a watercolor style, perfect for enhancing any creative project with a touch of the sea’s natural beauty.
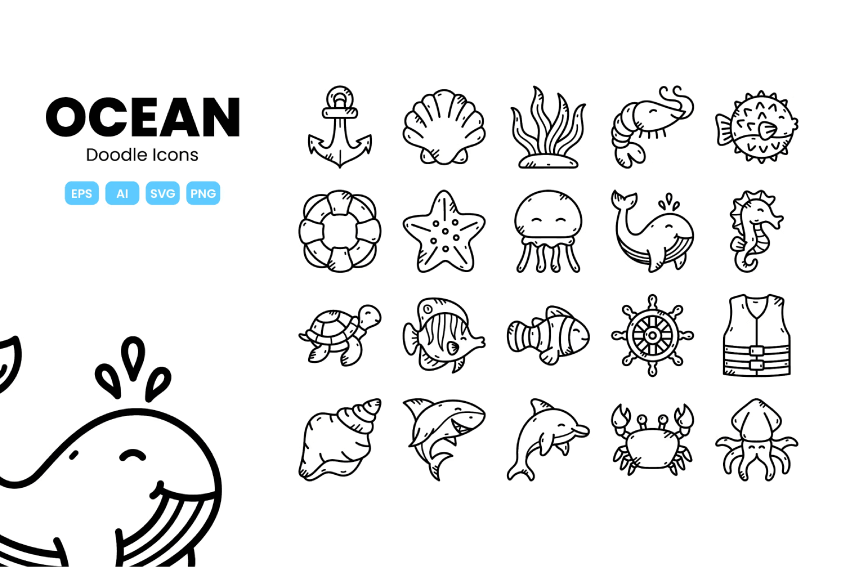
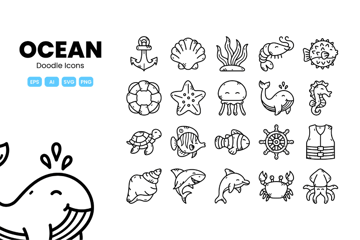
Ocean Doodle Icons (AI, EPS, PNG, SVG)
Download a detailed assortment of ocean-themed doodle icons, perfect for enriching your design projects with a playful and thematic touch.
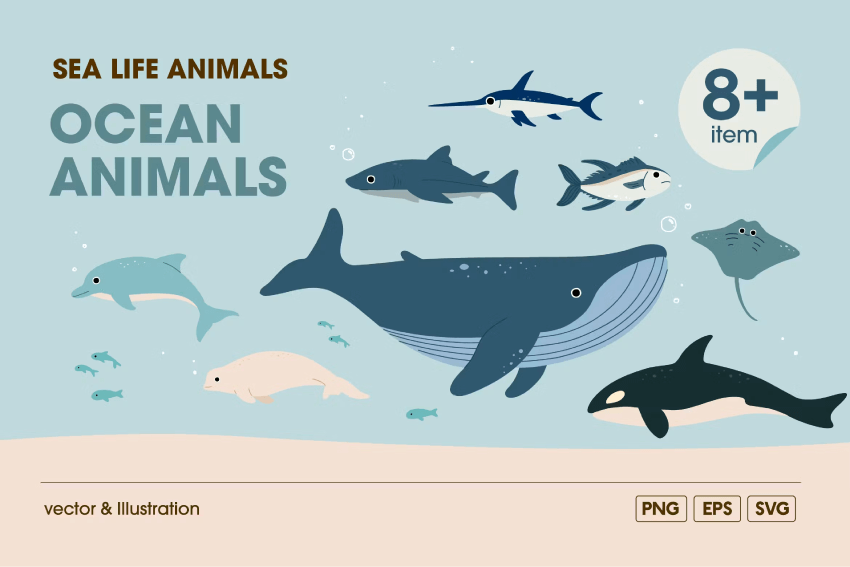
Ocean Animal Illustration (EPS, PNG, SVG)
This set of vector animals features a diverse collection of sea creature illustrations, crafted in vector format for use in various design projects.
Take a Look At These Tutorials
For those eager to expand their knowledge, diving into these tutorials offers a comprehensive guide to mastering new skills and techniques.