
Rebrand your logo in style with this quick tutorial on creating a gradient icon in Adobe Illustrator CC. We’ll build our icon design from scratch with quick and simple shapes and pair gradients and effects from the Appearance panel to complete our on-trend design.
Alternatively, you may wish to use a pre-made line icon from Envato Market. Whether you use stock icons or follow along to make your own below, there’s no time to waste! Let’s get going!
1. Build the Icon Line Art
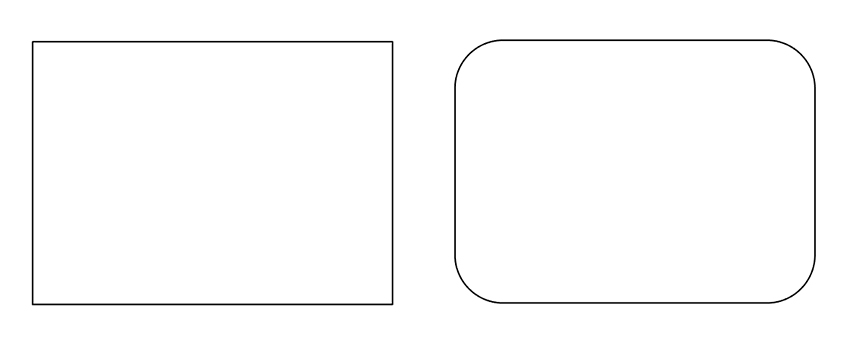
Step 1
Use the Rectangle Tool (M) to draw a rectangle. Pull its Live Corners inward to round them out a bit.
Step 2
Use the Pen Tool (P) to draw a V-shape from the top left corner to the top right corner. Select this line with the Direct Selection Tool (A) and pull the corner’s Live Corner upward to round it out, similar to the radius of the rectangle.
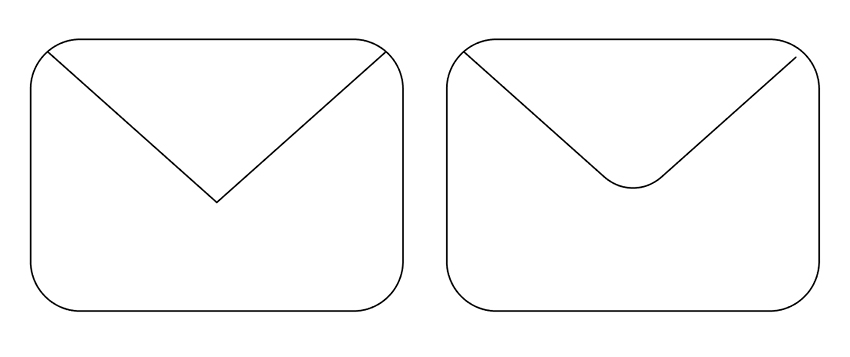
Step 3
Draw two line segments going from either lower corner toward the upper half of the design. Group (Control-G) your icon together and set the stroke weight to 16 pt or so in the Stroke panel, with Caps and Corners Rounded.
Our quick and easy envelope icon is complete! Let’s make this fancy.

Step 4
Draw a square around your envelope with the Rectangle Tool. Align the envelope group and the square to their centers in the Align panel. Pull the square’s Live Corners inward to round off the square quite a bit.

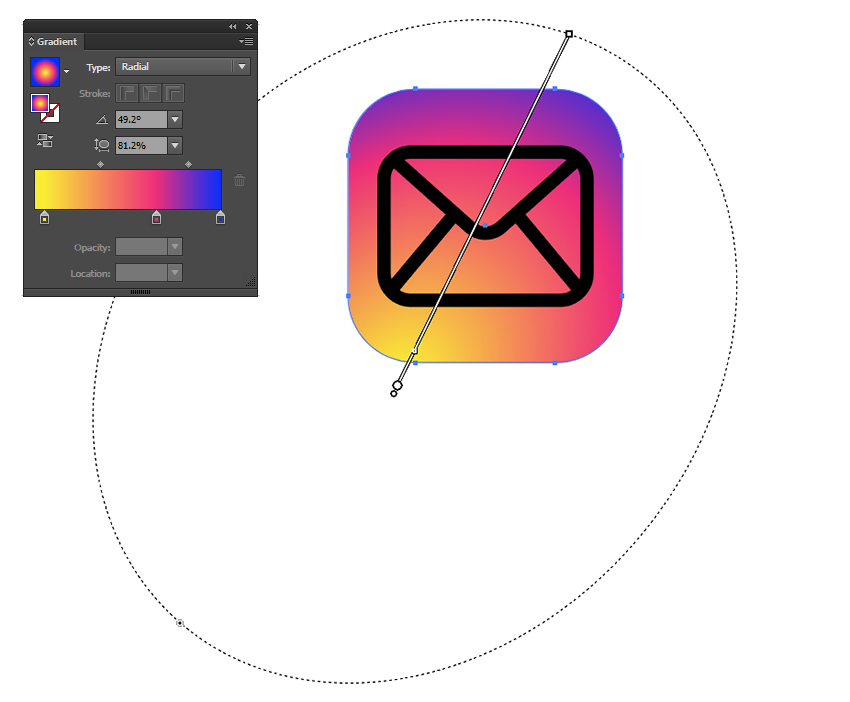
2. Create the Gradient
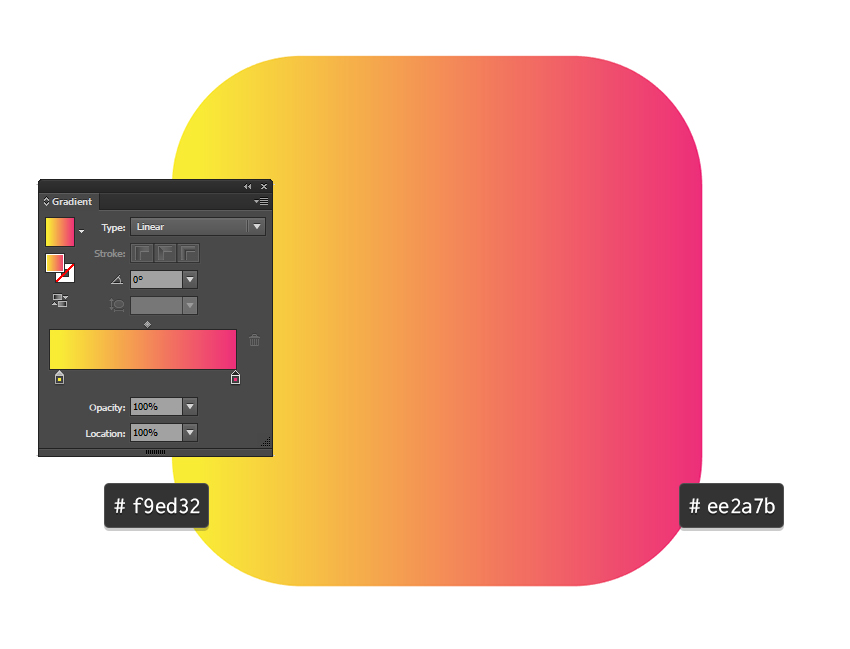
Step 1
Add a gradient to the rounded square. In the Gradient panel, set the colors to yellow (#f9ed32) and hot pink (#ee2a7b).
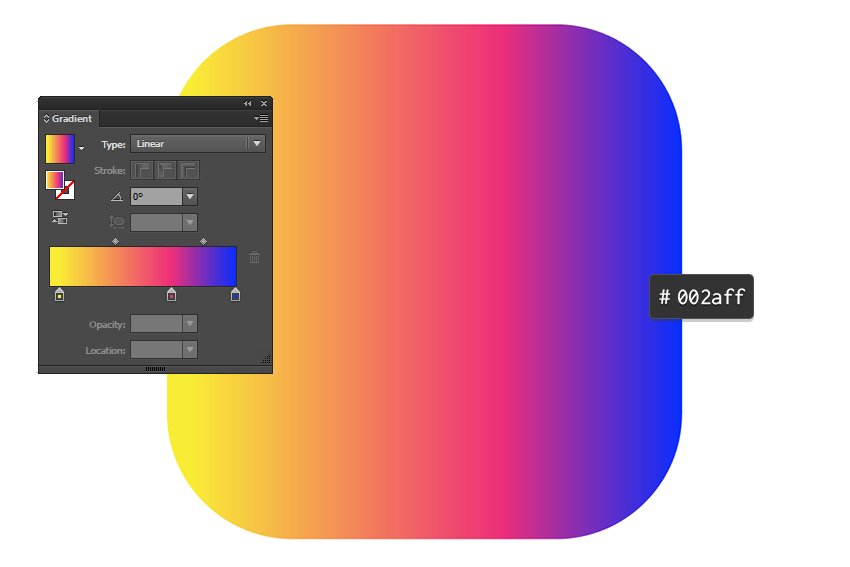
Step 2
Add a bright violet hue (#002aff) to the gradient. Push the pink closer to the center of the gradient.
Step 3
Change the gradient type to Radial Gradient. Adjust the radius shape and angle with the Gradient Tool (G). My gradient’s angle is set to 49.2° with its Aspect Radio at 81.2%.
Well Done, You’re Through!
Set the envelope icon’s stroke color to white to complete the icon design. What other fun, simple icons can you create in this style? Share your completed icons in the comment section below!
