Let’s roll back the years with this 80s cover art! Learn how to design a real 80s VHS cover in Adobe InDesign. This vibrant 80s cover art captures the bold, nostalgic aesthetic of the era. We’ll achieve an authentic retro look that feels like something that came straight out of a classic video store shelf. Let’s get started!
If you’re short on time, be sure to check out some VHS cover art ideas from Envato, where you’ll find plenty of 80s VHS box fonts and 80s Photoshop effects.
What you’ll learn in this tutorial
In this tutorial, you’ll learn:
- How to set up an InDesign file with grids and margins
- How to use the Gradient Tool
- How to use the Step and Repeat Tool
What you’ll need
For this tutorial, you’ll need access to InDesign and the following fonts:
1. How to set up an InDesign file
Step 1
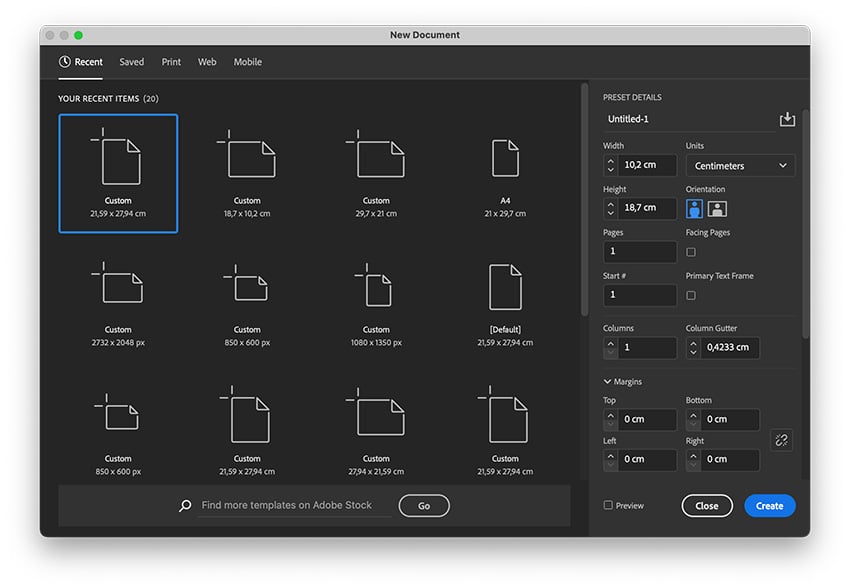
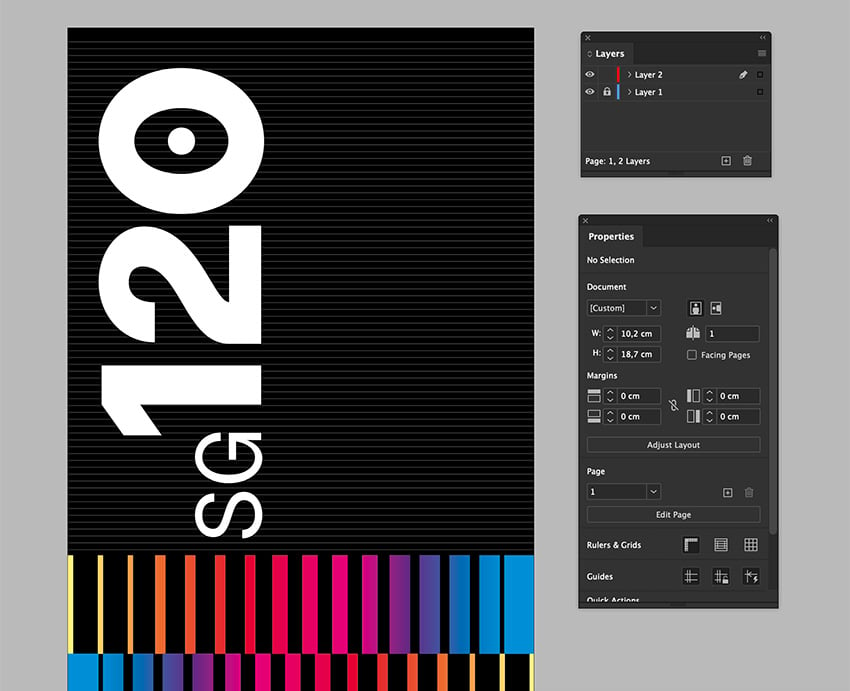
In InDesign, go to File > Create New Document. In the pop-up window, set the Width to 10.2 cm and the Height to 18.7 cm. Set the Units to Centimeters and uncheck Facing Pages. Click Create.


Step 2
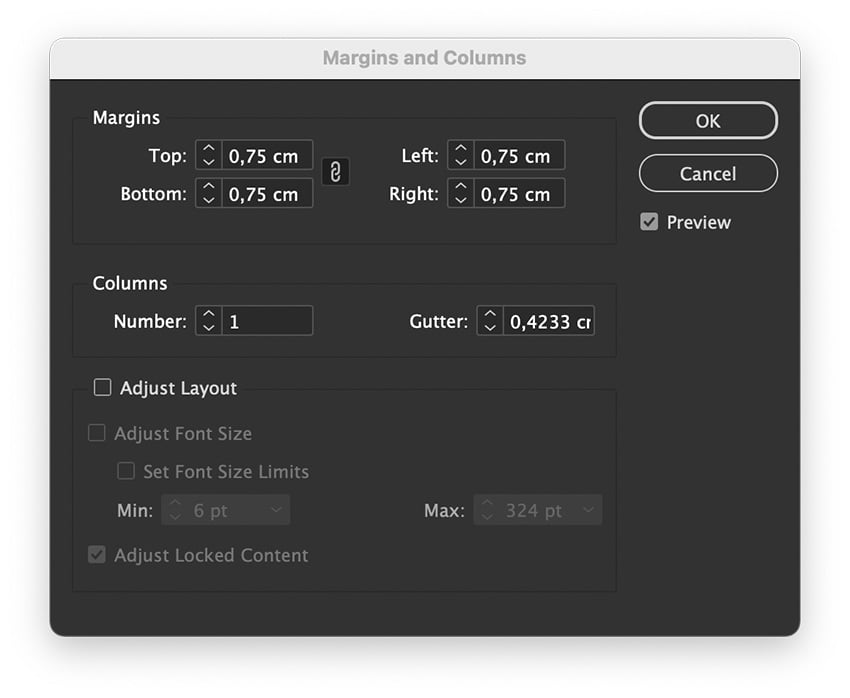
Go to Layout > Margins and Columns. In the pop-up window, set the Margins to 0.75 cm. Click OK.


Step 3
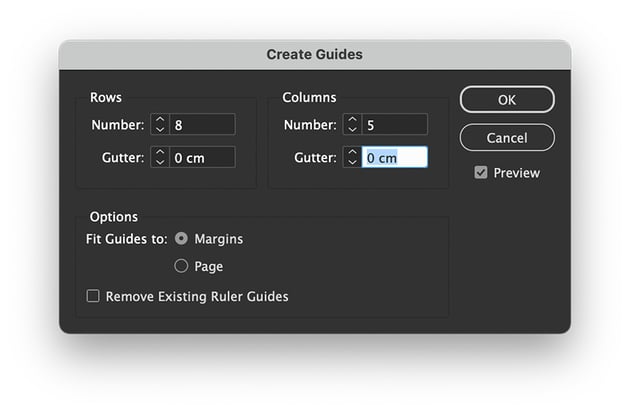
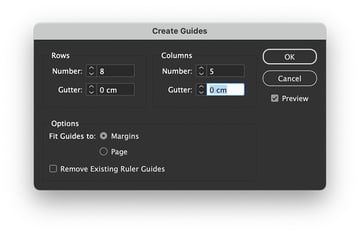
Go to Layout > Create Guides.
In the pop-up window, set the Rows to 8 and the Columns to 5. Set both Gutters to 0. Under Options, set the option Fit Guides to: Margins.

2. How to design a VHS cover art background
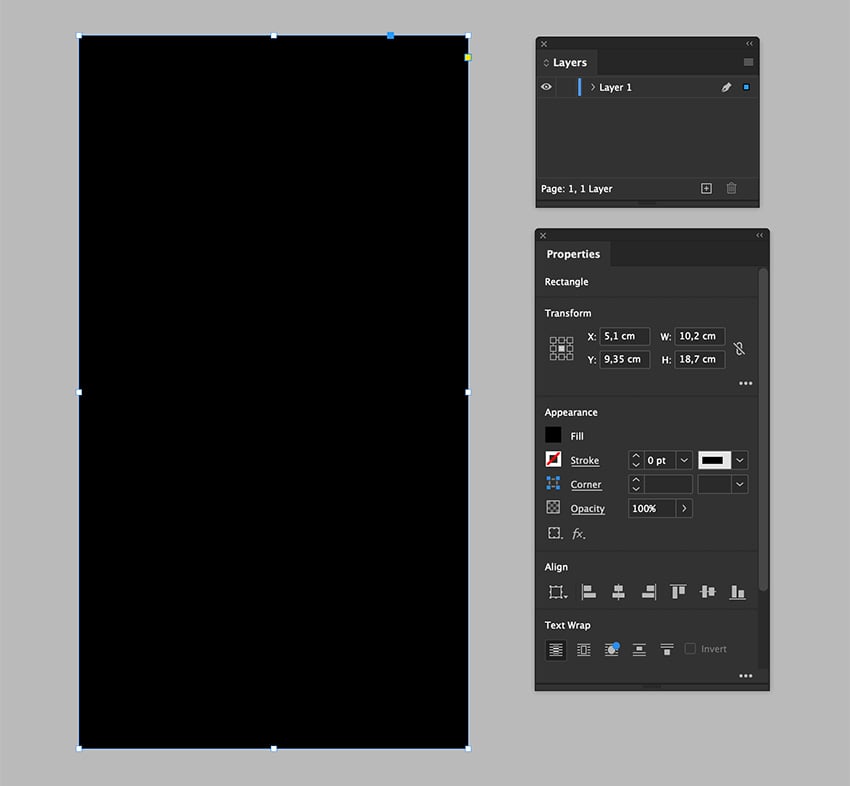
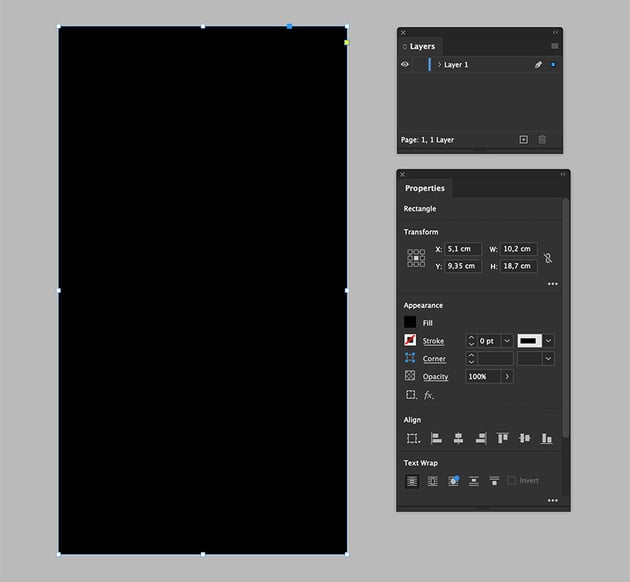
Step 1
Using the Rectangle Tool (M), create a rectangle that covers the whole surface area of the VHS cover. Set the Fill Color to Black.
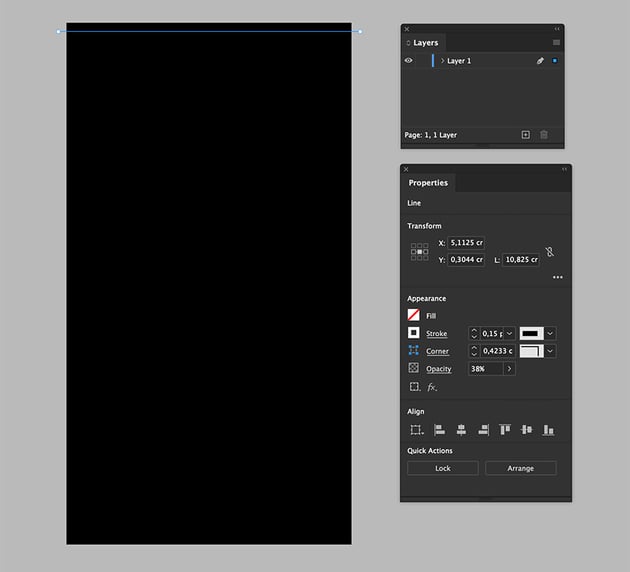
Step 2
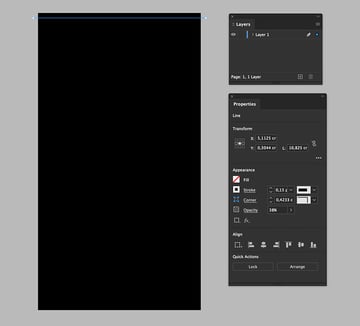
Using the Line Tool (/), create a horizontal line at the top of the VHS cover that bleeds out of the page.
Set the Stroke Color to White. Set the Stroke Thickness to 0.15pt and the Opacity to 38%.

Step 3
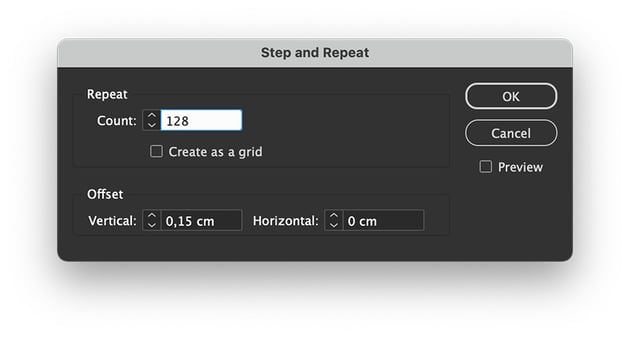
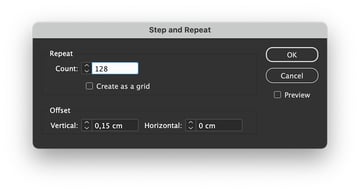
Go to Edit > Step and Repeat. In the popup window, set the Count to 121. Under Offset, set Vertical to 0.15 cm and Horizontal to 0. Click OK.

Step 4
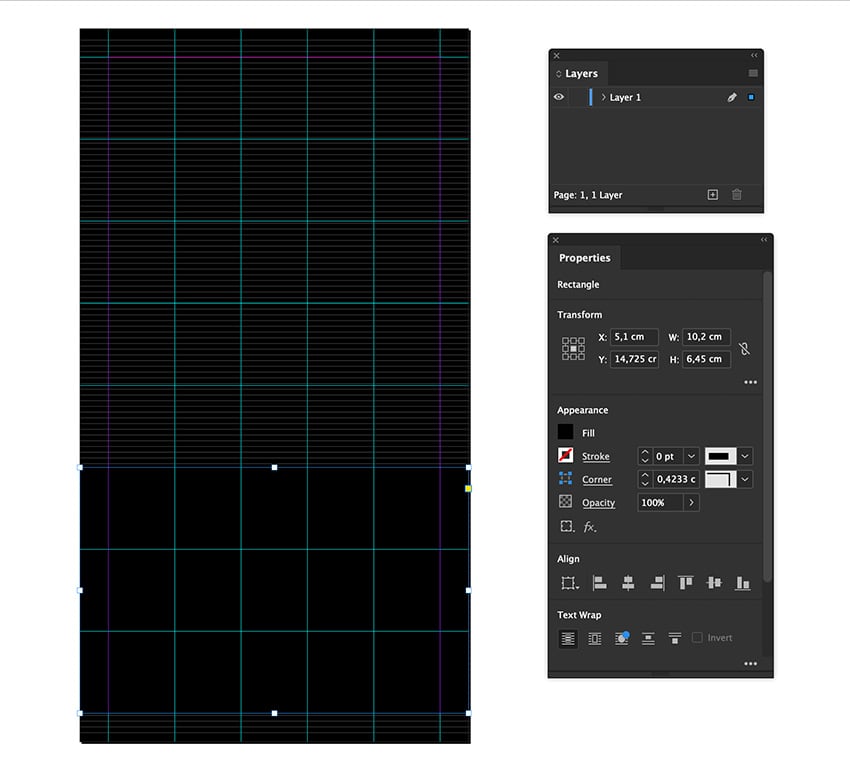
Using the Rectangle Tool (M), create a rectangle covering the last three rows of the VHS cover.
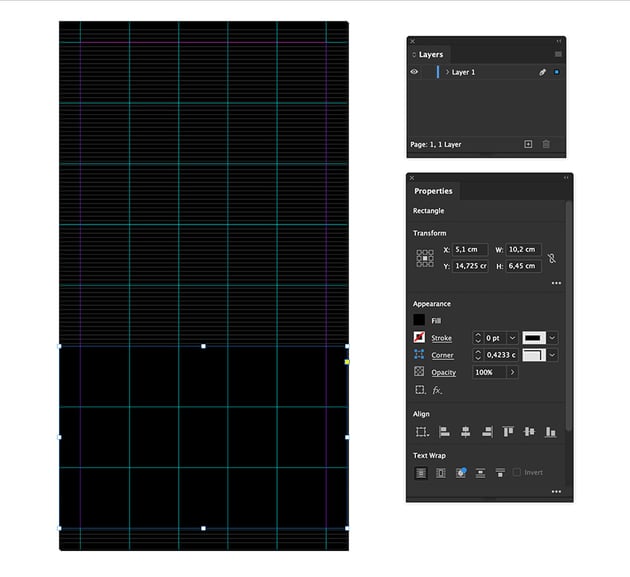
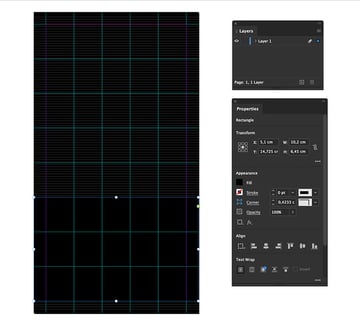
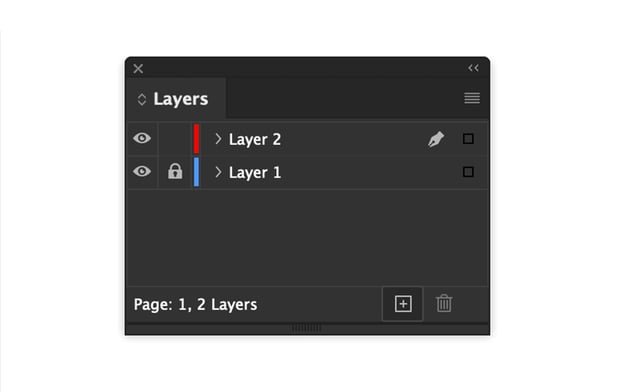
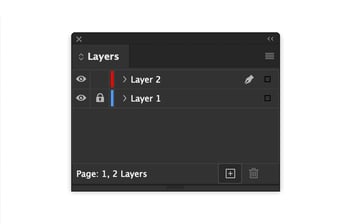
Step 5
Go to the Layers panel. Create a new Layer and lock Layer 1.

3. How to design an 80s VHS cover
Step 1
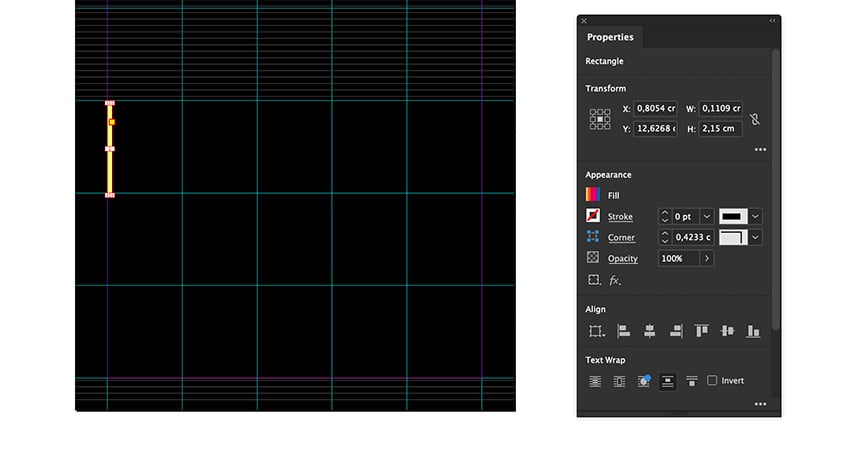
Using the Rectangle tool (M), create a thin rectangle that fits the height of a single row.
Step 2
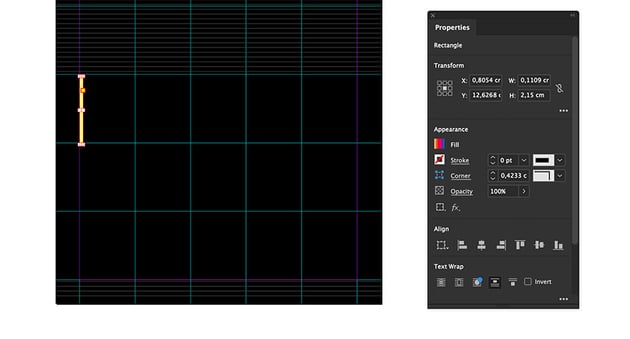
Using the Rectangle tool (M), create about 14 more rectangles that progressively change in thickness. Select all the rectangles and group them by pressing Command-G.


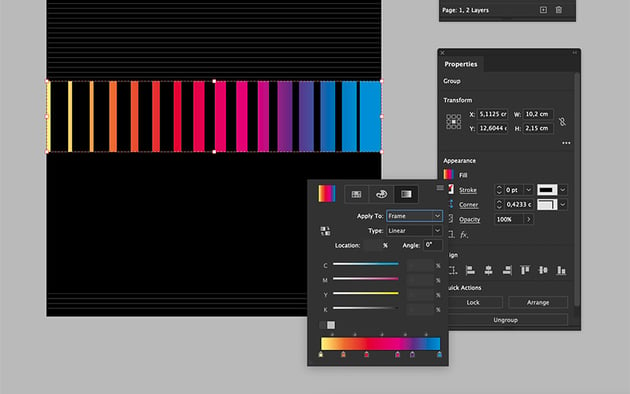
Step 3
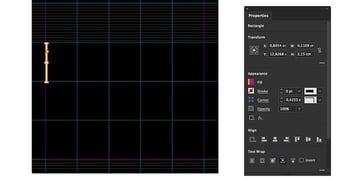
Select the Gradient Swatch Tool (G) from the Tools panel. Click and stretch the gradient swatch across the grouped rectangles.
In the Properties panel, double-click the Fill swatch. Under Gradient, add different colors. In my case, I added six colors ranging from yellow to blue.


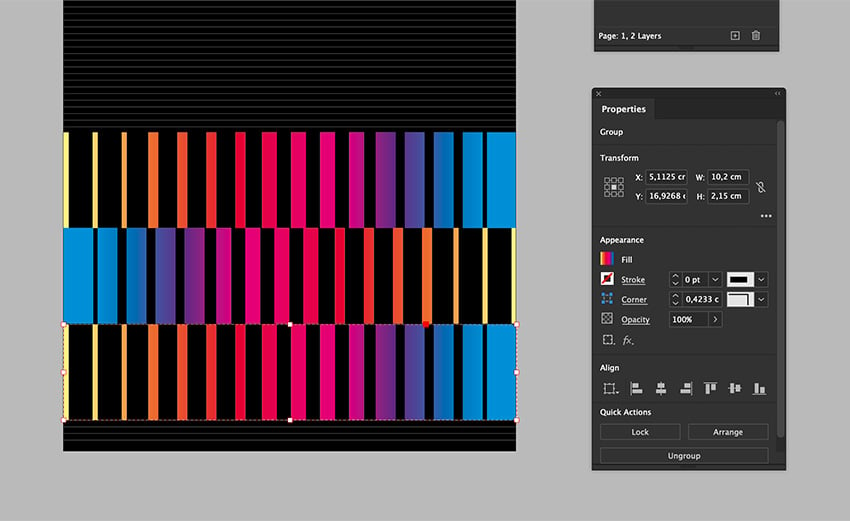
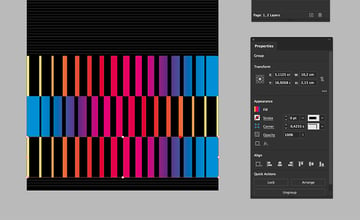
Step 4
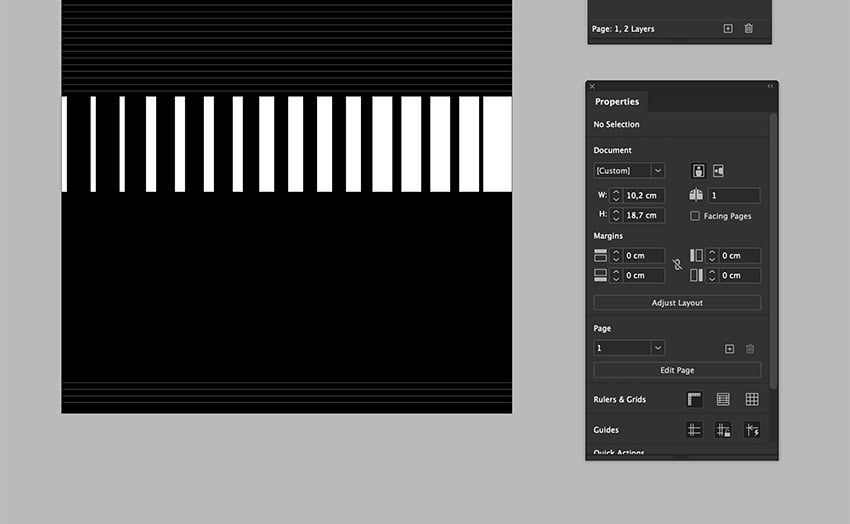
Duplicate the grouped rectangles by pressing Option and dragging the group under the first group. Duplicate the group again to fill up the third row.
Using the Rotate Tool (R), rotate the middle group 180°.

4. How to add text to the VHS case
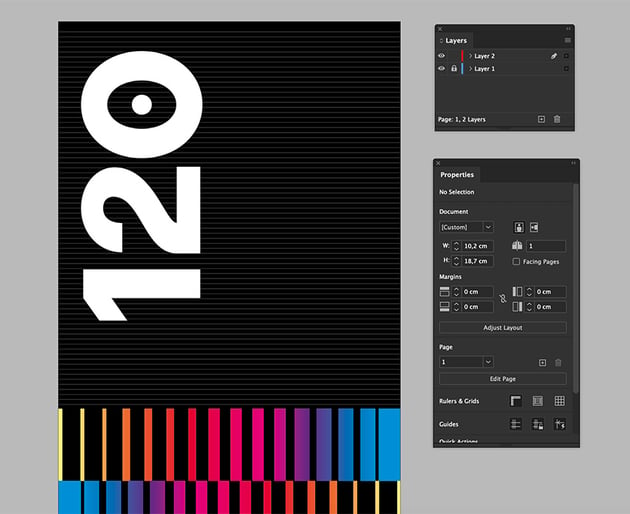
Step 1
Using the Text Tool (T), create a text box and add ‘120’. Under the Properties panel, set the Font to Neuething Sans Black, and set the Size to 123 pt.
Using the Rotate Tool (R), rotate the text box 90°. Place the text box on the upper left corner of the VHS cover.


Step 2
Repeat the same process as the previous step. This time add ‘SG,’ setting the Size to 50 pt.
Using the Rotate Tool (R), rotate the text box 90°. Place the text box on the upper left corner of the VHS cover.


Step 3
Using the Polygon Tool from the Tools panel, create a triangle. Using the Rotate Tool (R), rotate the triangle to have a straight edge at the bottom.


Step 4
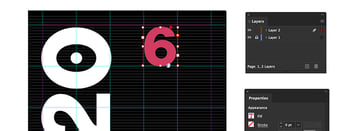
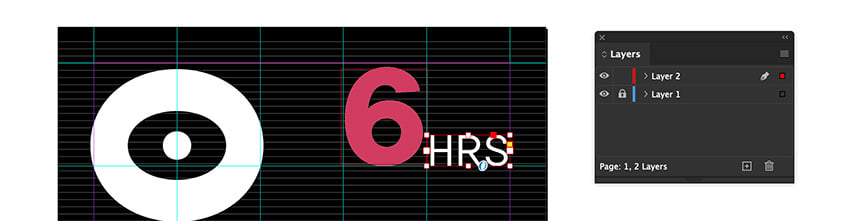
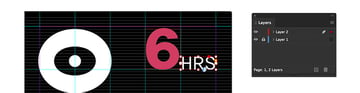
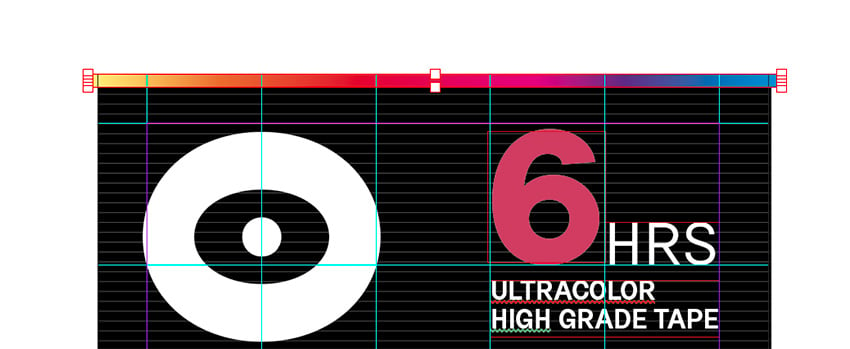
Using the Text Tool (T), create a text box and add ‘6.’ Set the Font to Neuething Sans Black, and set the Size to 70 pt. Set the Fill Color to Pink.


Step 5
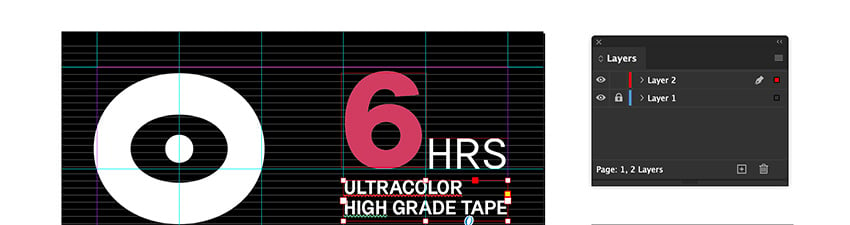
Using the Text Tool (T), create a text box and add ‘HRS.’ Set the Font to Neuething Sans Regular, and set the Size to 22.7 pt. Set the Fill Color to White.

Step 6
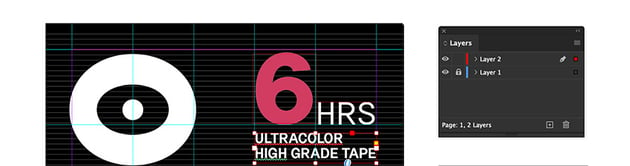
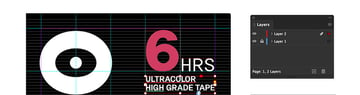
Using the Text Tool (T), create a text box and add ‘ULTRACOLOR HIGH GRADE TAPE.’ Set the Font to Neuething Sans Bold, set the Size to 10.2 pt. Set the Fill Color to White.
Step 7
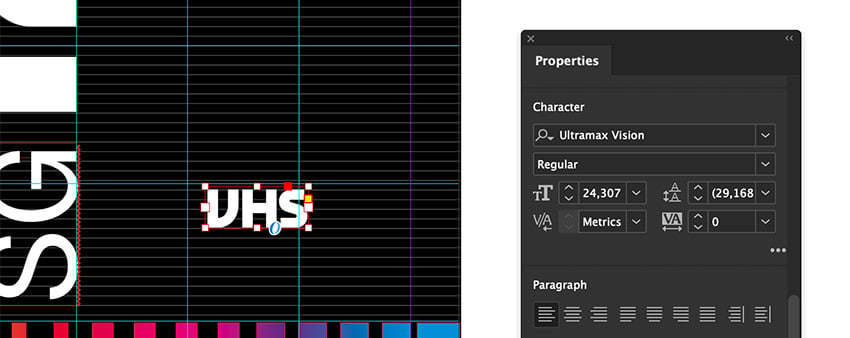
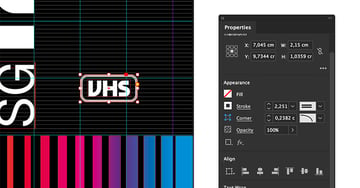
Using the Text Tool (T), create a text box and add ‘VHS.’ Set the Font to Ultramax Vision Regular and the Size to 24 pt. Set the Fill Color to White.


Step 8
Using the Rectangle Tool (M), create a rectangle to fit the text box created in the last step.
In the Properties panel, set the Stroke to 2.5 pt and select the Thick-Thick stroke style. Set the Corner to Rounded and to 2.3 cm.


Step 9
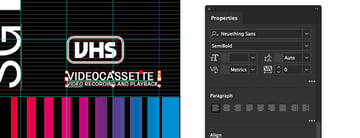
Using the Text Tool (T), create a text box and add ‘VIDEOCASSETTE’ and on the second line ‘VIDEO RECORDING AND PLAYBACK.’ Set the Font to Neuething Sans Bold, and set the Size to 10.5 pt and 5.2 pt. Set the Fill Color to White.


Step 10
Using the Text Tool (T), create two text boxes, and add ‘MADE IN GERMANY’ in the first and ‘LIFETIME WARRANTY’ in the second. Set the Font to Neuething Sans Black and the Size to 5.5 pt. Set the Fill Color to White.


Step 11
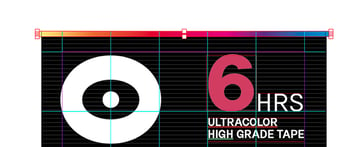
Using the Rectangle Tool (M), create a thin rectangle at the top of the VHS cover. Use the Gradient Tool (G) to add the same gradient as the group of rectangles.

Rewind and design!
By following this tutorial, you learned about key tools and how to properly set up an InDesign file. Now you have the skills to design an authentic 80s VHS cover that captures that bold, minimalist, and nostalgic feel of the era. Keep experimenting and perfecting your retro designs!
Need more 80s inspiration? Check out some 80s graphic design fonts and more 80s inspiration trends.