In this Photoshop tutorial, you’ll learn how to make overlays in Photoshop. I’ll explain everything in so much detail that everyone can learn how to make and how to use overlays in Photoshop, even those who have just opened Photoshop for the first time.
What you’ll learn in this rainbow overlay tutorial
- How to make overlays in Photoshop
- How to use overlays in Photoshop
- How to create lens flare overlay
- How to make a rainbow effect in Photoshop
- How to use layer masks in Photoshop
- What blending modes to use
- Photoshop overlay recommendations
What you’ll need
1. How to start creating a rainbow overlay in Photoshop
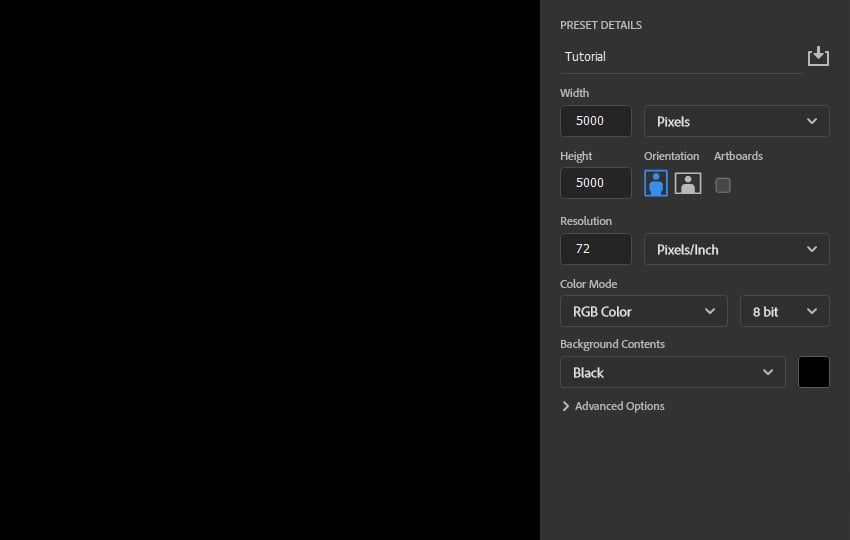
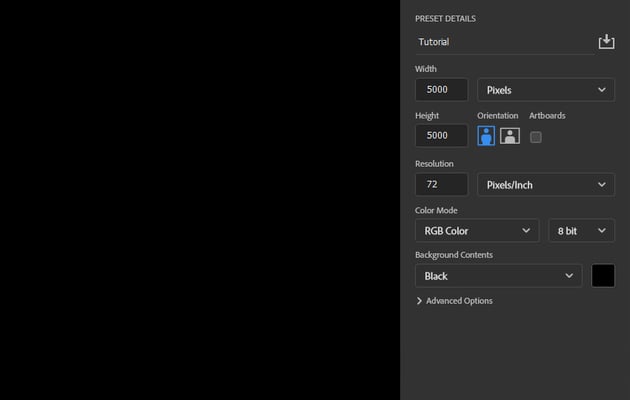
First, create a new file. Go to File > New and set the Width and Height to 5000 px, Resolution to 72 px/in, and Background Contents to Black.

2. How to create a linear lens flare overlay
Step 1
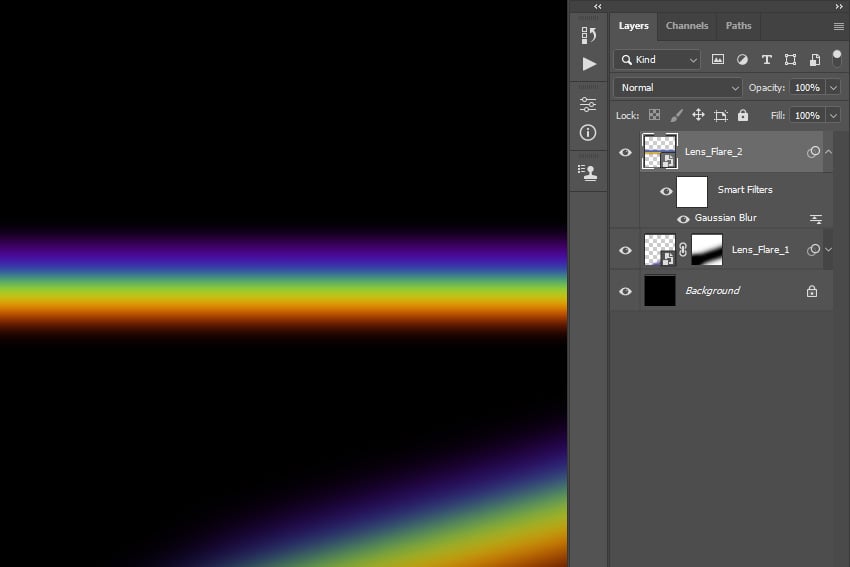
In this section, we’re going to use a gradient fill in Photoshop to create a linear lens flare overlay. Go to Layer > New Fill Layer > Gradient Fill to create a new gradient fill layer, name it Lens_Flare_1, and use the settings below:


Step 2
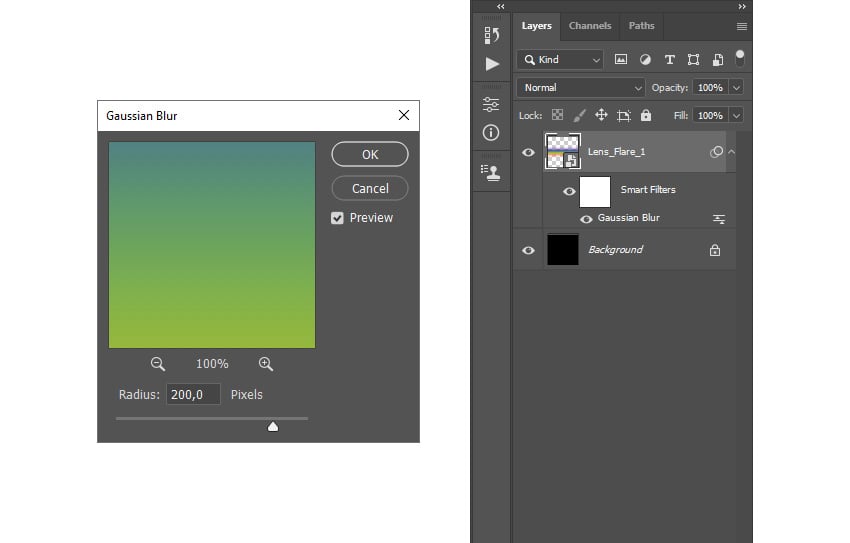
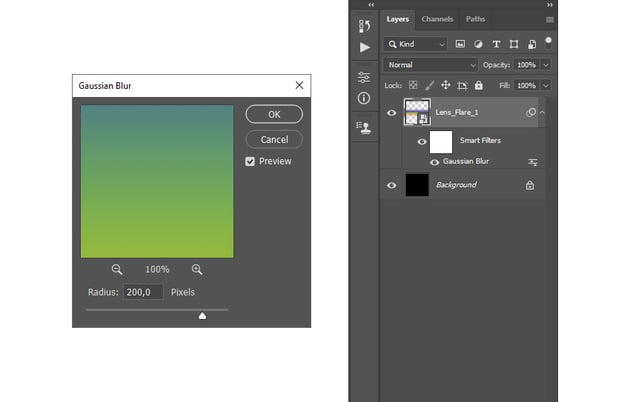
Right-click on this layer and choose Convert to Smart Object. Then, go to Filter > Blur > Gaussian Blur and set the Radius to 200 px.

Step 3
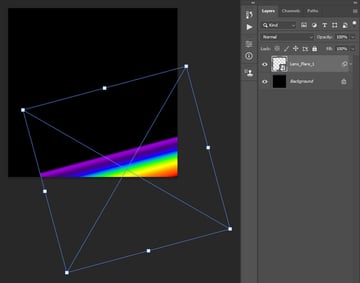
Press Control-T on your keyboard to bring up the transform options, set the Angle to -15°, and position this layer as shown below:


Step 4
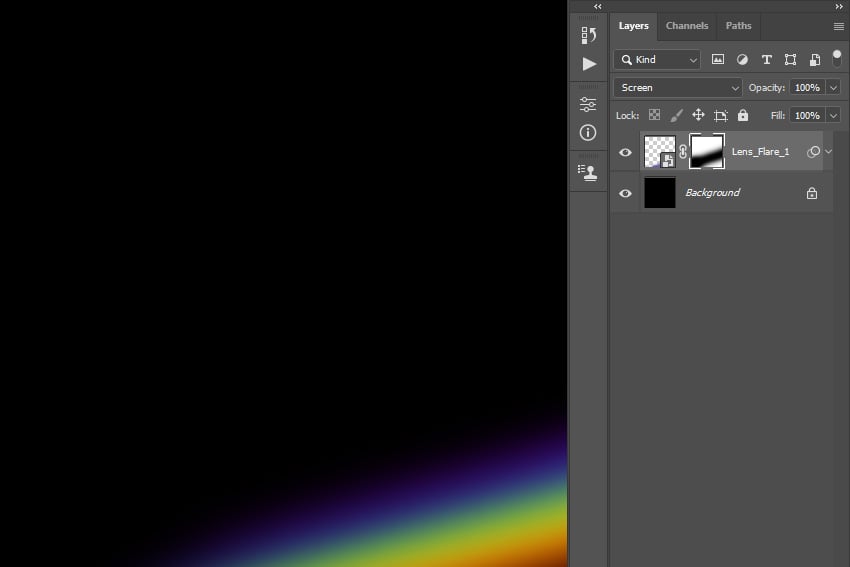
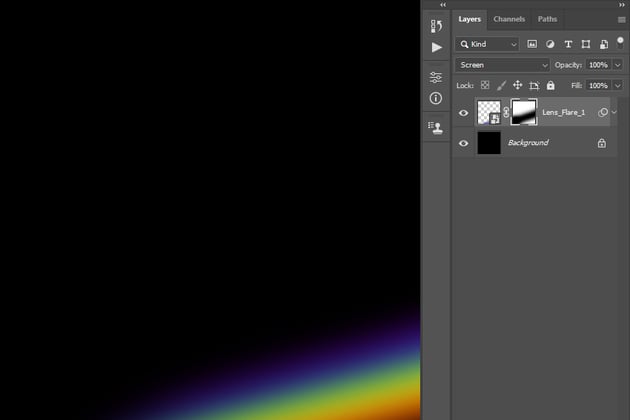
Now go to Layer > Layer Mask > Reveal All to add a layer mask that reveals the whole layer. Set the foreground color to #000000, choose the Brush Tool (B), pick a soft brush, and brush as shown below. Change the Blending Mode of this layer to Screen.
3. How to create an arc lens flare overlay
Step 1
In this section, we’re going to create an arc lens flare with a rainbow effect. Repeat Step 1 and Step 2 from the previous section, but this time choose a couple of different values. In the first step, set the Scale to 15, and in the second step, set the Radius to 100 px.


Step 2
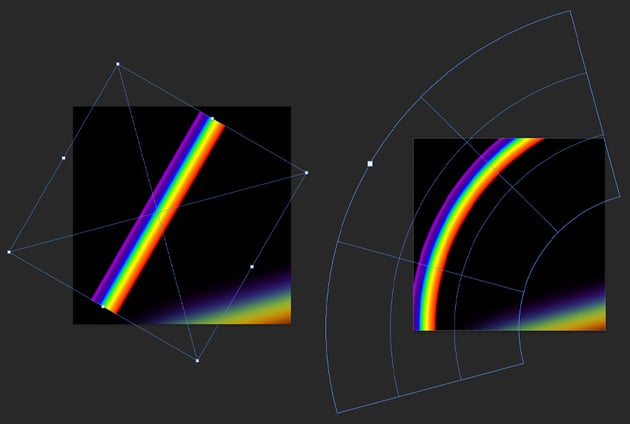
Press Control-T to bring up the transform options, and set the Angle to -60°. Then, right-click anywhere inside the transform box and choose Warp, set the Warp to Arc, and position this layer as shown below:


Step 3
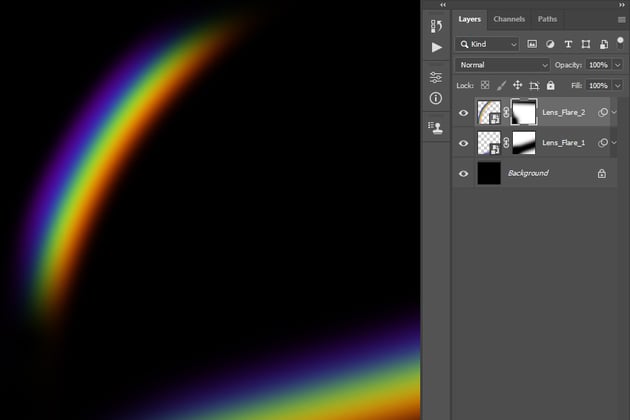
Again, we’re going to use Photoshop layer masks to further adjust the lens flare. Go to Layer > Layer Mask > Reveal All to add a layer mask that reveals the whole layer. Set the foreground color to #000000, choose the Brush Tool (B), pick a soft brush, and brush as shown below.

Step 4
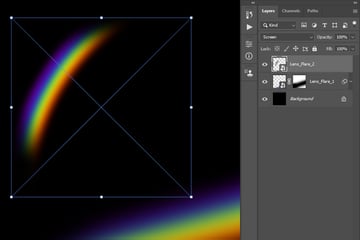
Right-click on this layer and choose Convert to Smart Object. Press Control-T to bring up the transform options, and set the Width and Height to 75%. After that, change the Blending Mode of this layer to Screen.


Step 5
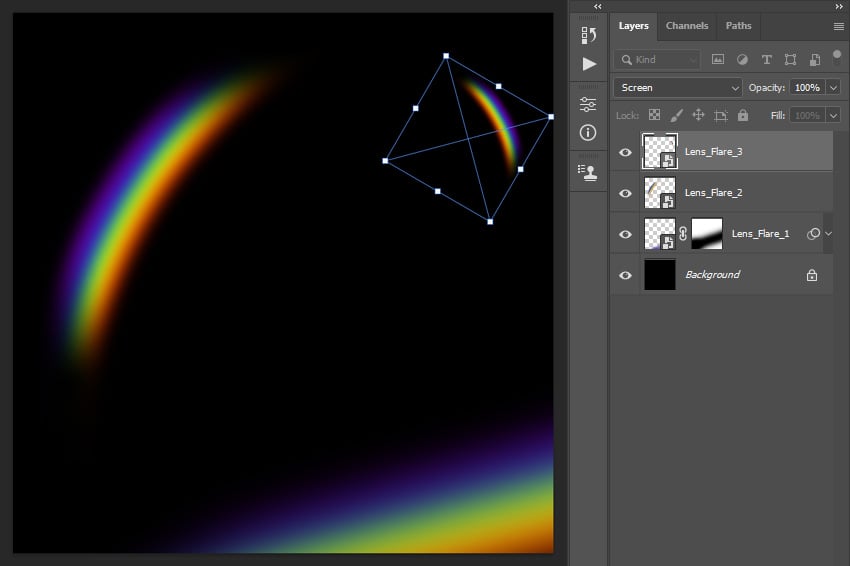
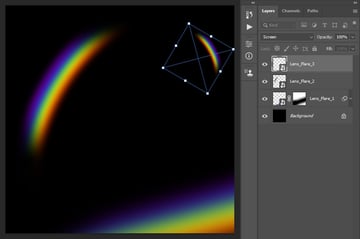
Press Control-J to duplicate this layer. Then, press Control-T to bring up the transform options, set the Width and Height to 22.5% and the Angle to 120°, and position the layer as shown below. Name this layer Lens_Flare_3.

4. How to create a prism rainbow overlay
Step 1
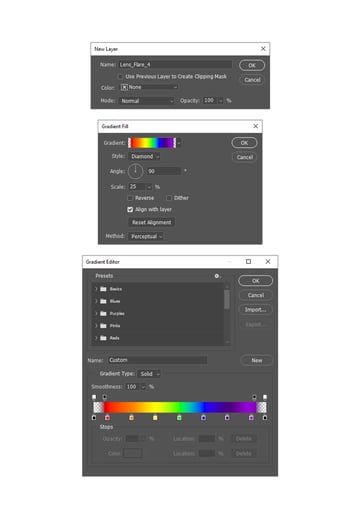
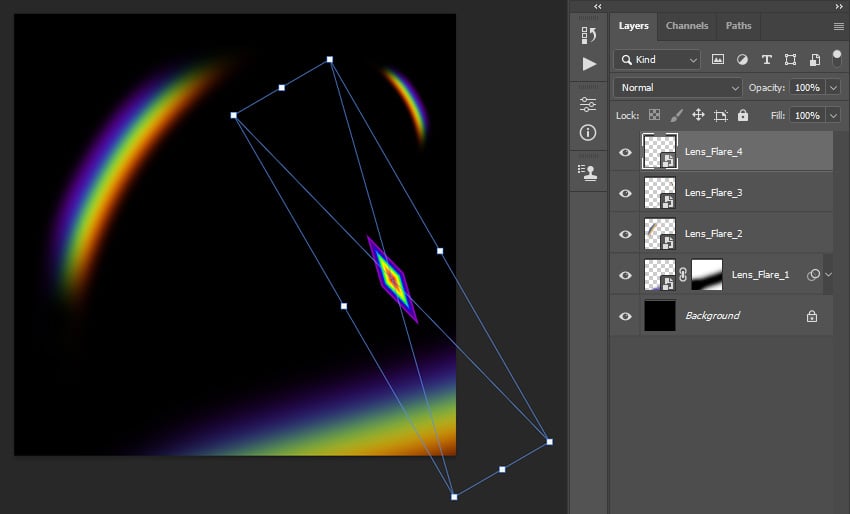
In this section, we’re going to create a prism Photoshop overlay. Go to Layer > New Fill Layer > Gradient Fill to create a new gradient fill layer, name it Lens_Flare_4, and use the settings below:


Step 2
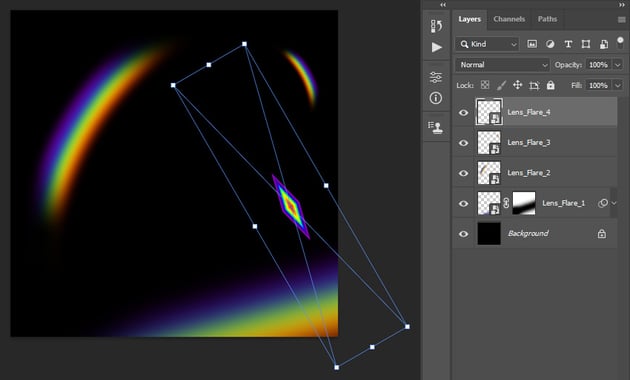
Right-click on this layer and choose Convert to Smart Object. Press Control-T to bring up the transform options, set the Width to 25% and the Angle to -30°, and position it as shown below:
Step 3
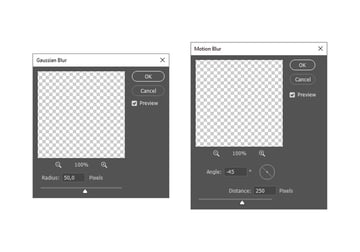
Go to Filter > Blur > Gaussian Blur and set the Radius to 50 px. Then go to Filter > Blur > Motion Blur and set the Angle to -45° and the Distance to 250 px. Lastly, change the Blending Mode of this layer to Screen.


Step 4
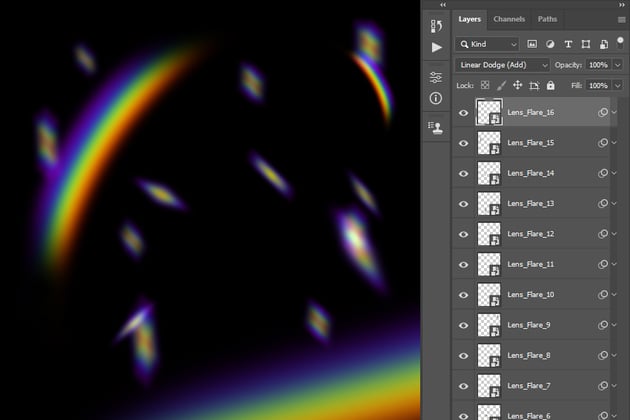
Repeat this process to create as many prism lens flares as you want. Feel free to use different transform values, Gaussian and Motion Blur settings, and Blending Modes. Here is my result:

5. How to make final adjustments to the overlay
Step 1
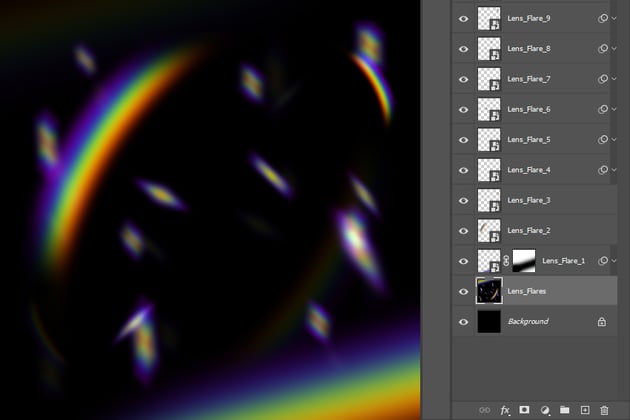
In this section, we’re going to make some final adjustments to the lens flare overlay. Press Control-Alt-Shift-E to take a screenshot. Then, drag this layer just above the Background layer in the Layers panel, and go to Edit > Transform > Flip Horizontal and Edit > Transform > Flip Vertical to flip this layer both horizontally and vertically. Lastly, change the Opacity of this layer to 10%, and name it Lens_Flares.


Step 2
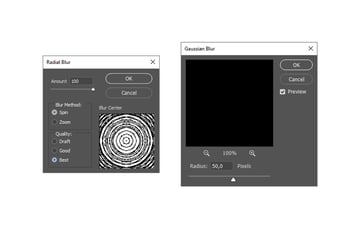
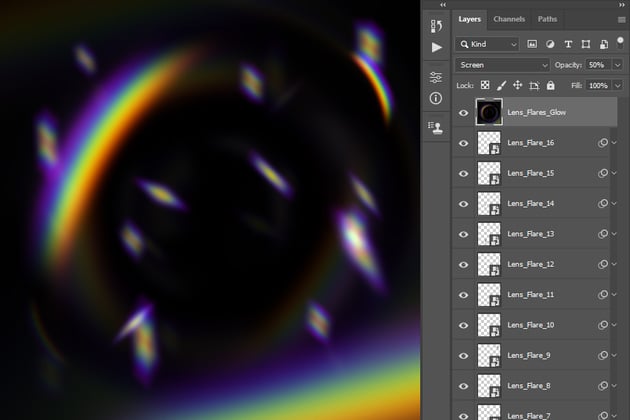
Now select the top lens flare layer, and press Control-Alt-Shift-E to take a screenshot. Go to Filter > Blur > Radial Blur and set the Blur Method to Spin and Quality to Best. Then, go to Filter > Blur > Gaussian Blur and set the Radius to 50 px.


Step 3
Change the Blending Mode of this layer to Screen, and set the Opacity to 50%. Then, name this layer Lens_Flares_Glow, go to File > Save a Copy to save the overlay as a JPG or PNG file, and name it Rainbow_Lens_Flare_Overlay.

6. How to add an overlay effect to a photo
Step 1
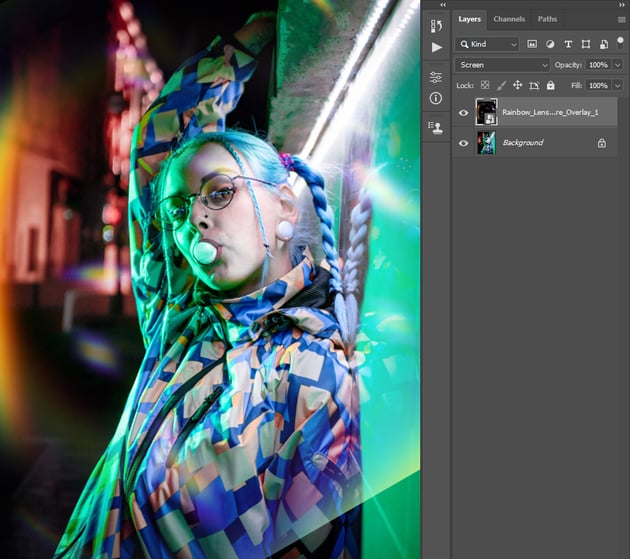
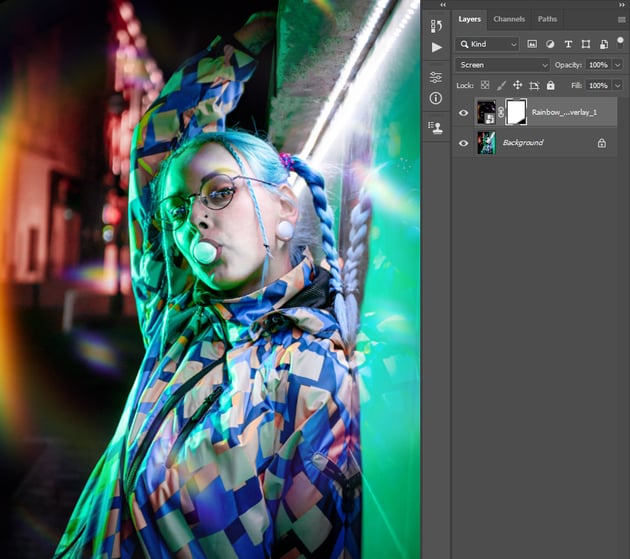
In this section, we’re going to add our overlay effect to a photo. To open your photo, go to File > Open, choose your photo, and click Open. Then, go to File > Place Embedded, select the overlay we previously created, and click Place. Then, transform and position the overlay as you like, change its Blending Mode to Screen, and name it Rainbow_Lens_Flare_Overlay_1.

Step 2
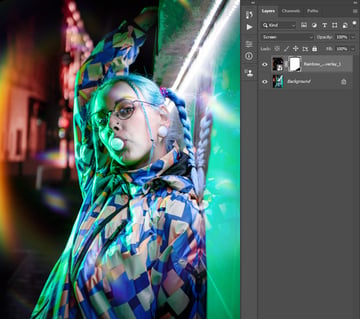
Go to Layer > Layer Mask > Reveal All to add a layer mask that reveals the whole layer. Set the foreground color to #000000, choose the Brush Tool (B), pick a soft brush, and brush over the bottom right edge of the overlay to fade it.

Step 3
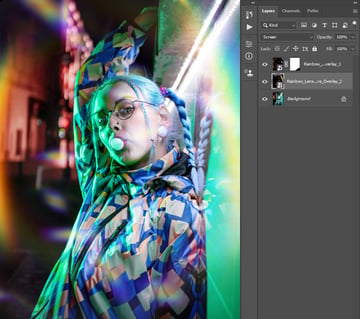
You can repeat this method to add multiple overlays if you want. I’ve added one more, and here’s my result:


Step 4
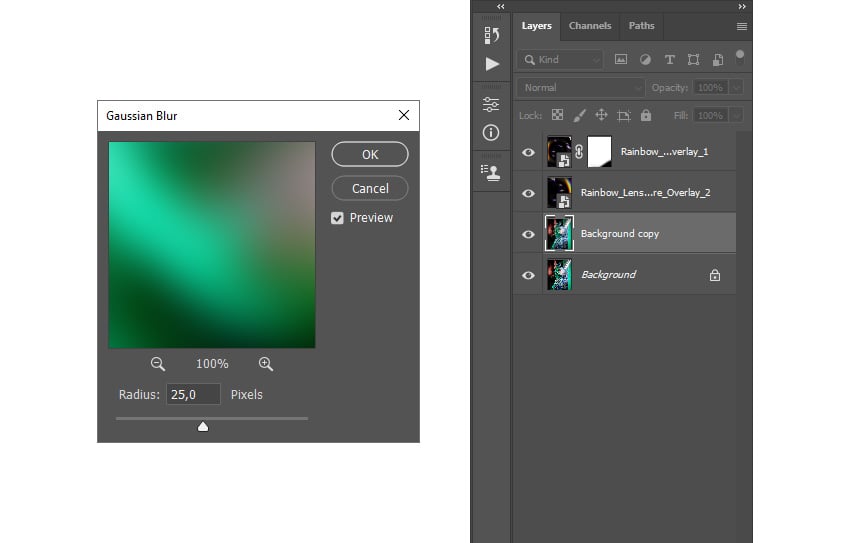
Now select the Background layer and press Control-J on your keyboard to duplicate it. Then, go to Filter > Blur > Gaussian Blur and set the Radius to 25 px.


Step 5
Go to Layer > Layer Mask > Reveal All to add a layer mask that reveals the whole layer. Then, set the foreground color to #000000, choose the Brush Tool (B), pick a soft brush, and brush to reveal the subject. Lastly, name this layer Background_Blur.
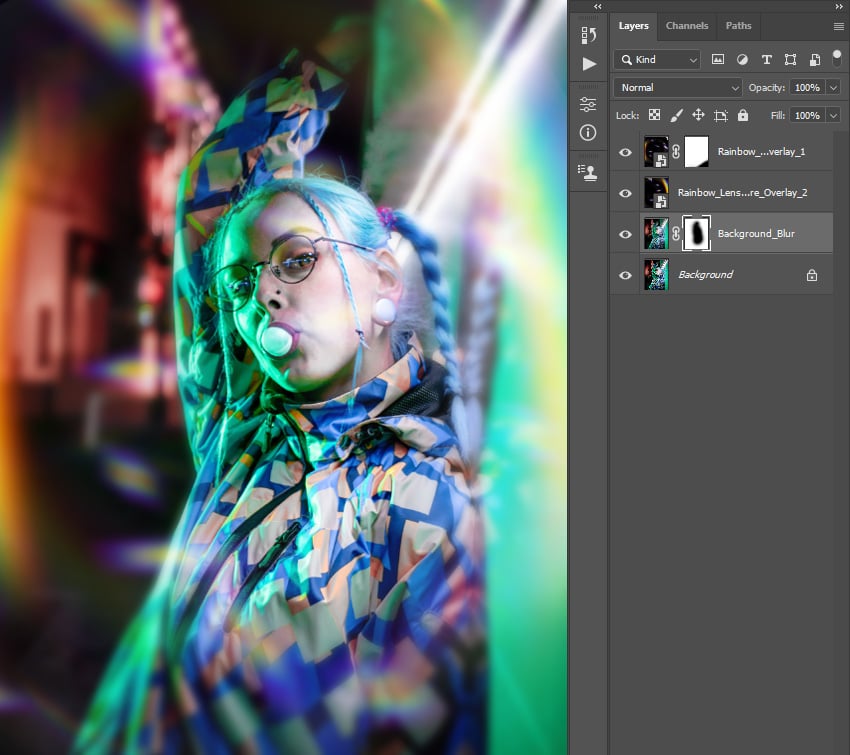
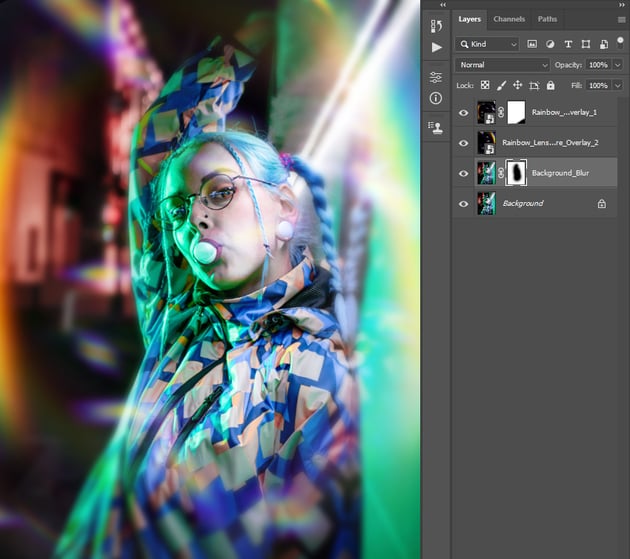
Step 6
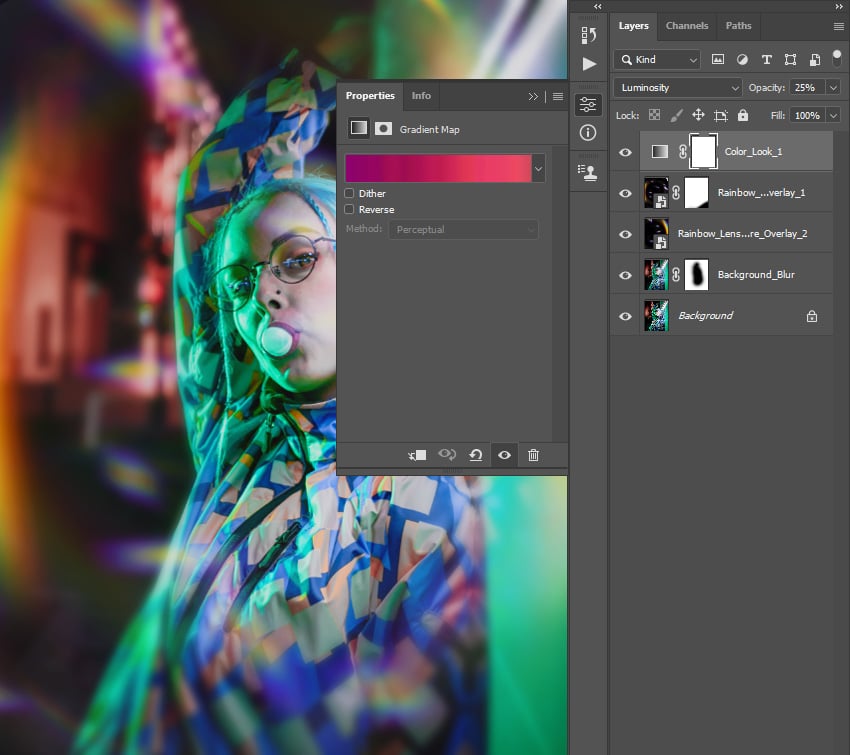
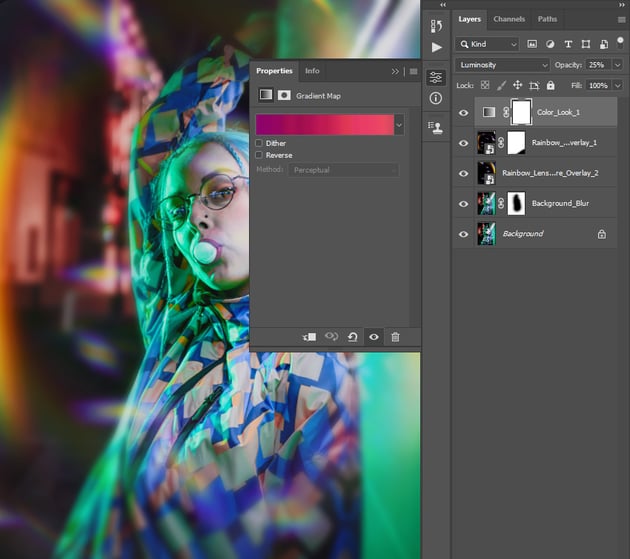
Select the top layer in the Layers panel, go to Layer > New Adjustment Layer > Gradient Map to create a new gradient map adjustment layer, and name it Color_Look_1. Double-click on this layer thumbnail, and in the Properties panel, click on the gradient. Then, in the Gradient Editor panel, set the Gradient Type to Noise and Roughness to 20%, and keep clicking the Randomize button until you get a gradient that you like. Lastly, change the Blending Mode of this layer to Luminosity and set the Opacity to 25%.

Step 7
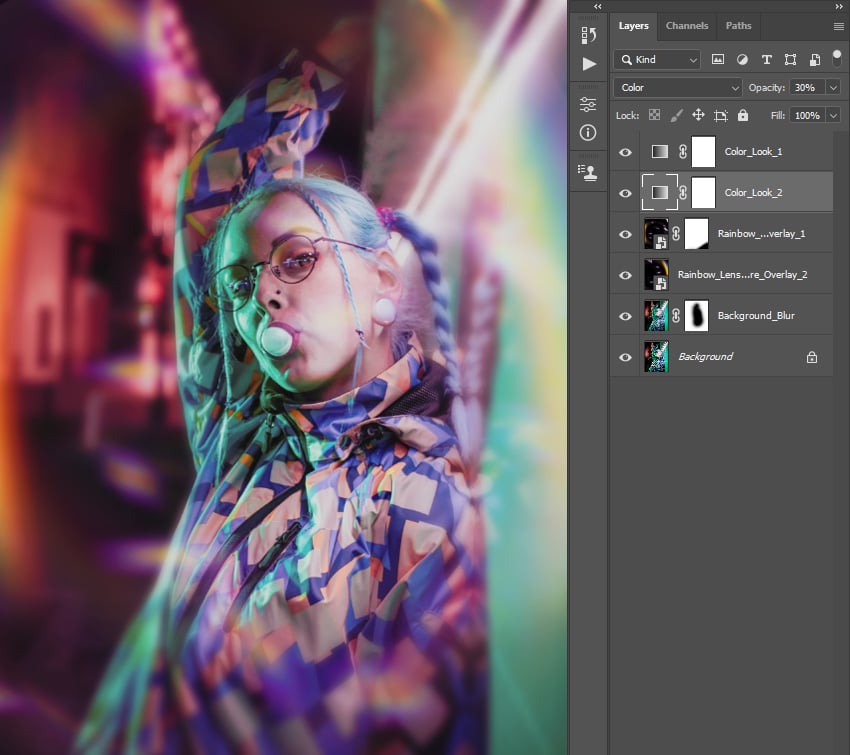
Press Control-J to duplicate this layer, and drag this new layer below the current layer in the Layers panel. Change its Blending Mode to Color, set the Opacity to 30%, and name it Color_Look_2.


Step 8
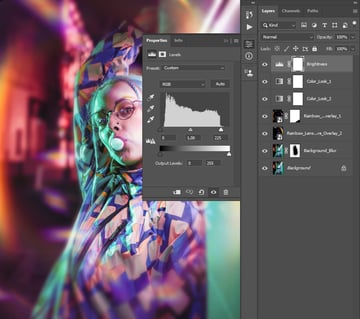
Select the Color Look_1 layer, go to Layer > New Adjustment Layer > Levels to create a new levels adjustment layer, and name it Brightness. Double-click on this layer thumbnail and, in the Properties panel, set the Highlight Input Level to 225.


Step 9
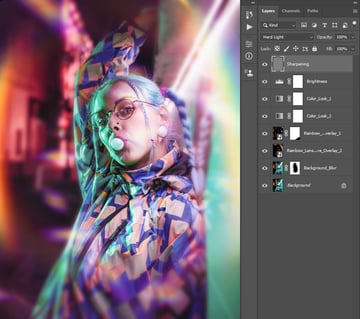
Press Control-Alt-Shift-E to take a screenshot, and then press Control-Shift-U to desaturate this layer. Then, go to Filter > Other > High Pass and set the Radius to 2 px. Change the Blending Mode of this layer to Hard Light, and name this layer Sharpening.


You made it!
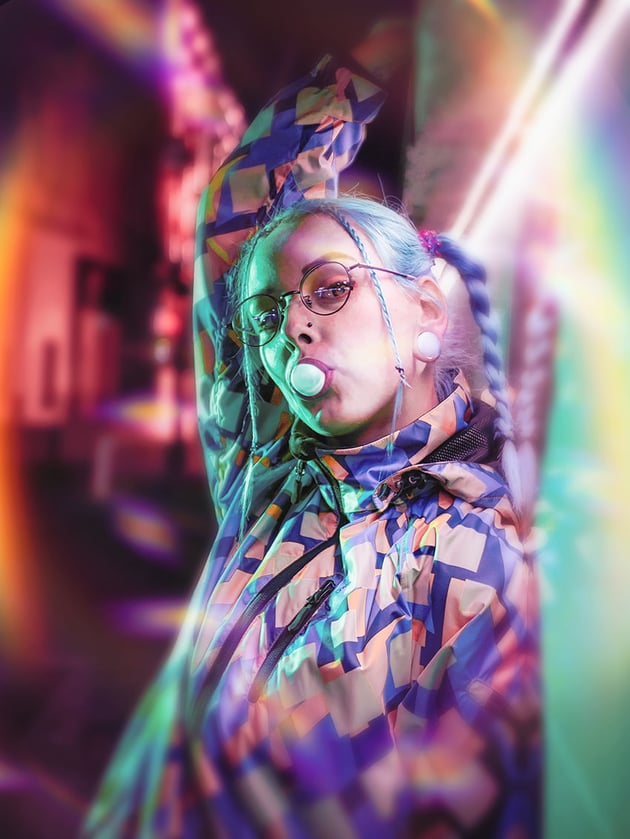
Congratulations, you’ve succeeded! You’ve now learned how to make overlays, how to use gradient fills and layer masks, and how to use blending modes in Photoshop. Here’s our final overlay effect:


5 rainbow Photoshop overlays from Envato
Want to see some cool rainbow light images? Check out this list of Photoshop overlays from Envato.
Spectrum rainbow photo overlays (PSD)
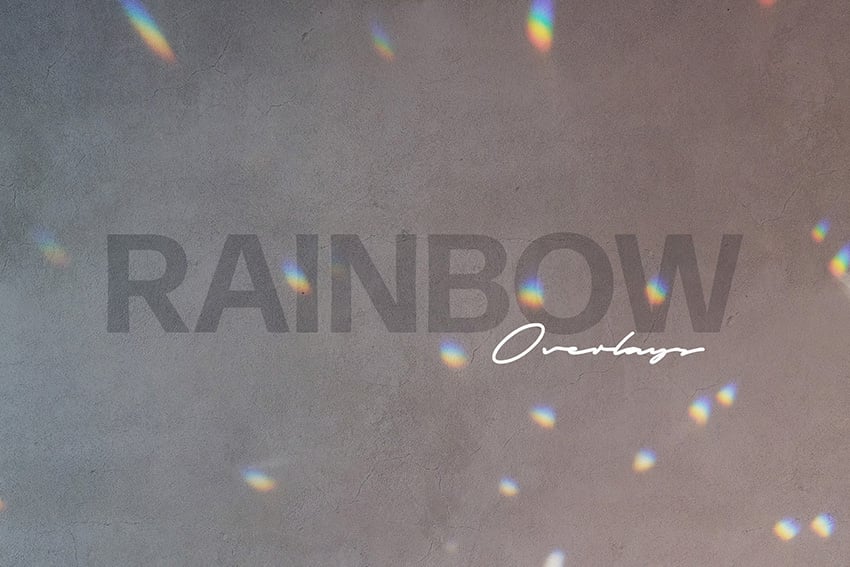

Choose from 16 rainbow Photoshop overlays that you can use to quickly add colorful and magical touches to your photos. The pack includes all kinds of different colors and details like spots, rays, and waves.
20 prism overlay HQ (JPG)
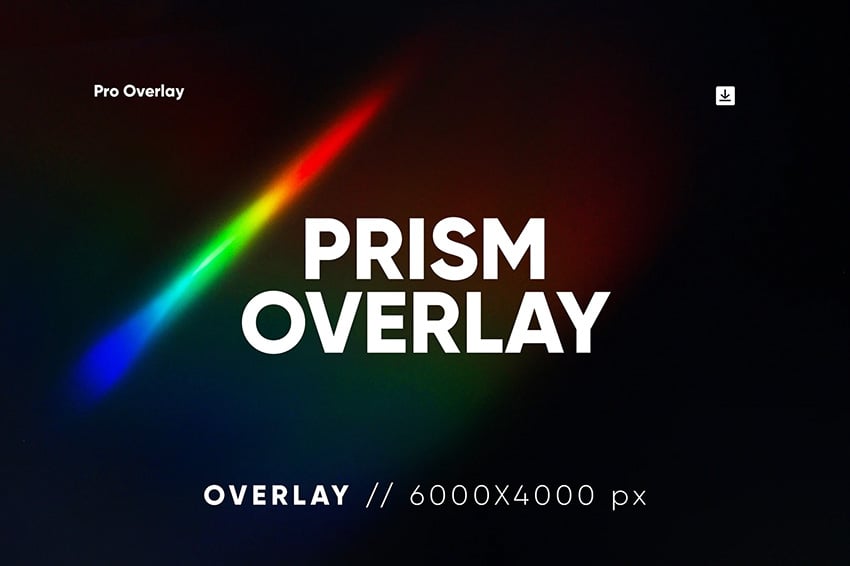

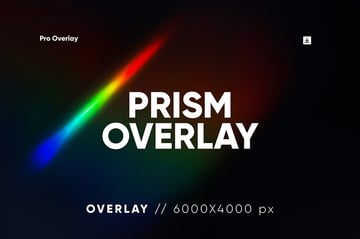
There are 20 rainbow light images included in this pack. You just place them over your photo, and the author recommends changing their blending mode to Soft Light or Overlay for best results. What are you waiting for? Give them a try!
Motion rainbow overlay (JPG)
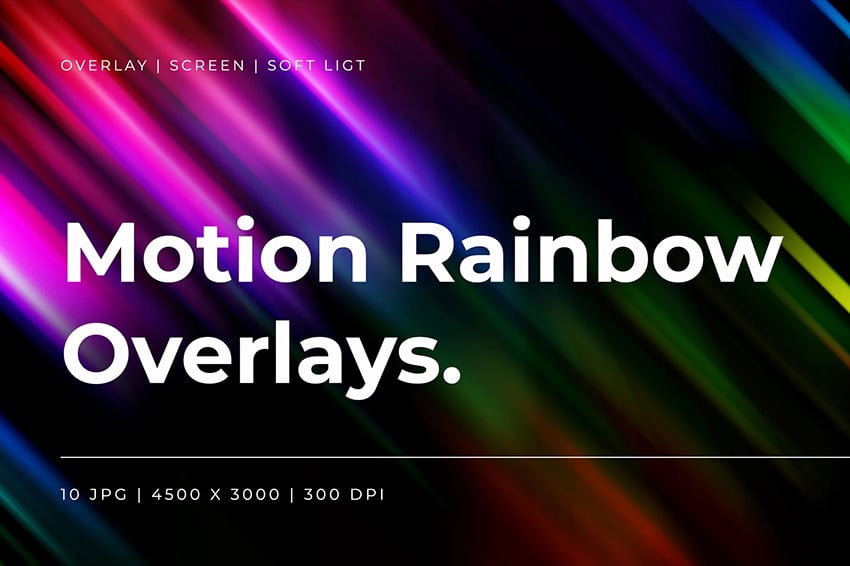

You can choose from ten different motion rainbow Photoshop overlays with this package. They are high resolution and designed to enhance your photos with beautiful, bright colors. Don’t forget to experiment with different blending modes!
Crystal rainbow light effect collection (AI, EPS, JPG, PDF, PNG)
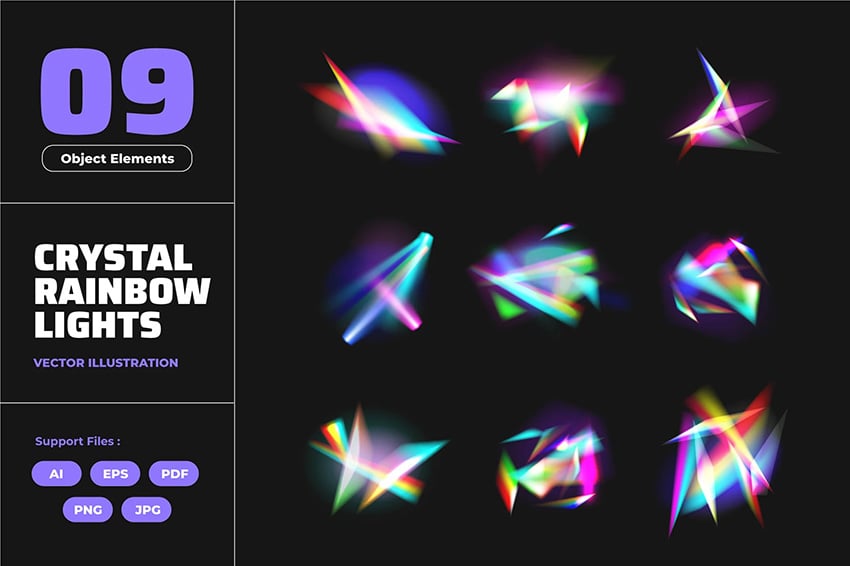
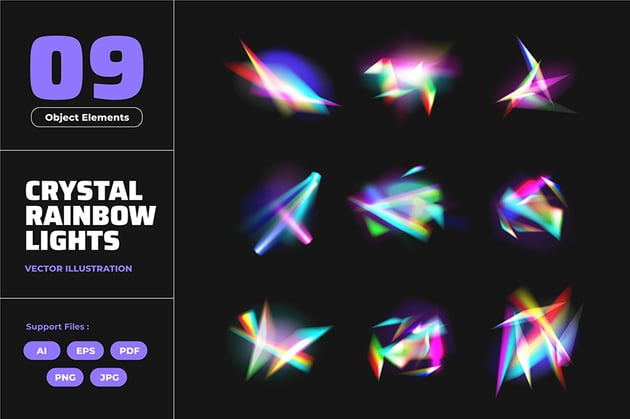
Here we have a vector rainbow light effects collection. These overlays are 100% vector, so you can scale them to any size, they’re fully editable, and they come in multiple formats.
Dreamy light leak overlays (JPG)


Check out this collection of ten high-resolution overlays. Place them over your photos, change their blending mode to Screen, and see how your images glow with a light, dreamy look.
Did you like this tutorial on how to make overlays in Photoshop? Then you may also like: