Learn how to enhance your Adobe InDesign skills with these 15 essential tips and tricks. From shortcuts to lesser-known features, you’ll learn how to streamline your design process and create professional-level graphics in no time. Discover how to generate QR codes, create visually stunning designs by masking letters, and animate assets for interactive PDFs.
If you’re the type of person who learns better by watching rather than reading, then this video is just what you need! You can check it out below and on our Envato Tuts+ YouTube channel:
1. How to Use Parent Pages in InDesign
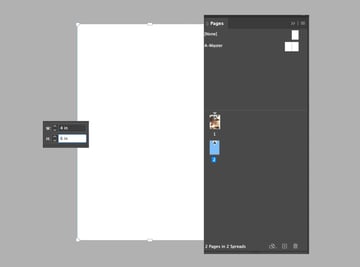
My first trick is great for magazines, books, and multi-page documents. Instead of adding text frames to each individual page, you can add them to Parent pages. Go to the Pages panel and double-click the A-Parent thumbnail in the top portion. Place your text frames using the Type Tool (T).


To activate these text frames, go back to your pages/spreads and hold Shift-Command and then click on the text frame.

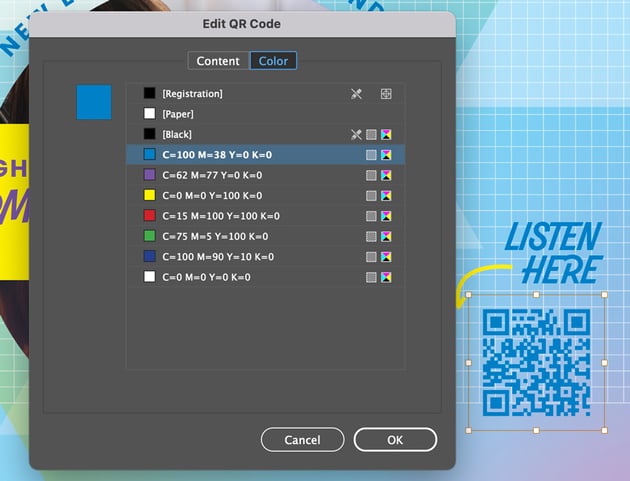
2. How to Create a QR Code in Adobe InDesign
QR codes have become increasingly popular in recent years, especially with the rise of contactless payments and digital marketing. InDesign has a QR code generator built into the program. To access it, go to Object > Generate QR code. Select Web Hyperlink underneath Type. You can change the color of the QR code in the Color tab. Once you’re done, select OK and place your QR code.


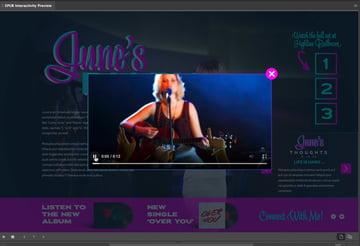
3. How to Make an Interactive Popup
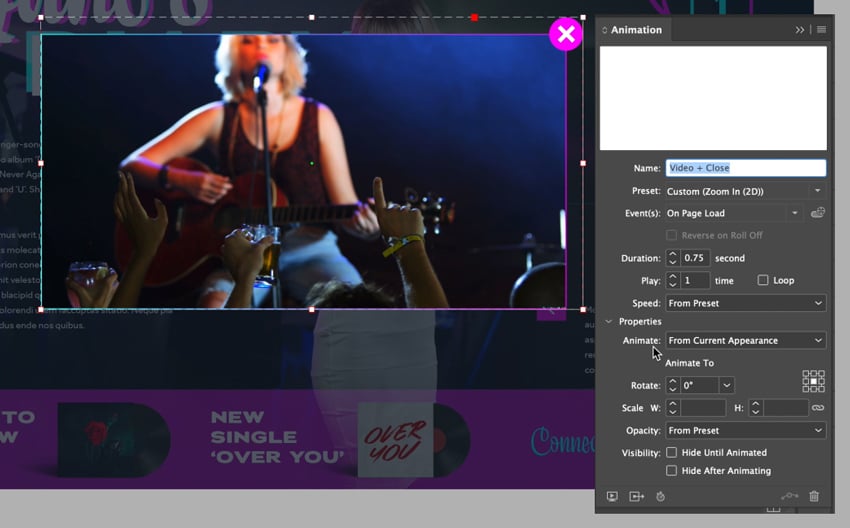
In today’s digital age, presentations are about not just sharing information but also engaging the audience. One way to do this is by using popups in your presentation. This can all be done in InDesign. In the Layers panel, place your artwork on one layer and the video and background overlay on another layer. Name it Popup.


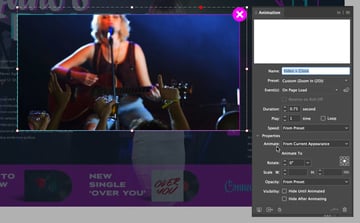
Access the Animation panel by going to Window > Interactive > Animation. In this step, we want to animate the way the video and background layer appears. A slow fade in and zoom in will do the trick. Use the Zoom In Preset and set the Duration to 0.75 seconds.

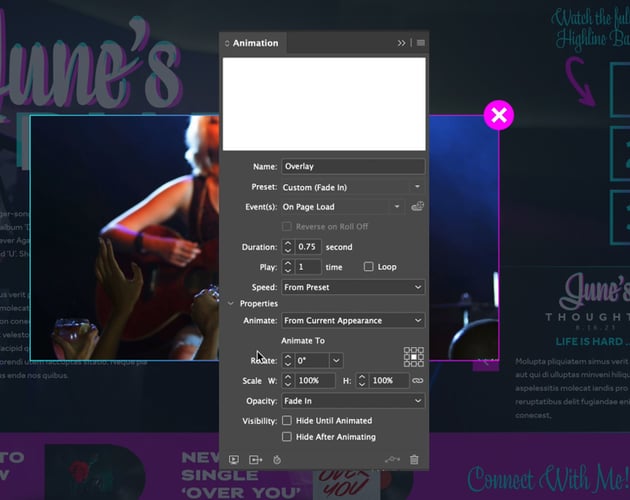
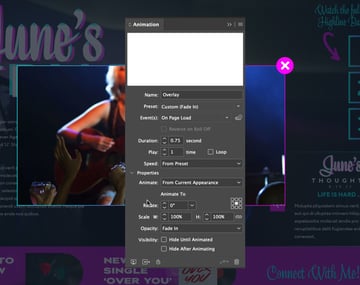
Select the Background Overlay, and set the Preset to Fade In and the Duration to 0.75 seconds.

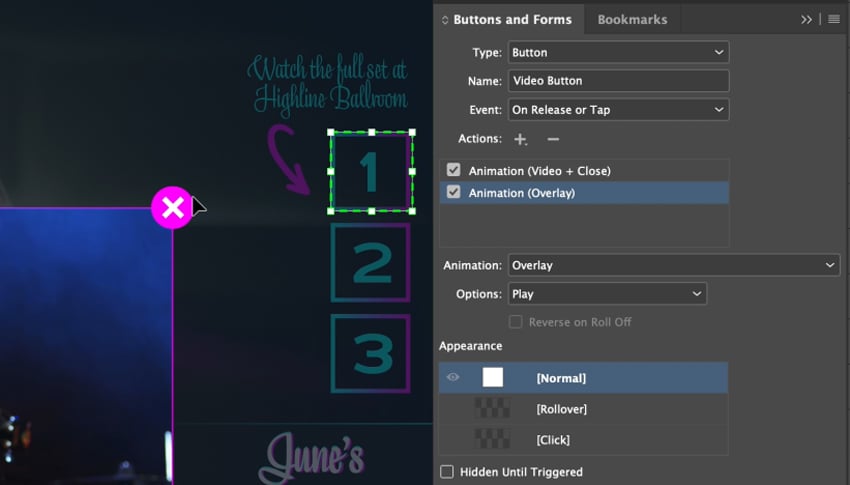
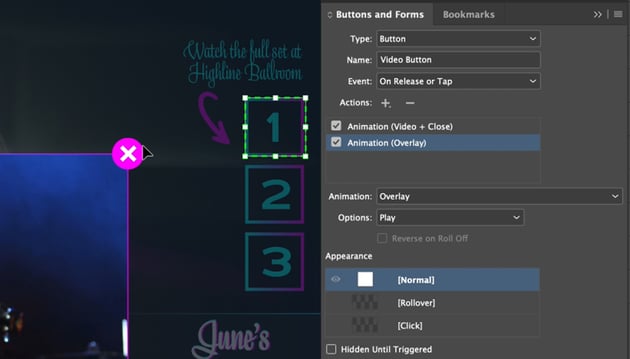
Create a new layer in the Layers panel and name it Activation. Select the Rectangle Frame Tool (F) and place a square over the number one graphic. Go to Object > Interactive > Convert to Button. We will now apply animation settings to activate the video and close the button after clicking the number one.

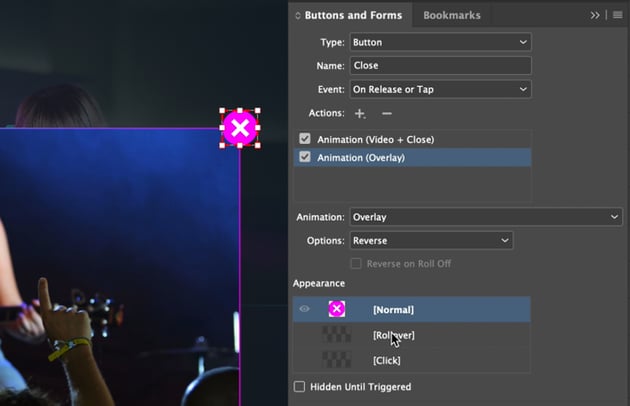
In this step, we want the button to close the video and background overlay. Select the Close button and apply the animation settings. To create this effect, make sure that Options is set to Reverse for both the Video and Background Overlay.


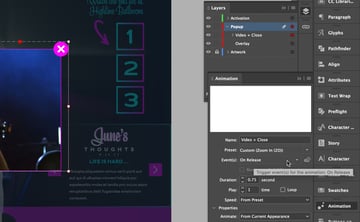
Select the Video and Close button group and, under the Event(s) tab, deselect On Page Load. Do the same to the Background Overlay.


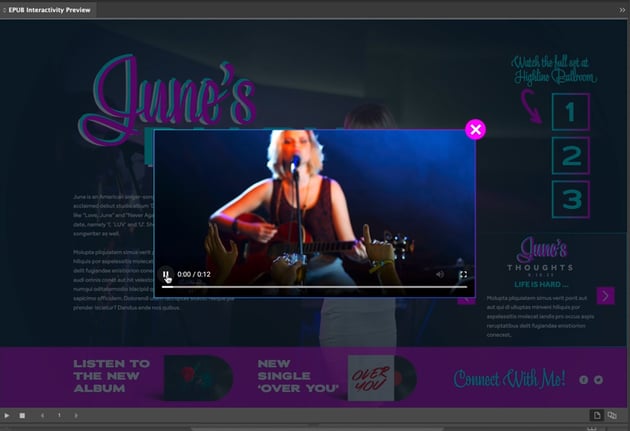
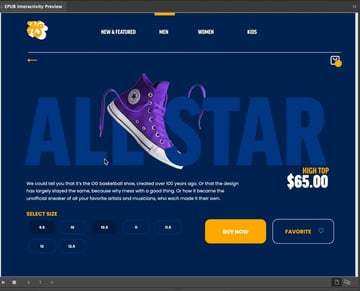
Open the EPUB Interactivity Preview panel by going to Window > Interactive > EPUB Interactivity Preview. From here, click on the Play button in the bottom left corner. Now, click on the number one, which will trigger the video and background overlay to appear.

4. How to Add an Animated GIF
Knowing how to seamlessly integrate animated GIFs can elevate the visual appeal of your work. Create a GIF in Adobe Photoshop and export it. Go to File > Export > Save for Web. Save this file to your desktop.

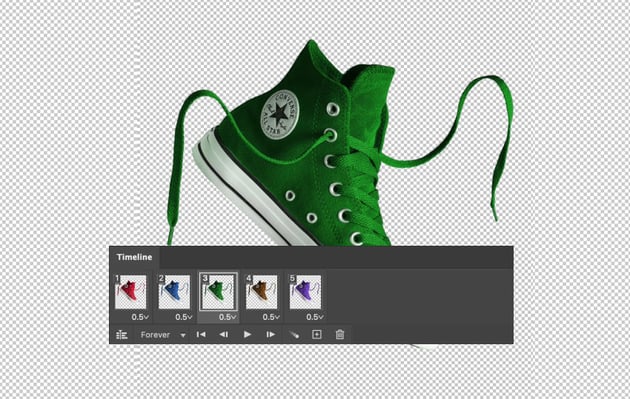
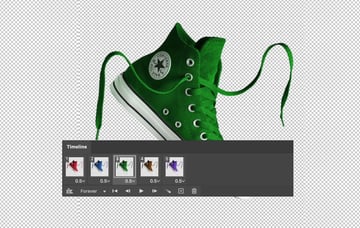
Place the GIF in InDesign by going to File > Place. Open the Animation panel and apply some settings. Change the Preset to Fly in from Left.


Open the EPUB Interactivity Preview panel by going to Window > Interactive > EPUB Interactivity Preview. Click on the Play button in the bottom left corner to view your GIF in action.


5. How to Create a Table of Contents
Creating a table of contents is an essential part of any document, but it can be time-consuming and tedious to do it manually. Apply the same Paragraph Style to the titles you want to include within your Table of Contents.

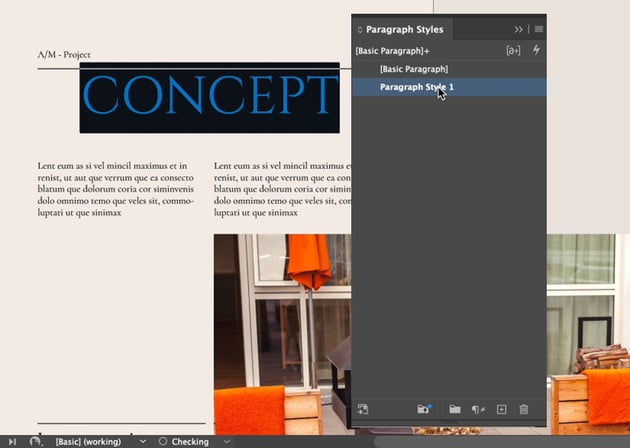

Add additional paragraph styles for how you want the body content to be formatted along with the Table of Contents headline.
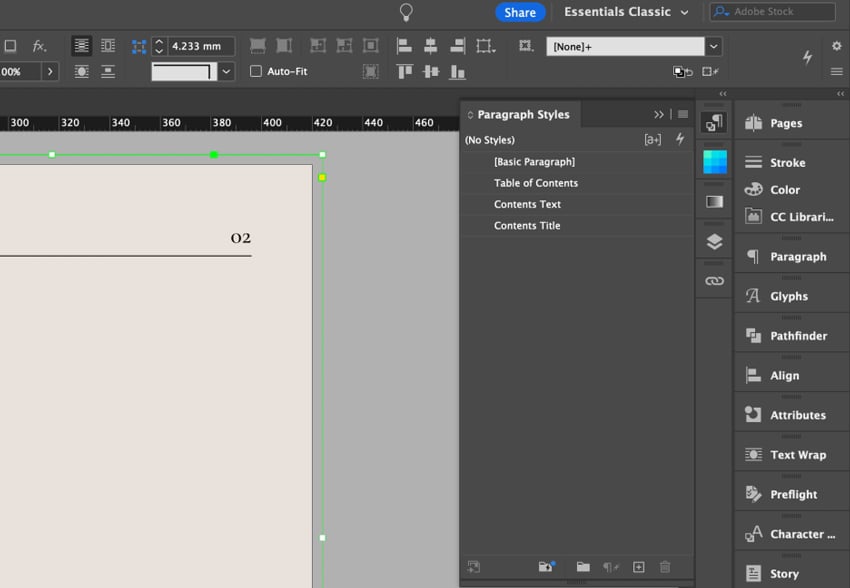

Go to Layout > Table of Contents, and apply the Paragraph Styles we just created to your Table of Contents.
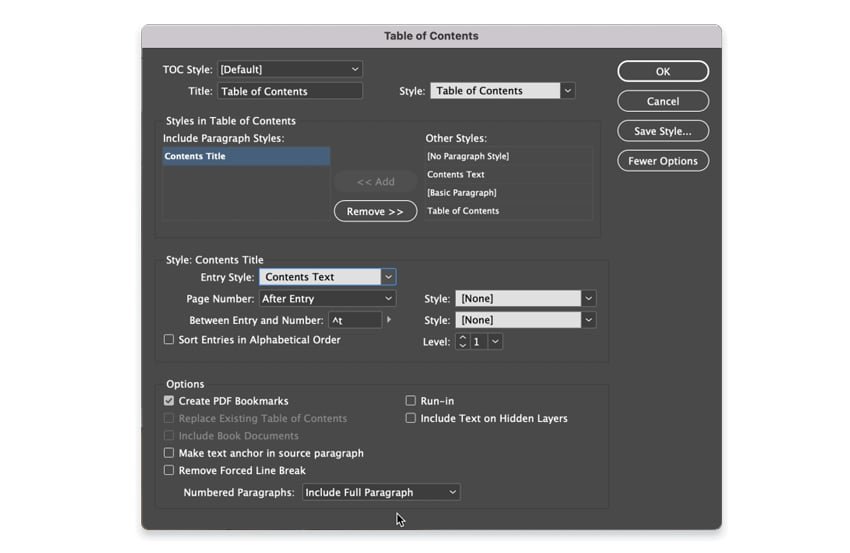
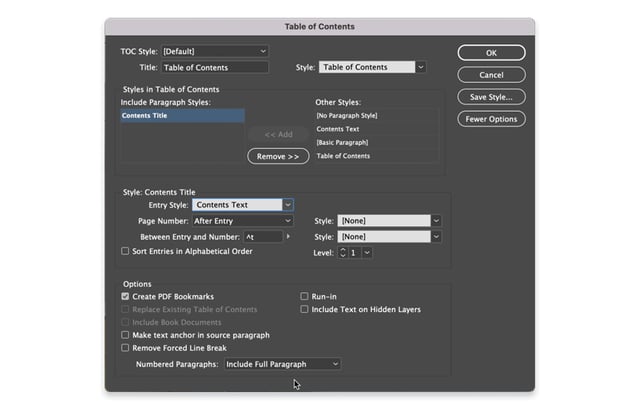
Click OK and place your Table of Contents on the page.


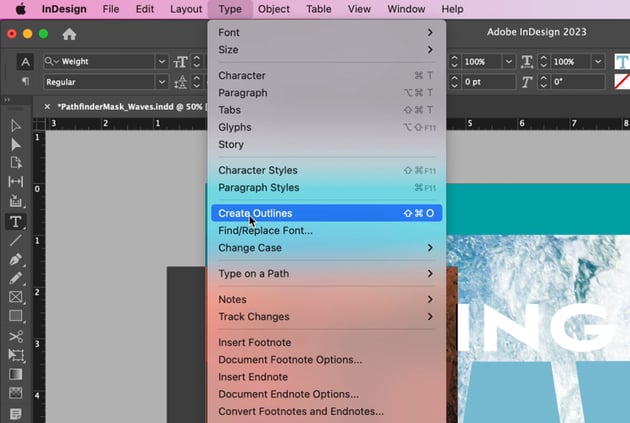
6. How to Use the Clipping Mask
The Pathfinder tool allows designers to create complex shapes and masks by combining or subtracting simple shapes. Create an outline from your letter by going to Type > Create Outlines.


Use the Rectangle Tool (M) and create a background behind the outlined letter. Select the letter and the background and go to the Pathfinder panel. Select Subtract under Pathfinder.
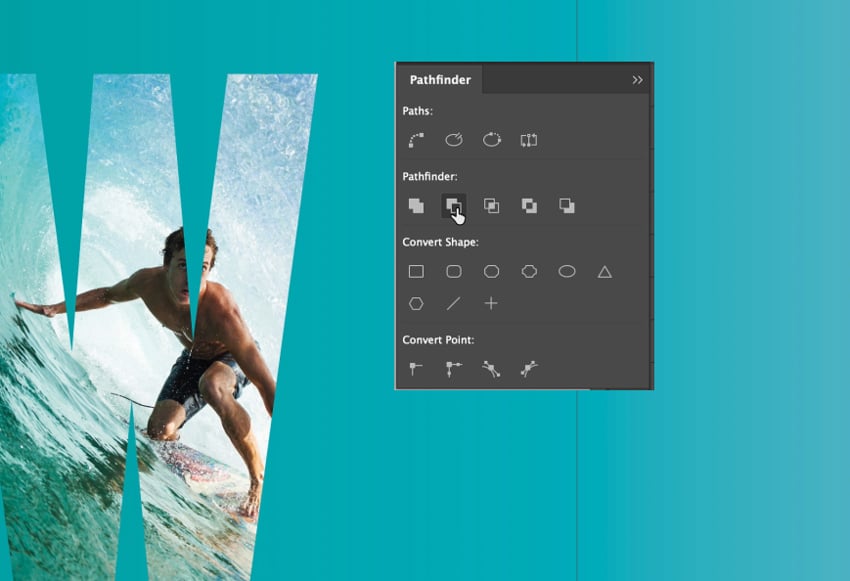


Take the design further by saving a second version of the surfer image, and mask away some of the waves in Photoshop. File > Place the second version on top of the original image.


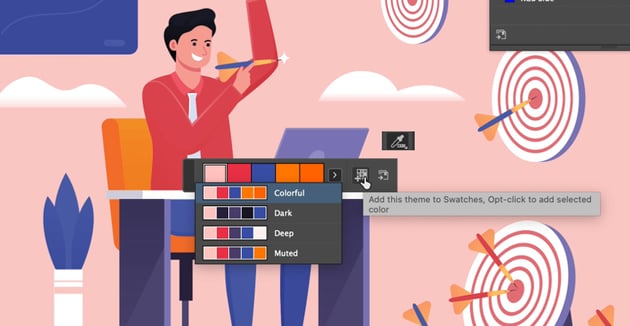
7. How to Use the Color Theme Tool
No more wasting time trying to manually select colors or struggling with mismatched shades. The Color Theme Tool takes the guesswork out of color selection. Select the Color Theme Tool and click anywhere on the graphic. A collection of colors will appear. You can save this set of colors to the Swatches panel.


8. How to Create a Neon Text Effect
Neon text effects are a popular choice for various design projects, from posters and flyers to social media graphics. They instantly grab attention and give your designs a vibrant and electrifying look. Use the Type Tool (T) and type “Comedy” using the Lenolove font.


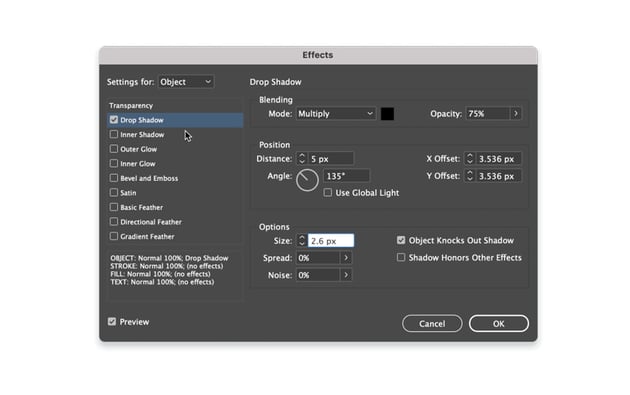
Go to Object > Effects > Drop Shadow. Change the Mode to Multiply and increase the Distance and Size of the shadow.


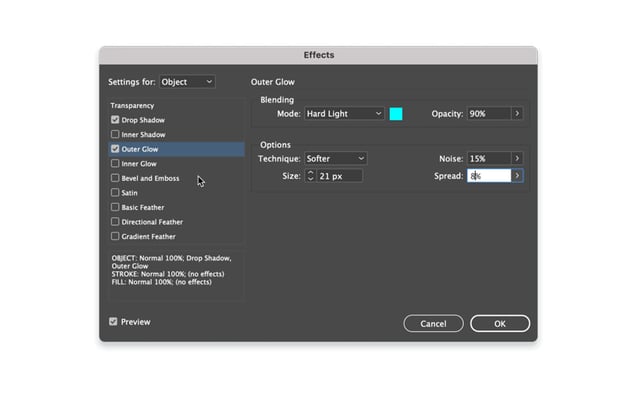
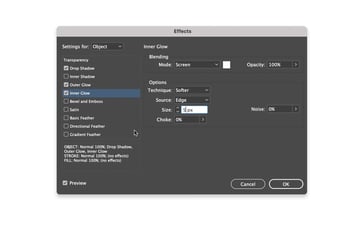
For Outer Glow, change the Mode to Hard Light and the Opacity to 90%.


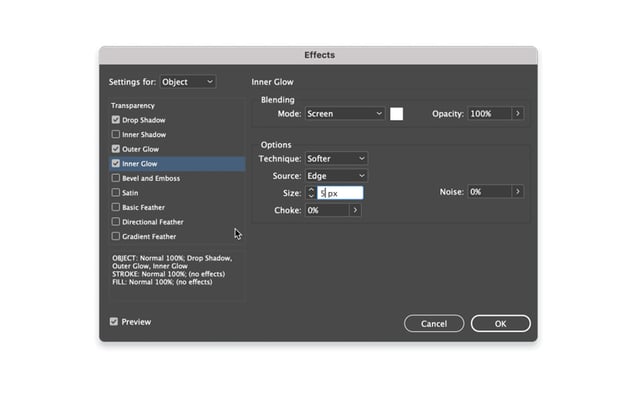
Increase the Size to 5 px on the Inner Glow settings.

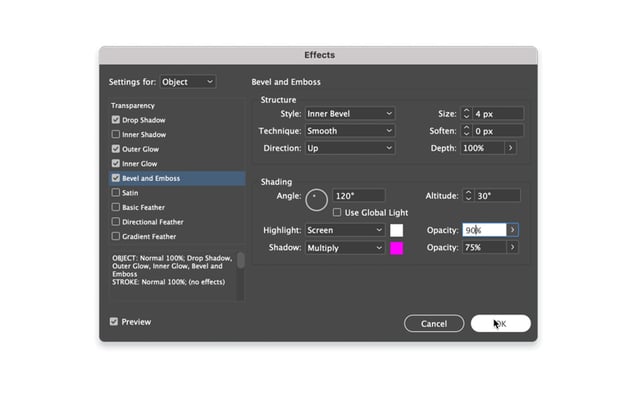
On the Bevel and Emboss effect, change the Shadow to Multiply and play around with the Opacity on the Highlight and Shadow layers.


Enhance the headline more by adding a script font in the same neon effect.


9. How to Highlight Text
Highlighting text in InDesign can be done in several ways. One popular method is by using the Underline feature. Select the text you want to highlight. While holding down the Option key, select Underline in the Top Toolbar. Decrease the Offset to -2, and change the Weight to 8 and the Color to a yellow swatch.


Now, if you decide to switch the number to an email address, the highlight will extend to that area.


10. How to Create a PowerPoint File From InDesign
In today’s digital world, PDFs are a popular file format for sharing documents. However, there may come a time when you need to convert a PDF file to a PowerPoint presentation.
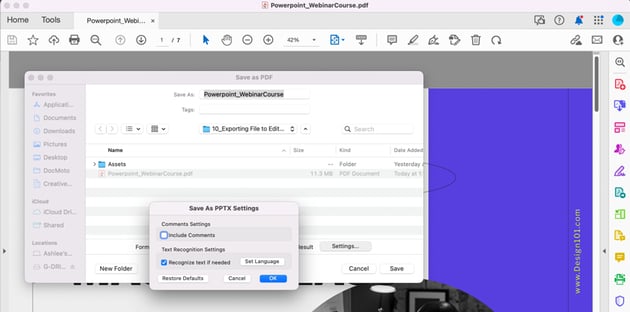
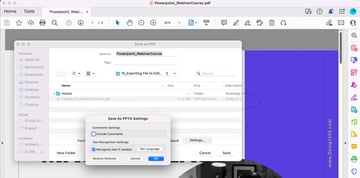
Go to File > Export from your InDesign file and save your PDF. It should open up in Adobe Acrobat. From Adobe Acrobat, select File > Export To > Microsoft PowerPoint Presentation. On the Settings tab, uncheck Include Comments. Click OK and Save your document.

You can now edit the file with PowerPoint.
If you’re designing this presentation for a client, make sure you send the fonts along with the PowerPoint so everything loads correctly.


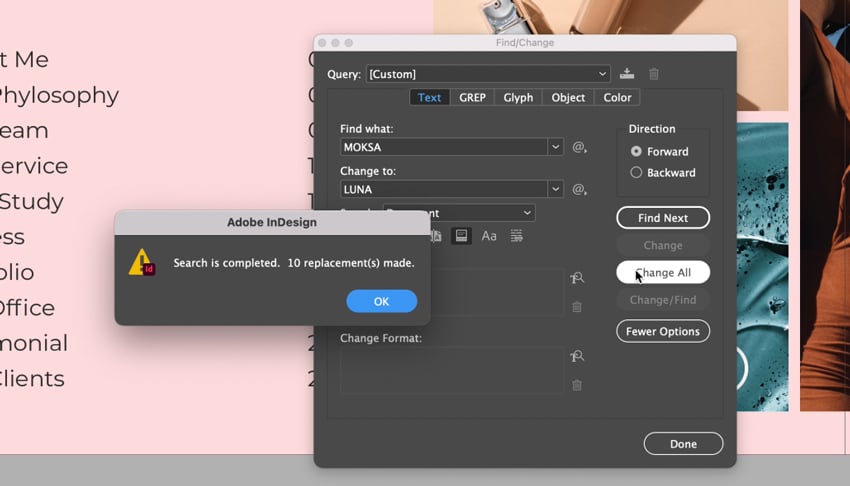
11. How to Use the Find/Change Function in InDesign
When working with large InDesign documents, finding and changing specific words or phrases can be a time-consuming task. However, InDesign offers several tools that make this process much easier and more efficient. Go to Edit > Find/Change and change Find what to “MOKSA” and Change to to “LUNA”. Select Change All, and now all of the words you wanted to replace have been changed.


12. How to Make Multiple Page Sizes
InDesign is a versatile tool used by designers to create various types of documents, including brochures, flyers, and magazines. Sometimes, the same document may require multiple page sizes to accommodate different design elements. Create a New Page in the Pages panel. Select the Page Tool and adjust the page size in the Top Toolbar.
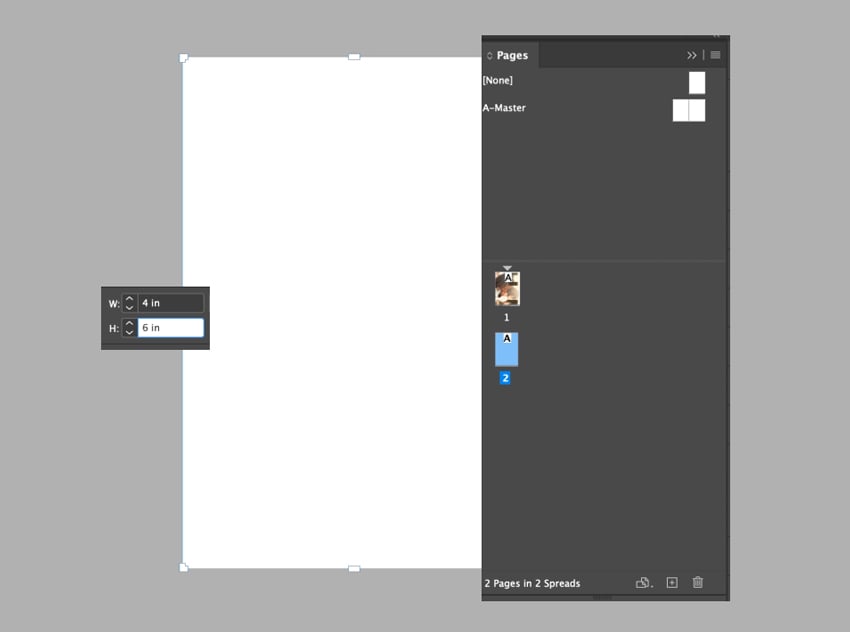
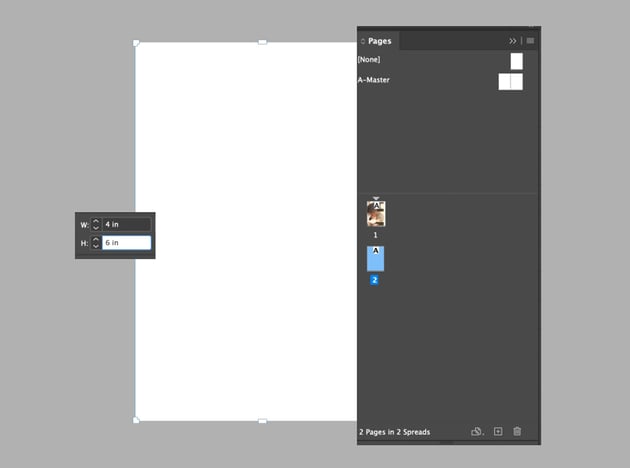
Now you can design your new page. Continue this process to add even more pages with various sizes.

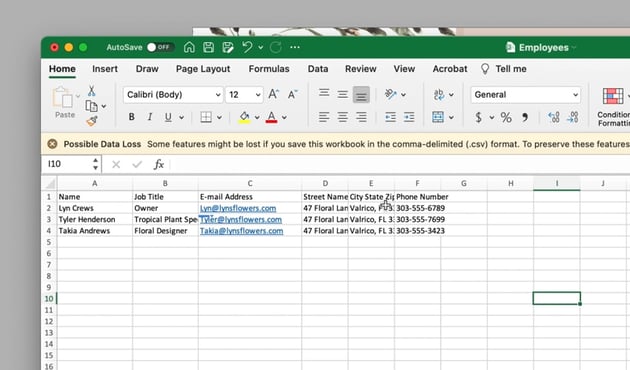
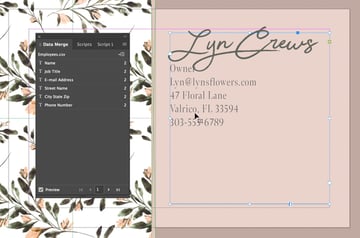
13. How to Data Merge
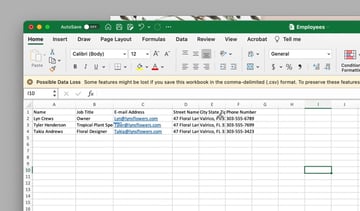
Data merging in InDesign is a powerful tool that allows designers to streamline their workflow and automate the process of creating multiple versions of the same design with varying content. Set up your Excel document with these titles in the first row: Name, Job Title, Email Address, Street Name, City State Zip, and Phone Number. Save the file as a CSV.

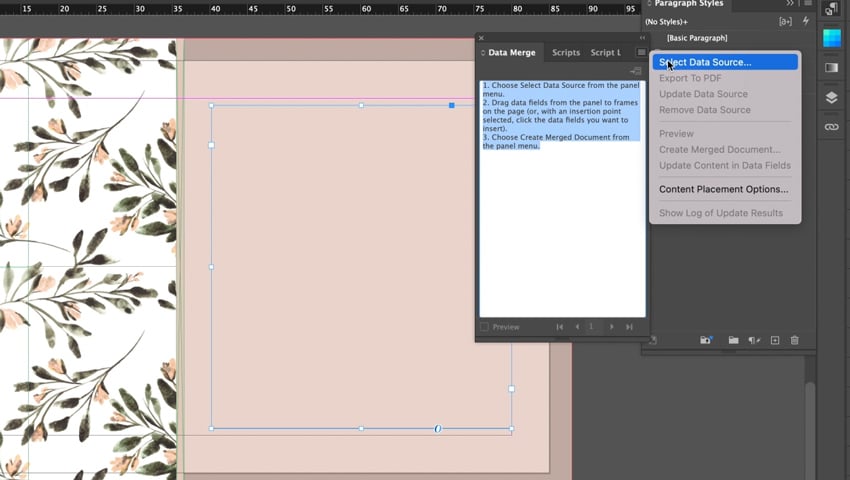
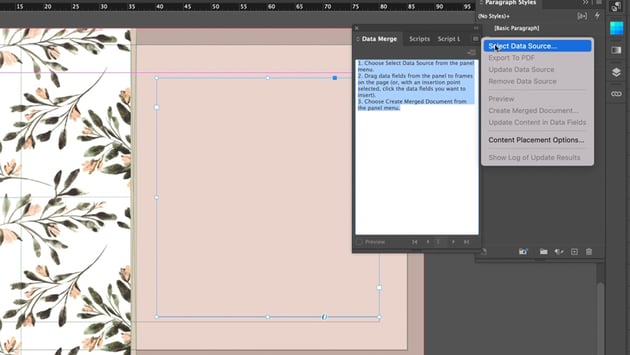
Select the Type Tool (T) and create a text frame. Go to Window > Utilities > Data Merge. Select the CSV you saved by clicking Select Data Source in the hamburger menu.

Drag and drop the Data Merge sections into the text frame.
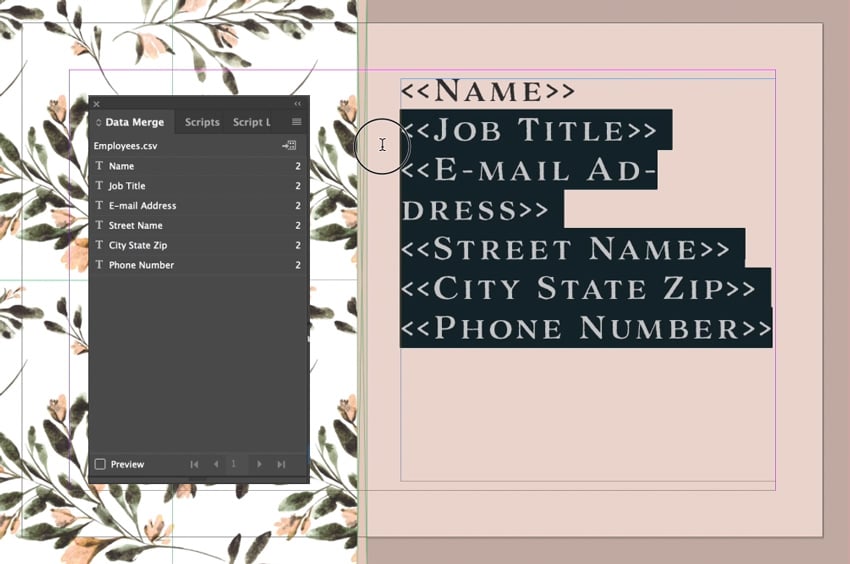


You can preview the list of employees by selecting Preview in the bottom left corner of the Data Merge panel.


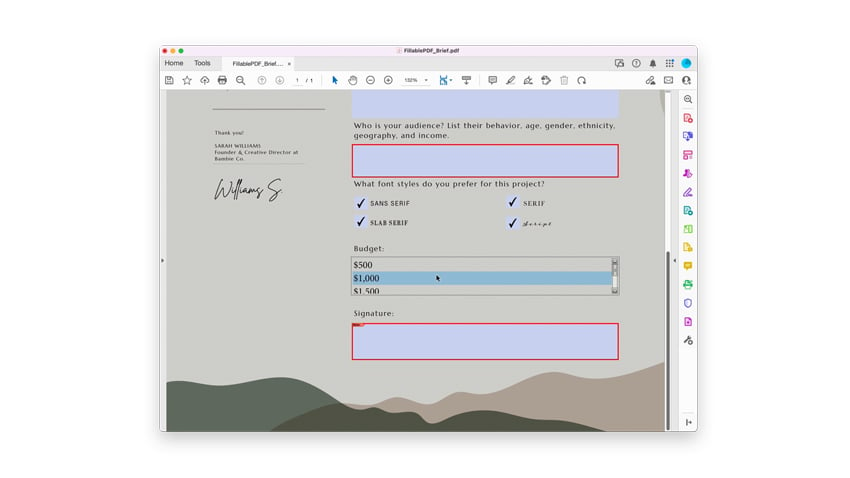
14. How to Create a Fillable Form
InDesign allows you to create interactive documents, including fillable forms. Whether you need to create a survey, application form, or any other type of document that requires user input, InDesign has got you covered.
Use the Rectangle Frame Tool (F) and place a frame on your document. Go to Object > Interactive > Convert to Text Field. The Buttons and Forms panel will appear. Make sure Printable and Required are checked in the lower panel. Make the rest of the form and fill it with checkboxes, a list field, and a signature field.
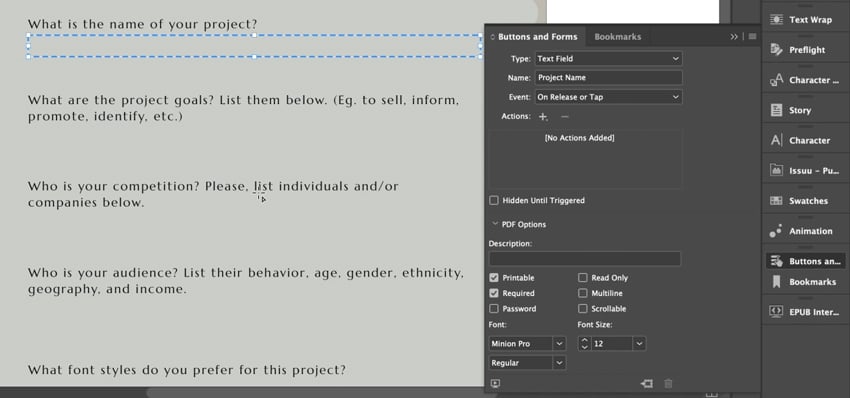
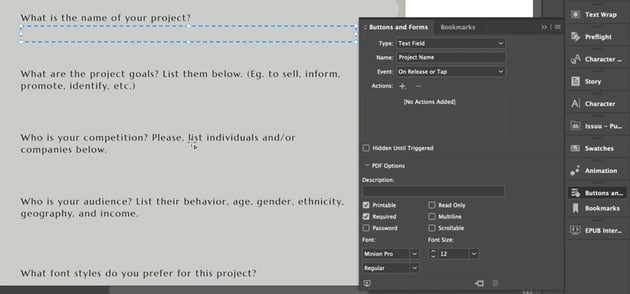
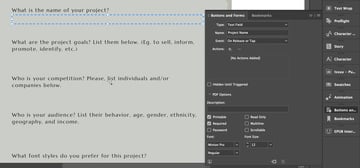
Go to File > Export and change the Format to Adobe PDF (Interactive). Now you can Save and Export your file.

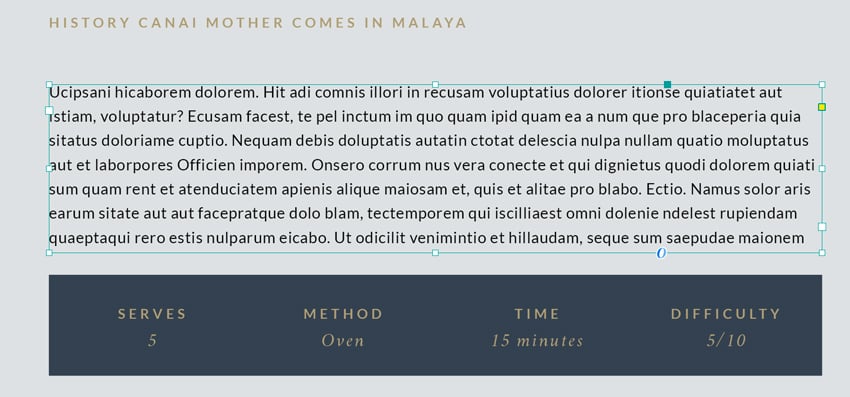
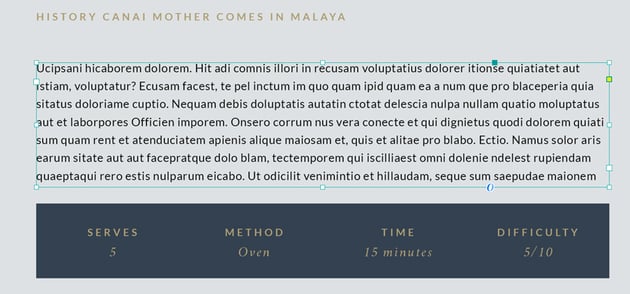
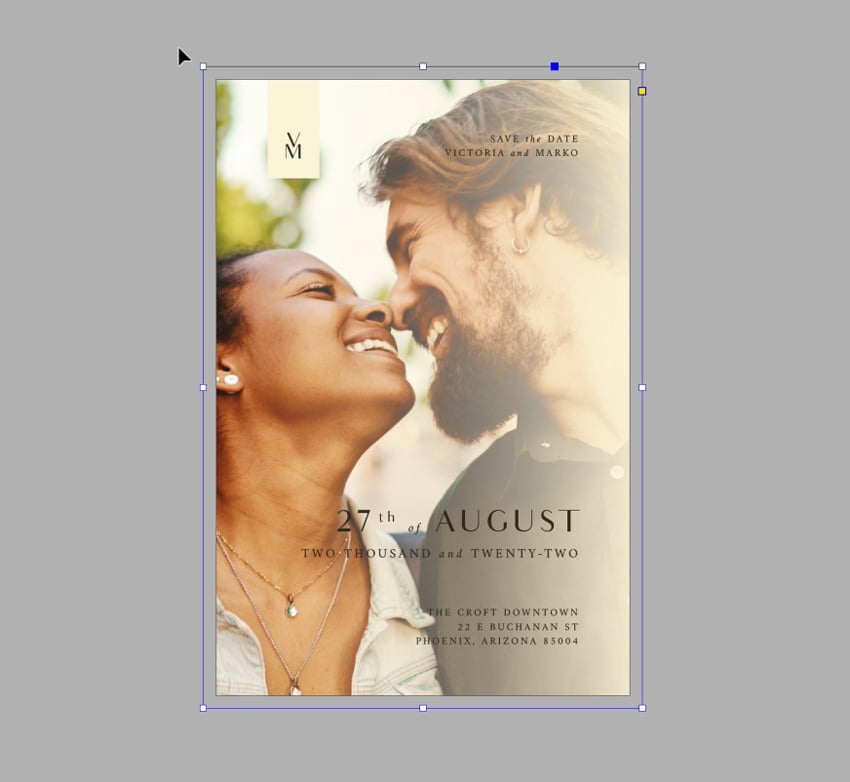
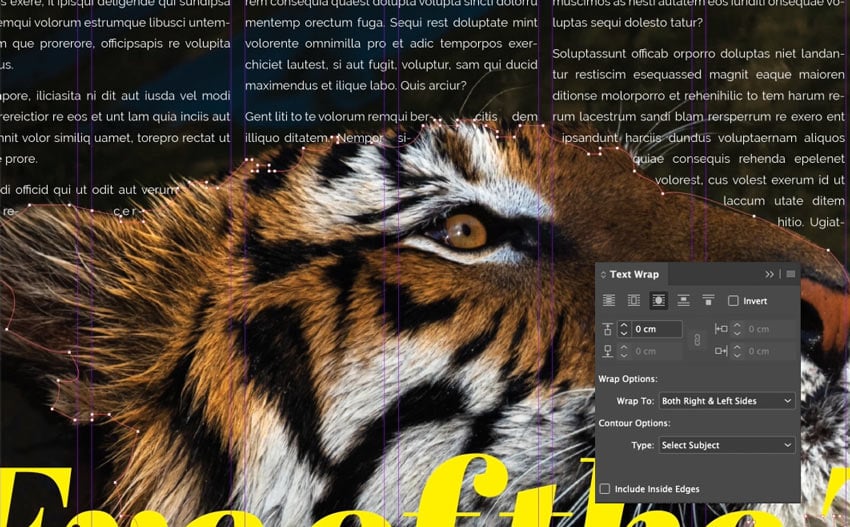
15. How to Wrap Text Around a Subject
One of the essential skills to master in InDesign is how to wrap text around a subject. This technique allows designers to create visually appealing designs by placing images within text or having text flow around an object.
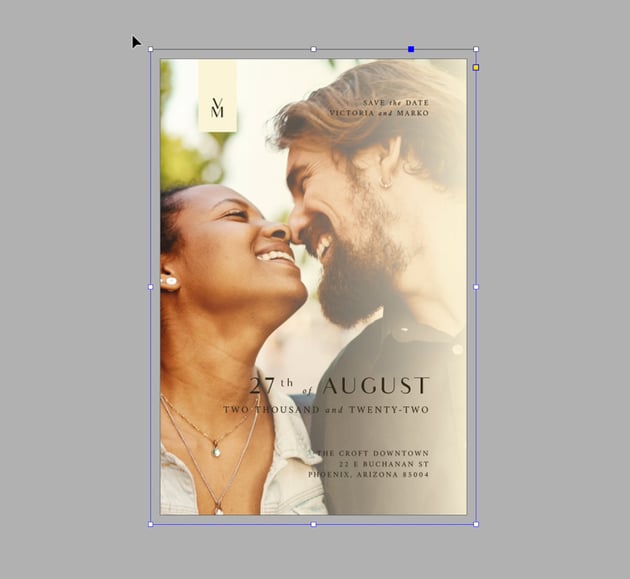
Select the image you want to wrap text around, and open the Text Wrap panel (Window > Text Wrap). Select Wrap Around Object Shape.
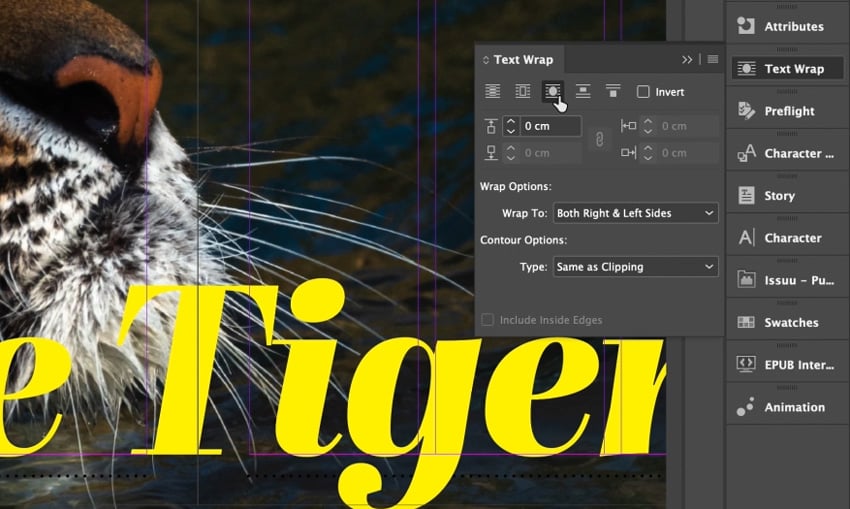
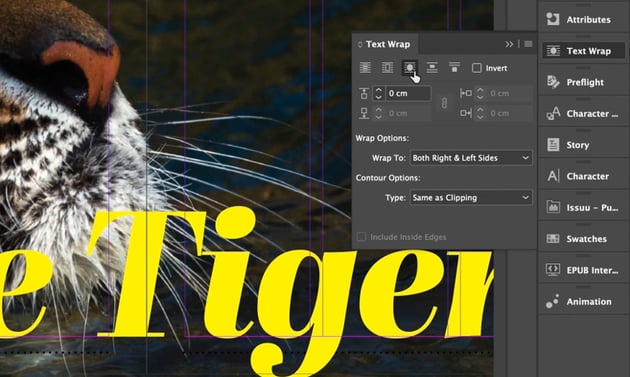
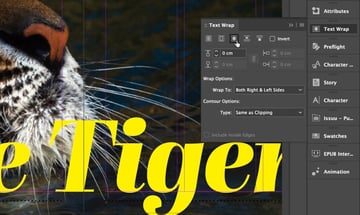
Under Contour Options, click on Select Subject.


All Done!
You have acquired 15 new InDesign skills, or perhaps some of them were a review. So take what you’ve learned and apply it to your next project. With these new tools in your arsenal, you’ll be able to create professional-quality designs in no time.
Take Your InDesign Knowledge to the Next Level
If you want to improve your skills in Adobe InDesign, you’ve come to the right place! Regardless of whether you’re a novice or have some experience with this robust design software, there are always fresh tips and tricks to discover.