Setting up a Shopify store is very straightforward. Begin by signing up at Shopify, then add your products, select a theme, configure the back office for shipping, tax, and payments, configure a custom domain, and launch you store!
”A journey of a thousand miles begins with a single step.“ – Lao-Tzu
An online store is the first step in your eCommerce entrepreneurial journey. Actually, the very first step is an idea, an inspiration, and I assume that you already know your unique value proposition? If not, Shopify can help along every stage of the process.
Tip: perhaps start by browsing the list of business ideas on Shopify’s blog?
Back to the job at hand. This tutorial will help you to test your idea by setting up a Shopify store. In short, it involves the following steps:
- sign up at Shopify
- add your product(s)
- select a theme to showcase your product
- configure back office (shipping, tax, payments)
- configure a custom domain
- launch
Let’s review the first three steps (more coming in the next tutorial).
1. Sign up at Shopify
Shopify will create a store for you in less than a minute. Go to shopify.com, fill in your data, done.
The setup form includes only one potentially confusing field: the store name. This is a permanent and unique store name across all Shopify stores, so make sure you enter this correctly. You might want use your brand name with some numbers to make it unique. For example “my-brand-99”.
You’ll need this permanent store name to access the store admin panel with the URL https://my-brand-99.myshopify.com/admin
Later, you can (should) add a custom domain for the storefront, for example, https://mybrand.com.
Congratulations, you get an online store! With that done, the store dashboard shows you tips for the next step.
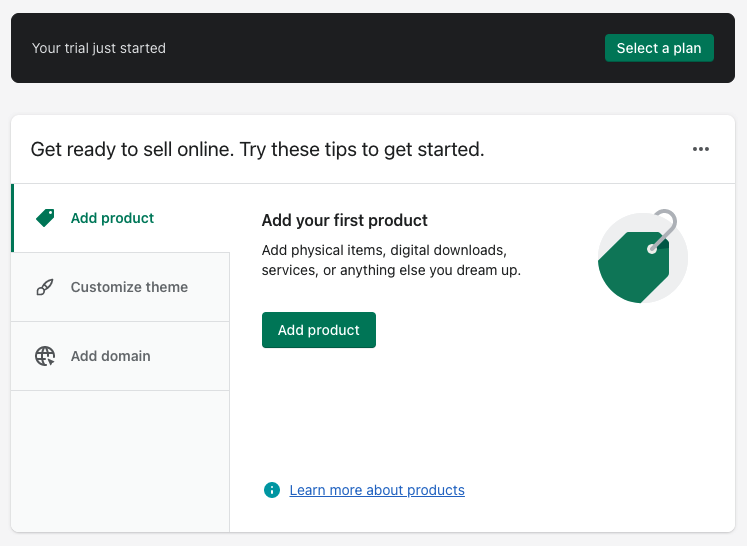
You now have 14 days to launch your store, and when the trial period ends you should pick a paid Shopify plan. Browse my previous tutorial for pricing details.
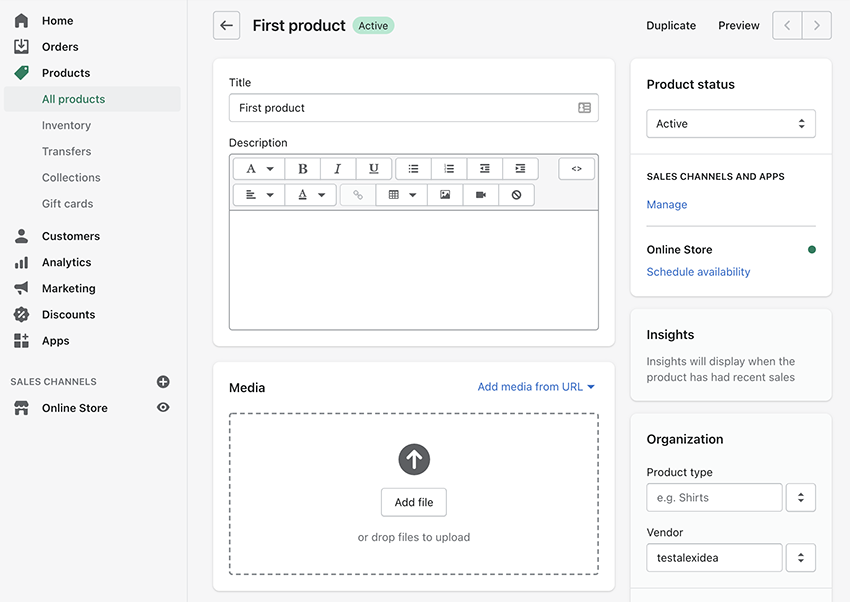
2. Add Your Product
Price policy, online store design, shipment, everything depends on the products you sell. For this reason adding products is the next step. In your store backoffice go to Products > Add product, fill in the title, description, SKU, and price fields. Add product media, images, video, or even 3D models.
From an SEO perspective content is King. And you are the best person to describe your product. Be sure your product description is unique and answers all customer questions. List the product materials. Is it eco-friendly? Detail the return and refund policies. Explain the history of how you made your product. If you resell, explain why the visitor should purchase from you? Reassure customers by explaining your pre and post-sale support.
Media
Showcase your product with high-quality images. Use lifestyle images that help customers see themselves using your product. Nowadays, you can create high-quality media with your smartphone, or (once you earn some money) you can always hire a professional photographer.
Lastly, you can organize products in collections. Check the following help pages for details about Products and Collections.
3. Select a Shopify Theme
Your store’s theme plays a key role in beautifully showcasing your brand and products. There are thousands of Shopify themes; small with basic features, or huge with hundreds of options and pre-made configurations.
How should you select the perfect theme for your store? Here are some tips:
- create a list of key features for your store, what blocks and information you need to place on the home, collection, and product pages
- review the available themes and pre-built demo stores, video tutorials, and user manuals
- pay attention to the number of sales and customer’s reviews
- don’t hesitate to ask pre-sale questions
Where Can I Find Shopify Themes?
You may want to start with the Shopity theme store. Here you’ll find about 75 themes, including some free themes if you are limited in budget. You’ll also find premium themes with 2-3 pre-made styles, and a low amount of the theme features. These themes have a standard price of $180 USD. Be ready to install additional apps to add more features to your store.
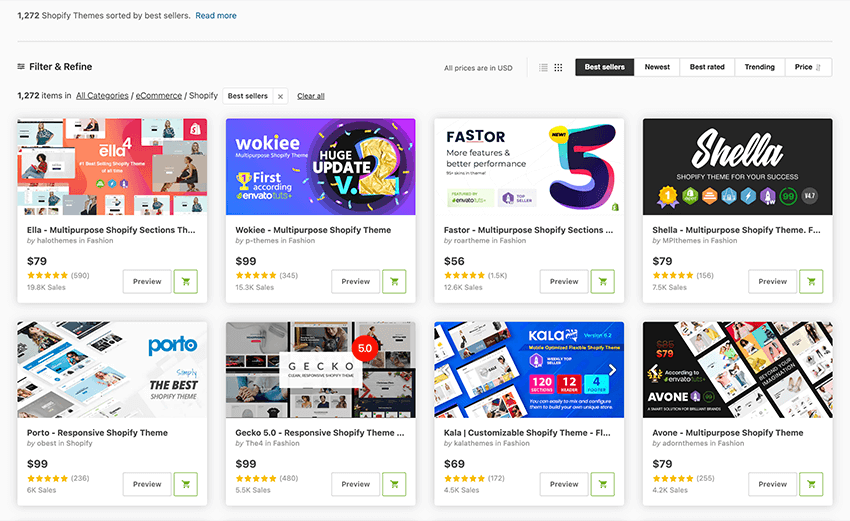
Next, is the Shopify category at Themeforest. Themeforest has over 1,200 premium themes. Some themes are as simple as those from Shopify theme store, some themes include hundreds of pre-made demos. The price on Themeforest varies from $19 USD to $99 USD. It is easy to get lost in such a wide variety of themes, so I recommend you sort themes by the best sellers and pay attention to the top 10 themes. Remember to check comments and reviews to see what existing buyers think.
Check out these collections of Shopify themes to see if any suit your project:
 Shopify30 Best Shopify Themes With Responsive (Mobile-Ready) Designs for 2021
-
Shopify25+ Best Shopify Themes With Beautiful eCommerce Designs for 2021
-
Shopify25 Best Shopify Themes for Beauty and Cosmetics Stores
-
Shopify20+ Tasty Grocery and Food Store Shopify Themes (Free and Premium)
-
Shopify25+ Best Single Product Shopify Themes
-
Shopify25 Best Shopify Themes for Clothing and Fashion

If you have an unlimited budget, you may consider hiring a Shopify Expert agency to build a unique theme for your business.
More Than Design
The “design” is the most obvious theme feature, but you should also pay attention to available features. The more features a theme has, the less money you will need to spend on additional Shopify apps.
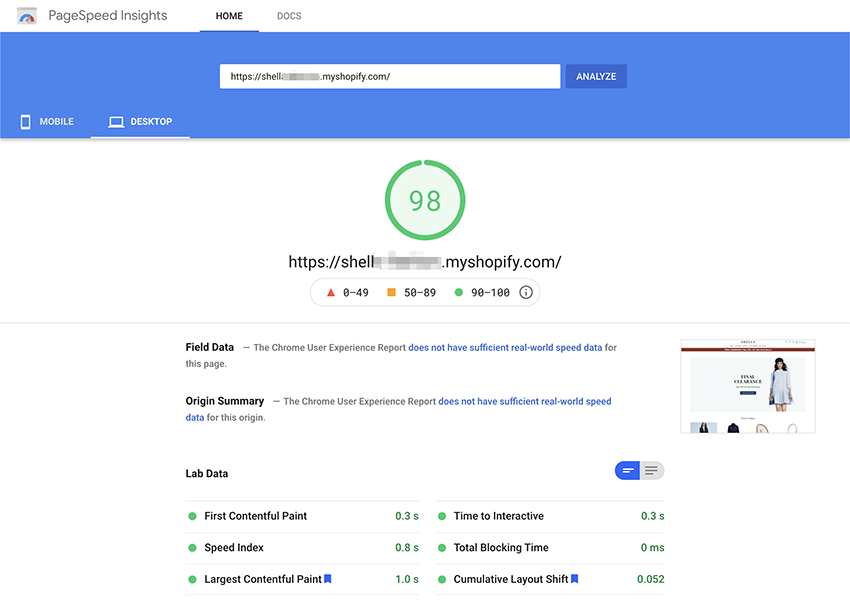
The more apps you install, the slower the web page. The slower the web page, the fewer sales you’re likely to make. I recommend only using apps that you really need. Don’t forget to test the theme’s speed. As of May 2021 Google will include speed data to ranking signals. Test your store’s speed with the PageSpeed Insights tool.
How to Setup a Shopify Store: Next Steps
And that’s how you begin to setup a Shopify store! Once your store is looking awesome, it is time to configure your back office. I will cover this setup process in the next tutorial. Stay tuned!
More Basic Shopify Tutorials